Transcripts
1. Welcome & Introduction: Are you a small
business owner or entrepreneur who needs branding, but want to have full control
over your look and feel, or maybe you are a
personal brand who needs to hit some consistency
across your socials. Are you looking to expand your creative skill set
with Adobe Illustrator? If any of this sounds like you, I hope you'll join me today. Hi, I'm Kathleen Lyons. I'm an artist and
digital marketer based in Nashville, Tennessee. I graduated from
Audubn University with a BAN R and started my career as a graphic designer
outside of Chicago. Today, I spend nine to five in the digital marketing
space and spend my nights and weekends
pursuing my creative career. I sell my designs on print on demand sites such
as Society six, red bubble, spoon flower, as well as my own Etsy shop. For the past 15 years, my specialty has been in the
digital marketing space, from website development and testing to marketing
and brand management. I've worked with and
provided strategies for small startups to
fortune 500 companies. With projects ranging from
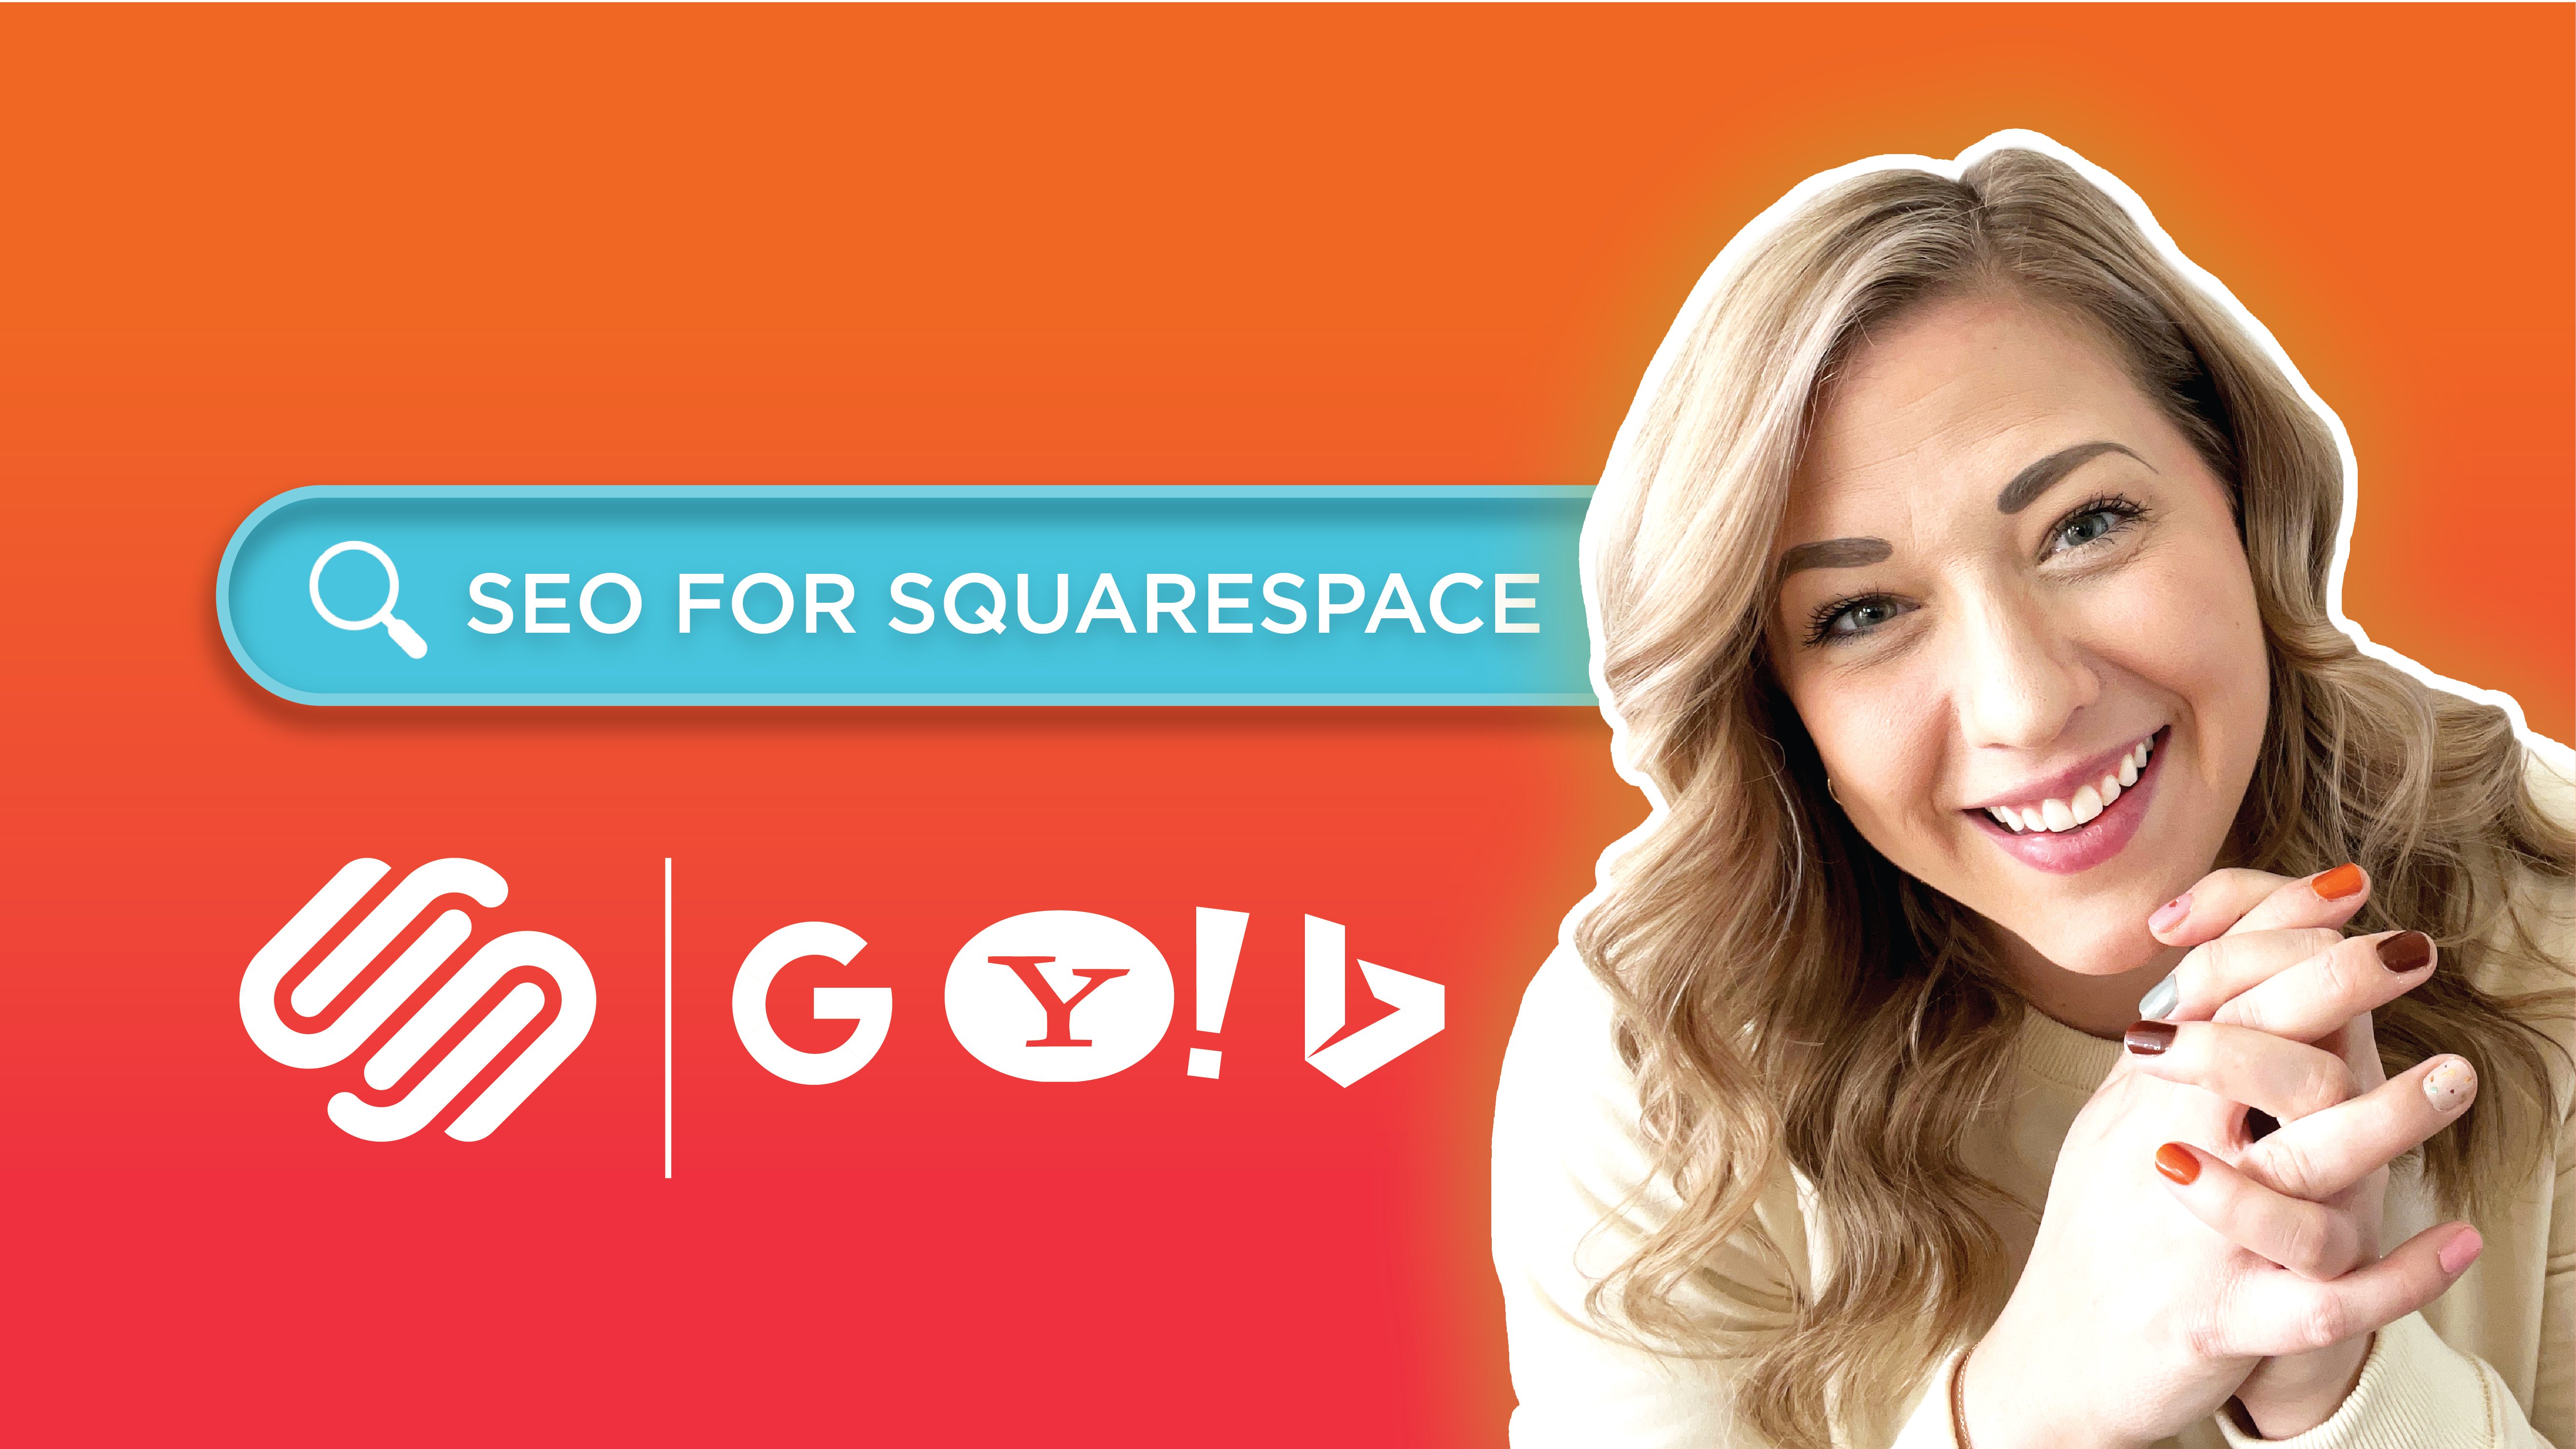
basic site enhancements, don't forget to check
out my SEO class. Two full marketing plans. Today I'm going to show you an easy way to get started with adobe Illustrator by creating
your own brand guide. You'll follow along as I
outlined step by step, how to bring your brand to life by defining
your color palette, typeface, and photography style. Your brand will be
recognizable at a glance. The lessons are designed
with beginners in mind. However, my more
experienced designers will probably enjoy getting
a free template and maybe a refresher or two. What are we waiting for?
Let's start branding. I'll see all the next lesson.
2. Class Project: Class project time. It's
always my favorite. But for this one, it's
going to be really simple. We've already gone through it. In this class,
you'll be developing your own single
page brand guide, either for your personal
brand or business. As far as materials,
you'll need a laptop, and you'll also need access
to Adobe Illustrator. And if you don't have it yet, don't worry, there are
free trials available. Make sure you download that
and set up an account. Speaking of which, our steps
are going to be pretty easy. You'll either access your
existing account or set up a trial so that you can begin
with Adobe Illustrator. I will then walk you step
by step on how to use it. There are three
different templates so you can choose which
one works best for you. Once you've gotten
all of your details, just write, then we'll
export it and share it. Speaking of sharing,
I would love for you to share it in
the project session. I want to see what you all are making and what's out there
as far as your branding. If you run into any
issues, please reach out. I'm always happy to help. I'll see you on the next lesson.
3. Branding Basics: This lesson, we'll
be talking through a few branding basics
and what we'll be including in your
single page brand guide. Whether you'll be
branding for your personal brand or
for your business. It's important to keep
a consistent style and personality that's recognizable
to your audiences. This starts with your
logo and brand mark. This class does assume
that you have one. If not, there are tons of great classes on the platform for creating a logo. Go
ahead and check those out. But more than likely,
you already have a logo. You're just looking for
consistency right now. So what we'll be developing today is the rest of
that visual identity. We'll begin with defining
the color palette. This is important for
various applications. So if it's your web or print
or you have an ad anywhere, you want to make sure that
these colors are on point. So we'll also be
adding color codes to help that stay consistent. Hypography will also help support your brand
tone and image. The templates will be
working with L for two. However, this can be modified if you have more than two fonts. Ideally, you want
to stay around two, but maybe you have
one that's not available for web and
you want to add a third. You have issues with
that, reach out. I am happy to help you with it. Lastly, the guide will include a few brand images to help
define your photography style. Illustrations or patterns, maybe you have some iconography. Any of those can
also be included to help enhance the full
picture of your brand. Here's some key takeaways. A visual brand guide
helps keep you or your business consistent
and easily recognizable. Defining your color
palette, typography, and photography style
will ensure your brand is visually cohesive
across platforms. I'll see you all
the next lesson.
4. Intro to Adobe Illustrator: And this lesson,
we'll get acquainted with Adobe Illustrator and the tools you'll
be using to build your brand guide.
Let's get started. So there are a few
different ways that you can get here
with the site links. If you're looking
for free trial, there's a draft link or
you can go to the page. I have the page itself
pulled up here. And because I'm already
an Adobe member, it's actually telling
me to update my app. But typically, you'd see there the free trial or sign up
and then as you scroll, you'll see another offer. So if I did have it, you know, let's see incognito. So here, I'm seeing
free trial or by now. So if you don't
already have adobe, go ahead and get that set up, you'll just need to sign in
with your e mail address and either sign up for
the free trial or begin your subscription. Now that we have Adobe either we're logged in
or we're signed up, we are going to go and
download the templates. If you go to the lessons under the projects
and resources, you're going to see there's
more information here, but below, there's
the resources. You can go ahead and
download those templates. You may want to
download all three, check them out, see which one is going to work best for you. And then once you have
those downloaded, we're going to open
up Adobe Illustrator. Fortunately, because
I had an update. I am fresh here, so there's
no old settings or things. This should be very similar
to what you're seeing. Instead of creating a new file, we could do that here
where it says new file. You also have options here. You see letter, postcard. These are just common types. If you're doing
anything for video, 1920 by 1080 is
also very common. They'll have some
quick sets there. You can also create
custom art boards, and we'll look into that
a little bit later. But for now, I'm going to
open our first template. Now that we have these open, I have all three templates downloaded. This is
the first template. I'm going to go ahead and
turn off these guides. I'll show you how
to do that later. But this is the
first one. So this assumes that you have
a primary palette, so this is the top color here, and then a secondary palette,
which is the bottom. It gives two fonts and
then kind of a film, a photo reel for
your brand images, whether their photos or their
drawings or their patterns. We mentioned that before. That's what will go
down at the bottom. So that's our first template. The second one is a little
bit different where we're seeing some variations of logos. So if you have multiple colors, this may be a better option, and then maybe you have more
of a limited color palette. This would be the
template for you. And then lastly, this
combines all of them. So if you need a
little more detail, or you just want to
be super thorough, this would be the
template for you. You're going to have
your word mark, any color variations below that, and then your primary
secondary color palettes, your fonts, and then
finally the brand images. So I just wanted to go over a quick overview of each of the templates
and what's available. Next, we'll look at some of
the tools we'll be using. So if you're new to
illustrators so far, hopefully it's going smoothly, we've been able to
download, access, or log in, been able
to open the files. And then one thing
that you're going to be using the most
are these arrow tools. So it's probably defaulted. This is your selection tool. This is how you can select
anything that's in here, so this is an image that
that's going to stay. But any of these boxes,
these are shapes. So you're able to move these, you're able to adjust them. You're able to move them around, and you can do whatever
you want with these. Then you can click
into the text tools. This is how you'll be able to
highlight and change these. This will be a very
important tool. This will be the one
you use the most. The shortcut for this is V.
Then if you hover over these, they'll give you see
their selection is V. You'll see where all the direct selection A
if you see here. It gives you the short
cut on the keyboard. As you go through, you'll start picking those up
and learn those, but they are also available here if you need to reference. The other big thing. We have
a lot of layers over here. If you go to the right
side of the panel, you'll see Logo, color codes, color palette,
typography, image style. I've tried to organize
this as best I can. I have also locked
a couple of layers. This is the guides that you were seeing before and then
also the example of mine. You can feel free
to delete this out. This is just so you can see
an example of that template. The guides and dividers will allow us to keep things aligned. So when I turn those back on, you go to view and go to
guides, you can hide. So it's your command
and semicolon. You can also unlock them,
which allows you to move them. I typically keep them locked, but you can hide them
and turn them on and off which just
command semicolon. So I keep those on when I'm
trying to align things, so you can see here Z for you. When I select this,
this is all centered. We have these guides here, and then the little blocks. I'm trying to center those. Same for this. You can take your
selection tool and drag it across and make sure you're
crossing all of those boxes. Now you can see that all of these boxes are also
centered on that line. Same with this line here.
We're just keeping things organized in aligned and
so that we get a nice grid That's visually pleasing.
Those are there to help. If you don't love them, turn them off, delete them. It's no big deal.
They're there to help you as you organize
your brand guide. Couple of other important tools. So like I said, we'll be able to go in
here and add these codes. So an example of that,
you can see here, I already have this one, but the y dropper
tool would allow me. So this is down here.
I for eye dropper. I select the color, and then you can see it, actually, let's do
the purple one. You can see it down
here in your colors, and then the codes
are all in here. So I just double click that color after I
use the eye dropper, your hex code is down here. And that is primarily
used for web. You also have RGB and then CMYK, which is largely for print. So I can go from there
and just copy this. Okay. I'm going to get my
selection tool back, and I'm just going to double
click into here and I can highlight and
paste that code. You would go through and do
that for your Hx, your CMYK, RGB, and then I'll show you while we're doing a
color palette lesson, how to get the pantone code. There are a couple
ways to do that. Otherwise, if
you're adding more, I know we mentioned fonts. There are two here.
These are grouped those. You can add more simply
by copying a pasting, typical command command V, or you can use your text tool. If you see T,
there's a text tool, you can literally
click that Drawbox. And type your new font. You can add one pretty
simply that way and then just drag and reorganize
these, however you see fit. So it does allow for two
and all of the templates, but feel free to
add as you need. Now, as far as
adobe Illustrator, one of the things that this allows you to do is
when I draw a shape. So let's just do I'm taking
the pencil tool. Which is n. If I drew a shape in here, this is one of the great
things about Illustrator. Now I'm going to hit,
the eye dropper tool. That shape now, as
a raster or a JPEG, anything that has a pixel base, it would start to
lose its integrity, it would just get blurry and pixelated as I brought it up. The great thing about
vectors is it keeps that sharp line no matter
how big I make it. That's one of the benefits. It will also keep your
file size down if you're using vectors versus images, and we'll talk more about
that as we place our logo. Now, you can see that there are two documents in here,
essentially two pages. These are called artboards. The white board that's
behind here is an artboard. If I go to file, document
set up, edit artboards. Then I can change
the sizes of these. You can do it on the fly, and you'll see there you get
your width and your heights. Or I can hit Enter and
do it very deliberately. I can even rename the artboard. I can change the
height, the width, I can make it landscape
versus portrait, and do a lot of things here. But this will become more
important when we export. You can see this
is artboard two. This is Artboard one, one, two. W to export or when you all export for
using the template, you'll want to export
the second artboard. We'll get more into that
in the last lesson. Here are some key takeaways. Adobe Illustrator allows
you to work with vectors, which can be sized to any
dimension without losing quality in comparison to a pixel based program
such as photoshop. Artboards allow you to create multiple pages
within one document. Layers and guides can help
organize your document. I'll see all the next lesson.
5. Add Your Logo: This lesson, we'll walk
through how to add your existing Brea marker logo to the Brea Guide document. There are a couple of ways
to add it and you can choose which template you'd
like. So let's jump in. First things first, we're
going to add our logo. The first way to do
this is to place it. If you have an image
like a JPEG or PNG file, you can simply place it
within your document. Go to file and then place
this is Shift command. Select that, and then I'm
just going to select my file. You're going to get
this wonky thing where you're letting
it follow you around. All you have to do is click. And one thing to know, I am doing this within
the logo layer, if you want to keep
things organized. I would suggest clicking, you simply just need to click on that layer and you'll be working
on it within that layer. So I'm going to bring this
over and line it to this box. I'm just going to hit
shift while I do this. And then I'm going to drag
it until it fits that space. Now yours may be a
slightly different shape. That's okay, but try to work
it into this top section. So now that I have this place, I'm going to go down to
my logo and where I have that rectangle and
select it here, I'm simply going to hit
delete because now I don't need that outline to
help with the placement. The other way you can do this is if you have a vector file. If you have a.ai or
you have a dot EPS, SPG is one as well. You can open that
up, and this will actually keep your
file size smaller. The image is going to make your file size a
little bit larger. But the vector, if I just
copy your normal man comm, just going to copy that
and bring it over. Again, I'm still working
in that logo layer. I could have done this and
then brought it in and say, I'm going to hold shift down and simply just drag this in. Over there. And then
I'm actually going to go ahead and delete that linked photo and
just let that there. So now I have the
vector in there. And again, actually, let's
et me play a little bit. Let me take this image. When I was talking about
in the last lesson, when I bring this up, it's going to eventually get pixlatd. You see in jagged edges. That was the image. Now I'm
going to take that out, and then I want to
show you when I drag this one out,
it never loses it. It's always smooth, and that is the difference between
a pixel or a vector. So just FYI vectors
can also help keep your file sizes down
versus importing an image. So I'm going to switch gears to the other template in case you
have some other colorways. I have a few examples
here of mine. I'm going to replicate this
just to show you an example. I'm going to control
or commune C and B, and I'm going to size this down to fit into these circles. Again, I'm holding my shift key down so that the scales
proportionately. And I'm just going to pull
that into the center there. Now you can turn your
guides on and you can see that this is Stu there. I can use what's already in the template so I
can select that and then just use the eye dropper
tool and select those. You may want to do this after you've selected
your color palette, which will be in
the next lesson. That's a quick way
that you can add some other local
variations and include those if you're wanting to
use the second template. Here are some key takeaways. Placing an image will allow you to copy and re link easily while maintaining the same scale for multiple local variations. The scale tool can be used to modify your local
without distortion. Using a vector will
minimize your file size. I'll see all the next lesson.
6. Develop Your Color Palette: This is a fun one.
In this lesson, we're going to be walking
through how to develop your color palette and
defining those color code, so you can make sure
you're consistent across any platform as well as your collateral.
Let's get started. We're back in template two. I did go ahead and
flush these out. I realize the
example I had given you did not have
a great contract. We'll get into that more
later in this lesson. So I went ahead and
have these match what I have in my example. You can also import these. But in this part of our course, we're going to take a look at
defining the color palette. So we've already touched
on this a little bit, where we're going
to be selecting our Hex codes and then
filling out CMYK, RGB, and then talking a
bit more about Pantone. So let's go ahead and jump in. I have a couple
resources for you. I'll also have these in your project and
resources section, so you don't have
to try to write download links. Let's
hop over there. First step is Cava. Cava has a really nice tool where you can upload an image and then use
that to create your palette. My only warning here, these are all very
similar tones, and you want to make sure
when you're on the web specifically that you're getting enough contrast
that it's legible. Let me copy this blue. I'm going to show you one tool. Super important. I go over
this in my SEO class as well. If we say this is the
blue is the background. I'm just copying that code
and importing it here, go back to mva, and then say, I'm going to take this lighter
color, this yellow. And I put that over here. Now that's going to
be my foreground. That is not going to work. You can see here and this is for accessibility to make
sure that things are legible for those who are in your site or even if
you have it on print, this really is hard to read. Again, this is
another tool that you can use because you can
start tweaking these, so I could bring this darker. Then once I get it dark enough, you'll see I have
to get it pretty dark for those two all pass. There's different
versions of it. If it's going to be
small text, large text, obviously, those will have a little bit
different thresholds. But you can bring that
over and play in here. That would just
be my only advice if you're using the
Canva template. Make sure that you're
getting enough depth in your palette so that
you have things that are super contrasting and
not all of the same tone. Again, here, you're
seeing the Hex code. This is primarily used for web. We'll get into more
of the CMYK and RGB and some of the Panton matching as
we move through here. Another way that you
can choose images. I know we're going to get to our brand in photography style. We'll be looking at n Splash, but I wanted to show
you really quick. I can copy this image and
then go back to Illustrator. They was going to use this
as part of my brand npo. I can then Copy that into here. I can actually start, I
think this has a good range, so I can use my eye dropper tool and start
selecting colors from here. I really like this green. So you can see that down here. And then I have this RGB, CMYK, if I wanted to make
that this color, Let's grab that again. Now, one, as we're talking
about accessibility. I will change this
font to white? Let's just click in
there and you can select all like you would in
Word or any other processor, and then go over here and
go ahead and pick white. F here, I'm going to select that green and just copy the
information from here. Here is my HX. Okay. I'm I'm going
to select here. And place that in. Now if I were sharing this with the
team or with a designer, they know exactly what Green I mean for any web applications. Now, CMYK, again,
that is more of your print type of materials,
and that's over here. So 801-30-6605. Then I'm going to
input that here. Again, I'm just double
clicking into this text tool and then editing as I
would in any other normal. Word, PowerPoint, slides, et cetera RGB is also
primarily for screens. So you had a slide show or some kind of video
or anything like that, you're going to be
displaying digitally. You're going to want your
RGB included as well. We're going to grab
that it's 40 11 e five. Now I have that
pretty well defined. We'll get to Pan tone last. But this is pretty good. I right now, I just use the Hex code because primarily
what I do is online. If I were doing more collateral, I want to make sure that I have that CMYK in the Pan tone. You can go through and
just use this image. Again, I'm just pulling
with the color picker. And use that as
your inspiration. The Cava tool is
also really helpful, but if you want to get a little more customized, you
feel free to do that. I'm going to pull a couple more. Again, you will go
back through and then identify each of these. You can mix them around, however if you want a gradient
or something like that. But go through and try
a couple of options. You can try with Cava if
you already have an image that just speaks to you
or speaks to your brand, or you can go and use Splash, has royalty free images. I have a lot of florals
and animals in my work, so that speaks more to my brand, which is why I pull that up. I'm also going to include an article that I think
is really great for medium about your brand color palette and
why it's important. So this is just in the
beginning and saying 85% say color was the main reason that
they bought something. So for your business,
can be super important. But it's also making sure
that you're recognizable. Knowing that your
audience is like, Oh, that looks like so and so,
just from the pictures, just from the colors and the way that you have your photography, the way that you use
your colors together. They're going to be
really important. I will link this into the
project resources as well. I'd also encourage you
to look at Pinterest. There are a lot of examples
of different color palette, and you can see
to where this one has a lot of great contrast, and then some of these don't. Make sure that you're keeping
an eye out from that, study some things that are
already in the market. And then think through
what's going to work for you in your business. And finally, I promise Pantone. So Pantone is a matching system. So if you're doing anything that is going to be produced
as a physical piece, this is probably ideal. If you have signage, if
you have bags, apparel, anything like that, it's really important to have your
pantone on point. So there's pad versions of this where you can use
pantone officially. There are also books. I have a couple books actually. There's different versions.
I would encourage you I'll link this as well
to read more toies. In the meantime, there are tools online that get
you pretty close. I know we keep
coming back to Hex. The Hex code will show you how close you can
get to a pantone. Let me go back to mine and
pull this green for you. Let's do a live example. I'm going to copy this Hex code. And go back over and just copy that here and I'm going
to get pretty close. So I would probably
be between these two. Again, having the booklet
is really helpful. So a lot of times I'll use
this to get in the ballpark, and then I'll go and
check in my cards. And sometimes it'll
pull a little more blue or a little cooler or warmer, and I'll choose based on that based on what
I like and what fits or I think aligned
best with my brand. Here are some key takeaways. A defined color palette helps your audience easily
recognize your brand. The eye dropper tool
is a quick way to select specific
colors from images. Defining color codes
such as Hack, RGB, CMYK, and Pantone
ensures consistency. I'll see all the next lesson.
7. Define Your Typography: Okay. It's not as fun as the last one, but
still pretty fun. This lesson, we're
going to be defining your typefaces for your brand. If you find something online, but you're not quite
sure what it is. Sometimes we fall
in love with those, and it's so hard to match them. I have a secret for you.
So let's get started. We're onto typography or your
typefaces in your template. We're going to stick
with this one. I did go ahead and update this to match. I pulled from that image
just to keep us cohesive. Next up is going
to be typography. I have aerial and times
new Roman in here. These are just basic fonts. They're always what they default to and word and hard
point, et cetera. But ideally, you want to have two fonts and you want them to be complimentary
to each other. I like having a San sera I always lean
towards San Serra if they're more modern, but
it depends on the brand. You may have something a
little more sophisticated, in which case you
want to sera font. The difference between
those is aerial is the San sera, there's no feet. And then in times you rom
you can see a little feet. That is the difference
between Sansa and sera when we're
talking through those. In general, I like
to keep it to two. You don't want to get too
many, it gets overwhelming, but there are times
where you have a web or something where it's
not immediately available, or you just want to have kind of a those handwritten fonts to help highlight things. Again, if you have
trouble adding a third, let me know. I'm
happy to help out. But in general, let's stay to one to two fonts
and make sure that they compliment each
other and they're also easy to read. I'm
going to pop open. Adobe fonts is typically
where I start looking. They do have some
that are trending, they have new releases. But I would encourage
you to take a look and start there's personality
through each of these. As you go through, you're seeing that some of
these are more modern, some of them are chunky and fun. There's others that are
more scary or more, old timing or something
that would be more vintage. As you're going
through, think about how you want your
brand to appear, and what kind of tone
you want to project? Like, Are you sophisticated, Are you more fun and playful? Those things can be
communicated with some of the typography
that you're using. Again, try to keep it to two, but if you do want some of these handwritten
fonts. Those are fun. Go ahead. Go for them. They can be used as accents. I would just not use
it as a primary font. Now, you found one that
you absolutely love, but it wasn't in adobe. You saw on a site.
There's a tool for that. It's called the font and you can literally upload
or past the URL. If you're on the website, you can just past the URL
here or upload an image. I grabbed an image from a site. Of someone that follow that
has an amazing rebrand. I love all of her colors
and her typography. But I really, really
like this Sara font. I don't normally like Saraf. I'm so curious if I can find something
that's close to it. So you would upload, you would select which version you want because there
were two in there, and then look through here
and see what's similar. From there, you can
go and purchase the fonts based on the
licensing that you need. Or you may even find it in adobe if it's something
that's available. But it's such a great tool. If you find something online that you're
like, Oh, that's it. That is so my brand, you can actually bring it
in here and find that. From there, you would
just go back to the template and
update these titles, and so I'll go ahead and please. I'm going to just
double click into here. And let's say I chose
Halbica, instead of Arial. I'm just going to
stick to a feature. Now, you may run into this too. You can either drag this
box or your type tool here. You can just change the sizing. If you lose this box, all
you have to do is go up to Window and go down to type and character and it'll pull
up for you or that comm. F. Then from here, I
can just update this to feature. Select that. Again, when you get
this little red bubble, that means that there's
something cut off. You just drag that I've updated
the font. Now, Let's see. What's another sera font. Let me pull this up. Then I didn't change
the name over here. Make sure that if
you update the font, you also update the name. I'm just going to
pull this down. Now I have two new
type bases identified. Here's some key takeaways. The type bases you select should be complimentary
to each other and help exemplify your
brands personality and tone. Readability is a top
consideration for choosing fonts. Defining alternates
can be helpful if you choose a font not readily
available for the web. I'll see all the next lesson.
8. Identify Your Photography Style: These keep getting
good. This lesson, we're going to start outlining
your photography style. Now, remember I did mention
you can add in illustrations, if you have patterns,
iconography, anything like that. Feel free to add those in. I am also going to show
you where you can find some royalty free
inspiration as well. Let's see what we can find. I'll meet you in the lesson. We're almost done
with our template. We're down to our
brand photography. So there are some boxes here. As you click over, you'll see in the layers as of image style. So this is where we can
add patterns or images. Anything that you
want to include, I would just keep it
within this film strip. I'll show you how to
use a clipping mass to keep this nice and tidy. But when we're thinking
about brand photography, I wanted to talk through
a couple examples. So Anthropology is
obviously sophisticated. It's a really well known brand. This is obviously targeted
more towards women. But you get more of a
feel of the brand and the intention just by looking
at their photography. And in comparison, I
always think of Old Navy. You know an old Navy
commercial when you see it. It's fun, it's poppy. They've clearly got some
denim going on right now. But just thinking
through how you want your brand to look and
feel through your imagery. So whether it's photos
or again, patterns, anything that is visual, that's what we're going
to be identifying. And so this doesn't have to be like super clear
cut, but, you know, think color versus
black and white versus muted or
bright and Poppy. But one place I like
to look is Unsplash. So if you haven't visited Unsplash is a site with
royalty free images. They do have some ads for I
think it's unsplash plus, and then some also for Stock
that require licenses. But in general, this is creators who have submitted their photos and they are available for use. Again, this is just
more of a guide. This wouldn't
actually be external. This is more of an internal guide to
help with your branding. Let's go back to I think it
was a Pony that I had picked. I want to add that. I want to
go back and find that one. The pick from the pallet. Here it is. I can
literally copy from here and take this back
and just control V. Now I've got the image in here. I want to make sure I'm
in my image style layer, and I am just going to
start sizing this down. Again, I help shift to
keep it in proportion. I'm going to get it close
to the size of this box. Then what I'm going
to do? You can see it's over top of
this gray box here. I'm actually going to right click and arrange and
move that to the back. So it's shift command and then
when your brackets there. If you're looking for shortcut. I'm going to bring
that back and you can still see the outline here, and then I'm going to
make sure I have that selected and then going
to hold shift down, and then click this box. Now I have these both selected. You could also just pull and drag and make sure
you have them both. Then from there, I'm going to do control or command seven. And that's going to
create a clipping mask. Now that's crop that, and this will keep it
nice and tidy and make sure that they're all very similar
in size and shape. You can double click into here, and that puts it
in isolation mode. I can make sure that this
was really the right size, or if there was
just one piece of the image that I
really wanted to focus on lit like that's it. I could blow it up and crop
it a little bit tighter. So I would go through and
finish flushing these out. Okay. I do. Here's
what I think too. If you have drawings or you have iconography that
you'd want to include, go ahead and drop
those in there, or feel free to use this as inspiration
for yours as well. Go through slash and any brand photography you
have that's existing. You can also go outside and take some photos if there's things
that just inspire you, you're like, this is what I
want my brand to feel like. I would encourage
you to absolutely go out and do that as well. So I went ahead and filled
out the rest of these images. You can also move these around. You can change the
shapes as well. So maybe you really only have two or you
have more than two. All you need to do
is size these down, and you can add more. So I'll show you in the third template that would look like. So if you're planning
to do more than four, I would advise doing
this beforehand. And you can literally just select all of those
and then grab them. And then you can just
control F. We'll put it Control C and then control F will
copy and then pat in place. Then you can make sure that's close spacing and just add them and then
stretch this back out. Then that way, when
you place your image, so let's do the last
one I just did. Rage. Send it back. I'm going
to select that top one. T seven command seven
and pop that in. You can add as many as you like. You could have just a couple. This one, I've updated to match what we've done as we've
gone through the lesson. This is an artist
who is focused on florals and nature and has some hand drawn
like paintings, and then also digital art. Just a reflection of
what the brand is, what they do, who they are,
what you want to feel. It's very feminine. It's nature focus. There are some
elements there that are hand drawn as well digital. It's just give you more of an
idea of the type of brand, and what you'll see
in those pieces, whether it's your website or collateral or any of
your work like that. Key takeaways.
Inspiration photos can help inform
your brand style. Unsplash is a great resource
for royalty free images. Patterns, illustrations,
nconography, can also help further define
your visual brand identity. Using a clipping
mask can help modify images to keep your guide
clean and easy to view. I'll see all the next lesson.
9. Save and Share: Okay, we're almost
there. Can you feel it? And this lesson we
are going to save and share our final
brand guides. Now, there are a few
ways to do this, so we'll walk through
each of those, and I'll show you so
you can choose the one. That is right for you.
Let's get started. So we're back with the template, and I have pretty
much flush this out. We're going to pretend that I finished my color pallet
identification here. But it actually I don't hate it. It's a little bit off from
my actual brand guide, it's a little bit cooler
with some of the um greens, but it's still very on point. It's floral and tropical,
a little bit feminine. I'm actually going to export this one since this is
what we work through, and I'm going to show you
how to do that under file. And then you can either save as. Because there's two artboards, Because there's two artboards, you would have two
pages in your document. If I say PDF, I can use artboards and I can either select all in which case, I'm going to get both
pages, or I can do range. If I just wanted
that second page, I could do two to two, and go ahead and save that in this folder I
have on my desktop. Actually, you can go
ahead and delete my example artboard
if that's helpful, or you can export
with that range. If you wanted to go
to document setup, you can absolutely delete this. And then you would just need
to go here and unlock this, select that layer,
and then there's a little trash can down here. You can just delete
that out of there. And then you don't have to
worry about doing the range. You could just have your
solo artboard here. Let's do that and then I
will show you a second way. We just saved as. We have a little PDF now
that's available. So there's our PDF, and it is probably a little
heavy with the images. So if you're wanting
to save on file size, you could also export
this as a JPEG. I'll show you how
to do that. You go down to file, and again, export. So we're going to do export as. There's a few different
versions there, but this should get
you what you need. There's also, again, I'm
going to use the art board. And then I'm just
going to choose JPEG. You could do a P&G file as well. And because I've taken
out that other artboard, there is no rage. It's just one. I can export that. Then if I'm going to be sharing
this, this is tricky. If you're going to
be printing it, I would keep a C and Y k, but if you're going to be
sharing it across digitally, I would go ahead
and make that R GV. Then this drop down, you can select your screen medium high. I'm going to go ahead
and me that high, so we have good resolution on our font. I'm going to hit Okay. And so that's going
to be a lot easier to share. That's
going to be smaller. That's only 2 megabytes
versus my template, that was almost 200. So depending on
your file size and what you have included as far
as your brand photography, it may be easier to
share it as a JPEG. You can also, if you're
working with the designer, go ahead and share that AI
file or the vector file, your illustrator file, they'll be able to grab what
they need out of there. So don't forget. This
is the perfect way to be able to upload this to
your project resources. So when you export
it as your JPEG, make sure you upload that as well and share
with the class. One last thing I
realize I just missed. If you are exporting
this and you would change the name to
something other than template. You can do that here. So that was like any other
document you'd be saving. Company. Guide. And then go through the rest of the
process and use art board. Again, MY K. To keep that high so the resolution on the font is nice and Chris. I just hit Okay. Thank you all again. This has
been really fun. Key takeaways. Saving as
a PDF is quick and easy, but may leave you with
a larger file size. If a JPEG is preferred, be sure to use the
artboard option and range to explore
exactly what you need. Lastly, don't forget to share your final guide in the
project and resources section. I'll see all the next lesson.
10. Final Thoughts: Thank you so much for
joining me in class today. Defining your visual brand
is an important step, whether you're a business owner
or have a personal brand. Having a guy to refer to
and or share with a team, n sus your brand shows up consistently and is immediately recognizable to your audience. Again, I'm so excited to
see what you created. Please please please
be sure to add them to the project
section of the class. Lastly, I'd love to connect. If you'd like to follow me on skill share or
leave or review any feedback that you have or suggestions for
additional classes, I would love to hear them. Please feel free to reach out or connect
with me on Social. I am at Artz Lions across
all the platforms. Again, thank you so much. I'll see you in the next class.
 Kat Lyons, Artist + Educator + Entrepreneur