Transcripts
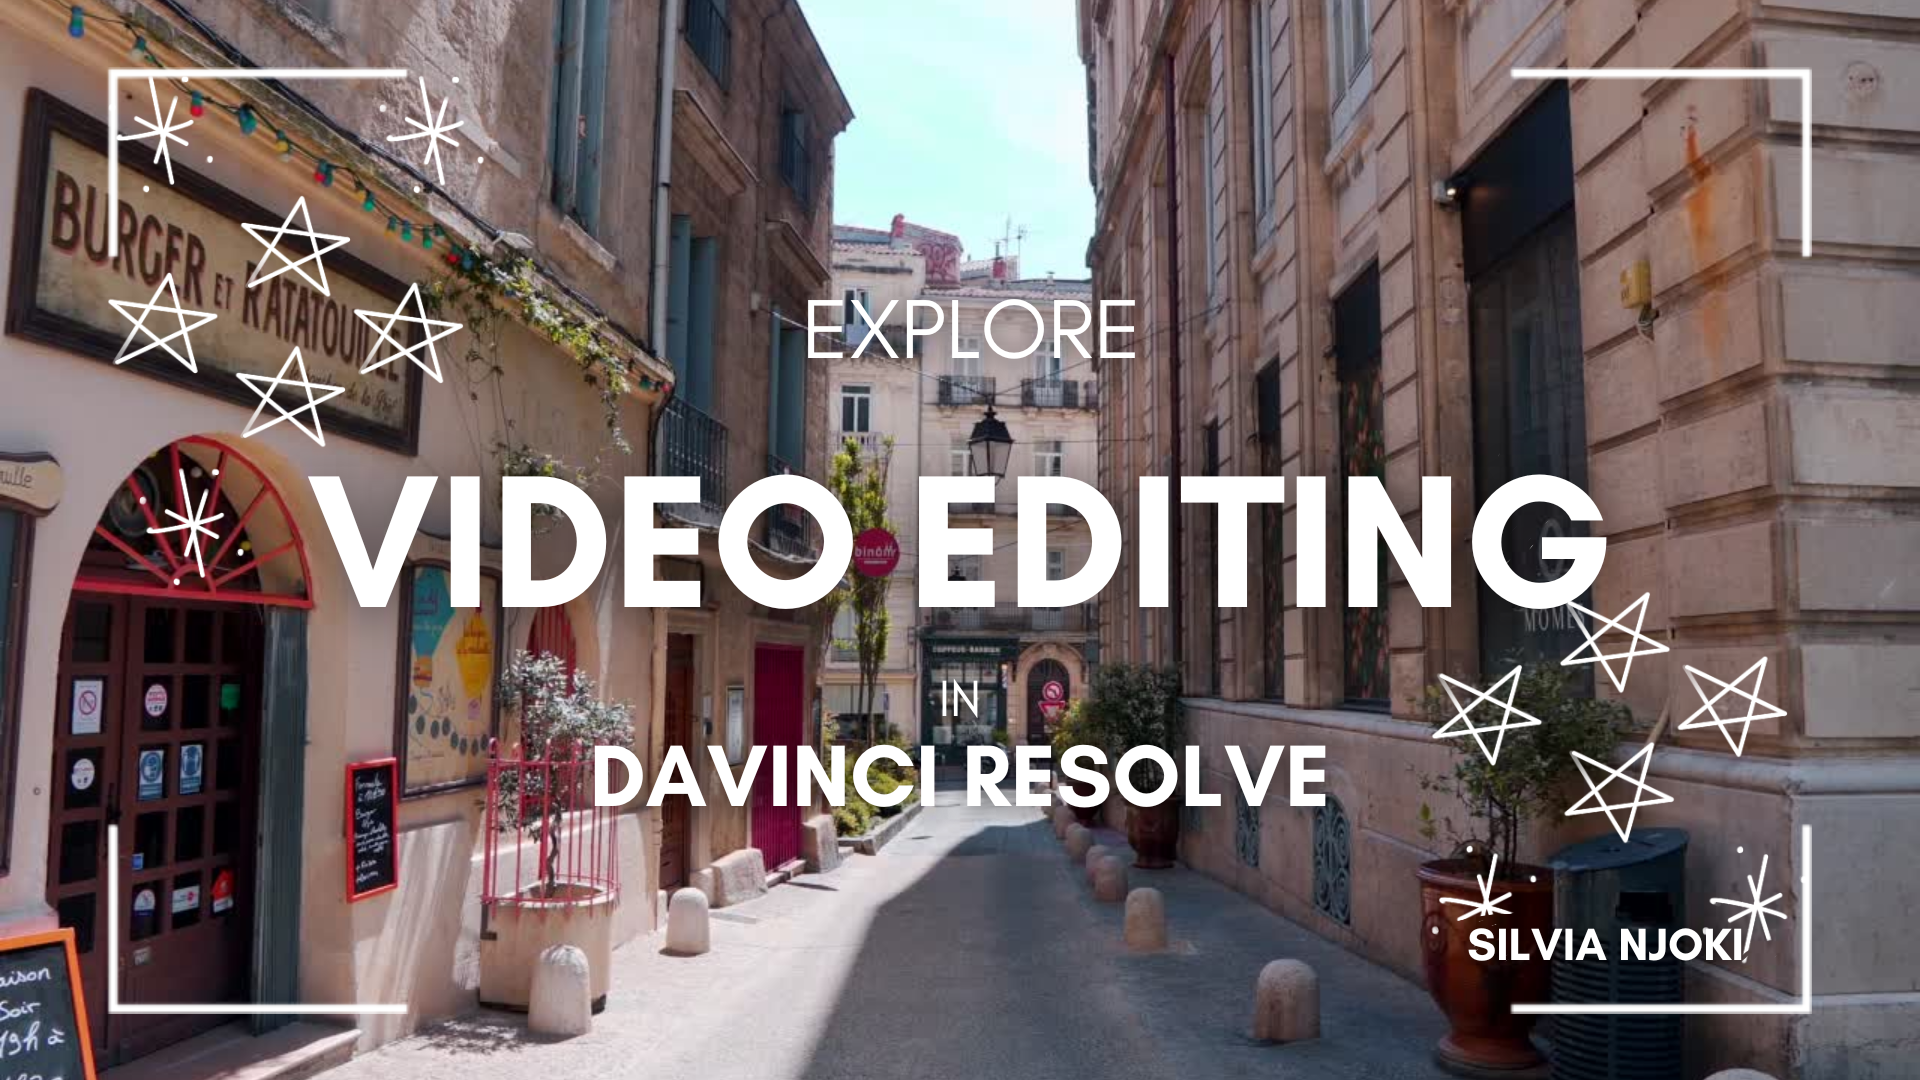
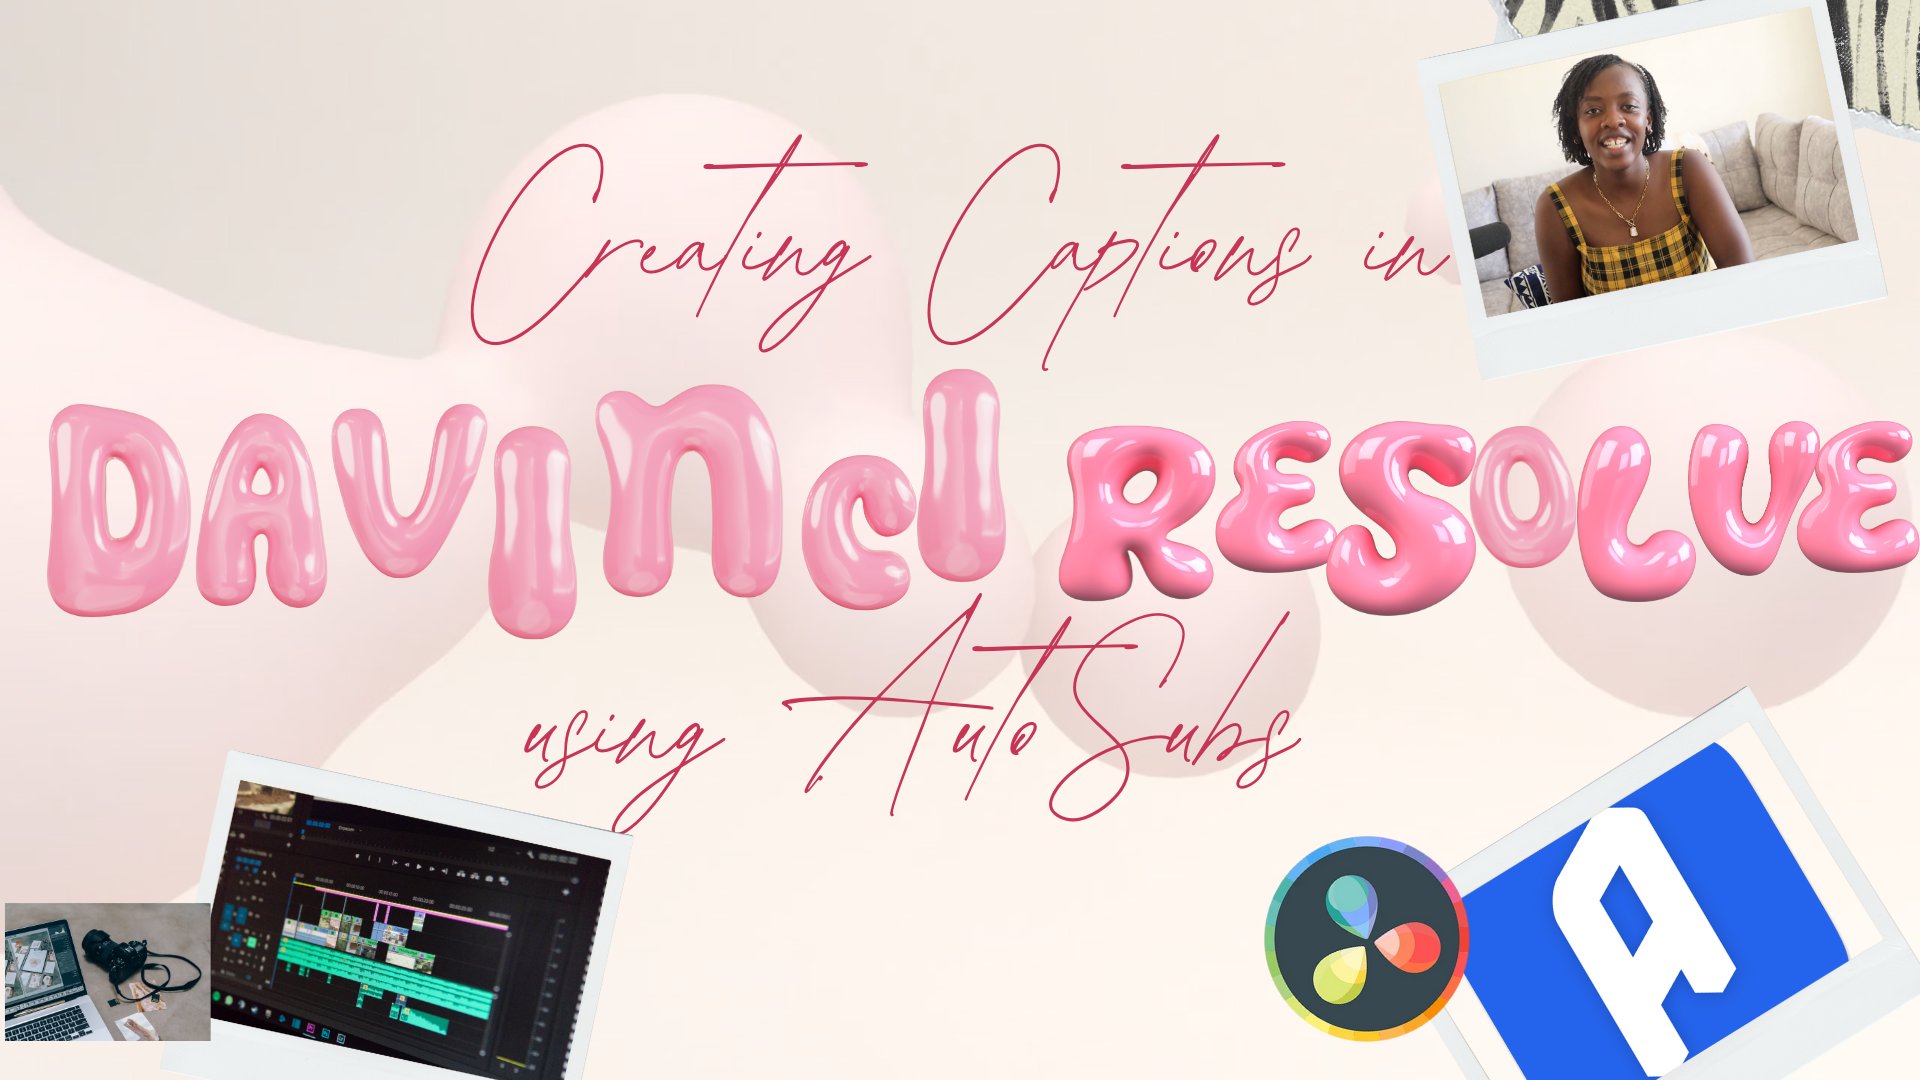
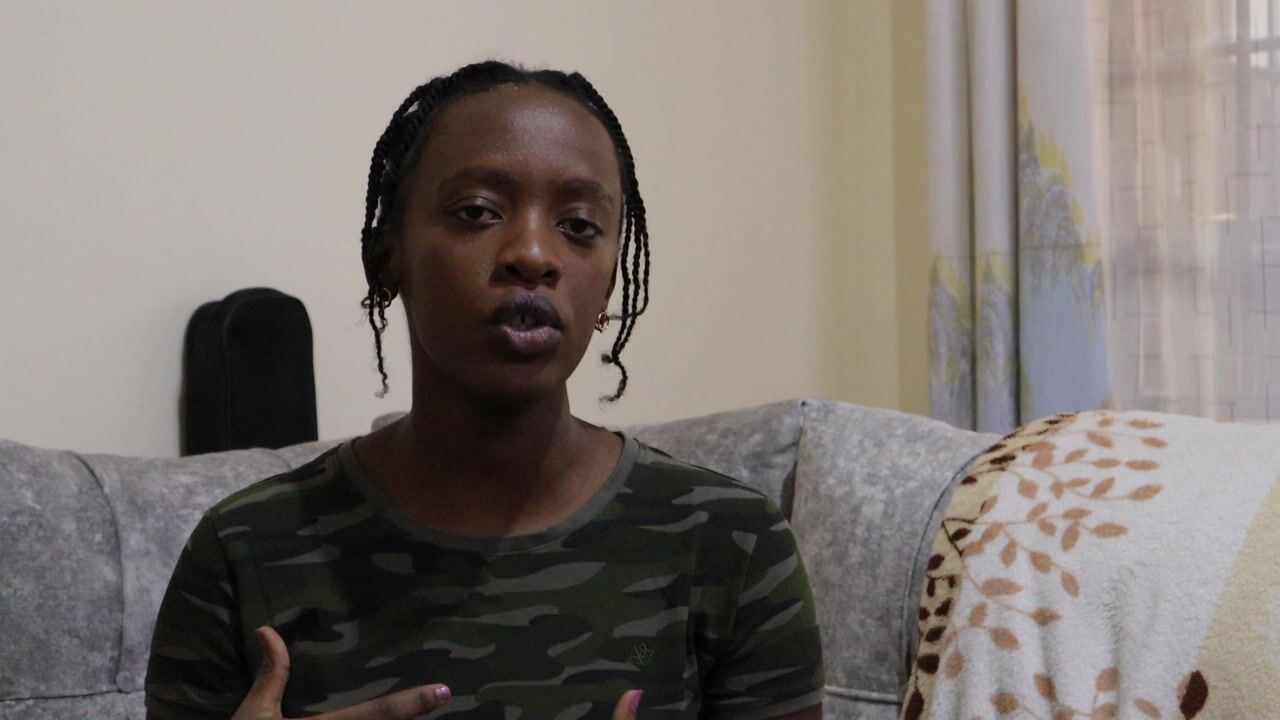
1. Introduction: Hello, everyone. Welcome
to the Skills cast. My name is Sylvan Jackie and I'll be your instructor
in this course. In this course, we're
going to be learning everything about adventure
resolve and how to use it to share your stories and define your character
as a videographer. Start your projects and do
whatever it is you want to design and create within the storytelling and
videography space. I believe geography is such an important skill to hone during this
period of time, because it provides you
with not only an avenue to share your story,
your brand identity, your company, build up an
organization around the scame, but it also provides you with an avenue to grow a
skill which you can generally use to gain revenue in the external world
at this period of time. In today's world, it's
very important to also enter into this field Ally. And the beautiful
thing about using the venture resolve is
its free resources. The platform is not
only free for download, but it's also free
for use for anyone. So you can not only
just edit your videos, you can also calibrate them
in the same platform and provides you with an avenue to share our your story
into the world. And provide a clear story
that relates to you. And I'm going to be taking you through each and every
step of doing that. My previous experience with Davini resolve has been
in the creation space. So I've been creating content for a period of time
for a long period of time with my first
initial content starting out on Premier app, but I recently moved
to Davi resolve, and I've loved the platform over the last two years that
I've been using it. I've been mainly using
it for client projects, and I think I also
appreciate that you can interact or engage a lot
of elements, for instance, create elements in Canva or create some in Procreate
to provide an identity for your videos and on both them on the platform and easily translate them into creating a story line that works for you. I'm going to be taking
you through all that and how to craft a story
that works for you, and I'm going to be
providing you with a lot of resources
for you to use. You can take my brain
through sharing questions that you may have
on using the platform, and you can also try out different ways to
use the platform, so you can start
it out by editing a video for your Instagram
reel, for your TikTok, or for a project here on
Skillshare if you're a teacher, but you can also create it
for your projects at home or sharing a story say for
instance about your birthday. Such things, cause the
platform is easy to use, and once you learn it, there's no going back
in terms of creating. Welcome to this class,
and I'm so welcome, and I'm so glad to
have you on here.
2. Materials Required: So this is something that
I want to share with you. Just work with whatever you have. Walk with
whatever you have. So here I have the main
materials for my class. I'm going to be using my laptop. I'm going to be using a Mc, but you can use normal laptop. Sorry. You can use any laptop
that you have available for you because I started out
using editing videos. On a HP laptop before, and it worked perfectly fine. So just start out with
whatever you have. Other than that,
see, for instance, you need to add the different decorative
elements that I mentioned. You could choose
to draw them out. So I have with me a pencil, and I also have my
handy notebook. I'm just going to
show you how to draw a little bit of
elements to that. But if you have a tablet, you could also just use that. I have one here. I'm just going to be using that for the examples
that I'm going to be showing you on how to use Pcate as you work on this class. So remember to start out with whatever its you have
available and keep moving from there because
the most important thing for you in this class
is to just start. And at the end of the day,
the video creative process is more of a
storytelling process. When you focus on the
storytelling process, the materials you use
are really negligible. You can create the pictures and you can draw out
something as I'll show you and just take a picture of
it and edit it or remove the background of it and dit in your video to
just share a story. So just focus on starting
out with whatever you have, use all the materials you have. But remember, you just need to download the program for you
to have a good experience. Yeah, that's it.
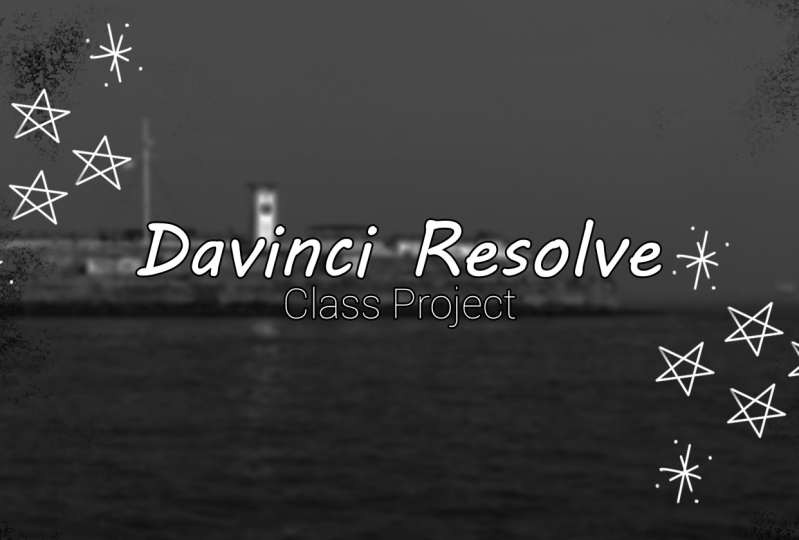
3. Your Class project: For your project, I want you
to work on a 1 minute video. This may be for any platform
that you want to use. Actually, it may also just
be for your personal use. So I want you to try
using the venture resolve to edit a 1 minute video of
yourself or of your car, whatever it is might be and use the resources
of attach below. So some of the
resources that have included a little bit of scars, like per B which
I've used from Proc, you may also choose to
create this by yourself. You could also choose
to create something on Canva and unload it as an
element that you will od on. On the platform itself. But I want you to
try cut the videos, click the videos, add
some music to it, that. L b, something small, something unique to you that may later give you a story
of your experience here. Try working on that and
see how you feel about it. Also try to see what
you can improve. If you have an idea of something you think you can add for instance some elements
like stars or Love hearts, for instance, try download
their resources online. You could try create them on your iPad if you have you could try download them from a
free program like Splash, and use something
with a background. And try and try to see whether you like
engaging or try to see whether you like interacting
with the platform itself and adding
music as a background, and try to make the music go to a slow sound and the backup. That's called have
the internal wave and external wave like wave it in and wave
it out for music. Just that. Walk on
that. Share it with me. I'm pretty sure it's
going to be amazing. You could share a YouTube blink. You could share video itself
within the resources below. Also let me know in case you
experience any challenges, and I'm looking forward
to seeing your projects.
4. Timeline Layout : So what you're going
to do is you're just going to open
da venture resolve. And then we're going to just
start from opening Davente resolve fully for it to to work. So for Quick reference, I'm going to be using
D venture resolve 18. And when you come to the venture
resolve on the homepage, what you want to do is
create a new project. So the new project, you just name it whatever
name you choose to name it. So for me, I'll say skill sia class video reference because this is a
video reference that we use to guide the
class, creation. First, I'll just skip that. The first thing that you
see that is going to happen when you expand or
go to this home screen is, you have different action
points at the top, which is file edit
trim timeline, right at the bottom, which is the most
significant part. There's the media play
which helps you access all the documents or where
you want the documents to be. And then there's a
space where it's just like displays the media
options that you have. Then there's a space for
edit where you can have your information coming in
as you drop in your videos, you're able to edit
them from this layout, then you can adjust the
movement of the video, and the graphics of
the in this point, then you can change the
color dynamics and the color grading here and sorry. And adjust music on this side, and finally, export
on this side. This is the ender page. The name at the top is in forms is what in forms or
if you have any questions, you can just refer
to the name at the top corner or
just use the logo. Clearly this is just
like to help you manage the musical sound or the audio and volume for your
pieces as you edit them. For this class, we're just going to be we're going to paste a few videos and
then I'm going to be showing you how to
get to edit a video, and what I'm going to be
using is my art videos. To do that, you can import the videos from two
different options. You could import them from here.
5. Making Video Cuts: No. Okay. Welcome back. So the next thing
that I'd want for us to review is the
most important thing in the second part of adding
the video is to listen in to just know whether there
is important audio pieces. So for this one, there's not much audio information that
was in it because I just wanted to display the painting that I was using and like
what I wanted, right? But just scrubbing through the video gives you an
opportunity to know what to cut out and
what to live in. Right? So say, for instance, as I scrap through from, like, immediately, I see that
this scene is like a bit too dull,
right and blurry. So I'd like to cut that out. Another part which I'd
like to cut out is most likely this part
where I'm holding the bag and I'm
searching for brushes, right, the spatula which I use. So that's another part which I would like to cut out
in the first clip. And then in the second
clip which I put in. I'm not seeing a lot
of things to cut out. I think I'd want to speed
through the video, right? So I think I'd want to
increase the speed. And then, like, I'd want things for this final
part of the video. It's actually slowed
down correctly. So I'd want to maintain it as ease to just have that fell. So first order of business, I think I'm just going
to zoom in a little bit. And then I don't think I'll be able to
move that to the back. We'll just show you
the cut option. So the main things that I want for you to know is this
tool is used to select. So it looks like an archy, and then this is used to
cut through the videos. Da vinci, or whatever editing
tool has its own features to use for you to inform whether you
want to cut or select. I think cut and select are the most significant things when you're editing
at this point. Once you click on select, it just gets highlighted and you can select which part
you want to cut. And then elect the
video and then click back space to just delete and another backspace
to go back in space. It's just that easy in terms of like knowing which
content to cut through. So now, initially for
that part of things, I think like later
on, I'd like to add, like title to just
hide it through the page or like a title to just introduce
what I'm doing. I quickly want to see whether I like this changing
the perspective. So we're just going
to try rotating, which is now something else that you're going to learn
how to do, right? We're going to try to rotate the video to 180 degrees, right? Yeah. I think you can you could choose to just highlight
and write 180, right, as I have right now, to just give view or the perspective of
they are the ones who are actually doing the or
seeing the physically. So it depends on your
perspective on whether the video would be more suitable
from that angle or not. Think I tend to rotate
videos where I'm writing and the recording of the video
is completely juxtaposed. So it's all based
on perspective, and whether it
looks much better. From my perspective, this
actually doesn't look better, so I'll just rete and I'll
revert by just doing control. Yeah, back to the
initial perspective, where because I'm showing the piece to the
camera directly, right, and the video, now I can cut off on clips
where it's not visible, and just place it down. So for instance, in
this part of the video, I think the opening part is
not as essential, right? I could just like cut
at this point, right, and then fast forward to
placing it down, right? To such a point in time and just select the middle
part and delete it. And as you can see,
it's smoother. So if you want to
create a clip to just show the five
colors as we start, like from the spart, that shows the action already. I want to cut the
spart and then fast forward to the color coming off or When the color leaves the frame as
it has at that point, it's not as essential
for me to put it in, but that is a good point for me to have not only
the sound effect, but also the action of hey, we were unveiling a red color. This is the output, so it moves from red
color to red very easily. I also want to cut out the movement at that point in time we have moved
the board, right. So once we've put the red down, I think we just
cut at that point. Sorry right there. And then fast forward
since it's a bit darker, I also want to just st there, and then delete this
middle portion. So that it's a smoother
flow between drop and, and moving the piece. Drop and moving the piece
that I don't move it again, I'm going to now
adjust the next part, where it's in focus. It's very important to keep
the parts which are in focus. Then that's in focus. The video or whoever
is watching the video really knows trying
to get the color, that part is out of
focus, for instance, but also we can't see the
paint as we put it down. So it there's no need for me to put this whole
part of the video in, because there's
no communication. So just make sure that as
you're cutting through clips or scrubbing through
the information to find what's important, you move to communicate. And sometimes 33 action is three time three different
action strikes a charm. So you've already noted
that term in colors, which is fully communicated. At this point, it
is entirely fine to move to a different
scene if we had that. But in this scenario, the main point was the
main point of this is to just go through the
learning process of how to edit the video. You just need to
scrap through to find another relevant point, which you want to integrate, which could be like this point of like realizing like I like that whole bit of having no like maybe you'd see like from this different scene,
which we've removed. We had the black, right? Black, which we had cut in. Black. So that's moved too. The next scene, which
has dropped the colors, then that already has fully communicated the different
options we have. At this point, like everything is the viewer can understand
that at this point, I'm peeling the paint off. We can also cut off that
part and just revert to this part where the like
a new lime green color, which is really
beautiful to see. Now Since my hand though the hand is
actually a character, but there is this point where there is a little bit of
over exposure, right there. That's like a point which I want to I'd like to trim
out right there. Actually, I think it's
fairly balanced. Yeah. Yeah. Right there. So you can
just yes, as you can see, this shifting the camera
happens around this point, and then there's a
move back to to color, and now we, fully done, right? I don't think this part is really communicating
much, right? So it might not be
relevant at all. And like we are fully done with a completed piece other than
the covers of the back. But a quick scrap
through the video at this point has moved us from a video which was 5
minutes long to 1 minute, which is sufficient
and has communication. Um, and just through cutting and checking whether
the video is like well rotated or like
whether you'd like whether a different angle
would be sufficient. I think another thing I
still want to try is whether for this 180 degrees
would make sense. And I don't think so Yeah, I still don't think
it works, right. So just try different things to see whether cutting through a video is something
you're able to do. But cutting is such
an important and integral element for
you to just know where to have the information that's relevant or where
to remove some points. I think now that we have
the content in full, right? It's just like a video
to see different colors. We can now just quickly see whether we want
to keep having the audio or we want
to add a title. I think the next step would
be adding the title. Yeah.
6. Adding Titles: No. So welcome to P four. In this part, we're going to
be adding a bit of titles. We're going to try and
reduce the video size to be the longest we can
do to be 1 minute, right now, it's going it's
currently at 2 minutes. Something I wanted to add
with the last being the. So the bro is a steel image
taken or a steel video taken of the of the video
to act as an insert. In this video clip, I'm going to be removing
the audio files so that we can effectively
edit the videos. The audio sound is not since there's no
abage in the audio, we're going to be removing it. How you do that, you click
on the clip, and then link. Just the right click where
it's written Link clips, that's where you're
going to turn it off, and then do the same
for all the clips. I like to do this
when I'm trying to add audio file for the video so that I can have all the audio files to be in sync and then
once that's done, I normally just remove them. Videos and then suddenly now, you just have the video without the audio, which is noisy. Then we can add a title
ahead at the start. On your left lower bottom, there is a toolbox
with title generators, and as you hover over it, you'll see that it
displays to you how the video or the
title will show up. Some titles have some action
in them like this one, and others previous the
ones I've previously shown you don't Sorry, don't display any
action because this is just a simple video to
display how to edit. I'm going to use
this dark box text. What you want to do is to drag it to be an adjustment layer. A adjustment layer is the layer above where
your video file is and use it to create additional clips or
additional information. When you click on
the text layer, it will show you sample text. What you're going to
do is fast plate, just as a video. As you can see,
it's showing up on top of the video and
closing upright. The first order of
business is to just remove the information and see me, gosh, Let's see how
that goes. That looks. So immediately, I just
don't like how high it is, Let's see whether Yeah,
I like that better. Another thing I don't like is I don't like the blue color. When you swipe down, you'll see that the line color
here is blue. I think we'll change
that to white. G, g and then s that
to the left so that it's fully on right and then
click k for the changes to apply and immediately the
changes are applicable. Yeah. Now it looks much better. Another thing is
because I want to create because I want it to be with a black background. I am t to add a solid color
background to the back. I'm going to move the
adjustment layer up and add titles the generators, a solid color on top. The main reason I want to
add this is so that it pops out better that way, which provides a better
look for the video, at which point the
video can start. Then I think at this point, it is important to note that now that is a complete video, it's just going to show me video colors like the
different color options. And that I can add them or
delete them as I go along. Let's just see how it looks now. Then at this point, I think
it's comfortable for me to add an audio
file to the piece. We're going to be
doing that next.
7. Editing & Exporting: We're back, and we created the title for the video
in the previous slim. Now just going to be a adding some music to the piece so that we
can scrap the video, and it would sound
more cohessive. How you do that. L just stick a pose right
here is import media. Now you're going to
use piece of music. You can have downloaded
music pieces beforehand, which you want to use or You can download
copyrighted music for you to use in the videos. I'm going to go into
this music folder, which has a music, I think, I tend to
like this clock one. Yeah. I think that's one we're
going to use drag and drop it to the timeline and
to start at the start. Then I want you to expand this to just see the
volume of the video. Yeah, I a quick play, it sounds pretty nice. I just think from the start,
I feel like it's a bit loud. We're going to slide
to the music side of things and expand the
viewing point for this. I'm going to drag down the
music slightly so that it's softer without necessarily
adding any key points. Key how you add
keypoints in in Marks, you press option Yeah, you press option
and the key itself. You can just press that
way and drag a bit down when you're playing
this from the start, it feeds out, which is more
of the music effect you want to have and it's
so to listen to. Now we're going to go back
after adding the key frames. Yes, they are called
key frames act. We're going to go back after
adding the key frames. I think I'm also just going to reduce the
size of this video slightly. Then there's one video which I wanted to
increase the speed for, which is the second one. I'm going to click on it and
change click clip speed. I'm going to change it to two. I'm going to double
the speed so that it just goes by faster. This will just change the
video speed itself rather than the a rather than
the audio file. Additionally, it should
reduce the size of the clip, but I so that they all
fit into the music. And then we're going to see
how the video turns out. Yeah. I think what
I'd like to do is at the end ad thank you
for viewing the video. I'm just going to highlight the two adjustment
layers and copy and slide this to where I
wanted in piece actually. I want it to be right there. Thank you and then make
an edit to the content. I think for this one, We won't have a
black background. We'll have a clear background. So I'm just going to remove the adjustment layer two
of the background color. And then now the
video has some sound. And it's a simple easy video which communicates or shows the audience different colors. I think we can
adjust it to go up. Yeah. I like that.
That looks very light hearted, and I like it. Yeah. Then now that the video is done for us to review and has the music and the music
is also not too loud. One thing you can do is drag this adjustment to the
bottom because there's nothing under it is I am
going to ex the video. When you want to
exp, you're going to the video a color review. And then I'm going to select P four. Yes, h2264 resolution. I think we'll just
go with auditors, the standard 1080 frame
rate 24 and then click add to Render Q
file destinations. I'm going to choose
documents in and now I'm going to click Render
to have the video export. As you see, it's
currently exporting. Literally once that's done, you'll have the video of the file ready for upload on whatever channel
that you want to upload. Based on the file size it might take a bit longer or shorter, and now it's fully done
and ready for review. Just go back into documents. Such for the file. Yeah. And as you can see, it's now fully ready to view, and the audio is
also very balanced and clearly communicates what the intention is
through the titles. You can just have a final
run through of the piece. And once you feel
confident about it, you can export it. Yeah, and upload it
wherever you need to. That's the generally
how to edit, the lighter version of editing. Once you learned how to manage
that whole side of things, it'd be fairly easy
for you to in essence, make sure things are easy to come from ideation
to implementation, and you can take charge of any social media endeavor
you have in the future. Yeah. I'm excited to have you do that and share
your content in the students resources
and results below. Yeah. Thank you.
8. Conclusion: So that's it for today. We come to the end of this video on learning
D venture resolve. I know this is just an
introduction video like you just initially getting used to the platform and
experiencing it. But I'm so sure
that it's provided you with a lot of
learning keypoints and provides you
with an avenue to start on this new interest
that you may have. You may have experienced
some challenges with your laptop or
machine, but if you did, try downloading the
previous fashion, as I mentioned
before in the class, which may work with
your system better. Other than that, if you
experience a good time, I hope that you keep on
trying new projects, you can record anything. For instance, for I,
when I started out, I initially used to record videos of myself in
the house and edit them and just edit them for myself to see and
test out ideas. I believe that's a
good way to start out to start out on using
the platform because it provides you with an
avenue to just experience it and start on a key interest that you may have in the future, which is video editing. It may not be
something that you may intend to pick up as
a skills that you may provide for a source of revenue at this
point in time, but it can be something
that piqus your interest. Say, for instance, you
have a surprise bath day for your niece or nephew. You can create a video for all the cute moments they've
had since they were young. So that would be
something that you could try out for the future. I've really loved sharing all my experiences
and knowledge that I've had in working
on this platform. I believe it's something
that you can try in the same way that I experienced a learning
curve initially. I believe you're in that phase. But once you get a grasp of it, there's no going back
in terms of learning. You can only get better, you only get more experience
and want to try out even more stuff and get more equipped and gain
more confidence. So I urge you to keep
going while you're on this journey because
you can only go better and so
higher from here. Really love sharing with you my lessons and learnings
on using this platform. I hope you come again and experience the classes
that I've posted before. I look forward to seeing your project and
interacting with you in the comment section and also one other external platforms. Bye bye.
 Silvia Njoki, Creative, Artist & Marketer