Transcripts
1. Intro: Do your travel photos
look like this? Would you rather they
looked like this? Well, guess what?
You already have a really powerful camera
in your hand, your iPhone. It's pretty smart,
but it needs some technical know how and a
creative eye for best results. With the iPhone's
amazing capabilities and your newfound knowledge, get ready to blow everyone
away with your travel photos. In this class, you'll learn about the best camera
settings to use, how to pick a great location, how to work with difficult
lighting conditions, some tips and tricks, posing your subject,
how to edit your photo, and how to keep your memory
safe in a photo book. Hi, my name's Beth. I'm a creative professional. I worked for 20 years as a videographer and
a graphic designer, and now I'm exploring
the world and sharing my knowledge to
bring some beauty and global understanding
to our collective lives. Your project will be
an edited portrait, demonstrating the skills
taught in this class, such as composition, posing, creative lighting,
and depth of field. Bonus if you can use one of the tricks
I'll be teaching you. Gear, you'll need an iPhone, a model, and a creative eye. That's it. The iPhone I'm using does have
three lenses on it. It has a regular, a
telephoto, and a phish eye. If you don't have
all three lenses, you can always buy
some clip on lenses. Join me along the
Turquoise coast of Turkey, the perfect setting
for this class on vacation photography
for the iPhone. Are you ready?
Come on, let's go.
2. Welcome: Hello, and welcome to the class Vacation
Portraits on the iPhone. I'm looking forward to sharing helpful skills so you can capture precious moments
of your loved ones. This class will give you the confidence to
pose your subject, adapt to challenging
lighting conditions, and fine tune your picture
using a free app called trim. As a bonus, I'll demonstrate how to create and
order a photo book. Cherish your memories forever. No need to worry about future proofing your digital images. Something to keep in mind on
your photography journey. Before you click
that Shutter button, always think about
your final intent. Are you featuring your subject or the landscape
your subject is in? Do you wish to emphasize
activity or stillness? Do you want a more post style or do you want to
capture candid moments? Once you decide these things, you can use various
compositions, tricks, poses and lighting
to achieve your goal. That's what this
class is all about, giving you the tools you need so you can express
yourself creatively.
3. Camera Settings: Et's get familiar with the
best settings for portraits. Here's how to access
camera settings. So you hit settings, you scroll down to
your camera app. You're gonna want
to click Format. I recommend most compatible, and I recommend
turning on Proaw. It's best for editing later. Photo Mode means resolution. I like to do 24 megapixels
and turn on the grid. Portrait mode forms the
foundation of this class. What is it, and how does
it work on the iPhone? Well, it uses
computational photography, meaning your iPhone's
computing power is mimicking the blur achieved with more professional cameras. Portrait mode uses software to recognize human
and animal shapes. It then keeps them intact
while blurring the background. The coolest thing about
portrait mode is that you can adjust the blur later
in the editing process. When in portrait mode, you can choose different
lighting effects. Experiment with contour
or studio lighting mode. You can fine tune
the light level before clicking the
shutter button. But don't worry if
it's not perfect. You can edit it later. While you're in portrait mode, you can zoom into
your subject for some neat background effects. So if you just click
this little button here, you'll see there's two times
Zoom and five times Zoom. I'm zooming in here two times, but then I need
to pull my tripod back a little bit to get the
subject back in the frame. The neat thing about
the telephoto lens is that it compresses
the background. So any object you have in the background like
this lighthouse, actually makes it look larger. Live Mode takes a series of
photos in quick succession. You click this button
up here to turn it on. To select your favorite picture from the series, you click Edit, and then you click
down here and you can scrub back and forth until you find your favorite picture, and then you can make
it your key photo. Pano is great vertically if you want to capture tall
buildings or tall trees. Most people think panorama is just for horizontal pictures, but as you can see, it
works for vertical as well. What about horizontal
orientation versus vertical? The choice is up to
you in the moment. Some backgrounds lend
themselves to one or the other. For example, a wide
vista would be better in horizontal
orientation. If you want to
feature your subject more, vertical works well. I usually experiment with
both during a shoot. Before you go away on your trip, make sure you tidy
up your phone, delete any extra videos or
photos you don't need anymore, back everything up, and make
sure you have cloud storage. I recommend a minimum
of 2 terabytes. So to recap, we learned
about camera settings. We learned all about
portrait mode, live mode, and what orientation
to take your photo.
4. Composition: When I'm on vacation,
I'm always on the lookout for a good
location for a photo. Chances are slim that you'll be able to return to
the same location. Let's say if the
light isn't quite right or there are too
many people around. So you can either make
the location work for you using your new knowledge
or simply move along, and I'm sure another location is bound to jump out at you. Here are some things to
look for leading lines, which I'll explain in a minute. Foreground elements that you
can use to layer your shot, such as flowers or leaves
or something similar. You'll want to make sure that the lighting
isn't too harsh, so high noon is not great
because it does cause shadows. We'll talk about lighting
in another lesson. And you want an
interesting background. Okay, let's talk
about leading lines. You'll see that
the bench here on the road form some interesting
perspective lines. So take advantage of that. What I'm doing is I'm just
lowering my body a little bit here so I can get the lighthouse
and the leading lines, and then I'm going to
hit the shutter here. Here's another example
of some leading lines, and you'll also notice
I've turned on the grid, and I've placed my subject
in the top right corner. You can use the grid to help
you with the rule of thirds. If you place your subject in one of the four intersections, that will help with
your composition. It adds visual interest
if you can add foreground elements like
branches or flowers. You can tap on the screen on the person's face
to make sure that they are in focus and not the foreground elements,
which sometimes happens. This is always a fun location
when you're in a city, if you see a coffee
shop or a restaurant, and you can place your subject in the window
and go outside, move around, make sure there's no
glare on their face, and be mindful of objects
in the background and the foreground so they don't interfere with your
subject's portrait. Here's a great example
of leading lines. You'll see that we've got
lots of stuff going on here. The steps for a really
interesting perspective leading away from the subject. I really like this photo. It's got sort of a
photo journalist feel to it. The sun was setting. We have a really
high vista here, so I placed my subject on the steps just to watch
the traffic go by. And I hit the shutter just
as the scooter was going by, and it blurred the movement. And like with all
things in life, once you know the rules, then you can break them. So this is definitely not
a rule of thirds photo, but there's some really
interesting things going on here. I used the wide angle lens to emphasize the curvature
of the amphitheater, and I placed my
subject in the middle. As long as you're thoughtful
about your decisions, then I believe you'll
take successful photos. Experiment. So to recap, we learned about leading lines. We learned about how to position your subject using
the rule of thirds, how to incorporate layering
and foreground elements, and giving you permission to break the rules now
that you know them.
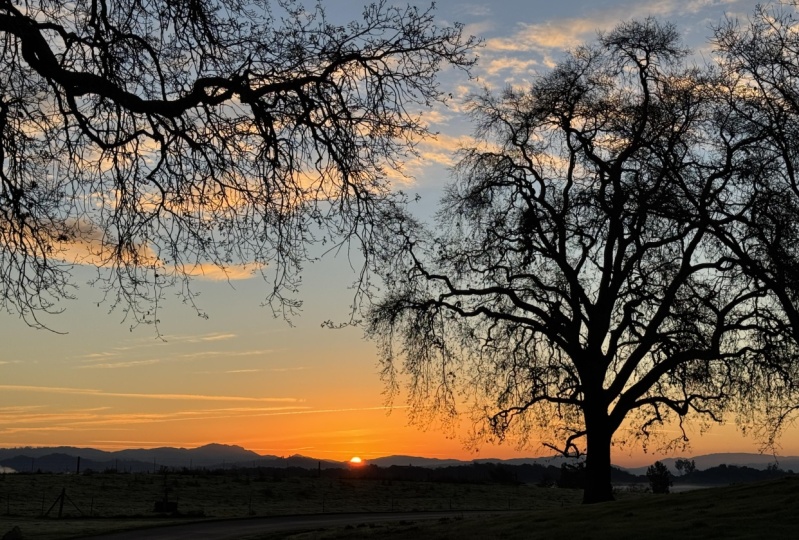
5. Lighting: Lighting and photography is more important than
you may realize. Your pictures are only as good as the light you
give your camera. The ideal time of
day is magic hour, meaning 1 hour after sunrise
or 1 hour before sunset. The light is soft and
golden at this time of day. Check your favorite weather app for sunrise and sunset times. You may not think bad weather includes a bright
sunny day at noon, but it causes harsh shadows
and washed out colors. Best to move into the
shade if you can. To work with this issue, you can place the
sun right behind your subject's head for
a neat halo effect. At nighttime, while your camera may compensate for low lighting, you'll still get some grain
and you'll have to keep a steady hand for it to do its computational
photography job. You could compensate for
this by using a fill flash. So to access the flash, you just tap this
little arrow here, tap the flash icon, and then hit on. And that forces the
flash to stay on. For a dramatic look,
have your subject turn sideways to the sunlight
for a side lighting effect. You can use white walls
to reflect sunlight. For exposure, you can slide this little sun icon up and
down to change the exposure. However, if you turn away
and come back, it resets. To get around this,
click this arrow here and then click on the
exposure plus minus button. And now you can slide the exposure compensation
up and down, and it will stay set there. Shade the lens with your hand to avoid lens flare and
washed out pictures. Sometimes stormy clouds create the best lighting conditions, particularly later in
the day before sunset. But the lighting
changes quickly, so be prepared to act fast. So to recap, we learned about the best time of
day to take photos. We learned how to use
exposure compensation, how to turn on fill flash, and how to work with sun
that's behind your subject.
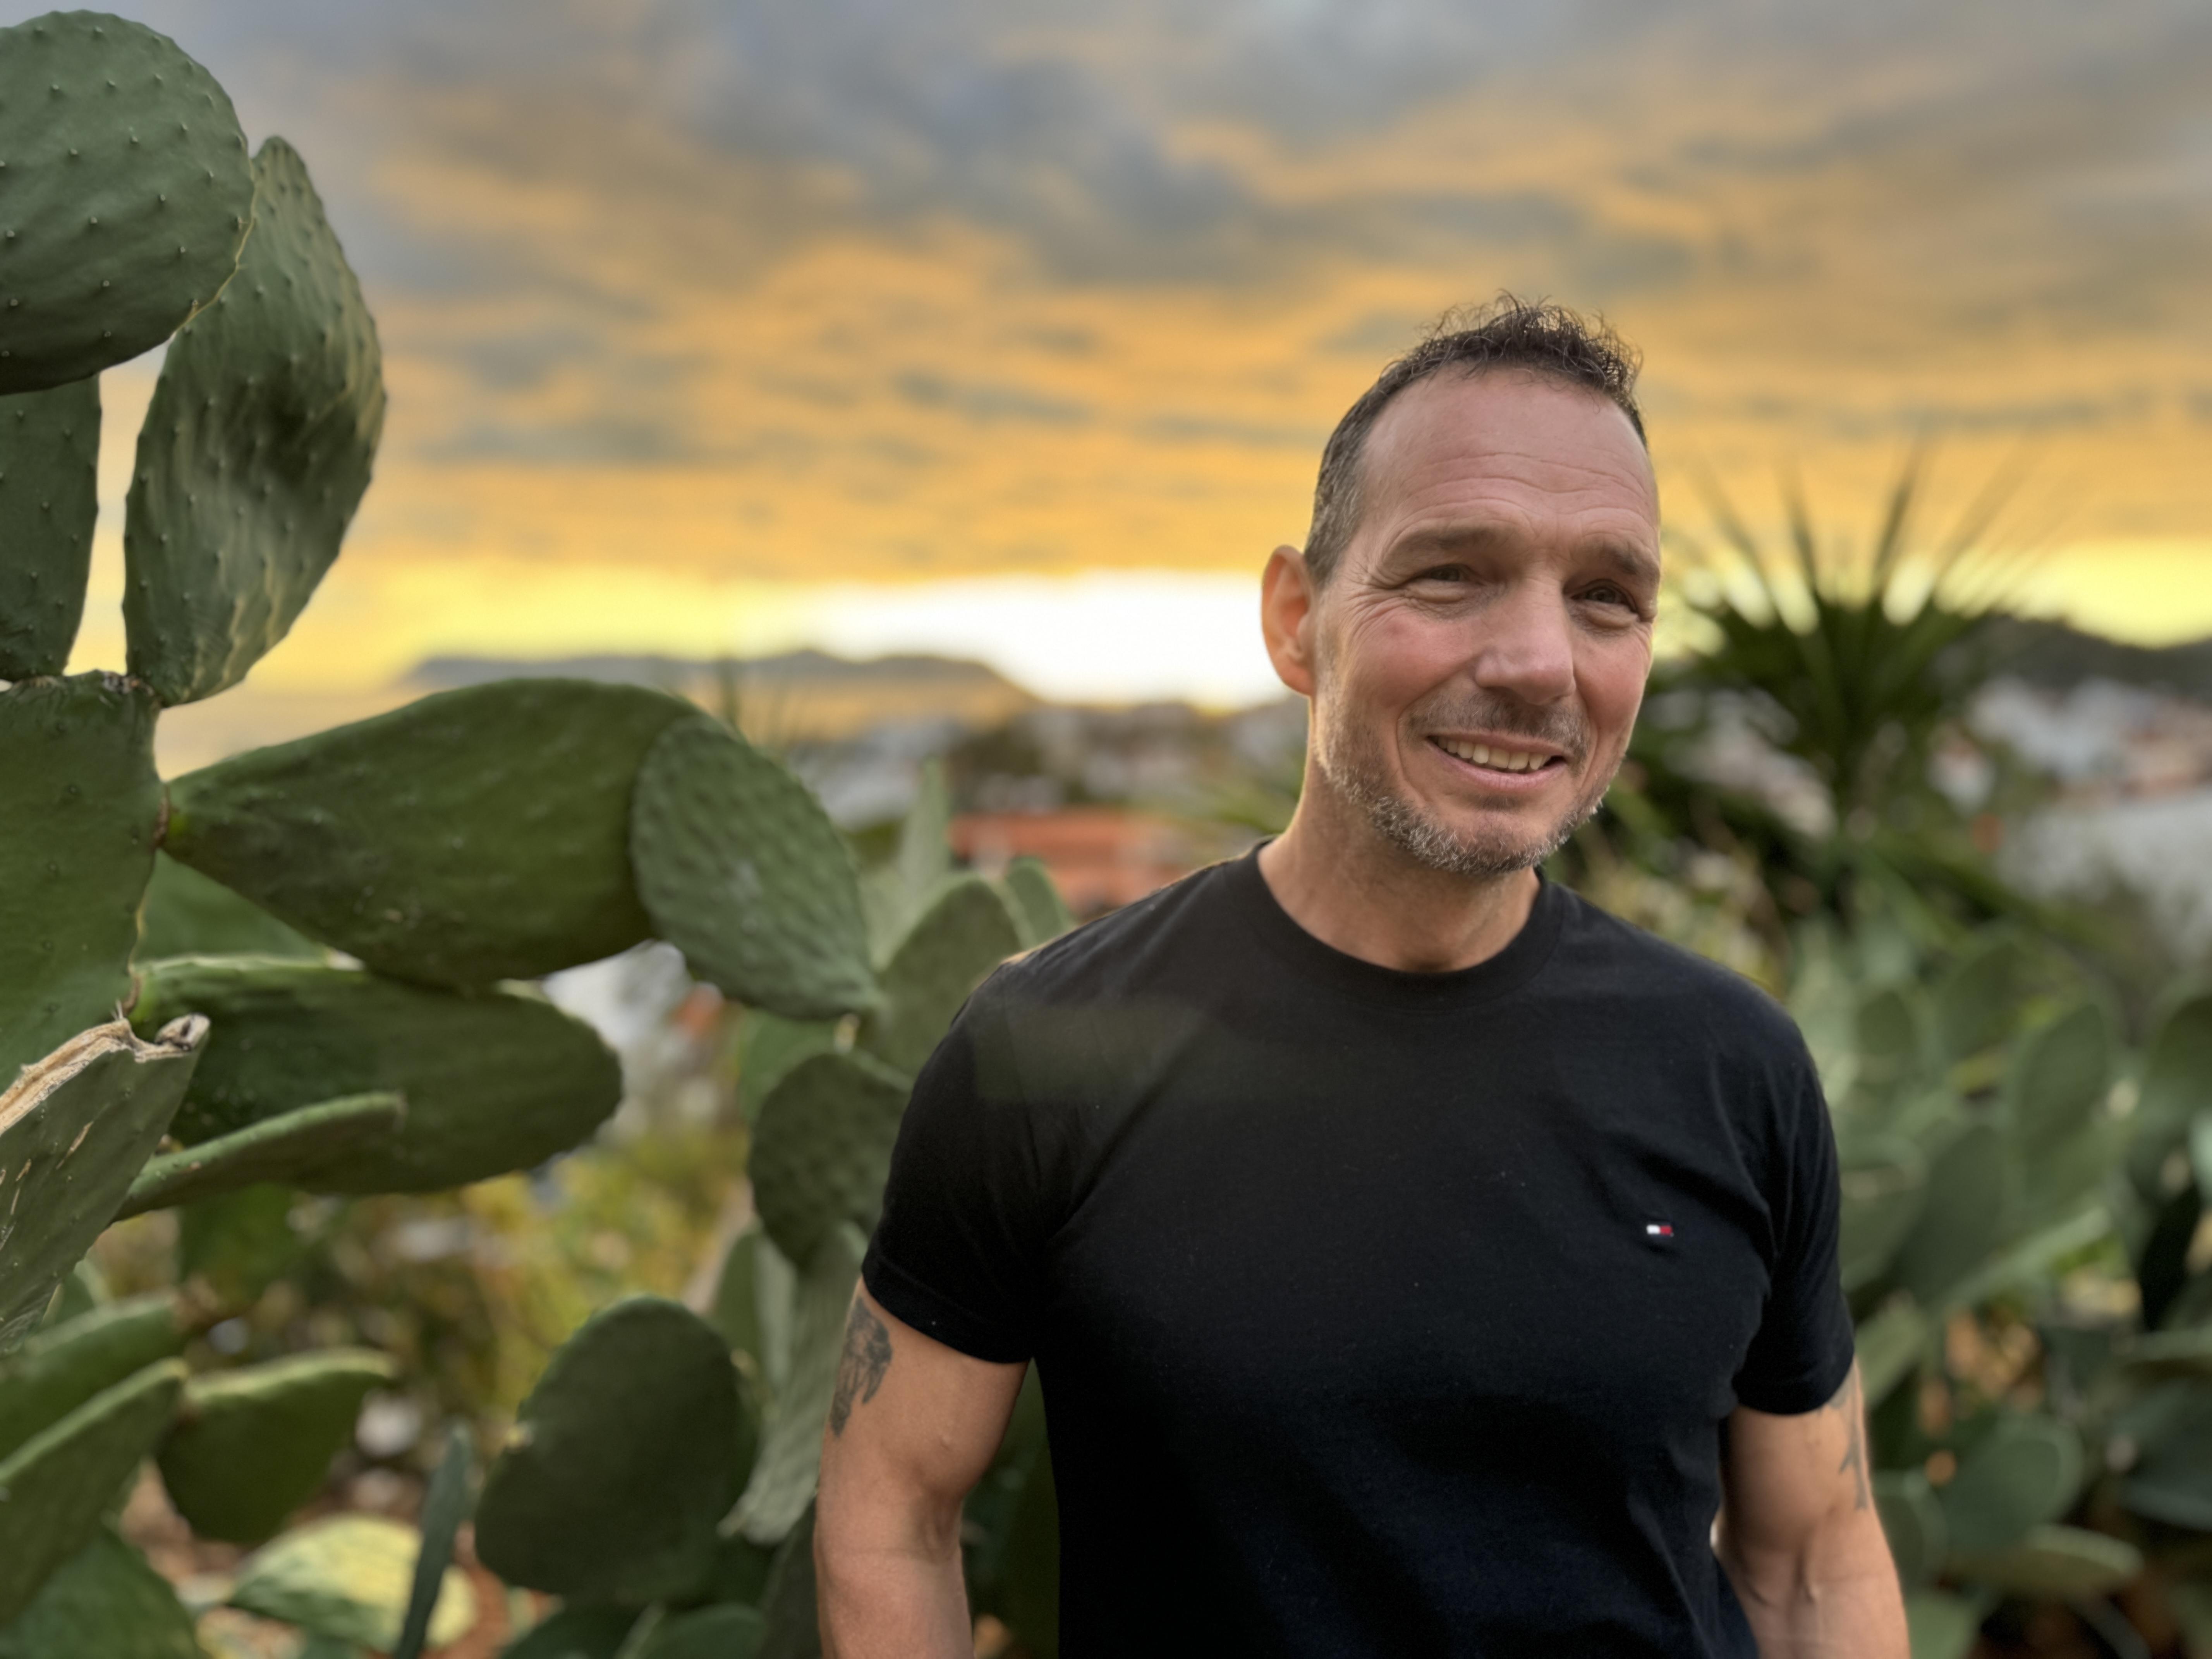
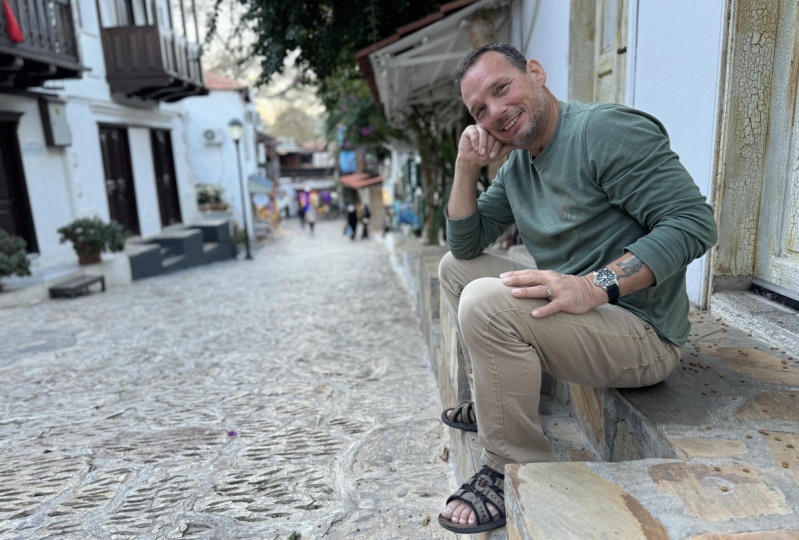
6. Poses: Meet my partner
and model, Randy, who was kind enough to help
me out with this shoot. Let's talk about how to pose shots. It's a personal choice. You can have your subject
post like a model like you see on Instagram
or more naturally. I'll be sharing more
natural candid shots with you because
that's my preference. It feels more authentic, and my model here feels more comfortable
with that as well. If your subject is camera shy, there are some tricks to
make them more comfortable. Have your subject look away and then look back
at the camera, make dumb jokes, play some
music to help with ambience. If they're walking or changing
positions frequently, that can help get
rid of jitters, too. A good tip to make amateur models feel more
comfortable is just to tell them to sit down as
if they're going to be there for a while and read a book or
something like that, and often they'll get
quite comfortable. A great idea for a candid city shot is to have someone just casually
walking along, checking out a store
front or a restaurant. The way to capture that
perfect walking shot is to take a series of
photos using burst mode. You can activate burst mode by pulling left on the
shutter button like this. Now I'll demonstrate
it again like this. Now, to pick the perfect photo, you click the photo and then you hit select in the
upper left hand side. Now you can scroll through along the bottom and pick
your perfect pose. So I'm just selecting
my favorite pose here. I'm just going to
check it, export it, keep all the other
shots just in case. And there's our shot. It looks really natural because our subject actually
was walking, and you had the liberty of being able to choose
the very best pose. Randy was feeling
pretty cheeky today and just leaned against a tree and we're just having a lot
of fun just being silly here. Yeah. Yeah. Here's a sideways angle. I had my model put his
head on his fist here. Here I'm using my model to show scale of this ancient artifact, and your model doesn't
always have to be looking at the camera
to make it interesting. This monument's pretty
interesting itself. I had him put his hand
on the wall and cross his ankles for a more
interesting body posture. I think the most
important thing is just to have fun and be silly. So to recap, we learned how to make
our model comfortable. We learned how to get some natural walking shots
and some natural poses. Oh
7. Tips and Tricks: Some tips on focus. You can tap on the screen
to change the focus. Here I'm tapping
on the building, and now I'm tapping
on Randy's face. If you hold down your finger, you can lock the focus, you see I'm turning away
and then coming back, the focus has stayed
on Randy's face. Don't pinch to use digital zoom because that
will degrade the quality. Instead, use your
camera's optical lenses. Use the wide angle
lens to capture tight indoor spaces or to
create fun visual effects. If you do so, keep
your subject close to the middle of the frame
to avoid distortion. Use the two times lens to zoom in and compress
your background. Use the five times Zoom to really compress
the background. Clean your lens often as
fingerprints, sunscreen, and pocket gunk can make
the lens cloudy and dirty. To blur moving objects, take your photo in live
mode and then go in and edit and change it from
live mode to long exposure. You can also use
this trick to remove background activity like traffic as long as your model
stays quite still. I have had mixed
results with this, but you might want
to give it a try. You can shade the
lens with your hand. This prevents washed out
colors and lens flares. So to recap, we learned about how to lock
focus and exposure, how to compress the background
using your zoom lenses, and how to create
long exposures.
8. Editing: So the built in edit mode in the Photos app is
actually pretty powerful. It's all you really
need unless you want to do something advanced, such as selecting a
subject to lighten up, which I'll show you in a minute. Tap the photo to bring
up Edit mode, tap Edit. And here, you'll see you can
change the background blur. This is no background blur, and this is the maximum
background blur. And then if you click adjust, you'll see there are a bunch of tools here that you
can scroll through, and each one is labeled here
underneath the picture. What I normally do is go in and adjust the exposure
a little bit. What you'll want to do
is not get overexposed. You can see how the sun behind Randy's head there is
getting really overexposed. So be careful you
don't do any of that, and you also obviously
don't want to go too dark. In fact, I think this photo
is pretty well exposed. Highlights brings up the whites or brings down overexposed bits. Shadows makes the
blacks quite dark. Contrast increases
the difference between whites and dark. So this is when you go minus, you'll see it gets quite flat. And then if you
increase the contrast, it gets almost cartoon like. Sometimes it helps just to bring the contrast up just
a couple points here. Brightness is just
overall brightness of the picture and saturation
If you go minus, it turns it into
black and white, or you can scroll up
and make it really, really outrageously
oversaturated. Again, sometimes I just pop the saturation up
just a little bit. Vibrance kind of
does the same thing, but it keeps skin tones intact, which is good for portraits. Warmth increases the
orange and the red tones. So you'll see if I pop
that up, it gets really, really orange, and if I pull it back, it goes really blue. Tint changes the
green red balance. Sharpness, I don't
usually touch this, but if you want to
overly sharp picture, you can experiment with that. Vignette's kind of fun.
If you go this way, you get white corners, and
if you go the other way, you can get black corners. Sometimes it's good to add a
little bit of black corner vignetting to make your
subject pop in the middle. But I'm not going to
touch that right now. Filters, I don't
really touch these. They're presets. Might be kind of fun for a
particular look. If you wanted to crop, you just adjust the
corners like this, and then you can move the middle bit around here if you want. If you need to
straighten the horizon, you can adjust it this way by sliding this little
slider up and down, and in the upper left there,
you can flip the photo. Click done. To do more
advanced editing, like lightening up a subject, I usually use an app called Light room because it's
free and quite powerful. So I'm just going to click
on the photo to open it. The first thing we'll
do is create a mask, so we'll hit this button here. Then we'll click
the plus button. We'll click Select Subject, and AI will select our
subject automatically. Sometimes you have to
do some fine tuning. As you'll see here, it
did a pretty good job. However, it has captured a little bit of the bench
here by Randy's arm. So what we need to do is
modify the mask a little bit. I'm going to click this
little minus button down here, subtract from mask. I'll be using a brush
to paint it away, and all I'm doing now is
just painting the red bits. What I will do is just
click this checkmark here. And now I have to go back to select the mask in order to
make edits to the mask area. So I've clicked the mask, and I am going to click this light button here
and adjust the exposure. And as you can see, it's just him who's
being adjusted now. So I'll bring it up
just a little bit here. Shadows. I'll bring up
the shadows just a bit. White. I think I'll bring the exposure up just
a little bit more here. And maybe a little
bit of contrast. So I'm just going to
click the checkmark here. Once you're happy
with your edits, you can click the three dots here and click Save
Copy to Device. So to recap this lesson, we learned how to edit just
using our camera app and then some more advanced masking and adjustments in Lightroom.
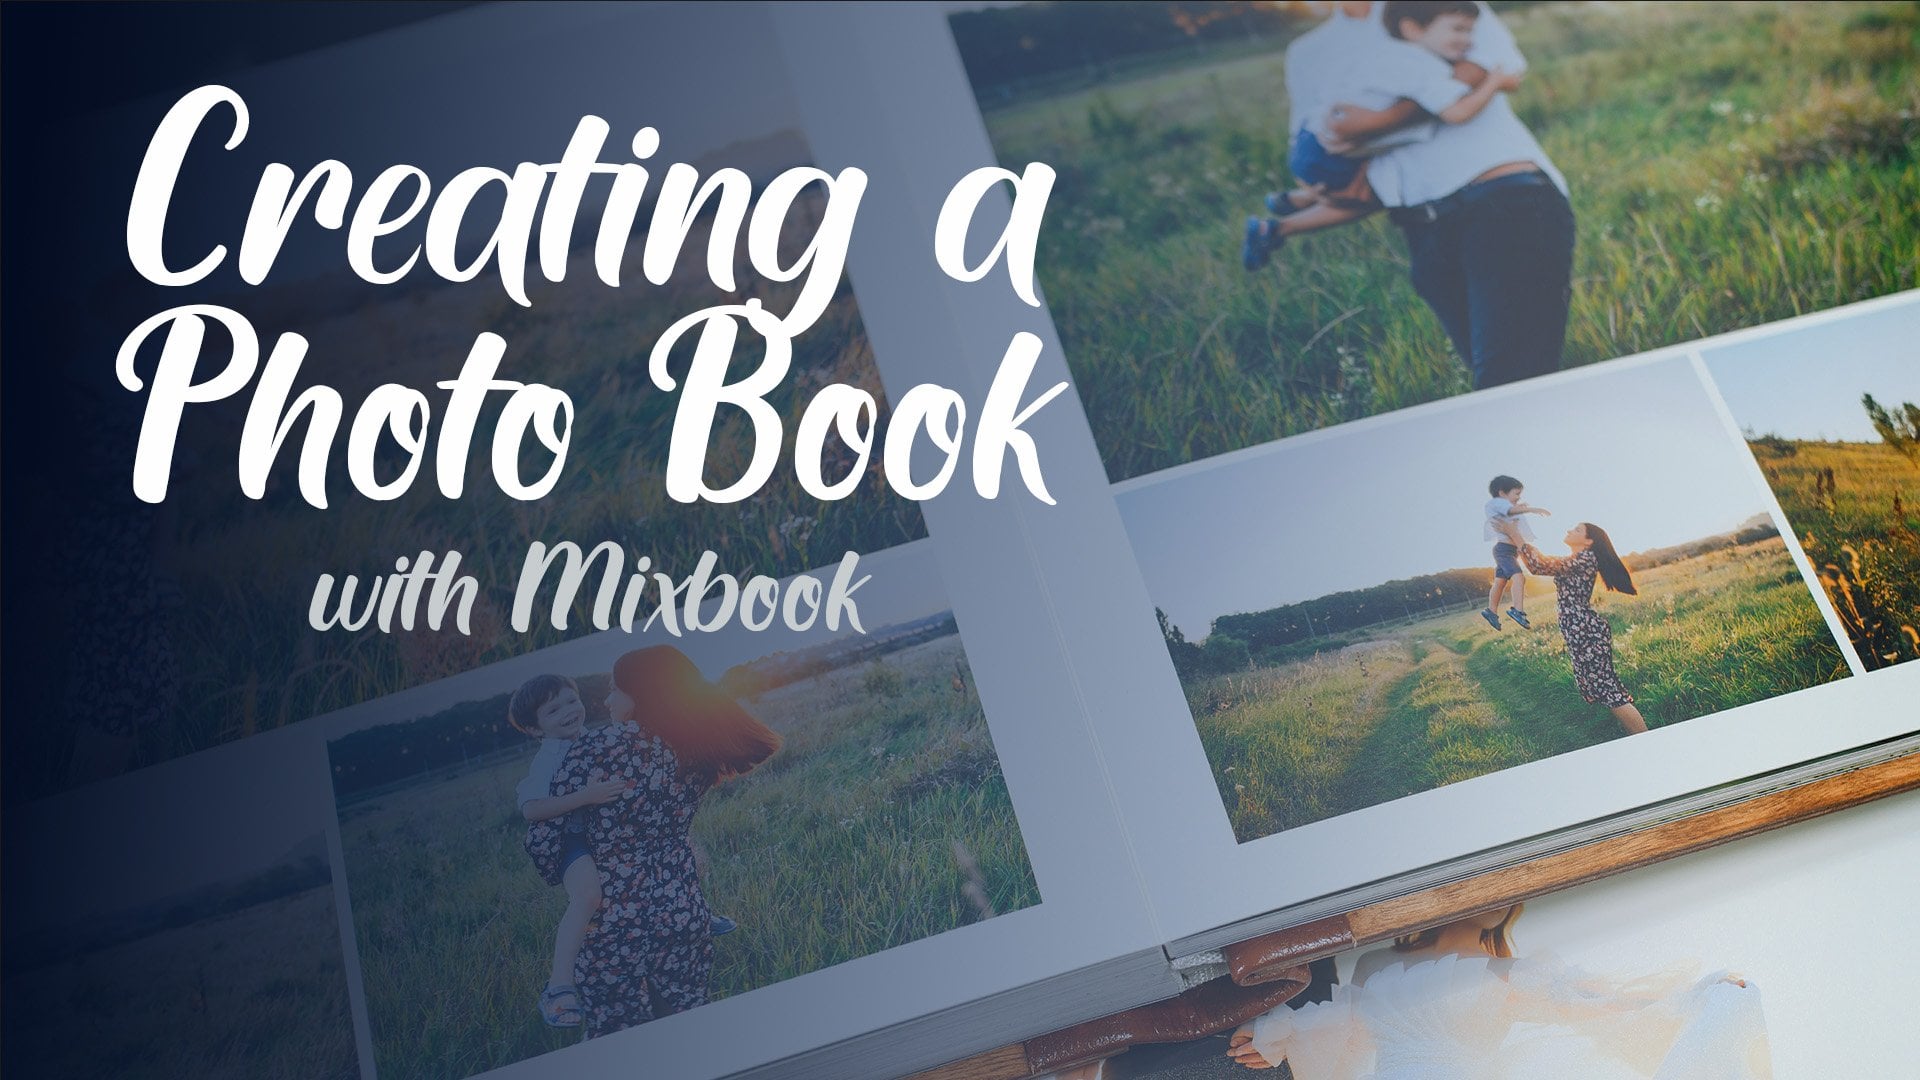
9. Photo Book: I did quite a bit of research and reached the conclusion that MxBook offers the
best quality and price combined with
an easy to use app. You can design your book on
your laptop like I'm going to show you or download
an app onto your phone. Essentially, the principles
are the same for both, but it's easier, I find, at least on my laptop. Let's get started
building our book now. Go to xbook.com and
create a new account. Just click here, enter
email, create a password. I got started right away here, but I'm not sure if it's because I had already signed
up for an account, but you might be able to get
started right away as well. Now the fun can start.
We're going to choose a theme and insert our pictures. Now, to choose a theme, you
hover over photo books here. My book is a travel photo
book, but as you can see, we have a year in review, holiday, family, kids,
baby, et cetera. The one I chose is
called Modern Geometris. So I am just going to go
ahead and click Start Book, and this is the
window that you're presented with first off. You can add photos at any time, but I like to get started with a good collection of photos. So you can just click
this button here, and you're presented with a dialogue box where you
can select your photos. Okay, so I have gone ahead
and uploaded my images, and now they're appearing in
the left hand photos menu. I think my favorite part of the Mxbook service is
this button right here. Auto Create Book. It gives you a great jump start and places all your
photos in the layout. Now, in just a few seconds, it has analyzed my photos, auto selected layouts, and
inserted my photos for me. Being a graphic designer, I'm quite particular
about certain things. So I will be going through and fine tuning
some of this stuff, but it's a really
good place to start. Let's dive into the
interface a little bit, so I can show you all the awesome features
that MxBook has. Then we can get started right
away designing our cover. On the left here, you'll
see the photos tab, and it shows you all the
photos that you have. This is layouts, and they are organized by number
of photos per page. And if you roll over, it will give you a preview
in the main working area. Here you can add backgrounds. There's some stickers
you can click and drag. Here's the textbox,
can add bold, italic, a line center left, right, and we can change the fill color and add a
border to the textbox. And there's even
AI caption ideas. If you want to change the
theme of your book entirely, you can always select one from a different theme
to mix and match. And there's a Beta
feature with a map on it. So you just here enter the location where
you'd like the pin, and it will generate
the map for you. You can always collapse the
window if you need more room. Here's an undo button if you
don't like what you've done, or if you undo it and
you want to redo it, there's that option as well. You can add pages, delete pages, over here, you can do a full screen view of all your pages and you can click and drag
to rearrange them. You can share to collaborate
with other people. And when you're ready to order, there's the Order
button up top there. You can toggle the view to single page or two page spread, and to navigate
through the pages, you can just click
these arrows here. If you want to zoom in,
click the plus button. You'll see this
little red box here. So if you grab that, you can navigate within
the Zoomed area. To get rid of that pop up, you have to go back to 100%. If you have more questions
that I didn't cover, you can always click this button here and Mxbook has a
lot of video support. If you're anything like me, you'll want to jump in right away and start experimenting. So now that we're familiar
with the interface, we can get started
designing the cover. First things first, let's
change the layout here. So there's a lot
of graphics here. I wanted a really plain cover, and I want to put the
blue mask on the cover. So the first thing
we'll do is go over to the left hand menu here
and click layouts. Click one because it's a
single photo that I want. And there's a plain
one right here. So I'm just going to
click that to apply. Now I'm going to go back
to the photos tab here. And here's the blue mask. So I'm just going to
click and I'm going to drag the photo onto there. Make sure you uncheck
this box here. What it does when
it's checked is hide your used photos to
avoid duplication. The reason I personally
like to uncheck that is I like to see all
the photos that I have. I will go through manually
and avoid duplication myself. Okay, let's go ahead and adjust the photo
and add some text. So when you click on the photo, you'll see that you have
these options up top here. So when you zoom in, you're basically cropping it
a little bit tighter. And you can see these arrows
that go up down left, right, and you can drag
your photo around. So actually, that's
a bit too tight. I'm going to zoom
out just one click, and I'm going to make sure
that it's even left to right. Now let's add some text. And I'm going to go over
to the left hand side here and scroll down
to the text option. This button here
adds a text box, and then you go over
here and you just click. You just simply start typing. I'm just going to
type turkey here. And I'm double clicking to select the text. I
don't like this font. So what I'm going to
do here is go over and choose Hello Lucky is the typeface that
I quite like here. I'm going to change
the font size to 128 and change the color here to white because
the background is black. I'd like to center the text between these two minarets here. So I'm going to grab
this right handle, drag it over to the right. Grab the left handle,
drag it over to the left. And the text is a line centered, and I'm going to grab the top handle here to
raise it up a little bit. There you have it. It's
right in the middle, and that makes a really
nice simple cover. Before you order your book, you can share it with
friends or family, and you can even
invite people to edit. So up here, you'll see
there's a share button. You have three options
here. Share your project, invite others to edit, and then you can invite others to order your finished book. So once we're happy
with our book, we are going to click Order. Let's give it a five star. I thought that was pretty cool. So there are three
different options, soft cover for more
economy, hardcover, for durability, and the lay
flat has thick pages and lays flat so you can spread
a picture over two spreads. I chose the larger size here. I've heard the everyday semi
gloss is a nice finish. And for the cover, I'd like to choose matte
rather than glossy. I have a coupon code
here for my first time. I can choose more
than one if I like. And now we're going
to add to Cart. And when we're
ready to purchase, we can click Check out. Once you've finished one book, you'll realize that
you can create lots of other products
like recipe books, yearbooks, annuals,
and family histories. The options are endless. So to recap, we opened
a Mxbook account. We uploaded and
placed your photos. We edited the layouts. If you want to learn more
in depth about Mxbook, you can take my class, creating a photo
boook with Mxbook.
10. Conclusion: Congratulations. You now have
the tools you need to take your photography game to the next level, no
matter where you are. To recap, we learned how to unlock powerful
camera settings, how to find the perfect
location for your shoot, how to work with various
lighting conditions, tons of tips and
tricks you can use. We learned about
different lenses, how to pose and
frame your subject, how to enhance your photos
right in the Photos app, and how to make a photo book. Please upload some
photos for your project. I'm happy to give you
teacher feedback, and you can also inspire
others with your photos. Thank you so much for
joining me on this class. Happy Travels and
Happy shooting. For additional learning
opportunities, you can check out
my other classes, cinematic shooting
on the iPhone, Golden hour
photography, and how to create photoboks with MxBook.
Hope to see you there. O
 Beth Doman, Creative Professional