Transcripts
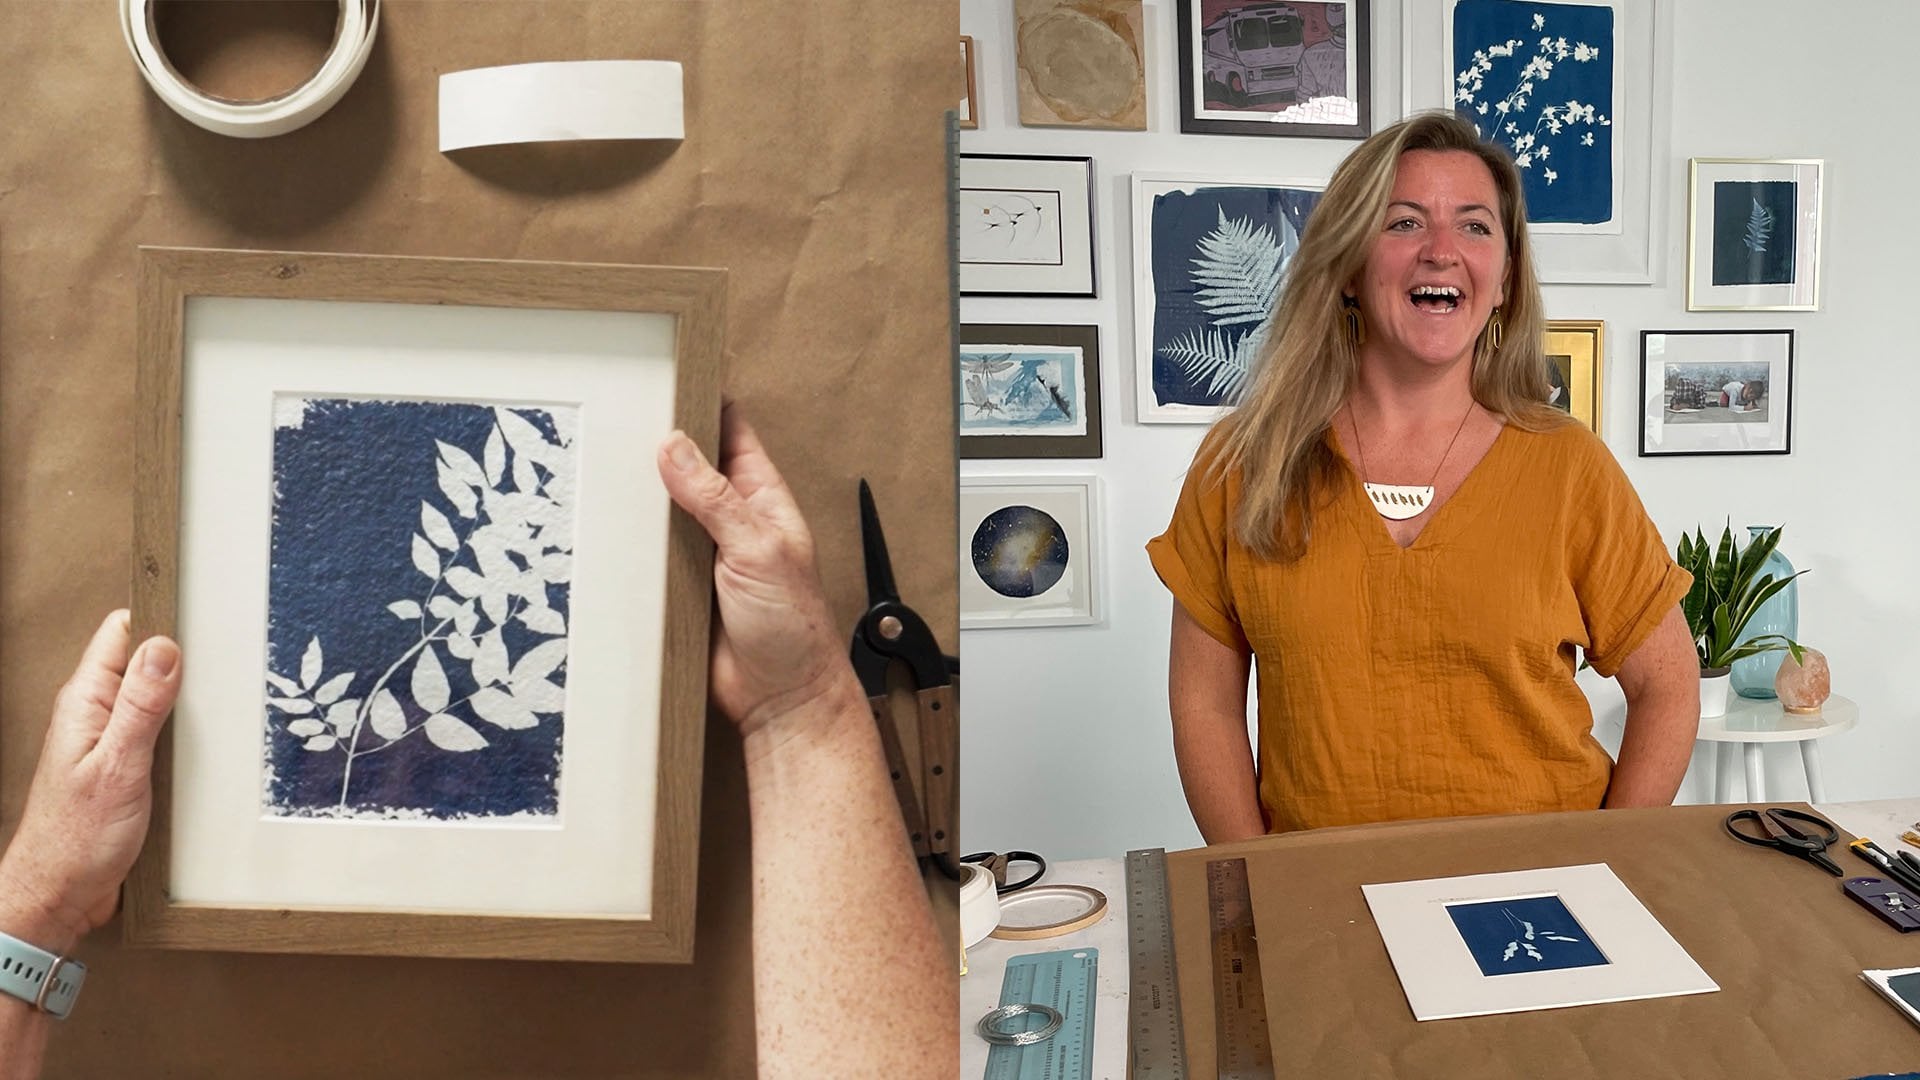
1. Introduction: Hi, there. I'm Sarah, and I'm a fine artist working with the cyanotype
process to create fine art originals and along with a whole host
of other products. I started Atwater Designs, a cyanotype design
studio four years ago, and I am so excited to be working as a full-time
artists now. I was teaching for 15 years before I
started going full-time, and in that time, I have loved sharing
my knowledge with my students and now with
my Skillshare students. Over the years,
throughout college, and graduate school, and teaching, I have framed so many different
pieces of artwork. I have a certain knack and
love for a good frame and a good mat and putting it all together to really let
your artwork speak. Whether it's photographs,
or other drawings, or even a simple
greeting card that you were given by
someone and you love, I love how when we
combine them together, we can make them really speak and become a part
of our interiors. One of the chief
complaints that I get from my collectors is that they just don't know
where to frame, and they don't know
how to mat their work. They're not sure, and then
what they come up with sometimes is just confusion, or they stuck a piece of art into a frame
or a mat that just doesn't quite work and it
doesn't help the artwork speak. If you haven't seen my
Skillshare class on framing, you might start there and
then come back to this one specifically on cutting
a mat using a mat cutter. In this class, I'm going to
show you exactly how to use a mat cutter to achieve
the perfect custom result. This class is for you if you really want to learn
how to use a mat cutter, if you feel like cutting mats in a custom size is going
to be in your future, and if you're a collector of art or an artist that wants to showcase their work in custom mats and reduce
the cost of buying them, or the ones in
store-bought frames just aren't quite the
right fit for you. Come along with
me as we dive in.
2. Project Description: In this lesson, I'm
going to talk to you about the project. A common problem that I see over and over with
my collectors and my artist friends is
that you've bought a store-bought frame to
save some money on framing, but the mat inside
just doesn't work for the piece of work that
you want to display in it. Maybe it's too big, maybe it's too small, maybe it isn't the right color, and you're just a
little bit stuck, and so either you use it and it doesn't highlight
your work well, or you have to go the
custom framing route, which can be really expensive. Now, please don't get me wrong. I totally believe
in custom framers. I have a great custom framer
and I'm there all the time. I would consider as great buds, but it's expensive
and not everything in my house needs to be custom-framed and
probably in yours either. In this class, I'm going
to show you how to use a mat cutter and then how to set that mat cutter up for
success and then measure each step along the way to
ensure the perfect fit. The project is a simple one. You're going to use
the mat cutter to cut the mat and then take
a picture of it. You're going to upload
that picture of your final cut mat with the artwork inside to
the project gallery. I cannot wait to see how
you use your mat cutter to highlight the work
that just didn't quite fit in the frame that
you bought at the store.
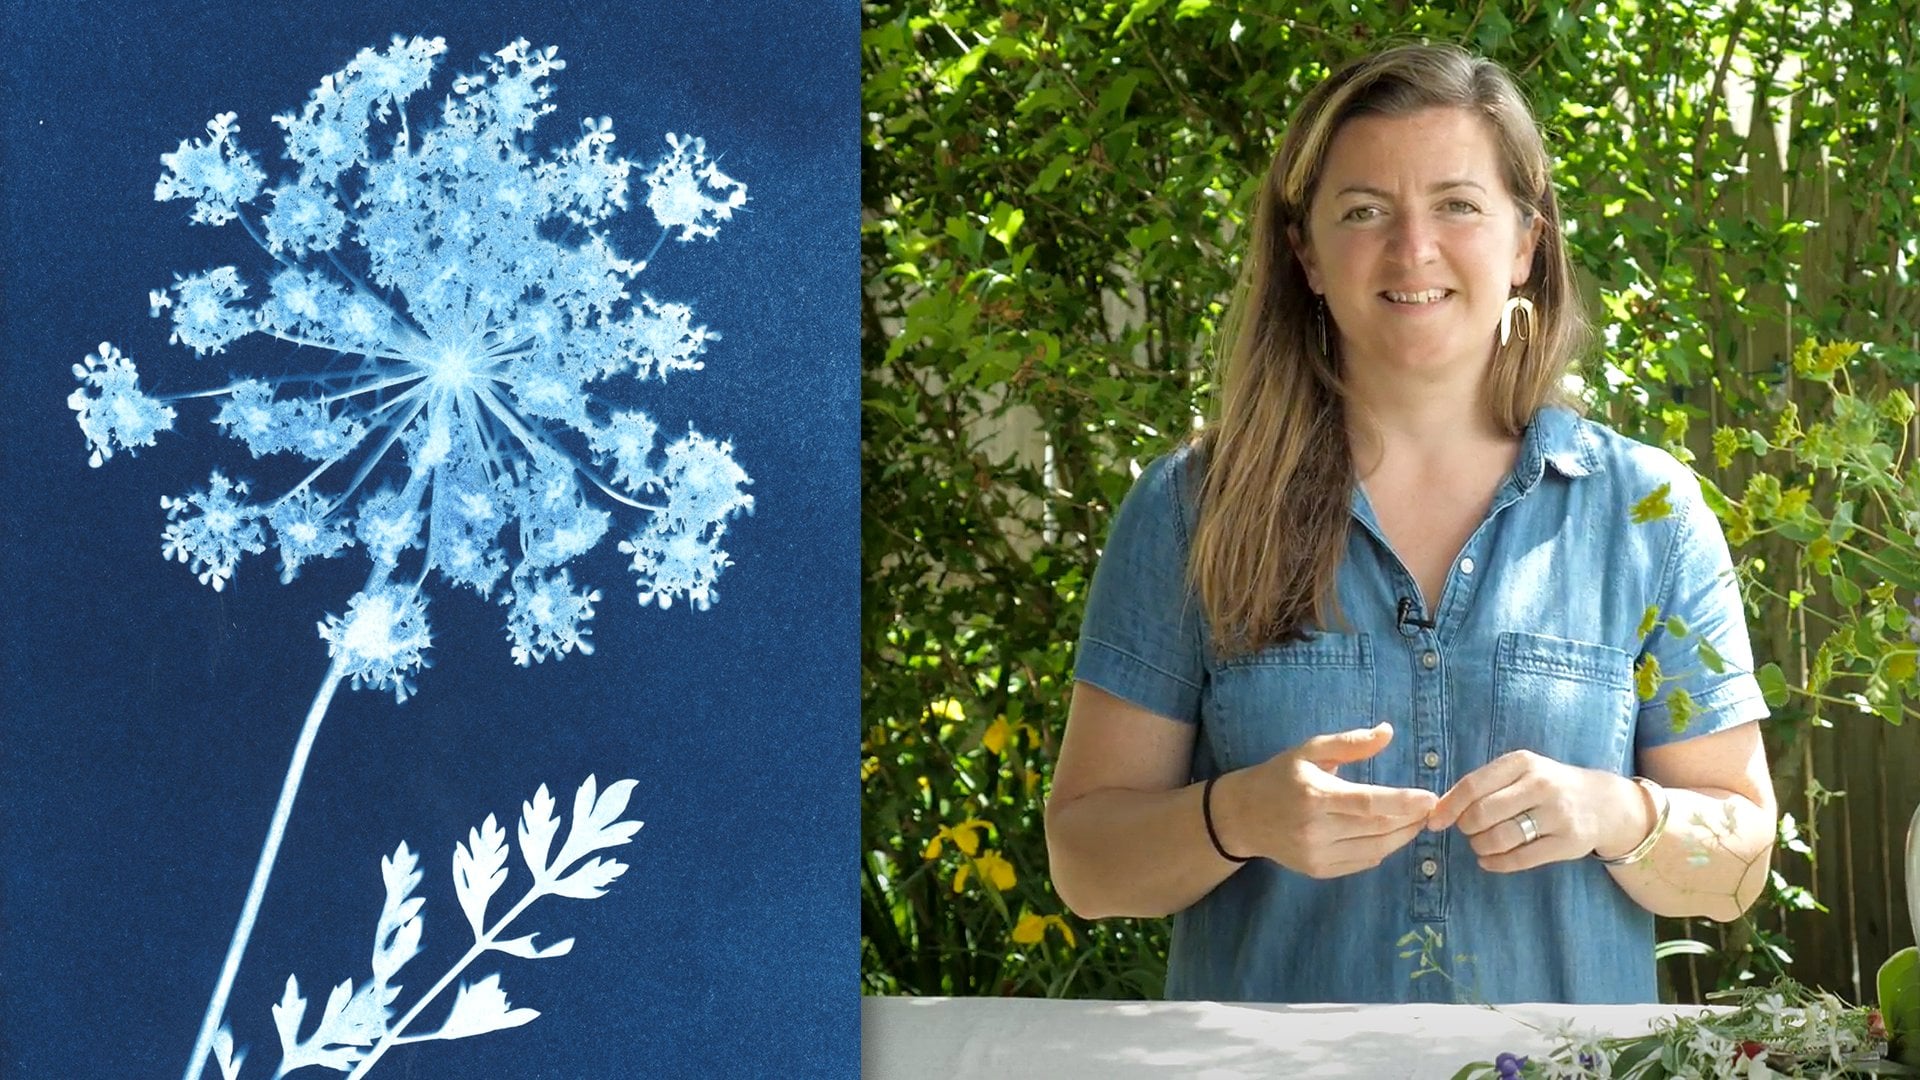
3. Materials + Supplies: In this lesson, I'm going to talk to you about materials and supplies needed in order
to custom-cut a mat. The first piece of equipment
needed is a mat cutter. It is an investment, but the investment is
well worth it if you plan to cut several
mats in your future. My mat cutter is something that's been with
me for a very long time. It's a Logan compact 302
model and it was about $100. That $100 has been well
spent over the years. I think I've cut thousands of
mats with this mat cutter. This part is up to you. If you think you're going
to cut a lot of mats, I strongly advise
you to grab one of these and there's a link for all these materials down below. The materials needed
for this class are a frame with a mat that
isn't quite the right size, extra mat board, you can get this at a
frame shop or even in the framing department of any craft or craft
art supply store. In addition to the frame
and additional mat, you're going to need
double-stick tape. This is archival and really helpful to have
around the studio. I use it all the time. Linen tape that is
sticky on the back, also extremely helpful, a utility knife, a
ruler, pair of scissors. Then with your mat cutter, you're going to need the
blade that comes with it, and extra blades just in case. Having a fresh blade
on the mat cutter is so important to
getting a nice cut. You're also going to need
the artwork that you want to custom cut the mat to. I'm using an 8 by 10
cyanotype that when using a standard 8 by 10 mat
that comes with a frame, just gets cut off. There's all these
brushstrokes and really interesting details on the sides that when I
use a standard mat, just cut's it right off
that. It just looks awkward. I really want to highlight
that part of this print. In addition to this one, I'm also going to
show you how to cut a really tiny
little mat and this is for a fun little piece of abstract cyanotype that
I had in the studio. Last but not least, you're going to need a pencil
in order to make all of the right measurements with your ruler on the back of
the mat when cutting it. In the next lesson, I'm going to talk to you about
why you even need a mat and how to get the resource guide that
I've created for you.
4. What is a Mat?: In this lesson, I'm
going to talk to you about what a mat is
and why you need one. A mat is a window into artwork. It helps us see what
that artwork is and highlights it usually
with a bevel. A bevel is a slanted
cut that guides our eye from the outside
into the artwork. Not all artwork needs a mat, but in my experience for many
two-dimensional art pieces, a mat helps to provide a margin from the frame into
the artwork to help our eye rest and have a little space in which
to truly absorb the art. I liken this to a book
page with writing. Now, if you were to read
a book and the writing was all to the
edge of each page, your eyes would get so
tired reading that book. There would be no resting place to then begin the next line. It would get really exhausting and you wouldn't really
want to read that book. The same is true
for a piece of art. We need a place for
our eyes to rest. Now, again, not every
piece of art needs a mat, but oftentimes it can create
a space for our eye to rest and circle around and enter the artwork
and leave again. I have put together a
resource guide that shows you all of these
steps along with where to get all of
the materials that's available in the project and resources right
below this video. Now that you know why we use a mat for certain pieces of art, we're going to get started on
how to use the mat cutter. I'll see you in the next lesson.
5. Get to Know Your Mat Cutter: In this lesson, we're going
to go over the mat cutter. Before cutting a mat, let's go through
step-by-step how to use the mat cutter to
ensure best practices. A mat cutter takes
a lot of practice, so I would recommend getting
a piece of scrap mat board to practice on before you dive in to the actual mat
you want to cut. This mat cutter is a
Logan compact 301. There are several versions
of Logan mat cutters. This one was about
$100 and most of them, you can get for
about that price. I do recommend one that comes
with a straight edge that you attach the actual blade to, as opposed to just
a handheld mat. This ensures a much
straighter line than the hand-held versions. There are much more
expensive ones and then professional
quality ones. But to cut simple mat, you really don't need them. The components of
this mat cutter are this piece of
extra mat board. This helps to have the blade has a little
something to get into when it's cutting
through the mat that you want for your window. You have the piece
that carries the blade at an angle that produces
the beveled edge. Then this piece, it
slides up and down on this straight edge to ensure a very straight
and accurate cut. I'm going to show you a few simple things that
will help you to cut the mat perfectly and practice
on before you dive into cutting the one
that you want as your final. Again, practice makes perfect. If you don't cut the
mat perfectly the first time, don't
get discouraged. Just keep at it.
Use some scraps. I'm going to just create
a really quick window. I'm not really measuring this. This is just so that you can see how the mat cutter works. I have this little window
and I have my blade, and then this straight edge. I'm going to pull this
straight edge up with the mat edge to the left. I always want my mat
edge to the left. I don't want to go
in from the right. This helps to make
sure the bevel is in the right direction
because you don't want the bevel to be in the
opposite direction. See how the mat edge
is always to the left. Pick this up, line, the straight edge up against
the line that we just drew. I like to see just a
little bit of the line. This takes a little
bit of practice. Then we're going
to take the blade now and we're going to
push it into the mat. But we're going to do that in accordance to this line matching up to the line that runs perpendicular to the
one that we're cutting. [NOISE] Now, this
doesn't go all the way, so I want to extend
that just a little bit. Before we push the
blade into the mat, I want to make sure that
that line lines up. This is to make sure that
our cuts go into each other and not apart from each
other because if they don't come directly in
contact with each other, the window won't fall out
and it won't be a clean cut. Then I'll show you actually what can happen if that happens. I'm pushing all the way
where it doesn't have any more room to move
through the mat. [NOISE] I'm going to push
until I get to the top line, pull out and put it aside. Again, you're going to move counterclockwise with the edge of the mat to the
left every time. Then I'm going to place the blade with the
line here that's perpendicular to the
line we're cutting by pushing as far in as possible, and then in one fell swoop all the way up to the
next line that it meets. You want to make sure
that these lines are extended long enough, that you can see it on the
other side of this blade. Then you're going to
pick it up, put it down, move again to the left. Again, left side. Lining up this line here. Push [NOISE] one fell swoop, match this line
here, and remove. What should happen is that
the window pops out just like that and you have a
sweet little window cut, boom. Just like that. Now, one of the things
that I said earlier is that if you don't match
your lines up correctly, the window won't
pop out like that. It can be the difference between a really pretty mat and one
that it just doesn't work. I made this one on purpose
to show you what can happen. This edge wasn't cut completely. When I pulled it out, it pulled this piece up. Now you really can't use this. It's just a piece of trash. [LAUGHTER] This takes practice. This takes so much practice. I've practiced this
so many times, so I really encourage you, if you don't get it right away, keep going with some scraps. Really learn how much you
have to push that blade in, how far you have to
push it forward, and keep doing those steps until the mat window just pops right out because that's
exactly what you want. Some common things that you
want to be aware of with a mat cutter and to avoid further problems
along the process, are this piece of mat board
that shifts underneath here, can sometimes get
really banged up. You want to make sure that
you replace this with some frequency so
that you don't just keep cutting the same
cut over and over again. I'm just going to flip
this one over for us and push it back under here. In addition to this piece of mat that's where the blade
really cuts into. It provides a little
bit of cushion for the math that you're
actually cutting, so that you're not
just cutting along a hard surface
like this surface. In addition to this, a new blade is really important if
you're about to cut a mat or a few or a series of maps for a
whole bunch of work, you want to make sure you
just have a new blade. It's never bad to
have a new blade. If you haven't used your
mat cutter in a while, I highly recommend
just taking it out. In order to replace the blade, we're going to unscrew
this right here, slide the blade out. Then in your blade packet, which usually comes
with a mat cutter, or you can purchase extras. You're going to slide that same piece in with
the blade pointing out. You can see here, this blade is much sharper. I'm going to make sure
I'm not putting it in the wrong way, although this one is pretty much double-sided, can't go wrong. Push that over the hole
and then rescrew it. I like to double-check by
pushing it down and just making sure that that
blade is extended. You are going to notice a great difference
with a new blade. It's going to be so easy. The cuts are going
to be like butter. The last thing to be aware
of is that this piece right here is only three inches. If you want the border of your mat to be bigger
than three inches, this piece on the side
has to scooch out. You unscrew this piece
to move it in and out. If it's way too big, even here, you can just remove this
whole piece to have your mat extend past where
this straight edges. We have gone over all of the best practices
for this mat cutter. Make sure you practice on
some scraps of mat board before you just dive straight in to cutting the mat that
you want as your final. In the next lessons, we're going to go over
three ways to cut a mat. The first being the most
basic and straightforward, a simple window mat, like I just showed
you in our practice. The second one is how to create a mat that's a
little bit bigger than your artwork and mount it on a piece behind to really
show off the edges. If you have a deck old edge
or something on the edge of your work that's been cut
off by a standard size mat. Then the third is
a double mat to really highlight the artwork
inside with some depth, much like this one back here
that's white and black. You guys, I am so excited to get started on our first
basic window mat. I'll see you in the next lesson.
6. Cutting Your First Mat: In this lesson, I'm going
to show you how to make the most basic window mat. We're doing this because you've bought a store-bought frame. It came with a mat that just doesn't fit the artwork
that you want inside, so you need to cut one that's a better size for the
artwork that you have. The first thing
you want to do is disassemble the
frame that you have. Usually it comes
with a little bit of a backing. Keep all of that. Then the mat that maybe
is too small or too big. I'm going to show you my artwork here so that you can see. This would just cut
off all my art, and sure, part of
it could be cool. I could make it work. But if I am really trying to highlight
these brushstrokes here on my cyanotype, then I don't want
to cut those off. I want a mat that's right
along the edge there. If you have one
that's a smaller mat, you can actually just
use the mat that you have and cut this one, or you can purchase extra mat board from
your local framer, or you can just
purchase a piece of extra mat board from
any craft or art store. For this particular piece, I'm going to use the existing
mat that was in this frame and cut it to be just slightly
larger because it's small. Now, if it was too big, you can't reduce the size, so you'd have to just
cut a brand new mat. But we're going to
get into cutting the mat for another lesson. For this one, let's
work on using just this mat to fit this piece. If you love math, this is going to be fun. But if you don't, this can be a tedious
part of matting. It requires patience, and it requires a ruler, and it requires knowing
how to use that ruler. I'm going to give
you a few tips and tricks to help you make this as successful as possible if this isn't
your strong suit. I like to take my
mat from the back, so the front, the bevel
goes in, turn it over. The back usually isn't as nice, it's usually a little bit
of a different color, like this is a little
bit nicer than the back. I like to position my artwork
as centered as possible, and then take my ruler
to get an idea of what this amount of
space is on each side. This is just the
rough beginning. I can see here that I have
three inches over here, and I can see that I have more than three
inches over here. This is more like
from the edge of here to the edge of
this is about 3 1/4. I'm going to scoot this over a little bit to see the three. I can see here that exactly three inches takes
me to the edge of the paper. But I want my mat to
cover just inside of that so that this goes
behind the window. I'm not going to put it
on top of the window, I'm going to put it
behind the window. I need it to be a
little bit bigger. I'm going to measure 3 1/16. That 1/16 is enough space. Now we're going to do the
same thing up and down. So 3 and 1/16. I always write this right
on this side, on the back. Nobody's going to see the
back, it's totally fine. Then I usually give myself directional arrows so that I can actually remember
what I'm doing. Then I'm going to do
the same thing with my ruler on the top. Here I see 3 1/4, and here I see 3 3/4. I'm going to move this down 1/4 and measure again, 3 1/2, three and a little more. Again, I want to
make sure that it comes a little bit
over the paper, not back behind the paper. I want to make sure that my mark covers a little bit
more of the paper. Another way to do this, you can actually make a
mark on the side here. 3 1/2+1/16 here, and 3 1/2+1/16 here gets me exactly
where I want to go. 3 1/2+1/16. [LAUGHTER]
Obviously this would be 9/16, but I like to do this because it helps me with my hash
marks. 3 1/2+1/16. These directional
arrows go this way. Now I'm going to take
my piece of art off. Make sure you have a
nice sharp pencil. If you don't,
sharpen your pencil, or get a mechanical pencil, and you're going to measure. I'm going to measure once on the bottom and once on the
top and connect the lines, and I'm going to do
that for each side. We've got our perfect
square box measured out. I want you to extend these lines further
than just this corner, for exactly the reason we went over in the previous lesson, because your mat
cutter needs to line up on the other side of these. You have to make sure that
you can see this line extended from the
blade because you want to make sure to match
up this silver line of the blade to the line
that you have marked. Let's get cutting. I'm going
to take my mat cutter. It's got this nice fresh
mat board underneath. The mat that we have here, I'm going to lift up. Remember that the edge of the mat goes to
the left and we're going to move counterclockwise
on all four sides. Line up your line. Put your blade in. Make sure that it's up. Line up the line of the blade. Push and one quick fell swoop. You're going to
line up the line. Put your blade on. Make sure that the blade is up. Match up your line here with the line running perpendicular. Push, and one fell swoop until that silver line on the opposite side of the
blade meets up again. [NOISE] We're going to
continue to move to the left counterclockwise with the edge of the mat always to the left. Put your blade in, making sure the blade is up. Match the line on
the opposite side of the blade to the line running
perpendicular to the cut. Push, and one fell swoop in, and meet the silver line with
the line at the top again. I know with our last cut, we're going to do
the same thing. Line it up, replace
the blade, push, one quick movement and stop. Your mat should fall out.
[LAUGHTER] There we have it. Perfect. I'm going to
show you now how this fits just inside of this mat. Perfect. We are going to adhere this to the mat that we just cut
by using this linen tape. I'm going to put
that sticky side up. Run your finger over so that it adheres to the
back of your print. Then you're going to
place your mat over top. [NOISE] When you have it
exactly where you want it, so here I feel like this part is little bit pushed up
against the side, so I'm going to push
that up a little bit. Once you have that established
where you want it, push down on where that
sticky adhesive is, running your hand
back and forth, making sure your
hands are clean. Then pull it up from
behind and flip it over. Then use this to
get a nice seal. Then you can see your art. It's matted, and you can
see the brush strokes. Perfect. This is our
first window mat, simply making a mat that was store-bought,
that was too tiny, a little bit bigger
so that we could put this piece that just didn't
quite fit into the frame. Here's our finished product of the piece that the mat was
just a little too small, and so we made it a little
bit bigger with a simple cut, lots of measuring,
and some simple cuts. In the next lesson, we're going to go
over how to make a bigger mat that houses a
picture that slightly smaller, but then mount it on the
back so that you can see those decored edges of a paper that's
maybe hand torn. I'll see you in the next lesson.
7. Float Mat: In this lesson, we are
going to cut what I call a Float Mat and then we're going
to mount it on the back. An example of this
is right here, where you have a deckled edge, or handmade edge of paper and you want to
really highlight that. To cut it off would actually detract from the overall
aesthetic of the piece. We want to highlight that by
making the mat a little bit bigger than cutting the mat off. Here I have a store-bought
frame with an 8 by 10 mat and an 8 by 10 that
I showed you earlier. It is just a little bit bigger than the
opening of this mat. I'm going to show you
here what this looks like if I were to just put it into this frame, it will be fine. This looks fine but I
think we lose a lot of that detail that makes
this print pretty awesome. Instead of using this mat, we're going to use this class to cut a new one
with our mat cutter. I also like the warmth happening
here within this leaf. Instead of bright white
that came with the frame, I'm going to use this
cream-colored mat instead. When you do a float mount, the mat is cut but
also has to sit on something and so you need
a piece of mat behind it. This requires double the amount of mat board than just
a simple window cut. Again, you can get a
piece of mat board from your local framer, or any craft art supply store
that has a framing section. They usually sell big sheets and sometimes you can ask them
even to cut it down for you. In order to know
exactly what size to make the board that
fits into this frame, you're going to have to measure
the inside of the frame. You don't want to
measure the outside because that would make
our mat way too big. We want to measure right inside. Another way to do this
is to actually just take the glass out and trace it. This is my pro tip for you. Sometimes I like to
do this, line it up, and then with our pencil just really faintly
trace the glass. Then I want to make sure to
cut inside of the line as opposed to outside of the line so that it fits into our frame. First, we're going
to use our ruler to cut this back piece. You're going to align
your ruler up with even pressure and then
use your utility knife, or exacto knife to cut
one straight line. You might have to do this once, or twice depending on the
thickness of your mat. Then once you're through, you're going to move
to the other side. Again, line up your ruler. We're going to cut a little bit inside of that line so
that it's short to fit. This mat is really nice quality so I'm cutting it more
like three times, maybe four, and then
you can put this aside. Let's just double-check
that this fits into the frame, which it does. Perfect. That'll be our backing and then we're going
to cut a piece exactly the same size
that we're going to then use to cut our window. We have two pieces that
are the same size. We're going to use
one as the backing, and we're going to use the other as the mat that we
cut the window into. Cutting a window mat for this float mat is
actually a little bit easier than the first
one because you don't have to have those
little tiny increments. It's a little bit more straightforward because
you want the mat to be outside of this instead
of inside of this. I am looking again, just doing a general estimate of an inch and a half over here. I want to make sure that it's a little bit bigger
than my paper. I'm going to go in the
opposite direction. For some reason, this
feels easier to me than the other one
that we just did. Then I'm going to do
the same guestimate. We've got two inches here
and two inches here. Then you can establish how much space do you
want as the opening. Do you want it to be really big? Do you want it to just be
slightly bigger than the paper? In this case, this one
that I already did. This is only about an eighth of an inch all the way around and because of the deckled edge, here it's like almost nothing and here it's more of
an eighth of an inch. It's going to vary with the
hand-torn piece of paper. I think I'm going to go
with an eighth of an inch. Establish the front and the back I think the front
and the back of this mat is basically the same
and then we can start. There's about two inches
on the top and the bottom. I'm going to reduce
that by an eighth of an inch all the way around. For me, on this piece, it's going to be one
inch and seven-eighths. I'm going to
double-check that here. That one-inch and seventh, eighths get me a little
bit bigger, which it does. I'm going to write
it on the back just like I did in the
previous lesson, one and seventh inches
and I'm going that way. One and seventh eighths inches
and I'm going this way. Then I'm going to move it
around, double-check again. How much space do
I have over here? About an inch and a half. Actually more like an
inch and three-eighths. I'm going to make this an inch
and a quarter around here. I'm going to put one inch
and a quarter with an arrow. This just helps me remember
which direction I'm cutting. Then I measure all
the way around. I'm going to start
with my first. Measurements one and
seven-eights inch. Again, one and seven-eights inch on the top and the bottom. Then continue your line. Remember to extend that past where your other
line is going to go so that you can line up that silver mark
on your mat blade, here and a quarter here. See how these lines, I didn't really extend
them long enough. Let's make sure that they're extended a little bit longer. I'm going to do that here too and then one and a
quarter one more time. Extend those all the way
to the end and we'll be ready to cut. Here's my box. Sometimes I like
to put an x here because I know that's
what I'm cutting. Then we're going to
get our mat cutter. Before we use the mat cutter just to double, triple check. I like to put my piece inside of the square that we just drew. You can see that this square is equally bigger all the way around as this so
we are good to go. Back to the mat cutter. Make sure that your piece of matt board is nice and fresh. You've got your blade ready
and we're going to go in. Remember, outside
edge to the left. Line up your line. Attach your blade. Match up this silver line here, push with one fell swoop
all the way and release. You're going to do that
again on all four sides. Let's see how it goes. Perfect. There we are. Your matt center, the window should fall right out if you've cut
your matt correctly. If you haven't, try really hard not to
do anything with it, bring it out, and just look, if it's a tiny little
corner of the matt, then sometimes you can just put your exacto knife into
that corner to release it. But if it's just you didn't
cut hard enough down, you might just have
to do it again. Now that we have our window cut, double-check that it's
just the right size, which it is because
there's equal amount of space between the matt
and the piece of art. We're going to take the other
piece of matt that we cut. We're going to put
that underneath. I prefer to actually hinge these together at the top
using our linen tape. I'm going to measure a
piece of linen tape, cut, take the backing off of it
so that it's sticky and then make a hinge by placing
the tape on one side, push the other together, and then bend forward
and they're together. Now, we have a place for
this piece of paper to live, because it's actually
going to be connected to this backing and not
to the matt itself. In order to attach this
piece of art to the back, I'm going to now use
my double stick tape. This is archival double
stick tape that I get from a book bindery supply store in New York called
Talus, I love them. Well look at the back
that looks so pretty. You can get double stick
tape from various places. I really would not
advise on getting double stick tape like scotch
because it's not archival, it's not going to be the best. But if that's the only
double stick tape that you can get,
that's totally fine. This is double stick tape that comes with a paper
on the outside. I cut it right along
the top and then you take this like that, take that off and then
that's the sticky part. I'm going to measure just eyeballing where that goes
before I push the tape down. Making sure this is square. That looks so good,
I'm so excited. Then push like so. Look at this you guys, this is so much better. Think about what that matt
was in the store before. It looked like this. It cut off so much
of the awesome part of this print and it cut
off the hand tackled edge. It cut off these cool designs that are happening on the
outside of my cyanotype. Now, just with a
really simple step, we're highlighting what I think are some of the coolest
parts of this print. Let's assemble and
then I'll show you the finished product.
There we have it. Our float matt, really highlighting the edges of a deckled edge that would
have been cut off otherwise. [LAUGHTER] I love
this piece of art. In the next lesson, we're going to go
over the last piece of information in this class, which is double matting. For that little
extra fancy move, maybe highlighting your piece of artwork by giving it
a bit more depth, or just for a
little added flare. See you in the next lesson.
8. Double Mat: You guys, here we go with the last mat we're
going to cut today, it is a double mat, so one mat that's just slightly larger than the other so that
it gives a double width. This can just be
just a fun way to add some emphasis to your
piece or a little pizzazz. Sometimes you can throw in
a different color mat to provide a border much
like this black and white one here on the wall
that black border adds more to that image. For this one, we're just going to go with the same color, just for some added depth. Here I have a
store-bought frame. It's an eight by 10 frame
and it came with a five by seven opening and I want
to frame this small piece. Obviously, this is not
going to fit in here, doesn't look good,
so we're going to start with our two
pieces of map board. Disassemble the frame,
take this mat out, and then put this piece to the side while we measure
these two boards. We're going to use the same
skill set that we used in the previous lessons to measure and then we're
going to cut them. This first one, I
want to be slightly inside because I
want to actually put this piece behind the mat. If you want it to be in front, then you would just
need three pieces so that you can do a float, the way that we just
did in the last lesson. I'm not going to float this one, I'm just going to
provide two windows. Let's measure really roughly and see what do we have here. We've got about
two-and-a-half inches on this side and we've got about two-and-a-half
inches on that side. We don't need that much space. Three inches on
each side gets me just a little too
far into my piece, it's an 1/8 of an inch too big, so I'm just going to
reduce three inches by 1/8 and then cut from there. This would be two
inches and 7/8. Now we're going to
do the same thing on the top and the bottom. Now here is the key, you don't even have to
measure for the second mat, you can just make it however much space you
want, slightly bigger. This is our first mat, that's going to be the
smallest opening and then the next one is just going to be slightly bigger and they're going to sit on
top of each other. For the second one, I'm just going to reduce
them by 1/8 of an inch. I don't even have
to measure this, I can just subtract. Here I have 3 and 5/8, I'm going to subtract 1/8, so it's three-and-a-half inches, here 3 1/2 inches. If you want it to be
a quarter of an inch or a half of an inch, totally up to you,
you're just going to subtract that amount. Now we're going to go
this side, 2 and 7/8. Instead of 2 and 7/8, we're going to go 2 and 6/8. I'm going to start with
this first one and we're going to do the
measuring, draw the lines. I just measured this
and I got it wrong, so you can see that this
space is too much space. I did my math a
little bit wrong, I'm leaving this in
so that you guys can problem-solve if
this happens to you. I am a quarter of an inch
over where I want it to be, so I'm just going to add
a quarter of an inch to these lines and then readjust. I readjusted and then I blocked out these because I don't want to
make that wrong cut. I'm going to double-check and when I say I'm
double-checking, I'm checking this line against
the edge here and then I'm going to move this and
double-check this line here. I can tell that this piece will fit into that window with
it slightly smaller. Perfect. Now I'm going to do my lines on our second mat and then we'll get
to cutting them. Because I had this wrong, I'm going to change
this to three and a quarter instead of
three-and-a-half because I was a quarter of an
inch off and 2 and 6/8. I'm just going to
double-check that 2 and 6/8 will be slightly
larger than this, and it will be, perfect. Always double-check.
We've measured, and I have my two mats that I'm ready to cut one just
slightly smaller than the other so that we
can layer them and then put our small abstract
cyanotype inside. Get your mat cutter, make sure that that
board is nice and smooth if you need to replace it because you've been
cutting mats all day, make sure that you do that. Then we're going to use the same set of skills
that I've taught you in the last few lessons
to line them up. Get your blade lined up here and get to cutting these mats. Make sure you press
really hard with even pressure and push
all the way through. You can double-check by
pulling this out and just making sure if it's come apart, then you know that
you're cutting at the right amount of force. We're going to move it
around to the left, always having the outside
edge to the left. We're going to cut all these. Here's the truth, we're going to put
our smaller mat on the bottom and our
larger mat on top. They look so good together. You can see it just adds a little bit of depth
there and some pizzazz. You can make it a little bit bigger if you wanted
a little bit, I wouldn't go smaller
than an eighth of an inch. Let's assemble. We've got our two mats that are slightly smaller than the next. We've got our frame and
we've got our piece of art. We're going to first attach
this piece of art to our smaller frame like we
did in the first lesson. I'm going to turn this over, cut a little piece
of linen tape, turn the tape upside down, put our piece of art
with the sticky side up, and then just double-checking that it's going in
the smallest one and I'm going to press down and then make sure that
it's really secure there. The reason that I don't
tape on the bottom and all the sides is that paper needs to breathe with
moisture in the air, so we want to make sure
that that hangs flat. Then we're going to
attach the next mat. In order to do this, this is where your double-stick tape comes in and I'm going to double-stick tape
on this mat here. Just to make sure that
they stay in place, I'm going to put one
down here as well, making sure that I can't see
that when I attach the mat. Take this top tape off or if you're just
using scotch tape, you don't need to do this. Then we're going to position
this guy right over, making sure that they match up, and then press down. You might need a
little adjustment before you put it
into your frame. Put it upside down, and then assemble the back. Sometimes with double mat, you might have to press a
little bit harder to get these in here just
because there's more width than usual
and then turn it over. All of a sudden, this little tiny thing
becomes a real work of art. Now I see a little
hair in there, so I'm going to take
it out, readjust, and then we'll be complete. With that double mat, just gives it a little
bit more pizzazz than it would otherwise and it turns this tiny
little piece of art into something that I would be excited to hang on my wall.
9. Conclusion: I hope that you have learned a little bit
more about mats, why you might want one and why using a mat cutter
is really helpful in elevating your artwork
from something that's just put into
a standard frame that doesn't quite work to absolutely highlighting
exactly what you want about your work. We've taken a mat
that's too small, that would have cut off a lot of our image and made a larger one. We've taken a smack that's
too small and didn't allow for any space for
this awesomeness of the deckled edge and
created a float mat. Lastly, we've taken
this little piece of abstract work that
would have been lost in this huge mat and made it really elevated by creating
a double mat. Thank you so much
for joining me. I hope you've learned a little
bit more about matting and why it's important and how it can really
elevate your work. If you haven't seen
my other class on framing on Skillshare,
check that out. Follow me so that
you can stay in the loop about upcoming
classes and check out my profile to know
how to keep in touch on Instagram and
sign up for my newsletter. Did you elevate a piece
of work in your house, maybe something that was
stuck in a drawer for a long time and just
didn't have the right mat? Please share it in
the project gallery, I cannot wait to
see your images. If you have any questions, don't be afraid to ask in
the discussion section. Thanks for watching, I'll see you next time.
 Sarah Rafferty, Artist and Nature Lover