Transcripts
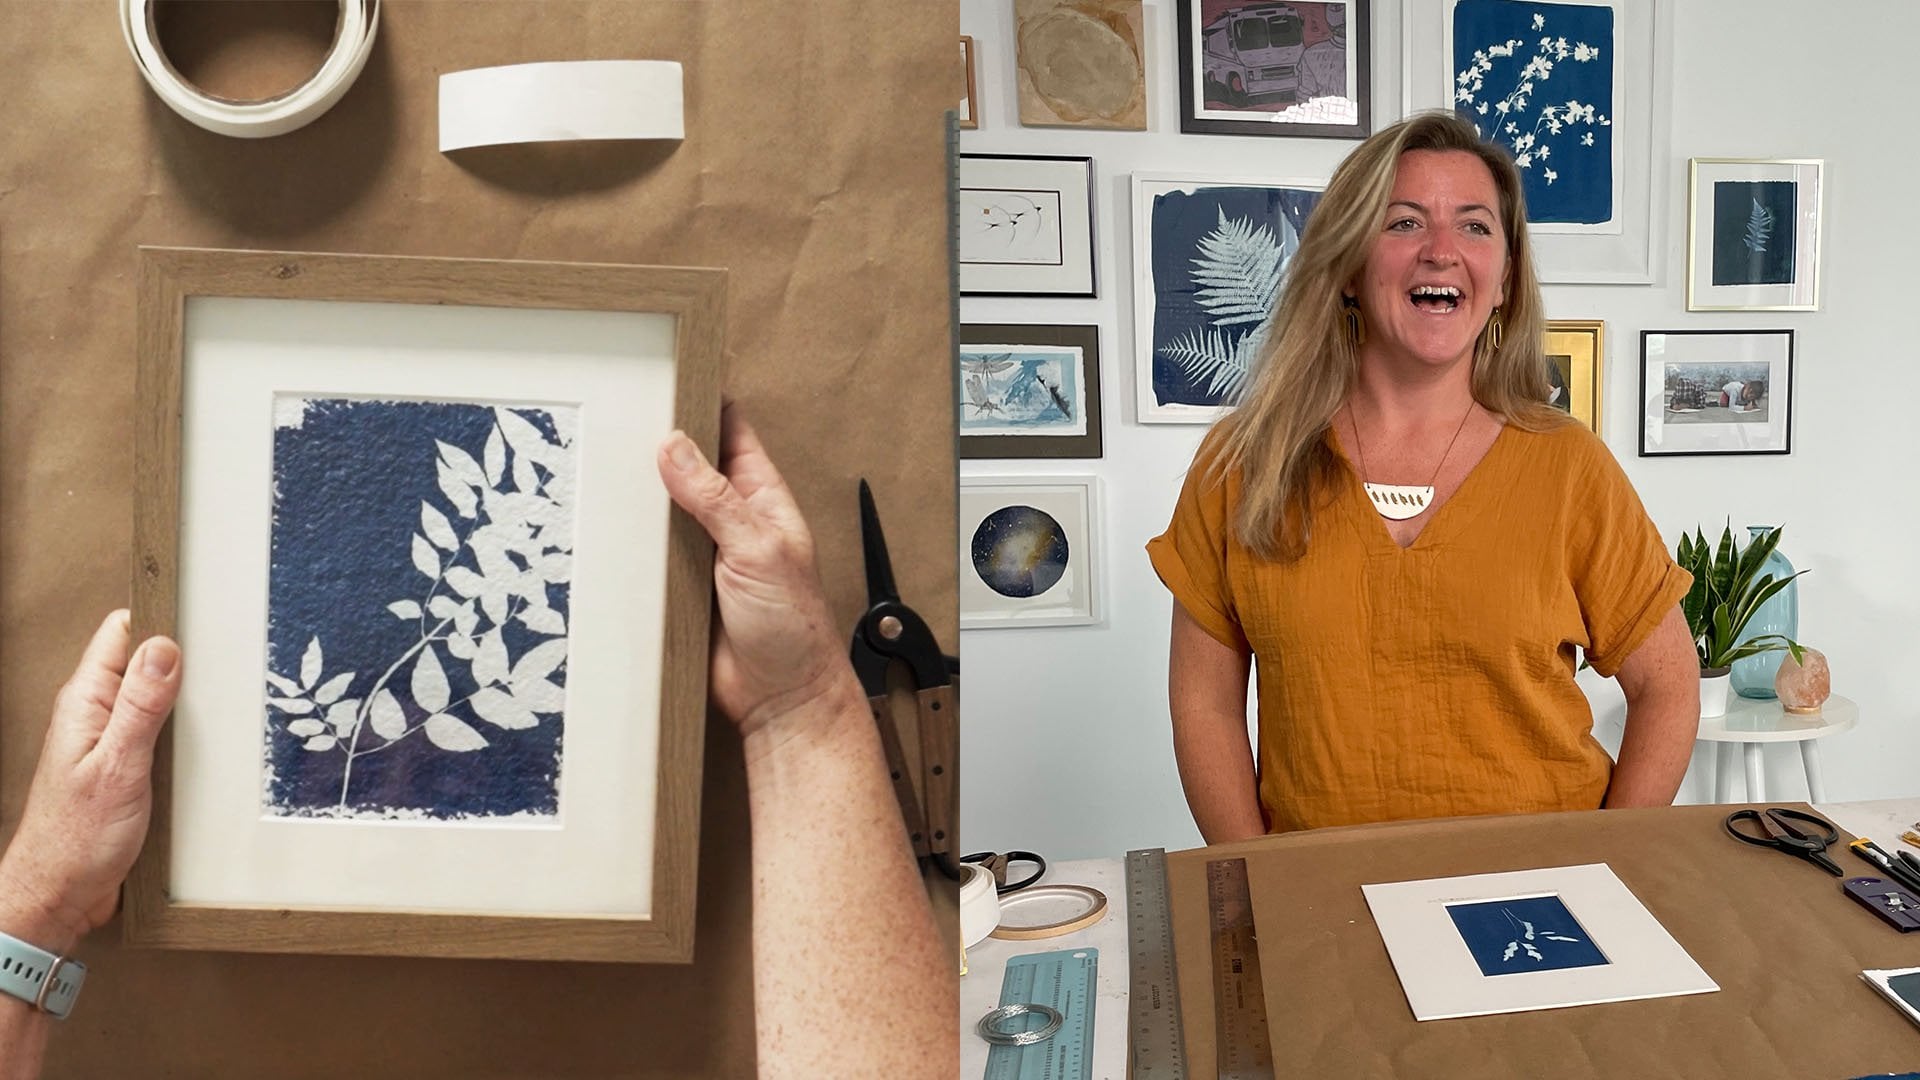
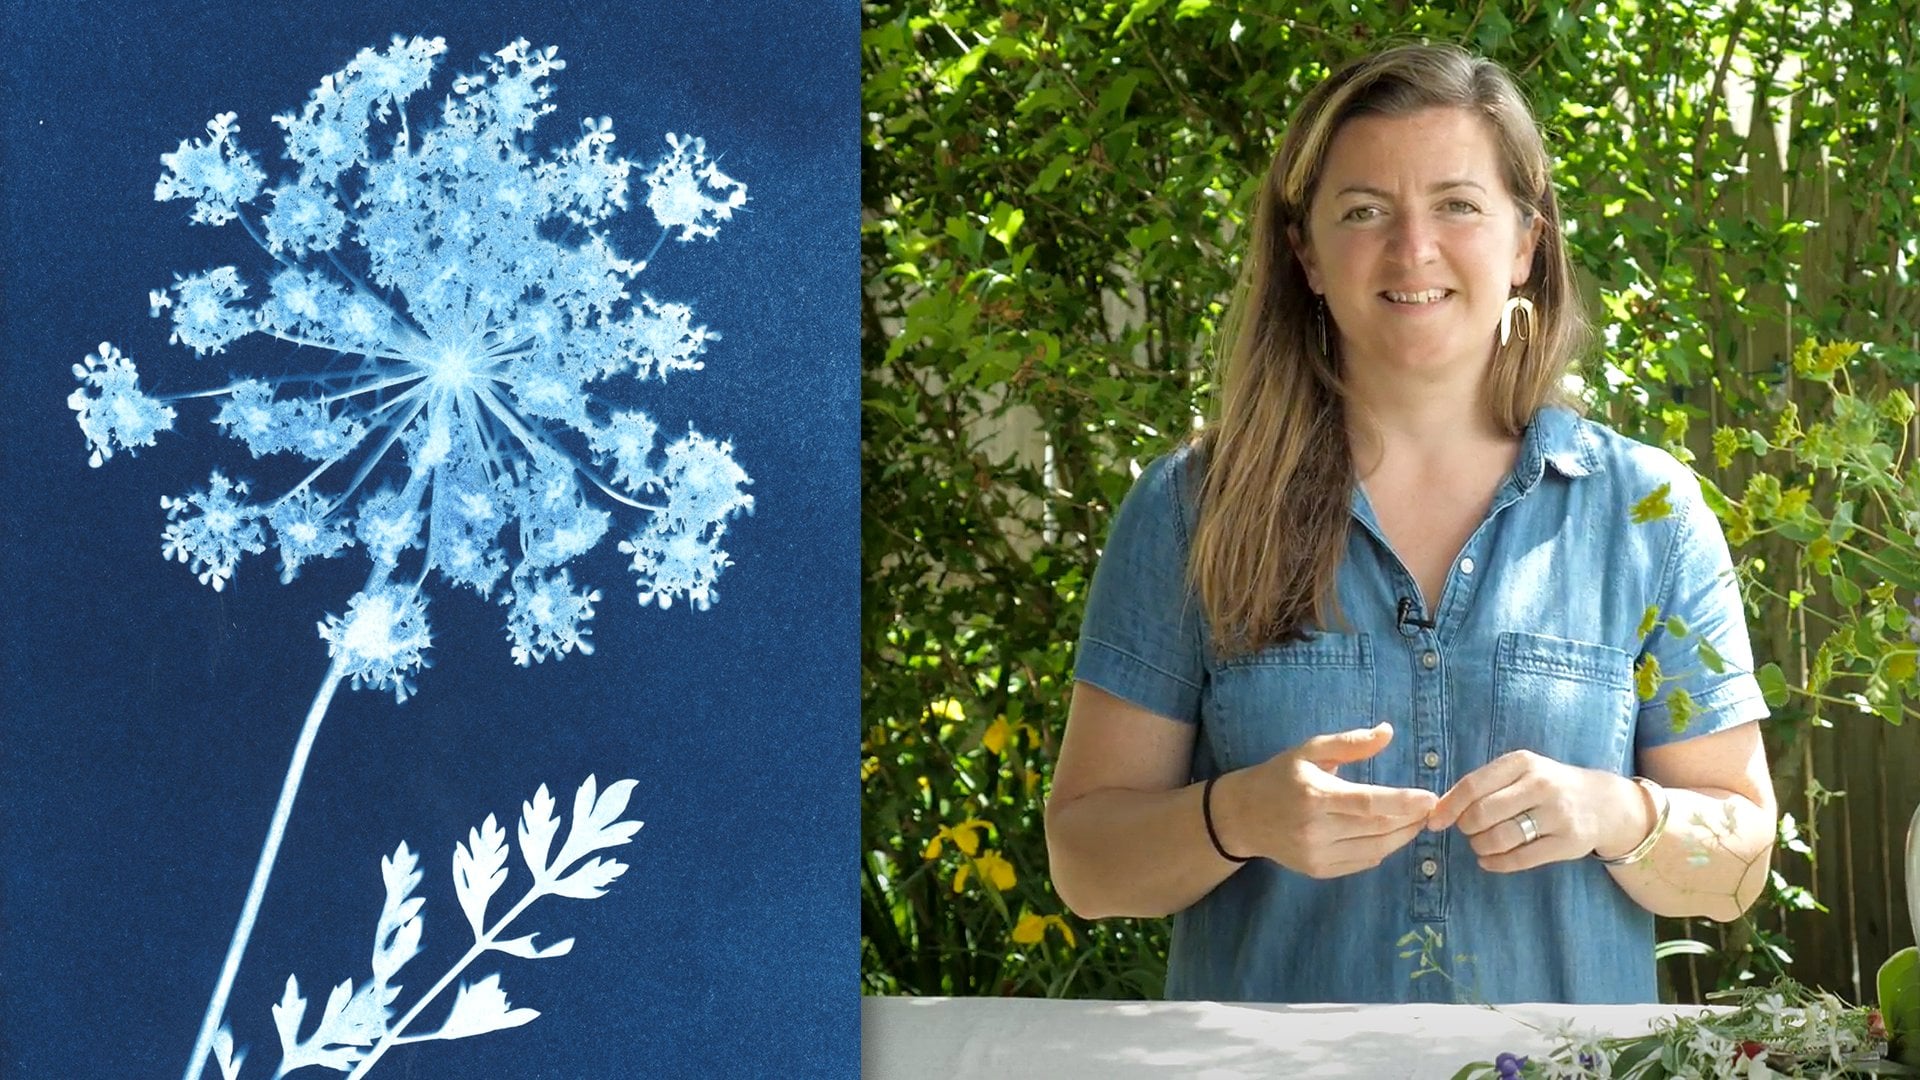
1. Introduction: I absolutely love being outside. If you've taken my other Skillshare class, you know this, I'm a total nature nerd. My art practice and my art career are totally intertwined with my daily walks. It's where I gather so much inspiration for the work that I do and the work that I put out into the world. Hi, I'm Sarah, I'm an artist and an educator. My work is rooted in the natural world. I create original cyanotypes from specimens found on my daily walks in my own backyard, and on my travels near and far, but today we're in my home, the Brandywine Valley in Pennsylvania. The most important thing that I've discovered in my art practice is that daily walks bring me to a place of wonder and awe. It's in that space where I feel the most inspired and ready to create. I'm pretty sure that those things will be helpful to your creative practice as well. In this class, we're going to go for a walk. We're going to check out all of the beautiful things that maybe you don't usually discover in the wintertime to build an inspiration board. We'll look, we'll gather, and then we'll go back to the studio, and we'll hang out building an inspiration board based on all the things that we've found. I hope this class fills you up. It helps you look at the natural world a little differently, and it feeds your very soul. Let's get started.
2. Project Description: The project for this class is to create a winter inspiration board. We'll go for a walk, noticing textures, patterns, repetition, colors, and different things the natural world provides even in the wintertime and then we'll bring all of that back and build a board in the studio together. The materials that you'll need for this class are: A piece of foam core or mat board, glue, staples, and any of the materials that we collect outside or things that you have around the house like stamps, coins, pictures, papers, anything that you really have been gathering that creates inspiration inside of you. This class is for anyone who is creatively curious, who wants to recharge their batteries, or somebody who is interested in igniting their creative soul. If you need a little boost in the wintertime, this class is perfect for you. Let's go for a walk.
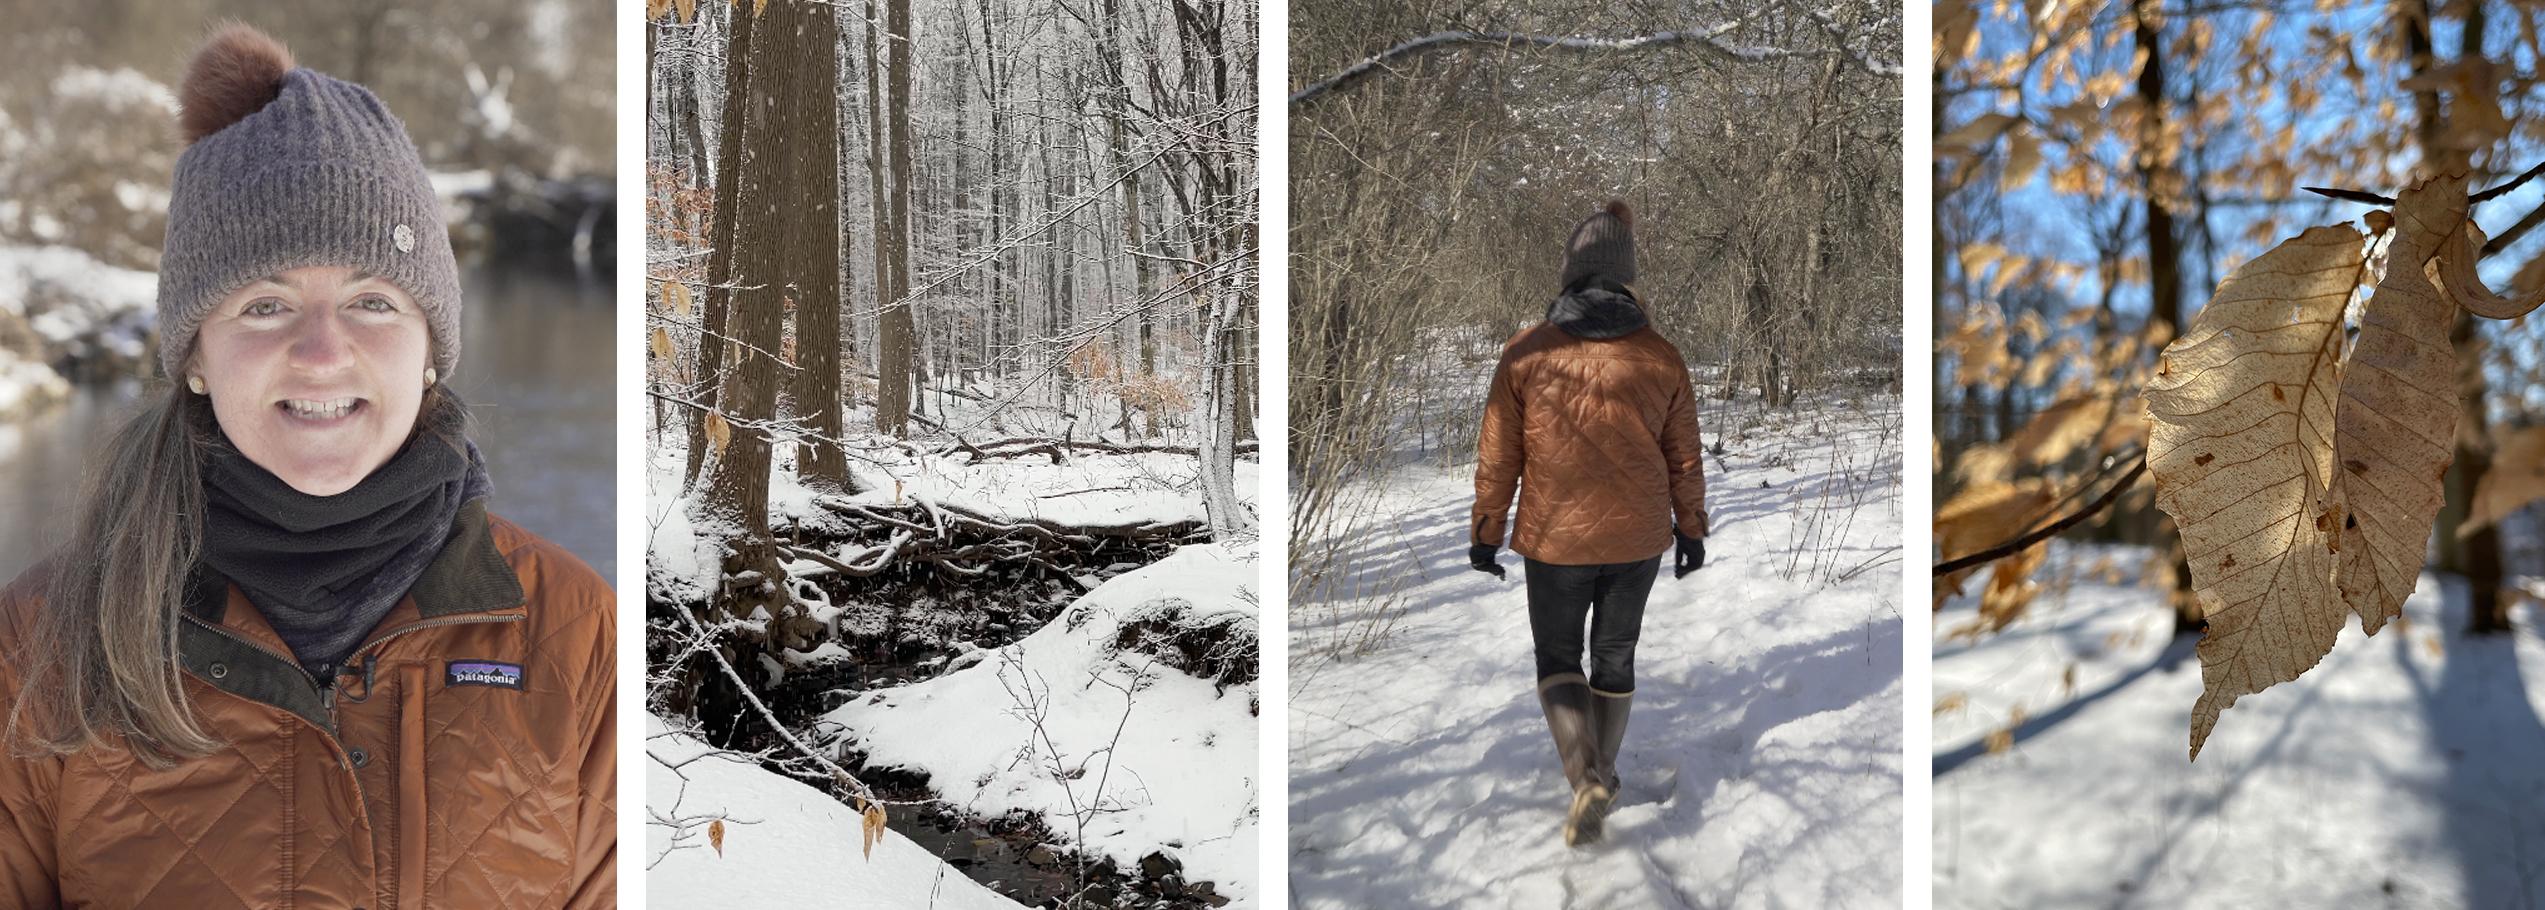
3. Inspiration Walk: The first thing that you want to be aware of when you go for a walk outside is make sure you have a great pair of shoes. People often get distracted or frustrated by walking outside because they don't have the right shoes. Don't go buy a ton of gear, you don't need that. Buy with the right pair of shoes, you can go anywhere, and then you won't be distracted by getting your feet cold or muddy. A good pair of boots goes a long way. On our walk, we're going to really start to take note of all the different patterns and textures that are a part of a winter landscape. Ice is one of my favorite things to look at, especially in running water. If your walk includes water, take note of where the water moves and how the bubbles form. These ferns are one of the coolest things in the natural landscape in winter around here. The rhythm and repetition and the color are all things that I take note of, especially against the white of the snow. If you carry your phone with you to take reference photos, put it on airplane mode so you can be really present. I tend to leave my phone at home most of the time because it's just so nice to be out here and just concentrate on the wonders of the natural world. Let's stop here and look at the bark on the trees. That's one of the things that I notice all the time. The lines, the texture, the repetition, and it's one of the things that we sort for granted, trees have bark, but if you really start to look closely, there's so many things you can take and extract from that and add to your inspiration. Let's stop and check out moss and lichen. The texture is so phenomenal, it just makes me totally enamored. This is something we can't obviously take back to the studio, but it's something that I would take a reference photo of and then use on my inspiration board. I think everything looks so good in the snow, but definitely, things that contrast with the snow. Things that are darker like ferns that we just gathered, but also things like this, holly; it's one of the only things in this landscape that's still green, and the shape of the leaves and the points on the edges, they're all really cool designs. I think that dried plants that we see in the wintertime are one of my greatest sources of inspiration. Obviously, in my cyanotypes, these play a part. But I think when we take them and bring them into the studio, it can offer a three-dimensional excitement to the space whether that's just like in a vase or actually pinned on the board, which we're going to do when we get back. I also just love the colors, the rich browns, the little fluffy heads, they all just really speak to me. When you're on an inspiration walk, don't be afraid to go places off the beaten path. Get in the water, check out different aspects of what's going on in the stream, look at the rocks, look at the ice, look at the way the water flows, or how the light sparkles. There's so much rhythm and repetition, pattern, and all sorts of things that can guide you in your inspiration for a project. There's so many things to notice when we're outside, there's endless possibilities and endless inspiration. One of the things that I take away from particularly a winter land are the things that we presume as dead and therefore unimportant. But I think the silhouettes of these plants are one of the most beautiful parts of what a winter landscape can offer us. There is so many detail. It's almost like nature turned the contrast way up, and what we see are just patterns and repetition and line and all of these elements that can really be used in the work that we can create later in the studio. Thank you so much for coming with me on a walk. We've gathered a few specimens to bring back to the studio, we've taken some photographs for inspiration, we can print out once we get back, and we'll combine those with some of the different collected items that I have in the studio. I love walking so much and it's one of the most important parts of my day. I walk almost every single day in the afternoon, usually with my dog, Tally. It is in the natural act of walking that I reconnect myself every single day to the feeling of wonder and awe. The natural world has so much to offer. I hope that you can be inspired and bring a little bit back to your artistic practice. All right. Let's get back to the studio.
4. Mood Board vs. Inspiration Board: Now we're back in the studio. Thanks so much for taking a walk with me. It was delightful to get outside and enjoy a little bit of this winter landscape with you. We looked at textures, patterns, noticed some different things about plants, brought some back, took some photographs, and now we're going to start to compile our materials for our inspiration board. Before we do that, we're going to talk a little bit more about what is an inspiration board and why do you even want to create one. Inspiration boards have long been a part of the creative process, whether you're an established artist or designer, or you're just somebody who's creatively curious and wants to get their hands dirty. Inspiration boards and mood boards are used interchangeably these days, but I see a little bit of a difference. A mood board is something put together for a designer, for a very specific purpose. Let's say a graphic designer puts together a mood board for a brand or an interior designer puts together a mood board for specific room. Right now, we're just working on getting inspired. We're taking the winter natural world, and we're combining that just with materials in the studio just to get our creative juices flowing, not necessarily for a specific project, but more for an overall feeling that we can carry through the winter as we're hunkered down in the cold. Now let's check out some work from various artists and designers that are friends of mine that have given us some of their mood boards that they then used for specific projects, and then we'll just look at some of my artists' friends that have inspiration boards that lead them to an overall vibe around their art. The first mood board that we're going to look at is by Curious and Co, a logo and branding company, and this is a mood board for Atwater Designs, which is my business. They really worked with me to get my logo to represent the feeling of calm and nature and nature inspired. Their mood board was for the specific project of my branding. Next, we have Tina of Tina Crespo Studio. Tina is a photographer who specializes in taking product photography particular to small businesses and makers. She does what she calls a vision board, which is much like a mood board. For a specific project, this one was for a Candle Company, and they put together these colors and overall vibe for the holiday product shoot. Next, we have Traci of Traci Elaine Photography. Traci specializes in portraits and also loves to do photoshoots with small businesses and makers. This was for a local yoga studio. She doesn't create a mood board, but rather collects images on her Pinterest. That's another way to get a lot of images together that create an overall vibe for a mood board like product. Last is Nicole of vestige HOME and interior designer, who always brings nature into her mood boards for her clients' projects. She always creates these stunning flat lays with hardware and different wood samples, tile samples, fabric, wallpaper, color chips for paint, and she's always bringing in a little piece of nature to create that vibe around what her clients want. You can see now that mood boards are created for specific projects, usually around interior design, fashion, photography, branding, and graphic design, whereas inspiration boards are more about an overall feeling, capturing things that inspire you on a day-to-day basis and remind you of the kind of life that you want to live. First, we have Arin of True Cotton Art, who surrounds herself with beautiful, colorful, and very nature inspired things that inform her work, but none of this is particular to a project. Then next, we have Mallory. Mallory is an amazing artist who loves being outside. Most of the people I'm including here are people who are inspired by the natural world as well. She has some quotes that remind her of the kind of person she wants to be, a little bit of her work, a little bit of work from other artists, and this is hanging up in her studio. Next is Kimberly of Mellow Ground, which launches soon, all about sustainability for product-based businesses, something we all need. She's clearly related to the natural world and connects with the natural world. She also goes on walks daily with her dog, and so she brings those elements into this little creative space that she has in her studio. Next is Tiffany of Artisan Empire. She is always inspired by watercolor, nature, and this inspiration board really informs what she's thinking about throughout the year. I love that it includes both two-dimensional and three-dimensional things, much like we are going to do in this class by incorporating flat papers with some of the found objects that we brought back from our walk. Last but not least is Hailey of Grown Wild Paper Company, who does cut paper designs that are intricate and amazing. Although none of her work looks like this work that she has on her inspiration board, this inspiration board so clearly informs her color choices and other things that you can find in her work. I really recommend that you check out Haley and everyone's work and see how that relates to their inspiration boards. Now that we know the difference between inspiration boards and mood boards, you can decide what do you want for your inspiration. Before we get started on collecting different things and incorporating what we've brought in from the natural world, we're going to go over the materials list in the next lesson.
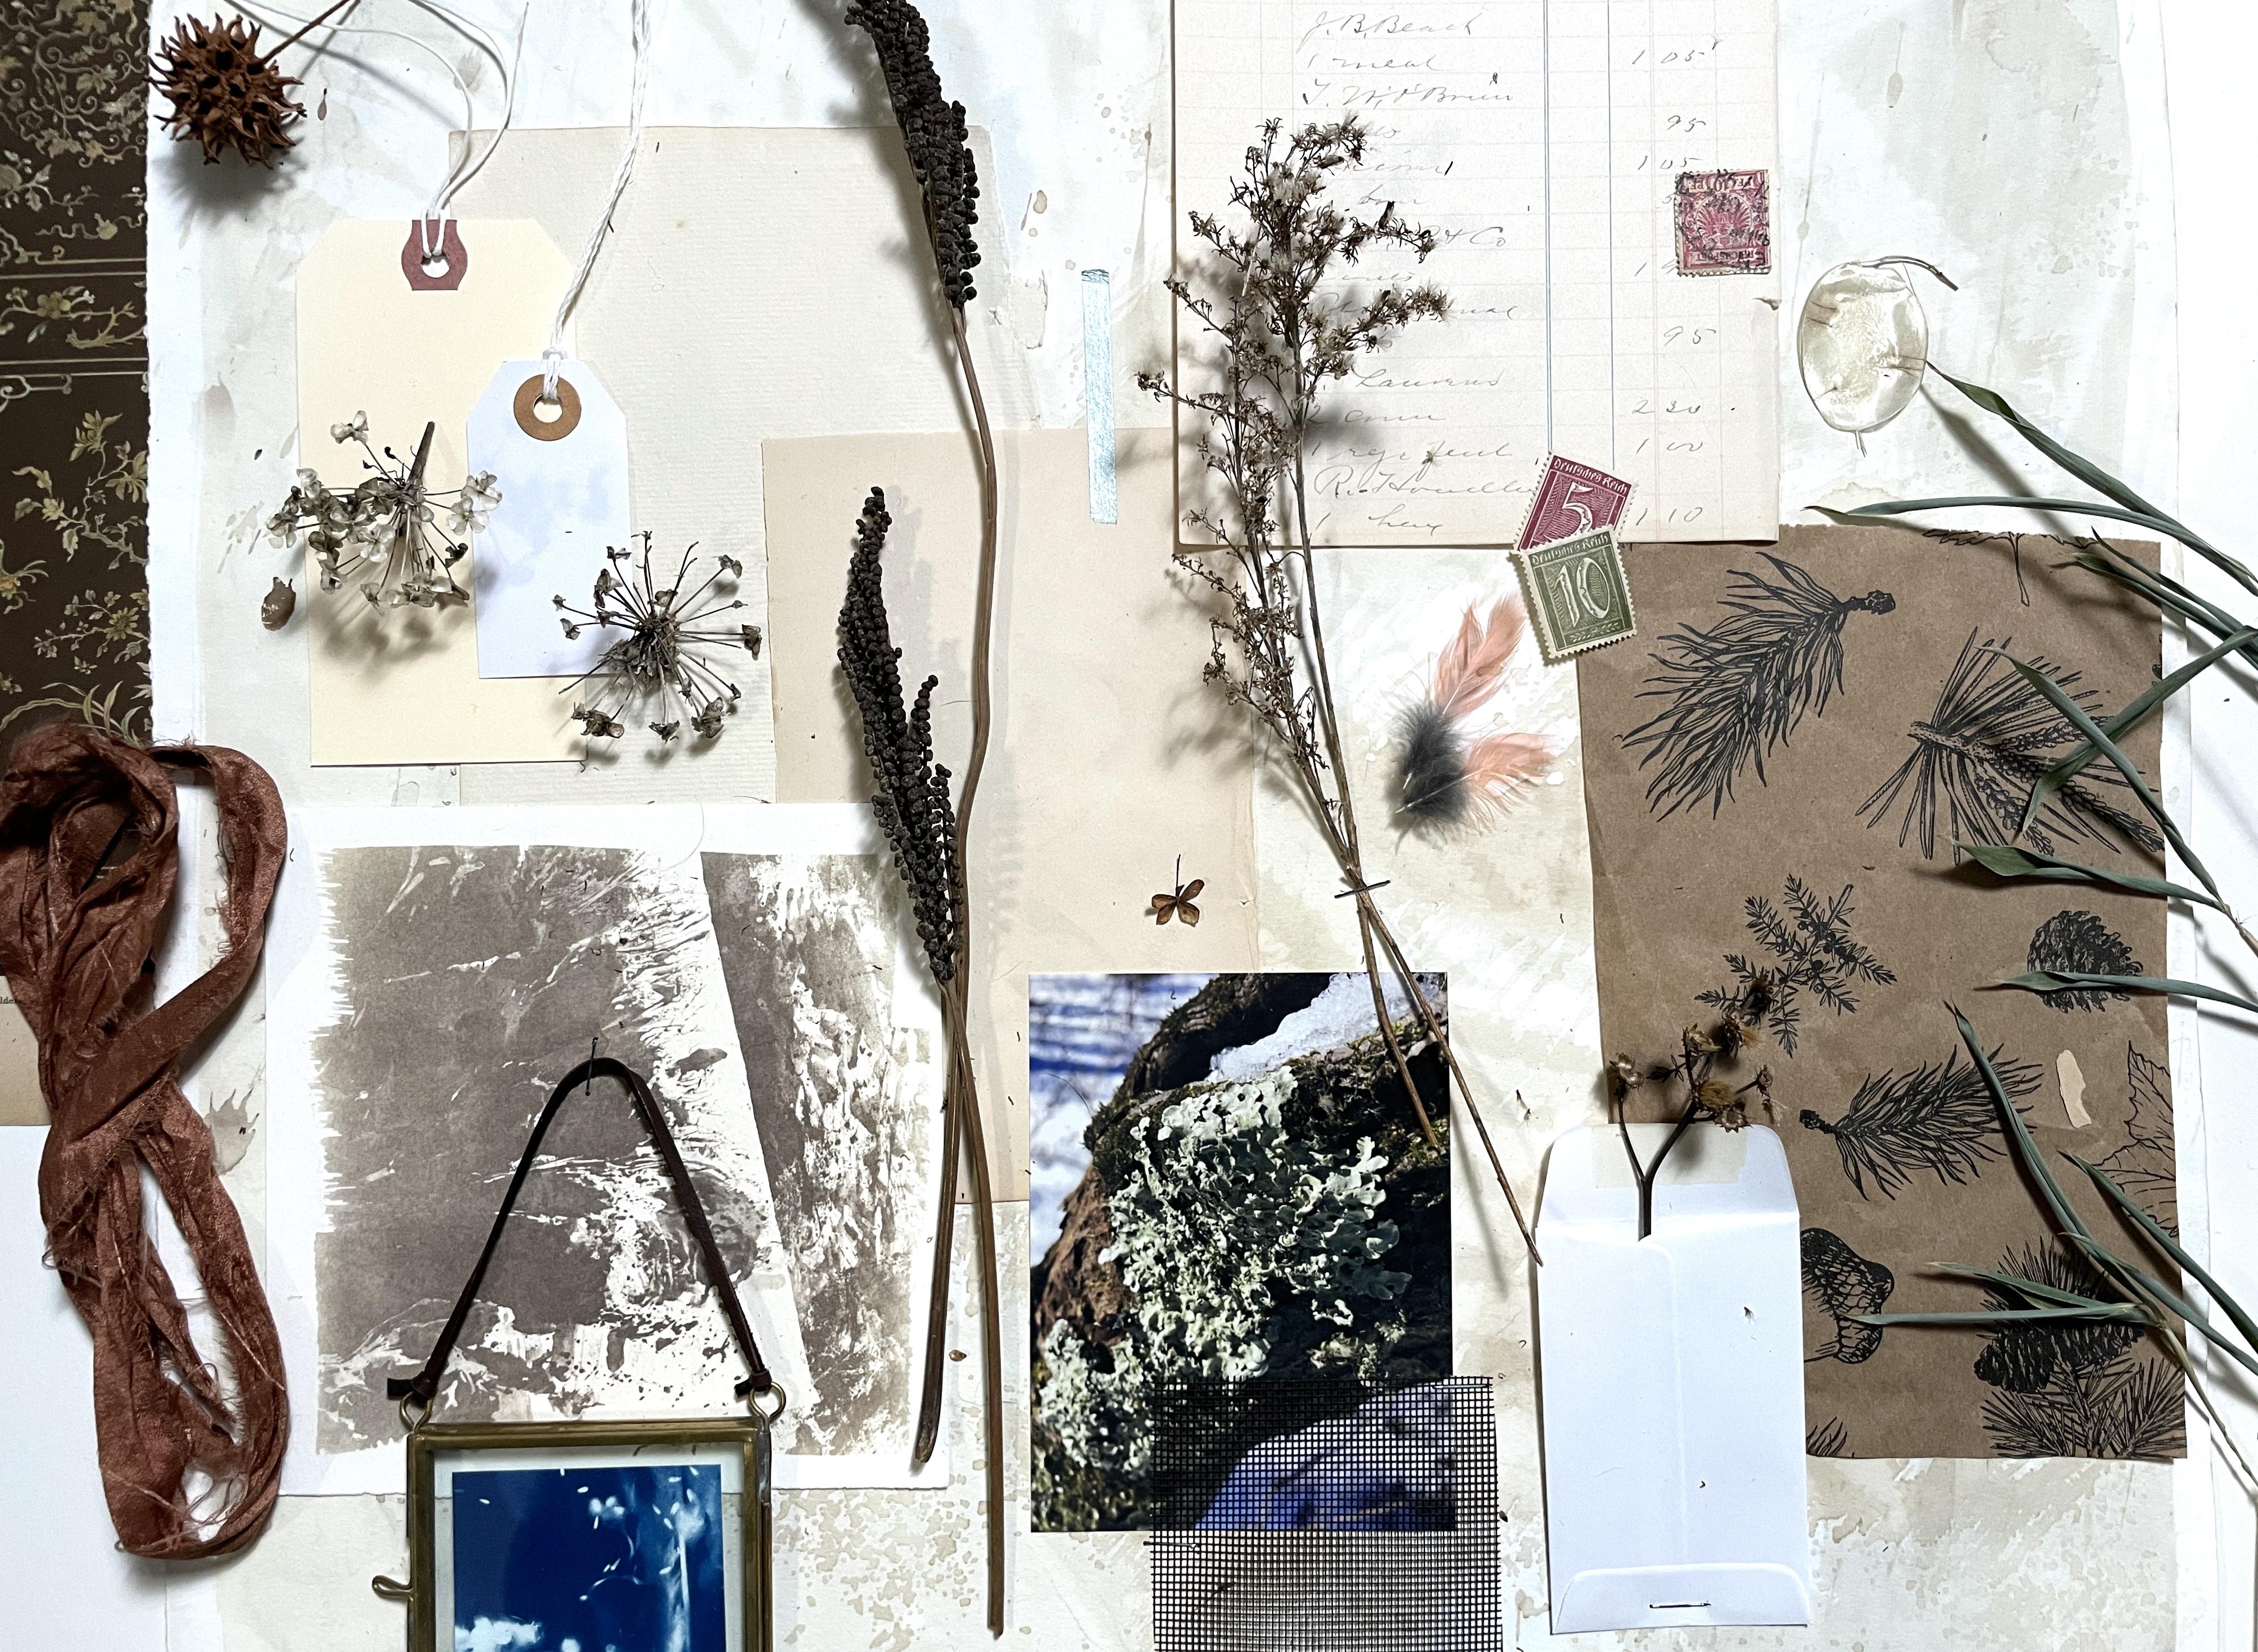
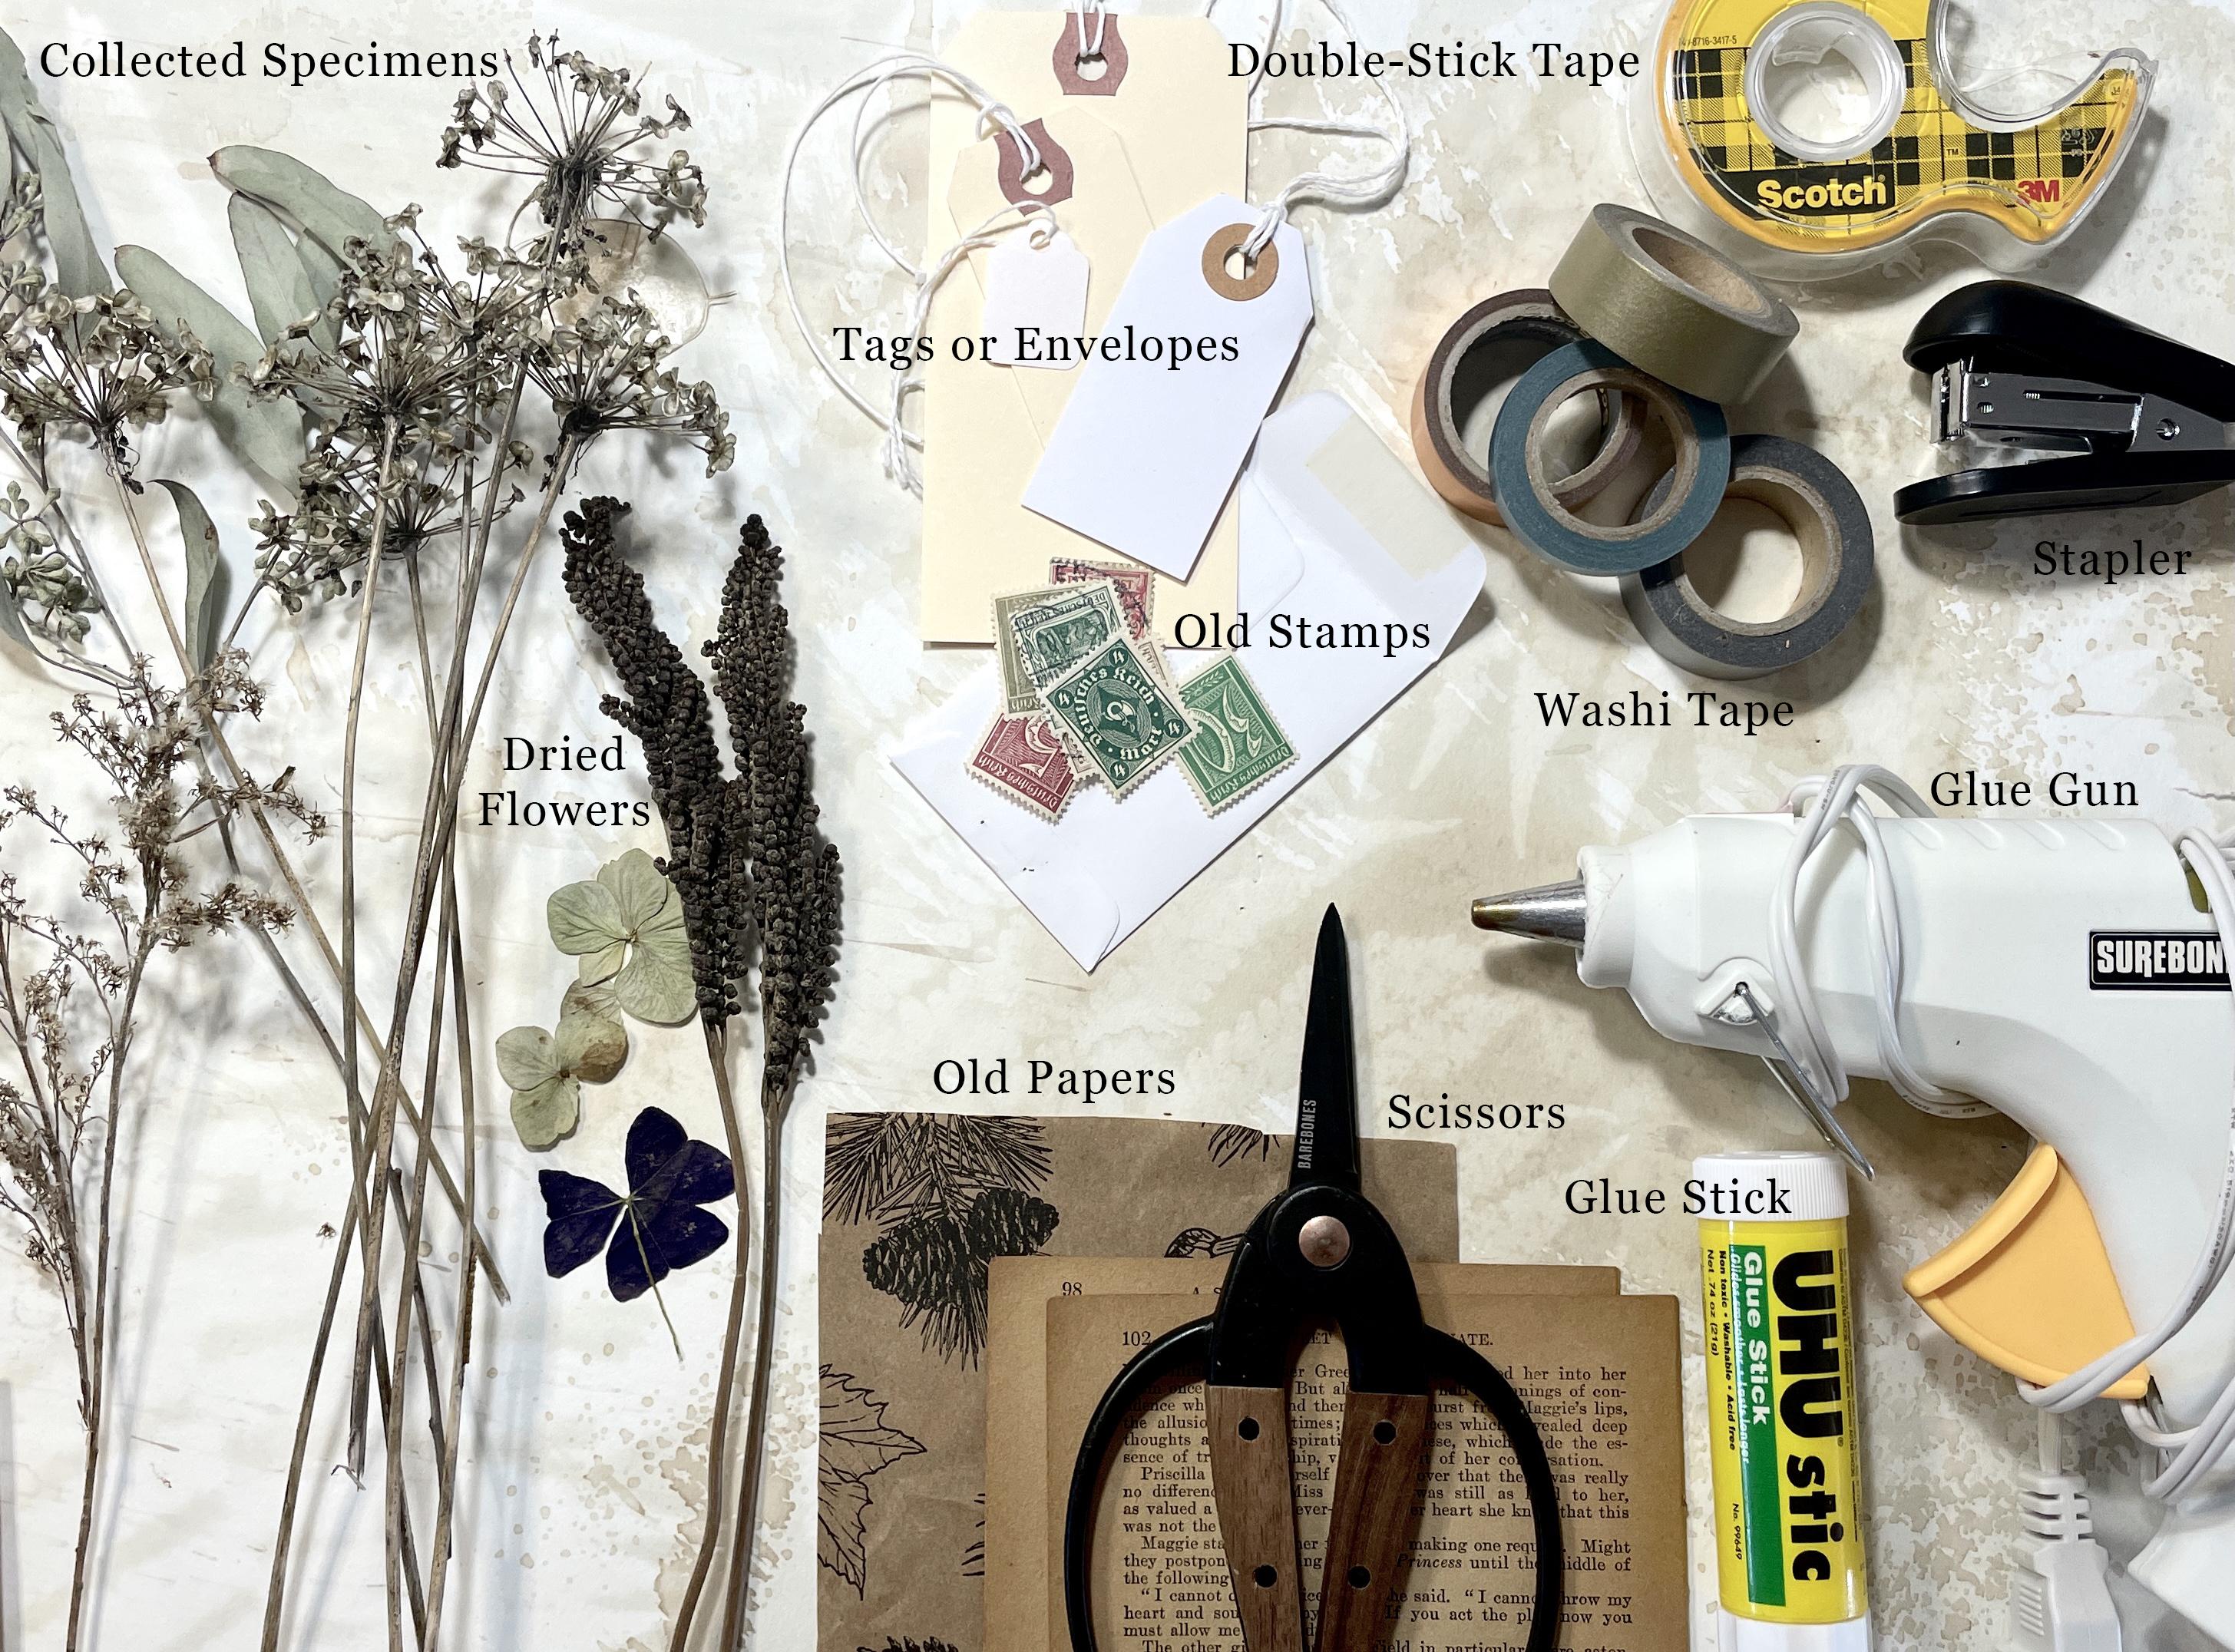
5. Materials: We're going to talk about what materials you're going to need to create your inspiration board. The first thing you're going to need is one piece of foam core or matte board, something sturdy that can hold the materials that you're about to pin on it. I prefer foam core because it has a little bit of depth that you can actually pin or staple into. Then you're going to need some scissors, glue sticks. I prefer UHU glue, I think that it works really well. Double stick tape. This is really helpful. Washi tape can be really fun addition to your board because it adds just a little bit of fun pep. Staples. If you want to actually staple anything into your board, a little stapler can help. Paper clips, twine, and then any of the materials that you have collected in order to create this inspiration board. We collected some of these ferns and some ragweed. I also collected a piece of a hydrangea flower, just in case, kind of like the color. Some seed pods from an allium plants. I love the shadows that these cast and just the star shape. Then I have the photograph that we took of the moss that I printed out and have that just as an extra material. In addition to these things, I looked through my studio and found various odds and ends that I'm going to use in my inspiration board and I want you to do the same thing. You can find whatever you want. It could be old greeting cards, letters from friends, things you picked up at an antique market. Anything that speaks to the board that you're going to create, either in color or texture or maybe some handwriting. There's so many ways that you can really build this board so that it's inspiring both in the content and the color. One of those things that I really love are these tags. These you can get at any staples, any paper supply store. I'm sure you can get them on Amazon. There's so many ways that you can play with them and draw on them and they add a nice little hanging texture. Dried flowers, I always have flowers that are dried in between books and all sorts of stuff. I'm obsessed with old pages. I go out of my way to find these at various antique stores. I always want to collect these. I'm going to pick some things out of those to create this board. This background texture is actually just a mess up of one of my cyanotypes, but I loved the texture of it so much that I ended up keeping it and I often do flat lay photos on there and I thought it would be a fun background for our inspiration board. Now that we have all of these things ready and we have all of our materials surrounding us, we're going to start to build the actual board, and then we'll photograph it.
6. Creating Your Inspiration Board: Now we've gone over all the materials needed to create your inspiration board, we're going to get to work. I'm going to start with my background. You want to have your overall background image. First, we're going to lay it out. Then we're going to take it apart and glue things and tape things and staple things down and then rebuild it that way. But I always like to move things around first before I really secure things. I never secure anything right away. I have this background paper. I'm going to create a more layered board, one that has lots of different layers of papers, materials, and some of the specimens we've found. Whereas you can choose to have one that's more organic, maybe you could cut out the shapes of different things or you can have all of your inspiration perfectly cut in the same size, rectangle or square, and just lay them out like a grid. I really like having layers, so I'm going to use some of these old book pages to create my background and then take some random materials from that I've had into my draws. I love this paper. This came from a package that I got in the mail. I'm just going to cut out a little square of that. You can see here that I'm compiling browns. The reason that I'm compiling browns is because of the inspiration that we found outside when we were on our walk. I love the deep brown of these ferns spores. I love the lighter brown and puffiness of these beautiful rag weeds. Then our image that really is like our textural image for the whole board compliments that but brings in a few other colors like the blue, that was the shadow on the snow and the white, the greens, all very natural themes. I think I'm going to add a few more things and then we'll get photographing. I have finished my inspiration board, I think. Sometimes there's always a few things maybe you want to change or shift around a little bit and as you take things off and then glue them down, you might change your mind. But the key key that I want to show you is different layers of flat two-dimensional objects and then our three-dimensional objects on top of that. The things we found in nature that are basically informing all of the other color choices that I've created. So when I put this up in my studio, I can really feel this inspiration both from nature but also just like how that has worked its way around all the other collected items that I've found outside or from different stores or things that I've generally collected over the years. We have secured some of these smaller background images to the board and now we have things that are more two-dimensional that I'm going to show you different ways that you can attach. So all of these two-dimensional objects, papers, photographs, envelopes, they can be secured using a glue stick, washi tape like here, or double stick tape if you don't want to see the tape. Sometimes double stick tape can really help secure things that are having a hard time staying on. But then when we get to the three-dimensional objects like our plants, feathers, these gumball, I really like using a little stapler because you can just staple straight into the foam core. So I would just take the stapler here and push down and then it would stay there but still really capture that three-dimensionality without having like glue it down with a glue stick. There are staples that you can get that are all different colors too, so you can really compliment your board. I love stationary. For some of these three-dimensional things besides staples, if you have a hot glue gun, this would be a good opportunity for a tiny little dab of hot glue and then pin that down. Another thing that if you have it around, I wouldn't go out buy buy them from the store. But if you have pin, like a sewing pin, you could absolutely use that to pin down things like ribbons or to hang slightly more dimensional but still flat objects like this little framed mini. Now that we've secured everything onto our board, it's time to photograph it. I'm actually going to take the whole board to the floor and use my phone to photograph it so that you can put that photograph into the project gallery.
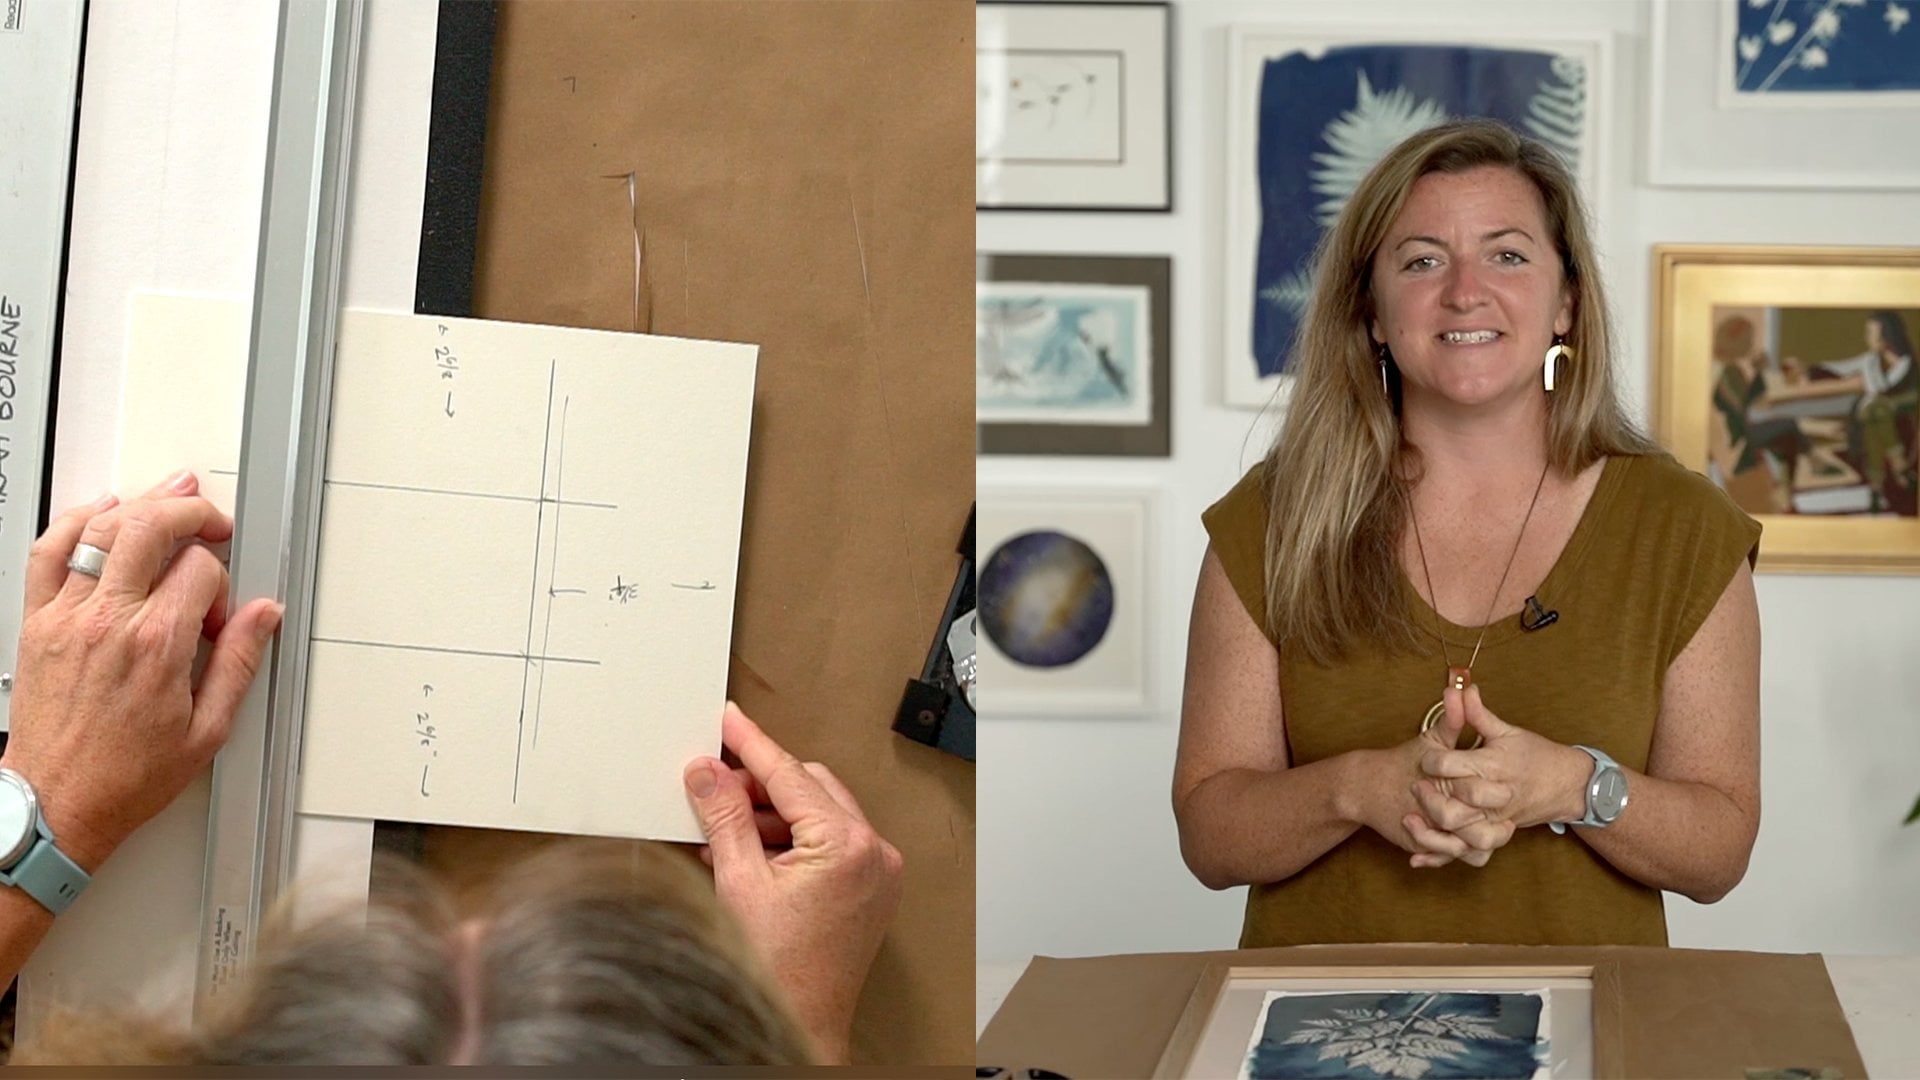
7. Photographing Your Inspiration Board: Now we're going to take our inspiration board that we've just created and we're going to photograph it for the project gallery. I find it so much easier to photograph when we're on the floor because then you can square up your edges with the rectangle of your phone's viewfinder. We're going to display the actual inspiration board in my studio. I'll put it in the studio for it to just stay there. But for the purpose of the project gallery, I want to make sure that you guys photograph it so that you can share what you've created. In order to photograph, I'm going to take my phone on a regular rectangle image and then square up all sides using the rectangle of the viewfinder and the rectangle of our foam core. You can see that I'm getting it just right and then I'm going to take the picture. Then you might take one just a little further away and one a little closer up. I'm going to edit these pictures quickly just using my phone's editing system, then we're going to put them into the project gallery. Now, we have our photograph in our editing system. I'm using an iPhone 12 Pro. Most of the iPhone editing system is pretty similar and if you have an Android, their editing system is also pretty similar. I'm going to go through really basic edits just to make sure that our color and contrast is as good as it can be. In order to do this, I'm going to hit "Edit" and then adjust first using my Exposure. I'm just going to brighten that up a little bit. Then I'm going to run to Highlights. Then I'm going to up our Contrast. The last thing that I think is completely underutilized in editing on our phones is the warmth or the white balance of an image. In order to change that, you want to counterbalance the yellow or the blue. Cool tone turns your image pretty blue. Yellow is to turning it warm. Oftentimes, when we're taking a photograph indoors, it can really add some like really yellow light. Just cooling your photograph down a little bit helps a lot. Then the last thing is cropping. We're going to crop this the way that you want the final image to be. Mine was a pretty tight crop anyway and so I'm not going to do too much change there, but you can also straighten it. Be sure that your photograph is straight, cropped, and just with some general edits before you upload it in the Project Gallery. I can't wait to see what you've created.
8. Wrapping Things Up: I used to teach photography before I took Atwater Designs full time. When I was in the classroom, I used to tell my students who would come in having not done a project, and been kind of lackadaisical about whatever we were doing. "You guys, did you do your project?" They'd be like, "No." I'd be like, "Did you move off the couch tonight?" They were like, "No." I would always say to them, "Inspiration doesn't just come to you. You have to go and find it." So this class was all about getting out and finding your inspiration. Being creatively curious to a point where you really look at the world around you a little differently. We've gone on a walk, we've collected different specimens that we found along the way, captured textures, and patterns on our cameras, printed out some pictures, came back, and put our inspiration board together. Then we photographed it, and now it's your turn to put your inspiration board in the project gallery. If you want to include any other pictures that you took or a picture from your walk that you want to share with us, feel free to put that in the project gallery as well. The walk was just as much a part of this project as the actual inspiration board. I hope that this class has shown you that a simple walk in nature can really ignite your curiosity and get you going during a week or month where you otherwise would just be stuck in the house. If you enjoyed this class, please leave a review and follow me so that you can be updated on my next Skillshare classes. Thank you so much for coming along. I hope you enjoyed it as much as I did. I'll see you in the next one.
9. Bonus: Bloopers!: I absolutely love being outside. I just said that, didn't I just say that? I think so. That path is kind of a cool spot. Or, no. I don't need to say it. This class is. In the next lesson. Thanks. Thank you so much for coming along with me. It's been so fun. I didn't even tell the story though. Nope. Nope. It's been so fun. It was fun. Leave a review for your. I'm literally just swelling my words, like bubbled up. Thanks so much for taking this class, please. No. No. Thank you so much for coming along. I hope you enjoyed it as much as I did. I'll see you in the next one. Perfect. More puppy?
 Sarah Rafferty, Artist and Nature Lover