Transcripts
1. 1. Introduction: [MUSIC] Hello, and welcome
to travel photography, mastering light and composition. My name is Jen and I have
been a photographer for over 20 years in all sorts of
genres including weddings, portraits, families, sports,
and currently I've been specializing in travel
documentary photography for over five years. I'm also the owner of
Launch Your Travels where I show people how to plan
and take their own trips. Into this short masterclass, I will show you how
you can easily improve your travel
photography skills so that you can feel proud
to show them off. Once you know how to see and
use the light plus how to create compositions that will draw people into your photos, you'll be able to use these
techniques over and over for a lot of success
in your images. These simple yet effective
techniques will up your photography game no matter what type of camera you use, cell, point-and-shoot, DSLR, or mirrorless. At the end of this course, you will be able to
determine how to take great photos from any situation. Which is necessary for
travel photography, since you're not
always in a place at the most ideal time of day. Being able to figure out how to make the most
of where you are, when you are will result in many more photos
you are proud of. This course is perfect for the beginner travel
photographer or for anyone who would
like to [MUSIC] up their travel photography skills. I'm excited to show
you how to create amazing travel photos
so come join me inside.
2. 2. Camera Tips for Success: Camera basics is going
to set you up for success with quick tips
about your cameras. I want to go over a few tips
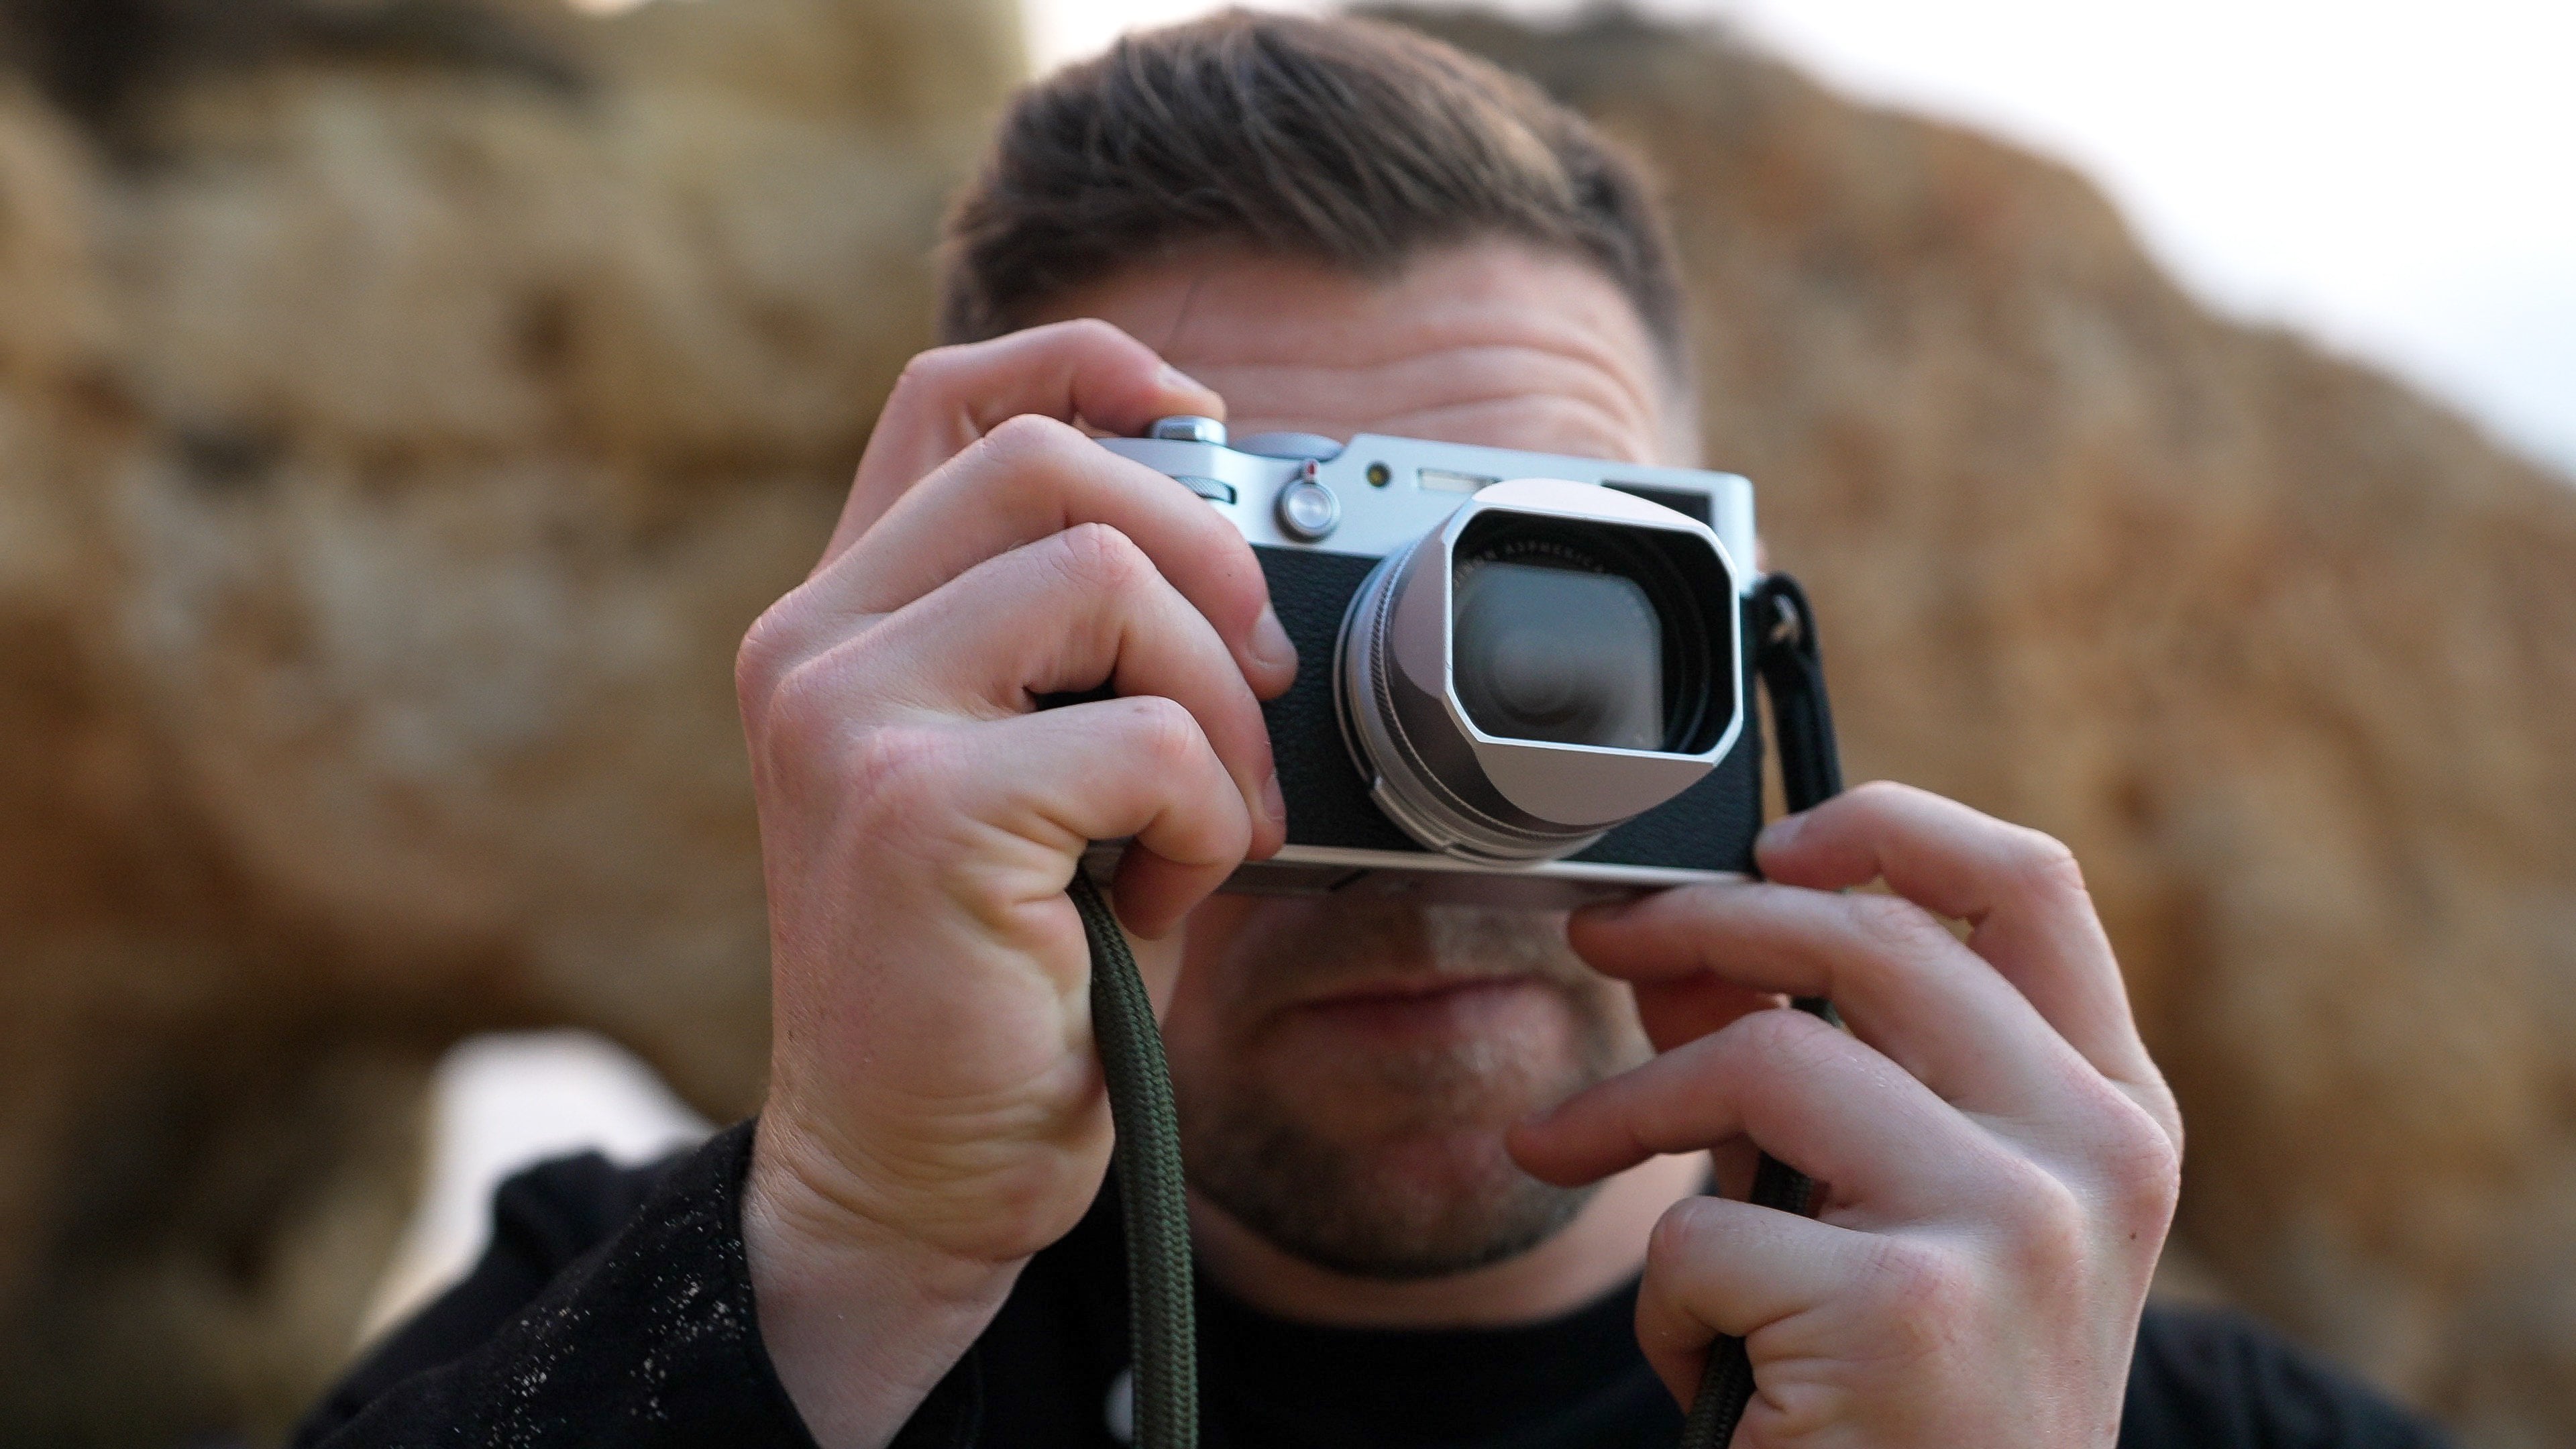
on how to hold your camera. When you're using
your cell phone most people will hold it out like this and that makes
the camera really unsteady. What you want to do is you
want to tuck in your elbows and create a very steady
way to hold the camera. Now this also goes, if you are using a DSLR
or a mirrorless camera. You want to make sure instead of holding it out like this, you want to tuck your elbows
in right beside your body, tighten your muscles
and you want to stand like you're a tripod. Make sure you're in a good standing position
so that you are steady and then just take
the camera up to your eye. If you do have a viewfinder
that you can look through, I highly recommend
doing it that way instead of through
the live view. But I understand that there are some cameras out there that
do not have that option. I'm going to give you
three things that are super easy to avoid
blurry photos. Now the first one is, a lot of people don't
even think about it, but it's cleaning the lens. I've talked about this before, but you want to clean your lens. I can't stress this enough. It goes for your cell phone and your other camera
if you have one, you want to make
sure that you do have those cleaning products with you can
consistently clean them. Now, the second one is
how you take the photo. Now, I just showed you
how to hold the camera, next you want to make sure that when you do take your photo, when you press the
"Shutter" button, you don't want to
drop it immediately. Hold it there for a few seconds, and then you can drop it. I see a number of people where they take the
photo and immediately drop it and that what causes
some blur in your photos. That's not just for
your cell phone, that's for your other
camera as well. The last thing you
want to do is you want to use something to
steady yourself, if you're in a windy
area or if you just are tired from the day, you want to be able to steady yourself as much as possible. What I like to do is lean
up against any buildings, any storefronts, any trees, or anything along that lines. Now, you want to
make sure that you hold it again with
your elbows tucked in and you're holding it with that steadiness of the wall. You also want to do that for
your other camera as well, even if you're bringing
it up to your eye, you want to have
all that steadiness that you can possibly have. The other thing you
can do is you can hold the camera on something, at a bench or a table
or anything along that lines and you're able
to hold it steady that way. Again, you can also do
it with your cell phone or you can also do it
with your actual camera. Now, when it comes to
carrying your camera, I suggest that you carry
your camera out as much as possible or else you will miss those shots that come
up very quickly. When it comes to my cell phone, I use my wrist strap I have it around my wrist and
I'll either keep it in my pocket with the wrist strap attached or I'll just
carry it like this. When it comes to carrying your
DSLR or mirrorless camera, you want to make sure that
you carry it properly because it could
damage to your lens. I see a lot of people
carrying it incorrectly and I just want to go out to everyone and tell them
how to carry the camera. This is how most
people will carry it. They carry it and the lens is
facing out from your body. This makes it very hard to one: conceal your
camera and two, it's going to knock
into everything. You want to make
sure you turn that around and hold it like this. It tucks in behind your butt and you're able
to conceal that a little bit more and you're not going to bash into anything as much. Now I also see a lot of people carrying their
cameras like this. This is two things. It's going to cause havoc on your neck by the end of the day, and then also you just
look like a tourist. Not that there's anything wrong with looking
like a tourist. But when you're carrying
a nice big camera, you do become a bit more
of a target for thieves. I want to show you a trick
that I use because I carry my camera on my
shoulder all the time. There's two things that
you want to keep in mind. When you are walking along a road and a street
way beside you, you want to make sure
that the camera is on your shoulder that's
away from the street. This will decrease your
chances of someone coming by on a motorbike and reaping the camera
off your shoulder. Another thing that I like to do is I always carry a cotton scarf with me and they're super
handy for a number of things. But what I do is I will tie it around the strap
of my camera, and then when I do have
my camera around me, I just put it behind
the scarf and that conceals it a little bit
more so it's not as obvious. Then you can just push it to the side when you go
to take your pictures.
3. 3. How to Prepare for Your Trip Photography: There are a few
things that I like to do to make sure that I do get the best photos in the
places that I'm going. First, I'd like to
use Google Image. I will look up either
the city that I'm going to or if there are
specific attractions, monuments that I know
I'm going to be seeing, I look those ones up
specifically as well. This way I get an idea of how people have taken images before, the different types of day
that is good to take them, as well as getting
inspiration and ideas on how to take
photos that I want. Now I don't take photos
exactly as I see, but I get inspirations
of where to position myself and what locations
to go and see these things. When I'm in a new city, I like to take a bus
or a walking tour. Most cities will have free walking tours that
you can sign up for. I use these as a great base to figure
out the lay of the land. They'll take you to a lot of
the most popular monuments, areas, and ways to get around. Now you may not have enough time to get the shots that you want, but you can also make
note of where you want to go back to and how
to get around. You can also use
the tour guide to be able to ask questions
of best time of day, different areas that you
might want to check out, and the little secrets that
they may know that you don't. Another thing that
is very important is traveling light
during your days. Now, don't carry much
in your day bag. The lighter this is, the less stressed, sweaty, and tired you'll
be which makes for a much nicer day and
easier to take photos. Lastly, you want to keep
your device accessible. Now you don't want to keep your device in your
bag or in your purse, zipper it up, and having
to fumble to find it. Sometimes shots appear very quickly that you want
to take photos of, so you want to be
able to pull out your phone and take
that shot very fast. I have a wrist strap
around my phone, so I keep that around my wrist and I will
either keep my phone in my hand or I will have
it in my pocket with my hand or my strap
just attached to it, that way it's always
accessible whenever I need it. There are some etiquette and
restrictions you want to be aware of when you're
taking photos. First and one of my main ones is you want to be a good human. When you take pictures
of any people, you want to use as much
respect as you would want when someone
takes your photo. I'm sure most of us would not
appreciate someone shoving a phone or a camera in our
faces and start taking photos. You want to ask them if
you can take their photo, this doesn't have
to be verbally, you can just hold up your phone and smile and make eye contact. This mostly applies
if it's going to be a noticeable photo
taking of them, and this includes pictures
and portraits of strangers, religious ceremonies, funerals,
people out and about. If it is more street
style type photography, then it's not always necessary to be asking
for permission. Next is using your flash. You want to know how and
when to turn off your flash. My rule of thumb is always
turn your flash off, most of the time it does not
add anything to your photos. Museums, places of worship usually have a no
flash policies, so you want to make sure you
know how to turn that off. If you do see a no
flash photography sign, you want to respect this
and do turn your flash off. Also you want to make
sure that you do not take photos around
restricted areas. This can get you into trouble, or it could just get your
phone or device taken away, or you just have to remove
the photos that you've taken. You want to be aware of restricted areas which
include government buildings, airports, borders, immigration, military checkpoints,
and sometimes soldiers. Again, if you see no
photos on a sign, you want to respect that
and put your device away.
4. 4. Travel Photography Composition: Next, we're going to
talk about composition. I'm going to talk about
some best practices, as well as different ideas
for you to see and set up your camera and your shot to get the best photo possible. When you're composing the
photo that you want to take, there are a number of things
that you want to take into account to make
them more dynamic. Now, obviously,
you don't want to use all of these all at once. But to use some of them within each frame makes the picture
so much more interesting. You can look for leading
lines and patterns. Leading lines are walkways or streets or stairs
going down somewhere. Something that
leads right through the photo with patterns
like this photo here, the rice terraces adds a nice pattern of all
the terraces going up as well as all the palm
trees in the background. Take photos from all
different perspectives. We will be going over this
more in detail later. But this creates
unique angles to see familiar viewpoints
and monuments from. Another great thing that you
want to do is create scale. A lot of times you don't know how big things
are in a photograph. This is in landscapes as well as small little things like this flower pot cake that
I had in this photo, it looks quite large. But then when I put the
spoon beside it and in it, you realize it's
actually quite small. You had no idea how large
this was until I put something familiar
of size beside it. Another thing you can do,
especially for landscapes, is add people into your photos. This way, it gives
you an idea of how big and how grand
this landscape is. You also want to layer
elements into the frame, and this will make it
much more dynamic. Now what I mean is to
have different elements from the foreground to the middle ground
to the background. Now, it doesn't have
to be all of them but adding those dimensions into it really make it pop like this one here where I
have the fence in there. It makes it a little bit more
dynamic than if I just took it over the fence and
not had the fence in it, it would've been a
little bit more flat. You don't want to
take just one shot. We do have digital cameras now, we don't have to
worry about film. You want to be able to
take multiple shots and try different angles and
try different viewpoints. You have a variety of different things to look
at when you come home. This way, you're able to look at all the
different types of angles and choose
the best couple that are your favorites, gives you lots of options, which is always helpful. Another thing that
people do is they try to include everything
into one shot. If you don't have a focal
point in your image, it becomes very confusing
and cluttered to the viewer. Even if you are wanting to include a lot of
things in your image, make sure that there
is a focal point so people know where to look and know what
they're looking at. Another thing you want to
be aware of is where you place all the elements
in the photo. Now, if you see where the
light post is up at the top, I made sure that I stood
in a position where it did not cover the top of
that building in the back. That creates a nice line and a nice focal point for you
to go through the photo. Same with this one where you see with the
lamp post again, I make sure that I am
in an angle where I am not covering up the tall
building in the background. Again, with this one, I have the lamp making sure
that it is not covering the building in the background and also the sign on the right. I made sure that it is also not covering the taller
building in the background. Where you position yourself
to make everything fit will make a huge difference. The rule of thirds is a basic and popular
composition tool. You may have heard about this, but haven't had a chance to understand what it really means. When composing your image with the rule of thirds in mind, you want to split
up your screen like this in a grid formation, cut into thirds, both
horizontally and vertically. Now, to be really impactful, where you want to put your focus of what is in your photo is on the intersecting lines right where the red
circles are there. You want to play around and try different areas of where you
want to put your focus on. Try all the different squares and the different
intersecting lines. Not only do you want
to place things on the intersecting lines, but you also want
to place things along the lines themselves. Place the horizon either on the lower third or the top third. Place different elements
that are larger in there, either on the right
side or the left side. See what works for you. Try different
things and then you will find a style that you
really like to get to. Now, when using the
rule of thirds, you don't want to use it
as the be-all end-all, the only way you
can take a photo. You just want to know when
you can break the rules. This image is perfect
to break the rules on and place the horizon
right in the middle. It has a reflective surface. It's a beautiful sky and to get that mirrored image one
on top of the other. To make it easy to use
the rule of thirds, your cameras have a grid
that is just like that, that you can turn on
so you can always see where you should be
placing the elements. To do this, you want to go into the settings sections of
your phone and you want to scroll down until you
come across your camera app. This might be a little bit
different for each phone, but it's all going
to be very similar. Then you click into the camera
and then you want to go to the grid and you want to turn
that to green so it's on. You can then click
out of here and return to your home menu and the grid will appear on
your camera all the time. To do this on your camera, you want to go into
the menu section. Now it will be different
for each camera, so you want to refer to
your manual on where it is. But on my Nikon, I go into custom settings and then I
go into the shooting and display menu and
from there I go down to the viewfinder grid display and make sure that it's on. You just want to make
sure that you're looking for a viewfinder grid.
5. 5. How to Compose Your Photos to Get the Best Images: When you're composing, you
want to make sure that you take all different angles. You want to get down low to highlight
different textures on the ground or to help eliminate the amount of people
in your photos. It also adds a great variety to your photos to see
them down low as well. Another one you want
to do is up high. You want to get above people's
heads in large crowds. You also want to look up, see what different views
and details you might not have noticed if
you didn't look up. When doing these, you can also keep in mind of the different
things that we've already learned about like
creating patterns, leading lines, also
the rule of thirds. These all take into account
everything that you do. Now there is a tool that you can use that you may not think about that will help you
create these two angles. When you're using
a selfie stick, think outside of the box. These don't always have to be just for taking
pictures of yourself. You can use these
to reach up high, go overheads if you
are on the ground and there's a lot of people
there, you can use this. You can hold it up
and you'll be able to take pictures without
anyone else in your photos. Another thing you can do is
you can create it down low. If you want to get down low and you don't
want to squat down, you want to make
sure that the camera is tilted up a little bit higher so that you can get down and just take
the photo there. You want to make sure that
you try different angles and different ways of taking
pictures of buildings and any monuments that
you come across and you can do that really well with
using the selfie stick. Another great way is to get up high and take things
from overhead. This creates an angle for
taking good food photos. Also get to the top
floors to show action, beauty, people from above. Hot air balloons are always
a perfect way to see the landscapes in a new way without any restrictions
of windows. Get to the top of buildings, find vantage points
where you can actually see from above down below, it makes for great images. Unique angles are
a great way to add some different elements
to your photos. They're great for
architecture and buildings. You just want to turn your
camera on different angles to create different perspectives
of something familiar. You can also capture
just portions of the subject to view in detail. With the unique angles this includes turning around
and seeing what's behind you of what no one
else is taking a photo of. So also including reflections or also shadows on the ground. It just creates a little
bit more oomph and a little bit more difference
to everybody else's images. When you're taking a
photo of a subject, walk all the way around it, and take photos as you go around of the
different viewpoints. When you arrive somewhere, when you first see the monument or the subject that you
want to take photos of, this may not be the best angle
for you to photograph it. You may come across viewpoints
in areas you didn't even know about and you
could have possibly missed. You can also go
back to the areas you think you want to
reshoot and see it in a different angle or
a different way after seeing everything that
is available to you. One important thing
you want to do is scan the edges and people. Before you snap that photo, you want to scan the edges of your frame to make
sure that there are no unwanted items and that you are not cutting
the tops off of anything. This goes for any tall
buildings or trees. When you cut the tops off it, it just stops the photo. The more you can include
so that it cuts right to the top off in that
particular subject, the better your image will be. When taking photos of people, you want to look
at the background. So many people have had things growing out
of their heads or their bodies like trees and lamp polls and things
of that nature, it doesn't look good. Make sure that there is nothing growing out of anyone's head. Another thing you want
to do is you want to scan your image and remove any distracting
elements by moving the camera angle or moving your feet and moving
to a different angle. This can include trash cans, lamp posts, any signs, as well as power lines. If you didn't want
them in your photo, make sure you move forward or backwards to eliminate them.
6. 6. How to Improve Your Photos Dramatically With Light: We just went over a number of different composition ideas, now we're going to
jump into light. Light is where you're
going to be able to dramatically improve
your images. It's all about the light. I'm sure you've heard of that, and it's always true. Light is one of the most
important things that affect the outcome
of your photo. Now it's not the easiest
thing to master, it's taking me years to
really master how I use light that is available in the scene that I'm
taking a photo of. But we can start from
the very beginning with the basics to help you get
the best out of the light. First, you want to
understand when the best time of day is to
take photographs outside. Now the golden hours, I'm sure you probably
have heard of this term, but this is at sunrise
and at sunset and it is the 30-60 minutes before and after the sun rises
or the sun sets, these will produce
beautiful light. Now, when you're looking for
lighting for people, again, the golden hour is
super flattering and it will not create harsh
shadows on someone's face. Now, if you are going
to be outside during bright sunshine in the
middle of the day, you want to seek
a full shade spot right on the edge of the light. What this means is you want to go into a spot that is in shade, but near where the
sun comes in as well. When you look down
on the ground, you'll see a sunny spot and
then you'll see a shady spot. Stand in the shady spot
with your toes and body facing towards the
light that will produce really beautiful light. This you can also do
with someone standing inside of a doorway
facing outside. Now, another one you can
do if you're inside, you want to go
towards the windows. These are going to have
nice natural light for your subject. One of the cheats
that you can use with your digital
camera is that you can just have it on the selfie mode and just
turn around in the scene. Pick a place where you
want to take a photo and then just go round
in a whole circle, having the camera facing
you the whole time, and you'll see there'll be one spot that just
pops up in your face, just lights up beautifully. This way is a very
easy and effective way to find really good light
quickly for someone. Now, with night shots, you want to leave
your flash off. The flash on cell phones and
cameras are not really good. They're just going to add a really bright light to whatever you're going
to be taken a photo of, and it's just not going
to be very flattering. If you are needing extra light, you can use a secondary
light source, so you can use a friend's
flashlight app on their phone. You can also have a little flashlight with
you that you can use. Also, if you are able to take the photo from different angles, choose the angle that has a lot more ambient
light coming in. You can also use candlelight to your advantage as well
in certain areas. You want to be aware when you're taking photos in low light, like in churches and temples, as well as night shots
like this one here. If there is not enough
light in the image, you can come away
with blurry photos. This happens when you are trying to take these types of photos and you're just trying to hold the camera with your hands. Because the camera
takes longer to read everything in the scene
when it is in low light, you are just not able to hold the camera steady
enough for as long as it takes because it picks up
every tiny little movement. Now cell phone cameras
are getting better and better all the time
in low-light situations, but there are things that
you can help with this. One thing is you can
use a mini tripod. These are now very
lightweight and small and very easy enough to pack and also put in your
bag for the day. Another one is you can
study the camera by using a flat surface around you. Instead of holding
it with your hands, you want to place it down onto the flat surface and use
that as a tripod substitute. Lastly, another one would be
you want to find more light in the image by getting
closer to the bright areas. Instead of taking a wide shot where you may not
have a lot of light, where it is possible you
want to move in closer to take more close-up shots of a specific part
in that image. That way it's going to be
able to have enough light. I want to go over
some lighting tips that really can help you find some really good light
and how to take your photos. First, you want to place
the sun to your back. If you do this, you will get rich colorful
photos with blue skies. Now, with this technique, you want to also be careful of your shadow because the
sun is at your back, it's going to create a
shadow of you on the ground. If you're taking a picture of the ground in
front of you as well, your shadow could
sneak into the photo. Now if you shoot into the sun, you will have muted colors. This could be a really nice look and a difference for your album, but you can also have a really beautiful
silhouette this way as well. Now, before you take a photo, you want to look to see
where the sun is in the sky, and then decide which direction you want
to take your photo. This will determine the mood
and the look of your photo. During the brightest
time of the day, if you can, photograph
in markets, take street photos, or go
inside and shoot at museums, in churches, in temples. This way you cut down
on the harshest light and really not the greatest
time to take any landscapes. Again, when you're inside, you want to seek out
that window light. If you're photographing
a person, you want to face them towards the window so that the
light comes on them. If you're wanting to take a
picture of the actual room, you want to stand right beside the window and take a picture
into the room that way. Now, when you are traveling, you cannot control
the weather and you don't always know what
it's going to be like. Don't get disappointed
when it's all cloud cover, because it is not
always a bad thing. This is a great time to take photos of people outside
since it provides such a diffused light and
nice even lighting on anyone, even during the brightest
time of the day. If the sky is really boring
and clouded over and not like dramatic
building clouds, you want to try and
eliminate or use very little of the
sky in your photos. This way you eliminate a
boring top part of your image. Now if it is a really
broody and building, stormy clouds,
definitely include those because those add such
atmosphere to your photos. Now quick trick for when
you do have a dull sky in your photos is you can turn
these to black and white. You can't tell the difference
if the sky is blue or if it was gray in those
black and white photos. It's a nice little trick
that a lot of people use. Lastly, you want to
really realize that you can't always be at
the right place, at the right light of day. Even if you are on tour or if you're traveling
on your own, you may not want to get up early in the morning
or you do not want to be at this one monument at
this specific time of day. You want to just utilize what you have in the moment
while you were there. Remember to walk around, find the best angle, look for the best light, or zoom in and take more
detailed shots of the scene. Use the tools that you have
learned in this course to be able to make the best of
the situation that you're in.
7. 7. Travel Photography Tips & Tricks: Now we're going to jump
right into some tips and tricks as well as an overview
of what we've learned. You want to remember to shoot both horizontally
and vertically. It makes your photo so much more pleasing to look through. You want to turn
off the sound of your shutter noise
on your phone. There are times
that you just don't want others to know
that you are taking a photo and that noise is going to be an
instant giveaway. Or you are in a very quiet
place like churches, and you want to be
respectful of the sound. Now the easiest way
to do this is to turn the volume off on the side of
your phone with the switch. This way you can turn it on
and off again very easily. Now if you decide to
use the volume buttons, be sure you're not in
the camera mode as the volume buttons
will also take photos when you're
in camera mode. Get out of the camera mode, use your volume buttons
to turn it down, and then you can go
back into camera mode. You also want to be sure to turn the grid onto your camera. We talked about this
during the rule of thirds. This just helps you
be able to easily compose images and
get straight lines. Remember, even all the rules and techniques
that you learned here, you can also break
all these rules. Try different things that
you might think will look really cool or your
different type of style, see if it works. Try different things
outside of the box. This is where really
interesting photos come from. When taking photos, you want to try and incorporate taking a wide shot and a
more detailed shot. Now, you don't need to
do this for everything, but just certain things
where some more detail from a wider shot would
be more beneficial. When you do want to get
closer to something, the general rule of thumb
is zoom with your feet. Now don't zoom with your camera. What this means is walk closer to whatever you are
trying to get a picture of. Now if it's something
that's really far away, you'd have no choice but to
zoom in with your camera. Cameras on our phones are getting much better
all the time, so this rule is not as
critical as it used to be. If you have one of
the top of the line, newer cameras,
you're not going to notice a ginormous difference. But if you have a bit
of an older phone, you will notice a difference
as soon as you zoom in on a photo and
take the image, it becomes very
pixelated and grainy. It's not a really nice photo. This is really where you
notice the difference between a camera on
your phone versus a DSLR camera or a mirrorless camera is when
you try to zoom in on things. Then also you want to
take multiple shots of the same thing, but use different
angles and viewpoints. This will give you a lot
of variety to choose from when you're putting
all your photos together. When you are shooting
through glass, say, from the windows
of your bus or of a car or of any
display shop windows. You want to press your camera right up against that window, so it will reduce the amount of reflections that are coming
through on the glass. Now this doesn't
always work with the composition that you want to use of taking that photo. You just want to
be aware of where the reflections are and try to reduce that as much as you can. Now the exception
to this rule is the glass on plane windows. You don't want to put your
camera right up against there because they are a
different type of glass. You can shoot a little
bit away from that. One of the tips for when you are taking pictures
through a window or through any glass
is you want to wear black top or black jacket
so you don't reflect. If you are on a bus tour, make sure you're
wearing a dark color because your reflection will stand out if you're wearing a white shirt or
a colorful shirt, it'll come through
on the images. Another trick for when you're on a bus tour is that you want
to be either the first one off the bus or the
last one back on the bus. Or you can do both if
your very talented. But this way you
are able to have the least amount of people
in your photos of that area. When you're taking
photos of your trips, the more you can
tell a story from your photos and of what you did, the more people are
going to want to look at your photos and
you'll be able to also relive all those moments. Take pictures of the processes
of things that you go see. Tell the story of your days. Show what you're doing. Even small snapshots like of this in our cooking
course in Florence. How the process was
of how to make pasta. You can do this either
by doing a photo story and just showing it
through photos or you can also do photos
and accompanying it with words or a
story along with it. To help you to do
this very easily is to keep a daily
journal of your trips. Take notes of where you
go each day, how it was, how you felt, and any other relevant information that you may want
to put it in there. Then that way you almost
basically have your story written for you by the
time you come home. Another thing you
want to do to set up your album for when you get home is to photograph the names of places
of where you are. This helps to organize
your photos too. When you take a
picture of a place. It could be either
a street sign, any type of signage on walls or I also like
to do postcards or any bags that I see
that have statements or names of places in a
really funky and unusual way. I use these for title pages or pages that I want to highlight what you're
looking at next, these bring your
story altogether. Lastly, you want to edit any
of your favorite photos. Now, every professional
photographer does edit their photos so it is not cheating like a
lot of people I hear saying. Editing your photos just
adds that extra punch and really nice finishing touch
to what you already have.
8. 8. Conclusion & Next Steps: Congratulations on completing
travel photography, mastering light and composition. Now, you don't want
to just stop here. Continue to practice
the techniques you learned inside this class. Go out into your community and look at it through new eyes. The more you practice at home, the better your images will
be when you are on your trip. Come back and rewatch the video for any parts that you
need a refresher on. Be sure you know how
to use your camera before you leave so
that you can take photos quickly and easily to eliminate the
stress while away. Remember to submit your project and any questions
that you may have, so I can get back to you. If you're looking for
any more travel advice, photography inspiration,
small group tours, and free tools to make
traveling easier for you, checkout my website, launchyourtravels.com
and come join my Facebook group, Travel 101. You can also check out my travel photography at
jenwilliamsphotography.com. Thank you so much for watching.
 Jen Williams, Travel Expert & Photographer