Transcripts
1. Why To Transfer A Visual?: Hi there. My name is relaxed and cabbage and it takes the largest vendor teacher. Today, I would like to share with you now chemicals, visual transferring techniques for text and art and embroidery project. Whether you're a beginner in textiles and embroidery, are you've already gained some experience. This class will help you to put your own creative voice out there by developing your own images as a base for your textile project. With a small push in the right direction, you'll see how easy it is to create a project with your own visual. This class, you will learn how to use your photo editing app to get the most out of your visual. Transform any visual to a line drawn sketch. Explore various ways to transfer as simple or complex to Israel to take styles or translate your visual to a baton. Once you've mastered these simple transferring techniques, you'll be able to implement it in many of your future projects. Now let's get started right away.
2. What You Need To Get The Job Done: Materialist for this project. In this class, I'm going to demonstrate a few visual transferring techniques. It's never a good idea to have a visually we'd like to develop into a project in textile or embroidery. Whether it's fertile sketch of your drawing or a visual concept of some kind. Having your printer is also useful, so you'll be able to photocopy print var1 larger visual source based on your needs. We're going to use some basic materials for manual image transferring, which are carbon paper, silk paper, and artists tracing paper. The artist tracing paper will be well-used also with light pad for tablet or even a window for light reflection technique, and also in pattern-making technique. So it's a good idea to have it handy and lots of it. You also need a blacking pants, software pencil, and a ballpoint pen to trace the lines of your image. If you have a photo base in mind, then we are going to use photo editing app to prepare the photos as a visual base. The simplest one that comes with your phone or computer is great. Lastly, you'll need a pair of scissors and the woven material, preferably medium weight to trace your image onto. Now let's dive in.
3. Visual Transferring-part 1: Before you begin your project, you need to ask yourself what your visual is going to be like. Whether the general feature or concepts you want to convey. Is it going to be a portrayed two, or maybe a landscape? Is it going to be a detailed, precise work or a composition of fabrics and stages. Based on your future project, you can choose the visceral transferring technique that is right for you. For instance. Precise free motions, thread drawing with work best with silk, paper, guide, wire, fabric, collage, landscape. We'd work best with pattern-making and pencil draft. Whatever your visual sources where they're ready to picture a sketch or a painting. You first need to be prepared for visual transferring by a reduction filtration process so that you will end up with a line drawn visual like so. In the next part of the class, I'm going to elaborate under reduction infiltration process using the photo editing app on your phone or the computer. And later on I will demonstrate several URL line tracing techniques you can follow. Although some transferring techniques use chemicals in printer based papers, they won't be included in this class. As my focuses on manual visual transferring that enables the fabric to stay soft and clean of foreign materials and so easy to embroider it or stage on later. Let's begin.
4. Photo Editing Basics: In this part of the class, I'm going to demonstrate three ways to edit your visual source with their photo editor tab. The first one is probably the easiest to use, which I don't use personally because I like my own filtering process. It choosing the lines that are important to me. But it can definitely make the process amazingly easy. And it also depends on your original image as well and how detailed it is. Choose one of the photo apps that convert a picture to a sketch like those. All you do is you take a picture of your visual source with your phone and apply the app, and you can see the results here. My preferred option yet again, is to go the long way. Again, you take a picture with your phone and you open your phones added app, which is usually within the gallery. You just click on the option added and it will open a bunch of possibilities in your phone. Now, I don't know which filters exactly you have on your phone. So I'm just going to go through the conventional photo edit options here. The first step would be to turn the visual and into black and white by picking one of the monochromatic filters. Then we tweak some of the features to get the best clarity possible. Like so, higher the exposure and the brilliance to brighten divisional. Higher the contrast and black point values to get more distinctive black and white. And at the end, higher the sharpness. This process should take a couple of minutes. When your image is ready, you can send it out to print and always opt for the largest size you can print it out because the larger image, the easier it is to work on it later with embroidery. The same principles also work on the computer. You can either scan or take a picture with your phone and upload it to your computer. I added my visuals on the previous software that comes with my Mac. It's very simple and easy to use. First, I crops the extra margins to have the largest imagery. Can I begin by lowering the saturation to the minimum, turning my image into black and white, and then a higher exposure and contrast values. To make it clearer, you can also hire the sharpness values and then print it out.
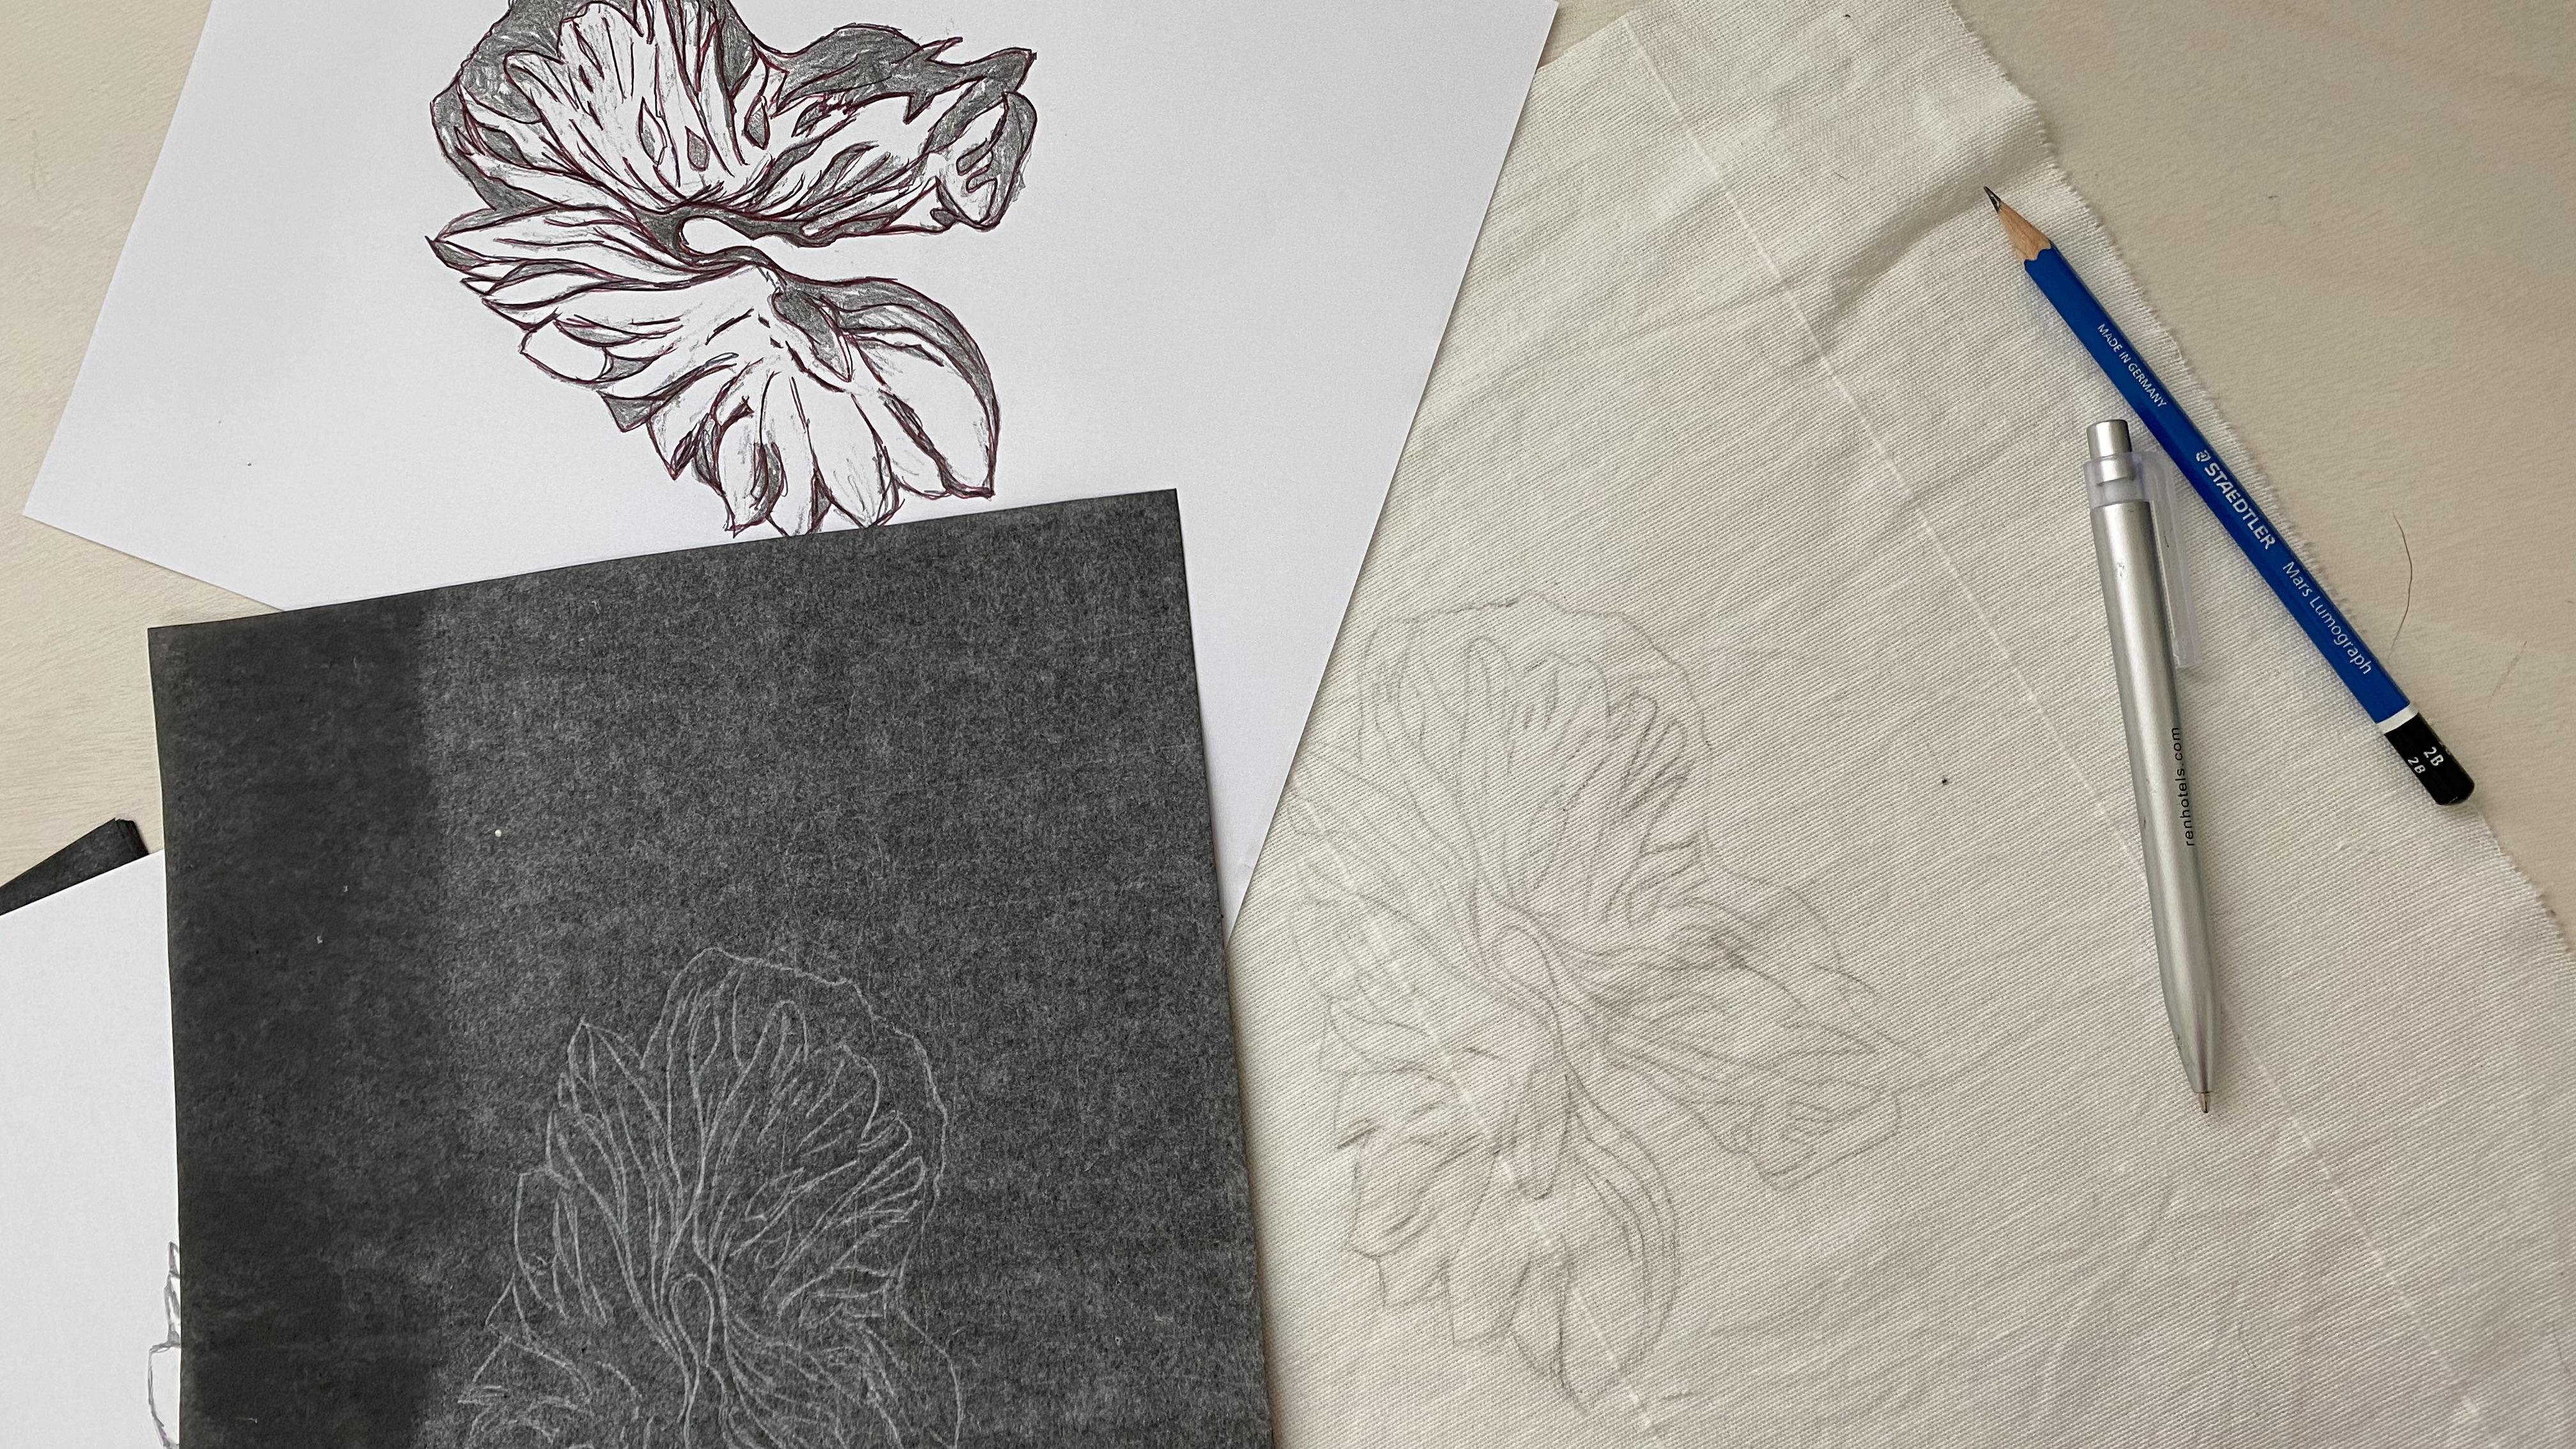
5. Carbon Paper Method: Translating your visual to a line drawn sketch, we're going to trace and pop out the core lines of your image with a black pen. This step specifically is helpful when your image is somewhat blurred. It's also an excellent opportunity to filter out the lines that are going to be part of your image and the lines that are going to be redundant. These artistic in practice choices can implicate significantly on your future project. For instance, you can choose to make it simpler or more complex by the amount of details you choose to put in, you can make certain elements pop out while others not. Once you've finished tracing the lines that you want, you're going to retrace them again on a separate paper. The technique and paper that you will use next will be determined by the transfer method you are going to use. So first I'm going to demonstrate the carbon paper technique. Carbon paper can work well if you're visual is mildly detailed. And the details themselves are medium to large size. Or if the material you are going to work on is to seek for light transfers such as light pad. Generally, it's a quick, easy, and affordable method to use. And apply the carbon paper with a carbon side facing Dan against the material. It should press between the image and your material of choice. And then you pin the layers together in the corners, allowing one corner free to check the tracing results as you go. Carbon paper is best used with a ballpoint pen, preferably in distinctive color. Their distinctive color will help you to be on point with the lines you've already traced and the ones that are left to trace, you need to apply sign pressure while the retracing your lines. And this depending on the carbon paper and the material of choice. And that's why it's a good idea to check your progress as you go. I applying light pressure on the end result, we're very pale transfer. So I retrace the lines with another layer of a different colored ballpoint pen to enable the retracing distinctively clear. It's always good to check and compare your traced image within a region or one. Some lines may have been accidentally left out or maybe you forgot to add some lines that you actually wanted. So you can remedy that with a soft pencil. On the next part of the class, I'm going to demonstrate light by transferring technique. Stay tuned.
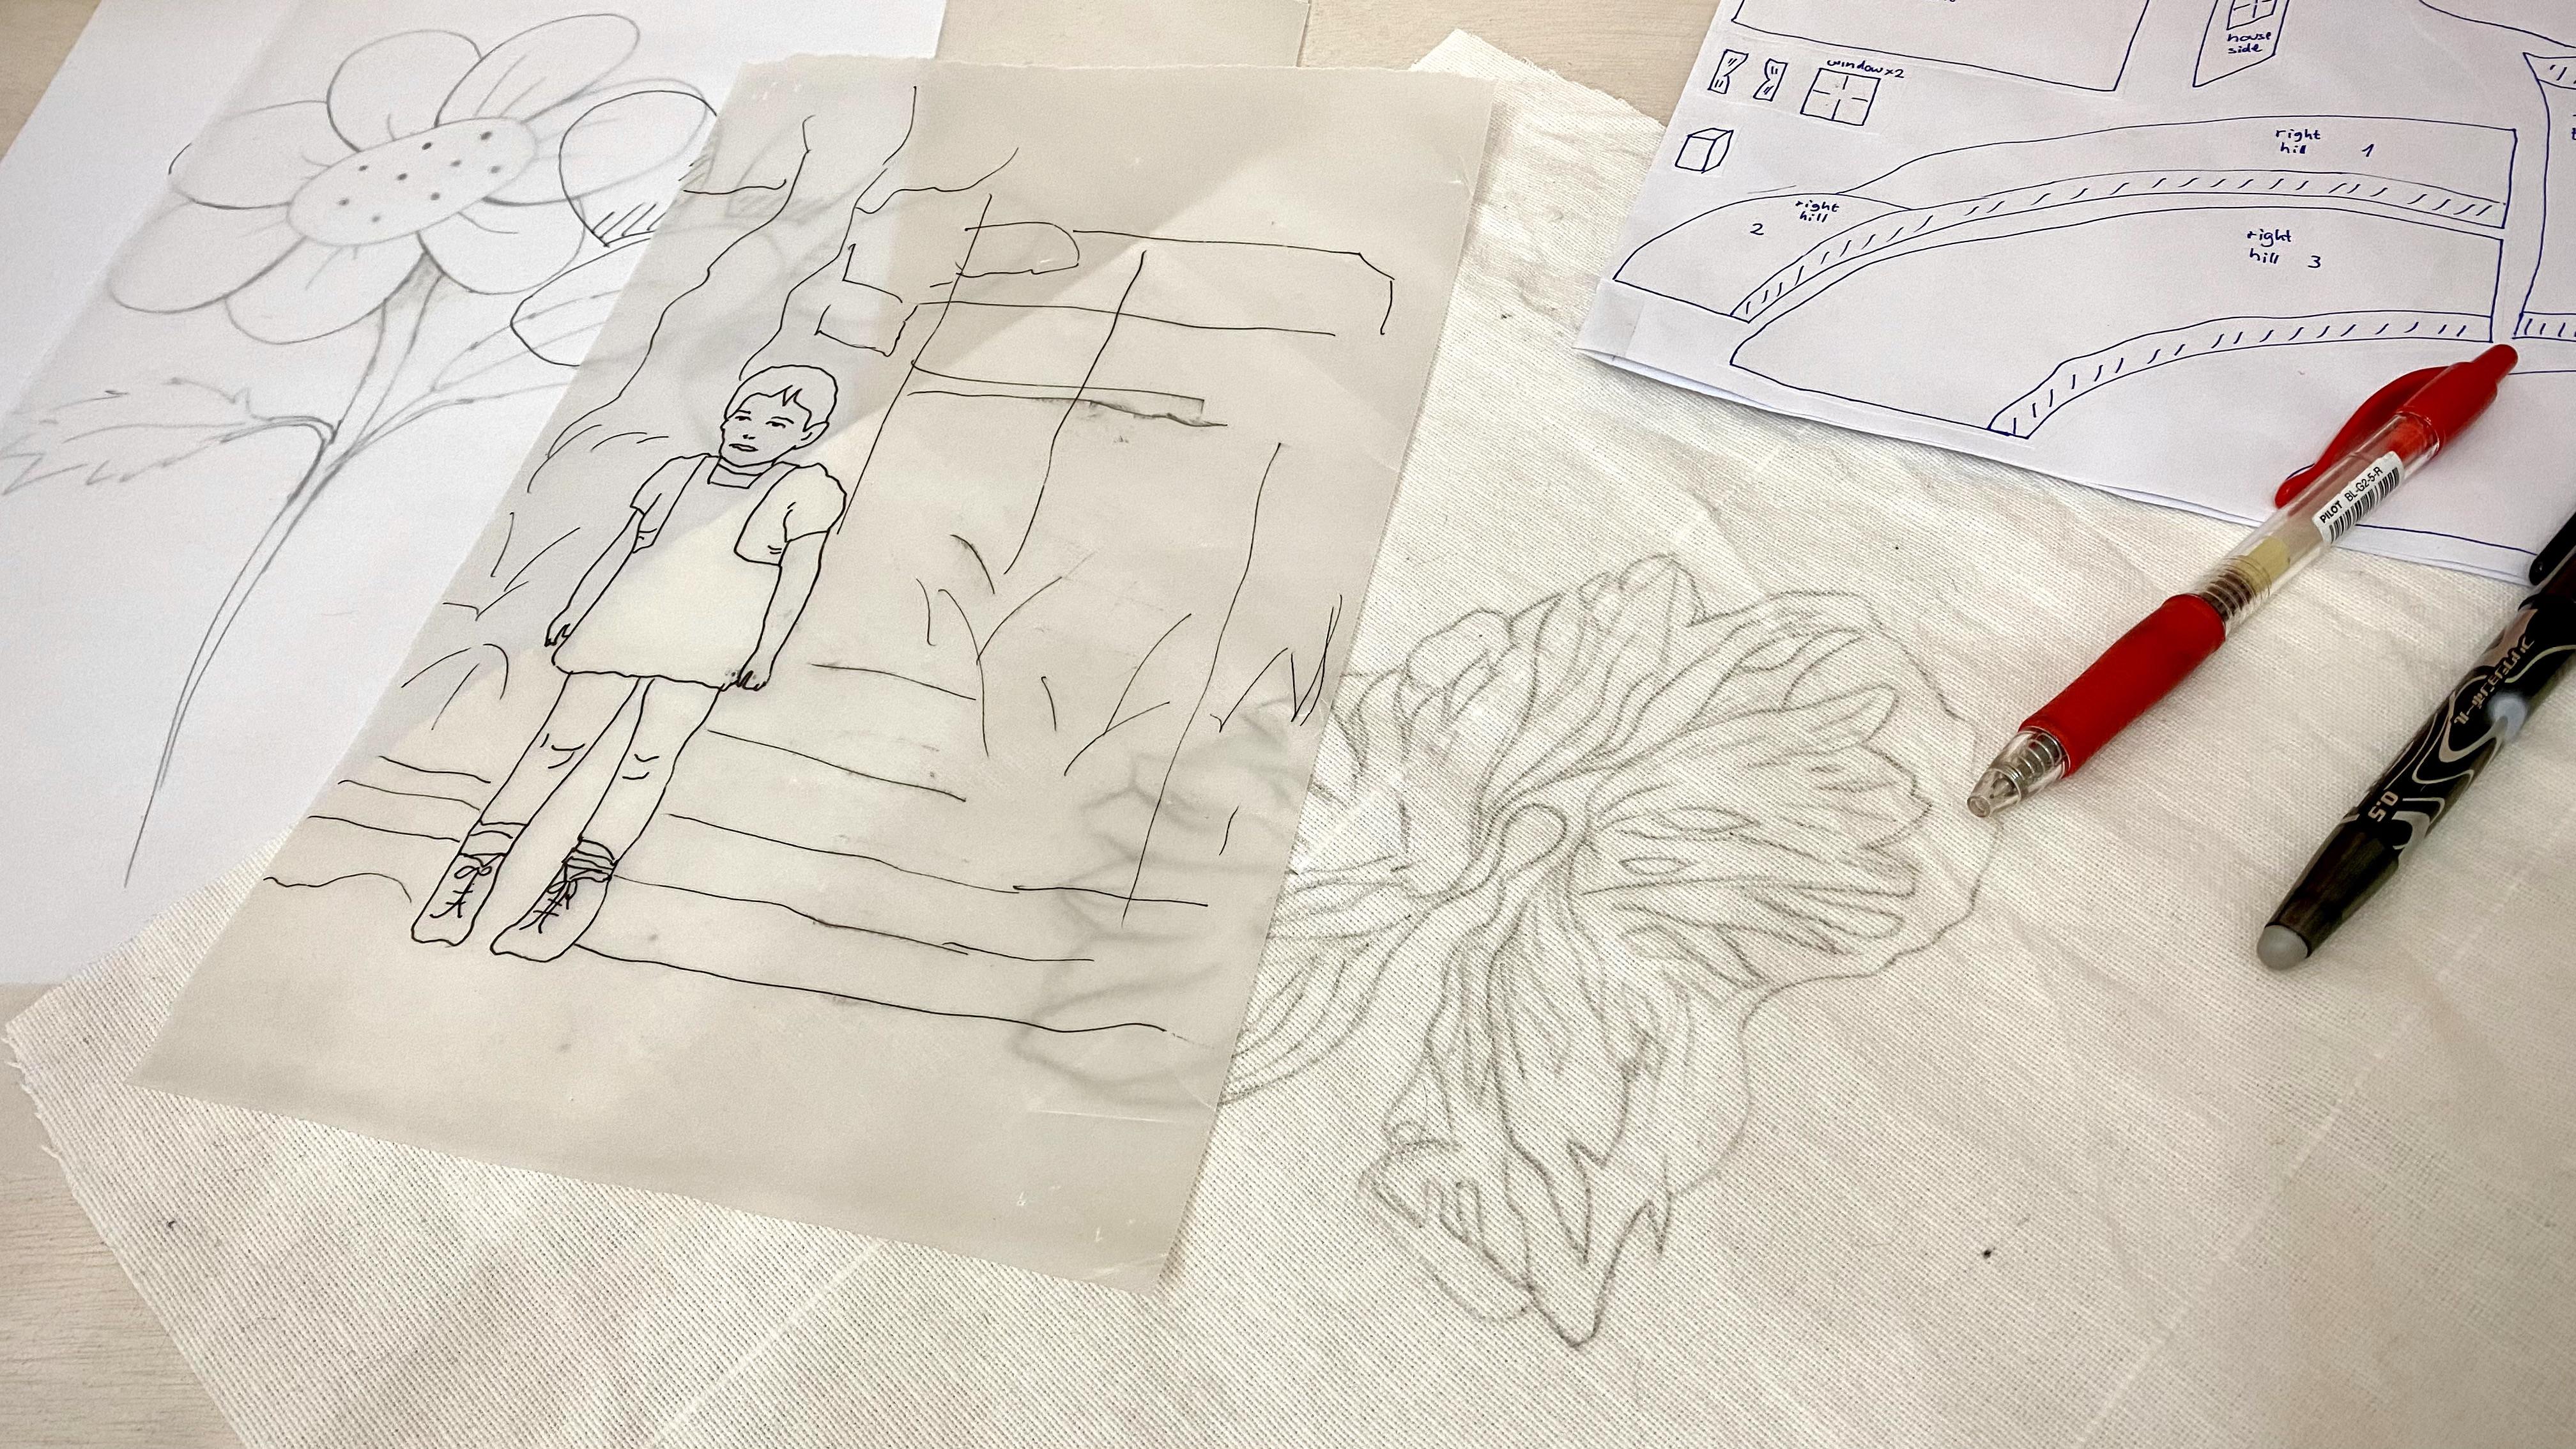
6. Light Pad (Reflection) Method: We're going to use light pen transfer technique. Light paid is very easy, useful, and affordable to. It's a thin, electricity based light pad with multiple small light bulbs which reflects light behind the visual. And by that, enabling you to trace the visual onto the material of choice. Your material needs to be lightweight enough to allow the light to reflect through. Before we begin, I'd like to show you how different visuals and papers was shown through the light band to your material. If you'll be using a photon with multiple details without tracing your core lines first. Or if you choose very clean line drawn visual on a white paper. Or if you're using line drawn fish now on a transparent paper. The differences are very noticeable. Each factor makes a difference on the tracing process. I found that the best results possible are with using artists transparent paper which reflects most of the light with a clear line drone image. To achieve that, we have to go back to your original image and retrace. Once again, the court lines on transparent paper like so. After you have done that, bring about the material you chose and place it on top of the transparent paper. And perhaps pain both layers together at the corners to avoid movement between the two layers. Now you can easily retrace the lines on your chosen material. My recommendation is to use stuffed B pencil to retrace your lines. You can also try to use an erasable pen, which can be an excellent choice because it's smooth to work with and the lines are very clear. You can also have a guy with an erasable marker, but you will have to test their endurance in longevity on your materials specifically, some can easily disappear. And Sam stay for a long while. If you don't have a light pad, you can still use light transfer technique by placing your material and paper on a window or even on the computer screen. Both of these options are less comfortable is your work vertically? But they are definitely possible.
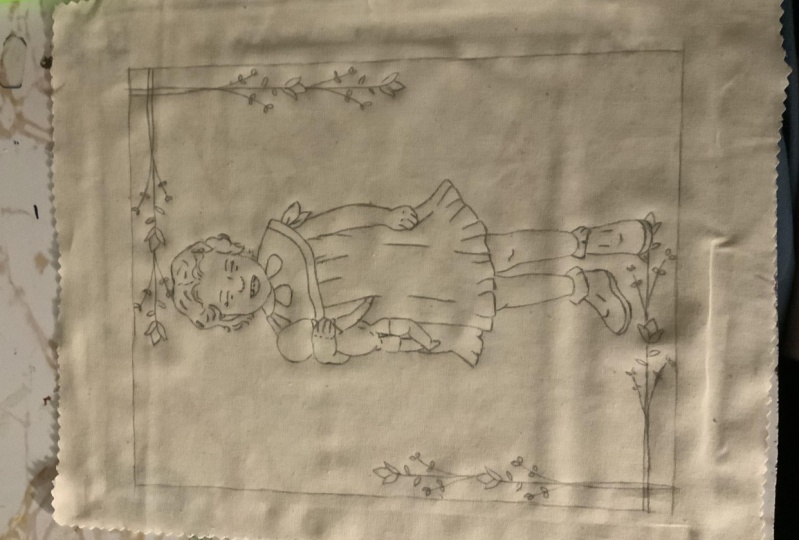
7. Silk Paper Guid Method: Now this part of the class, we're going to use silk paper as a transition method. So before we do that first, you need to transfer the image into the silk paper. Since this silk paper is also likely transparent, you can try to trace your image directly to the silk paper, even with the help of a light pad or a window. It all depends on your original image, how detailed or clear a days. If tracing straight to the silk paper 12, then you'll have to make the long run by tracing your image today, transparent paper first, as we did in previous examples, and then to the silk paper itself. When you trace your image and the silk paper, you can use a black pen which flows easily on the paper, resulting in very clear lines. This makes the embroidery job later on very easy to follow, especially if you want to machine embroider your image. If you're interested in machine embroidering, you can take a few of my classes relating to machine embroidery to develop this area. Using silk paper is a transition technique is an excellent choice when your images detailed and you are looking for a precision in your results. Met said you can use this method with any project you like if you find it's working well for you. This method involves a different kind of visual transferring because we're actually embroidering on the silk paper itself while it's attached to the material. Paint together or better still held together in an embroidery hoop. Once your image is embroidered, are staged, then you actually tear apart the silk paper and you are left with a core image. This is why this method is very suitable for machine embroidery. Clear lines are easy to follow even under the machine light. And apply your project again, the embroidery hoop like so. Place the two layers together on top of the external embroidery hoop and then insert carefully the internal hope to fix in place. Pull out any access materials so the fabric is neat and straight. This is especially important if you are going to machine embroidery. Now you can stitch on your lines.
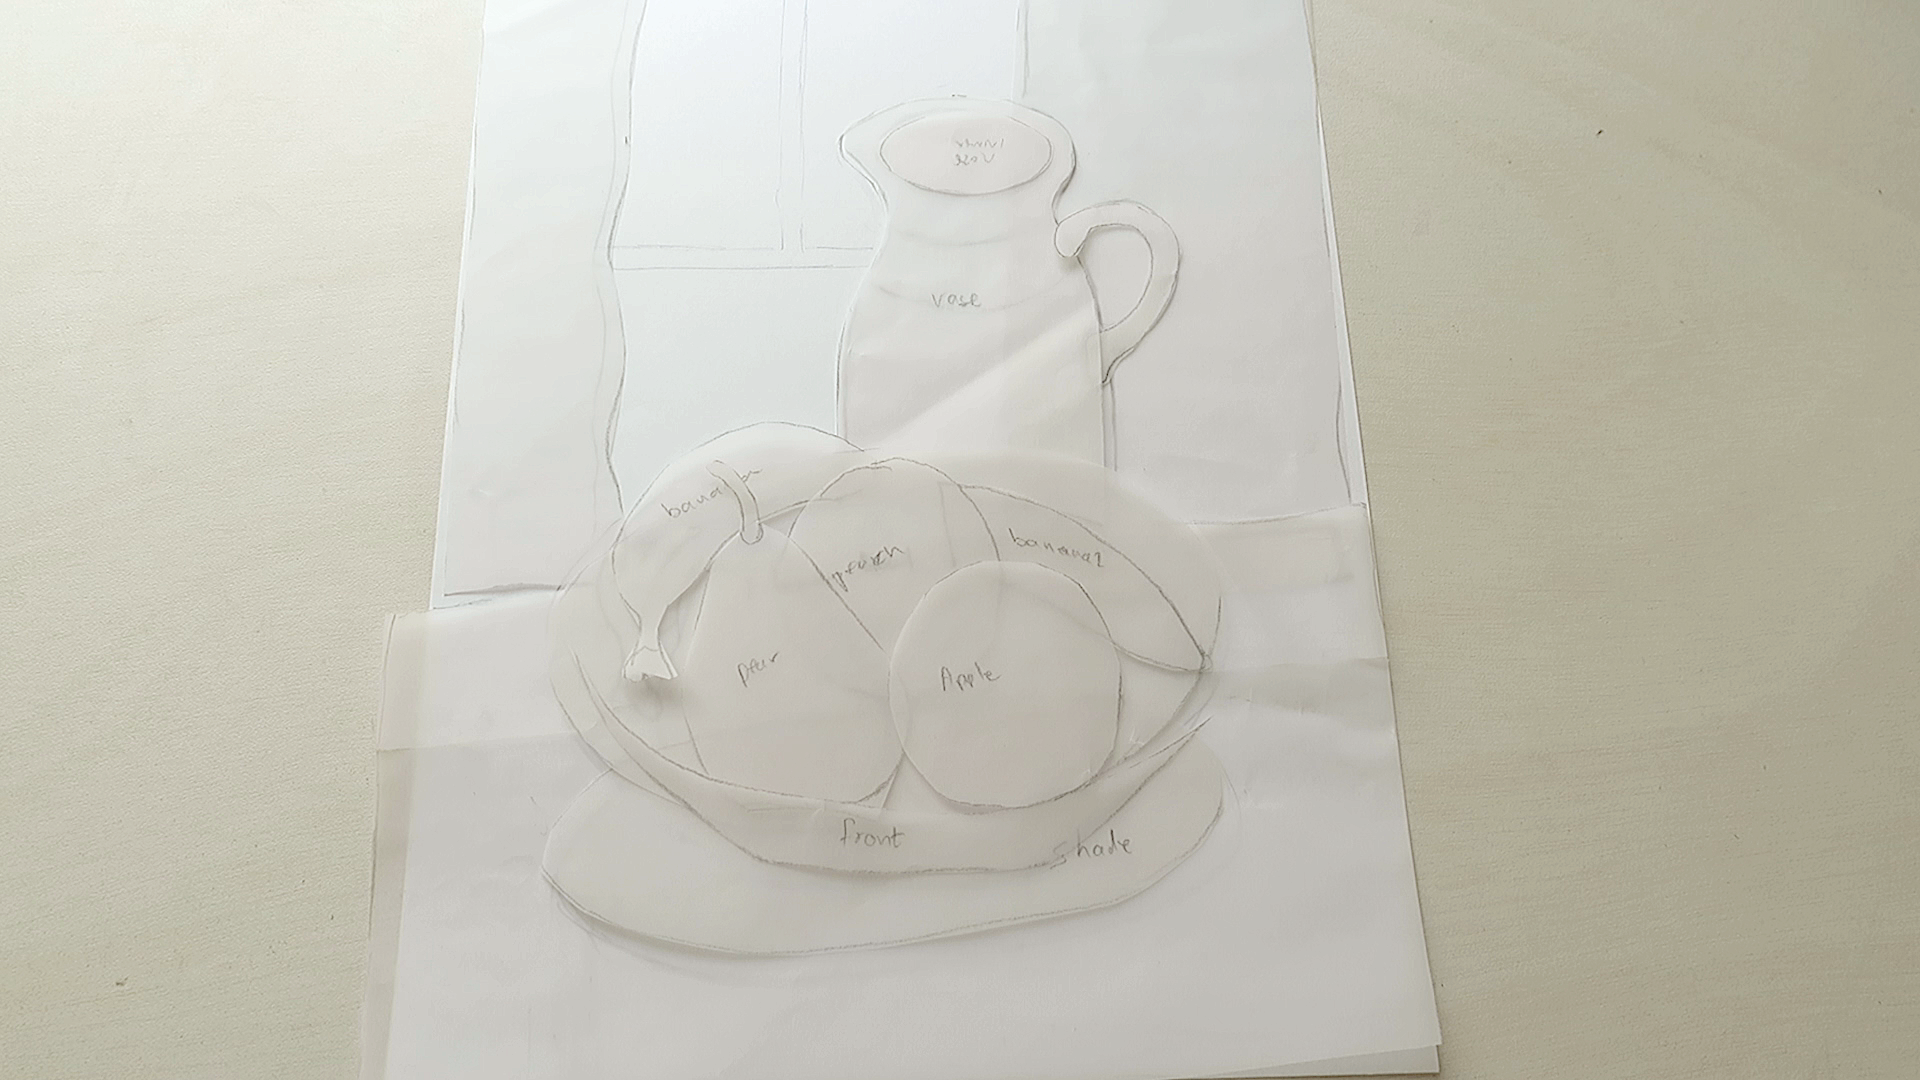
8. Pattern Making Method: In this part of the class, I'm going to review another form of visual transfer, which is pattern-making. This method suits best textile collaged projects in which your 12 cut to shade the different elements of your visual from different fabrics. Whatever your visual is, your one to examine it in terms of layers and perspective. And take notice of the different layers that compose your visual thinker of your visual as if you are building it from bottom up. The tracing process would reflect that. So essentially, you will either trace each element separately in its entirety or add extra margins to every partial element. Like Sir, trace the shape you need and taking into account extra mountains that will overlap underneath the next shape. These extra margins will go a long way when you want to arrange your elements together with better overlapping. That said, my suggestion is to opt for a tracing each element in needs it entirety, which will enable you more artistic freedom, a smaller, overlapping, a better unification to your project. If you'd like to learn more about text and art collages and how to create them. You can watch one of my classes detailing this subject. To make a better inform your visual, you'll need an artist tracing paper around the ability surface cover of your visual to allow room for all the elements as separate units to be included. And the pencil. After you trace the shapes, you pin them on your selected fabrics, vetoing paints and cactus shape. Keeping a copy of your original visual as a map to rearrange all the parts is a good idea, as well as naming the parts as you go along so you can identify which is what.
9. Recap & Assignment: Let's recap this class. We've, we've covered a few simple and effective image transferring techniques based on tracing the core lines of your image and retracing them again on the material. These methods allow you to expand your artistic practices to any area that you like. You can do landscape, portrait, stay alive for a simple graphic motifs within your textile projects. This is a very useful tool and therefore the project for today for you to take at least one of the transferring techniques and try it out with your own visual. Then post your work, your project in the project gallery. I'm really looking forward to see what you have done. If you like this class, then you can follow me here on Skillshare and popping into my other classes revolving around text alert and creative sewing. You can also follow me on Instagram. It's under my name, elastic carriage, until the next time. Bye.
 Lilach Tzudkevich, Textile artist