Transcripts
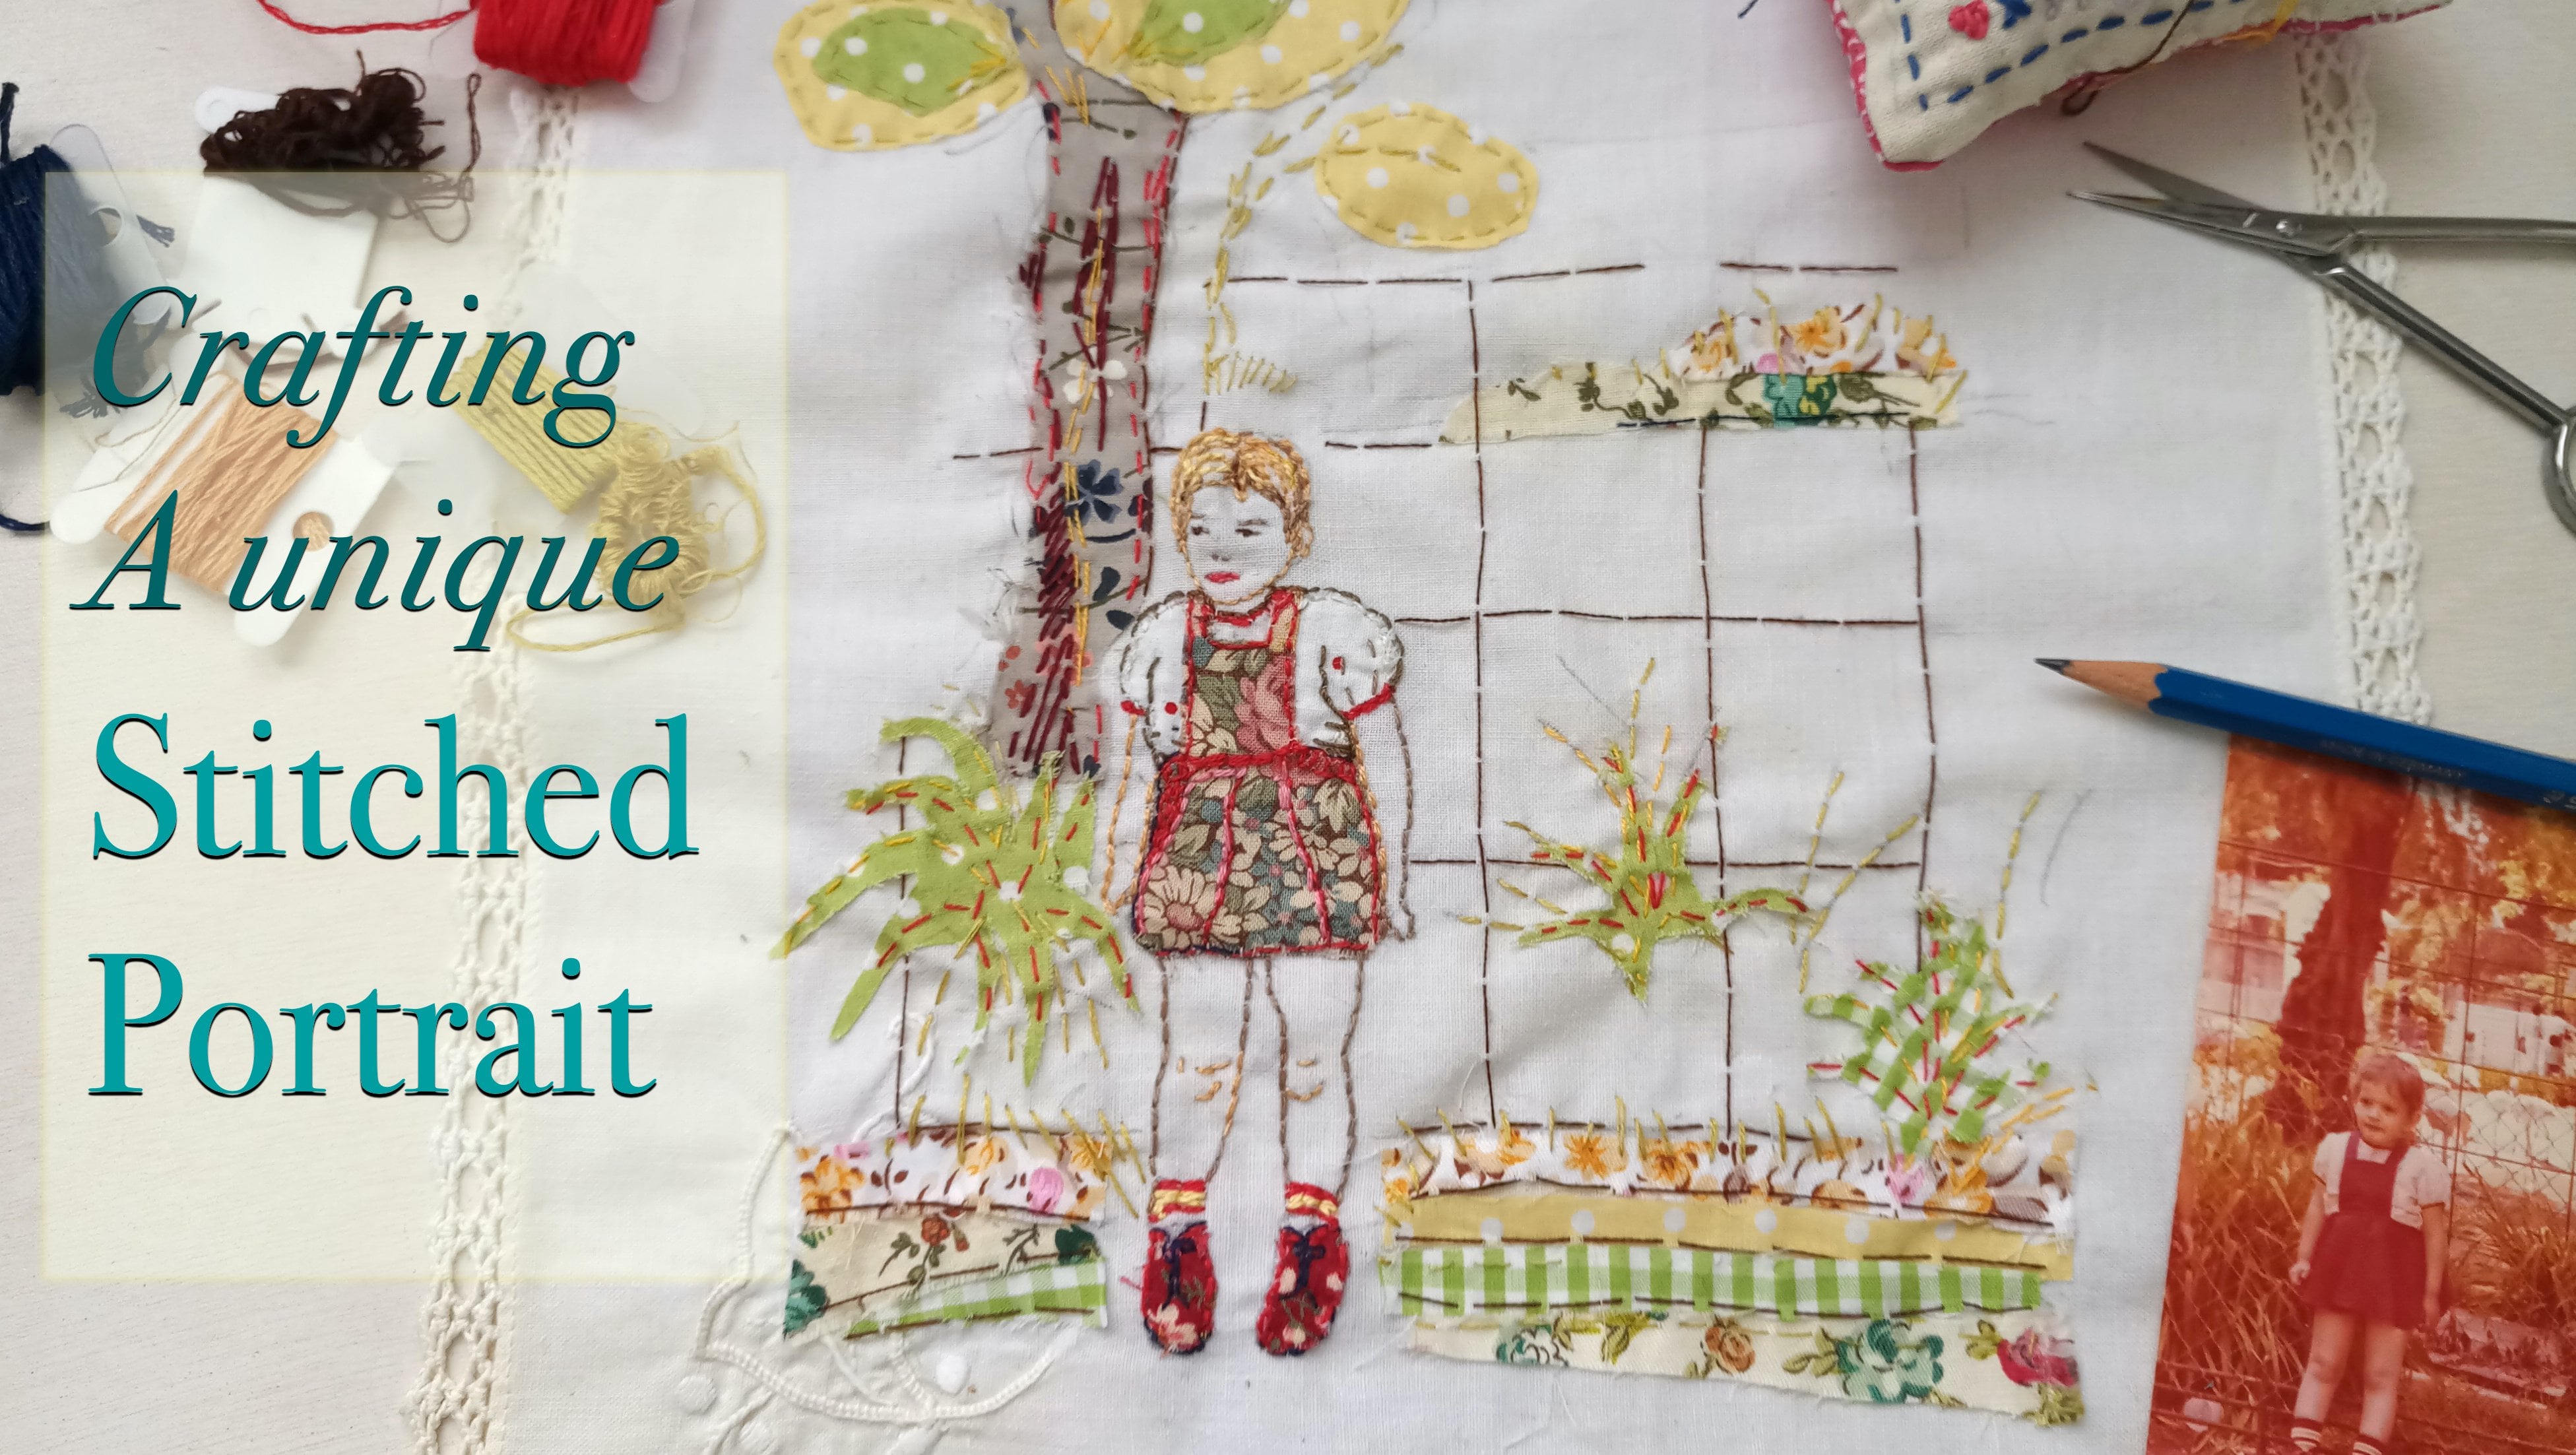
1. Intro: The Who What and Why: Hi, My name is Lee Lasted Gamage, and I'm a textile artist and teacher here in scale share. Welcome to my class. Craft your own house in the meadow Textile warlike. The aim of this class is to open and extend your creative toolbox and explored the possibility of textiles as a self expression. Form it. Whether you're a skilled crafter would like to extend your creative knowledge and practices with text size or you're a beginner who just wants to crafter Fund. If you have a passion for textiles, threads, embroideries, sewing craft, you can't wait to get your hands busy. This class is definitely for you. This is quite a detailed class, and although no experience is required, you will have to invest your time to get results. If you're a beginner in this build, you might want to take my other class. So your own teacups, while the core first before you plunging to this one. But if you're ready, then I think you'll find this class most enjoyable. Any drinking. By the end of this class, you'll be able to craft your own textile art piece to translate your against into a text on composition so the fabrics together using a variety of essential hand stitches needed for this type of work on touch patterns and colors together to create an intriguing and unique were. Let's review the materially so you can get started right away. I can't wait to see a project in the project gallery.
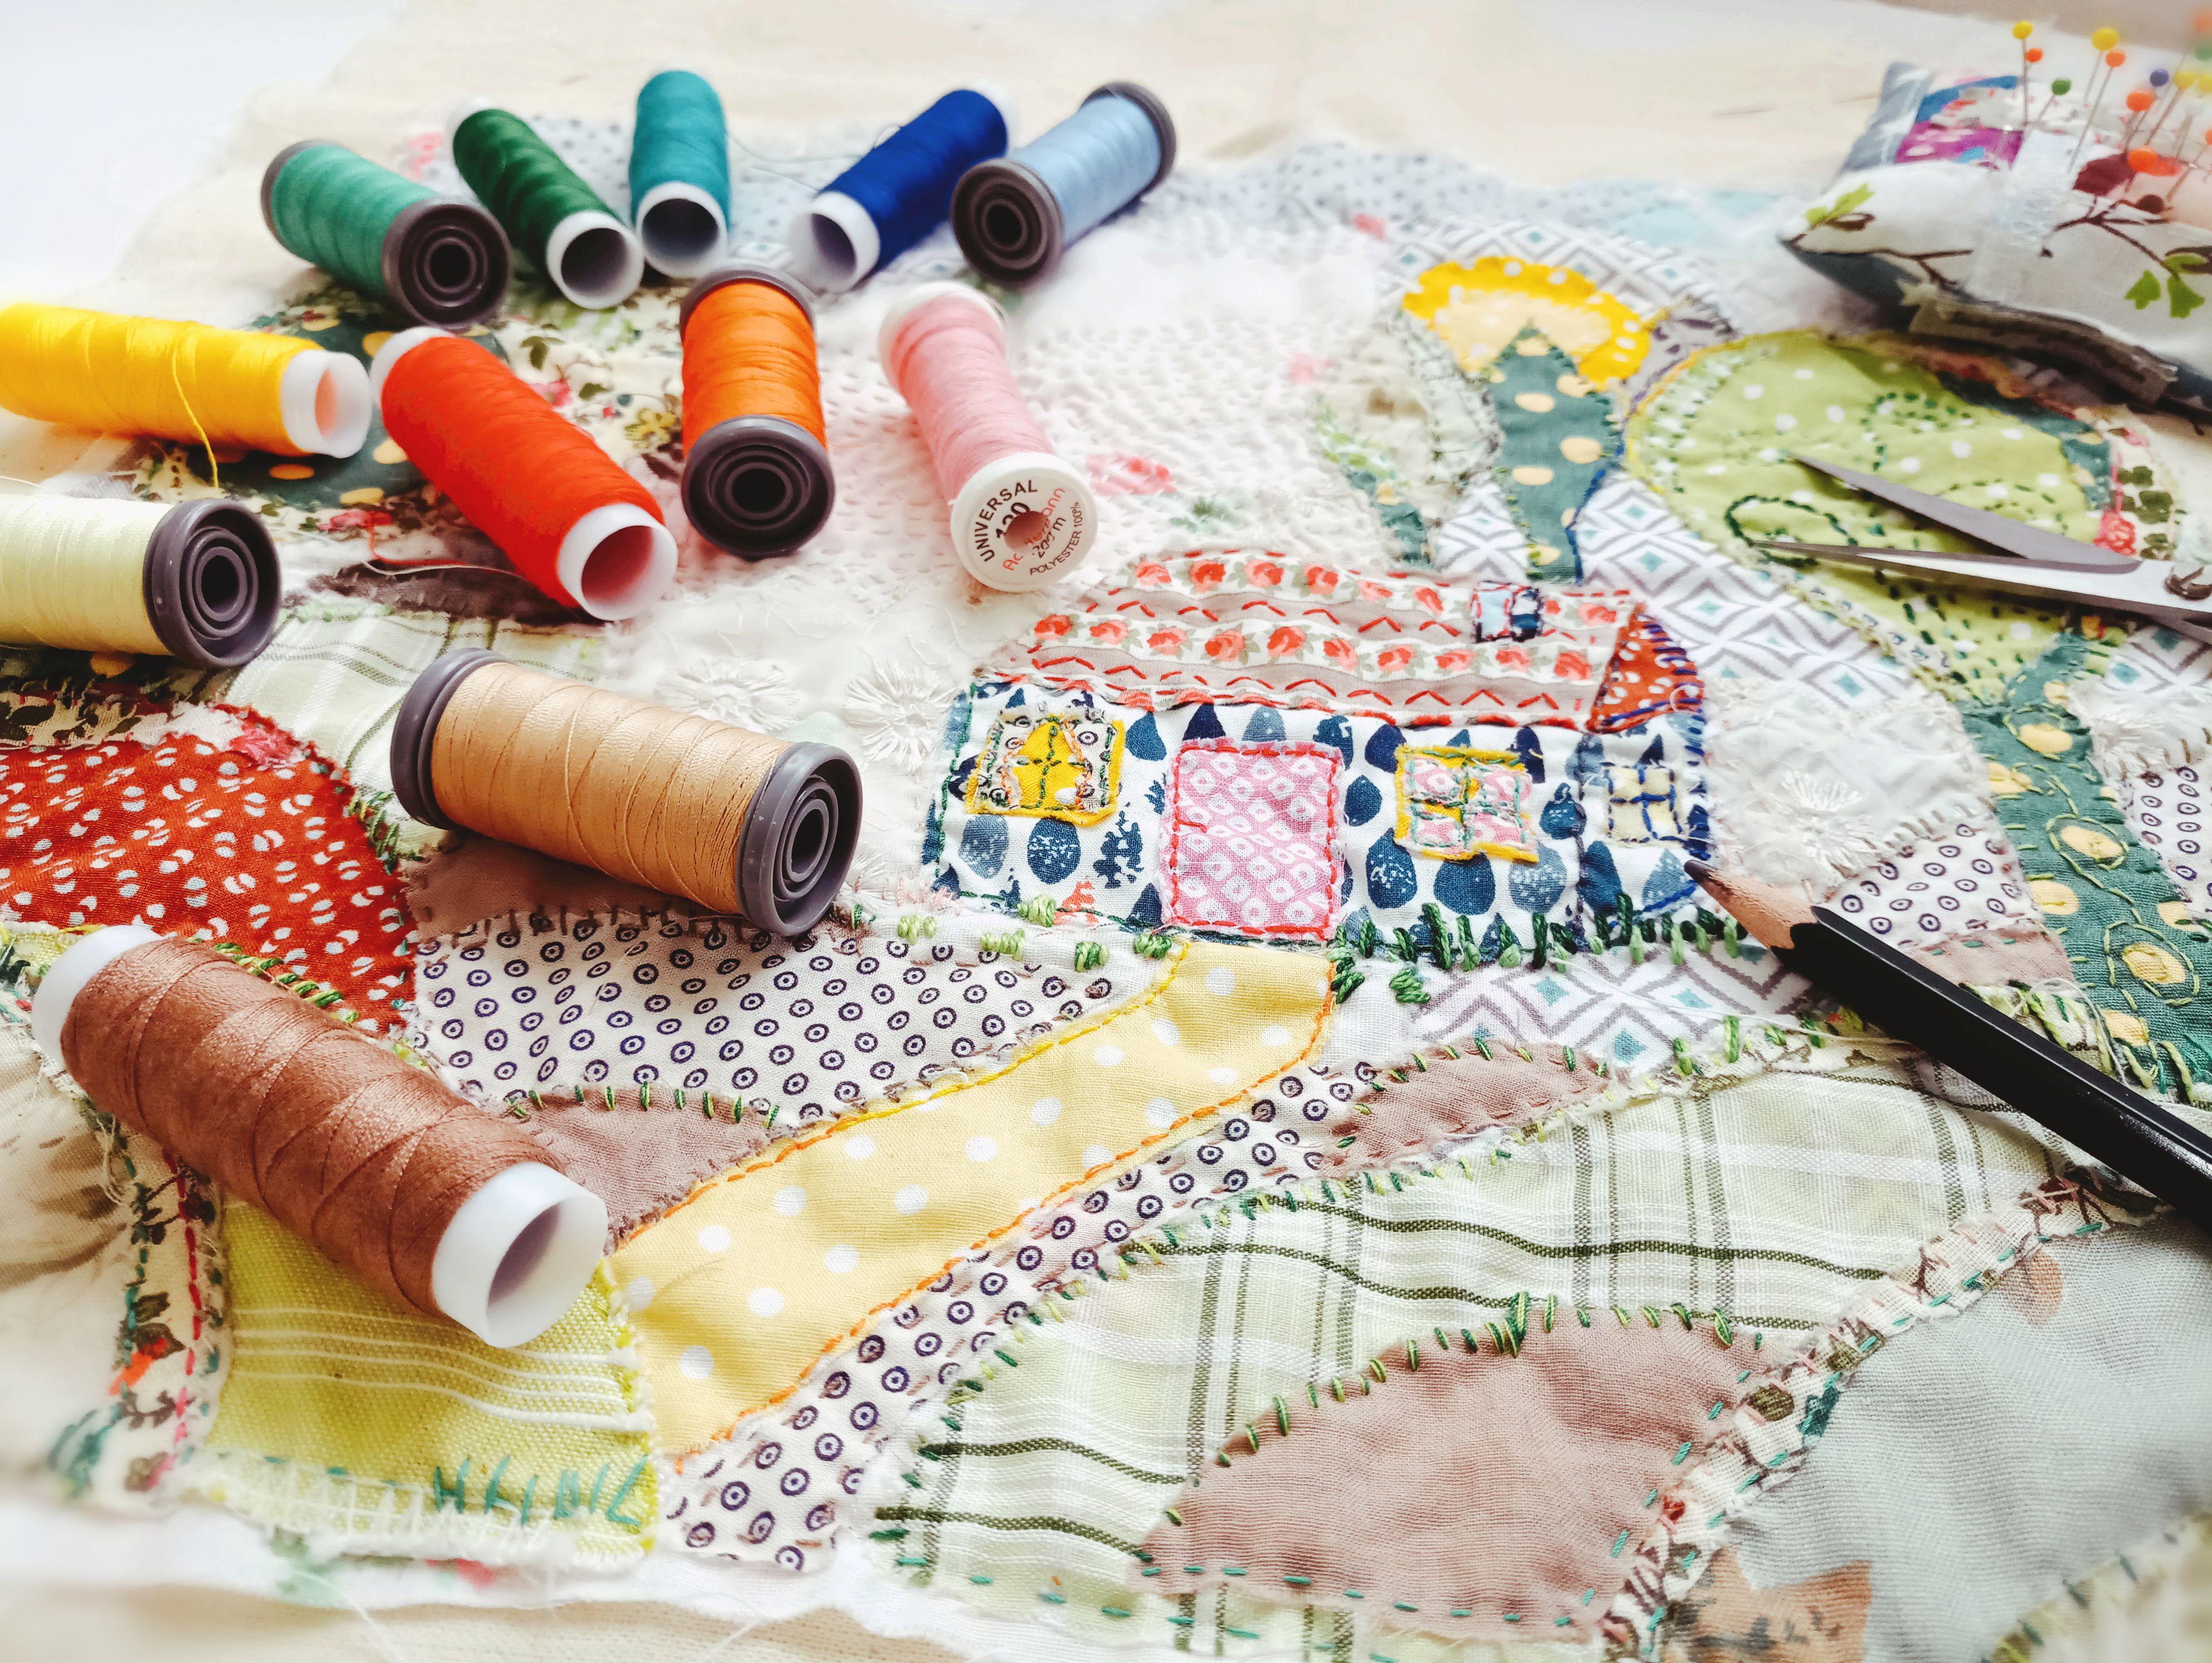
2. Material List:
3. Composing Your Sketch: in this state, you're going to compose your own sketch or used a pdf I provided. Or just give it some improvements taped to a four together and mark your sketch dimensions . Mine are 30 by 30 centimeters. Use a pencil too lightly plan your composition to create perspective in lips. I placed elements in the foreground, the heels them in the middle of the house and at the back behind the house and trees and sun and topped it with the sky line. I like the idea was overpass leading to the house, so I added that, and some plants in front of the house, using the racial to focus your lines and elements. For example, I change the composition off the house by fixing the lines of the roof, sort out colliding lines or any lines that you don't want. And then we knew. Then pick up a pen that would visibly highlight your lines and trace your lines around with the pen. I'm using a simple pilot liquid ink. You can use whichever paying you like. When you're done highlighting your lines with the pen, you can set it aside and erase the pencil lines left on your sketch. This will make your lines very clear for the next step, which is turning your sketch into a pattern you can work with.
4. Turning Your Sketch to Pattern: in this stage, I'm going to show you how to turn your sketch into a pattern you can work with. You're going to trace her sketch into small, independent segments. I use the silk paper. It's thin, inexpensive and easy to drawn. You can also use tracing paper, parchment paper or baking paper. Make sure the paper size you're using is bigger than your sketch, so you'll have room to trace all the elements while tracing each element, especially those behind others and at at extra margins, which will be your overlapping helpers later. Run when you compose, enjoying the fabrics together, as you can see here and in the pattern I've provided. I've marked the overlapping extra margins with small stripes to make them clear and help you later composed the elements together. I advise you to do the same every time I trust another element. I move the paper, so I have room to add the margins and also trace each element separately. When you have an element behind others, like the sun behind the trees, it's better to draw the whole shape, placing it later under. We look and work better elements which are at the front like the windows, the door, the front roof, different hell and so on. Don't need margins. It will all make sense later on when you work with the fabrics. Since I have many elements, I am naming them in a recognizable way. This helps me to keep track of all the elements and also to easily assemble the pieces later on names like right here, left here, right window. And so we'll do eventually, you're going to end up with something that looks like this. Now you can cut your elements according to shape. At this point, you contest how the overlapping would work by placing the elements one on top of the other . Arranging all the elements on the table based on the sketch will help you to see if you traced all of them. Lastly, store all your pattern elements in a sheet protector. On the next step, we're going to compose the fabrics and apply the patterns
5. Choosing Fabrics & Applying Patterns: choosing the fabrics and applying the patterns. The first thing you want to do is to think off the colors you want to use. Bring your fabric stash to the table. You consult, amount according to color themes, or just work intuitively with what you've got. Fabric scraps are perfect for this project. The empty space can sometimes be intimidating, so try laying after pieces as they are on the sketch, because if you don't see the elements in front of you, it's very hard to know how they would work out. I started working on the foreground, the heels in the meadows first, working slowly to a general fabric composition later pieces in a general manner and cut them roughly to shape. At this stage, it's very easy and most recommended to try out different fabrics. This is where your inner compass will guide you to choose the right combinations for you. Take your time to make the choices you feel good with. Once you're happy with your choices, it's done to take out the paper cuts and start applying them on your fabrics. Apply your patterns on the fabrics with sewing pains. You can use one or two depending on the size and then cut the elements according to the patterns. Just cut along the patterns edge. Place each cut element in place and remove the paper cuts for storage one after the other. Your piece is beginning to form. At this point, you contestant pin the overlapping margins. How they bind the pieces together. Yes, sewing pins or even stick glue on the margins. Finding your pieces together will help you later. Place them on the background of your choice. Adding details and changing things around is never too early or too late. Here I added another layer on the heels in front. I encourage you to try adding layers or changing the composition. Since it's your project and your vision on the next step, we're going to join the elements with the background.
6. Joining Elements and Background: joining the elements in the background. Together, we're going to create a background unifying gold pieces. Together, you can use a plain linen Muslim or a pattern fabric. I'm using a combination of fabrics to create a simple greed that would unify my pieces and give them an anchor. Then I slowly and my elements one after the other. The only way you're going to know if your background works is by placing all the elements on it. I used Muslim first, and after I placed on my elements, it felt to me down, so I changed it to a pattern. Cotton. You can see the differences on this slide. I'm going to show you now an easy way to place your elements in the background fabric. Assuming you're working with one fabricas background, got the fabric to shape and add about 2.5 inch seam allowance all around. Place your fabric on top of discussions. Move it out to better see the lines, work with a soft pencil and casually traced the sketch. This game will create a map like guide for you to place the elements. However, if your fabric is dark or thick or made of patched fabrics. Then you can try using tracing paper by placing the sketch on top of the fabrics for the same result, or just put the sketch next to you for reference. I added a few fabrics on top of my background to create a simple greed to anchor and unify my background with the elements. You can also patch the background first and then add your elements if you like, take your time to make the adjustments you need for the composition toe work best in your eyes. You can use the pencil to mark your adjustment lines or just cut and move according to your women. The more you prepare your cuts, the easier it will be on the next stage when you so so. What I'm going to do now is go into detail with the cuts for the house. I'm going to treat the window, prepare the division off the wind, going to Fouras. I made in my sketch and also the curtains for the other window working in the house. I have quite a few tiny elements, so the best treatment over those is to glue them in place with steak. Lou sticklers great solution. It's relatively light to so through and will save me, dealing later with many pointy, prickly pins. Start with the top small elements first and gradually go through the layers underneath with the larger pieces. It's best to pinpoint the glue rather than the whole elements, so so in later would be easier. Now I want to talk about fabric clues. There are fabric clues out there, but they're not good for this type of work because when they dry they hard and quite a bit , and sewing through them becomes a really difficult job. So stay with a stick, Luke. It's a nice, easy, temporary solution. When you don't been glowing, you can adjust the size of the background by cutting around on live the edge as a frame. The last stage before sowing would be to add batting or even just two layers of light. Muslim. Under your work, betting will add depth to yours. Teachers later I used to pieces of Muslim is batting and I ruined everything together. Lastly, I've been the layers together in the four corners off my piece. Your composition is set and ready. I will be adding some details now and I recommend your observe and apply later if you like . It's never too early or too late to add details. Adding layers of fabrics on your elements always contribute to the regions of the end piece . You can leave it as it is if you like, but I really like adding daters throughout the project. You see, for now everything is ready and we can move on to the next step, which is stitching.
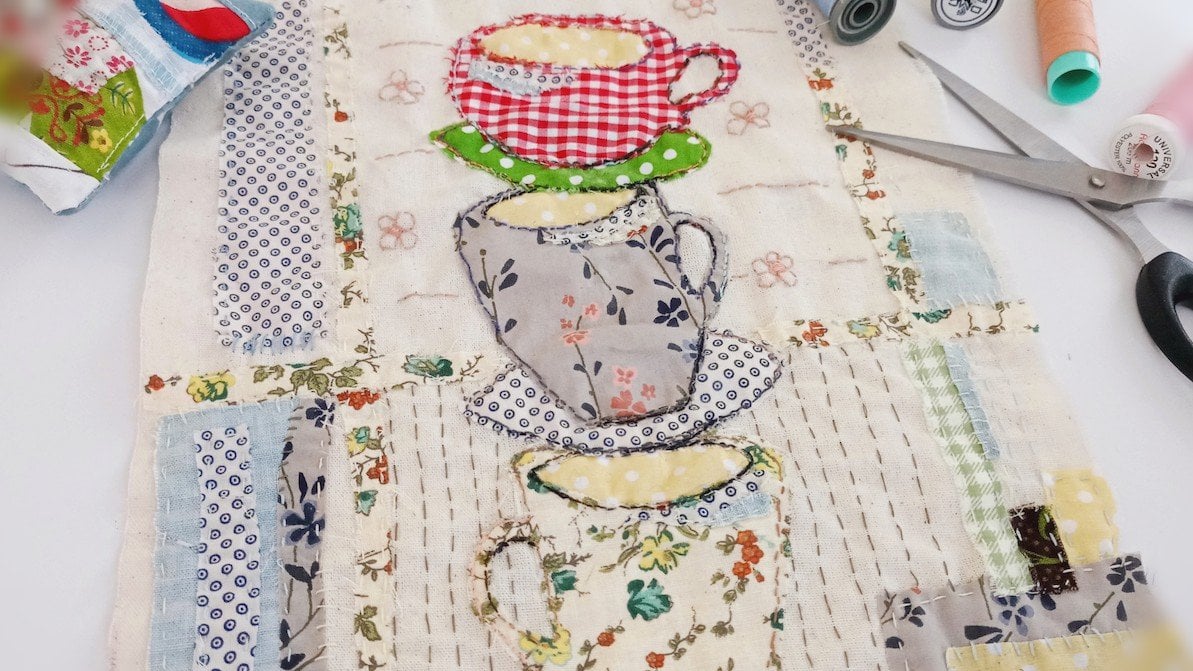
7. Sewing Everything Together: sewing it altogether, the best part of the project before it starts throwing. Let's talk about threads and needles. I usually use simple sewing threads. They're thin and easy to work with, and sometimes I combined them with embroidery threads, which are dominant and can create more of a three D texture. I use very thing NATO's number 789 or even 10 depending on the make. The thinner they are, the easier it is to slide them through the layers of fabric. It's a good idea to pre select. You're afraid colors and have them next to your workspace. You can always change later. Choosing the thread color that would work best is an intuitive decision that nose rules here. That said, Putting the spread where your stitch will be will give you a good indication off the right one for you. Trying it out is the best method. I always threaten evil with a double thread, meaning I bring both ends together in Thailand with not ending up with two threats instead of one. This is how I like to do it, but you can work in whichever way is comfortable for you folding the fabric or simply gathering it with your hand. We'll give you a good grape off the fabric. Helping you manipulating the fabric around the stage is making it easier to so through the layers. Like so I'm using here a simple running stage to stitch through the all the layers of the fabric, which will result in the deep stitches and the thick and layered look. I chose a red thread for the roof, complimenting and enhancing the sweetness I wanted to add, so I'm just going through around the roof, top the shape of the roof until it's all sewn in. When I finish working with a thread, color or a certain shape, I always go back to the back of the fabric, tired, little not and pull and then cut Fred. Previously, I ping the layers off my piece of the four corners. Replacing the pains with the besting stage will hold the fabrics together temporarily and can be easily removed later by pulling it out. You can use this method to replace any pains on your piece. This type of work, it's better to work with a short thread. Can't you afraid? About 25 inch long, ending up with about 12 inch long double thread specifically here at the edge of the house . I wanted the dominant contour, so I threaded twice, ending up with four threads. Thread. If you're lucky, you can try threading to threats at the same time. One way to do it is to thread one and pull it down and then thready. Other tidy ends together and you'll end up with a four threat. Alternatively, you can work with a thicker embroidery thread to the same result When you want a dominant continuance lying, you're better choices to use backstage to sell a backstage view. So a straight stitch Fred. Neither once teach away and when it's up, pointed backwards to the end of your last stage, Then repeat, and you will have a continuous line for the edge of the roof. I wanted to add some shading, so I used a vertical hem stitch. You start with a simple vertical straight stitch, then point the needle down in about 45 degrees, and so another vertical straight stitch. Then repeat as much as you like Vertical ham Stitches are very useful to bind edges of fabrics. Their appearance create rhythm, custom color or shade, depending on your choice. Okay, so if you just look at the edge of the roof here at the sign of the roof, you see will end up with three times. It seems, the vertical hand stage, the backstage at the bottom and the running stage on the edge. I carried on with a vertical ham stage to create shadow for the side of the house and also to emphasize the contrast between the house and the background. If you mark with a soft pencil the lines you want to embroider, it will be easier to follow your plan. I like to choose contrasting colors to emphasize controllers. I followed my pencil line with straight stitch and then filled up the gaps with a couple of more stitches. It's also a possible way to work. Tiny details will demand extra attention, especially if you want to go through all the layers and creative three dimensional and boast. Look, you have to take your time with each stage and make sure you're doing it right. Working on the front window, I want to add an extra color. I chose green that would correspond to all the green spread it on the piece, working with repeated colors and patterns helps harmonizing your work. Another example. For repeated calories, I used the same pink within the roof pattern west. Teaching to hell under working with both light and dark shades will help you create light and shade effect, As I did here on the path, I used light yellow and orange to support light and shade effect on the hills. I use dark and light vertical hem stages to create grass like NATO's. I saw them in the freak length changing manner to create a more organic look. Later on, I added embroidery threads to strengthen that look even further. I'm repeating this free manner. Vertical stage with embroidery thread. The sick dominant look enhances the effect and make the surface more intriguing. Sketching with a pencil the lines you want to embroider will help you to get a better result. Working with embroidery, thread is working for my advantage, especially with the plants in front of the house. They look more organic, and it's easy to get a fast result with the embroidery thread. Because it's so dominant. Carry on selling all your elements in the ways you see fit On the next step, I'm going to share additional ways to enrich your work. I will share about adding layers, rhythm stages, six X teaches and their bordering the core. It'd stages, even if you choose to create a simpler project, which is absolutely fine. Observing a learning will benefit you for the long run. Let's go into data's the heart and soul of your piece.
8. Adding Details: The Heart and Soul of Your Project : adding details the heart and song of your project in this part, I'm going to focus on adding details. I love going into datas, and I do think this is the heart and soul of the work. This is where your elements are so Dane, and you can intuitively at your notes and comments in stitches, form and pieces of fabric. I'm going to show you how I add details to my P so you can observe, learn and then apply your own form of details to your own piece. But one of the first things I did I wanted to add some details to the trunk of the tree on . I decided to go with something a bit more figurative. I skeptic with the pen so and then I followed my pencil with simple serving thread, as you can see. But the next thing I did was working on the tree itself, which fell to me a $2 I wanted some interest, and I ended those silhouettes. Those fines Lee in first with the pencil and then followed with the stitches. I used two types of greens here. One is a dark I'll live and shade and the other one is a bit more of a talk eyes color. I've used them also throughout my piece. I like the repeated colors. It harmonizes the work because I have spoken about it before. In the corner off the peace under the tree, I'm going to mend the pieces together, using the same repeated to green shades. I'm also adding those shades in the plants and the grass to blend everything together in sort of an organic way. Next, I wanted to add some colors and details to the other tree, which I did with a few pieces, and I've cut them and put them under. An on top. Also used the leftovers to re occur on the other tree and a crest shape, which I've placed on the other trees. Well, repeating fabrics, patterns and colors make your I wonder through the piece. It creates harmony of blending together and richness of visuals. Play with the fabric scraps, drive them on in different locations to find what works for you. Sometimes I would treat the surface with stages and in rhythm and movement. I do this by stitching parallel lines of running stage. I sometimes use contrasting color threads and sometimes harmonic, similar color threats. The contrast IQ wines created more dominant re them, and the harmonic ones create a silent treat. Them, adding details can be in a form of interesting staging. I wanted to add details and sweetness to the roof, so I used a zigzag stitch, which is similar to backstage in the way you so it. I advise you to sketch your line with a pencil first. It's easier to follow a line than guess where you need your needle to be. The processing This work is a bit like a spiral where you repeat yourself more and more, but the more you repeat yourself, you expand and you're going to more details. I wanted to add some pattern and color in the middle ground, anchoring the peace in the house I was debating to fabrics and turned up using a combination of both. I've traced the shape needed with the textile penned by placing and feeling the area. You can also use silk or tracing paper. Since it's not planned, I go along adding one piece after the other until I feel I got the right effect and then I stitch it down appointees. Follow your intuition and trust it. Your piece reflects you and your choices. I had a very old laser wanted to add old cloth of a unique flavor that adds up to your work . I like incorporating them. The middle space was a big blank in treatment in my eyes, so my intuition led me there. I placed the lace near the house and trace to shape with the soft pencil. Since I like repeating cloths in different locations, I added bits of the lace also to the sky and the meadows. I ended the space by adding rhythm and movement rows of stitches on top of the lace. My piece is done next, summarizing your project and beating you for Wells.
9. Show Your work and Stay in Touch : this class has come to an end, and I hope you enjoyed it at least as much as I did, because the the purpose of this class was really to inspire you and encourage you to create with textiles and use them as self expression. Format is really a wonderful, wonderful medium toe work with. I hope you enjoyed making your own version off housing the metal wall art. I'm really looking forward to see a project, so don't forget to post it in the project gallery. If you have any. No to questions about your comments about this class. Don't be shy and post them in the comments. If you like this class, make sure you follow me on skill show so you can get updated when my upcoming classes are coming out live. You can also follow me on instagram and get a glimpse of my creative past there under my namely lasted carriage. That's it for now. Thank you for sharing your time with me and I'll see you on my other classes
 Lilach Tzudkevich, Textile artist