Transcripts
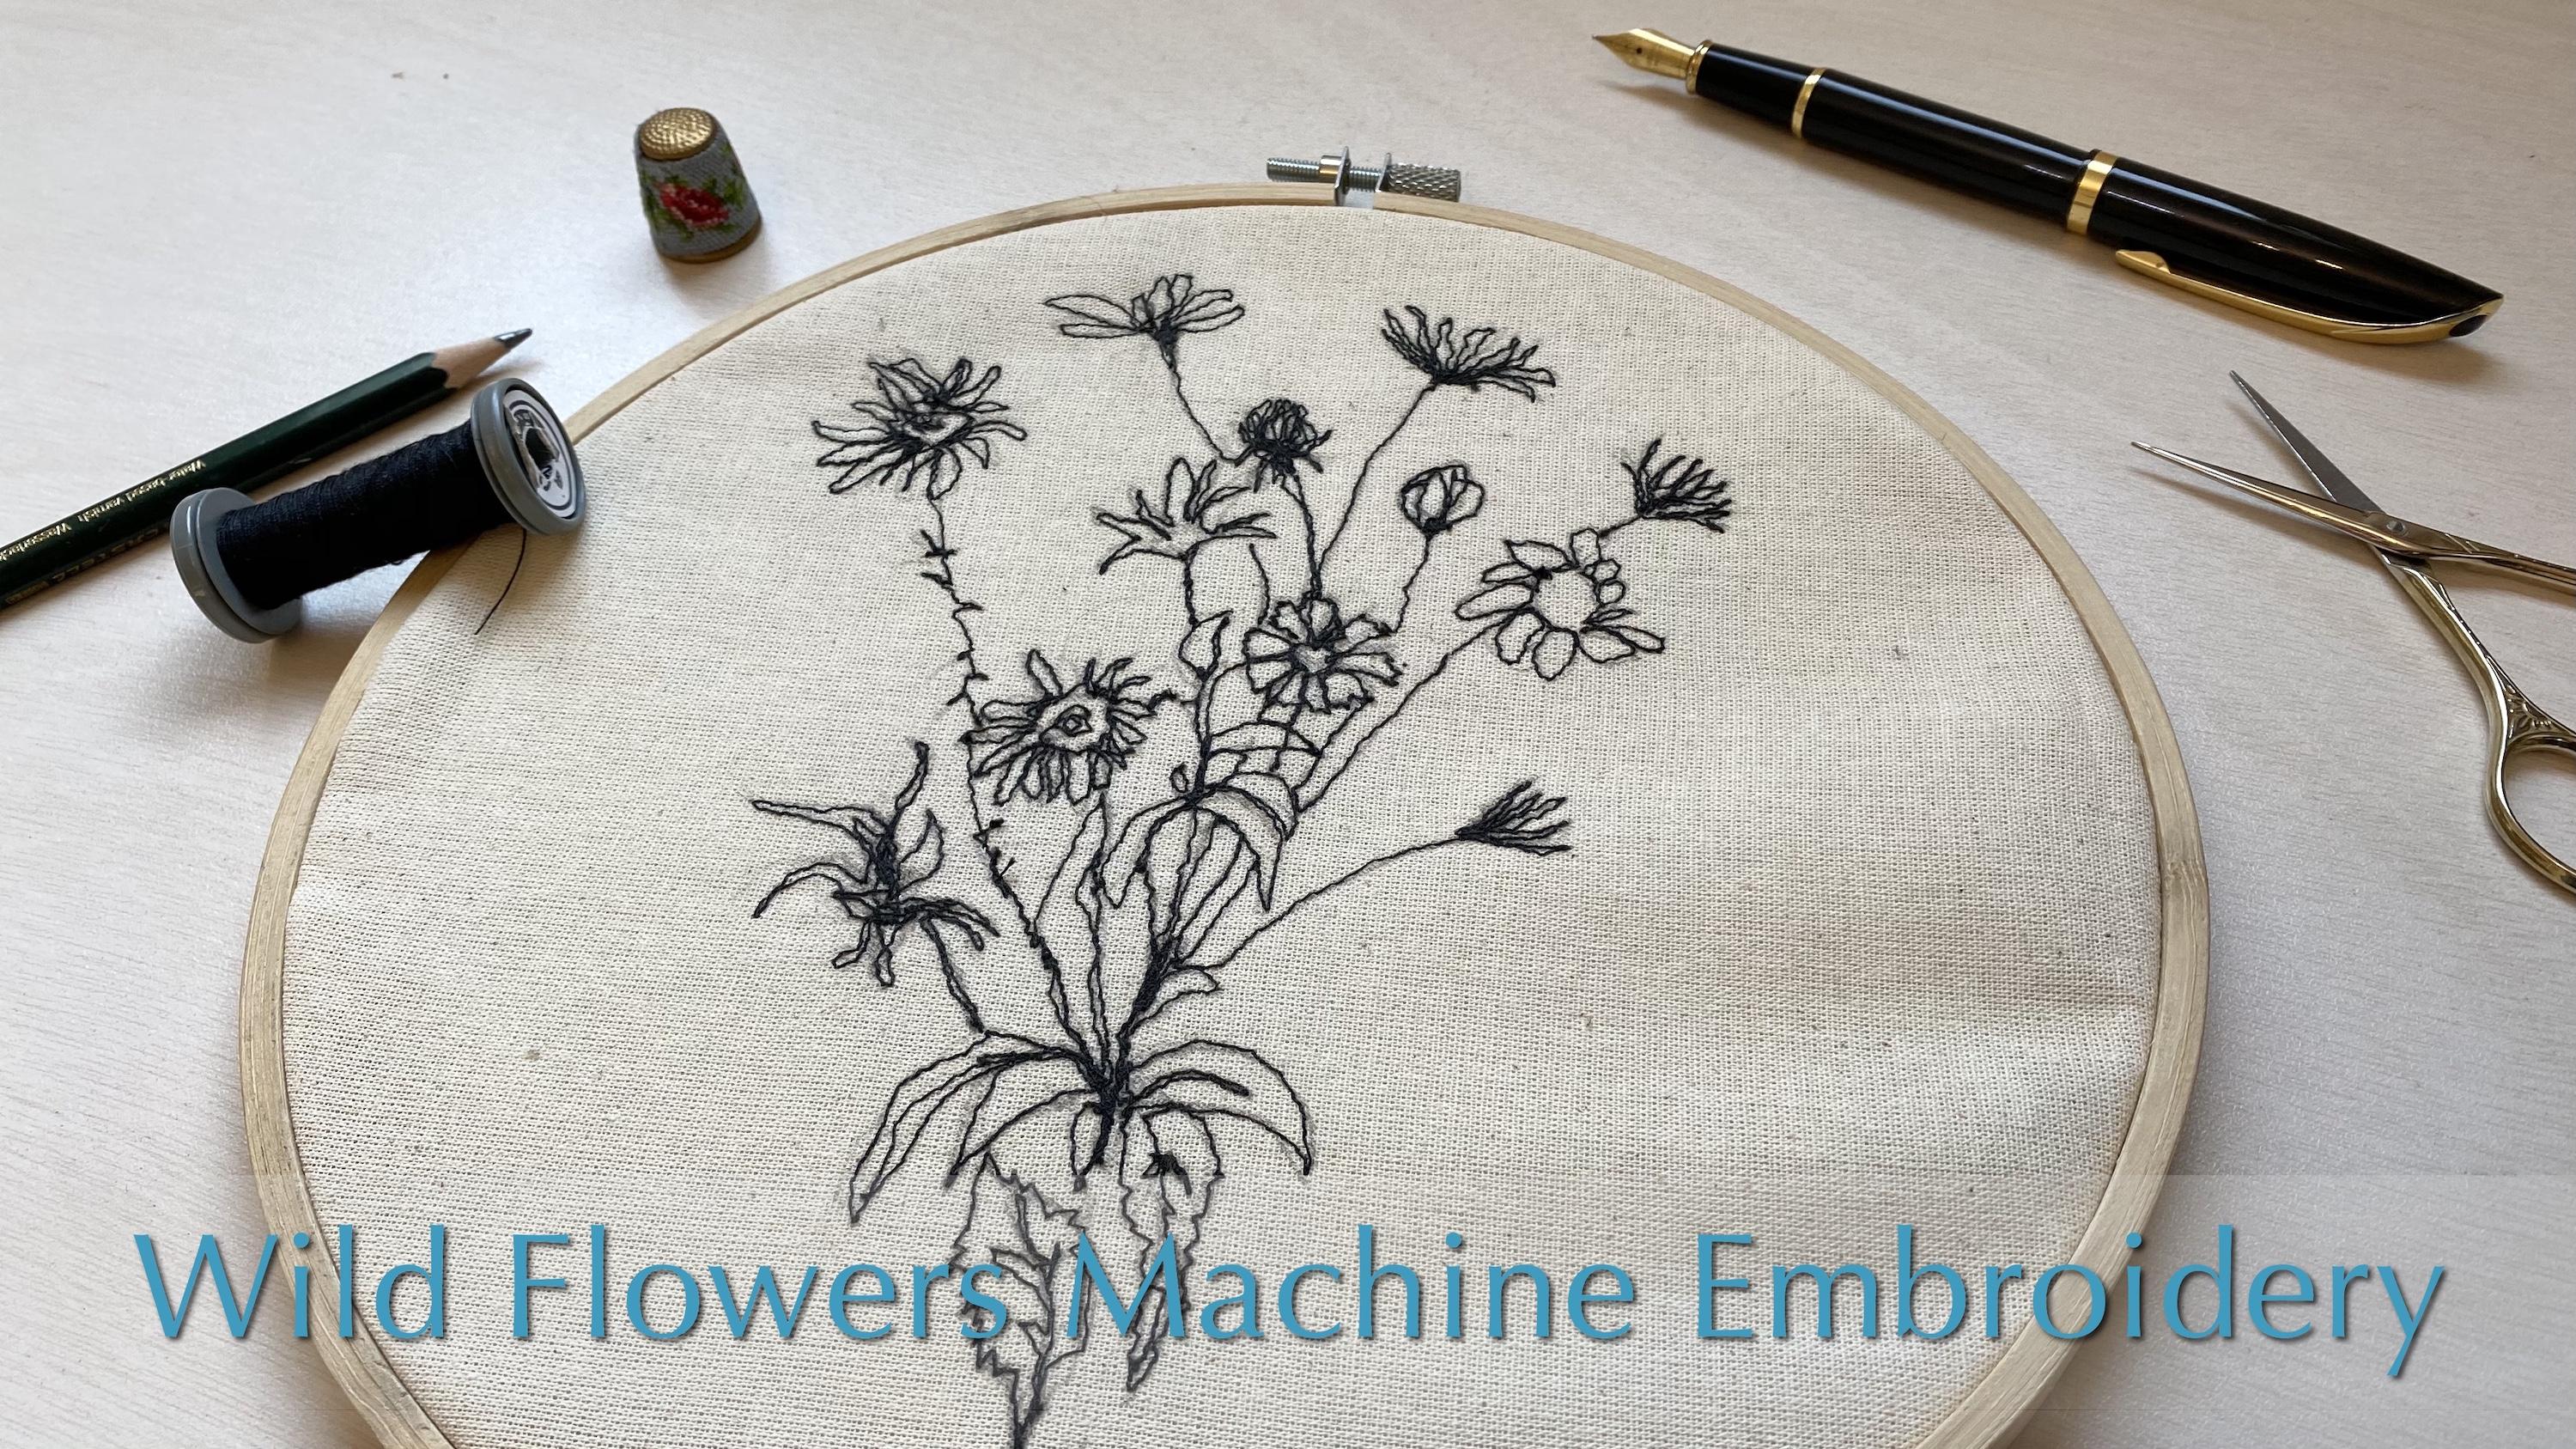
1. Wild Flowers Get On Board!: Hi, I'm lasted carriage January today from a wildflower is free motion machine embroidery class, where we are going to go into depth are free motion line-drawing, machine embroidery technique. In a creative, constructed and easy to follow class. Anyone can do it. And so can you. I'm going to show you everything you need to know about free motion machine embroidery. From getting to know the free motion quilting forward to some great tips such as how to transfer your visual to the fabric, to keep the fabric straight, and how to maneuver the machine to craft key elements in your project. By the end of this class, you'll be able to produce a stunning embroidered project and take this knowledge further into your future projects. So ready to get dazzled. Let's go into the materialist.
2. Wild Flowers Material List: Materialised for this project. So first of all, in order to produce your project, he will need a sewing machine. Any sewing machine any type will do. And what we're going to do is we're going to change the presser foot to a free form quilting food or darkening fluid. We're gonna go into the details of that in the class. You're also going to be using a light to medium weight material. I am using a medium weight mostly in a you can use any material you like, just make sure and enough material also for practicing furthering the project, we're going to place the fabric inside and embroidery hoop. So you're going to need those as round and have a size that is big enough to hold your project or comfortable for you to work with. Again, to use a printer to print the PDF file I've provided or the visual that you choose yourself. We're going to use a light pad. And if you don't have a light patent or rehabilitate any source of light like a tablet or even the window that can project a light behind your garage sale will do. We're also going to use a parchment paper, the pencil and the black ink pen. So it's good to have a pair of scissors standing by, especially the small ones when you want to cut the little threads. And lastly, if you want to frame your work, then you are going to need a picture frame. And now let's get started with the project.
3. The Visual Source: Obtain & Process: Your project begins with a visual on source, which you need to chose. You can use your own sketch if you have one or basis sketch upon a picture that you have, or go to the Web and search for a nice flower that you like. Or you can use the PDF file that I have provided under projects and resources. If you're choosing from the web, then I suggest you filter your choices into black and white and line-drawing ratios rather than a colorful picture, because it's much easier to use and to translate into a working pattern and then use it in the project. Go to your browser and what type wildflower or whatever flowers you are into. And just skimming through until you find the right visual that speaks to you. Choosing a single flour or just a couple of flowers is going to make their project much more doable. So I would suggest to go for something simple, more complicated, but it's really up to you. And you save the images you like so you can print them out and trace the lines later. So after you've chosen your visual sources and you printed it out, we're going to trace the lines on tracing paper. Using a tracing paper to trace and transfer your image into the fabric is going to make things very easy and clear when we work with the lightbox or any kind over source of lines that you want the light to reflect behind the paper and just to translate as much datas of your visual sources as possible into the fabric. In the next step of the project, we are going to use a light box in order to transfer the image into the fabric. If you don't have a light box, you can actually use your computer or a tablet screen to do exactly that because they also reflect light. And I'm going to briefly demonstrate that shortly. Once you are done tracing the lines of your image, it's time to trace the same lines on the fabric. For that purpose, we are using a light box. This is how a light box or a light pad looks like. It has one or the other types of a USB connection where you can connect it to a charger and switch it on. Sometimes they have a few intensity of lights and sometimes it's just one. We apply the tracing paper. As you can see, the light really reflect underneath because the paper itself is transparent. And then when we put the fabric on top of it, then they're reflection of the lines go smoother fabric. That of course, assuming your fabric is not too thick and can accept light going through it. So this is really a good idea to test the fabric that you are using to see that the light does reflect underneath and you can actually transfer your image into the fabric. And as I explained before, if you don't have a light box or like that, you can use the computer screen or tablet or even your phone to the same result because they to reflect light. So what you need to do is to have whitespace underneath. I opened my email browser or you can open Word or something like that. And then you apply the tracing paper on top of it. Your fabric, fix them in place together with a senator, and then you use a soft pencil in the same manner that we're working with the light box. You're going to retrace your lines on the computer screen. Now let's see how it's done with a light box. Fix your paper and fabric in place with sticky tape so they don't move and then you can start tracing the lines. Usually I use a soft pencil. It works best for me. Retrace the lines in the same manner that you did before with a transparent paper. On. In this time we're using the light box and the fabric on top and where retracing the lines on the fabric. So obviously sometimes it's harder to see the lines with their fabrics. And what I do is that I keep my original visual source, my sketch next to me, and I compare with the original line so I can add the lines that I don't see through the fabric. When I'm done placing the lines, I repeat the same process again with bringing my original source and comparing an ending details that I might have missed before. Now that I have my image on the fabric, again, start working with the sewing machine. But first I'm going to cover all the bases and everything you need to know about free motion machine embroidery.
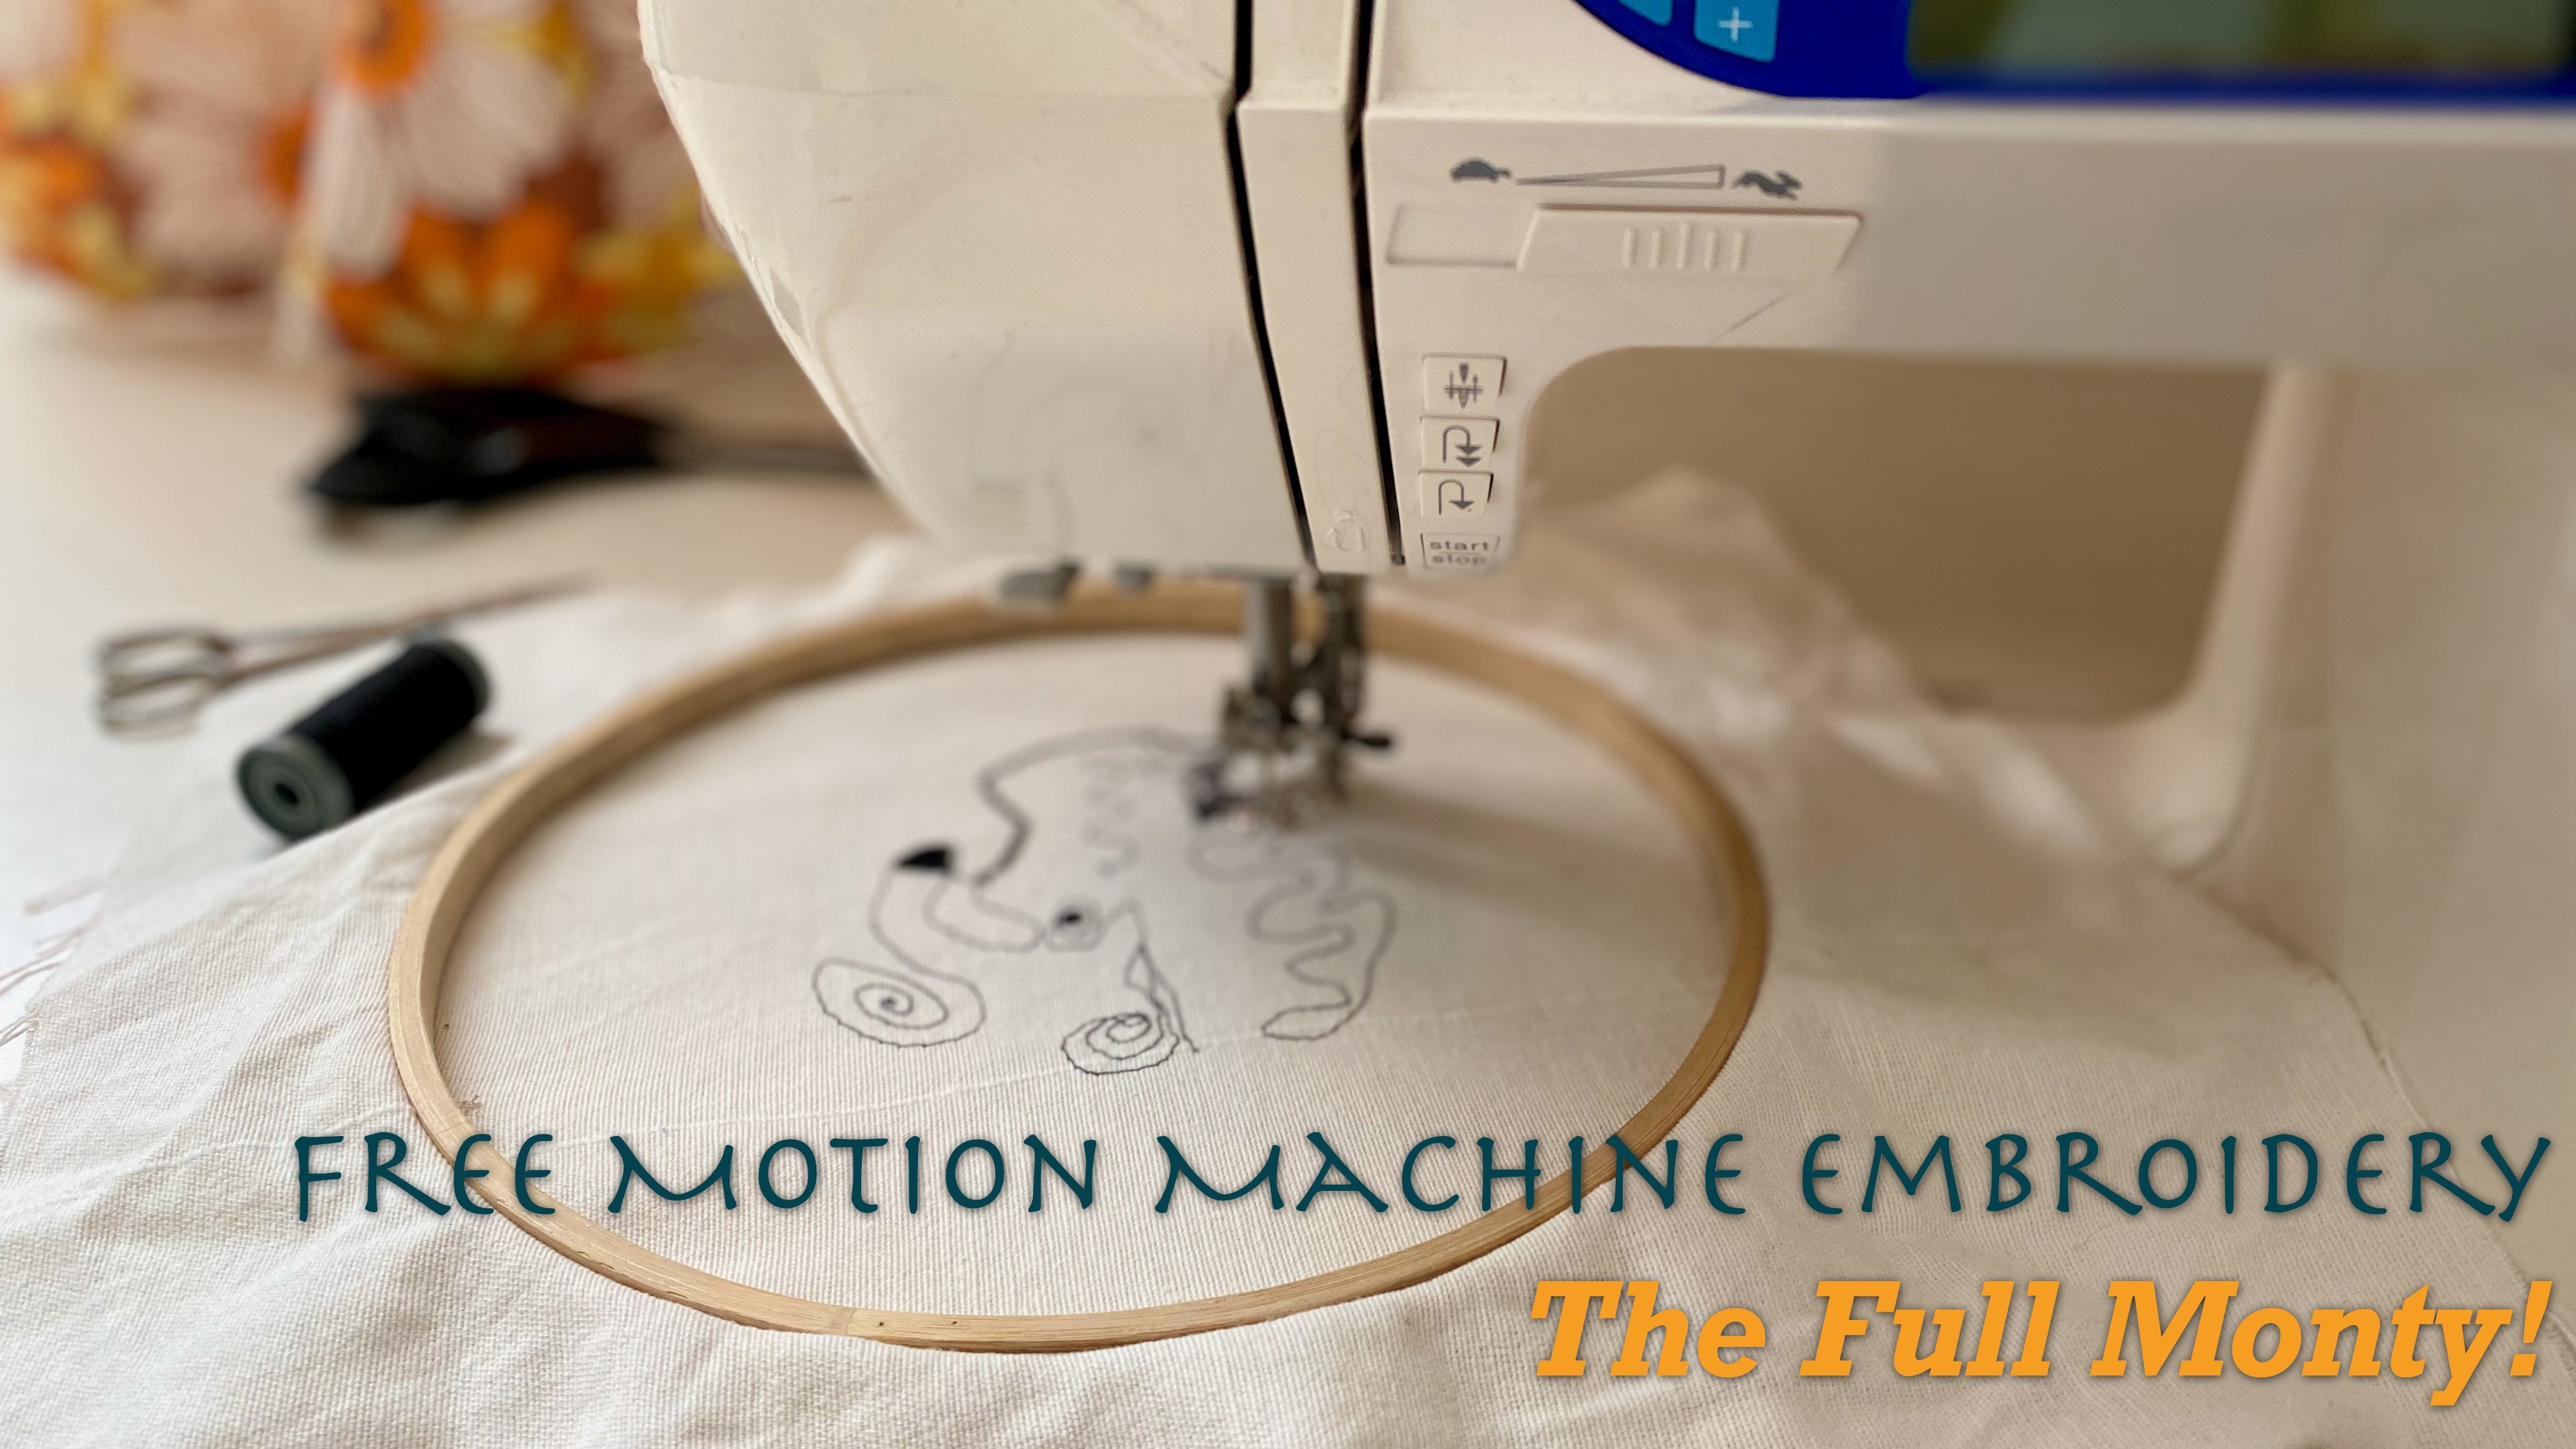
4. Setting Up Your Machine: Now that your image is set on the fabric, it's time to set up the machine for free motion machine embroidery. In order to stabilize the fabric for free motion machine embroidery, I'm going to show one hack to do it, which is using an embroidery hope. Pick an embroidery hope that decides VT0 machines. So it doesn't in this side of the machine and you have enough space to maneuver rate around with the fabric, like so. In parentheses just in case you are wondering how come I have this unique sewing machine. It's actually a normal sewing machine. Two, which I opened an opening in my table and applied a shelf to hold the base of the sewing machine underneath the table. So that enables me to have the sewing machine and lined with my table. And I have a big space to work on. Most household sewing machines do come with a free arm cover, which is like a little table and a little surface that you can maneuver around. If your machine is lacking a free uncover or you need a bigger space, then you can purchase and extension table for your sewing machine model. It makes a big difference and I really recommend it. In order to set up your sewing machine for a free motion machine embroidery, we have to first start with the foot. You have to change the your normal sewing thread into a free motion quilting food. Let's get into it. So this is the free motion quilting fluid, also called darkening forward or hopping foot. Thanks to each unique structure of spring that spilled into the Shankar, the presser foot, the flat circular foot presses the fabric only while the stitches being formed. And then it retracts up away from the fabric, which actually enables you to move your hands and your fabric in a free motion to every direction. So essentially your drawing with a needle and thread and your machine, if you machine didn't come with a free motion quilting for it, don't worry about it. Many generic presser feet like that online and in the sharps. And if you're in doubt, then you can ask the shop you bought your machine, which model fits yours? Let's assemble the food into the machine. The pressure foot is held by aside clamping screw like so. And so first you unscrewed with a screwdriver that came with your machine or just a normal flat screwdriver will do the job. Lift the pressure foot to an AP position using the lever. So it will be easy to adjust in new donning food into place and then screw back the Columbia being. When we work with a free motion quilting foot, then the feed dogs are disengaged. We want the feedback tweaking it down position so it will be easy to maneuver around the fabric. Each machine is slightly different, but in my machine, the baton to lower the feed dog is just at the back of the free arm. After you have disengaged the feet dark, you have to lower back the lever foot so the quilting for it can meet the fabric, can hold it down while the needle goes in, like so. So now we've covered all the basic conditions you need to work with a free motion machine embroidery. We're going to set up the fabric and start practicing. We are using an embroidery hope. And as you can see, I am placing the fabric on the outer frame. And then placing in the inner frame. This enables me to work on the fabric from the back so there is no stretching on the fabric. If you work on it from the other side, then it will pull down and it's not going to be flat on the surface of your table. So I just jotted a few lines is actually a continuous line because this is something that you need to practice and master mustering the sense that you need to know how to do it, how to maneuver your hands around the work with a machine in a harmonious way. Coordinating the movement of your hands together with the movement of the machine, with the stitching of the machine is something that is best achieved by practicing. Practice makes perfect. So don't worry if you need a lot of practice. Starts slowly working the paddle very gently with a very slow stitching until you get the hang of it until you can make a straight line and then that curved line until you really feel comfortable and that you have a level of control over the machine to do what you desire it to do. Now, I jotted a one continuous line, but if you jotted a few separate lines, then you need to bear in mind that if you want to create, let's say, a new starting point of a new line. Then you have to lift a lever to acquisition so you can release the tension and then move the fabric to the point that you want the new line to start. Anyway, you need to carry on practicing, practicing until you're comfortable with the method. And then we are going to practice on the real deal. We're going to sketch a part of the project and see how we're doing with that. So that will really give you a clear image if you are ready to work on your project, if you felt comfortable enough to go and work on your project itself, that's absolutely fine. But if you need another reassurance than I do suggest you sketch a part of your project and then practice on that sketch first. For those of you who wants to have another go on the practice stage, then I'm providing again the same method of placing the fabric inside the embroidery hoop and then working it around in with the sewing machine. This is an excellent practicing stage where you have the opportunity to practice many different lines that are more similar to your project. And just one line, and I do suggest you take it and you do an experimental flour. Just to see how you work it out, you will feel much more confident working on your project after you've tried this one. I also wanted to demonstrate how i do shading, which is just a repeated lines any certain area just like I would repeat it with a pencil to create a shape. Then in the same manner and repeated with the sewing machine and create the shaded area. On the next part of the class, you are going to apply all the knowledge and tips to your own project. Stay tuned.
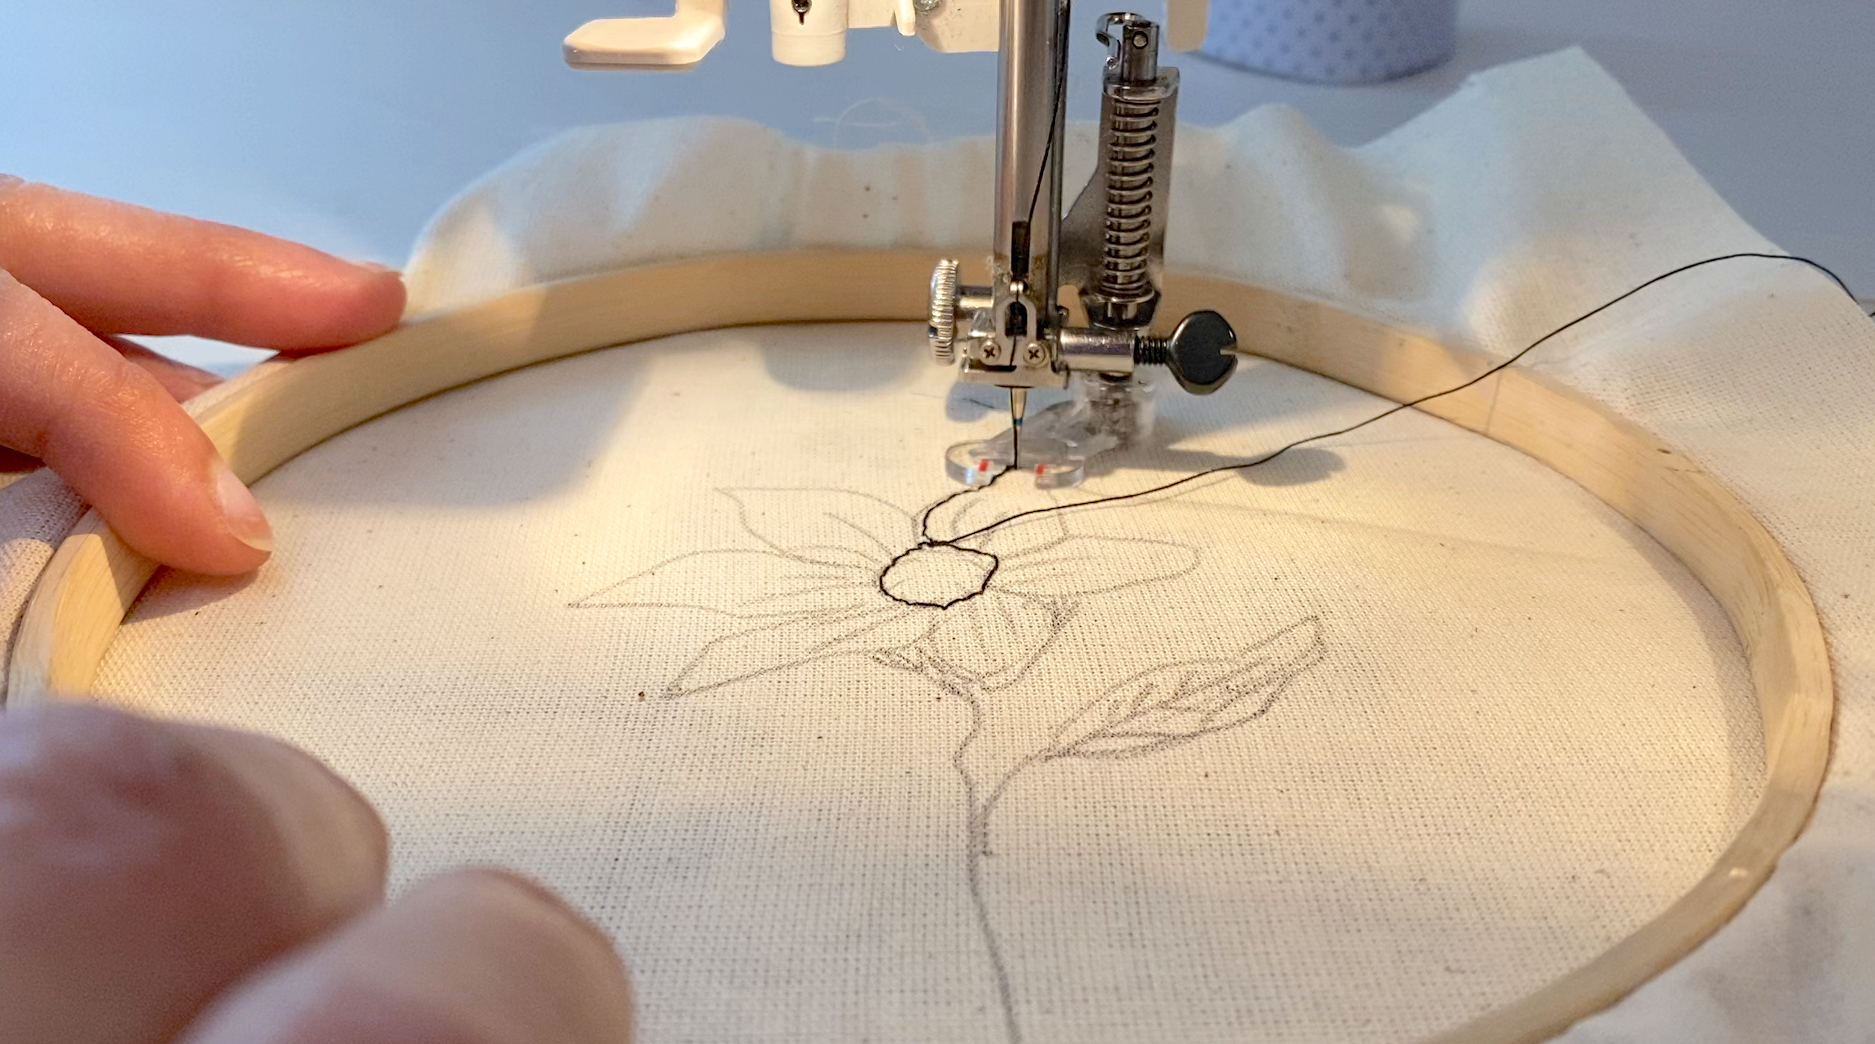
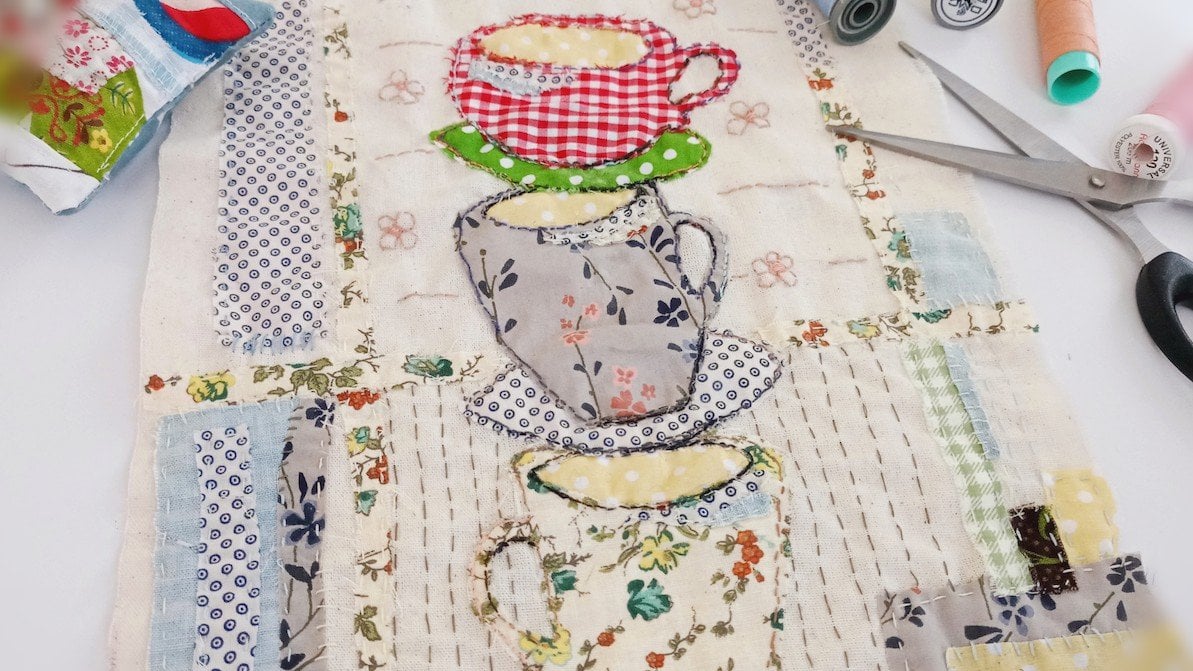
5. Machine Embroider Your Project: In the previous steps of this project, you have obtained a visceral source, transferred it into fabric, and preferably practice the free motion machine embroidery as much as possible. So now you are ready to start your own project. Plays the fabric with a transferred image on top of the outer loop of the embroidery hoop and then place the inner loop on top of the fabric. So the inner loop pushes the fabric down to the floor line of the embroidery. Hope it says If you are essentially stitching on the back, but what you are doing is having the fabric flat against the sewing machine table, and that's what you want it to be. We want it to be flat. Before we started embroidering your projects are going to remind you to lower the feed dogs of your sewing machine. I'm going to start with the middle and I'm going to go down because I'm so used to stitching and working with this direction with the machine. So it's a good starting point to work down the line, especially if you are very much used to stitching on the sewing machine, then this will come like a natural happy to you. And later on is the more you gain confident, the more you can play around with and directions and move sideways as you'll see me doing later. When I start my project, I want the needle to be very precise where I start my line in order to do that. And it manually turn the balance wheel that is located on the right side of my sewing machine and probably on yours as well. When I turned a balancing will manually with my hand, I have a full and utter control over the and then I can be very, very precise on my starting point. I use that method many times along the project when I change the starting point and I'll show you later how I do that as well as the direction of how you move your project along and how you maneuver the embroidery hoop is really up to you. There is no Rangan writing, just work according to what you feel comfortable with. Because the main idea is that you enjoy your project and enjoy what you do, and don't get overstressed about it, so it doesn't really matter. They're no golden rules here. The only thing you need to do is to work on your image and your project the way you see fit and feel comfortable with what you do. Enjoy it, enjoy exploring this method. It's cool, it's rewarding and it's actually easy once you get used to it. And the rest of the class, I am going to demonstrate a few key elements of how to treat the certain parts of the flower too bad, the leaves. So if you want, you can follow through, I think you might benefit a lot from it or you can just go on and work on your own project by himself. Right? And in order to achieve a summated, if what I'm doing is actually maneuvering gently, the only hope from side to side while the machine is progressing forward in the lease way, I'm creating a serrated, uneven, very natural-looking leaf. Now I'm reaching a point where I need to have a new starting point. So then I'm lifting the needle to HIV physician listening reflect engine. And then I couldn't position the needle anywhere I want in the project like so. And carry out later on I'm going to cut the extra thread hanging there and many more that will be. So for the rest of the class, what I want is to show how I treat different areas of my project, certain flowers and leaves. And if you want, you can definitely, you are invited to follow that. But if you don't want to, then feel obliged, you can just carry on in your own rhythm and work on your own project. You're getting to it to be Explore the different elements of your project. Or you can follow my teachings to whatever suits you best. Yes. Okay. No. Okay. Okay. Right.
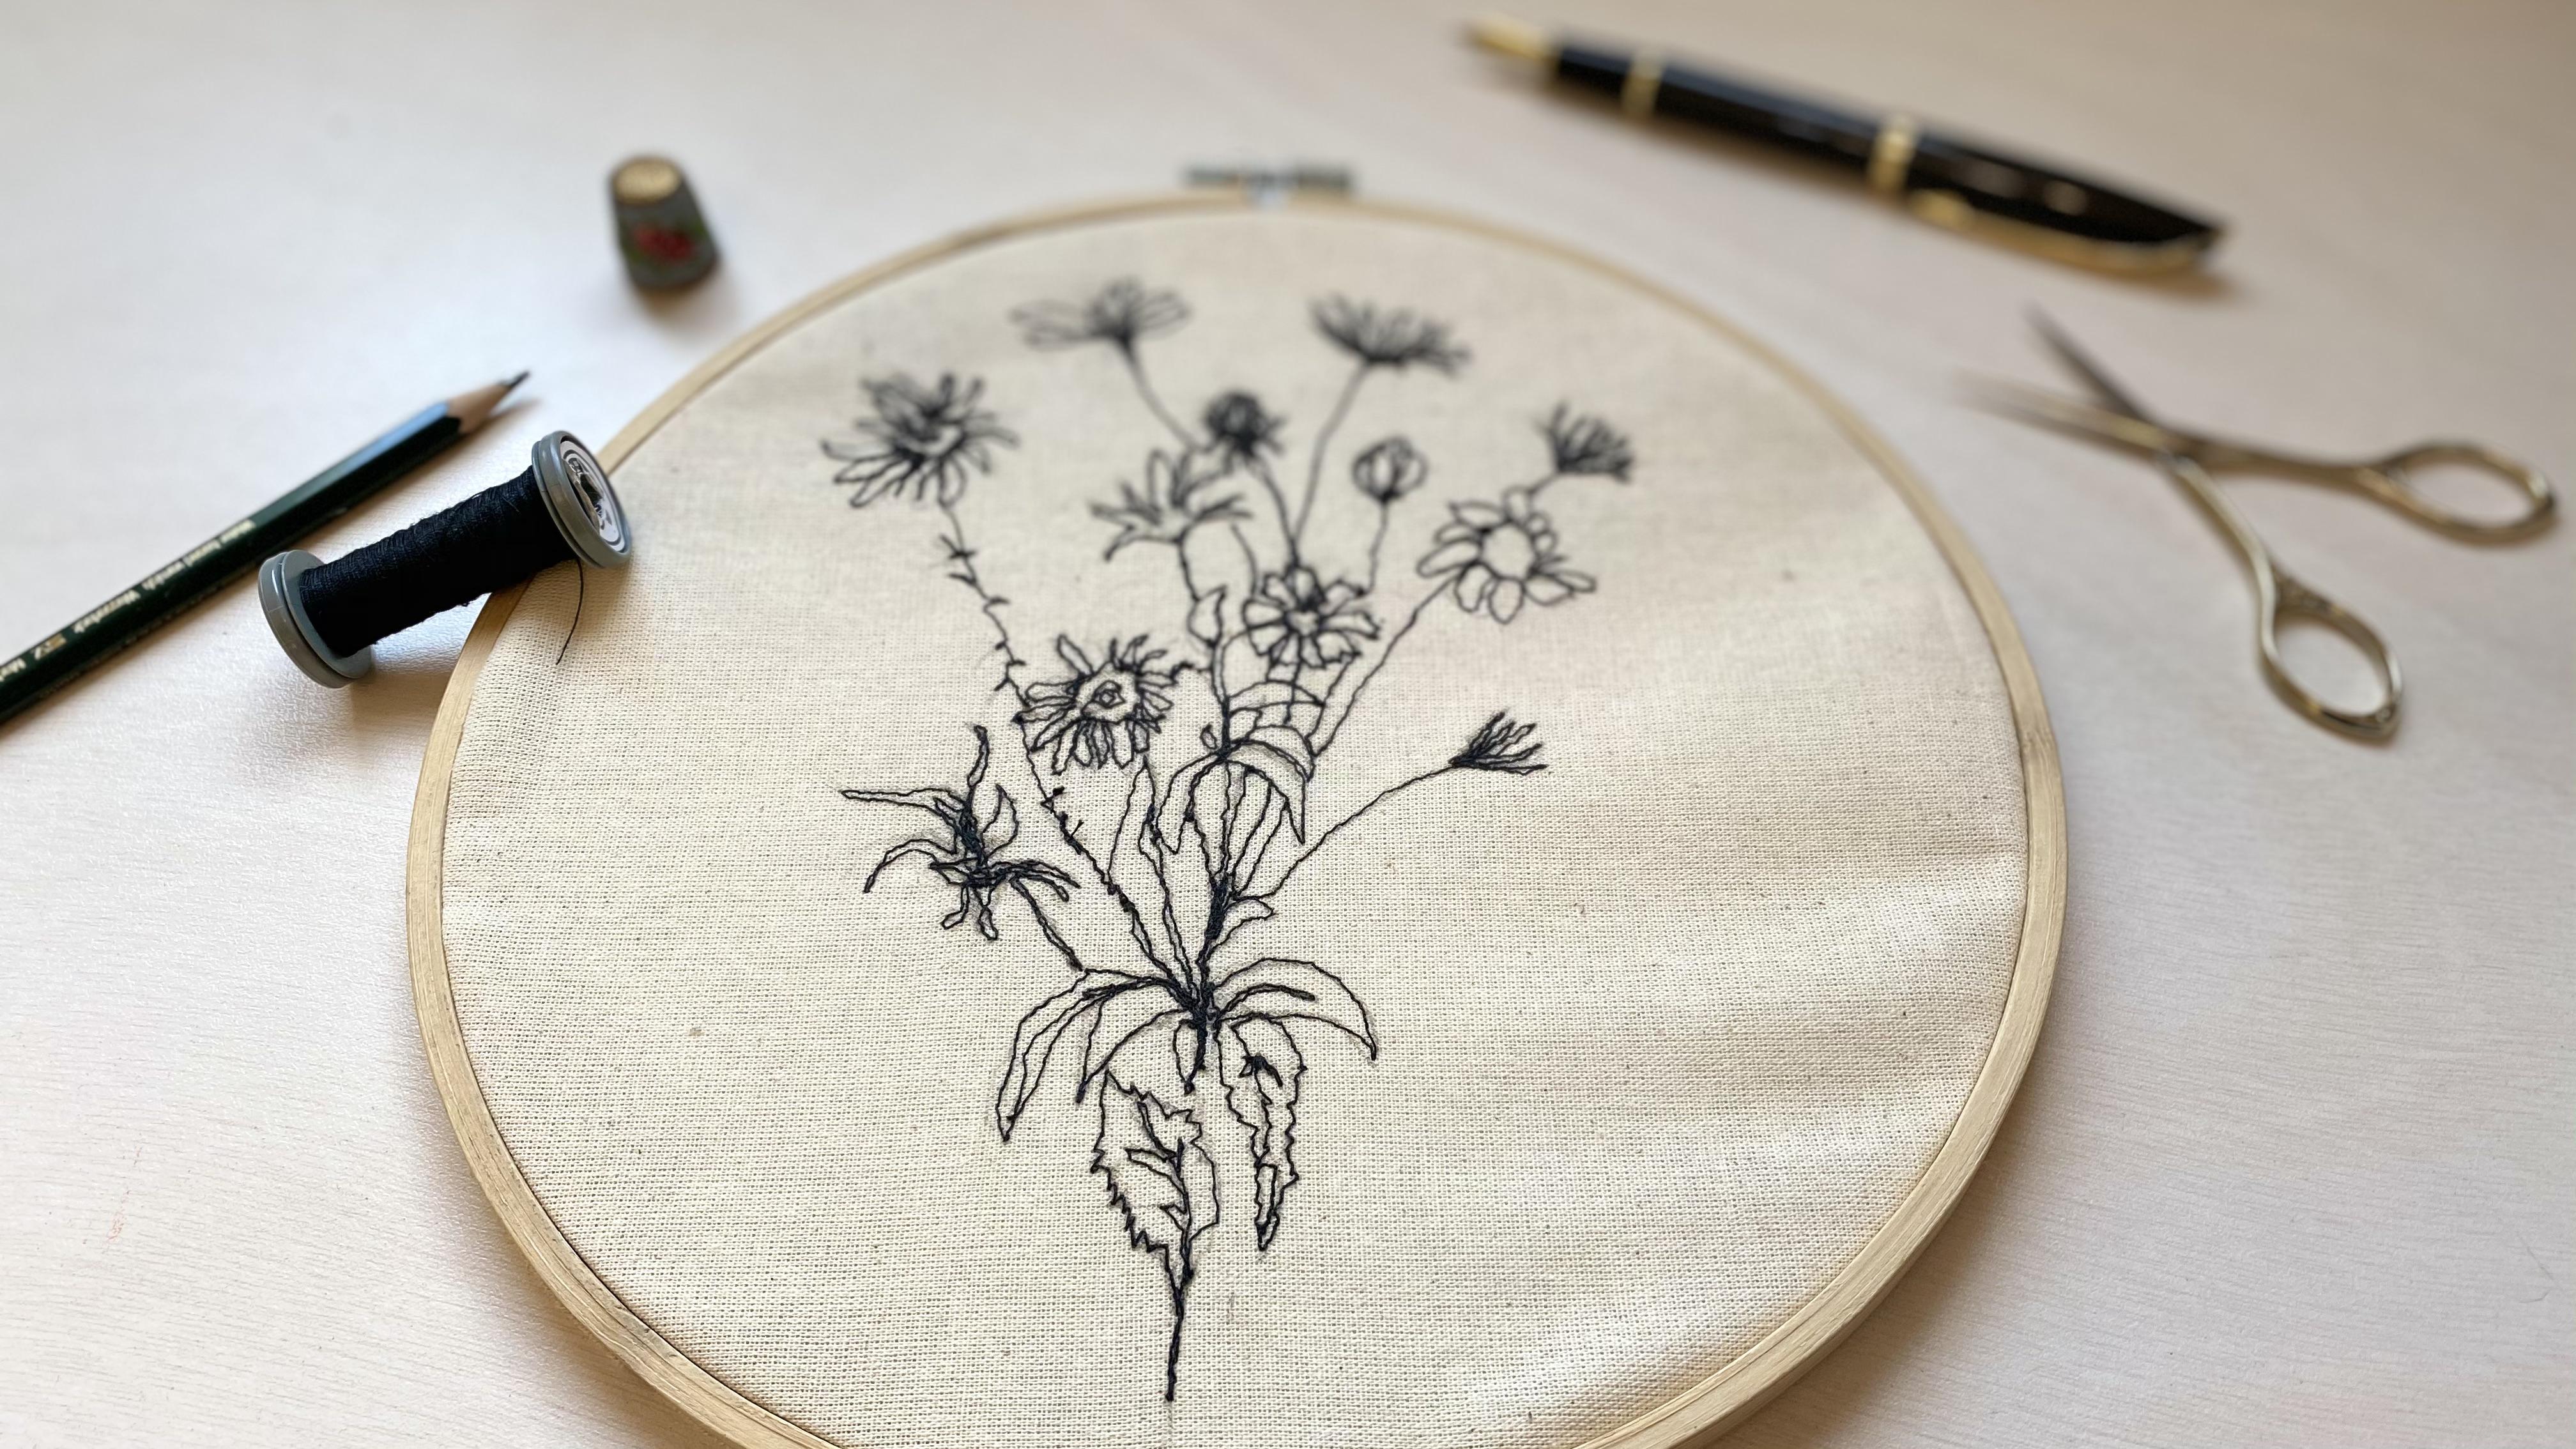
6. Towards Completion: Final Steps: So now that you've finished embroidering your project, let's take some simple steps to polish up your project. So the first step I'm going to do is obviously to cut off the axis, say friends I have from 1 starting point to the other. I did Sam gonna have quite a lot. And I do. Now you don't have to cut the axes threads. It's an aesthetic choice and if you like leaving them as they are, and it's also our k. I just like the clean Luke without the access threads, but it's really, really up to you. If you have decided to cut the excess thread, I can see my x's spreads from the left side of the fabric because my fabric is not that all pack, so it bothers me and I'm going to turn it around and cut the axes. But also on the other side. While the embroidery hoop is turned around, you can see the left side, which is, which is slightly different from the right side. It's a bit somehow more gentle and less dense. And it's a matter of choice and an aesthetic choice, which one you like better. And this point is also good to decide if you want to live the pencil lines on your work or you want to erase them. If you want to erase them, you just use a pencil eraser and erase m. Now, the last step of this project will be to frame your work. There are a few options to frame your work, and the first one would be to use the embroidery hope as a frame. It's very simple, easy, and affordable. But if you want to reuse your embroidery hope or you went to frame it in a different way, then you better not cut the February Quran, the embroidery hoop as I'm doing now. But instead keep the fabric as a whole so you can adjust it to the frame that you may want to use later. And if you choose to use the embroidery hoop as is, so you just cut it closely between the two layers of the inner and the outer hoof, like I'm trying to do right now. If you've got one the edges of the fabric to show on the old frame, then what you can do is first decide which side of your work you want to present out. And then if you need, you can turn the fabric so that the left side of your work is facing backwards where the fabric is cut and the front of your project is nice and clean. Another option to frame your work is to use a picture frame. Take out your project when the embroidery hoop first and I read a little bit. And then I suggest you try out a few frames and sizes until you find the right one that suits your project. And apply your project into the frame. You can fold the extra fabric and glue it if you like. But basically the frame holds your project in and once you are happy, you can hang it on the wall and buy that our class has come to a conclusion. I had the tremendous fun. I hope you did too, and I'll see you in my other classes by.
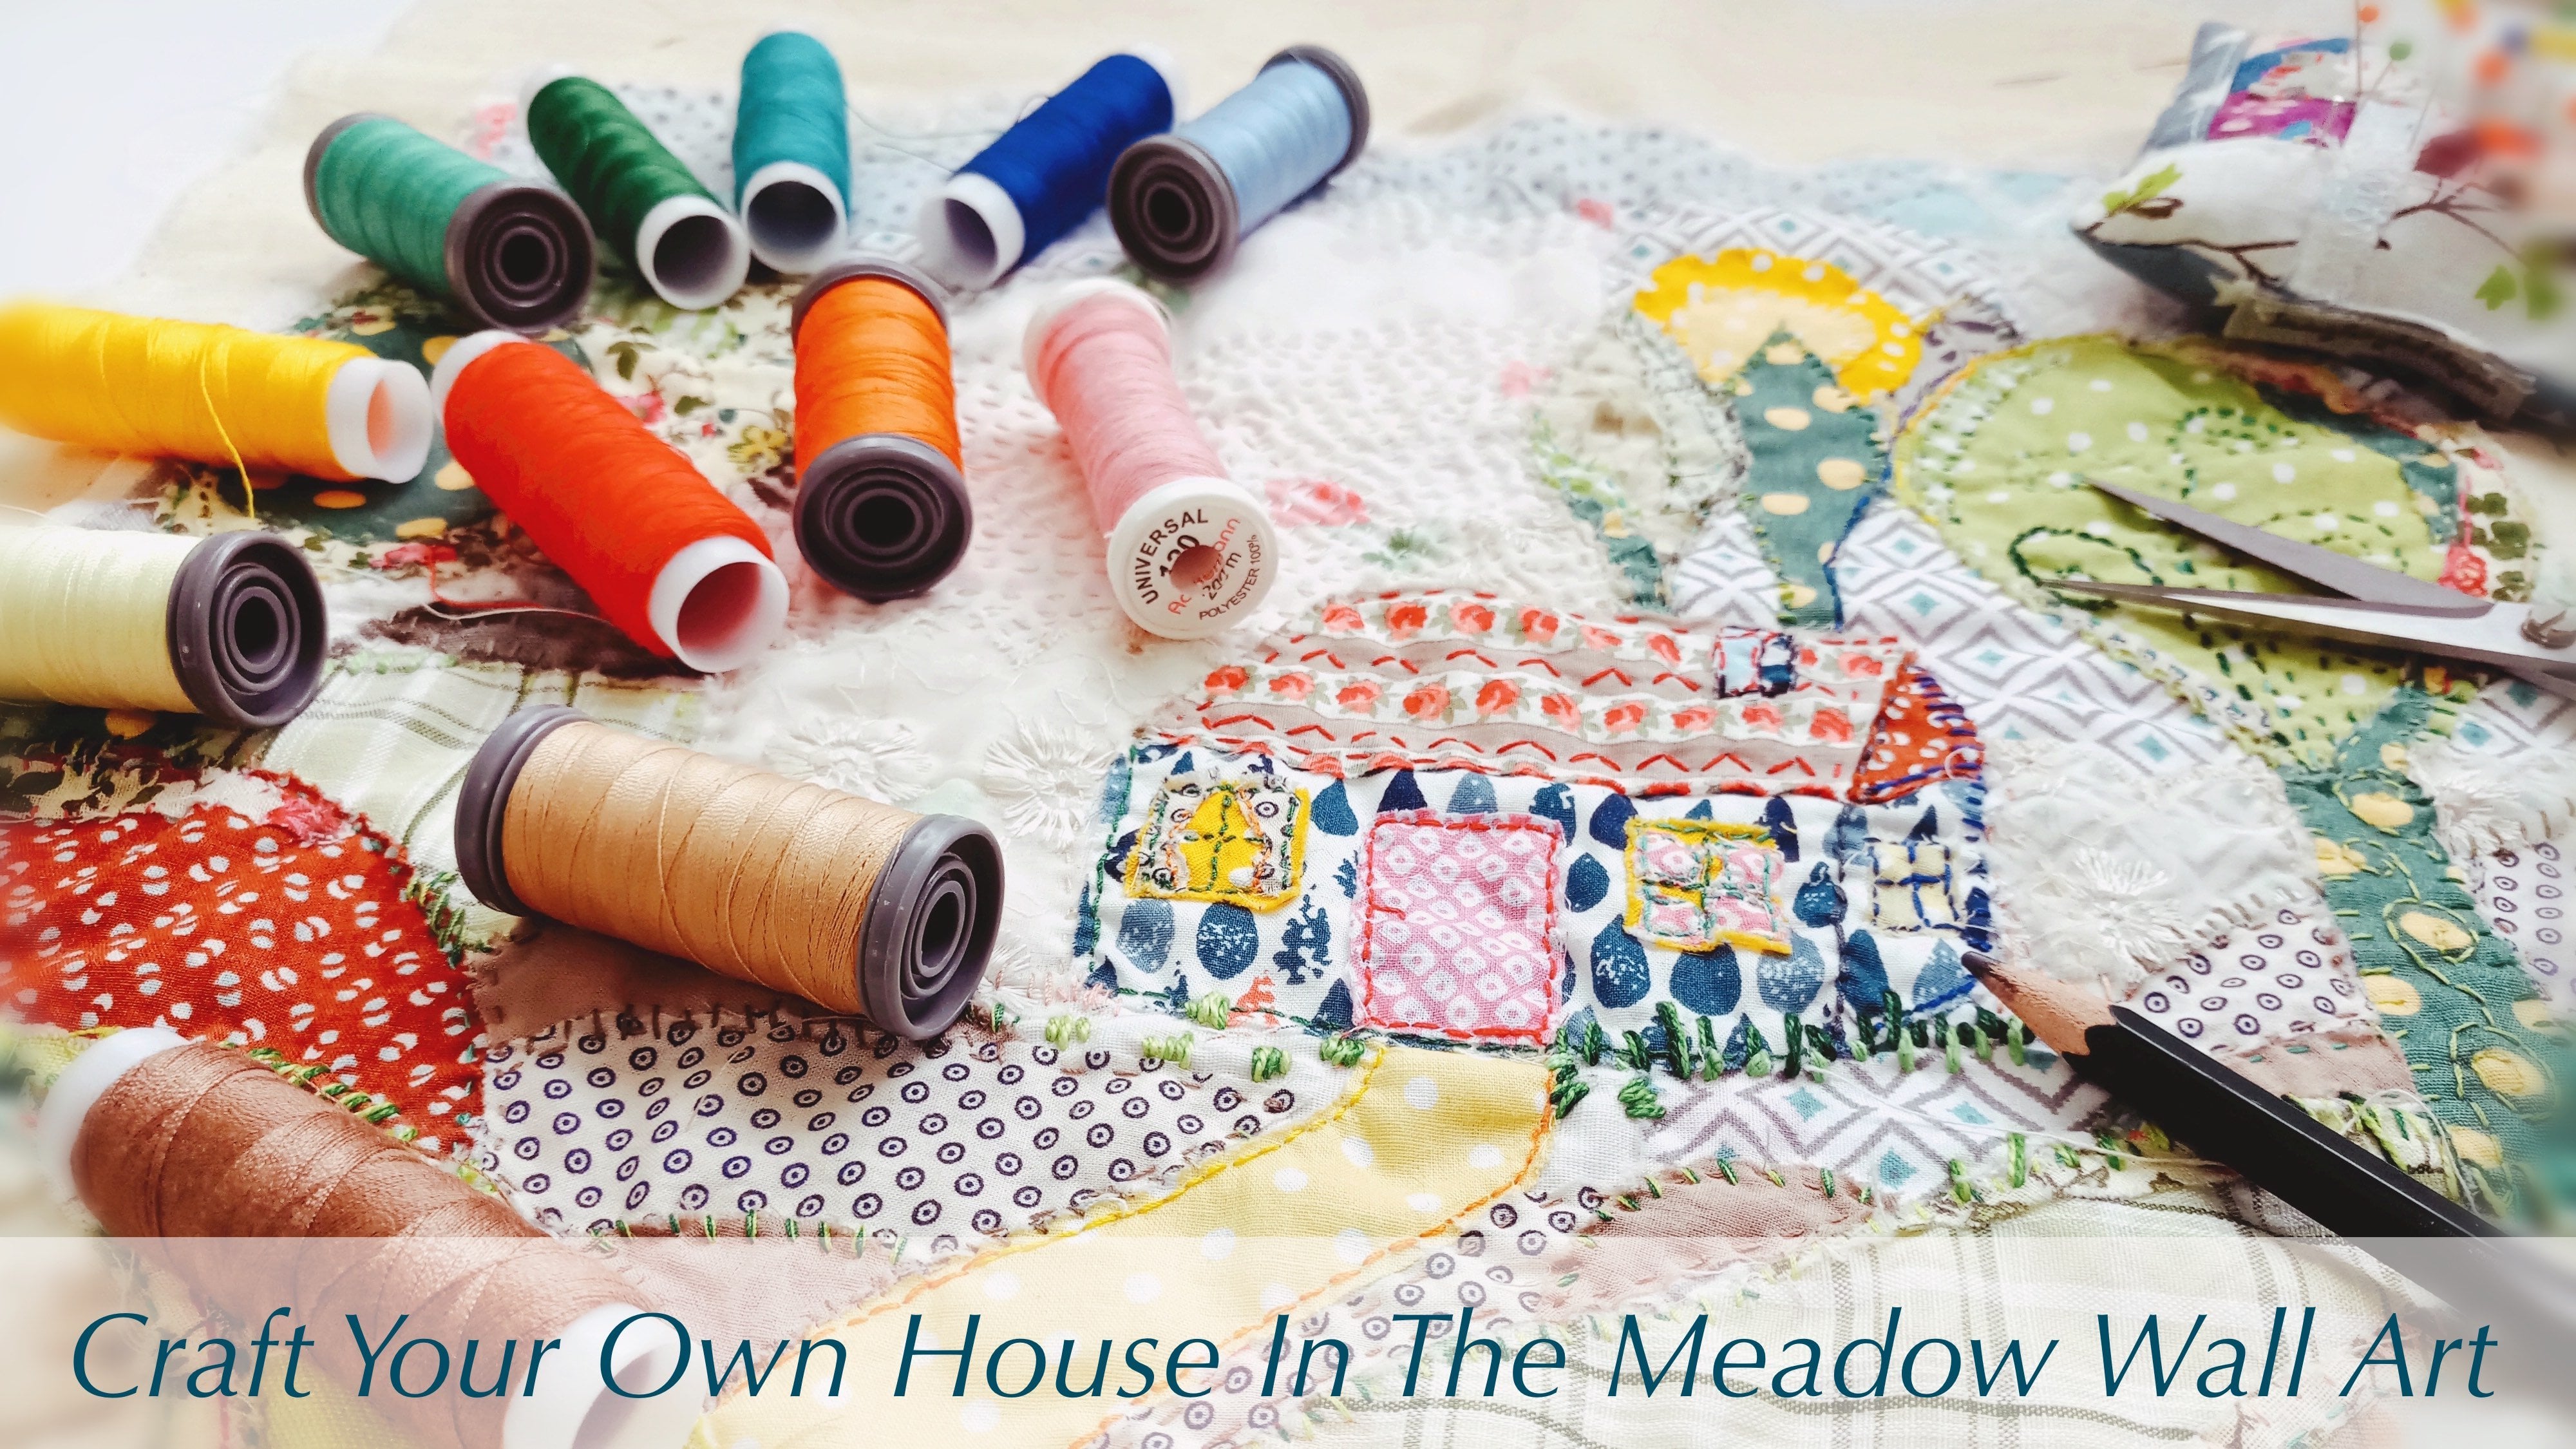
7. Parting For Now: Closure: Okay, so this class has come to an end and I hope you enjoyed it and it really inspired you and opened up your truism of creativity with free motion machine embroidery because really it's a great technique to use. And you can also incorporated in many mixed media project embroidery and sewing projects really go wild with what you can do with it. If you like this class saying you feel free to pop into my other classes revolving around textile art and creative sewing. And if you want, follow me here on Skill Share so you can get updated when my new classes are having life. So until next time. See you.
 Lilach Tzudkevich, Textile artist