Transcripts
1. Introduction: Inspiration can come from the simplest things, all you have to do is be ready to accept it. Hi, I'm Anya Perepelkina and I'm a digital illustrator. I like to say that my style is bright and quirky and it's very feminine. In my personal work, my everyday routine is definitely my main source of inspiration. I started doing frame-by-frame animation as a fun project to learn something new for myself. Now it's become one of my absolute favorite things. Being self-taught, I know what impostor syndrome can do to you first-hand. Then there's creative block and a million other things that can get in the way of you and your art. What can you do when you still want to keep creating something new? In this class, I will share with you how the smallest things and any insignificant experience in your day can be turned into inspiration. Your daily routine is actually way more interesting than you think. First, we'll take a look at different ways to find inspiration. Then we're going to work on developing your sketch, explore animation features in Procreate, and design each individual frame. After that, we will choose a cool-looking color palette for your piece, and finally, work on the final animation. Everyday routine can be draining, but it can be a great source of new ideas that can make your work personal and relatable. I really hope that by the end of this class, you will find confidence to express yourself in your work more and let your voice shine. I'm so excited for this class and I hope you are too, so let's get started.
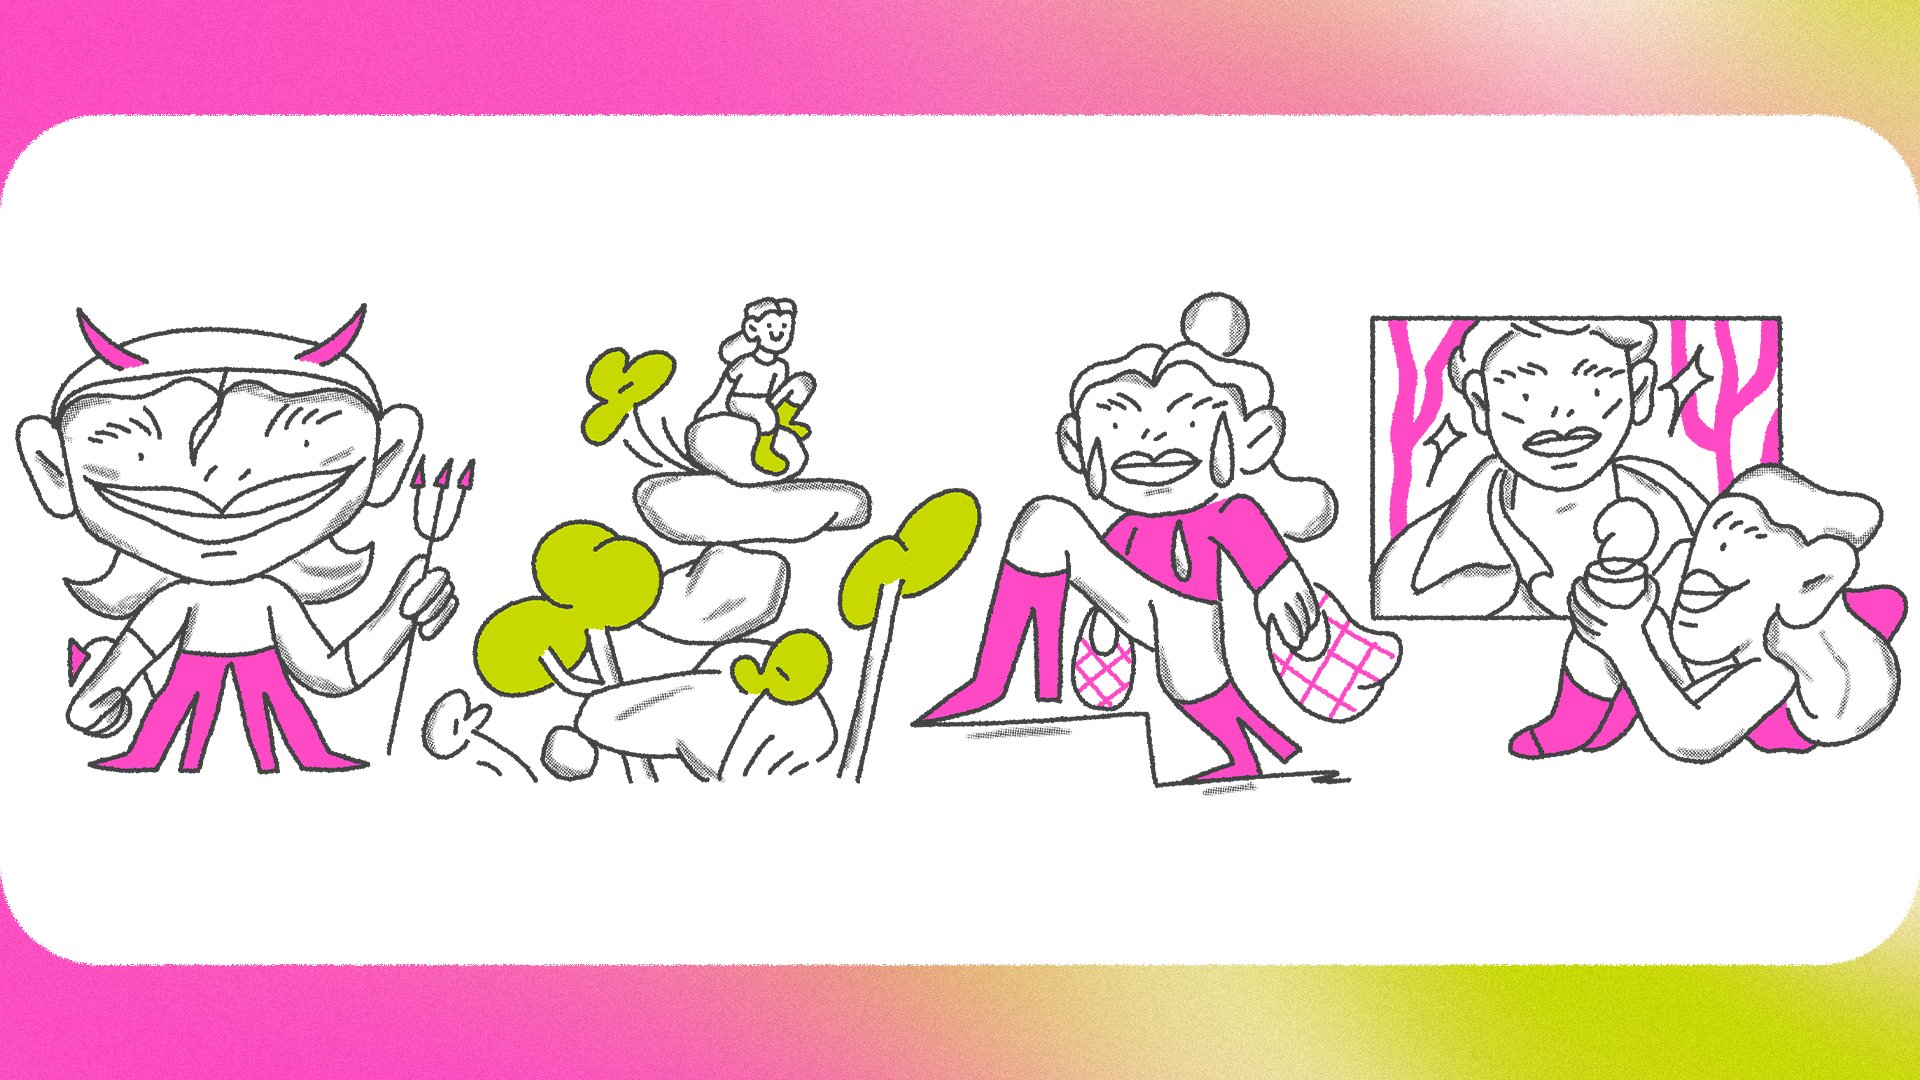
2. Class Project: Today we will create an illustration with simple frame-by-frame animation inspired by your everyday routine. Being a freelance illustrator, there are definitely times when there is little work or there are long stretches of time between clients. When this happens, it's very important to keep being creative and keep working on your craft. But what if you're simply all out of ideas? Well, everything you experience in your life has the potential to be turned into inspiration. In my work, I often find that my emotions, my guards, moods, or even desires all sneak their way into my illustration. A while ago, I really wanted a haircut, so I was inspired to draw this scene where I'm telling myself not to do it at home. Then me and my friend tried to FaceTime, but the connection was really bad and it was so frustrating. I was like, "Let me draw that." When I say that, any little thing can be your inspiration, I really mean it. The coolest thing is that everybody's living their own life, making their own choices. We all have something different to add to the table. Today I'll be going over how you can pull inspiration from your unique personal experiences and turn that into an idea for your animation. Next step we'll be sketching and planning which elements you're going to animate. After that, I'll show you how to choose a vibrant color palette before we really get down to business of creating the final frames. The last step will be exporting your animation so that you can post it wherever you want. To create the final animation, we'll be using Apple iPad and Apple Pencil. For software will be working in Procreate. This is a beginner-friendly class, but if you've never used Procreate before, you might want to play around first to get a feel of how to use the app. I would suggest searching for classes here on Skillshare to help you get started. My personal favorite is Jarom Vogel's class, Learn to use Procreate. It's great and amazing and super helpful. You can also use any other program you feel comfortable with. Just make sure that it has some basic frame-by-frame animation features. Photoshop is a great option as well. This is going to be so much fun. Let's jump right in.
3. Finding Inspiration: Now what we're all here for, let's talk about inspiration. The main point of this whole thing is that you don't have to struggle and wait around for inspiration to strike you. I really believe that it's already waiting for you if you really go looking for it. What can you actually do? The first and most obvious thing is to change up your activity or your surroundings. For me, it's the most effective way to get those creative juices flowing. If you're holed up in your house and have the ability, go for a walk, even a short one around your neighborhood. When I go outside, I always look around at people and their pets, trees, and clouds. Sometimes it's the little things that will catch your attention and spark a great idea and make sure to take lots of pictures of things that you like because you can always use them as a reference. Something else that helps me come up with ideas is being aware of my own emotions. Always try to notice what goes wrong and right in your day and how you feel about it, I've gotten so much inspiration for my work from that. Things you want or things you really dislike are all potential ideas for an illustration. If you want to make your work more personal, this is a really good and a really powerful place to start. Another thing that I find useful is doing something completely new or something that you are a little bit uncomfortable with. New experiences are often the best source of inspiration. You could try doing a new yoga workout, learn a dance, or sit down for meditation practice. My favorite thing is doing a new baking project every weekend. We're not only looking for positive experiences, things that go a little sideways, or even straight-up failures are all good to go. Lastly, remember that no idea is big or small, or good or bad, all you need is to start. Once you get into the flow of always being on the lookout for that idea, things will really come more easily. You have to train that creative muscle. Finally, this is where you come in. Before we move on, you have to find the idea for your illustration. In the next lesson, we will start working on our sketch and plan out the animation.
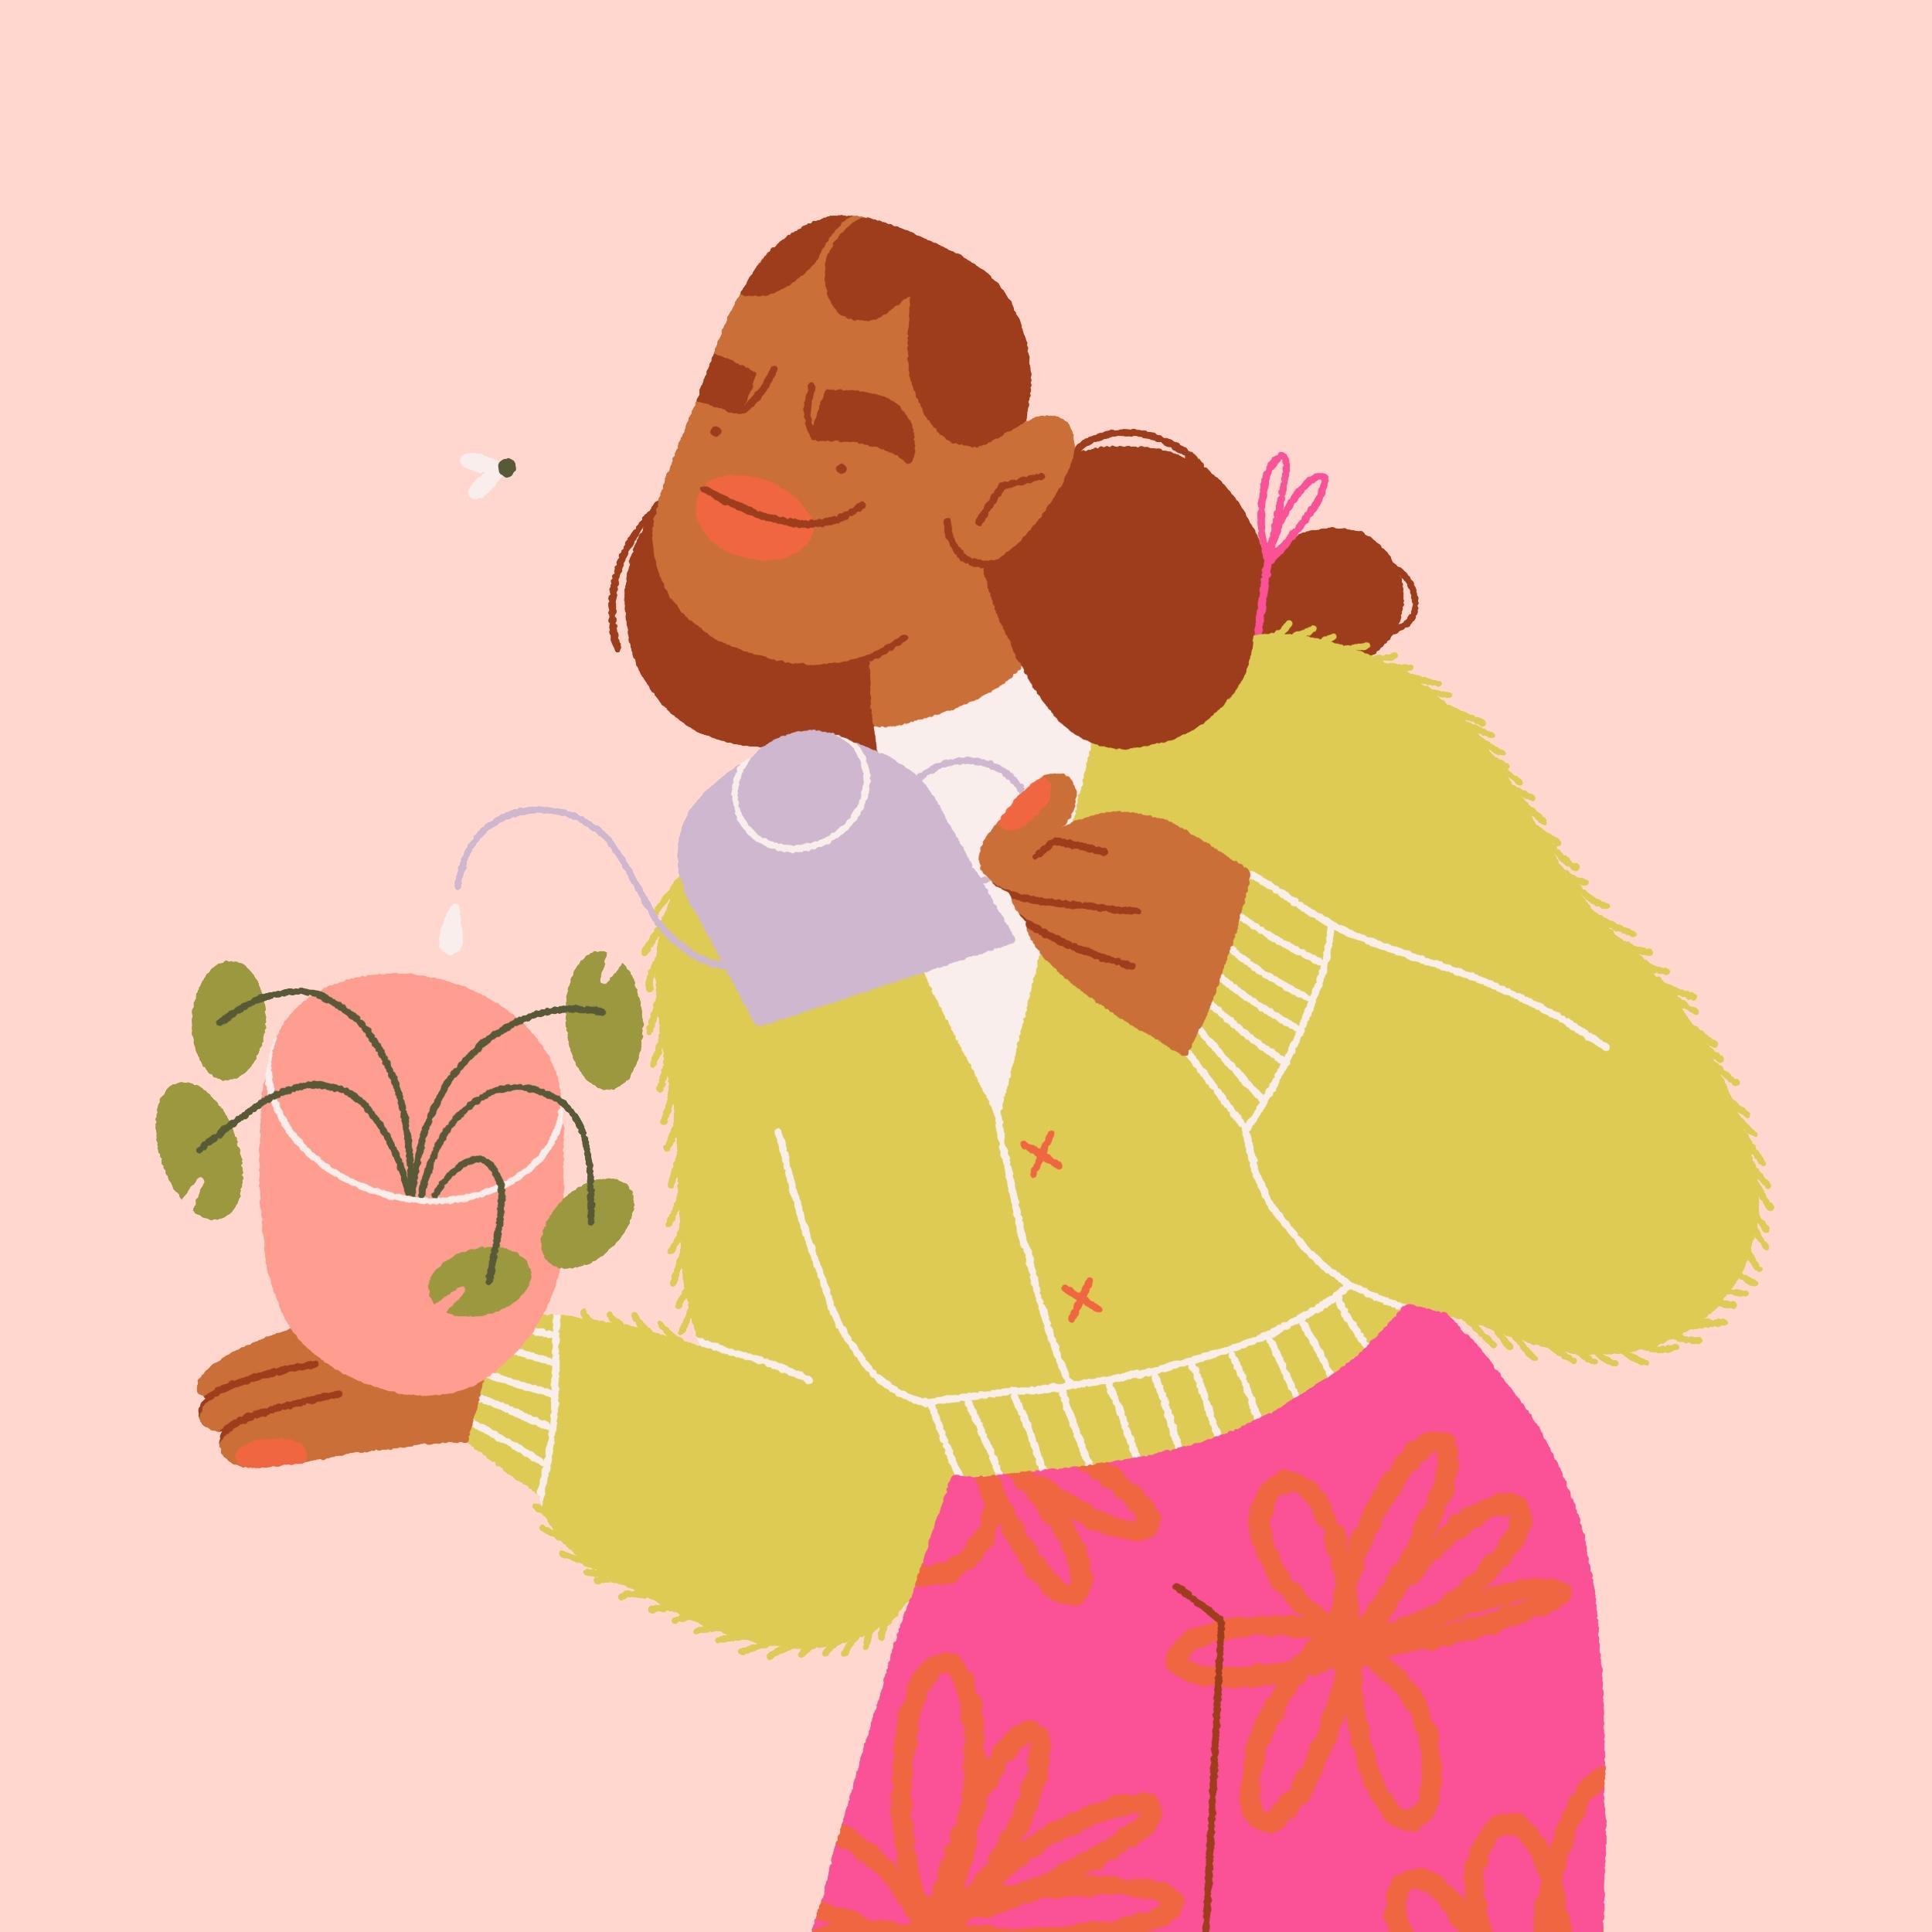
4. Sketching & Planning Ahead: Now that we've found inspiration and we have our idea, it's time to set up the file in Procreate and get to sketching. Here we are in Procreate. Let's create our canvas. You click on this "Plus" icon here and then new canvas. I like doing 2500 by 2500 with 600 DPI. You get great quality this way. Then you have the standard RGB selected in color profile. Time-lapse settings are right here and then Canvas properties we'll leave that as it is and there you have it, our file is ready to go. Now let's quickly talk about brushes. Procreate actually has great brushes for sketching already you can totally use them if you want, but my favorite brushes are by Idle Letters. They have amazing brush kits for every occasion. I usually use this Inkers set, and my favorite brush from it is called Bubble. I use it for almost every single thing that I make. I cannot recommend it enough. It has just the right amount of texture which I really like. I've already taken a picture I plan to use as a reference. The idea is to illustrate me watering plants. I used to be really bad at it and destroyed quite a few of them unfortunately, but I've gotten so much better and I'm proud of myself for that and I thought it had great potential for animation as well. I have my photo inserted, and I'm just going to lower the opacity here so it doesn't distract me and I'm going to lock it as well so it doesn't move. I already know what I want to do with my sketch. I think the photo actually depicts quite well what I had in mind. I want my character to be relaxed and looking happy. Like it's not a chore for her, but more of a hobby. I'm happy with the sketch for now. We will refine and clean it up later. Now is actually a good time to think about what you could animate in your sketch. When you plan your animation, it's better to choose a smaller movement at first so that it's not too overwhelming for you and you can definitely try more complex stuff later. For my sketch, I'm planning to have water dripping here. Then the plant goes up and down as the water reaches the pot, then I want maybe a little bow to move in her hair, maybe do some movement with the flyaway hair as well and I definitely want some funky pattern on her pants. We're going to make that move as well. We will see what we can do here later on. For now, let's refine our sketch and make it look good. Here's the finished sketch. As you can see, I've added a little bug here. I think it will be a fun little detail to animate. Now you can go ahead and come up with your sketch and remember to keep in mind how you're going to animate it. In the next lesson, we will look at animation features in Procreate and get to work on our frames.
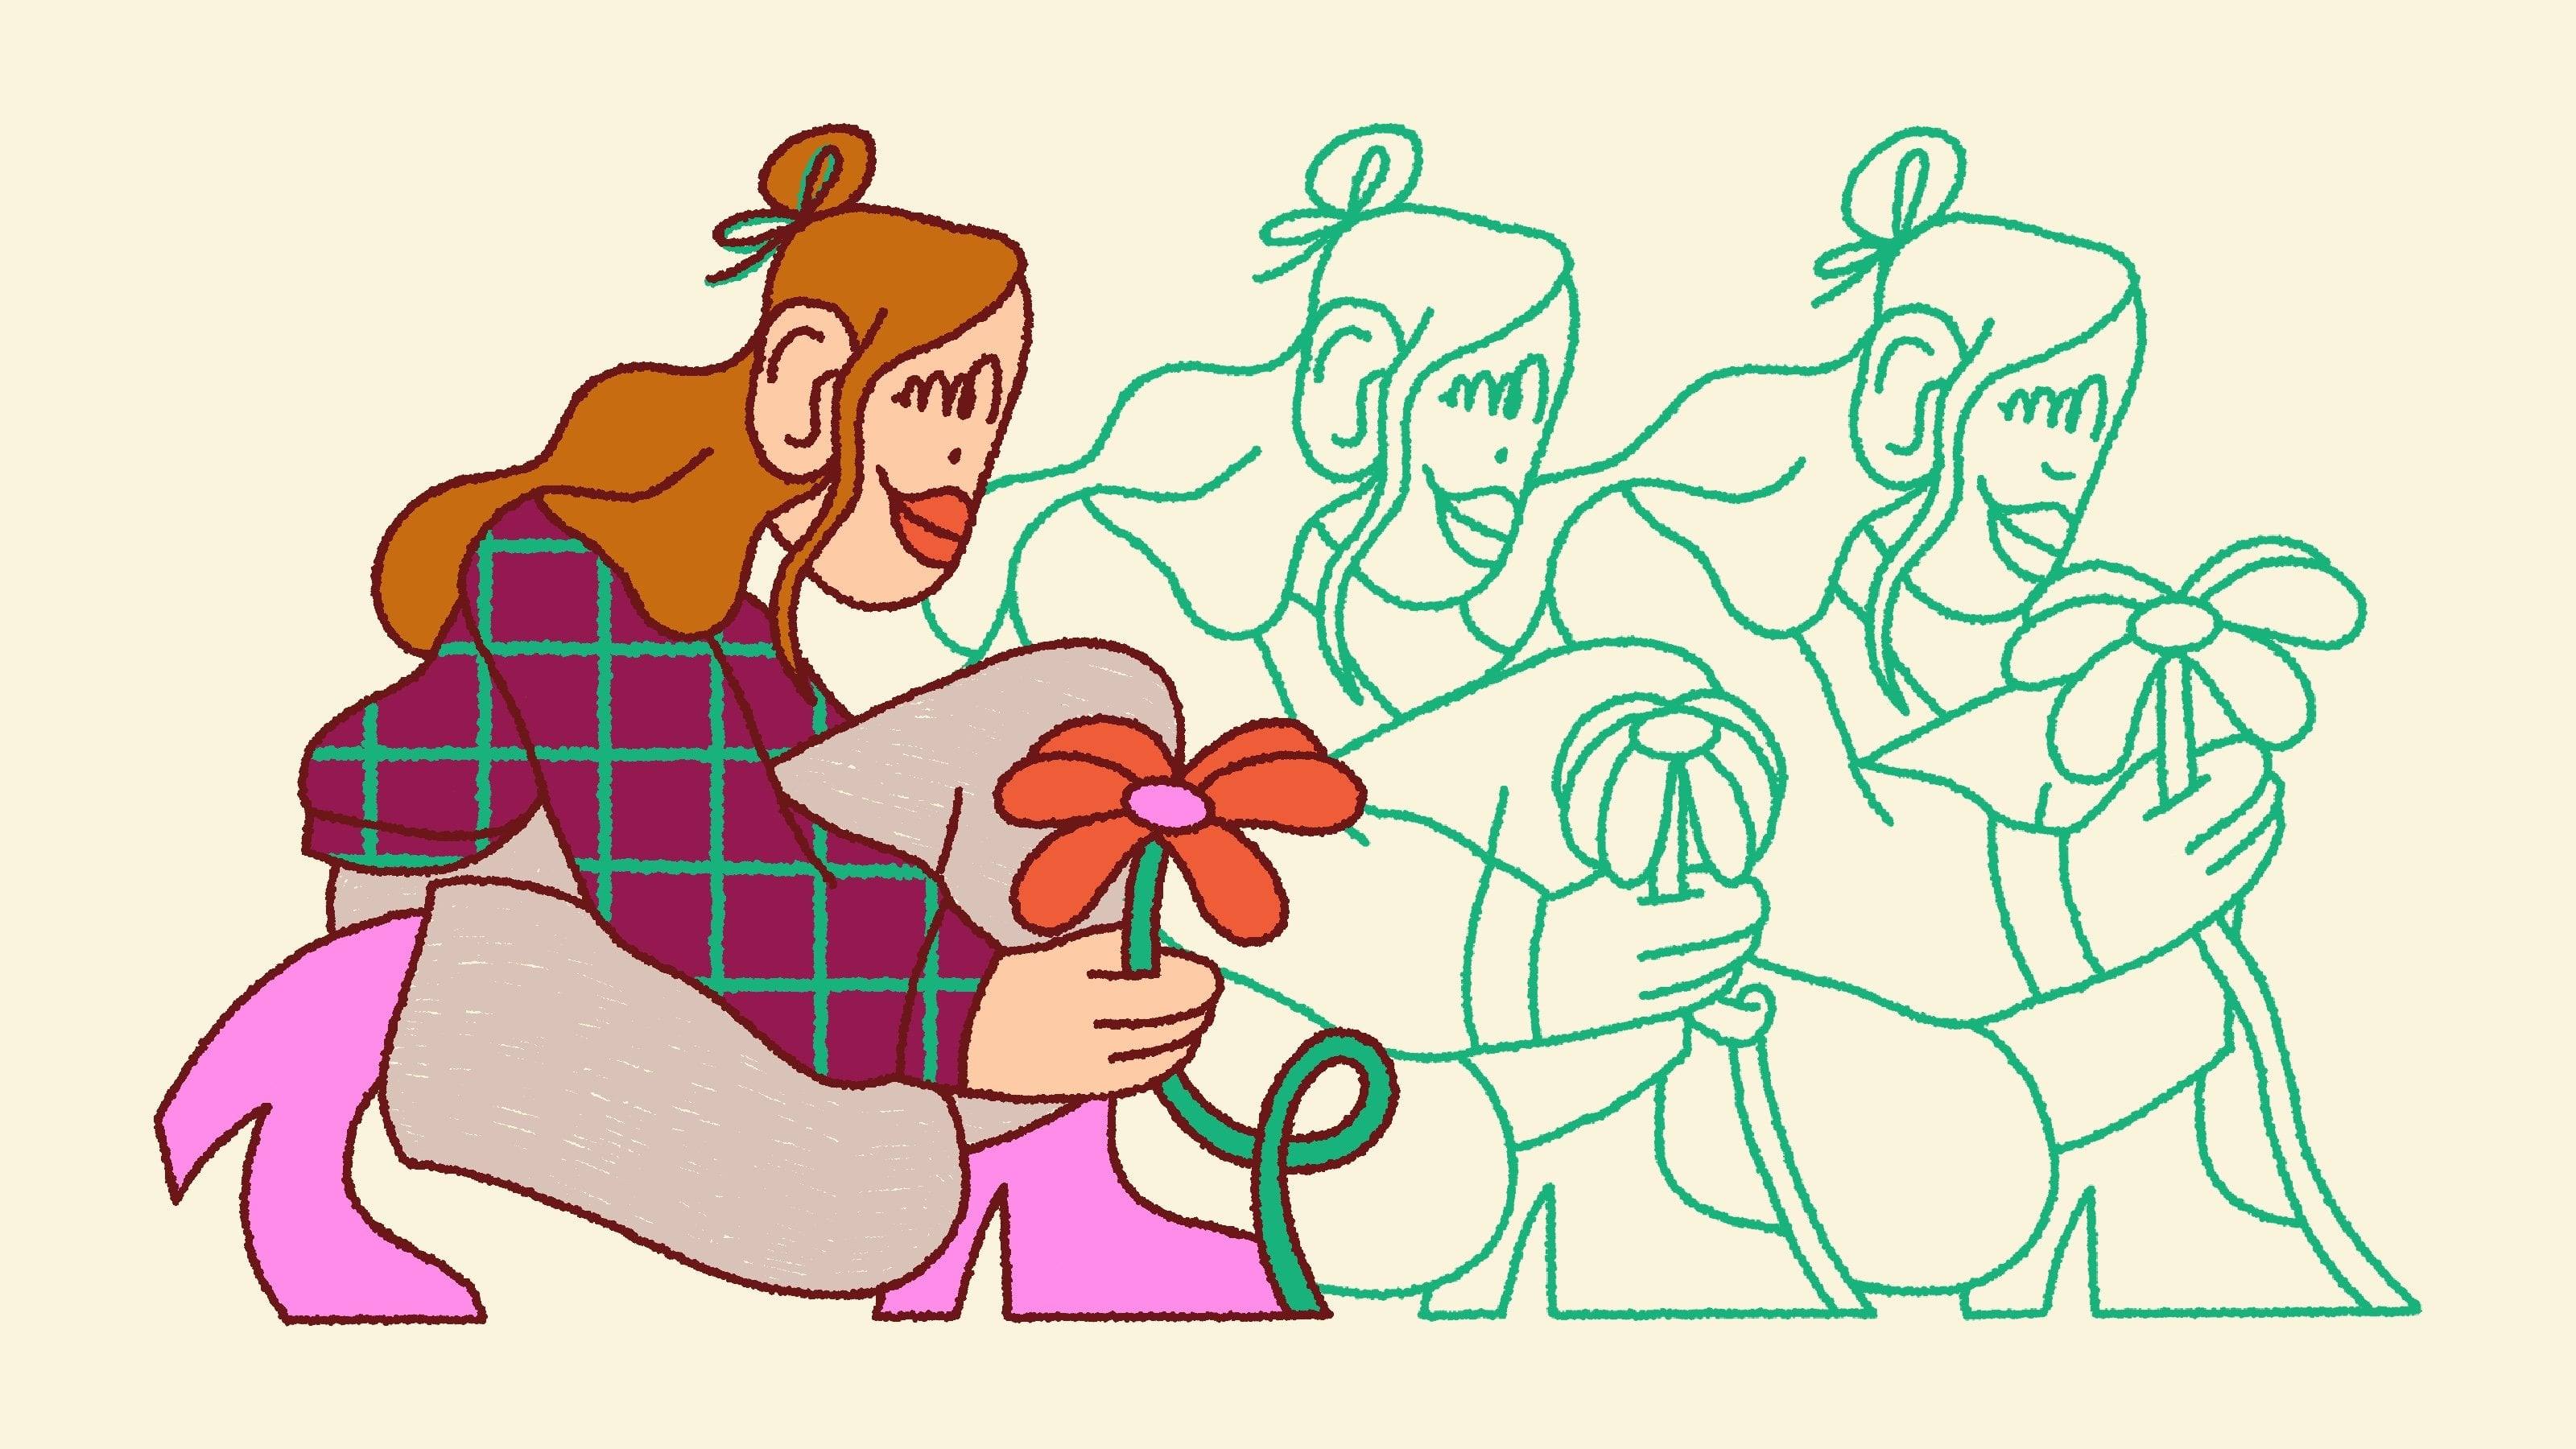
5. Frame-by-Frame Animation: With our sketch all cleaned up and ready to go, we can start planning out the frames for our animation. Before we get started, let's look at animation features here in Procreate. If you go to Settings right here, click "Canvas" and then turn on Animation Assist, this brings up animation features as you can see. Now, each visible layer acts as a frame and you can see them down here. If we press "Play", they will all show one after another. Then if you click "Settings", you will see that I have Loop selected here. Then let's add frames per second to six. It will give us a rough hand-drawn look, which is what we're going for. Then there's onion skin. As you can see, this lowers the opacity of all the layers that are not selected, which is very helpful when you're drawing your movement. It allows you to see all the frames beneath or above the one you're drawing on. We will utilize that a lot today. Then the last thing is this color secondary frames option, which just colors the frames ahead into green and the frames behind into red, which is another very helpful option here. With all that covered, let's get started. We're going to animate the plant. I've already drawn a version of the plant where the leaves are up and we're going to make them go up and down as the water drips from the watering can. Then this bug is going to fly in a circle. I also want to have some movement in her hair but nothing too crazy, I'm guessing. There's going to be some funky pattern on her pants as well. First order of business, we're going to rename this as one and duplicate it so we have 12 frames in total. The whole animation is going to spend 12 frames, and we've already set frames per second to six. It's going to look a little rough and a bit more stylized. Now that we have 12 frames, two of them are with the plant down and two with the plant up. You'll see why we need this later. But for now, let's draw the movement on the first leaf. It has to go up and we have four frames to make that happen. Each frame, it has to go just a little higher. Let's press "Play" and see. Great. Now, let's continue that for the rest of the leaves. Now, we actually have only half of the movement because it needs to go back down. To do that, we can just duplicate the frames so that it goes from 1-6 and then from 6-1. Now, it goes up and down. Because we repeated the first and the last frames, the movement doesn't look rushed and it's more natural. Next, we have the watering can. This one is actually quick and easy, I'm just duplicating it six times. That means that we need six water drops and we're just going to draw it like it's going down. Let's see. Looks all right to me. Now, we have to duplicate the can so that it corresponds to the plant frames that we already have. Now, we have the whole cycle of motion here with the plant and the can. Now, I want to go further to pick the last two frames of the can so that it leans to the side and then the water goes down. We can do that by rotating one frame by 1/1/2 degrees and the other by three degrees. Good. I think this way it makes more sense. I'm going to move this layer to the end, and then here click "Background". Now, it's in the background of all the other frames. Since we rotated the can a little bit, I want to change the hand movement for these last two frames as well, and we're just going to set the opacity lower and work on new layers inside of the group. Nice. Now, that looks good. We're almost at the end, just the bug left. I'm going to select the background layer and draw the trajectory of its flight. As always, we have 12 frames to make it move from where it is now in the circle. I'm just going to duplicate it and then rotate it a little bit each frame. Look at it go. Now, the only thing left to do is move the layers into their individual groups so that they all act as frames. We're all done. The bug is flying, the plant is moving, the water is dripping. Things are moving exactly the way we planned. Now, it's your turn. Play around with your sketch and design the frames for your animation. In the next lesson, we'll be choosing a great looking color palette and making a color composition.
6. Choosing a Color Palette: Now, onto the fun part. It's time to choose a color palette. When choosing colors for your illustration, you definitely want to make sure they fit the overall mood. It may be happy, somber, hopeful, so you can go for bright and saturated or darker and pale colors. It all depends. I have a pool of different colors to choose from that I know will work well with my style. I usually start building my palettes from here. I also love taking pictures and assembling colors from them using eyedropper tool. A great resource I can recommend is khroma.co. It's a color generator powered by AI, and they also have an Instagram where they share amazing color palettes. In my case, I took this picture of my salad today and I thought that it would be a great idea to use it for my illustration. The sketch turned out really joyful and it would definitely work great with brighter colors. I'm just going to continue sampling colors here. I have a big collection of colors now, some gray, red, pink, green options, basically everything to create a great palette. I already know that I want a pink shade, so we're going to try this. Then I like a red shade with that, but as you can see, they're different in their saturation and brightness, so I'm going to try and match them. Then I'm going to continue adding colors that I like. I know that I need some green for my plant and the rest we'll see. I think I'm satisfied for now. I'm going to pick all of these colors into a color palette and start working on my color composition. This is basically a rough placement of colors in the illustration that's going to make your process easier when you start working on your final frames. You really don't need to be neat here. This is basically just for you. Make sure to do every new color on a separate layer because you're going to change things around a lot. This is looking great, but I do want to try changing the colors around a bit to see what happens. I did end up adding a new color, but I really like it now. I'm just going to merge all of these layers together into one layer, and this is it. Here's the finished color composition. Now it's up to you to choose your color palette and work on your color composition. In the next lesson, we'll be working on frames.
7. Getting Down to Business: After choosing a
beautiful color palette and working on
color composition, we are ready to get our
hands really dirty. It's time to work on our frames. Before we start
working on the frames, the most important piece
of advice I can give you here is to make sure to
duplicate your file as you go. This way, you can always go
back if you need anything. And now we can get to work. I'm going to create two
girl frames and then duplicate them later so they alternate
between each other. You can do three or four
layers if you want, but since the body
isn't really moving, two is going to work just fine, and you will save
a ton of time too. As you can see, I tried a couple of different
patterns for the pants and I actually liked this
floral pattern a lot more. The first frame is done, so I'm going to group
the layers together like this and start working
on the second frame. I'm going to do very
slight variations here, the lines on her up, her hair, and the
pattern on her pants. And you can see that she's
moving just a little bit, but it still looks fun. I'm going to do the same
thing for the watering can, two layers, and we're going
to duplicate them later. At this point, you definitely want to name
everything as you go. Otherwise, it's going to
be a huge pain when you start duplicating and
organizing your layers. As for the bug, I know we duplicated the same layer when
we were making the frames, but it actually
reduces the quality and blurs the picture when
you move it over and over, you do have to every frame here to make sure that it looks. Just like that, it's moving
in a circle and looking. Starting on the plant here and I'm once again going
to do two frames of the flower pad and
then every layer of the leaves separately. That actually took
quite a while. Now it's time to
organize the layers. I'm going to duplicate everything
that needs duplicating, making sure to alternate these layers between
each other and then put them into
groups so that each group acts as
a separate frame. A Now that everything is organized, I actually went
ahead and inserted these water drop sketches from previous
duplicates of the file. I'm going to
organize them really quick and then draw
the water drops. Here's the animation. I also worked on
these two last frames where the watering can
rotates and the hand moves. Now I actually want to
add some details and fix some mistakes and
generally do some cleaning up. Let's see what we can do. And it's all done. This is the final frame by frame animation inspired
by my everyday routine. You can go ahead
now and pull out that beautiful sketch of yours and get to
work on your frames. As you've just seen, it's quite a time
consuming process. You might want to put on your favorite movie or a pot pass to help
you pass the time. I'll see you on the other side. In the next lesson,
we will look at different ways to
export our animation.
8. Exporting Your File: Now that our animation is looking gorgeous, it's ready to be exported and shared with the world. Once again, here's the final animation. Let's play it again to see if everything's alright. Now we're ready to export. Let's click "Settings" then "Share". Here you can see all the possible ways you can export in Procreate. Let's select GIF first. Here we have options as well. Make sure frames per second is set to the same amount you had before. Then out of all these, you might use this transparent background setting, but we don't really need that for now. If you click "Web Ready", it reduces the quality and file size if you need that. Let's click "Export" and "Save image". That saves your GIF to your photos folder. Then next we need an MP4 file so we can post it on Instagram. Here you will find the same Web Ready setting that reduces the file size and once again, frames per second needs to be the same as before. In this window, actually the same as GIF file, you can airdrop it to other Apple devices to Dropbox and Instagram, all the standard stuff. Let's save the video and go to photos. Here's the GIF file and it's playing on a loop as you can see, and here's the video that's actually only going to play once. But if you post it on Instagram it's going to be played automatically over and over. If you want it longer, you can stitch it together in a video editing program. Our brand new animation is all ready to go. Here you go, it's time to export your animation and be proud of yourself for making it this far. In the next bonus lesson, we'll be talking about building confidence to share your work.
9. Building Confidence (Bonus Lesson): Now that you have your beautiful animation exported and ready to go, it's time to share it with the world, or is it? Sharing art, which always comes from within is scary, especially in this class. Since we're using our own experiences as inspiration, it may seem that people are going to judge not your art, but you as a person. You may doubt yourself. Maybe you feel like you don't have that much experience and you're scared of what other people will think or maybe you already have an idea, but you're not sure you'll be able to pull it off. I know all that because I feel that way all the time. But I've learned that it's a natural part of creating something. Now, I'm not an expert. As I said, I struggle with being confident in myself. But there are some things that have helped me overcome some of those fears and ultimately helped me grow as a creative. First of all, you have to remember that not everything you create is going to be perfect and it doesn't need to be. We're all growing and evolving all the time and it's a beautiful process. If you're a bit of a perfectionist like me, it's hard to convince yourself that what you're doing is worth it when something doesn't go the way you wanted it to. Your art, whatever your medium might be, is constantly changing. It's only natural that whenever you try something new, it might work out great, but it also might not, which brings me to the next thing. Sometimes it's good to make things for the sake of progress. Think about it, even if you don't like it in the end, you still spend time perfecting your craft and you never know. Sometimes a casual sketch insertion might turn into a great project in the end. Also, sharing things on social media is the best way to get positive responses or even just feedback from the online community. In circling back to the topic of this class, when you pull inspiration from simple and common experiences, there's always going to be someone who can relate to your work. In the end, whether you decide to post your finished piece or not, I applaud you for starting and trying something new. Speaking from experience, it definitely gets easier the more you post. Do not worry too much about what other people might say.
10. Conclusion: This is it. If you've followed along, you should have a brand new frame-by-frame animation to add to your portfolio. But also, now you know how to find inspiration in the smallest things. We covered everything from coming up with an idea, making a sketch, and planning your frames. You're creating a great color palette and designing your final frame-by-frame animation. I really hope you learned something new today and that you enjoyed seeing some of my process. One thing I would like you to take away from this class, is that you don't have to wait for inspiration to come to you. Just go out there and look for it yourself. As you've probably realized already, it's actually waiting for you to find it. Thank you so much for joining this class. I hope you had as much fun as I did. If you decide to share your final animations, any progress shots, or even your sketches, I would absolutely love to see your creations here on Skillshare or on any other social media like Instagram. Make sure to tag me @wildanya so you can marvel at your beautiful work. It's been an absolute blast. Thank you for coming along for the ride. Bye.
 Anya Perepelkina, Illustrator & animator