Transcripts
1. Introduction: Making art has a way of grounding people in
the present moment. When you focus your
attention on shapes, lines, and colors, all the
overwhelming feelings recede into the background. Art gives you the power to free yourself from stress and worries, and you can consciously decide to use this tool
to your advantage. Hi, my name is Ewa Rosa and
I'm an illustrator, embroidery artist, and Top
Teacher here on Skillshare. Making art is my favorite
form of self-care, and I believe that easy, simple projects are
the best way to go when you want to reduce
stress and anxiety. That's why today I want
to show you how to create a torn paper landscape collage that will help you to
relax and calm down in stressful times. Torn paper art is usually considered an activity for kids, but you can employ
this technique to create some beautiful, much more 'grown-up' artworks. If you'll give it a chance, you will soon realize that
the process of creating such artwork is not only
playful but also therapeutic. First, we will browse some magazines and choose
interesting pages to tear out. Basically, this means you
have an excuse to curl on your sofa and relax with the drink of your choice and
some favorite music. Remember, you're not being lazy. You are gathering materials
for a very important project. If you don't have any
magazines at hand, you can use ready-made colored
paper for this project, or you can even create your own colored paper
with watercolors. Next we will tear the
chosen pages into smaller pieces to separate different colors
from each other. This deliciously
destructive act will allow you to release anger, stress, or any negative
thoughts you might be having about your
boss or your taxes. The last step is to
play with paper scraps, arrange them into a landscape, and glue them to the surface
to make a beautiful collage. This thoroughly creative
and meditative act will help you refocus and
get into the flow state. This class is for you if you
struggle with the burdens of everyday life and you are
looking for a quick remedy. Torn paper art will
help you relax, plus you will get to create something
unique and really pretty. The best thing is you don't need any special skills or
materials to participate. If kids can do it, you can too! So let's get started!
2. Class Project: In this class, I will guide you step-by-step through the process of designing torn
paper landscape in three different techniques, and I would love
for you to create a collage using one of them. You're free to choose the
topic of your artwork, whether it's forest scenery, a wavy ocean or a jungle. You can create a landscape
from your imagination or use a photo for reference. As always, I encourage you to test out the techniques
I'm sharing in a smaller format to
see if you enjoy the process before you commit
to creating a bigger piece. This is also a great
way to test out the colors and compositions
for the final artwork. When you're ready, take
a photo of your artwork, then go to the Projects
and Resources tab, click the Create Project button and upload it to the Gallery. I always love to see your
beautiful creations, so please don't
hesitate to share them. Class project gallery is a
safe space where you can talk about your experiences and ask for help and feedback. I promise you, no one will judge you here and you will
have a chance to spread the joy of creating and inspire others to
make art as well.
3. Materials and Inspiration: To create this project, you will need a piece
of thick paper or cardboard that will serve
as a base for your collage. I will be using
watercolor paper because it's fairly thick and that's
what I have at hand. You will also need a glue stick and scissors for trimming down the
edges of your artwork. And of course, you will need a selection of colored papers. In this class, I'm focusing
primarily on photos from the magazines because this is something you probably
have at hand, and you can find many interesting
colors and textures there. But you can also use
plain colored paper, and the third
option is to create your own colored paper
using watercolors. This last solution is
more time-consuming, but you can achieve
unique color combinations and textures this way. If you don't have any
magazines at hand, but you plan to buy some,
approach your shopping strategically. Start with
looking for some inspiration, either by browsing Pinterest
or your own photos, and think about the landscape
you would like to create. After you decide on a topic, establish a color
palette and have it in mind when visiting
your local newsstand. Glance through some magazines
and choose the ones that actually have a lot
of colors that you need. For example, I knew
I wanted to create a summery coastal
landscape with waves, rocks and sand dunes, so I was on the lookout for
a magazine full of warm, yellowish, beige,
and bluish tones. And I found a lot of colors I need it in this
architecture magazine. On a side note,
don't be afraid to browse through magazines you
normally wouldn't look at. I found a lot of
beautiful colors and textures in home
decor magazines. Even though I usually go for travel and arts related ones. In the next lesson, we will go for a treasure
hunt and look for the most exciting colors and textures in our
chosen magazines.
4. Relax while Gathering Paper: So I've promised you a relaxing
art project and relaxing it shall be. Take your stack of magazines and get cozy on a sofa. Start flipping through them, looking for interesting colors, patterns, and textures
in the photographs. Focus on the ones
that speak to you the most and could be a good
fit for your project. If you plan to create a seascape, for example, try to gather as many shades of
blue as you can, so you have a lot of material
to choose from later on. Once you find
something you like, even if it's just a small
part of a photograph, tear out the whole page, put it aside,
and get back to browsing. I love this part of
the process because it reminds me of
a treasure hunt. You never know what
you are going to find, and it's exciting to look at the photos and
imagine how you could incorporate some elements
into your future art project. And if you forget
yourself and stop to read an article
or two, that's okay. This is your self-care time, so make it as
enjoyable as possible.
5. Release Stress while Preparing Scraps: Now is the time for the second
part of our preparation, and if you are struggling with any negative emotions,
you will love it. This destructive part of
the process will help you to decompress and release some stress or anger
you might be feeling. Take all the chosen pages and start tearing
them to pieces, to separate the colors and patterns
you see in photographs, especially if the edges between the areas
are pretty sharp. So for example, here I have three different
colors and textures, and I might use
this and this one to create layers of
sand in my collage, and this one to
create some rocks. So I want to isolate them
from each other like this. It's a good idea to
organize the scraps by color and put them in
different piles right away. This will make your
art creation process much easier later on. In the following lessons, we will use these scraps to create some beautiful, nature
inspired collages.
6. Get in the Flow with Striped Collage: So the easiest and the least time-consuming way to create a torn paper
landscape collage, is to use stripes of paper
to suggest the background, middle ground, and
foreground of your composition. Torn paper edges will give your landscape an organic
and natural feel. I find this technique
perfect for designing simple yet beautiful,
minimalistic seascapes. In this lesson, I will show
you how to do precisely that. So let's start with
sketching the lines that will indicate sky, water and sand. The proportions here depend on the final effect
you want to achieve. You can divide the page
into three equal parts, or focus on a large
body of water with a little bit of sand at the bottom and some
sky at the top. You can also
emphasize the sky and minimize the other two
parts of the composition. Or you can forego the sand completely and just focus
on the sky and water. It's totally up to you. Now that you have your
proportions established, it's time to browse through the stacks of newspaper scraps and select those you think would look best in
your composition. Here I have chosen some
gray scraps for the sky, different kinds of blue and
green ones for the water, and some beige, orange
and yellow ones with a nice texture
for the sand. Now, arrange the scraps in
an order you plan to use them, from top to bottom, and
see how they work together. Follow your intuition and rearrange the scraps
to your liking. Make sure that the colors and textures look good
next to each other. There are no hard
and fast rules here, so just choose what
looks pleasing to you and don't let the
indecision paralyze you. You're not the
Michelangelo working on a ceiling of the
Sistine Chapel, so just have fun and
experiment a lot. When you are happy
with your layout, it's finally time to
create a collage. We will start with the sky and work our way down the page, overlapping the stripes and
gluing them down one by one. So take the first paper scrap and put it against
your background to establish the length you will need. Tear off the excess paper from the side. Now, decide on the height of your stripe and tear it off
from the rest of the scrap. It's time to put the glue on the back of your
first paper stripe. Be sure to use a lot of it and
get it right to the edges. I'm using an additional
piece of paper underneath here to
keep my desk clean. When the stripe is
covered with glue completely, press it hard to the background and smooth it
down to ensure it sticks. Now, repeat the whole process with another scrap of paper. Notice that your stripes don't have to be
totally straight. I'm making some of mine a bit wavy to emulate ocean waves. These jagged white edges
remind me of seafoam, and I really love this effect. So if the stripe edge
is too dark and crisp, I tear the paper a little more to
achieve this look on purpose. Don't worry about these edges hanging from the sides for now. You will trim them
with scissors later on. When gluing down each new
stripe to the surface, make sure it overlaps
with the previous one. This will add depth and
dimension to your composition. Continue adding torn layers until you reach the bottom
of your background. Once everything dries, flip
your artwork over and use scissors to trim
all the extra paper that went off the edges
of your background. If you want to make this
exercise even easier, place your composition
in a middle of a page instead of filling
the whole background with scraps of paper. This way, you won't even need scissors and you won't have
to measure the stripes so precisely. What is more, the space around the
landscape will serve as a natural frame for
your finished artwork. The next step is
totally optional, but you can finish
your artwork by adding some details with
ink pens and gel pens. Here I am embellishing the
sand with some golden dots, and later on, I will add white bubbles and dots
to indicate a seafoam. In the next lesson, I will show you how to create
another seascape. A bit more complex this time, but equally fun to design.
7. Refocus with Layered Collage: In this exercise, instead
of using abstract stripes, we will build our landscape with more specific shapes indicating elements of the natural world, like mountains, rocks
or tree crowns. And we will layer them
one upon another to suggest depth
in the composition. This technique requires a
bit more focus and planning, unless you like to improvise
and just go with the flow. If you are working from
a photo reference, try to break down the image into the most basic
shapes and prepare some loose sketches
in a notebook or on your iPad before starting
the collage process. So I want to create
another seascape, but this time I plan to
add a faraway land on the horizon and a rocky
shore in the foreground. It's good to have an overall
composition in mind, but remember that creating too rigid and detailed
sketches makes no sense as the torn
paper technique in itself is loose
and a bit random. Treat your sketch as guidance and leave the room
for happy accidents. This way of working
is much more fun. So I went ahead and chose some basic scraps for
the sky, water, and sand. After blocking these
large areas of color, I picked a gray scrap
that would be perfect for indicating a blurry
piece of land at the horizon. Then I have chosen some nice textured elements that could be used to
create a rocky shore. As before, we will be working
from the top of the page. So we will start with the sky, then add the faraway
mountain range, then water, sand, and
rocks at the very bottom. Tear out the shapes one-by-one
and arrange them in the right order to see if you are happy with
the composition. When building a
landscape like that, be mindful of the color and texture combinations you choose. Before you glue anything down, make sure that there's
enough contrast between the neighboring elements and that they look good together. Now that the most
challenging part is over, it's time to glue
all the pieces to the background and create
a beautiful collage. After you glue everything down, flip the artwork over as before, and use scissors to trim
all the extra paper. This exercise is a great way to refocus your mind.
While you're at it, planning your landscape and making decisions on a
minute-by-minute basis, you have no choice
but to live in the moment, free from
restless thoughts, even if only for a while.
8. Meditate with Mosaic Collage: The premise of this
last technique I want to share with you
today is quite simple. You will be tearing
the paper scraps into small pieces and gluing them down
to the background to create a mosaic effect. For this method,
it's a good idea to outline all the landscape
layers beforehand. This way, you can relax
and fill them with different colors
without thinking about the overall
composition later on. The mosaic itself will
look quite messy, so it's essential you maintain enough contrast between layers. Otherwise they will blend
with each other too much and the composition
will look bland and chaotic. So juxtapose heavily textured paper
scraps with smooth ones, and ensure the neighboring
colors aren't too similar. After you choose all the paper
scraps for your landscape, you can tear them into small
pieces beforehand and keep these tiny scraps sorted
by colors and textures. This will speed up
the whole process and it will make
your life easier, unless you suffer
from a hay fever and you will sneeze in the middle
of creating the mosaic, in which case, all these
tiny elements will scatter all over your desk
and it will be a disaster. And yes, I am speaking
from experience. So here I am filling
subsequent layers of this meadow landscape
with tiny scraps. I stick to the sketch
lines and modify the shapes of individual
scraps if needed, to squeeze them into
previously planned space. When working with
such small elements, I'm putting the glue
on them like this, instead of laying
them down on a piece of additional paper
to smear them with glue. It's just easier
and quicker this way, but also messier. It's a good idea to have a wet
wipe or a cloth at hand so you can clean your
fingers once in a while when they get too sticky. This collage method is easy
but quite time-consuming, so you can treat this exercise
as a form of meditation. You can also use this particular creative process to focus on positive
affirmations. Just repeat them over
and over in your head while gluing subsequent
elements down to the surface.
9. Final Thoughts: Thank you so much for
taking my class today. I hope you had fun watching it, and you will take
the time to create your own torn paper
landscape collage. I encourage you to try out all three techniques and see which one you enjoy the most. And if you have any questions, please leave the comment in the discussion section below,
so I can help you out. If you discover, you would
like to further explore these exercises and share the fun with your
friends or kids, it's a good idea to create
a system for storing your paper scraps for easy
access in the future. I like the store mine in big
envelopes divided by colors. You can also keep
them in cardboard boxes or gathered in different sections
of a ring binder. If you enjoyed
this class and you are looking for more fun and relaxing exercises to try out
during your self-care time, I invite you to check out
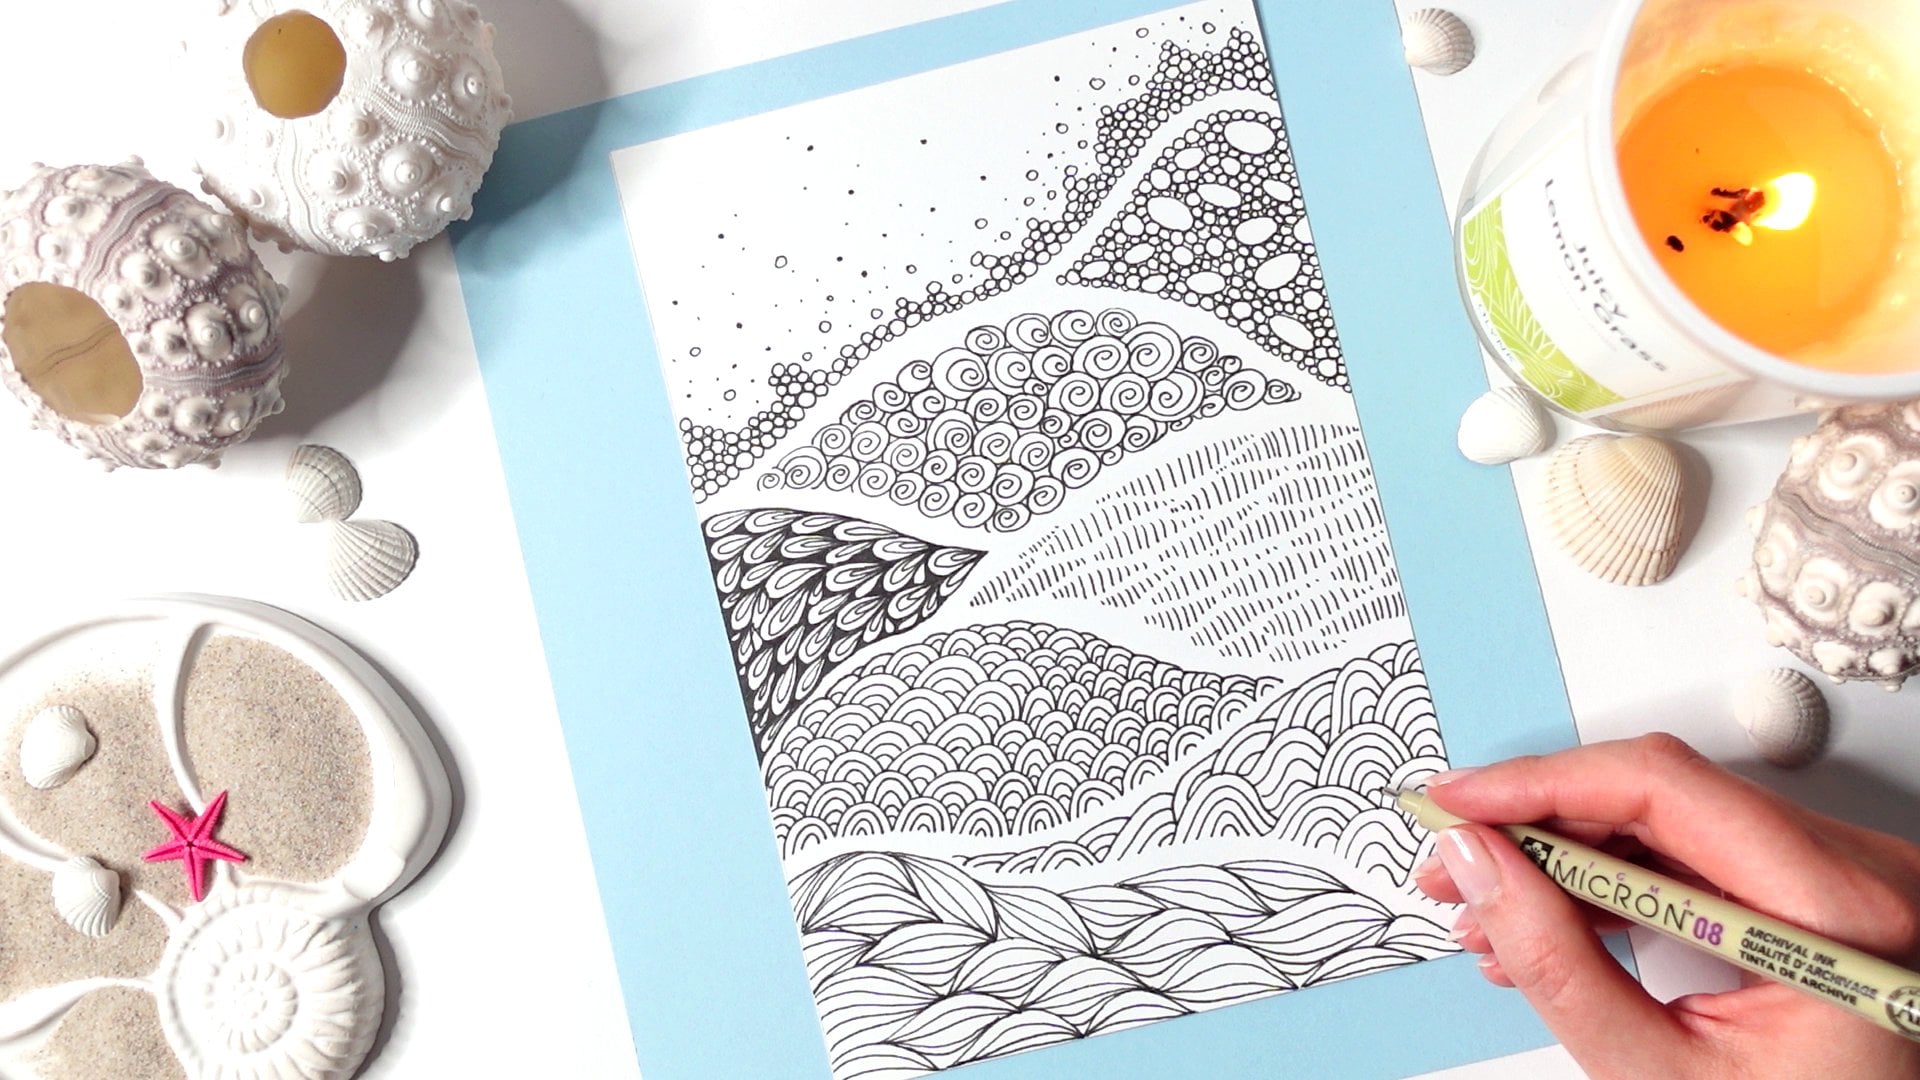
some of my other classes. "Slow Drawing, Slow Living: Get in the Flow with Ocean Doodles" is a class that will
help you clear your mind and turn your
creative session into a truly magical experience filled with candles and calming
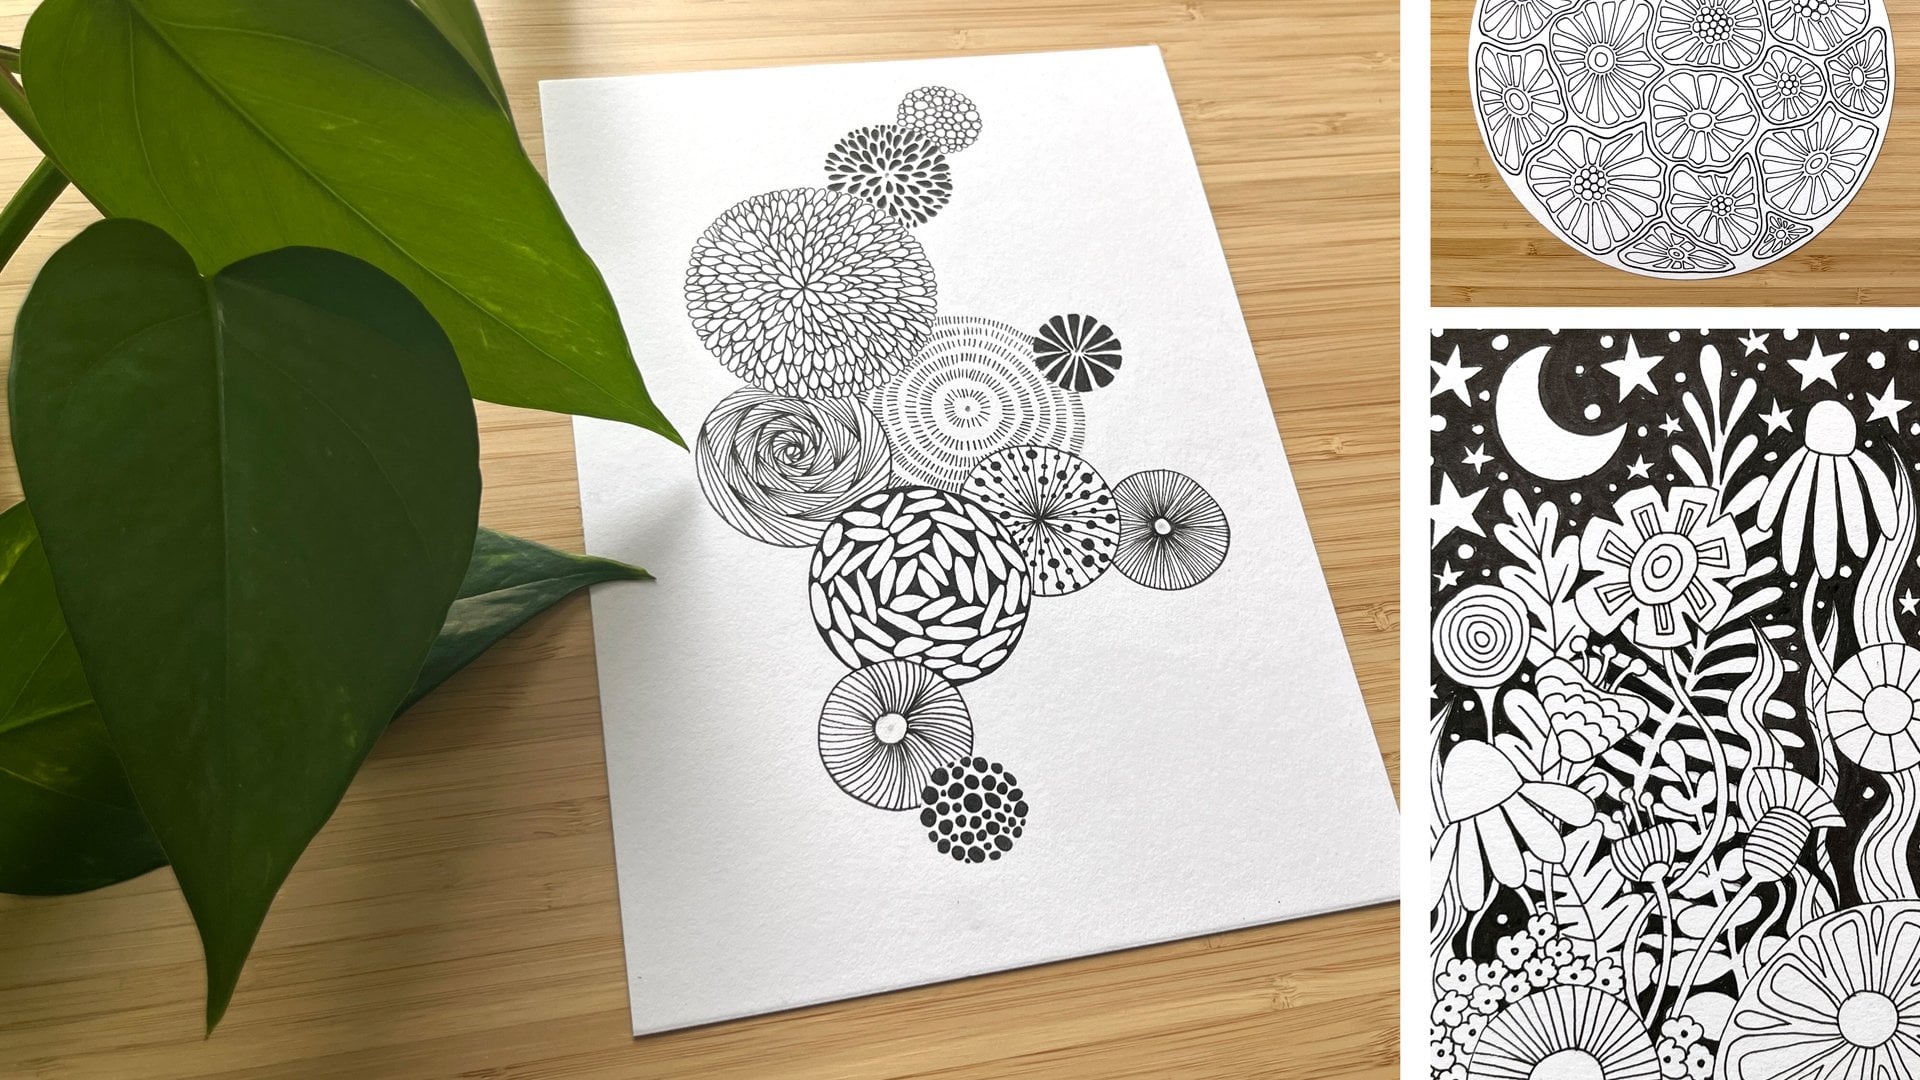
sounds of ocean waves. If you love creating nature-inspired mixed
media pieces you can "Unwind with Abstract Forest Illustrations
in Watercolor and Ink" And if you want
to stay tuned for my next classes, follow me
here on Skillshare. So, happy creating and
see you next time!
 Ewa Rosa, illustellar | Find Bliss in Making Art