Transcripts
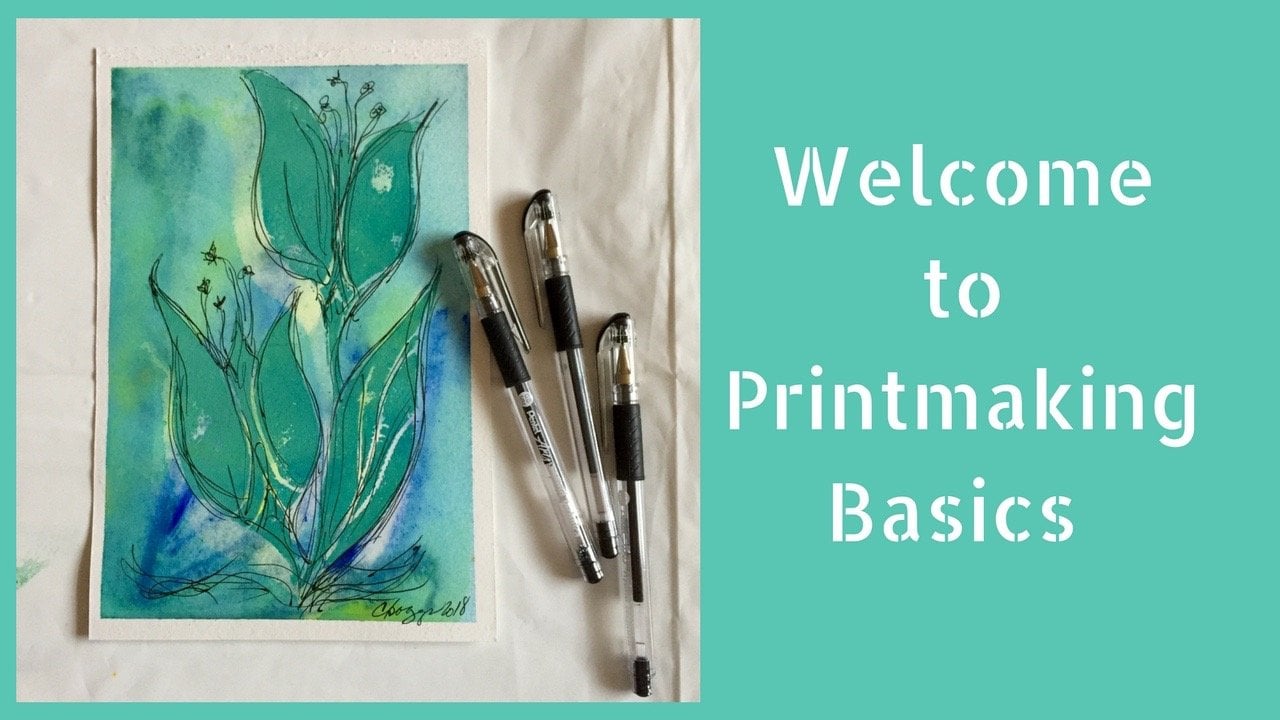
1. Welcome!: have you recently caught yourself staring at a blank piece of paper or blank canvas, brush in hand, paints at the ready and just wondering what to do to get started? Sometimes that creative block can really be frustrating, and we all feel it from time to time. Sometimes it makes you feel like what if I waste my paper? I'm wasting my paint. It's also expensive and worse yet, am I wasting my time? Hi, I'm Charmaine Bogs, and I feel that same way many times, even though I've been creating art since I was very young. It doesn't matter whether I'm drawing in my sketchbook or getting ready to do a painting or working on a new mixed metal design for my at sea shop. There are all those times when that creativity block just can't be broken. What I've learned is that sometimes you need to break that pattern by creating a play date with your art materials. That's right. Time to just step aside, not worry about making a perfect finished product, but just playing around with the materials. Give yourself what kids do all the time, time to play, time to discover and in this class. That's Michael in this class will explore three different ways to get the creativity party started. In the end, you may or may not come away with the work that you consider a finished product, but you will come away with marks on paper that will get those creative juices flowing and get you started on the creativity journey. This class is equally good for beginners or more experienced artists. If you're a beginner, I'll take you through all the supplies and all the techniques that you need to be successful. And if you've had experience, you'd never know. Don't let that experience hold you back. You just might find something in one of these videos that you haven't tried before, so come along and let's get started with supplies.
2. Supplies: In the first video, you'll learn how to use simple supplies, some acrylic panes and some stamping materials in order to create a nice textured pattern background that could be a great art starter for future mixed media artwork. I'll be working on cancer Illustration. Art Board because it's heavy and thick and isn't likely to buckle or curl. But really, any smooth surfaced board or paper that you have on hand will work just fine. I also use my disposable paper palette when I'm doing this kind of work. Although if you don't have something like this, you can work on anything else that you have on hand. I often will just grab a paper plate or a Styrofoam plate. I do have a list of all the supplies that you need. You can see them here, and I also have them. Posted in The resource is area of the project section, so some heavy paper aboard disposable palette waterproof ink pad in the color of your choice. A stamp. Some acrylic paints, an old gift card or in a little plastic card of some kind to scrape with any sponge. Or it could be a makeup sponge or a sponge like you see here and a toothbrush, which is really handy for cleaning that acrylic paint out of your stamp when we get finished with all the stamping. So that's Project number one. Project number two uses a gel plate. Some acrylic paints some bubble wrap on a stencil. So if you have some bubble wrap left over from the holiday season, or just because you use it for other purposes, here's another way to use it for this one. I'm going to be working on the cancer illustration art board. But you can also use mixed media paper or watercolor paper, which is really nice if you plan to cut or tear this to use it in a collage. I'm using us six by six Gel plate bubble Wrap My roller, otherwise known as a Breyer if you're looking for one online, I'm using acrylic paint in two different colors. Graham Backer Academy dioxins in purple and gold in brand teal. But any colors that you want to use will be just fine. For this project. You'll need a spawned. You're a stencil brush to apply your acrylic paints after you do the bubble wrap step and I do have to apologize because I forgot to include the picture of my stencil in this image. But my stencil is a small six inch plastic stencil that mimics the pattern that you find in bubble wrap. So if these are the supplies that you'll need if you'd like to try something with some bubble wrap and your acrylic paints, the third project in this Siri's comes the closest to being a finished painting. If you want to end it right at this spot, I'll be demonstrating using a resist medium in a bottle that has a very small tip, which allows you to draw on your watercolor paper before you add your paints. So for this one, I am working on traditional watercolor paper. I'm using some cancer £140 cold press paper. It has a slight texture to it. You will. I'm using watercolor magic liquid watercolors because I find that for this kind of project they flow really well, and that's a feature that you can take advantage of. However, if you don't have liquid water colors, you can easily mix up your own paints just by adding your tube watercolors or your PM Watercolors to some water. So watercolor paper. A palette with some wells for your paint liquid or watercolors that you've created into a liquid. Your brush. A resist pan. I'm using the fine line brand salt. I use the large kosher style salt. You'll be able. You'll need to be able to tape your paper down to some type of board in the demonstration. I'm using an old picture frame glass, which works really well for that and some tape, obviously, and I like to use painter's tape like you would use painting into her house. It lifts off your paper really well without tearing anything. So this is a slightly different technique that will give you some very interesting results . If you don't have a local craft hobby supply store nearby to look for these materials, you should be able to find everything that I've used here on Amazon. I That's where I got my resist medium, and that's often where I go for some of the other supplies that I use in my demonstrations
3. Stamping with Ink and Acrylic: for this technique, I'm going to be using stamps and because with the stamps I'm going to be adding paints and other liquids materials. I'm going to be using archival ink, something that isnot likely to smear once my stamps surfaces are complete. So that's one really important part of this. Definitely Have your cleaning supplies handy. A little bit of water, some paper towels. I'm going to use a disposable paper palate just to keep things really simple. Because today I'm working in the dining room was not exactly the ideal place to be working with paints, but I can't go outside in January. I'm gonna be using just some liquid text basics. This one's white. I don't know exactly what colors I'm going to grab yet, and I want to try out this new golden color that I have peril Red. I just think it's really pretty. I've seen it in other people's work, and I wanted to try it out. I'm going to be using an old Starbucks card for a paint applicator, and for this one, I'm going to be working on illustration board. This is Skansen illustration board, and I like this because it's nice and thick, and it's less likely Teoh work working peace. So this technique I want to first have add color to my background, just random color. So I'm going to put some of the red my palate, and I would also add a little white so that I could like I need to, and I'm going to just pick up some color on my Starbucks card and swipe it favor. I didn't prep my board with anything in particular. There's no Jess Oh, on the board. Right now. I'm just going to go ahead and great some pain board and with a wife to light with the card, your service is going to have a scratchy look. If you want a smoother look to your background, you can also apply here. Paints with a sponge. This is just a sea sponge. You can also dipped sponge in water, squeeze it out really good, and then wipe it gently across your surface. Just move your paints out just depends on whether you want a very textured look or a more finely textured look. So this is going to give your board a more finely textured look, and I'm going to let that dry, the surface is dry. It's bowed just a little bit. If yours does do that, you're working on illustration board. You can flip it over and add a layer of just go to the back and that will balance the curve out. I'm not going to do that this time. I'm just going to go with it on maybe do that when I'm all finished. But right now I'm going to take my archival ink pads with some stamps that I have of just music, just general music. I have no idea what it really is. So they're just stamps with a music theme going Teoh Aktham and just press them down on the surface like so. And it's going to give a fairly light impression, partly because my in Paris running a little dry and I'm just going to repeat it and repeat yes, and I have texture with stamps and with the color underneath. I could just leave it with that and do nothing more with it, except go on and proceed with whatever my subject matter is going to be. But it wouldn't show you a few things that you can do with it once it's at this point, Went with that, I think drive for just a moment, clean off my stamp pad just a little bit, okay? You can also use your stamp with the paint with the only thing as if you do this, you're going to need to really make sure that you clean it well. So I'm going to spread some of my white paint out, maybe has a little bit of red in it, but that's OK. So now I have a small surface where I had the paint spread out, and I can take that same stamp and put chain like So I do have a lot of pain there, but I'm not going to worry too much about that, since that's not really critical to what I'm going to do with this. And I'm just going to add some additional textures, completely clean my stamp off. So now I textured my background. Now with this, it's extremely important that you get all of that. Of course, came after Stan. If you're planning to use it for any further stamping, so I'm going to fight this very well, and then I am going to take it over to the sink and give it a good scrubbing while the paint on image dress my me. My technique, if you will, for cleaning up a stamp had really well, is to use no toothbrush or an old bottle brush and make sure that you have all of the acrylic ink out of your stamped. Otherwise, when you go to use it as a more traditional stamp, you're going to find that the patterns don't reproduces. Well, as you'd like, make sure its super clean. Okay, here's my finished board. It's dry. Get actually straightened out fairly well. It's not terribly bowed, so I'm going to let it be. And now I have a surface ready with a nice imprint of music notes, ready for the next step in a project that I might want to do. So this is an easy way to make a textured background to get yourself started on a theme
4. Gel Plate with Acrylics: for this quick background. I'm going to use my jell press. I just have a six inch square gel past some bubble wrap. A very fine one and one that starts with larger. I'm going to work on a piece of cancer illustration board, which is nice and heavy for my surface. I'm going to use a prayer to spread my pinion stomp on the pad. I'm going to work with two colors that I like a lot. Don't usually use them together, but I will. Here this is the golden the color. Teal and I have some ground Bacher dioxins in purple. We're going to start with putting a little bit of my requires here. I had a little bit. I'm just going to take my greater pick up a little of each and ran it across my plate until I've completely covered it. No. One of the things that you may find and I'm finding here as soon as you look at that, you're thinking Wow, I like that just the way it is. Why can't I just use that? You certainly can. So I'm going to just take my or I can take my fever just going to take my board, put it on the plate. So press, because that's a rather nice pattern away. And I have a really pretty deep purple background. I'm going to go ahead and keep back. I like it. But this one I want to use a little more off the turquoise, going to add a little more turquoise, teal rather so and take my finally texture, trouble, stuff like that in now I have eventually to printable surfaces. I have the surface here and I have this surface here, so I couldn't move my running played out of the late Take this photograph, put it right on top of where I waas first set on, create a slightly dotted pattern. And then I could also take what's remains on here. Put it down. So the good thing with this to heat is that you're making use of everything to create your background. But I have that at this point I've pretty much exhausted what I have. So I'm going to add some purple back to the and create my job plate. Is that what I have on my habit? And this time I'm going to use my slightly larger bubble wrap to fill in your white spaces so that I am still again my entire board. Let's see if I get a little bit more. I'm giving this corner. Come on, I can take this. We have a little bit more color here. You don't have to press everywhere. Just press were more color. Now I have a completely covered board with some texture and some color. So I've established a color palette that I'd like to work with at the same time that I've also really nice print. I go back over this this color. I'd like to have a little more of the bubble wrap texture in that spot right there. But I'd like it to be a trick ways. So I'm going to add some trick ways to my palette. Some teal rather keep saying turquoise, but the name is technically feel. So I rolling Teal my job. Thank you. Back to the smaller power. Get some more till to your little bubble wraps. I didn't hear a little more bubble wrap texture to that corner. I think I'm going to let that dry and go with it. I mentioned I mentioned that this is still usable tissue paper going to go ahead. I got this. And then when you take song being a compliment, try this here. This will help clean my jail plate as well as give me and surface to work live later at any projects that I might be doing. Still see, little bit down here didn't make a confession. I just have very little. So really work much of the effort. I will see what happens with that remains on my all day. The bubble wrapped kind of led me to another little idea to add a little bit more texture and pattern. This is a stencil that I have that imitates the look of bubbles. I'm going to put it here in this corner where I have a little less going on and use a little bit of my teal and a sponge just for the fun of it. I'm willing to strange a little pain around this stencil. Teoh. Add a little more texture to my background, some slightly larger bubbles, if you will. And it also used up some paint that some. And when you're working with acrylics on any kind of material, the one thing to keep in mind is that you can always paint over them. If you end up with something that you don't like as much as you thought you would. It's quite a simple matter to just go back over it with another color. Sometimes I'll paint the holding with some white Jess Oh, and call it a day. So now I have a different look to my background, but also very, very fast peace of mind. Last color of paint just ripped off.
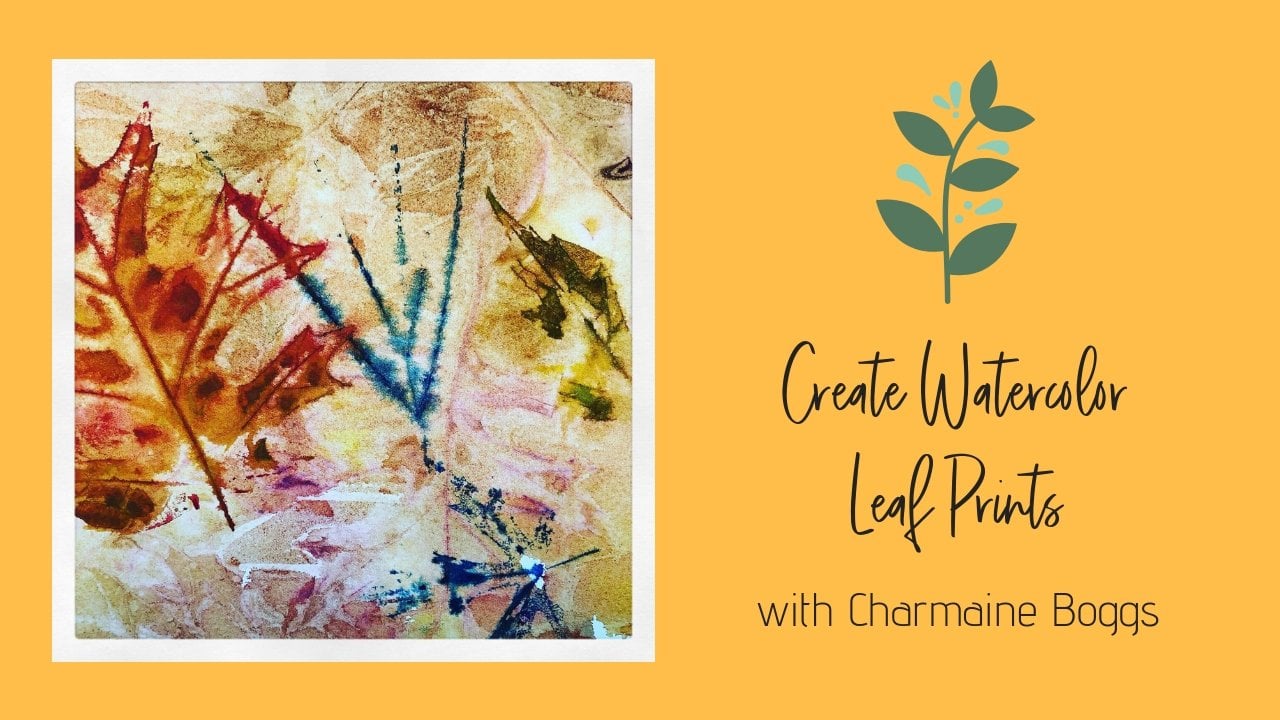
5. Watercolor Resist: in this video, I'm going to be demonstrating Ah, technique that you can use with watercolor paper. This is some cancer. NEWater flypaper £140 cold press. It's a nice heavyweight with a little bit of texture. I'm using some painter's tape to tape it down is an old picture frame, just a piece of glass and the gold. The clips that keep it together works out really nicely working, taking down too much there. Sometimes you would just wanna have some words in your background. Little bit of writing. And what I'm using here is a fine line. Resist pen. It's him substance that will dry, kind of like a dummy paste. It allows me to write on my paper with this very fine point that has an overall opening in it so I can turn this over and squeeze. And when I do that, I get a fine line so that I can do swirls. I fan draw actual images that I could do something a little more representational by image here. All right. Thanks to worry. I don't flower. Yeah, before now, before I do anything more with this piece of particular paper, I'm gonna cap this. Make sure that this is cleaned off because it will get gummed up. If it does take a very fine point needle and just put it, Open it back up. You can buy Resist. It's the resist stuff in a jar, which allows you to paint down with paintbrush. I like this because it can give me a nice, fine lying to work with. So I'm going to set that aside for a while and let that drive. Once you're sure that the resist medium has dried, it'll feel a little bit tacky, but it will be dry. You're going to need a spray bottle with some clean water, and I'm using washable a lot of color magic liquid watercolors. Sergeant art makes them and a big, fluffy brush for this one going to set up my palette using those liquid watercolors. If you don't have liquid water colors, you can use tube or pan watercolors. Just mix up a lot of water. You want some very wet, intensely colored paints for this project. That's why I like the liquid watercolors thes air, inexpensive and are sold in craft stores and school supply stores. And they're they're pretty easy to obtain. This is the yellow looks rather orangey, but it will be a very bright, intense yellow on your paper for this project. I'm going to use on Lee the three basic primary colors yellow, red and blue. Because with those three, I can mix up any other intermediate colors or secondary colors that I like to have in my picture. So with the red and the yellow, I'll be able to mix orange on my paper. With the addition of blue, I can wear blue and yellow will mix. I'm going to get a really nice green and where my red and my blue mix I'll get a really nice purple so I could get all the basic colors within my painting, just with these three on my palette. So I have red, yellow and blue. What I'm going to do first is spray the paper very thoroughly with my clean water, so I'm going to spray it if you don't have a spray or you can use a clean brush too lightly , brush over the paper, but you have to be extra careful not to loosen any of that resist medium that you have in place so I'm going to be tapping my colors into places where I want them. Because my paper is wet and my paints are very watery, there's going to be some really nice bleeding and blending between the colors going to continue tapping. Tap the yellows in where I want some yellow color. If your paper starts to get dry, take your spray bottle and give it a few squirts. I'm using a damp paper. Travel to keep my brush clean when I'm changing colors. What you'll notice is that as the colors begin to blend on their own, you're going to see that mixing start to take place. So if you watch as the colors move, the red is going to move into the yellow, and we're going to create some really nice orange tones, so they'll be some natural mixing. If you want more mixing with your colors, take your spray bottle at a little more water to it. Even tip your paper back and forth a little bit to encourage the water to run into little areas. You can control it by moving your paper gently back and forth until you have the colors the way you want them to be. The last color I'm going to lay on is the blue. I like to start with latest colors first, so I'll start with my yellow and then my red and only the blue on last, because that's most likely to create darker colors when it blends in with they butterfly in the flowers that I've already colored. So I'm just going to go over it and get the blue in place where I want the blue colors to add just a little bit more texture to my piece. I'm going to spray the entire sheet with some of the Clearwater and then Sprinkle it with some table salt. This is coarse grained table salt, Often sold is kosher salt or under other brand names. Color of salt does not matter. Sprinkle it to let it crystallized as it drives. Once the salt is in place, it's just time to let your paper dry completely. You'll notice that the colors will lighten, and any buckling that has occurred will flatten out since it's taped down thoroughly to your board. The last step is to gently remove the salt residue and the resist medium from your picture . If you have a piece of paper towel underneath or I'm used. I'm working on a table of plastic tablecloth. Just gently rub salt off and let it go off onto the side there and then you'll gently roll back the resist media. It will be a little bit gummy and sticky. It's very easy to gently roll it off your paper, and sometimes it will even come off in little strings and little wanted up. It's almost like a dummy eraser like substance when you take it off. - And as you can see with a liquid water cover, you have very vibrant colors. You have natural mixing as the colors flow together on your wet watercolor paper. You have little crystal formations, thanks to the salt that's been applied so you can get some early lovely effects with the relief medium and the salt crystals on your liquid watercolors. Now I was using student grade water colors that are sold where Children's art supplies are sold. You can also buy slightly more expensive water colors that are designed for professionals. They work the same way you get a little more color variety, so use the colors that you have. If you don't have any liquid watercolors. Just use whatever watercolors you do have and put a lot of water in them. Get that same liquidy effect. With this technique, you could stop right here and have a really lovely stand alone piece. Or you could use inks or paints to bring out those letters so that they show up more or to add more details to the flowers and the butterflies. They're just so many things that you could do with this technique. It's really a fun one.
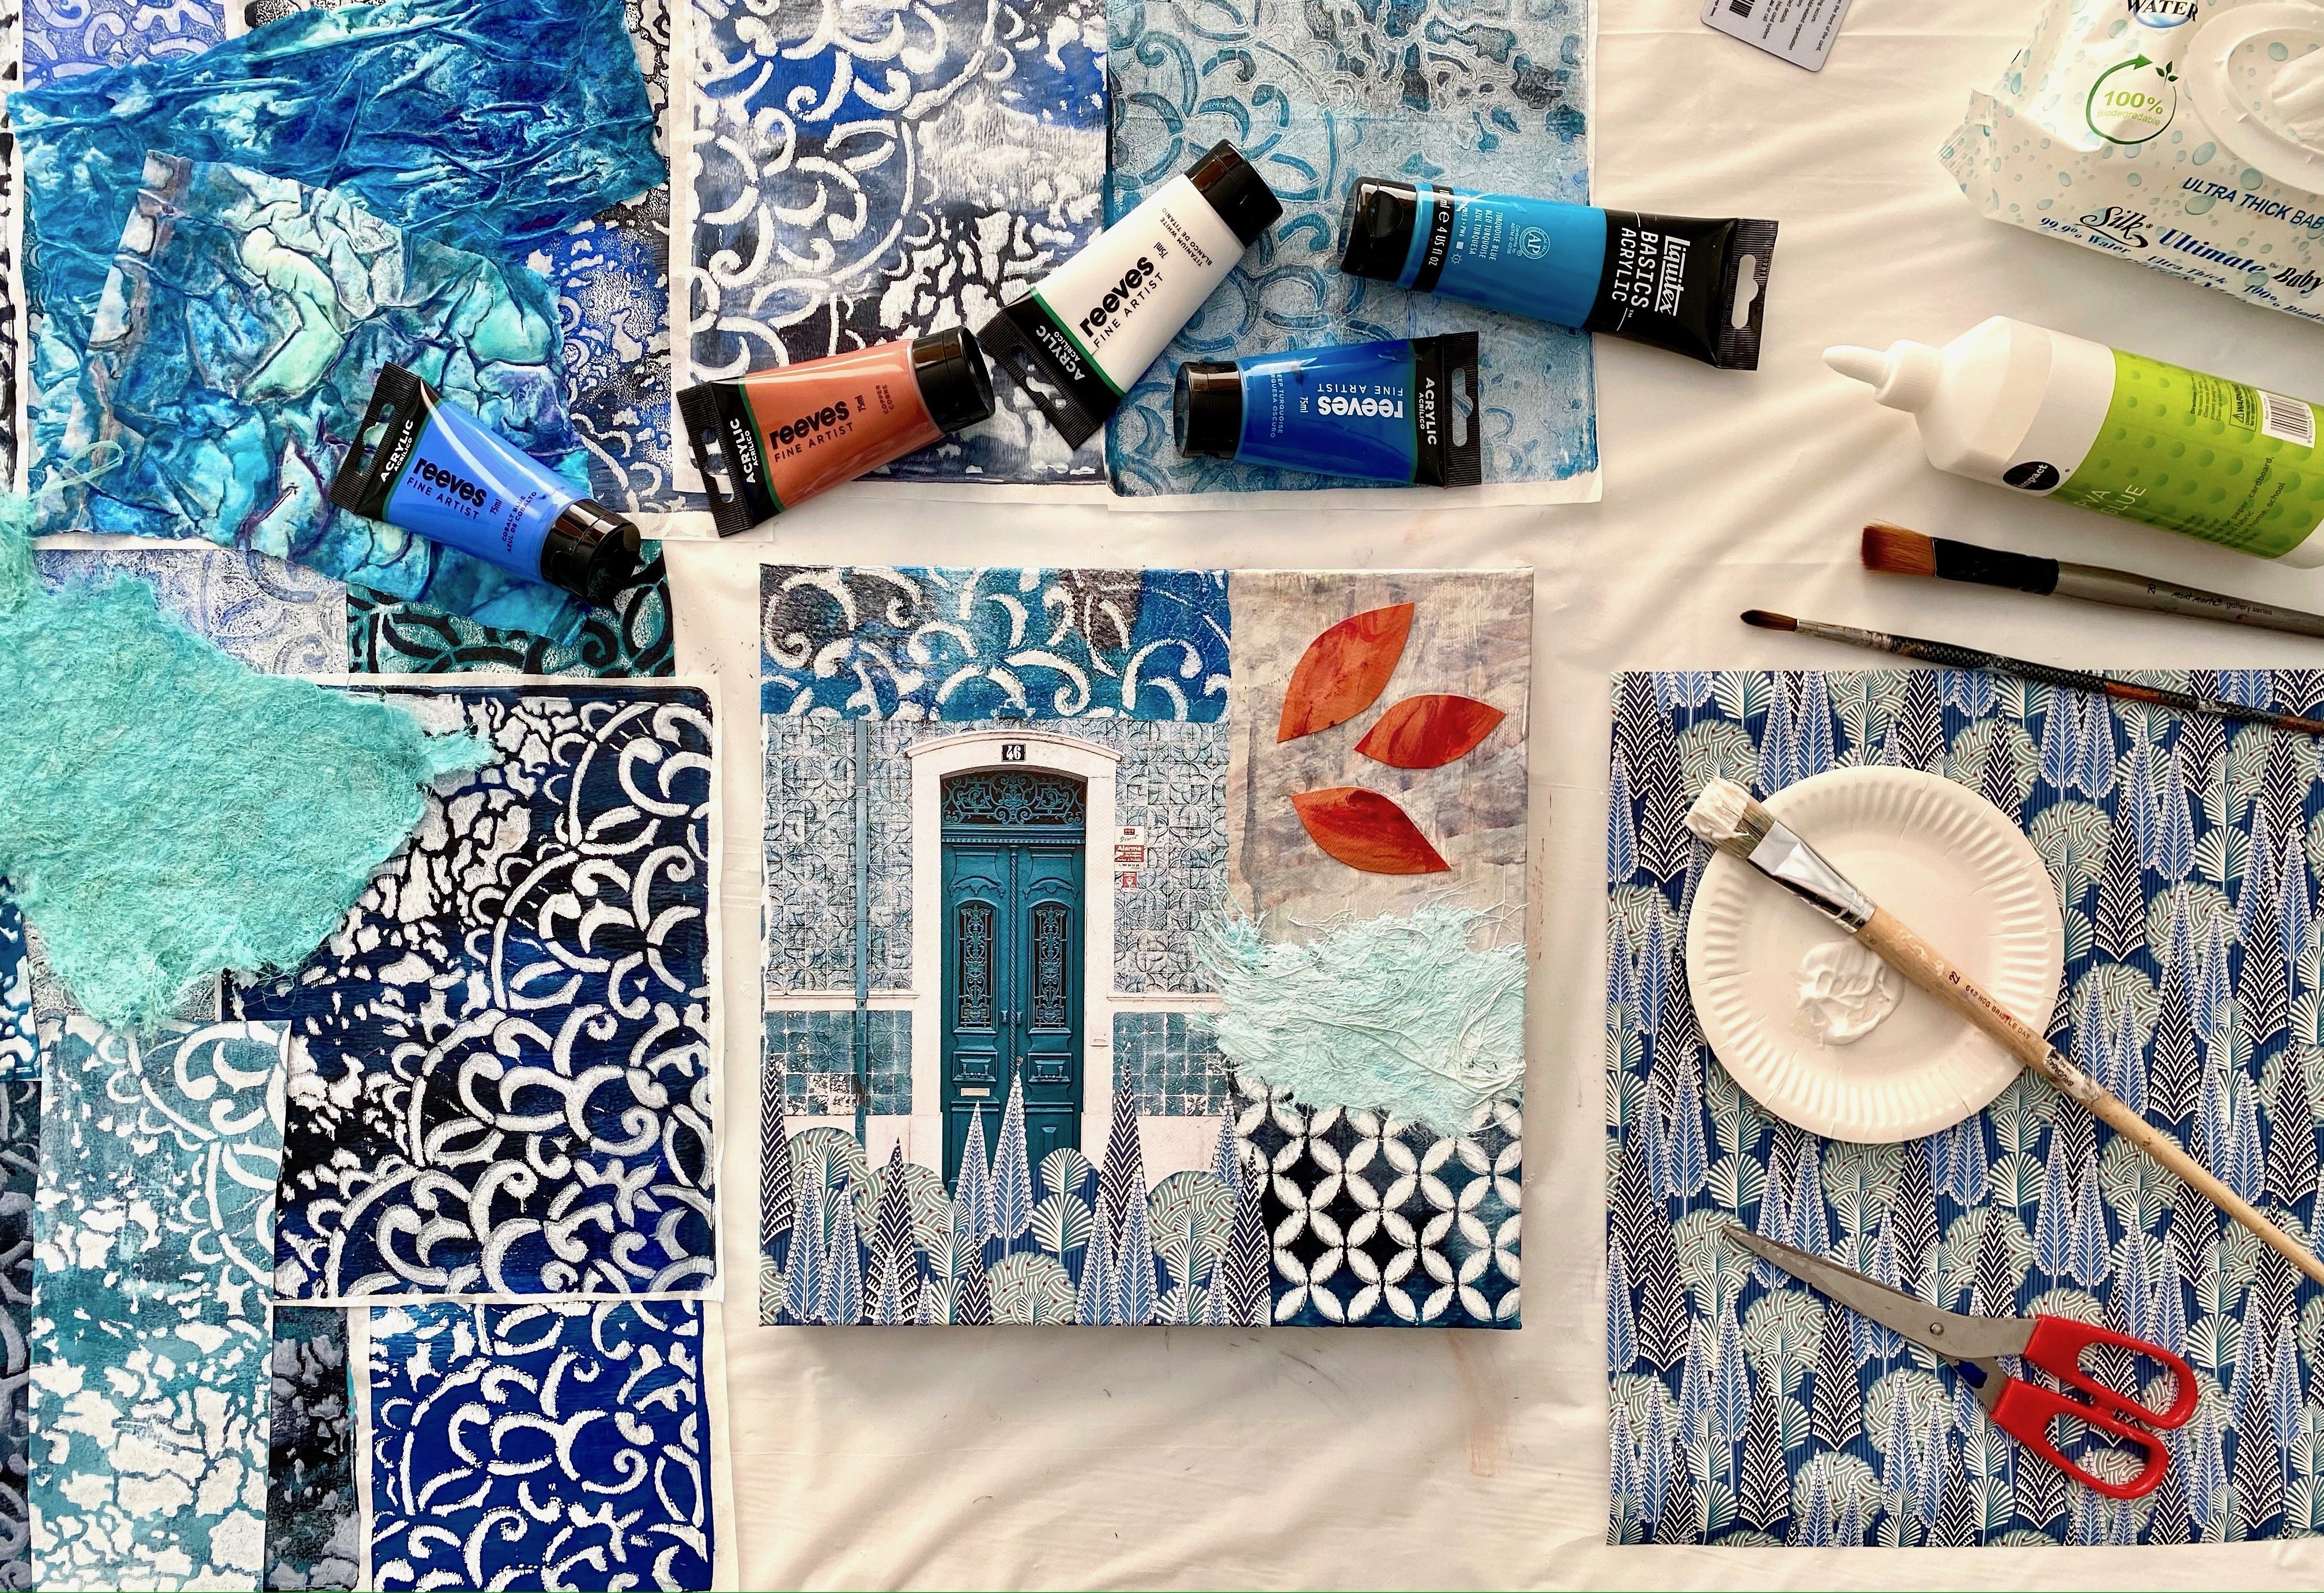
6. Create Your Project: Okay, friends. Now it's time to get that creativity party started. So grab your party hat and your art supplies and let's get started. Let those creative dreams fly. If you are Stamper, you probably have a lot of stamps and ink pads around, so try this one first. Just add some acrylic paints for a slightly different effect. Maybe you've been wanting to try jump lights just haven't quite gotten around to it. Here's an opportunity. Just combined some gel planes, some acrylics and that bubble wrap that's been hanging around. Or perhaps you like to draw the technique with the resist might be perfect for you. Get a little resist pan some watercolors and you're good to go. The sample that I did is done with the jail plate and the bubble wrap. I used a different color combination and a different stencil, but otherwise it's the same process. You can see the stencil here. I got that at the craft store. I'm using artist's Loft pains here from Michael's Crafts. This one happens to be Indian yellow, and I also used my chromium oxide green, one of my favorite golden colors that I like to use for a lot of my work. So gather up your supplies, choose a project or use one of thes as a spinoff for something that's a little bit different. Whatever you decide to do, don't be shy about posting it to our skill share page. Sharing projects is an important part of skill share, and it's one of the ways that we can learn so much from each other. I can't wait to see what you do.
7. A Few More Things...: that's it for class, but your projects might not be finished. Sometimes you just need to take a little time with them. Don't put them away, but put them where you can look at them from time to time. I like to leave them out here in my studio space where I might be working on other projects , or put them out in the family room or the living room where I can see them as I walked by. And that's often where I get my next idea for what to do with them. If you'd like to see how I do finish some of these projects, you can follow me on instagram or check out my YouTube channel where I'll be posting these . As I continue the projects, you'll find me on multiple social media sites, although a A most active on Instagram where I post updates on my projects several times a week, my YouTube channel is my newest venture. I'll be posting short tutorials for both adults and Children, as well as previews of my skill share classes and updates on the projects that I'm working on. You'll also find me on Pinterest, Twitter and Facebook just not is often. If you enjoyed this class, be sure to leave a comment or review along with a photo of any projects that you create After watching the class, I can learn a lot by seeing what my students have done. And it's also very helpful to get those suggestions so that I can come up with fresh ideas for the next class on my skill share channel, and then be sure to click the follow button below this video so that you'll receive regular updates when I post new classes. I hope to see you soon, but meanwhile, set a play date so that you can get that creativity party started.
 Charmaine Boggs, Life is a journey…let’s make it creative