Transcripts
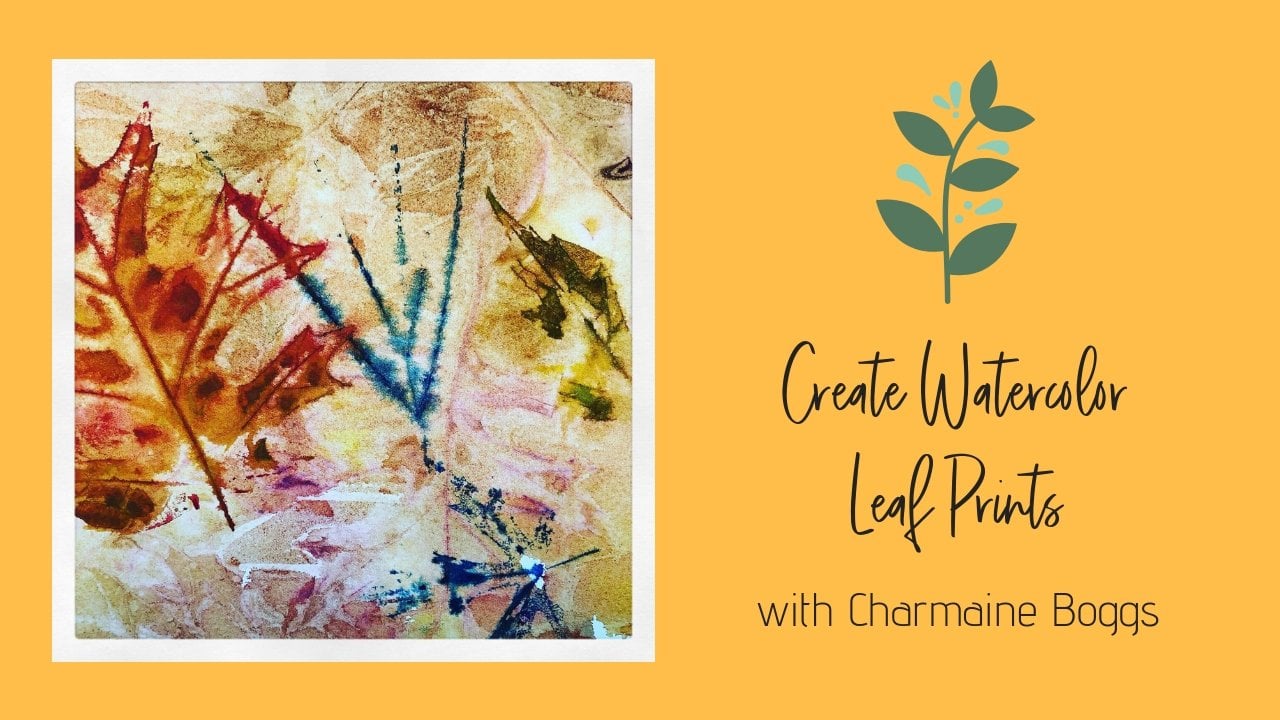
1. Overview: Hello, I'm Charmaine, and welcome to this first class in my new skill share. Siri's printmaking basics. I'm an artist and retired art teacher with a love for all things creative. I love to paint, draw, sculpt, work with medals and beads and make jewelry. And I especially love to work with printmaking. It's a very satisfying medium. It's easy to learn, fun to do and a great way to create some beautiful art in multiples. Creative printmaking doesn't have to be complicated. Doesn't have to require a printing press on dangerous carving tools. You can make some really awesome prints using simple materials like Styrofoam watercolor paper, watercolors and some printing ink. In this class, you'll learn how to put those things together to make a print with some serious wow factor .
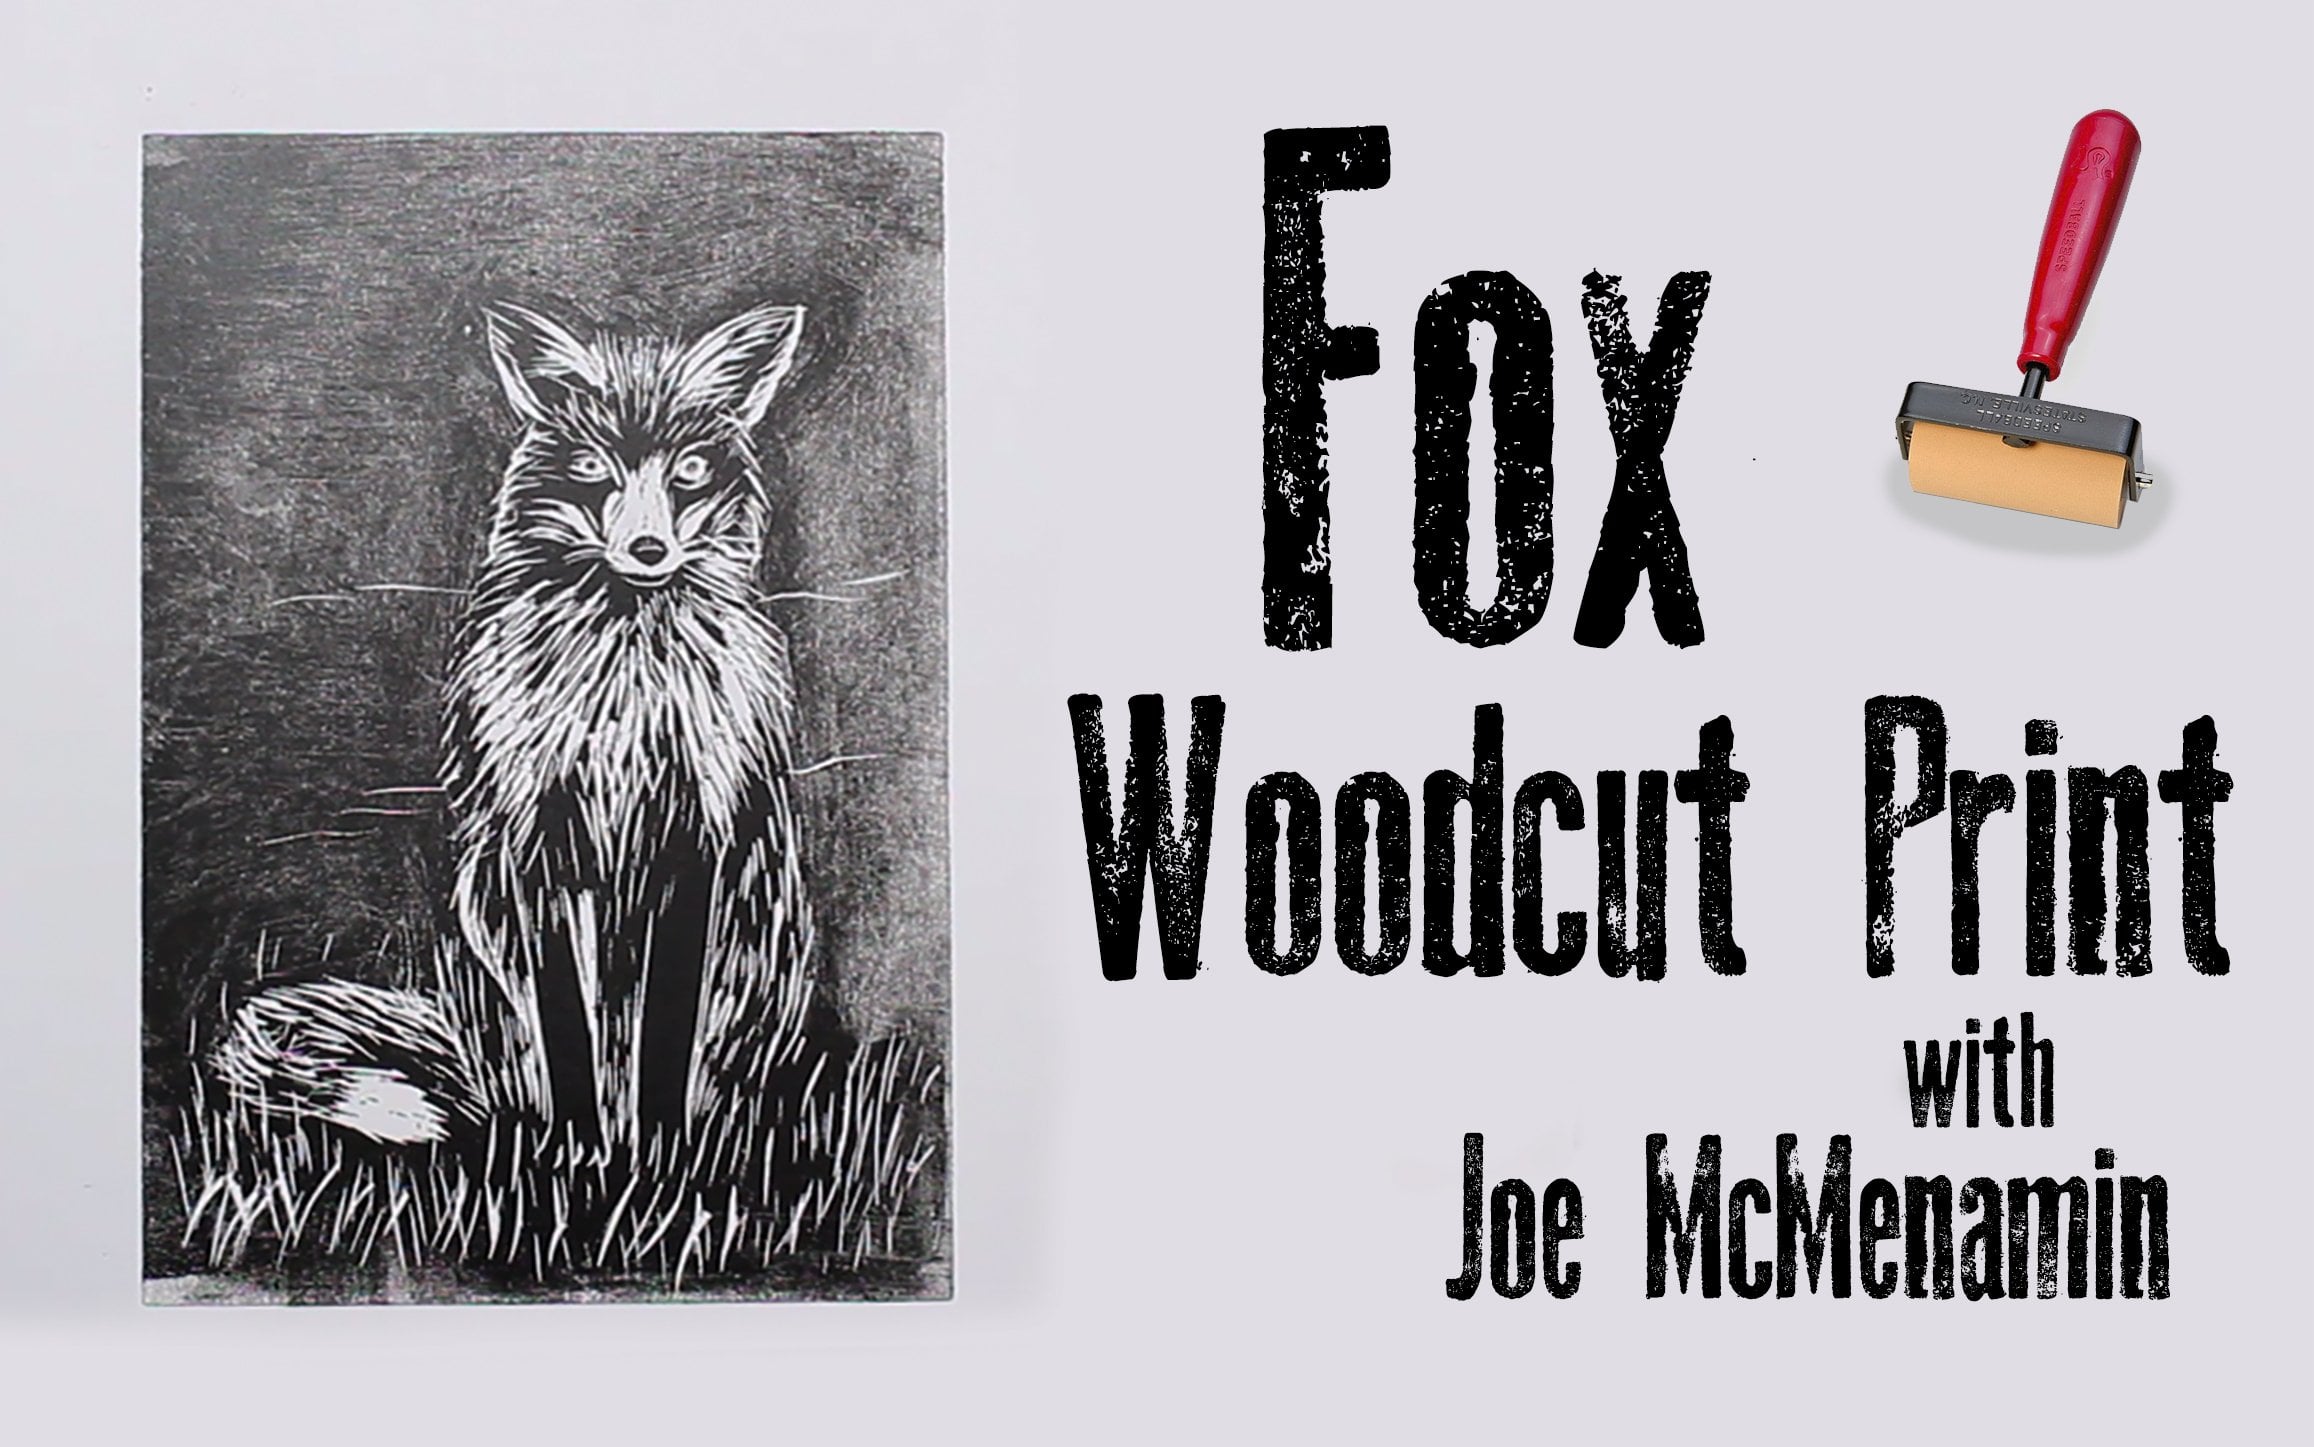
2. Supplies: Let's talk about supplies first. You'll need some basic art supplies as well as some supplies, especially made for printmaking. I have a pdf with links to resource is available for you to download. You'll find that under the your projects tamp, we'll be starting by painting a watercolor background for your print. Printmaking can get Massey, so protect your surface with a plastic tablecloth. I get mine at the gross for your party supply store for a few dollars, and they hold up well. Big fluffy brushes and a spray bottle of water are used for painting. The pencil and ballpoint pen will be used to draw your Styrofoam printing plate. Any watercolor paints will work for your background. The watercolor magic liquid watercolors are easy and fun to use. Liquid or tube watercolors will give you the most intense color, but pan watercolors also worked quite nicely. You don't need a purchase paint palette. A Styrofoam or plastic plate works for two colors and in a carton is great for liquid colors. If you're using Pam watercolors, you won't need a pallet at all. You will need printer paper or similar lightweight paper for your pencil drawing. Even loosely for notebook paper will work, but for your painting and print, you'll want heavyweight paper made for water media. The ones pictured here are two inexpensive brands available at Michael's That worked really well when you choose your paper. Also look for watercolor paper that has a relatively smooth surface, which will make a better surface for your printmaking. A sheet of Styrofoam is next on the list. This could be purchased at craft and hobby stores, but you can justice easily. Cut the Styrofoam from in a carton, a Styrofoam plate or a fruit and vegetable tray from the grocery store. All of those will work just as well. Block printing ink, though, is an essential. There are several brands available on the market. The SEC, pictured here is a good starter set. It includes the three primary colors red, blue and yellow, along with black and white. That's really all you need since thinks could be mixed. Just like paints on your palate, you'll need to roll out your ink with a tool called a prayer. A four inch size is all you need to get started. You can roll out your ink on a purchase, rolling tray or use a Styrofoam or plastic plate, a rubbing stick or printers. Baron will help you get a good quality impression, but it's not essential. Your fingers will do the job quite nicely as long as you apply equal pressure. The last supply on the list is a try or board to work on. I like the trade because it contains the liquid from the watercolor step. Really? Well, you don't have to purchase anything special, though. An old plastic tray or cookie sheet will serve the same purpose as long as it has a smooth surface. You can also use the masking tape to tape your watercolors, paper to an old picture frame or a piece of backing board from a frame. In some of my demonstrations, I'll be doing my prints taped to picture frame glass like you see here in this picture. So gather up your supplies and meet me in the next lesson to make a few sheets of beautiful , colorful watercolor background papers for your print
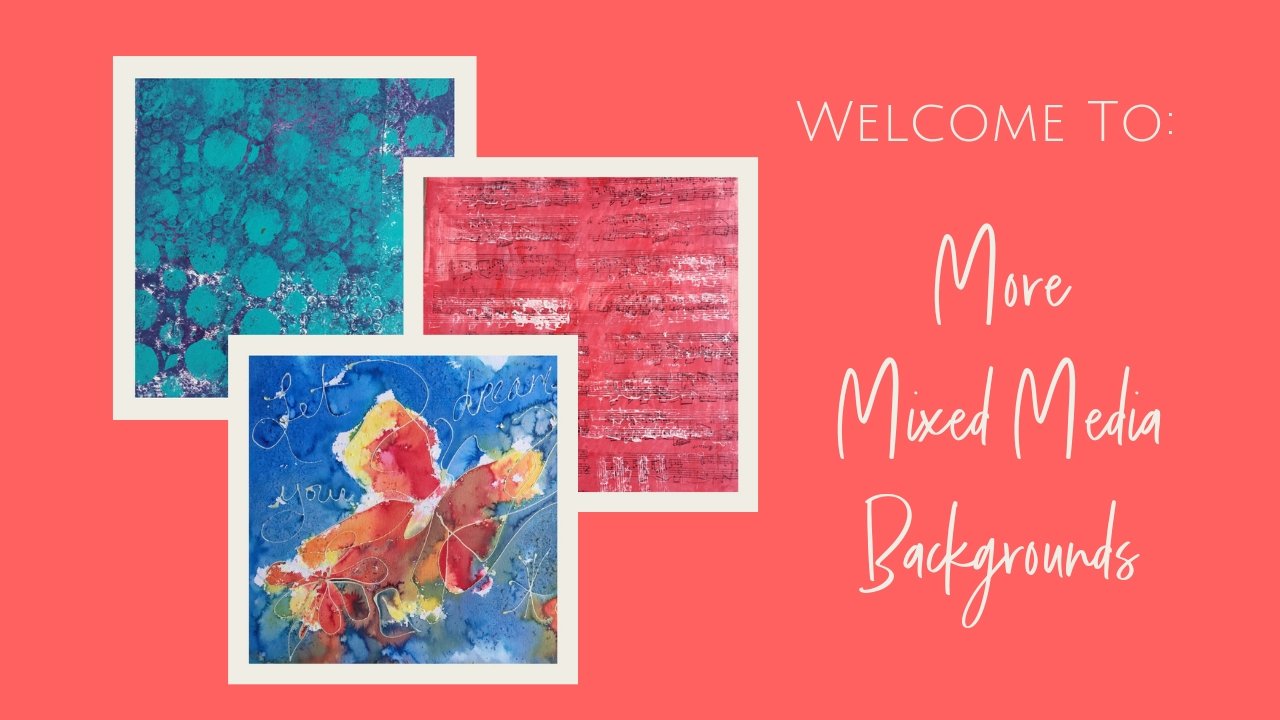
3. Creating Colorful Papers: for this demonstration, I'm going to be using the liquid watercolors, so I prepared my palate with some yellow, some red, some blue and some green. I'm going to also add a little bit of violent right here. One thing I do want to add is a caution is that these colors are merciless when they start to blend, and to have too many colors on your palate is going to cause everything to become very muddy. So my suggestion for starting out is to choose two colors at first and see what they dio and then work from those two colors. But I have all my colors ready except for black going to leave black out. It's just a little bit more intense than I would like my colors to be, and I'm going to prepare my water vapor. And what works really well with these little plastic trays is to spray the back side of your lawn paper lightly and set it down in your tray, and it will actually stick quite nicely to the trade itself. When I give it a little square to hold it down and I'm ready to start and what I'm going to Dio is take my big, fluffy brush and simply wet the entire piece of paper. Another reason why this tray is nice. All that water that's on there is going to be contained in the tray and that all over my tabletop or anywhere else that I needed to don't want it to be. And for this one, I'm going to work with yellow and blue, very predictable in what they will dio so I can start with some yellow han. Add some yellow squash is on paper, and to encourage some blending, I can add a little bit of right, and then I'm going Teoh prince my brush lightly and add some blue. I let that go to the side that's very wet, and it makes it very easy. Just world my colors to get really interesting background effect. If I wanted to encourage colors to blend more, I can take a wet brush and add a little bit more water. We're like the colors to find a little bit more and do a little more swirling, and I think I'm just going to leave that just like that And again, the nice thing about the trays is that I can just pick this tray up and said to decide somewhere to dry nicely and my colors and my paints are not going to be impacted and get some of that liquid out into the cloud there. And I'm going to leave that and I'm finished with this one. For this next demonstration, I'm going to share with you some things that you can do if you're using the tube water colors. I have two papers, tape down to my glass, and I'm going to be working with this one right here and the two watercolors on. I'm going to stick with the same color scheme, the blue and the yellow, and I'm just going to put some yellow to water color in this pan. This fund is lemon yellow from Michael's, and this one is ultra marine blue, which is a nice, intense blue hand. I'm going to use those and for this one, my papers already taped down, so I don't really need to do the spraying as much. I may use it later as I'm working, so I have my fluffy brush and I'm just going to my water's not the cleanest. Nor is my brush but I'm gonna go ahead and wet my paper, and then I'm going to wet my paint and just add paint to my paper. And now I can use my spray bottle colors moving, and I'm gonna let my colors just settle in and move a drink on this side. Over here, I'm going to work with the pan water colors. I like the pelican brand because the colors are a little more intense than some of the other brands of pan watercolors, so we'll use those. And again, I'm going to use yellow and blue because it will give you a good idea of what those different colors look like in the different types of paints. When you're using can watercolors, it's really important that you begin with a nice wet pan of color. Get good water on there and put your color on, and I'm going to stick with the cobalt blue, since that's what I was using on my other demonstrations. So I'm going to get that nice and wet, and you will see a difference. And really, the colors react with each other with the different types of paints that you're using straight, and we're just going to let these dry. Generally, they will need to dry overnight and you'll be ready to dio your printmaking the following day. So what I often do when I'm getting ready to do any of these kinds of. I usually make the whole style of colored papers to use in my printmaking over a period of time so you can batch them and do those all at once, so have a little fun, see what your colors do.
4. Create Your Stencil: In this lesson, you'll learn how to transfer a pencil drawing to your Styrofoam in order to create a stencil that can be used repeatedly for your project. Keep the drawing simple. Use large shapes rather than small details. For best results, you can draw directly on your Styrofoam. It takes ink or pencil quite well, but most of us, myself included, like to go from some type of sketch or drawing to get started. So when I did my tool up for my demonstration, I actually drew it out first on a piece of paper. So I had my basic shapes drawn out the way I wanted them to be. So I had my basic shapes drawn out with pencil. Once you have the drawing the way you want it with your pencil, simply put Styrofoam down. Put your drawing over Styrofoam and take your pencil. Or if you prefer your ballpoint pen. The ballpoint pen is kind of nice, because you can see what you've already traced. So I'm going to use the ballpoint pen and press fairly hard and go over all the lines of your drawing. Make sure you get all of them in this step because it can be really difficult. Tow line things up later if you miss something, although you can add that in my hand later as well. Once you have the drawing in, you'll see it very lightly on your piece of Styrofoam. You'll need to go over it again because you will need to have deeply impressed lines. And again, this is where a ballpoint pen is really handy. Because the ballpoint rolls over your Styrofoam, it's less likely to tear the foam than a pencil. A pencil occasionally tear your foam, and that forces you to start over with the steps, so get your your lines in trace over them. Make sure that they're cut in deeply once the lines air cut in there in to stay. However, if you wanted to add something later, when you find that you want to do something a little bit differently on your print, that's easy to do. A swell. Once you have the drawing in place, the last step is to simply cut. Cut your stencil out so that it's ready to use. In the next lesson. You'll mix up a little bit of very liquid paint in your spray bottle and use your stencil to create some beautifully variegated colored backgrounds in order to make your print really pop
5. Layering Background Images: for this step in the printmaking process, you're going to need your water bottle with about an inch of water in it, as well as whatever type of watercolor paints you're using. I'll be demonstrating with the various kinds so that you can see how they all work, and they all work a little bit differently. But they all give you beautiful results for your backgrounds. In this demonstration, I'm going to show you how to use your print stencil as a true stencil. In other words, putting color around it to leave the background, showing as shape or the image to do this, you'll have your painted paper. In one of my demonstrations, you'll see me using this Scotch removable mounting putty. If you happen to have it on hand, that's great. But it's just a easy to take your masking tape, and what you want to do is take a little bit of masking tape and just make a lot. Wherever your stencil seems to be sticking up, just put a little tape underneath it to hold it in place while you spray so that you don't get spray underneath your stencil where you don't want the color to be. I'm just gonna put a few little pieces of take curl backward tape, girls just enough to hold down the things that are sticking up a little bit more than I like. The blue water that you see here is made using the liquid watercolors. That's the easiest way to make your paint for this. So once it's made, shake it up and I'm just going to spread around my stencil like so. And then when I pick it up, lifted off, I have the image of my tulip outlined. Another alternative, if you're using tube watercolors, is to put again just about an inch or so of water in your body and you're to water colors and squeeze. Just squeeze some down into the water, like so, but still it on tight. Get up. You got cereal paints, and you might want to test it first on some scrap paper before you make your stencil or take a piece of paper. I'm just gonna use this paper towel right here and just started a bit to see how much color I have, and I can see that right now it's just a very light pink. And if I'm happy with that very light pink. Then I'll just leave it. If I wanted it to have more intense color, I would need to squeeze a little bit more paint down in there so you can see that actually , using liquid watercolors is going to be a little bit faster and give you a more intense color. But using the to water colors does give you some really nice pastels, which can be really nice for a background going to use this red around this tulip that I prepared here. So I'm going to spray spray. This was papers it was playing white at the time that I did that so we don't see any other patterns just may over spray. I'm going to lift my extends a lot. Be very careful so that it doesn't tear, and I have a really nice paint to up. Clean up your stencil and it's ready way. If all you have on hand are pan water colors, you have a little bit more of a challenge to make your paint colors. What I haven't here is about less than an inch of water in the bottom of the soul Styrofoam cup and what I'm doing to create my color for this one. IHS Just taking my brush and continuously rinsing it off in that water. So I'm creating my water, my cleaning, my brush in it. This is going to give you a light pastel effect that can actually be quite nice. So I have my blue and you can see from here It's a nice shade of blue. It will look a little lighter when it dries on your cape and then from there that could be used to fill your water. But once your pink first layer of sprayed paint is dry, you can reverse. You can lose your stencil over. But what also can give you a really nice effect is to flip your stencil and over Laffit. But leave some of the first pattern showing through and take that down. And when you take that down, want to make sure that you're taping where the paper has no paint on it? Because sometimes with tape and with that, um, tutti, you can pull off some of your tape and then you're not happy with those results. So make sure that your tape that's holding your stencil down is going where there is no pain at that time, and we're going to do another layer of over spray. You can change colors or use the same color. I like to use the same color, kind of keep some color consistency to my prints, so I'm going to use the red that I had made earlier. It's the same red, but you're going to see that there'll be a light over spray here and over. Spray will be darker there, so we're going to get up, go around with you could see it happening, but still leaving that first impression and then very carefully lift my stencil off. You can wait for a little bit of fear, concerned about it smearing. And now I have this really neat image that I can print on when it's completely dry so you can dio a single stenciled image. Or you could do a double stenciled image or no stenciled images, not depending on your preference. Now that you have those beautifully colored backgrounds with that little shadow image of your print, it's time to get the printing inks out and begin to decide how you want to lay out that final print. So get out those things, get out those rollers and let's get started in the next lesson
6. Let’s Print!: Finally, after all that background preparation, we're ready to get started with a print, so you'll need your printing inks your roller otherwise called a Breyer and either a Styrofoam plate or a plastic plate or even a ceramic plate that you're no longer using something to roll out your ex. In my demonstration, I'm going to be showing you how to combine several colors of inks to create and unique color that's all your own. And I'm going for a bit of a teal so you can see here I am putting out some blue, some white, which would give me a very pretty light blue. But by adding just a little touch of yellow and rolling that together, I'm going to get a really lovely teal and just roll around, back and forth. And as you roll, you'll figure out as you go well, it's a little too yellow at a little bit more blue. It's a little too dark out, a little more white, so you might need to adjust your colors to get it looking exactly the way you want. But with a basic set, like with just the basic primaries red, blue and yellow, you can get pretty much everything that you need with just a little light. Next, you're going to roll. That ain't carefully on your stencil. And I do have it on top of a paper towel that keeps my plastic surface cleaner. So I'm less likely to get ink where I don't want to be. And you'll notice there was a little dent in the Styrofoam here. So just have a little ink on it and then roll over it. Just move it out. Once you have ain't covering the entire stencil. Move everything out of your way and bring back that background that you printed. You can see here on the right that I had printed the 1st 1 It's a little bit too close to the top. So when I put this next one on, I'm going to be a little more careful to bring it down just a little bit to leave a little more space at the top of my picture. The next thing is to rub that back side of the print smoothly to press the ANC's into your paper. I'm using the rubbing tool that Melissa and Dog produced for Children's our projects. It works great. You can use a printer's baron, which is a little bit bigger. You can also use the backup. You can use a wooden spoon from your kitchen, just something that is smooth. That'll allow you to get a little bit more pressure from your fingertips. You can. For the lack of any of these tools, you can simply use your fingertips. You just have to be a little more careful to keep your pressure even and to make sure that you hit all the spots of the back of your print. Once you have it all in place, just gently and carefully peel your print up and you have a print ready to go, and it looks pretty good. I'm happy with that one, and there you have it, a finished print. In my final demonstration, I'll show you what you can do if you'd like to add a little bit more detail to your print in order to bring out some of the edges and lines
7. Add Details with Pen & Ink: adding details to a print with pen and ink or any other art material is purely optional. Sometimes the print looks great, just a zit is, and other times you just feel like it needs a little something to bring out the details and make it look a little more interesting. So I'm using a pen. Tell art Ink pen. You can use a fine point Sharpie for this or any other good quality black fine point pen. Once you're Prentice complete, it's easy to use pens or markers. Oil pastels. Just about any drawing supply on hand is a good way to enhance and bring out some of the details I'm going to use on a 0.8 millimeter. Um, pen. This is an art pen pen tell hybrid thes air, really nice drawing pens and you can and little sketchy details to your work to bring out the patterns to add little details and texture detailed to your work. This could be a really fun staff. Doesn't have to be elaborate, can be loose and free for more detailed, depending on the style that you want to have. But just this helps to bring out the details of your friend at a little texture and interest to what you've done. So just some drawing pens do the job quite nicely. So that's it for printmaking. All the basics are in place, and it's time for you to get started on a project of your own. In the final video, I have a few suggestions, but printmaking is open to all kinds of creativity, and you can do many different things to make your print truly your own, so just have fun.
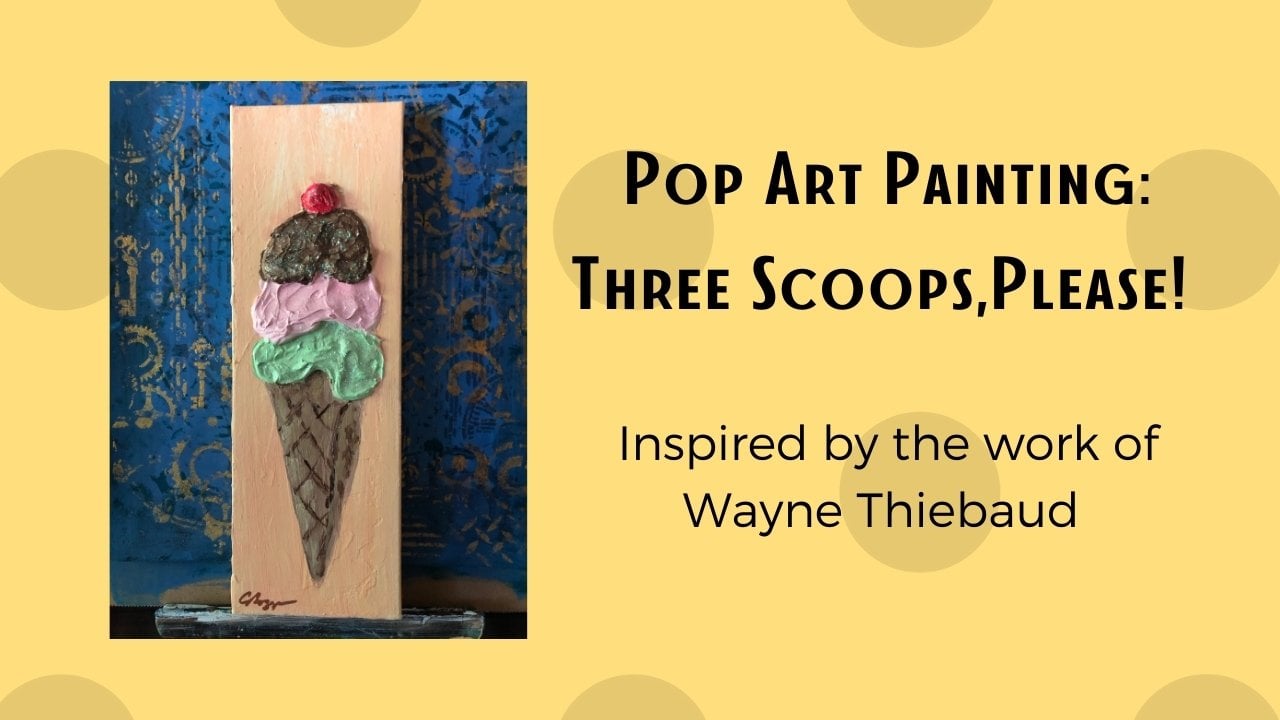
8. Your Project...Your Way: Okay, that's it for printmaking basics with Styrofoam. Now you have the basic techniques in hand, and it's your turn. Grab your favorite watercolors, make a beautifully blended background and may be used that background to inspire you for your subject matter doesn't have to be a floral. How about a fish, a bird, a butterfly, a ladybug or maybe even your favorite food items. Cupcakes, chocolate chip cookies. Anyone Either way, create a journal page, create some standalone artwork or even make a greeting card. Siri's and share this with your family because kids do love Styrofoam printmaking. Have some fun with your printmaking. Do a two part print like these flower petals with their little center. Or keep it very simple, especially been working with kids and print the same thing across the page, like these little fish swimming in thereupon just one color or overlap one color on top of another yellow. First read on top and you'll get some beautiful color combinations. I hope you had fun, and I hope to see you in my next class in this basic printmaking skill. Share Siri's. Until then, happy printing
 Charmaine Boggs, Life is a journey…let’s make it creative