The Art of Egg Tempera Part 1: Pigments, Egg Emulsion & Basic Painting Techniques
 Alina Smolyansky, Artist & Instructor
Watch this class and thousands more
Watch this class and thousands more
Lessons in This Class
-
-
1.
Introduction
1:20
-
2.
Pigments & Binders
0:54
-
3.
Making Egg Yolk Emulsion
1:12
-
4.
Painting Surfaces for Egg Tempera
0:41
-
5.
Brushes for Egg Tempera
1:22
-
6.
Mixing Egg Tempera Paint and Applying it Part 1 (Little Lake Technique)
1:33
-
7.
Mixing Egg Tempera Paint and Applying it Part 2
1:34
-
8.
Painting Lines (Paste Consistency)
1:26
-
9.
In Conclusion
0:33
-
-
- --
- Beginner level
- Intermediate level
- Advanced level
- All levels
Community Generated
The level is determined by a majority opinion of students who have reviewed this class. The teacher's recommendation is shown until at least 5 student responses are collected.
576
Students
4
Projects
About This Class
Hello!
Do you know what makes all the painting media similar? Be that watercolour, gouache, acrylic, oil, and even pastel and colouring pencils? – The pigment that gives its colour.
And do you know what makes them different? - The binding agent that holds pigments together.
The pigment is the universal ingredient of any paint. Pigments are substances that give paints their colour. However, pigments are useless on their own. Ground powdered pigments have to be thoroughly mixed in some kind of binder or vehicle that will hold them together and make them stick to the painting surface.
It is the binder that imparts its qualities to the paint. Pigments mixed with diluted Gum Arabic become watercolours, and mixed with linseed oil – oils, and if we add pigments to melted beeswax – we will have encaustic paints.
But what if we mix pigments with egg yolk? We will get egg tempera paint, which is the topic of our class.
It is not documented when and who first discovered the adhesive property of the egg and started adding pigments into it. However, it is considered one of the oldest painting techniques. It is said to date back to Ancient Egypt, where artist tempered (temper, mix, modify from Italian) pigments with a variety of natural water-based binders, such as animal glue, casein and egg. However, egg tempera is known more than other kinds of tempera and was in constant use in most world cultures. Yet, it gradually gave way to oil painting during the Renaissance in Europe, but the beginning of the 20th century saw the revival of egg tempera.
If you want to travel with me into the fascinating land of tempera, the oldest known painting medium, that was used by Sandro Botticelli, Giovanni Bellini, and even Michelangelo and DaVinci, join me in the class.
In this first class, I will show how to make an egg-yolk emulsion and the basic brushstrokes, and you will be you will be able to start experimenting with egg emulsion and egg tempera painting right away. We will use these techniques in the subsequent classes for a variety of projects.
Enroll now!
My website: Let There Be Light Art
Meet Your Teacher

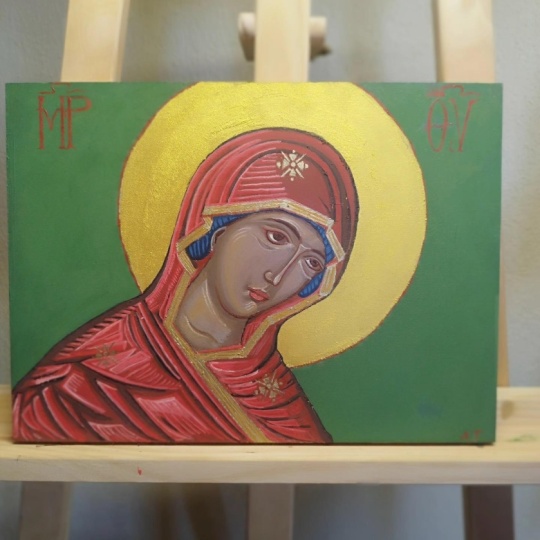
Hello! I am Alina, an egg tempera artist and art educator, based in Vancouver, Canada. Traditional egg tempera appeals to me for its simplicity, purity of colours and historic significance. My inspiration stems from various spiritual traditions, illuminated manuscripts and nature. I am also one of the few teachers of egg tempera painting and icon painting in North America.
I hold a BA in Professional Communication from Royal Roads University, as well as diplomas in Professional Writing and Architecture. My paintings are in private and public collections in Canada, United States, Germany, Great Britain, Australia, Thailand and Israel.
I have been teaching private classes and workshops for five years and am excited about the idea of offering classes online. M... See full profile
Hands-on Class Project
Hello and Welcome!
Thank you for joining this class. I am excited to share my experience with egg tempera painting and see what you could create.
Please share your projects in the Project Gallery (click Share a Project).
All the best,
Alina.
My website: Let There Be Light Art
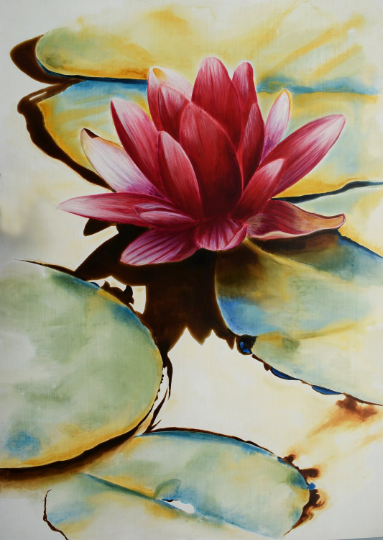
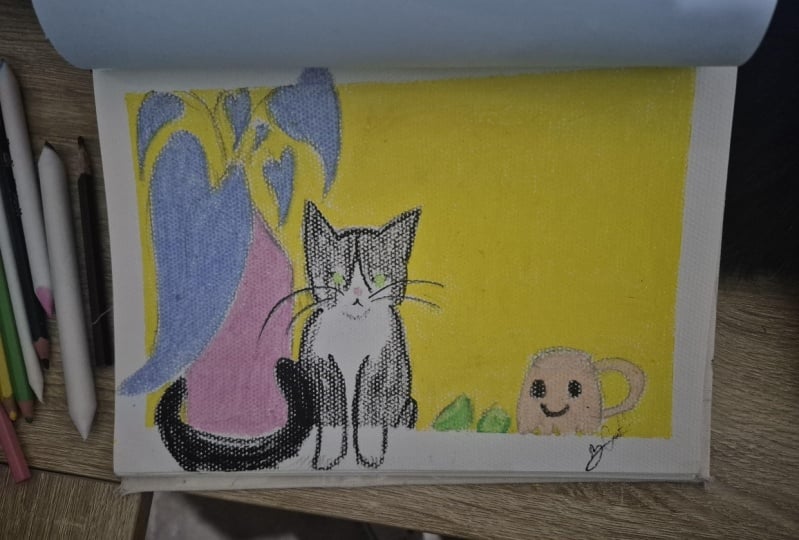
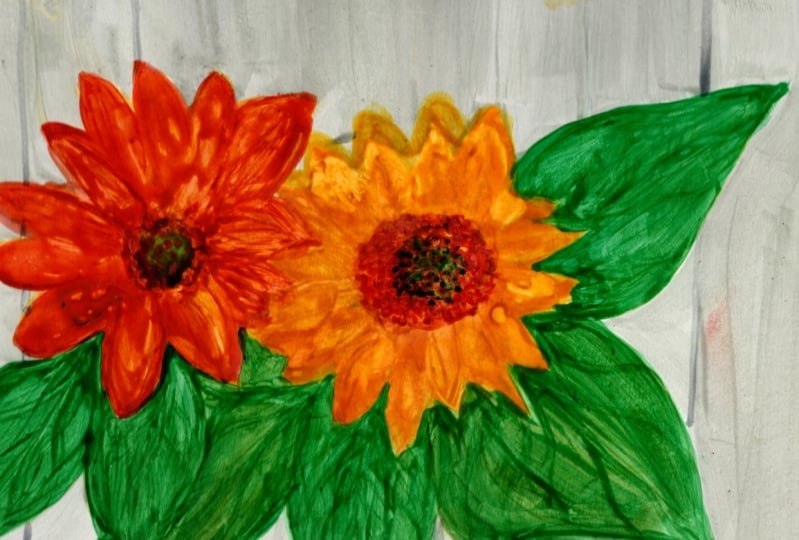
Examples of my paintings
Water Lily, egg tempera on wood, 15 x 21 inch
Dragon and Phoenix, egg tempera on wood, 12x12 inc

Class Ratings
Why Join Skillshare?
Take award-winning Skillshare Original Classes
Each class has short lessons, hands-on projects
Your membership supports Skillshare teachers
Learn From Anywhere
Take classes on the go with the Skillshare app. Stream or download to watch on the plane, the subway, or wherever you learn best.