Transcripts
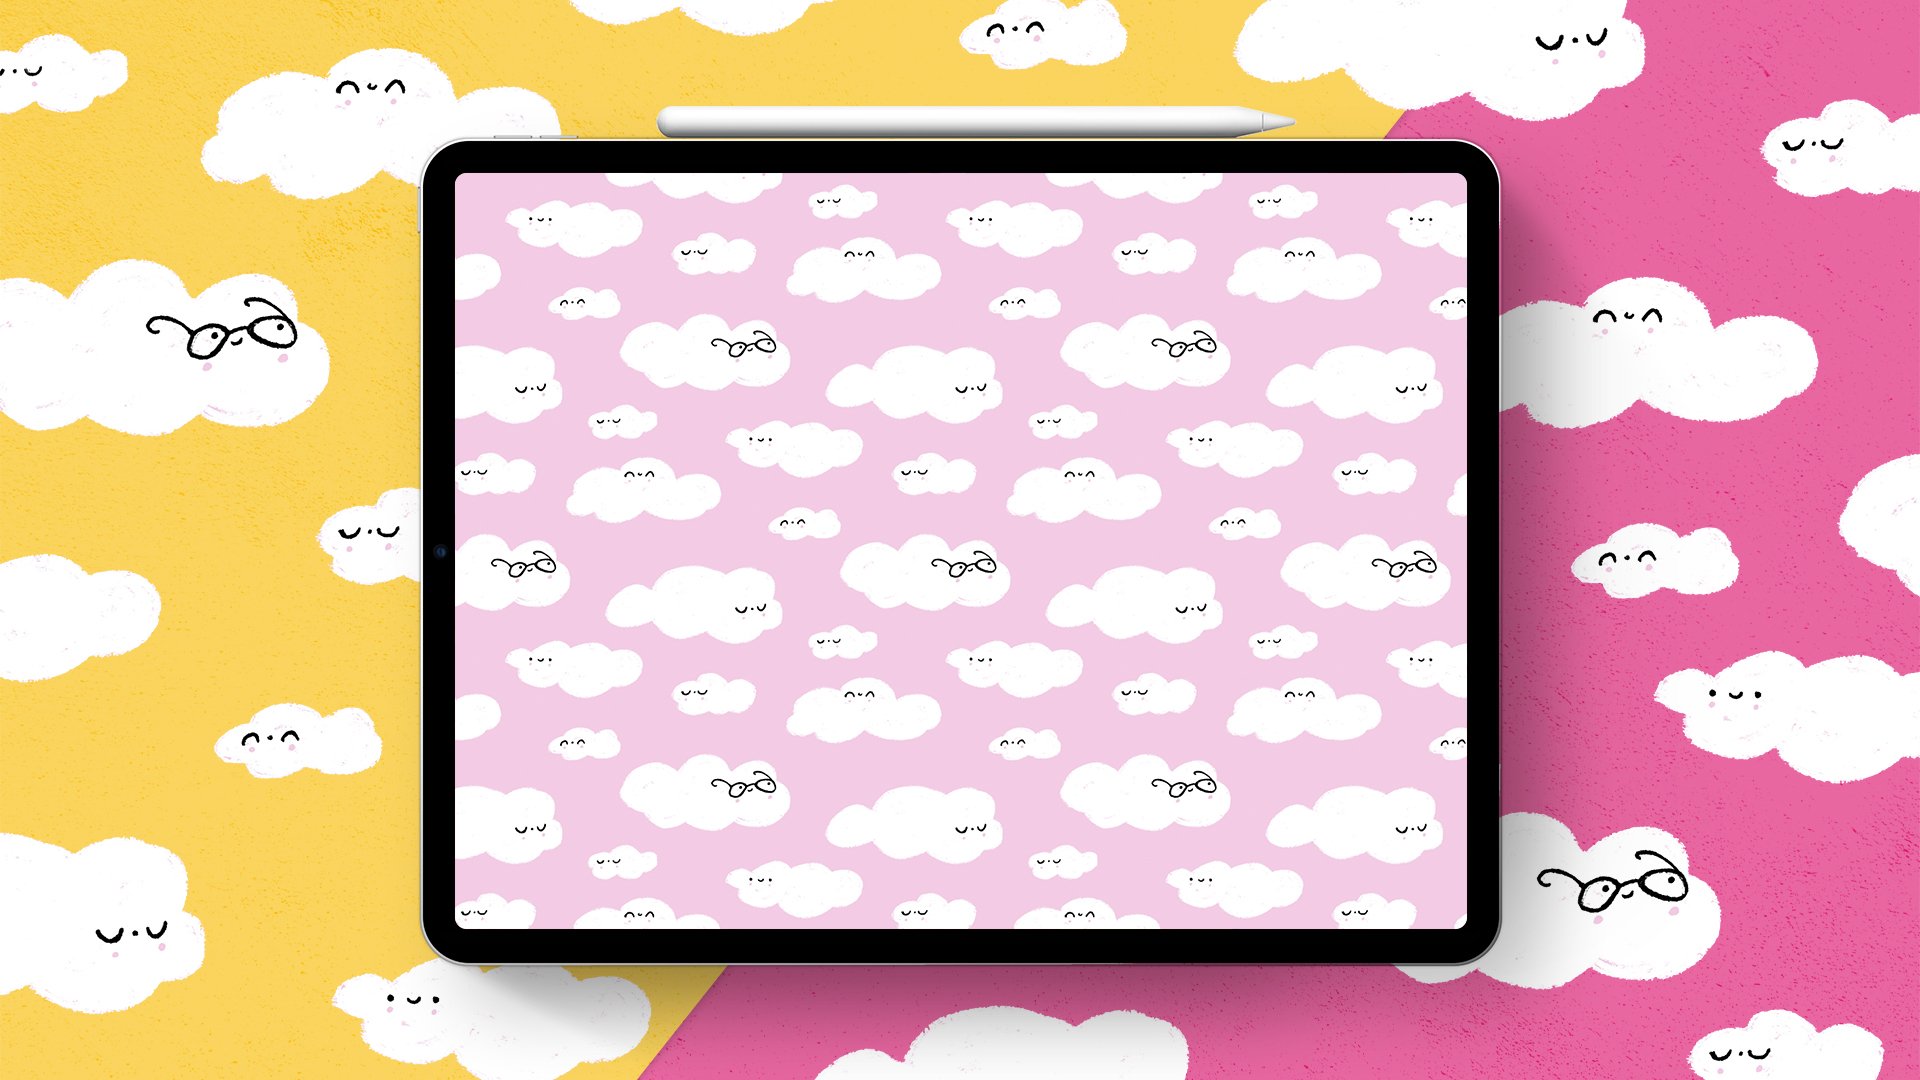
1. Introduction: Hi there! I'm Emelie Nilefrost. I'm a self-taught designer based in Gothenburg, Sweden. I love to draw playful, repeatable patterns in Procreate. In this class, I'm going to show you how to create patterns with editable colours in Procreate. When I first started to create patterns in Procreate I never knew how to make them editable. So I tried, I failed and I tried again and I now have a technique that I really like. During your project I want you to create and build your motifs in different layers. Create a repeatable pattern from these motifs. Then also change the colour of your pattern. Imagine your pattern in all kinds of colour variations. Fantastic, right?! This class is for beginners or more advanced surface pattern designers that want to learn a fun and easy way of creating patterns that can vary in colour using Procreate. Are you ready to create some awesome patterns? YAAY, let's get started!
2. Class Project: During your class project, you will create motifs and then also repeatable and editable patterns using these motifs, I will show you my custom techniques for creating these patterns. Every lesson is very hands on and you will always get the defined task to work on. That will bring you closer to the goal of creating a repeatable pattern and then also vary the colors of your pattern. I chose this project because most often I have seen that when we create patterns in Procreate, we often make it in a way that it is not editable. At least I did this when I started to create patterns in Procreate. I could change the background color of the peptide, but nothing more. It doesn't have to be like that. You can create patterns in Procreate and vary the color of your motifs as much as you like. Just follow the lessons one after the other one. And you will end up with making motifs and repeatable and editable patterns, such as these ones. It will be awesome. In the next lesson, I will show you the tools that I will be using during this class. See you then.
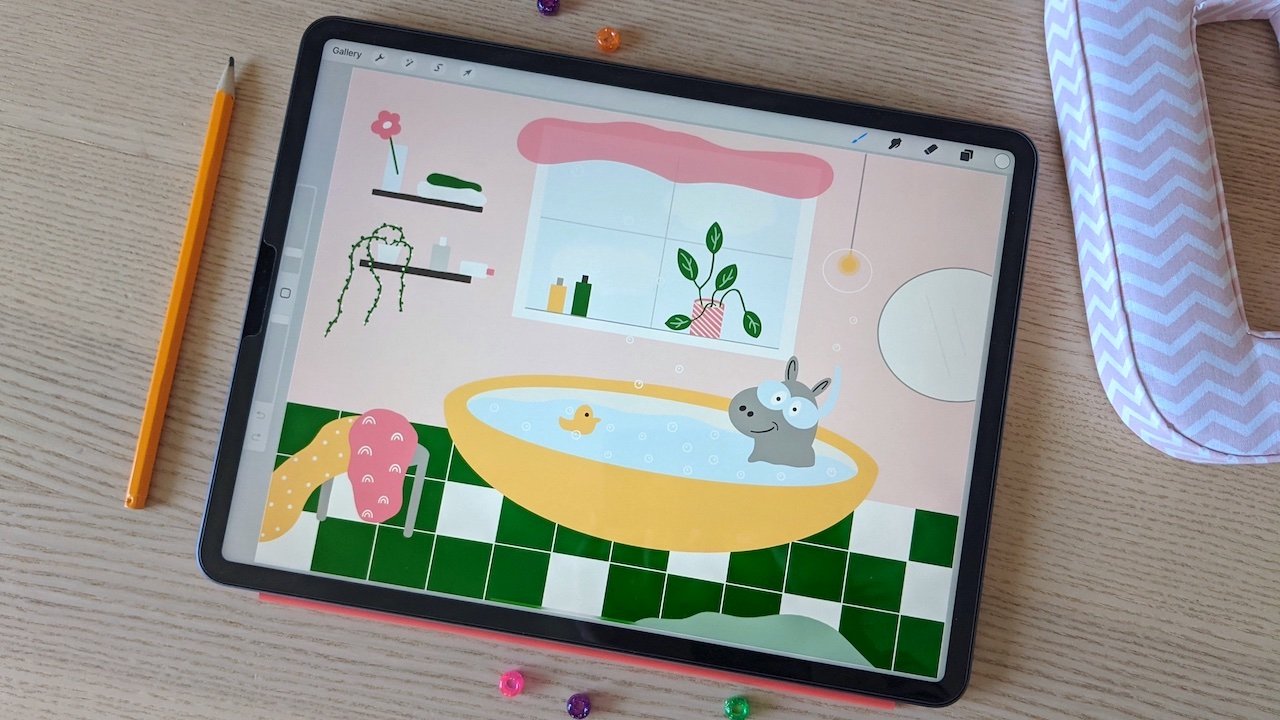
3. Tools: Before we get started, I just wanted to show you the tools that I am going to use during this class. This is my iPad Pro, fifth generation. My Apple Pencil. Second generation. I will be using the drawing app, Procreate version 5 x. I encourage you to learn by doing and have your iPad, your pencil, and procreate, ready to go during this class. In the next lesson, we will look at some motifs. See you soon.
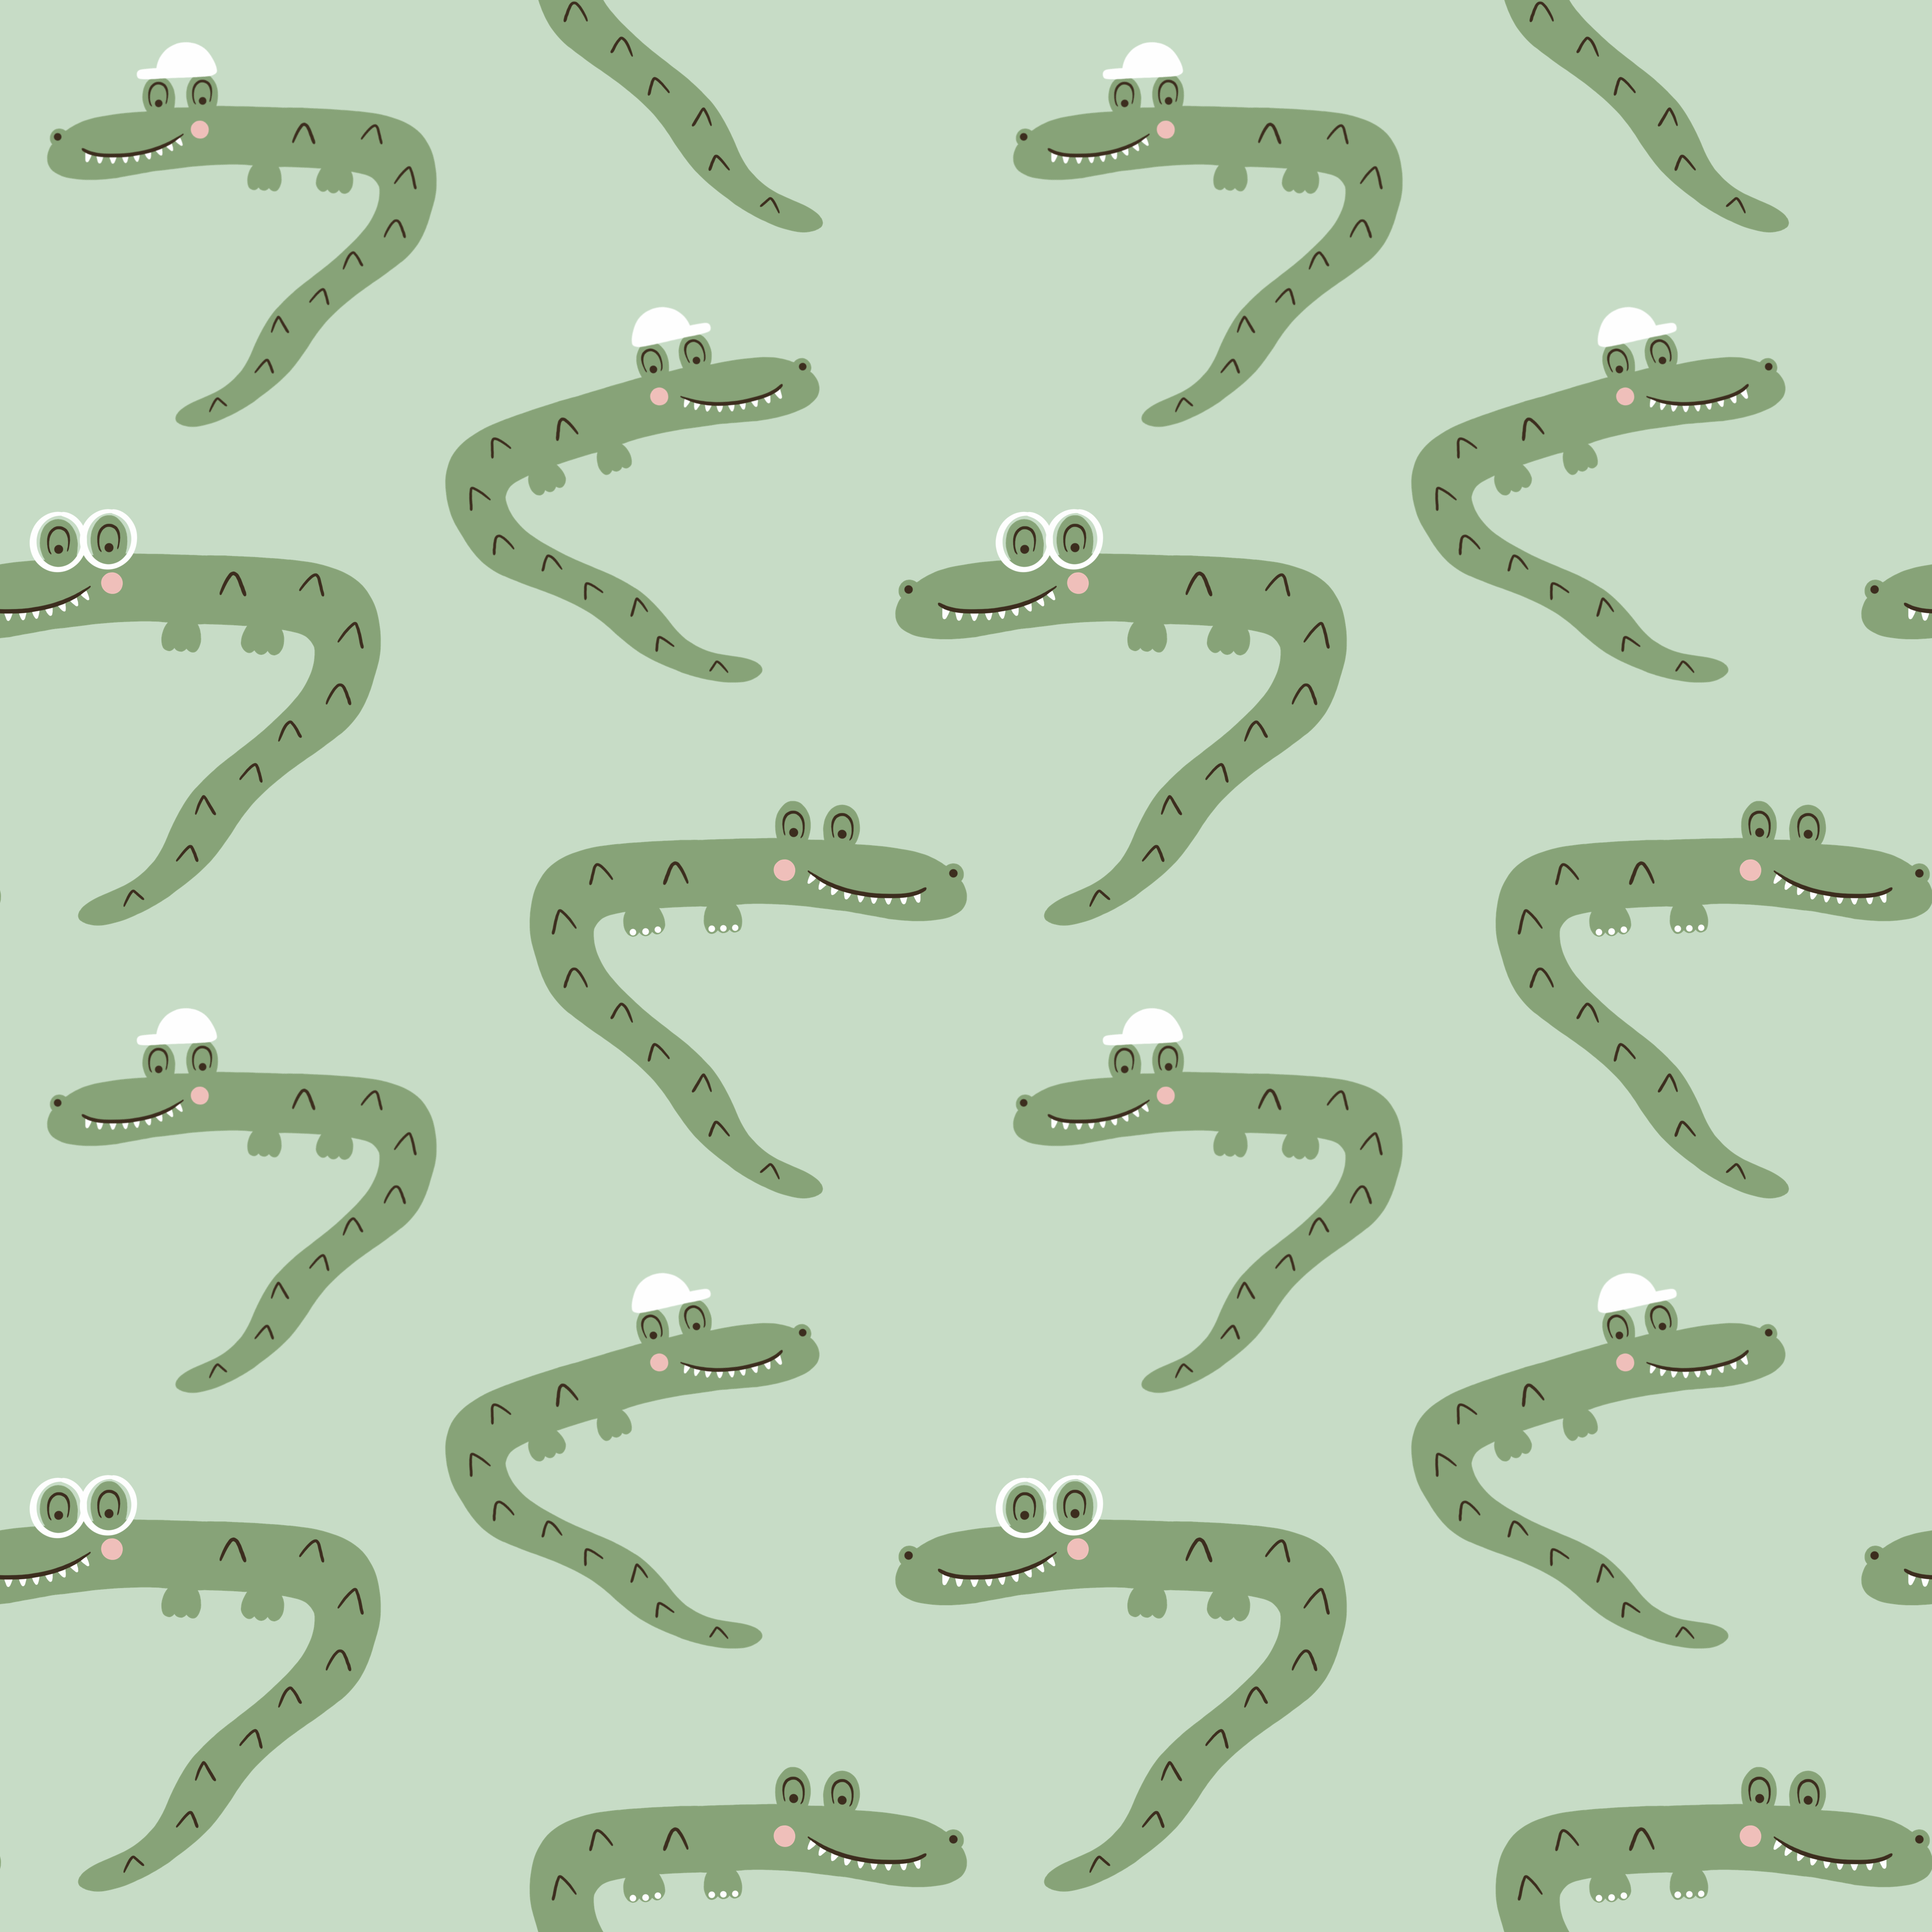
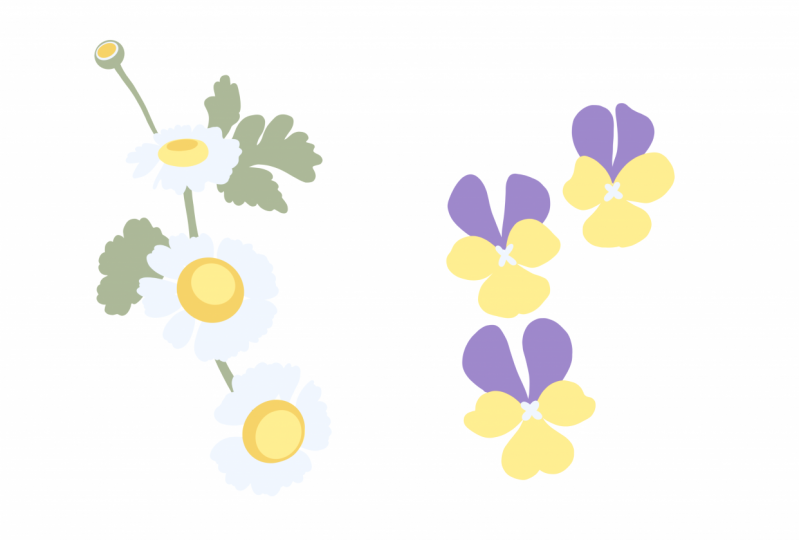
4. Create Motifs: Okay, it's time to look at some more tips. I have already prepared my motifs. They are in the Canvas that is 1800 pixels times one hundred, ten hundred 800 pixels. Let's have a look. You can see here that I have divided my motifs in different layers. This is really important in order to later on be able to change the color of your motifs. And when I constructed my crocodiles and tried to have the mindset of how I could divide them into these different parts. So I choose bodies, backs, faces, cute little cheeks, and some decor. And before the next lesson, I want you to draw your motifs and divide them into different layers. Now, I chose background, body, back, face, and the core. You can draw exactly what ever you want. I really encourage you to divide them up in different layers so that it will be much more easy to change the color of this. Later on. When you create your motifs, make sure to have them inside the canvas and not against the edges. Okay? I really, really hope you will have some fun now when creating your motifs. And I'll see you soon.
5. Prepare Pattern: Have you drawn your motifs? Yea, I hope so. Now it's time to prepare these motifs so that we can make patterns of them. Later on. We will select our motifs file, duplicate it. I will rename it to turn green because this is for my green crocodiles. Let's go inside this new file. We will draw to the right, mark all of these layers that we want to use. We can keep the background as a separate layer. These ones that are marked, we will group them, rename this group to down, up. This was actually your preparation. So before the next lesson, I want you to create a new file with the exact same size. And in that file, there should be a group. Your motifs in, and you can keep the background as a separate layer. Mean next lesson, I will show you why I call this group down at. See you soon.
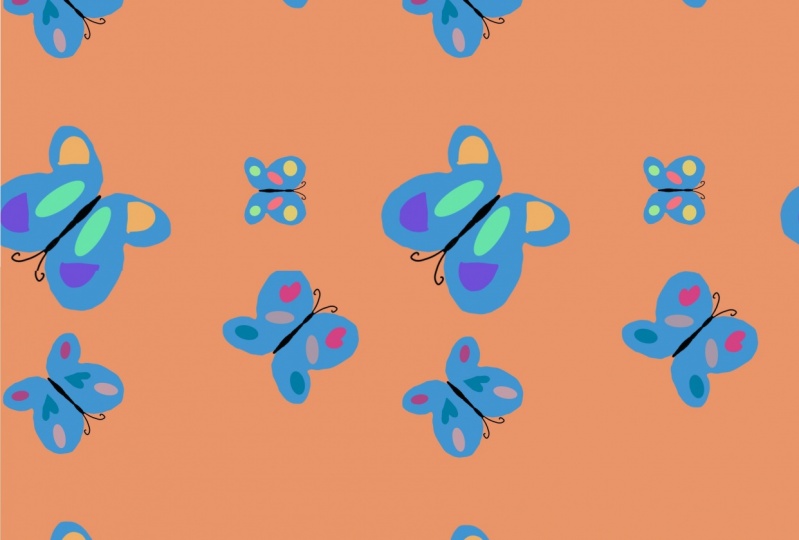
6. Create Pattern: It's time to create that pattern. We go into our pattern file. We will add a new layer and fill it with dark color. We decrease the opacity to around 50 percent. This layer will help us to see that the pattern is created correctly. Later on. We combining down to our down, up group. We duplicate this group. Now we will start to move things around. So make sure that snapping and magnetics are enabled. We will start to the crocodiles down, down, down to the middle. You see that during the middle when it turns orange like this. So just let it go there. We take the other down, Up Group. And yes, we will move this up, up, up, up. And here you can see now we've gone too far. Now we have gone too little. And you can see this fangs too, this dark layer that were added. So drop it in the middle. Great. Now we will open up these groups. We will remove this dark layer from both groups. Now we will merge the course together. The cheeks together, faces, their backs, and their bodies. Now we have one group here that is empty. We can just remove that one. We will rename the group to pattern. Okay, great. Now, in order to move on with our pattern, we will do a similar thing. We add a new layer, fill it with dark color, decrease the opacity to around 50 percent. Combine it down to our pattern grouped. We duplicate the group. Now we will move things around. So again, make sure that magnetics and snapping enabled. We start to move it to the left. Here you can also see similar Miro. We take the other arm and then move that to the right. Too far. Too late. No. Amino. Yeah. We open up the group CAN remove the dark layer from both. Merge the decor G body. And again we have a completely empty group that we just remove. Cool. This is the pattern. Awesome. In the next lesson, we will see how this pattern looks when it's repeated. Have fun now.
7. Repeat Pattern: Okay, so now that you have your pattern, we will repeat it and see how it looks. For that, we will create a new canvas, 3600 pixels times 3600 pixels. And I will call it repeat grid. We can go into our pattern file. We will duplicate our pattern group and flatten it. Then we will also duplicate the background. Then we merge those together. So now we have an image that we copied. Go into our repeat file, paste it. Make sure magnetics and snapping are enabled. Now we will move it to move it so it snaps. Also duplicate it. And one of them do, it's great. We can merge this, duplicate it, and move up, up, up, up, up, up. Okay? That's how you can repeat your factor and see how it looks like. In the next lesson, we will actually try to make some changes to our pattern. And before that, I will show you something that my five-year-old daughter created. And this is just to give you some inspiration.
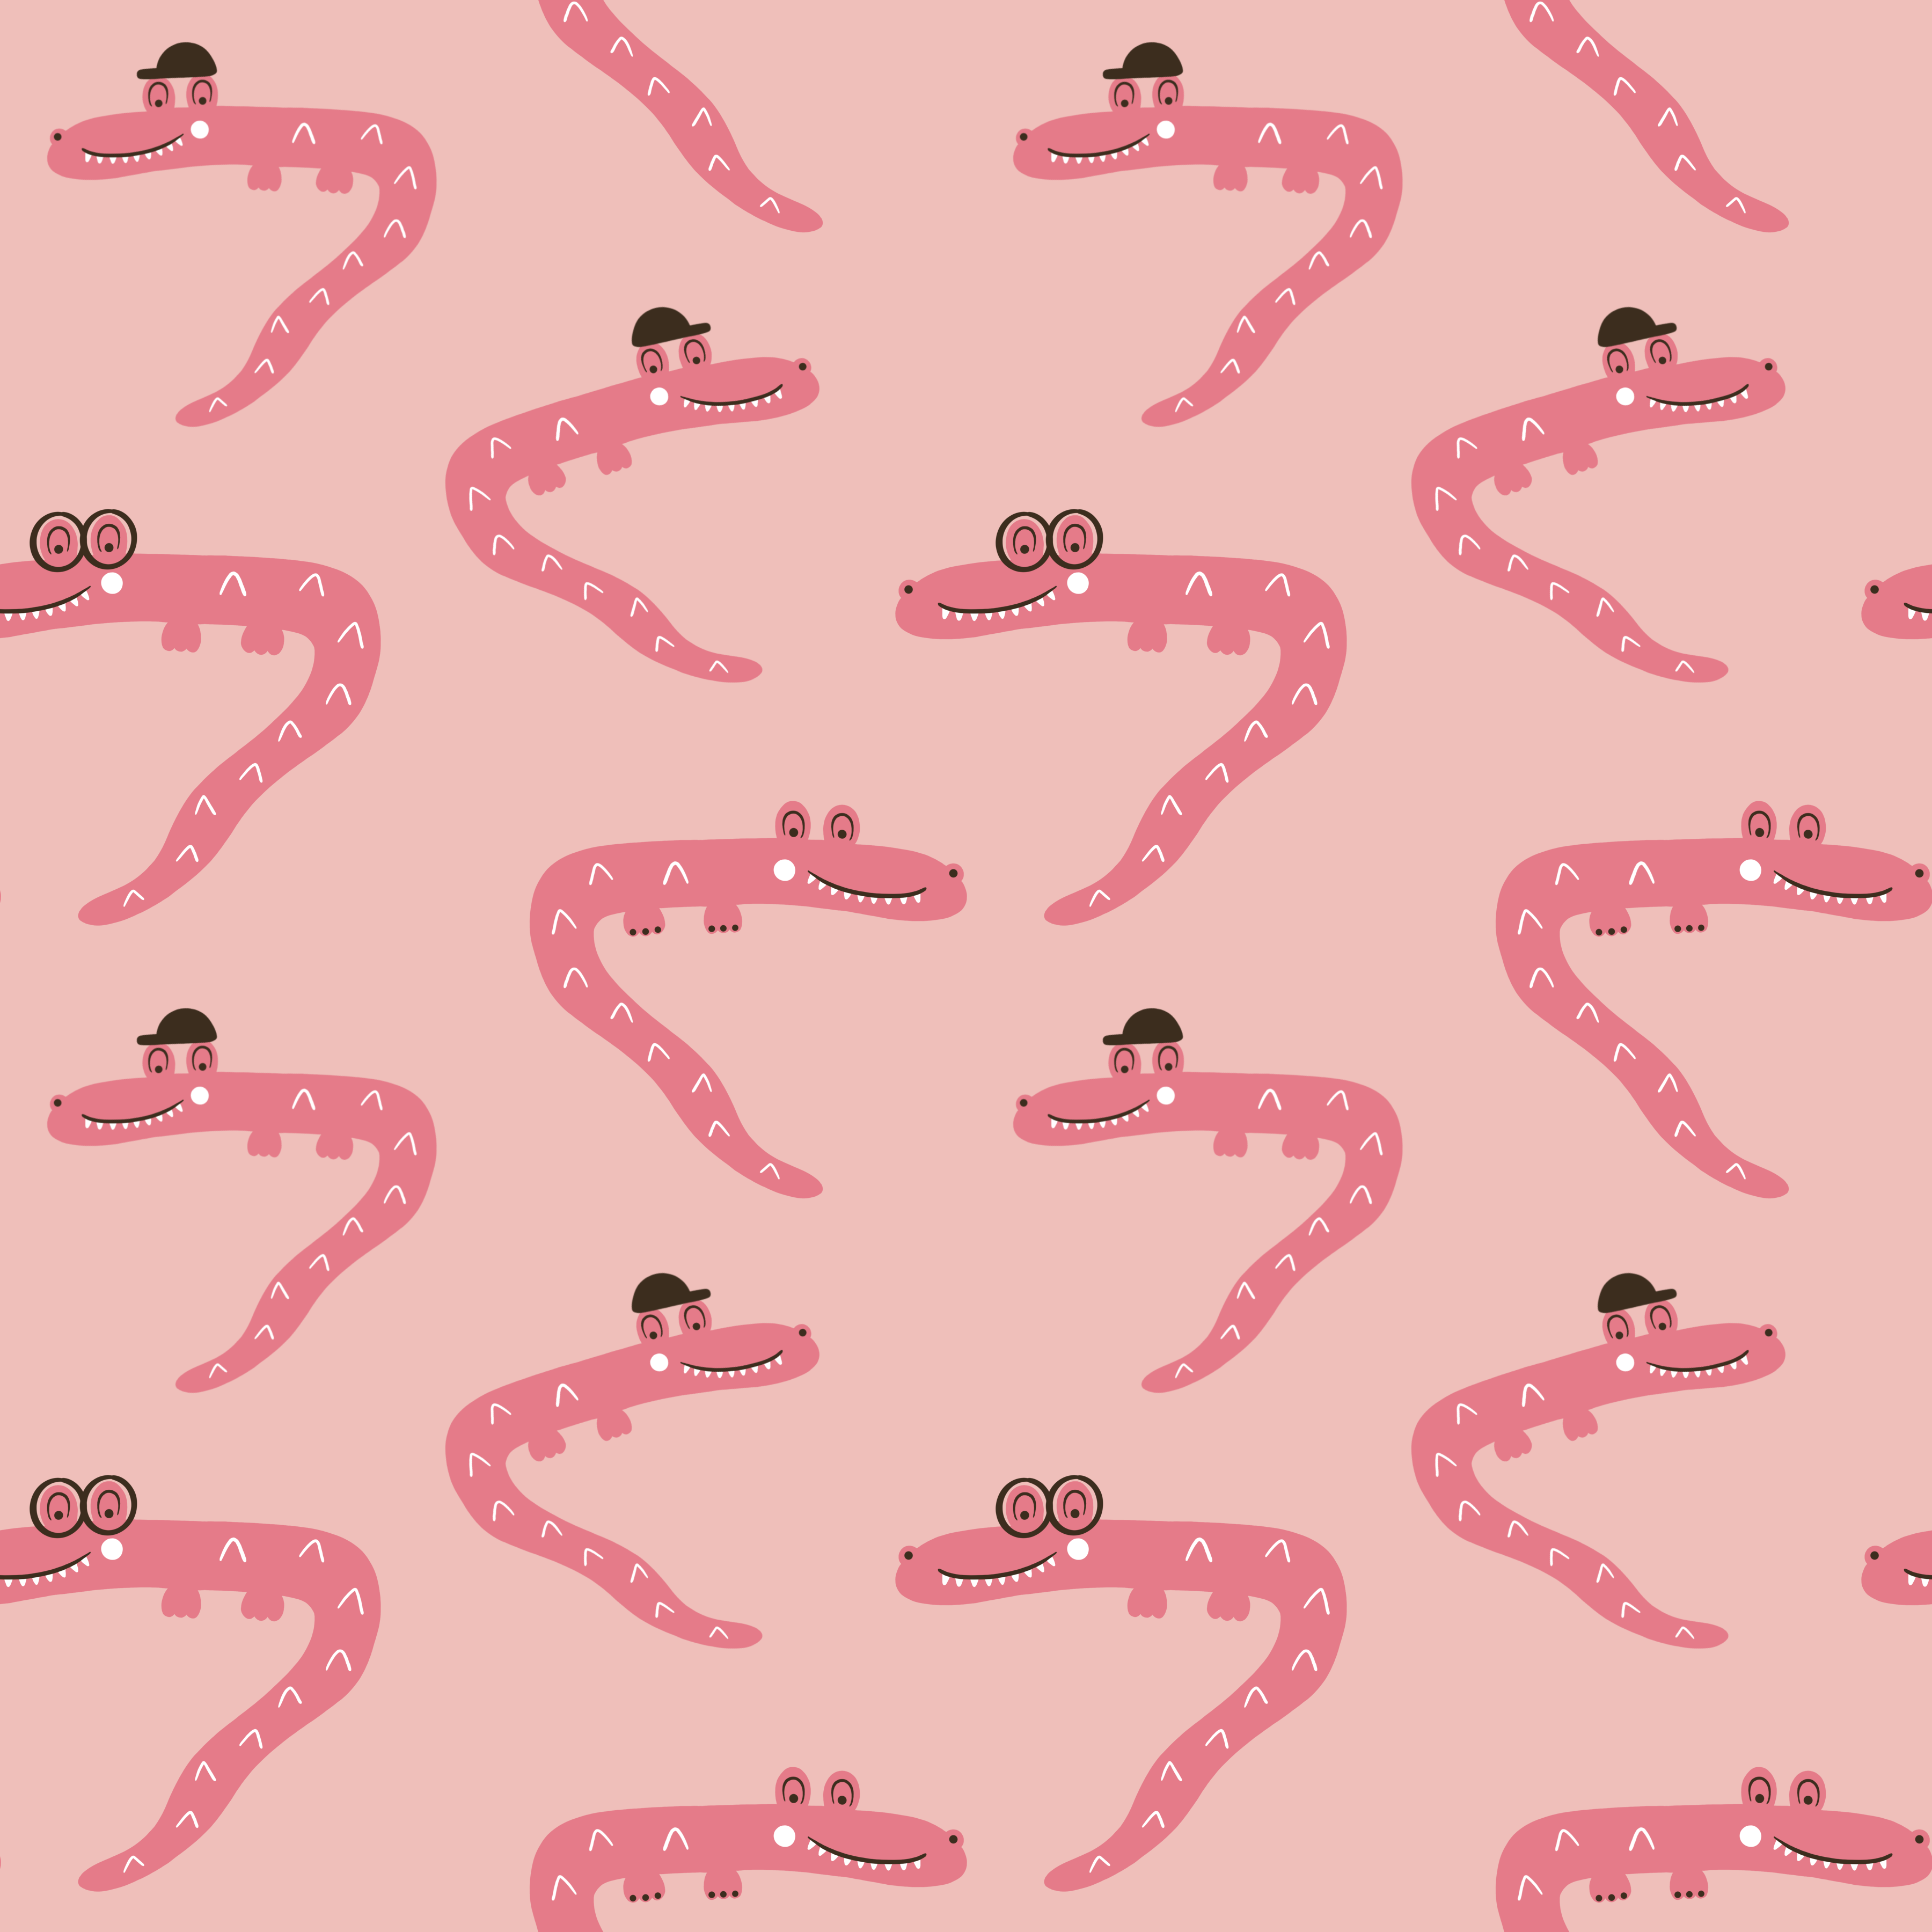
8. Make Pattern Changes: So we will now try to make some changes to our pattern. We can start with selecting it and duplicating it. And we'll move it a bit and rename it to updated. Turn green. Now we go inside this new file. Here is the picture that we created before. We can just delete that. If you want to change something that is now outside of the lines, you can do some things similar to this. But you will only be able to move it to the left and to the right. We can't move it down or up. I usually don't change things that are on the edge. So if I want to make some changes, I usually go into my motifs creation and I make the changes there. So even before I start with this down, up pattern technique, and it may take a bit more time. But it's just part of the journey to explore and experiment how you actually want your patterns to be created. But if you want to change something that is inside of your Canvas, this is the perfect opportunity. I will add a small crocodile. So now item marked the body layer. We will select that and we will make it as easy as possible. So we just copy paste. And now we got a new layer here. And we will do the same thing until we have taken all of the layers that we want to have in our new crocodile. And the reason for why I don't move it around. I'm just letting the copy pasted be where it is. That's because I want to move everything at once later on so that it will be in the right place. So here we have some new bears. We will swipe to the right and mark the ones that we want to use. And then we will just move like that. Cool. And I was thinking I'm rotating it the bit, something like that. Now we can merge these together. The core tree, cheeks, phase, backs, and the bodies. Okay? So before the next lesson, tried to make some changes to your pattern and see where you went up. And then we will, of course, look at how this looks when it's repeated. So have fun now.
9. Repeat Changed Pattern: Now we will see how these updated pattern looks when it's repeated. We will create a new canvas. That is 3600 pixels times 3600 pixels. I will call this one red P, and they hit the green. Great. Now we can go into our updated pattern file. So it's very similar to what we did before. We duplicate the pattern. We flatten it. We duplicate the background so that we can get this new image. We copy it. Go into our new file, paste. Make sure that magnetics and snapping are all. Now we move it, duplicate it, and move this one to the left until it snaps. We merged those, duplicate it. And then up, up, up, up, up we go until it snaps. Awesome. So here we have super-duper many crocodiles. So now, do this with your pattern. And it will be so much fun for me as well to see how it looks later on. Have fun. See you soon.
10. Make Colour Changes: Now it's time for the almost most fun part. If you ask me, we will make some color changes to our pattern. I will select this updated pattern. I will rename it to turn pink, because now I will have some pink crocodiles. So I went into the file. We can remove this background or Yeah, it was called background but the image, sorry. So here we have all of our layers. Now I want to show you how you can change color of this. So I chose the bodies. Now, I've chosen a color. We will now press Alpha Lock. You see that your help alpha lock when it looks like transport. Alpha lock will now help us to only color the crocodile bodies. Whoops, fill layer like that. So we, if we, if we don't have alpha lock, the layer, everything will be pin. So I'll follow Ville layer. And I will change the background color, swell. Here we can take just fill layer. The backs of the crocodiles. Make sure to have, before you press Fill Layer, make sure to have the correct color that you actually want to use. Like that fill layer. Maybe the cheeks could be white as well. In the decor. We'll make it dark. Alpha lock fill layer. Okay. So this is an great way, according to me, to be able to edit your patterns and vary them in color just as much as you like. So now, please try this out with your pattern. You some really, really nice colors. Have fun.
11. Repeat Colour Changed Pattern: It's time to see how our pink crocodiles look when they're repeated. We will create a new cameras, 3600 pixels times 3600 pixels. We call it repeat pink. So it's very similar to what we've done before. We go into our pink pattern. Duplicate this, flattening it. Now you see that it it still has alpha lock on it. That's no problem at all when we're going to create this image. So don't worry about that. And copy into the new file where we paste. And we move. Again. This is so much fun to see how patterns becomes when they repeated. I loved this. Maybe you hear that. So, oh my God, These are my pink crocodiles. I loved them. Now, you see how your pattern looks when it's repeated. Okay, See you soon.
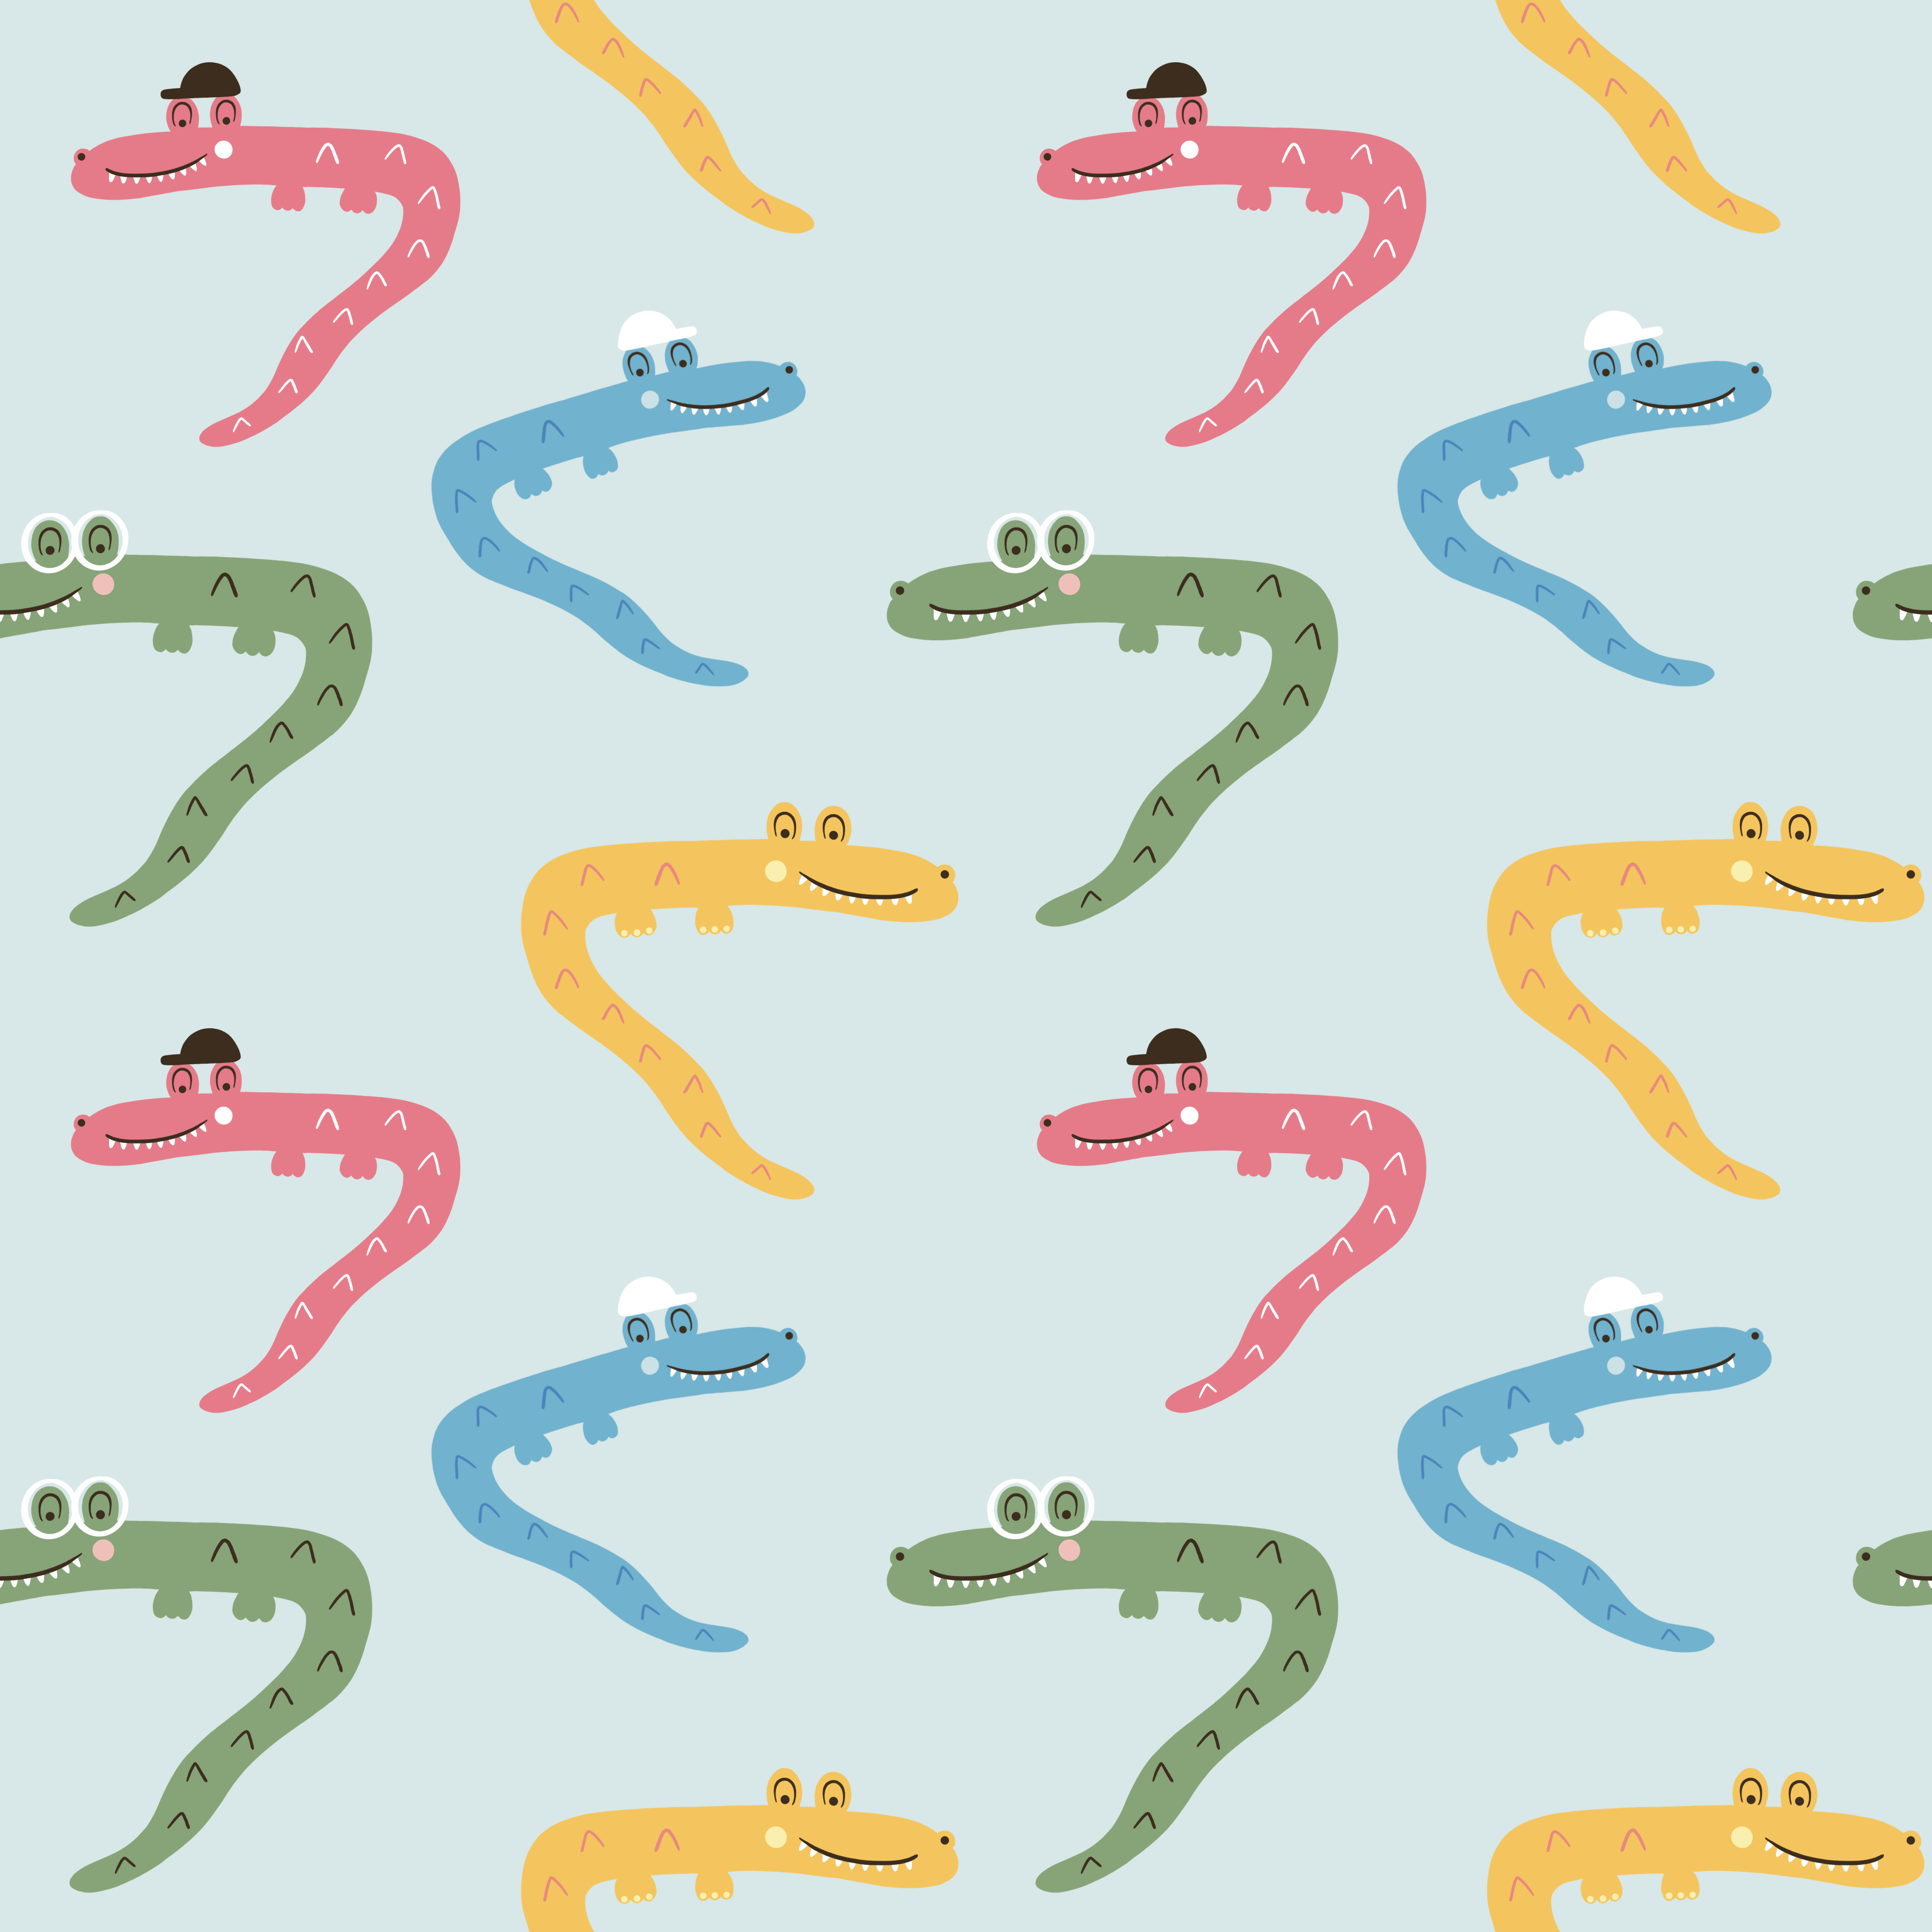
12. Make Colour Changes Version 2: Okay, Now we will try. Another thing when it comes to changing the color of your pattern, will start with selecting our updated green pattern. We'll just move it. And I will call this pattern rainbow. Cool, right? Yeah. So let's go inside. We can remove this image. And now we have our pattern here. As usual. I just wanted to start with saying that we are about to make some groups of groups. This is possible to do when you create your motifs. But I really believe in efficiency and optimization. So I never do anything unless I really, really know that I have to do it. And it's a bit hard to know that when you create your motifs that you want to do this. So I usually do it with one, I have created a pattern and I want to change the color in another way than we did before. So what we will do is to mark the bodies. And we will take this select, will take one body. We will actually kept it and then paste. So it will be on another layer. We can do this with some of the bodies that we want to change the color. So cut, paste. Now we have another one. We take this layer so we can do it on one more body. Take this one, cut, paste. Okay, so now we have four bodies here. Now we will do the same thing with the back. And I will show you how we can group bits. Cut, paste. Okay, so this node, this is the crocodile on the corner there, and this is the back of that crocodile. Now, I will actually start to group these as crocodiles. This will be one group. We can start to create one group here. And I will call this hat 1. So this group will be with a bunch of layers that constructs this crocodile. We will soon you will be able to see more what I'm talking about, I think. So we have the back layer selected. We take these crocodiles back, cut paste. Now we will do similar thing. So this one and this one are together. We grew bit, we can call this one had two because it's the other crocodile with a cool hat. We will continue with this crocodiles back. We mark it, paste. Okay, so now we have this one, this one, and this one. They are friends. Group those. And we can call this one nails. So we will divide them up according to what the court they have. I think that's the most basic thing right now. Okay. So now we have one back here that's on its own. So we group these ones we group. And this one we call glasses. Okay, so I think you see where, where this is headed. Now, make the same thing with the faces. Cut, paste. And now make sure to know which group to put it in. So these are friends, right? Great. Now we take this face, It's based. And that was happening Number 2, I believe. And then this face cut paste with the males crocodile like that. And then we have one phase here, which will be in our glasses group. So trigs faced with this one like that. Now, this trick space to do, to do males. So this looks correct right here. Awesome. Now we have this little rings there. So now it's only the decor left based into Hat number 1. Awesome. Again, into heads. Number 2. Now we take these nails cut previously, and we have the glasses here. Awesome. Let's take it up there. Okay, cool. So now we have a pattern group. And inside this group, we have one group for one crocodile, another group for another crocodile. And you see, and this is so that we can change the color a bit more of them. We can start with this hat. Number one. We choose that body. Maybe that can be pink. Alpha lock, fill layer, alpha lock on the back and fill layer. Same thing with the G alpha lock fill layer. So this one can be as the pink one we created before alpha lock fill layer. Now we can take this one. What should it be? Should it be blue? Maybe? Of course, why not? Alpha lock fill layer? And the back? Maybe light blue and see how it looks. Alpha lock fill layer. Yeah. Then the hat make it dark dark blue. Alpha lock fill layer. We can take this one with the nails. I was thinking maybe the cool yellow one. And follow on the body fill layer. Yeah. The cheek can maybe become a little bit lighter like that, white? Yeah. Should the nails maybe have another color? Maybe they can be pink or something. Alpha lock fill layer. Yeah. So here we have some rainbow crocodiles. Okay. What do you think of this? So what I wanted to show you with this lesson was the duke and divide them up like this. I think that this is a clean way to do it with groups, subgroups. You know, exactly which crocodile with which it's fairly easy to change the color. Then you can do some of these with the fill or sorry, with the color drop. And then maybe you don't need to group them like this. But if you have a lot of pictures that are like this back, it's not very fun to, to color drop all of this. So I think that this is a much more easy way to do it. It's cleaner and more structured. So I really hope that you liked this group of group techniques that I have. It's very fun to be able to change the color like this. I don't know if you saw it, but this was actually what I did in the introduction with my penguins. So before the next lesson, just play around with this. Try to see how you can make some cool rainbow things of your pattern. It's just to explore and experiment, just make something fun of it. But personally, I think that this is a really nice thing to do. Okay, so just have some fun now and I'll see you soon.
13. Repeat Colour Changed Pattern: Okay, let's try it to repeat our rainbow pattern. We start with creating a new canvas, 3600 pixels times 3600 pixels. So it's really exactly like we've done before. Repaint rainbow. We go into our pattern rainbow. And now I have actually changed the background color as well to light blue. I didn't do it in the less than before, but I did it in the middle. Just so you know. So here is our pattern. We duplicate it, flatten it so we get the picture, duplicate the background. We merge these together, copy it, and go into our new repeat file, where we paste it. Make sure snapping and magnetics are on. Move it until it snaps. You move it again. Merge, leaves, then duplicate, and drag it up. Okay, awesome. So you can see here our new rain bow. Patron. Cool, right? I actually really think that this technique of changing the colors like this is a very, very fun. So now take a look and see how your new pattern looks when it's repeated. Okay. See you soon.
14. Conclusion: Okay, so just a small conclusion because I like to be so very organized. These are the files that you should have by now. One would your motifs, your first pattern, a repeat of your first pattern, and updated pattern file. And repeat for that one so you can see how it looks like. Then one pattern with a color change, a repeat for that one. And then a pattern file with the group or groups where you can change the color super much. And also a repeat for that one. So you can see it when it is repeated. Okay. I think that this is a really fun, EC, clear and structured way of having your motifs, patterns, and repeats. I really hope you like it as well. And now please share your repeated patterns in different color variations at the class project gallery. I would really, really love to see them there. Okay, and so in the next lesson, we will just have some final thoughts. And thank you so much.
15. Final Thoughts: I really hope you had fun that you learned something useful and that you enjoyed the class. If you did, please let me know in the reviews and comments. This is my first Skillshare class, and I just want to know what I can improve until next time. So if you have any questions or comments, just leave them in the discussions and I will get back to you. Thank you so much for joining and I'll see you later. Bye.
 Emelie Nilefrost, Surface Pattern Designer & Illustrator