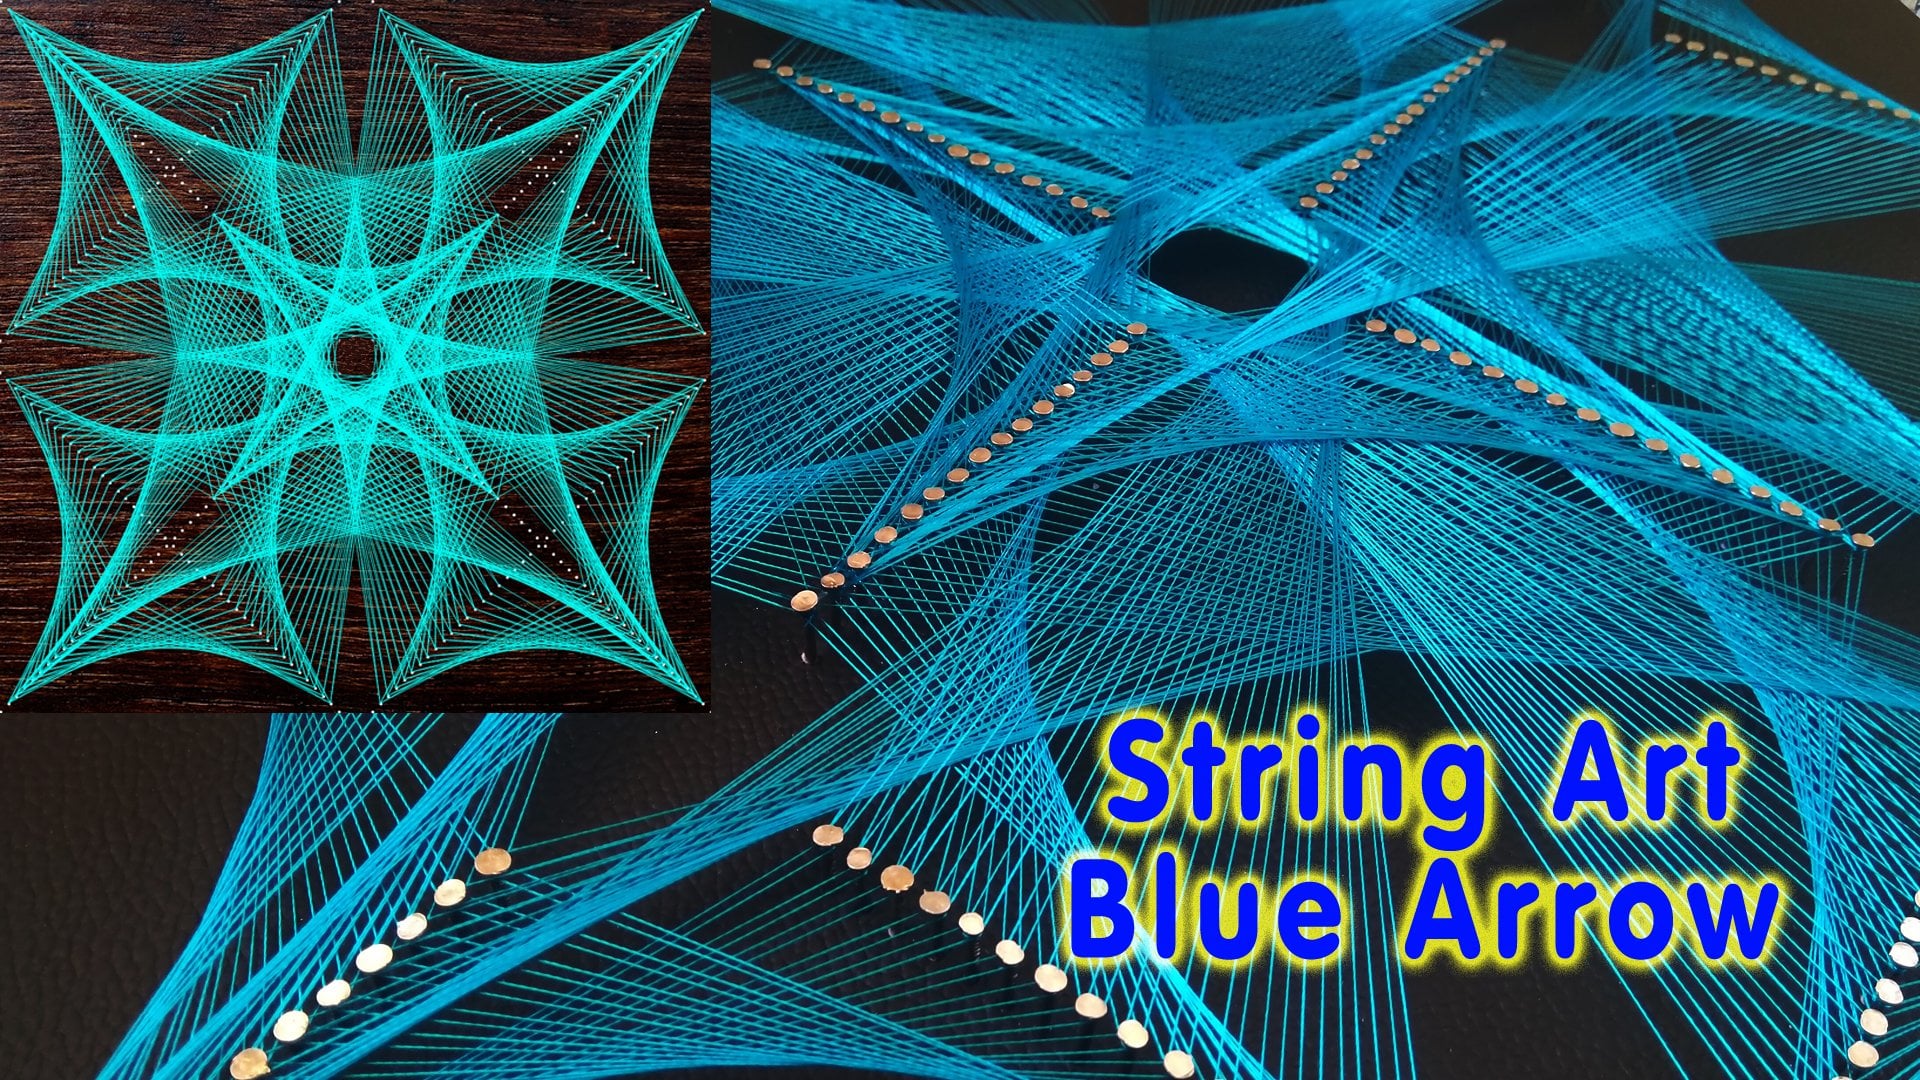
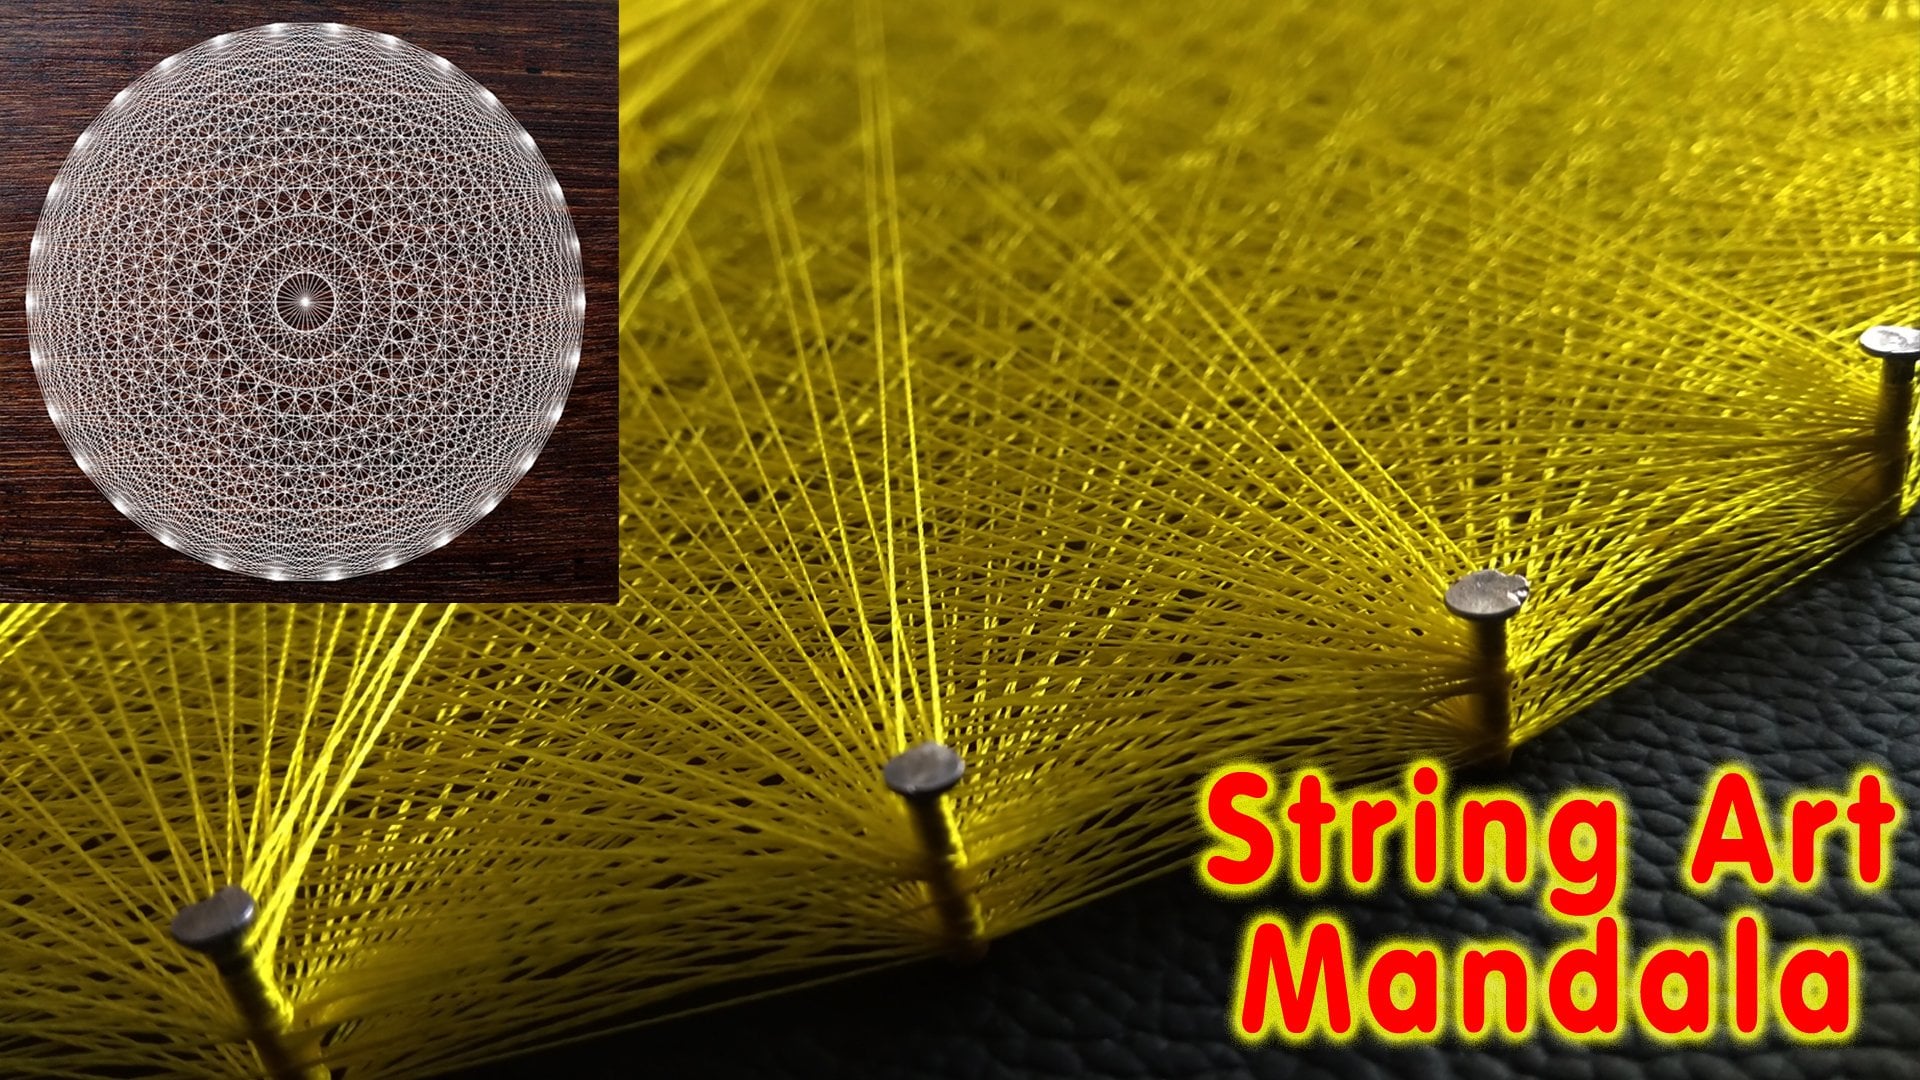
String Art: Infinity square: Create your own String art infinity square
 Jino A.
Watch this class and thousands more
Watch this class and thousands more
Lessons in This Class
-
-
1.
Introduction
1:45
-
2.
Tools and Materials
1:23
-
3.
Make Platform ready for doing string art
2:45
-
4.
Drawing String art Infinity Square design diagram
2:01
-
5.
Step by step instructions to make String art Infinity Square
4:36
-
6.
Final words
1:11
-
-
- --
- Beginner level
- Intermediate level
- Advanced level
- All levels
Community Generated
The level is determined by a majority opinion of students who have reviewed this class. The teacher's recommendation is shown until at least 5 student responses are collected.
118
Students
1
Project
About This Class

In this class, you will learn how to design string art and how to make string art infinity square. The project is a very basic string art design and is created for beginners. This class has the step by step instructions to make string art infinity square. If you like to learn about string art then this class may give you a good inspiration for getting started. You will have the skills and confidence to make your own piece of string art once you have completed this class.
String Art:
String art is basically a very simple art which doesn't need any experience or skills. String art is basically an art with string.
String art Infinity Square:
Infinity square is a geometric square pattern. This is basically a square design. String art infinity square is a geometric design art or a square design art."
You will learn how to:
- Create string art infinity square design
- Draw the infinity square design diagram
- Find the right tools
- Make the String art infinity square
To make this art, you will need to draw/print the design diagram, wooden board, basic string art tools (Hammer, scissors, etc.) and string art materials (string, nails, etc.)
Summary
Introduction
Tools and Materials
Make Platform ready for doing string art
Drawing String art Infinity Square design diagram
Step by step instructions to make String art Infinity Square
Final Words
Music
https://www.bensound.com

Hands-on Class Project
Your project is to draw the design diagram and make your own String art Infinity square:

Materials:
Designing: Drawing paper, pencil, Ruler
String art:-need to have: Wooden board, hammer, Nails, scissors, tape and String.
Getting started:
Follow the steps mentioned in the lessons to complete your string art project:
- Tools and Materials
- Making a platform ready for doing string art
- Drawing the design diagram
- Step by step process to make the string art infinity square
The string art which I'm making in this class has the following dimension: 7x7 inches and the wooden board is about 10x8x0.75 inches.
Sharing Your Artwork:
I am really excited to see your work! Feel free to upload the photos of "Your String Art Project", from any stages of the project.
Please reach out to me if you have any questions or need guidance.
Class Ratings
Why Join Skillshare?
Take award-winning Skillshare Original Classes
Each class has short lessons, hands-on projects
Your membership supports Skillshare teachers
Learn From Anywhere
Take classes on the go with the Skillshare app. Stream or download to watch on the plane, the subway, or wherever you learn best.