Transcripts
1. Introduction: Hey, everyone. My
name's Tom Saha, and I'm one of the
main editors for a YouTube channel called Theory. In this course, I'll
be teaching you the best practices
that I've learned over the past decade to make the best possible videos,
especially for you two. It'll cover storytelling
guidelines, act by act that I use
every day to make our videos as fun and
engaging as possible, along with a few tricks
to speed up the process. This course is going
to be great for first time editors to set up
initial framework on how to actually make
videos and also for experienced editors
who might want to see what editing
is like for YouTube. I'm excited to be
making this course because I feel like in
the past few years, more and more people
want to make content or videos in some form,
and the biggest, most important
thing they overlook when they start is the editing, which is arguably
the most important. Oh, I'm excited to
share what I've learned on my
editing journey and hopefully give
first time editors the confidence to upload
their first video. Let's get started.
2. Class Project: Alright, so the project for this course, to create a video, and I'll go step by step through the basic storytelling
structure I use. Obviously, editing is
all about being creative and having an outlet for
your voice and humor. So there isn't one right
or wrong way to do it, but I'll show you
how I go for it, and you have a few options
to follow along with that. Option A will be to
film a simple video that you can work on
throughout this course. This is a good place to start
because it'll maybe get you out of your shell and do something that you
wouldn't normally do. And you can maybe recruit some friends to film a fun video. Some videos that we film
that could be easier for you to make are telling
strangers, I love you. I'm practicing
telling strangers I love them. I love you. You too. Oh, awesome. Cool.
Throwing a dart on a map and going
wherever it lands. Oh, my gosh. St. Joseph in Missouri.
It's in Dzorn. How are you saying
sort right now, Desor? Or if you're in a city, asking people to ride around
in their supercars. So if there's any way, I
can just come with you. Take a ride and film it from
the inside as you drive? No way. No way. We did it. I'm gonna be showing
how I edited, asking people to ride around in their supercars
throughout this course. And if you don't want to use
our footage or film a video, you can still follow along with a video that you
might have shot, but have been
holding off to edit, and there's still
a lot of things you can learn from this lesson. So, if you go shooting for your own video, keep
a few things in mind. Make sure to shoot for Bro. This is especially important
for the intro to your video. Pay off montages in
Slomo with a lot of different angles so
that you can make it as fun and creative as
you want in the edit. Keep the camera
rolling. It's better to have too much footage
than not enough. And with these types of videos, you never know when a great
moment is going to happen, so it's best to keep
the camera rolling. And lastly, make sure
you get a bunch of different camera
angles throughout so that you can spice up the
visuals of the video. No matter which option you use, know that through the
power of editing, you can make any video more grabbing and more fun engaging. And these concepts aren't
just preserved for YouTube videos but for
storytelling in general. Alright, let's move
on to how to prepare your project once you
have all the footage.
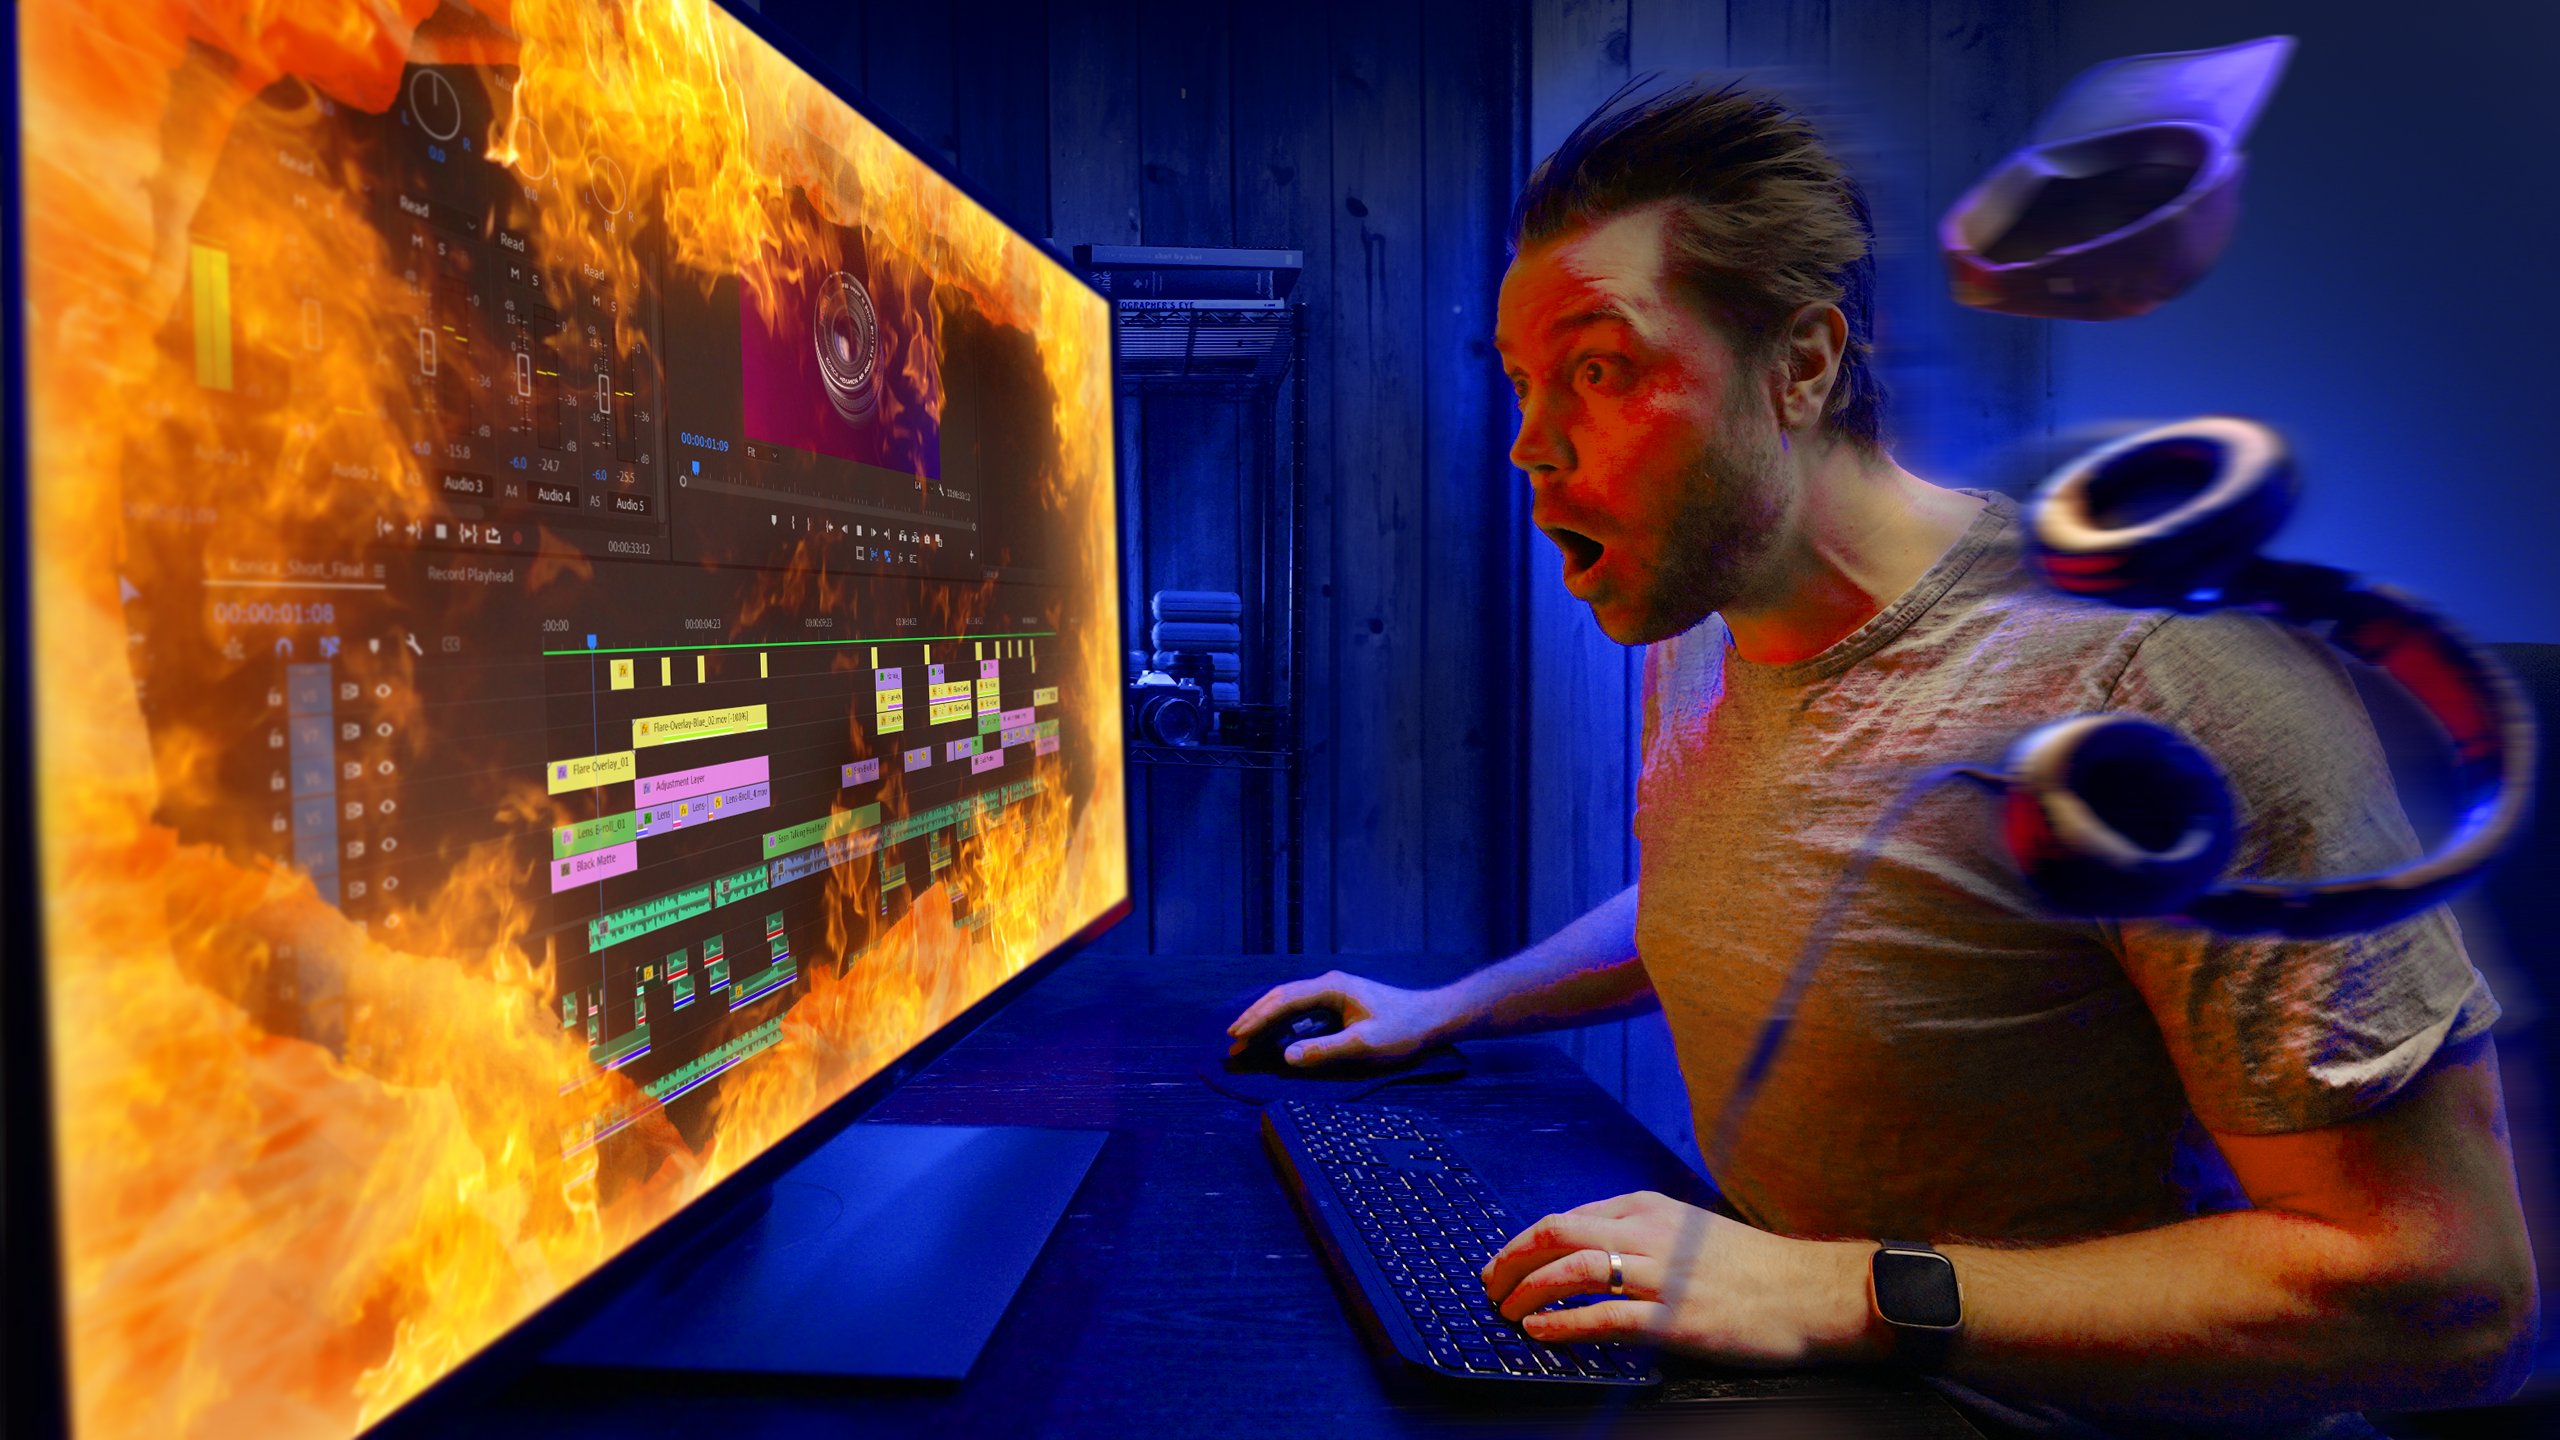
3. Preparing the Project: Alright, so before
we get started, let me show you how
I prep a video. I use final cup Proten, but you can use any
editing software for this. I first import everything
into the timeline. Then I take a few passes through the footage to trim the fat. Basically cutting
out any moments I know won't make it like shots that are too shaky or shots where nothing
really happens. The cut down version is usually four to eight times shorter
than the original timeline. I then duplicate the
project so that I can find all those clips later on
in the editing process if I need them and keep the Bro
long since I'll be able to cut it depending on what song I choose to match it to later on. And there you go.
Now you're ready to get started on editing
your own video.
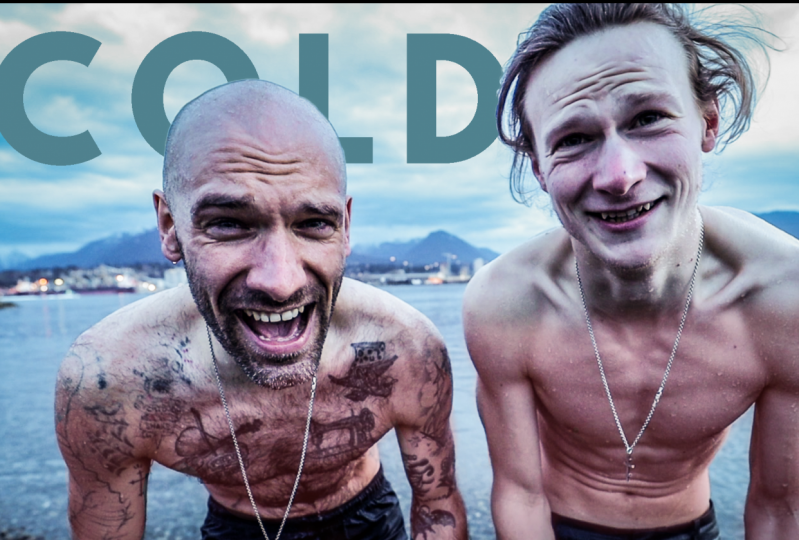
4. The Cold Open: Alright, in this lesson, we're gonna be going into
the Cold open, which is basically a five
second clip or montage before the intro that teases the rest of the episode
in a grabbing way. They're an amazing way to draw
the viewer in immediately, tease them on what
they're about to watch and convince
them to stay to get that cold open moment later in the video. Not all
videos need them. They're not part of
the five X structure. But on Facebook and YouTube, it can be especially
important since you got to get people's
attention fast. So I'm gonna be
showing you how I created the cold
open for our video, asking strangers to ride
around in their supercars. Could you take us
to where all the most expensive cars are? Why? Basically, I took a funny,
out of context moment from the episode that makes
the ask sound absurd, just to get a quick
laugh off the bat and show how absurd the
ask actually is. So, immediately, you're laughing with the
people in the video, and based on the response
to the question, you're wondering
how they're gonna pull this insane thing off. Another way to do
it is by going to the most intriguing part of your video and building
that moment up. We did it for the video
where the guys travel around Europe only using
Tinder's 21 miles away. What's your range? It's
nice. That's so much. We're not gonna go 50 miles. We don't have money.
We have no energy. We haven't eaten
anything all day. For the most dangerous bed. Oh, my. And for spinning the globe
and going wherever it lands. Three, two. What? Oh, my gosh. They're all different emotions, but they convey
their peak emotion. In the first one, it's doubt. We don't have money.
We have no energy. We haven't eaten
anything all day. In the second one, it's fear. Oh. And in the last
one, it's excitement. Oh, my gosh. So the key here is basically to look for the most
exciting part of your video and to
build that moment up to be as grabbing
as possible. The feeling that you
want people to be left with is, I want more. If you put it together and feel like you've already watched the whole video and
you know the climax, then you let too much in. It's better to keep people
curious about what they're gonna see than spoil the
surprise. So take them out. So now go into your video and see if you can create
a five second cold open that you think
will draw people in and we'll get
into the intro next.
5. The Intro: The intros are first
act of the video, where the concept of the
video is explained in a creative way that
sets the scene, builds the stakes,
explains the why of the episode, and
launches the video. I'll walk through how I did
it for our supercar video. Super cars are the most
luxurious cars in the world. And it turns out that
Arabic billionaires fly their cars to London when
they visit during summer. Here we set the goal of
the episode and draw the viewer into the prize
of getting into a supercar. But then we need to
show the obstacle. Obviously, we could
never afford a supercar, but we've always
wanted to know what it's like to be in London. Here we set up the why. We can't afford to
ride in supercar, but we still want
that experience. So what are we
gonna do about it? So while we're in London,
we decided to try to convince owners to take
us for a joy ride. Here, we finally launched into the episode by saying where we are and
what we're gonna do. So in summary, we set up the
stakes with the cold open, explain the prize, explain the obstacles, and
set the scene. Obviously, there's
an infinite amount of ways to give
this information, but as long as it's there, you're right to start the video. Besides context, the intro is a great place to flex
your creativity. You can use Stop Motion. Tamar and I are in
Venice, California, and we decided to challenge
ourselves to get as far away as possible in any
direction within 24 hours. Film setups? I even started
composing my own tracks. What? Two. What,
two, three, four. Movie scenes. Ah, finding love. Probably one of the
most common struggles. Whatever you want, really.
It's meant to draw the viewer in for the
rest of the episodes. The more intriguing and
creatively interesting it is, the better your video will be. So now create intro for your video using some
of these concepts. This sets up the entire plot structurally and creatively
and gives the video its why. So take your time
with it and we'll move on to the concept
in action next.
6. Concept in Action: Next comes the actual
meat of the episode. This is the core action
up until the moment of success that includes
both Acts two and three. I'll be walking
through how I edited the Billionaire supercar video up until the moment of success. The main steps here are
the initial feelings for how hard the
mission actually is. My God, he looks
pissed. Hey, man. You're really pissed off.
Can I sit in your car? The initial overall failure. I just want to sit in,
like, next to you. I don't want to drive it. I just want to sit in
one and Unfortunately, I am very busy. With a smile,
though. Hello, sir. How you doing? No, too bad. A glimmer of hope that
eventually ends in failure. Bring you further
down before building up to the final
moment of success. You want to keep
this section fast. Leave room for character
development and jokes, since this is the
part of the video that the title is based on, IE, asking billionaires to ride around in their supercars. So draw up the
concept and rack up the failures in a fun
and interesting way. For the supercar video, I went the route of making it
as funny as possible. But the whole meat of the
episode can't just be failures. You need some glimmer of hope, which is why we added this
scene. Yo, it's coming. It's coming your way.
Quick, quick, quick quick. Did you just get a
ride? No. So this guy's Saudi Arabian, I'm
going to try and ask him. This could have been part of
the film montage, but I want to drag it out
and give that glimmer of hope to show that the ask
was actually possible. Then after this moment, I want to bring it down to an even lower point
than when the video started so that the success of the video is that
much more powerful. Another key thing I keep in mind is the concept of
kill your darlings. I know. That sounds pretty
brutal, but let me explain. Killing your darlings basically means that even if you spend all day editing a section
or making a clever edit, if it doesn't fit in the video, then you have to take it out. You got to get rid of any
personal attachment to whatever you create in order to create
the best possible video. So take a shot at the concept and action
section and see if you can make this part
of the video as interesting and
grabbing as possible. Even when you don't
have the exact beats that you need when you
film a video like this, you always have control
of speeding up or slowing down a scene based on the
emotion that you want to give. Slow down a scene if you
want to drag the emotion or speed up a scene if you
want to get through it fast. Next, I'll give some
insight into one of the most important factors
of the video, the music.
7. Choosing Music: O music is one of the most overlooked and
the hardest parts of editing. It can be the decider between a good or bad video and is crucial for setting
the mood for each scene. The reason I want to go
into this now is because choosing the perfect song
for the next scene, IE, the golden moment,
the payoff moment is really important and
can make or break a video. So let's get into it. When
I find music for YouTube, I usually go through
conglomerate of different royalty free
music sites like epidemic, music bed, sound
stripe, and Artlist. Even if you're not worried
about monetization on YouTube, a less known catchy
song will stick in people's heads much more than generic pop song that everyone
Terry 1 million times. So it's worth investing
time to find the perfect. Looking through SoundCloud or smaller Spotify artists can also get you great
music for this section. A great feature
that most royalty free music libraries have is the ability to download
individual stems of songs. So, for example, if
you want a section of the video to not
be as aggressive, you can take out the
drums to make it softer. I usually cut the video to 30 or 40 mens
before I add music, and when I do add music, I
usually do it all at once. Going out to look for
individual songs will take much longer than you
think and will tire you out. You'll usually stumble on your favorite music by accident, so it can be much more
useful if you give yourself a time limit and a general
list of music that you need, and just go down
the rabbit hole of these websites and
see what you find. So now find some great music for your video and the perfect
song for your golden moment, and we'll get into
editing that next.
8. The Golden Moment: In this lesson, we'll
cover the golden moment, which is the pay off your video. The fourth day you try to make as exciting as you possibly can. This is the reason that
people come back to watch your video,
so really milk it. Here's how I did it for
some of our videos. Basically, the songs
are exciting, original, and they match the themes of these two videos,
which is edgy fun. The montages are quickly cut. There's a color filter on them to separate it from
the rest of the video, and it's long but not too long. Again, the key to making
these montages is to have people want more as opposed
to seeing too much. Keep in mind that when
filming these montages, make sure you get plenty
of different angles, and you put it in Slom so that you can play with
it later on in the edit. So by the end of this, you want a grabbing original montage. That's basically the
candy of the episode. Take a shot at editing your
golden moment and be as creative as you
can and know that there isn't a right or
wrong way to do it. Just put your own spin
on it and go crazy.
9. The Outro: In this lesson, we'll
cover how to edit a compelling tro to give meaning and
closure to your video. This is the fifth act
and is a lot of time where you realize the message and connect the
dots to the story. Whether the lesson is a reminder that we should
be kind to people. I love you. Oh, awesome. Cool. I want to hug, too, wait. Or simply that it's important
to have fun in life. We win. We win. Videos are always so
much more powerful when they have lessons for
people to take away from it. Here's what that looks
like for this video. Even if you've been told
no 100 times in the end, it's the one yes that counts. See you on our next adventure. You see, the lesson for this
one came through the action. It takes a lot of nos
to finally get it, yes. For visuals, we used
to take clips from the actual video and use
them in the altro voiceover, but a friend of mine revealed
something flawed about. You use the same clips that you've already
seen in the video, then the visuals won't
be stimulating at all. To fix that, you should use some B roll or unused
footage for the atro. That way, you're more
attentive to what's being said since you're
seeing new clips. Depending on the vibe you
want to end the video with, the music ranges from something exciting to celebrate the win. Or something nostalgic to look
back on the memory fondly. Thank you. Thank you. Living with kindness on
a daily basis can have a much larger impact than
you'll ever realize. Also, if you don't have enough extra fooge to put
together the Otro, you can use the same
visual techniques that we used in the intro animation, stop motions, texts, et
cetera, to spice it up. So now, go ahead and
write an Otro that reflects the main
lessons from the video, add visuals and music to it, and move on to the final lesson.
10. The Comb: This lesson is one that I do at the end of
every video after I add the music and
the clips, everything. I call this the comb, basically
going through the video one last time to make sure
it flows well together. It can be easy to get caught
up in certain sections, but you need to
watch the video as a whole to get
that idea of flow. The key thing I keep
in mind when I'm watching is the question,
why am I watching? And if I don't know
the answer to that, then I'll immediately cut
the scene or make it faster. Obviously, you need room
for jokes and fun montages, but there are too many of
them, then it can easily bog down the video and make you forget why
you're watching. In this video, we had a whole scene of asking a
few more people and even getting further into this ask because we ended
up calling him later on. But it didn't lead to anything, and the point was already
made, so I took it. Lastly, if you're
posting to YouTube, then you'll want to
make sure that you have a grabbing title and thumbnail. Don't make it so over the
top that it's unbelievable. But remember that packaging
is really important, and it's the first
thing that people see when they come
across your channel. For us, we actually
make time to take our thumbnails
during the shoots. And if you draw viewer in and they see it's
a well told story, they'll stay and
subscribe for more. People come in through
the title and thumbnail, but they stay
engaged and part of your audience through the
storytelling and editing, which is why it's so important. So now comb through
your video to make sure that no
sections drag and package the title
and thumbnail in a way that you think
will make the video pop.
11. Conclusion: Congrats. You made
it to the end, and you should
hopefully have a video edited that you're happy with. I hope you learn some important storytelling
principles that I use every day to make our
videos as good as possible. Again, editing is
something that's overlooked by most people
who start making videos, but it's what makes
or breaks a video, so I hope you take
these lessons to heart. And if you're more
on the shy end and don't really want
to post your work, you should really push
yourself to post. I used to be much
more reserved and private about the
videos that I made. But when I started to
create my own videos and post them before I even
joined Yes Theory, it gave me a lot
of confidence and self expression that I'd
never experienced before. So I hope this
motivates you to post your first video if
you haven't Alright, thanks for tuning
in, and I can't wait to see your videos
until next time.
 Thomas Dajer, Video Editor for Yes Theory