Transcripts
1. Let's Go!: You think writing
magical videos with special effects are solely
reserved for Hollywood firms, then you obviously haven't
tried stop-motion yet. The good news is you're
perfectly right in this class as I'll show you how to shoot and add
stop-motion videos, and how to make your
video stand out with simple but super
effective tricks. Hey everyone, my
name is Emily Laska. I'm a digital artist and I create magical
stop-motion videos, which were already
displayed in ads for big brands such as Adobe. I already had a passion for stop-motion very
early in my life, when I got into film class, I chose to create a three
minute long stop-motion video instead of normal film, and what can I say? It was probably one of
my favorite of all time. In this class, I will show
you how you can brainstorm stop-motion ideas and why I set myself a
framework for that. I will walk you
through process of finalizing and planning an idea, and I will show you how
I create a storyboard. We will go through
the equipment I use for shooting my
stop-motion videos, and I share with you my
experience of what I think is important to be
aware of before shooting one. Of course, you will also get a very intimate insight of how I shot this
stop-motion video, and we will edit this video step-by-step
afterwards together. Lastly, I will share a few some simple
tricks I learnt over the last couple of
years of how to achieve special effects
with stop-motion. I hope with this class I can pass on my passion
for stop-motion to you and take any
insecurities you might have in creating
stop-motion videos. No matter if you're a beginner or already
a bit experienced, but want to learn more
about stop-motion video, this class has something
new for everyone, so hope to see you inside.
2. Welcome to the Class: [MUSIC] Hi everyone, welcome
to my stop-motion class. Today we are going to
learn how to plan, shoot and edit awesome
people stop-motion videos. In the end of this class, you will know exactly
how to create a magical stop-motion
video and I will share with you tricks of how to create real effects
in stop-motion. What equipment do you need? Firstly, of course you need
a camera or your phone. I will use my 5D Mark III, but it doesn't really
matter as long as your device can take photos. Secondly, it would be
really handy if you have tripod as for
stop-motion video, you have to have a
really stable camera. It doesn't have to
be an expensive one. For example, the
tripod I use for over five years only costed
like 25 euros at Amazon. Also, if you want to be in the stop-motion video
yourself like me, you would probably
need a remote control. There are remote controls for DSLR cameras and
phones so don't worry, I'll show you a different
options later in this class. After we shot the
stop-motion video, I will show you how to edit
your video afterwards in Premier Pro so having Adobe Premiere subscription
would be beneficial. But you can try Premier for free for seven days
and I will show you another free
option of how to create a stop-motion
video, so don't worry. Lastly, of course, you
should have fun to create and you have to have
your own imagination. I'm super excited to see what you come up with
in this class so please make sure to
share your results in the project section
of this class. Without anything further to say, I would say let's start.
3. About Stop-Motion: [MUSIC] First of all, let's talk about what
stop motion actually is. Stop motion videos are simply just photos that are played
quickly after another, so they give the
illusion of a movement. But as you probably know, videos are also just a lot of images played really
fast after each other, so what is the difference? The difference between
a stop motion video and a regular video is that
for the stop motion video, you actually actively take a lot of different
images after each other. If you, for example, want to animate yourself
sliding over the ground, you take a photo and
take a small step, take another photo, take a small step, take another photo, etc. The awesome thing about some motion is that
this way you can be a lot more creative and fake movements that normally
would not be possible, like making objects move
or slide over the ground. There are mainly
three different types of stop motion videos. The first one are illustrative
stop motion videos, which you can see a lot in cartoon series such
as The Simpsons, which I personally really love. Basically, cartoons are a lot of different painted
illustrations which are played after one another. The second type is what I call option stop
motion animation, which as the name already says, includes any object that is animated as
stop motion video. This is often used in ads or any social media
campaigns as it can especially help to sell products as it humanizes the
products really well. The third type are people
stop motion videos, which I also sometimes see in ads or any
social media campaigns, but not as often, and it's basically also
motion videos which include people such as
my stop motion videos, which you already saw. Personally, I really
love to have people in my videos as well
as in my picture, so today I'll show you how
you can really easily create an outstanding stop
motion video of yourself or of a
friend of yours.
4. Possiblities in Stop-Motion: [MUSIC] Before we
start creating, I quickly want to spark
your imagination of what is actually
possible in Submotion. The thing I love most about
Submotion is that you can be so much more creative
than in regular filming. It is super easy to achieve
magical effects in Submotion. For example, in some
older movies such as all the Terminator movies, they actually use
Submotion to achieve special effects just
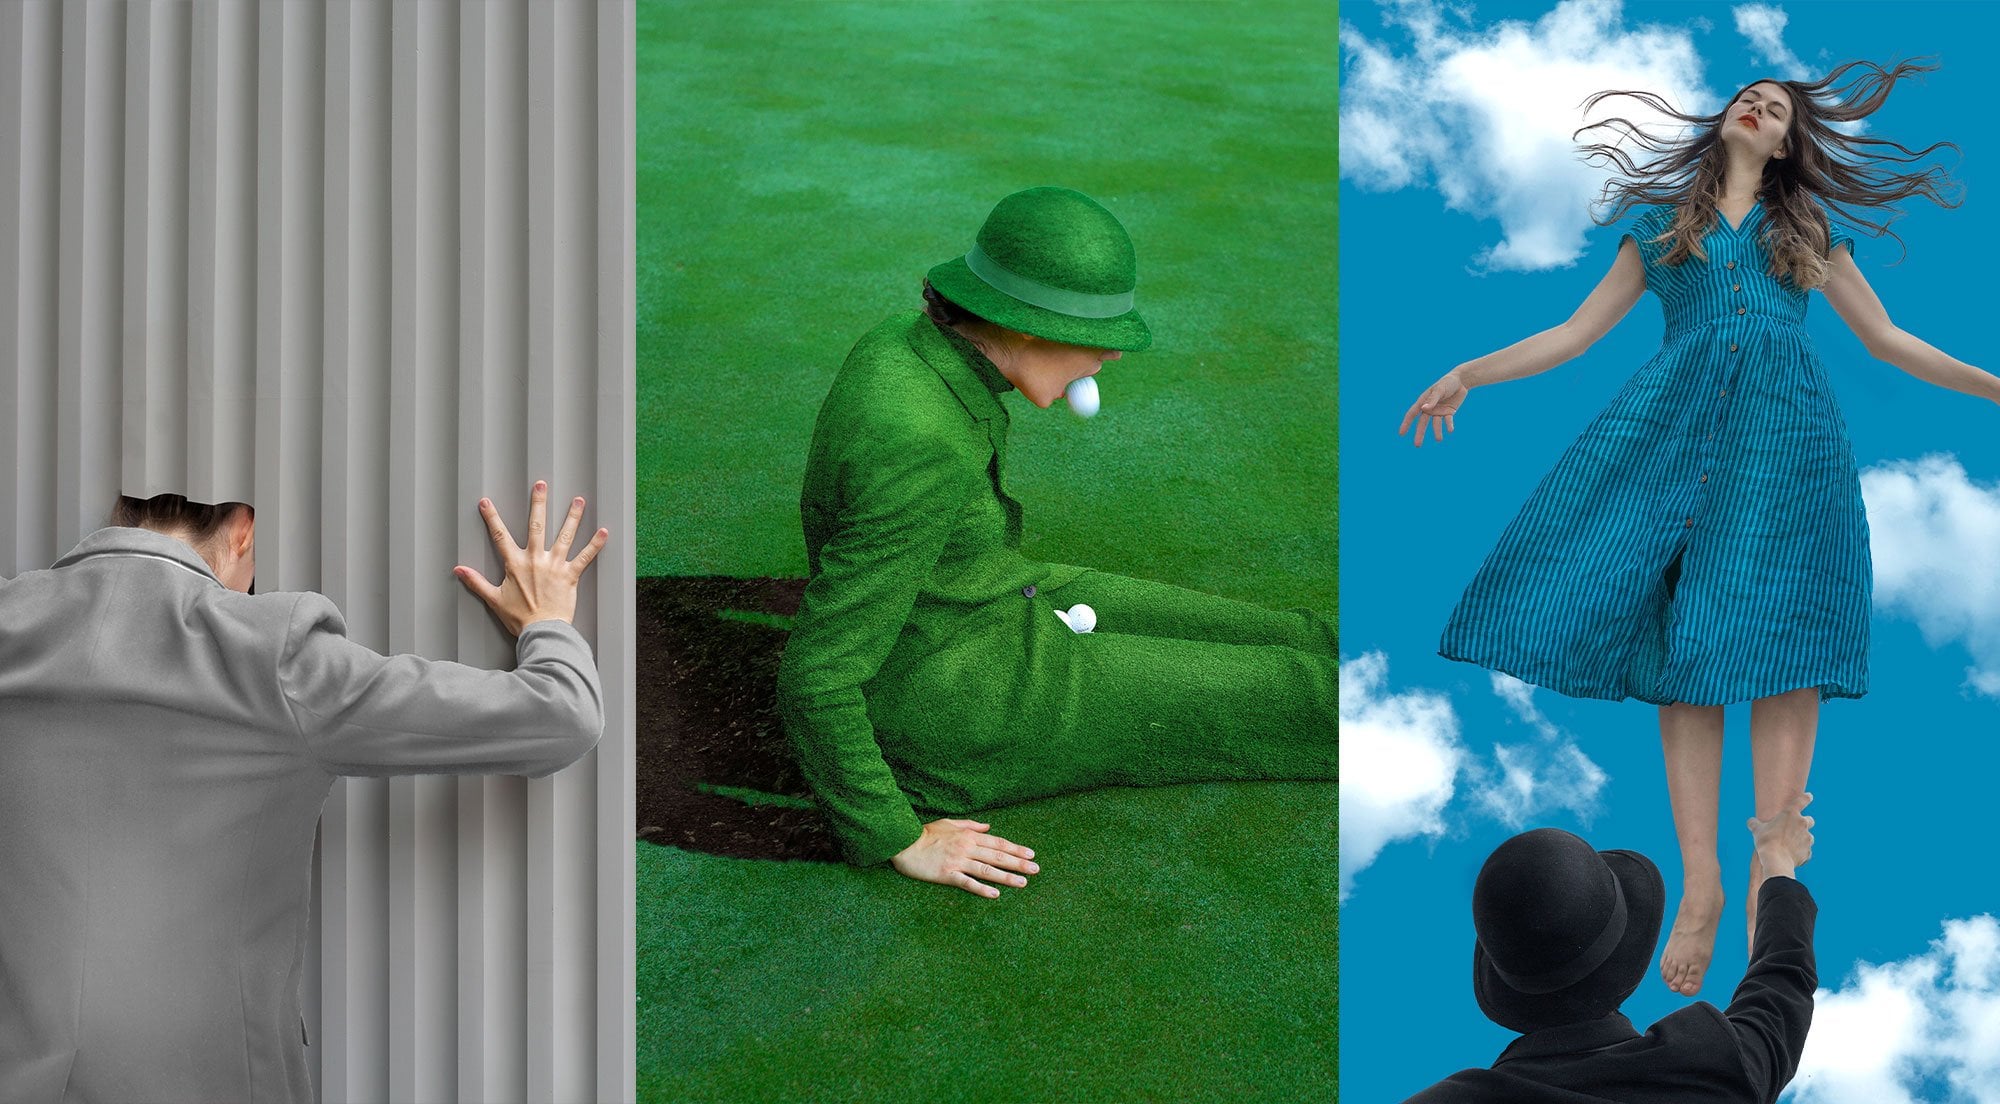
as a little side info. For example, making people
slide over the ground, letting flowers grow out of
your hands or make objects move top or fly are simple tricks that
anybody can create. For example, in one of
my Submotion videos, I wanted to have a sheet of paper to come out
of a telephone. What I actually did is I shot
the whole scene backwards. First, I put a piece of
paper on a table and I just moved it backwards
and I pushed it into the phone until it disappeared
fully into the phone. In the post-production, I would actually play
it the other way round, so the piece of paper would
come out of the telephone, lie itself on a desk,
and flatten itself. But I will explain this trick and a couple of other
ones I learned over the last couple of years
much more in detail to you in a separate lecture
in this class later on.
5. Brainstorming Ideas: [MUSIC] Now that you know a bit more about what is actually possible
in stop-motion, let's find some awesome fun idea that you're keen to create. To find ideas, I have a bunch
of different techniques, but especially for coming
up with video ideas, it really helps me to set
myself a framework that I follow or else
I experience I'm just heading everywhere
and nowhere. The framework I set
myself mostly consists of three different
adjectives that should be fitting to the video
ideas I come up with. For example, for my stop-motion
video for this class, I set myself the framework
that the video should be easy. You guys can try and recreate
it if you'd like to. It should be fun. Obviously, you can see how much fun you can have with creating
stop-motion videos. It should be surreal. It spark some excitement
and it's not too simple. In other projects, for example, like the project I did
with Adobe Premiere, the framework was already set. For this project, my three restrictions
were that I had to demonstrate how to change
colors in Premiere, it should be a magical video, and it also should fit
my usual photo style. Of course, for this class, you're absolutely free to
set the framework itself. You can just think about what makes the
most sense to you. Do you want to have it more
minimalistic or surreal, or should it be mystical, dark or bright and happy? So just set a couple
of requirements. As soon as you have
set your framework, you can just simply play
the 'what if' game. That's at least how I
try to Spock my ideas. Basically what I do is
I just look around me and find any item I like
and I asked myself, what if my glass of water just runs away from me
while I try to catch it? What if my pillow truck
comes and snuckles with me? What if my piano
plays by itself? Videos and contrast images
show a whole process, so make sure that you
actually think in action instead of static images. If you play the 'what if' game, already a lot of fun
ideas come your way, but you can also get a bit
more specific and pick an item you'd like to have in your images and play the
"what if" game with them. For example, I like to have a stop-motion video
with items like books, like a clock maybe, or many clocks, a
hat, or a suitcase. Now let's just
take your time and think about objects
you'd like to create a stop-motion video with and play the "what if"
game to brainstorm as many good ideas as possible
fitting to your framework. In the next lecture, I explain
my idea to you and I'll show you how you can
finalize and plan your idea.
6. Manifesting an Idea: [MUSIC] If you found an idea
that really excites you, let's now finalize the idea. To do so, I firstly
would explain the idea in 3-5 sentences. This way you make sure that
you as well as anybody you might collaborate
with understood what exactly is planned. My idea, I would explain in
the following four sentences. In my stop motion video, I will have a suitcase
as a main character. The suitcase will
slide, all by itself, into the video, lay itself down and jump open. As soon as the suitcase
is open a girl will jump out of that close the
suitcase and carry it away. The style of the video
should be minimalistic and held in a pink/
turquoise color scheme. Now you can try to put your
idea into 3-5 sentences. So just pause the video
and write your idea down. Great, so you now
probably already have an idea of how my stop
motion video will look like, but there's one more thing I'd really like to do before I start shooting a stop motion video and this is drawing a storyboard. Especially for bigger
film project such as my three minutes stop
motion video I did in Uni, it is necessary to
draw a storyboard. I really like to draw storyboards
as it really helps me to get an overview of when what is happening
in the video, and it often shows me possible problems that can
occur while I'm shooting. Also, especially if you're
working with other people, the storyboard is
really great to communicate and make sure
you're both on the same track. So what exactly is a storyboard and how
can you create one? A storyboard is basically a little comic of every
important action in your video. It contains a lot
of little images that shows to chronology
of the video. I usually paint it with my
iPad and a drawing app. And as a have Adobe
Creative Cloud, I use Fresco but you can
use whatever app you prefer to draw or you just simply draw it on
a piece of paper. [MUSIC] Now that we know exactly how our stop motion video
should look like, let's plan the shooting.
7. Preparation: Before we shoot this
stop-motion video, we have to make sure that
we have everything we need. First obvious thing
you need is a camera, and as I already
mentioned before, you can also just
use your phone. It really doesn't matter, it just needs to take photos. But just make sure that you have enough battery and
an empty SD card or enough storage
on your phone to avoid any unpleasant surprises. The second thing you
need is a tripod and you can get a
really cheap one like this one is
my iPhone tripod I got it from Amazon and
was the cheapest one. Currently, I use my Alta and Pro tripod for my DSLR
camera for five years. I used a 25 years tripod
for my DSLR camera as well, and it worked super well. Lastly, if you want to shoot a stop-motion video of yourself or you don't
have any helping hand, a remote control
is really handy. Remote controls exists for phones as well as for cameras, and I use this one for my phone and this
one for my camera, and I have only
good things to say about both of the
remote controls. Then, of course, we
need to check that we have all of the props
we need for the video. I decided to go with a rather old-fashioned
outfit I found. I went to a store a
couple of weeks ago and I tried it on and I really
loved it with the hat, so I will wear this
outfit in my video. With the suitcase, I already have a suitcase, which I actually used to storage old clothes of
mine on my closet, but I now use it for the shooting anything it
will fit really well. It's actually exactly
what I thought of when I was
planning the video. Lastly, I will take
some fishing wire with me as it will help me a lot
to animate the suitcase, especially when it falls
down and opens itself, but you will see it in a second. Another thing to think
about before you run out and shoot your
stop-motion video is how long you'd like to have your video and how rough or
smooth it should look like. I would recommend 12
frames per second, which is like a normal amount
for stop-motion videos. But if you'd like to have
it a little bit more rough, you can go down to six
frames per second. If you want to have it smoother, you can go up to 24
frames per second. If you know how many frames
per second you want, you can think about how long a certain movement should take, and you can estimate
how many images you should take from
point A to point B. For me for example, I would like to have a
normal stop-motion video with 12 frames per second, and I want to have around
a 10-second video. So, I can estimate
that I have to take around 120 images, for the whole stop-motion video. Lastly, of course,
you need to find the right location for
your stop-motion video. I needed to find a pink wall, and what I basically
did is I googled pink wall in Munich and I
found a really cool one, which looks perfect for my idea, and was actually not too far. I actually already
found a couple of really cool locations by just simply searching
for them on Google. But if you can't find anything
fitting to your idea, what I usually do then is to
assume location scouting. I basically just walk around the city and
just take photos with my iPhone of
any location which might fit to the idea I have.
8. Shooting : [MUSIC] Now it's finally time now we're going to
shoot our stop motion video. When I arrived at a
location the first thing I did was set up my
tripod and camera and I took some test photos of different perspectives to see what perspective I like best. As soon as I was
happy with the angle, I took some test photos
to make sure that I was still in a frame
and a suitcase as well, and even in situations as when I step out of the suitcase it
would still be in frame. Then I set the focus of the camera on me and
I put the focus to manual so it's the
same focus pointer in the whole stop motion video. This is really important and I started shooting
the stop motion video. This stop motion video can be separated in two
different parts. The one without a person and
a one with a person inside. The first part without me
was rather easy to shoot. I just simply moved a
suitcase a tiny little bit, took a photo, moved
it a tiny little bit, took a photo, etc. When I came to
making the suitcase fall and open on its own, it was a bit harder as I
need different photos in different positions while it
was falling down or opening. What I did is I used a
fishing wire to fake the movement of the suitcase without me having to
be inside the video. Before I was opening
the suitcase, I also had to make sure that
the outfit inside was lying perfectly so it would fit to my jump and my body
later on in this video. Then I changed into the outfit and I laid myself
into the suitcase and tried to fit the
last position of the outfit as good as possible. To fake the jump, I would recommend to
you that you just jump a couple of times and take
photos while you're jumping, and after it, once you can see what images make
a good sequence. For example, one time you are maybe a bit higher in the air, and another time you are already a bit further
to the ground, or you just like
landing on the ground. If you have a couple
of different photos, you can just put them
in the right position afterwards so you don't have to worry about that while
you're shooting. After the jump, I
would then again move really slowly and stop, take a photo, move, stop take a photo, etc. I also wanted the suitcase
to close itself but it was difficult as I was already in the frame so I tried to fake
it with the fishing wire. I had a fishing wire in my right hand but it was
a little bit complicated. [MUSIC]Then you can see I just took the suitcase and moved
out of the frame. [MUSIC]. If you finish shooting
your stop motion video and you're unsure if the stop
motion video was successful, you can just play the
images reverse often in your camera so you already have a really good impression of how the movement will look like. So now that we've shot
the stop motion video, let's see how we can
add it in Premiere Pro.
9. Editing: Preparing Files: First step I usually do to create my stop
motion videos is to have a look at all
of the images I shot and create a loop for them. I usually like to
do it in bridge as I can also edit
all of the images in Camera Raw as I shot my
images in raw but you can also do it in Lightroom or
whatever program you prefer. I usually shoot the
stop motion video twice because I just
want to make sure that one of them at
least looks good and I also shot this
stop motion video twice, and I already know that I
like the second one better. So I'm just having a look when the second stop
motion video starts, and it's around here so you can already see a little
bit how it will look like. It already looks good, but you can see that there's one wrong image in there and
we will do that in a second. It actually already looks
really, really well. What I would do
now is I would go on one of the images where
I'm in the image as well, do a double-click and
now you can see it opens in Photoshop but
in Camera Raw section. Then I would make
my adjustments. I'm just quickly
doing my adjustments. [MUSIC] If I finish my adjustments, I just say "finished" and
then I go back in bridge. Now you can see that
the one image I edited, it looks a little bit
different than the other ones. What I do then is I copy these settings I just
did at the one image. I say "old command C" and then I select all of the images from the beginning
of my sequence. So here it starts
till where we end. And I say "Alt Command
V" and it just copies the whole settings on all of the images and all of the
images have the same look. The second thing I would do
is I would go through all of the images and just look for any image which doesn't
fit into the sequence. So I'm just looking
through and we already know that there are a couple of images where I'm sitting there, where actually only the suitcase
should be in the image. So I'm just looking
here. Here we go. I would just delete
these images, so I'll say, "Move
to the trash." Fine and then I would see if everything looks
good this way and it does. [MUSIC] Here is one image which
is wrong as well because the suitcase just quickly
closed and I redid the scene. So I'm deleting this
image as well [MUSIC] When you're sure that the
sequence looks perfectly fine, you can just select all of the images you want to
have in your videos. I'm just selecting
all of the images and then I go on
"Tools" on "Photoshop", on "Image processor" and I usually have it like
this so I have like 2,000-1,333 and then
I choose a folder. I'm just choosing a folder
and then I say "Start". In the fourth step of editing
the stop motion video, I would rename all of the image files of
the exported images. It's important to know
that in Premiere you need a continuous numbering
to actually be able to import the image
sequence into Premiere. So to get a
continuous numbering, I would just mark all
of the exported images. I would go on
"Tools" on "Renaming images" and then you can
choose whatever you want to. I'm renaming them "Stop motion" and I know that there
are around 120 images, so I would say 001 and
they have three letters, then I say, "Okay". Then you can see all of the images have a
continuous numbering.
10. Editing: In Premiere: [MUSIC] Now we can finally import the
images into Premiere. We open Premiere, we
create a new project. We can call it
whatever we want to. Stop motion video. I'm going to save it
on my hard drive. I'm going to select
it and say open. To create a stop motion video in Premiere is super simple. You only have to go
on Import Media, say "Import", and then
go on your stop motion. I'm going on my export, it's stop motion, photos. I go on the first image, so the image with
001 at the end, and then I choose
Image Sequence. Now it actually finds all
of the images which follows this one image with a continuous numbering
and it is imported. Now you can see
if we have a look at this image sequence, it looks cool, it works, but it's super fast. Now it's actually played
in 25 frames per second, which is far too quick for us. How we can change
this is we're going on this image sequence, we just import it, say Modify,
say Interpret Footage. Then we can actually choose
our own frames per second. FPS is frames per second. I just say 12 SI, want to have 12
frames per second. I say "Okay", and
you can already see the sequence is much longer, so it's now 10 seconds long. I import it in here. I say change image
sequence settings and now you can see it's the speed we actually
want it to be. [MUSIC] It actually
already looks pretty good, but I would still do some little adjustments
here in Premiere. There are a couple of tools
which I want to show you which I really love personally. My favorite tool is
the Lumetri Color. If we go on the Lumetri Color, we have a lot of different
options similar to Camera Raw. We can adjust here the
contrast, the highlights etc. We can actually enhance our video a little
bit more in here, but especially one tool I
really love is HSL secondary. You can actually change
colors in here in Premiere, which is really awesome. We already adjusted the
colors a little bit, but I would maybe try a little bit in this
or that direction. Basically, you can just go
on the eye dropper tool, select the color you
want to have selected. Here you can see how much
of the color is selected, so you want to make sure that all of the pink is selected. Now we have selected
all the pink areas. Then you can't just
change to pink tone, which is really awesome and
I personally really love it. You can also make it more
saturated or less saturated. You can make it more
pink or less pink. I'm just adjusting my
video a little bit. Here now I want to change the pink tones a
tiny little bit and the turkeys tones a little bit and see what I personally
love the best. If I want to make the pink
tones a little darker, I can also go on the three
little dots in here, then I can move the
tones a little bit down here and you can
see it gets darker. Let's see how that looks like. [MUSIC] I actually love the darker pink tone a lot. Now, let's create another
Lumetri color effect. You just have to go on here and say add Lumetri color effect. Then I just go on
the eyedropper tool, I select the blue tones. I make sure that all of the
blue tones are selected. Let's move it over here. I think like that is good. Now, I can actually
change the blue tones. I can actually make it green
or whatever color I prefer. I think I just want to make
it a little bit more bluish. I also go on these three
little dots in here and just make the blue
tones a lot darker because I think it looks
nicer if it's like these dark red tones and
dark blue tones here. You can see it
already looks nice, maybe not that extremely dark. [MUSIC] You can try it yourself. You can just play around a little bit and see
what you like best. What you also can try
is because you can see the edges here
are pretty hard, and so what I would do is I
would go up with the blur a little bit so it doesn't
look as hard anymore. Maybe around too. [MUSIC] Nice. There's one more
adjustment I would like to do as I actually like to have the floor or the ground
here a little bit brighter so it looks
less dark and less wet. It was raining while
I was shooting, so it actually is really dark. What I would do
is I would create another Lumetri color effect, and I would go into
basic corrections. I would make the exposure
a little higher, the contrast a little lower, the highlights a little higher and the shadows a little higher. You can see the ground looks
actually much brighter now, but everything else
starts to swell, so it gets too bright, especially if me as
a person comes in. What I would actually
do is I would go on the Lumetri color here
on the right-hand side, and I will create
a mask so I would actually only make the
ground a little brighter. I would just select this, and I would just make a mask
over the ground like this. Maybe it looks better if the suitcase is not
selected as well. I will just deselect
the suitcase and make the edges really soft
so it doesn't look weird. You can see now, when I take the suitcase and when
the suitcase comes in, it actually doesn't
fit with the mask. I can now actually make a mask path so I can actually change the path while
the video is changing. I would just simply
go on Mask Path. Then I would say, this path is perfect when
the suitcase comes in, so as soon as it's down here, I will just put it in here. Everything before that
should be a different path. I will just go on Mask
and I will change it. I will just move it down here. You can see there's
another dot which just came up as soon
as I changed the path. [MUSIC] Then I would just follow the suitcase with the path while it comes in. Perfect. Now that I'm
happy with my video, I'm just going to go on File, Export Media, and I'm finished with my
stop motion video. [MUSIC]
11. Editing: In iMovie: [MUSIC] For anybody who
doesn't have Adobe Premiere, here's a quick tutorial of how you can create a
stop-motion video with a free software such
as iMovie here on my iMac. I'm basically just
opening iMovie and I say "New Project film". First thing you need to do
is to import all the images. I'm just importing all of the 120 images off my
stop-motion video. Then the most important
part of creating a stop-motion video
in iMovie is going on settings and then changing
the duration of one photo, and I'm changing
the frame rate to 0.1 so it has 10
images per second. Then I'm just closing it
and I'm selecting all of the images and putting
them in my sequence. You can see it already
looks pretty good. The only thing I really
don't like about iMovie is that you can't
choose the size of your file. You can actually just
select it like this. You have like
borders on the side, or what you can also
do is just select all images like go
on images and say ''Command A'' to
select every image in the sequence and then
go on a cap sign. Then you can say cut
to full frame size so it's like the normal
video size which is 16:9. You can just adjust it a
little bit and say 'Okay." Then you can see it cuts
into the full frame body, cuts off the head a little bit, so I wouldn't quite
recommended it for this video, maybe for your
video it's perfect. The other thing I wanted
to show you is you can actually adjust colors a
tiny little bit in iMovie, not as good as in Premier
obviously, but let's see. You only have to go on
the filter icon up here. Every image is selected,
which is important, go in the photo
icon and then you can say,'' Add filter.'' You can just choose
any photo you like. I think just Western filter
is nice for this clip. Then we can just simply export it by going on
this little icon and say "Export Film" and then you can save it
anywhere you want to. This is how the
stop-motion video looks like after editing
it with iMovie. [MUSIC]
12. Tips & Tricks: As a little bonus, at
the end of this class, I want to give you some tips
and tricks you can use to make your stop-motion
video even more magical. Some of the tricks you've
already seen in this class, but some you can just simply
try out yourself at home. The first trick is, as you already saw
in this class, to use a fishing wire
to fake movements of objects like making the
suitcase open and close, or making objects lift. For example, in
this video as well, we used a fishing wire to
make the telephone ring. But you can also make papers or leaves fly in use
of motion videos, as you can see in this video. Just consider it the
next time you are not sure about how to
fake movements. The next tip is to shoot
the scene backwards. This can give the
impression of matching, especially when objects
move themselves. For example, this scene we shot backwards so the actress
actually dipped a piece of paper into the cup of tea while we took a bunch
of photos and then we played it backwards so it actually looks
like she's pulling the paper out of the
tea and it is drying. Also here in the telephone
scene you can see that the paper comes out of the
phone, flattens itself. You can get actually really, really cool effects
with this trick. Also, sometimes
it's necessary to let your object make really, really small
movements to make it just look more realistic. Often you also need to tilt your object a tiny little bit, which is often quite difficult. For that I would
recommend that you use dough or something similar
like, for example, parafix to make the object just tilt a bit and just fix
them and make them stable. Sometimes I even
use normal tape, which also works well, especially if you just
turn it around and just put the sticky
side on the outside, so it just fix this object
just a tiny little bit. Lastly, if you want to take the whole game one step further, you can work with green screens. You've probably already
heard of green screens, but maybe you're
not familiar with how you can take
advantage of them. Basically the green screen
helps you if you want to insert or cut anything
out of your video. All you need for that
is any flat piece of paper or any flat
fabric which is green. For example, I just have
green wrapping paper. I also have a professional
green screen, but for small objects, this really works as well. But what you'd probably ask yourself now is
how does it work? How can I create cool
things with green screens? For example, if I want to let a flower grow out of my hands, what I would do is I
would take a couple of photos of that
flower in front of a green screen and
I will just cut a tiny little bit off the
flower each time I take a new photo until the
flower is totally cut and gone and then I
would go into Premier, import all the
images in Premier as a sequence as we've
done it before. I go on effects, use the old tracky effect, go on the eye dropper tool and then select the green
of the background. You can see the green
is now totally deleted, and the only thing
you see is a flower. Lastly, I would just simply play the video backwards and [NOISE] the flower is growing
anywhere you want it to be.
13. What we've learned: Congrats, you made it. In this class, we learned all
about stop-motion videos. We discussed what's
the difference between stop-motion videos
and regular videos, and you learned different
tricks of how you can use stop-motion videos to
achieve special effects. We brainstormed a bunch of fun ideas in which lines
to one in a storyboard. We planned and executed a shooting and made sure
it was a full success. Finally, we put a stop-motion
video together in Premier and made it look as
stunning as we'd imagine it. I hope this class inspired
you and you start creating more magical stop-motion
videos in the future. I can't wait to see what you've created
within this class. Please make sure
to share it within the project section
of this class. I hope you enjoyed
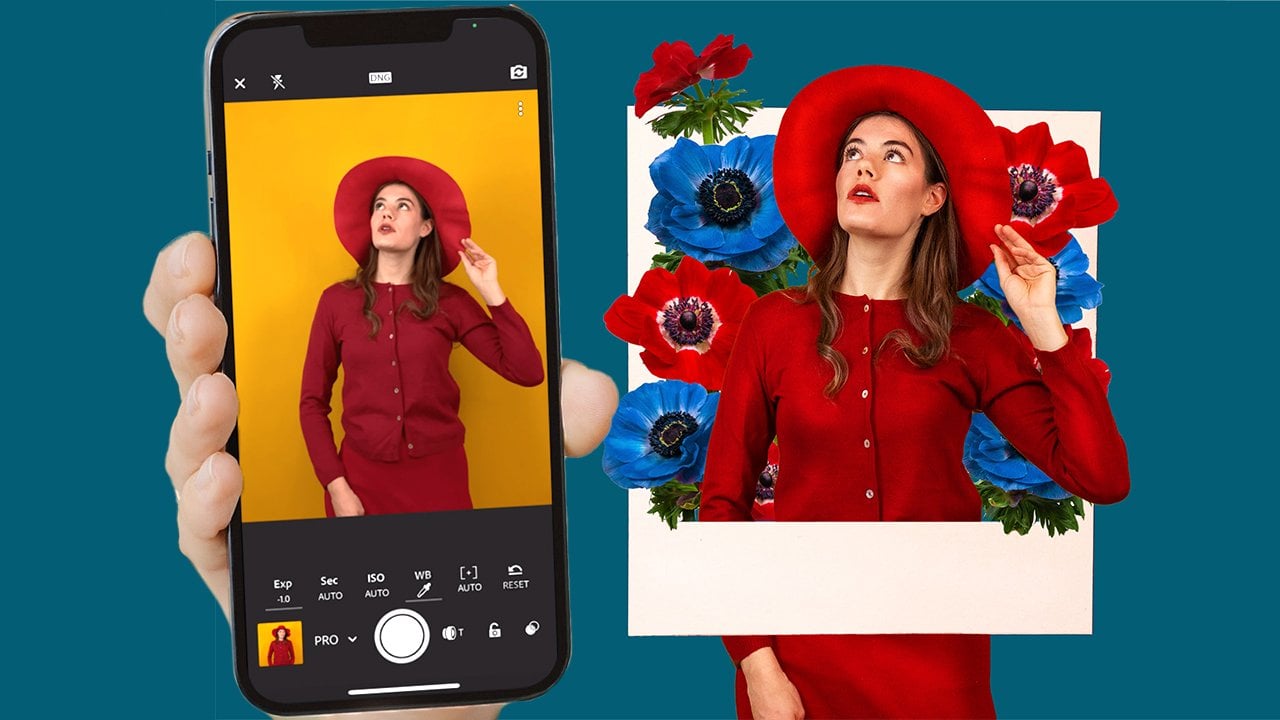
this class if you did make sure to leave a review. If you are interested in more about my iPhone photography, make sure to check out
my other class about shooting and editing
on your iPhone. I had so much fun
creating this class. I hope to see you in some
other class as soon. Bye.
 Amelie Satzger, Photo Artist / Art Director