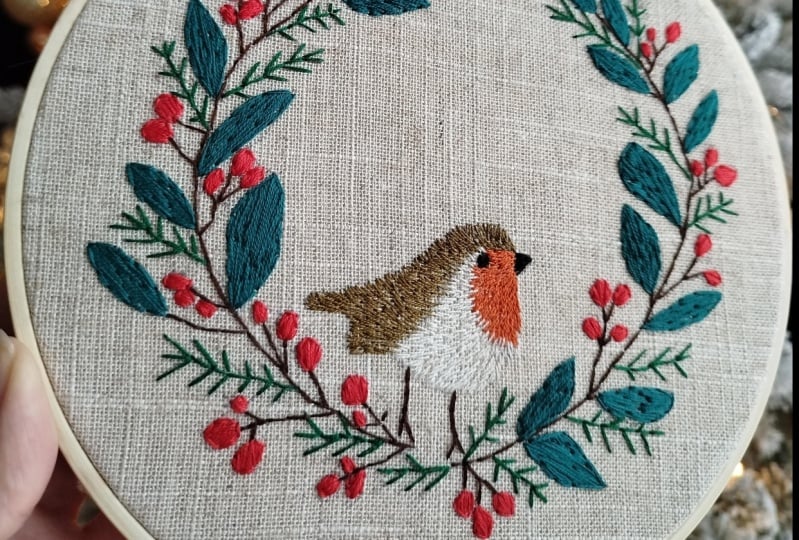
Stitching Through the Snow: Hand Embroidery Christmas Pattern
 Floor Giebels, Embroidery Artist
Watch this class and thousands more
Watch this class and thousands more
Lessons in This Class
-
-
1.
Introduction
0:12
-
2.
Class Project
0:37
-
3.
Materials
1:30
-
4.
Tracing your Design on Fabric
1:13
-
5.
Pines and Wreath
0:59
-
6.
Berries
0:18
-
7.
Leaves
0:31
-
8.
Robin
0:56
-
9.
Finishing
0:32
-
-
- --
- Beginner level
- Intermediate level
- Advanced level
- All levels
Community Generated
The level is determined by a majority opinion of students who have reviewed this class. The teacher's recommendation is shown until at least 5 student responses are collected.
72
Students
5
Projects
About This Class
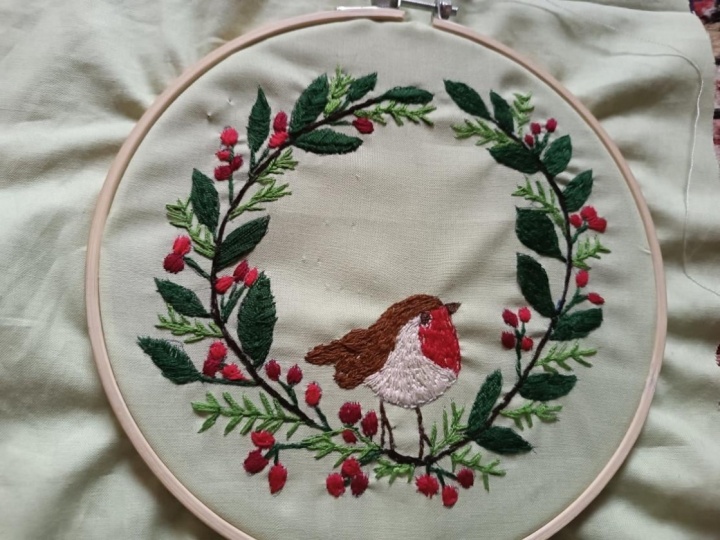
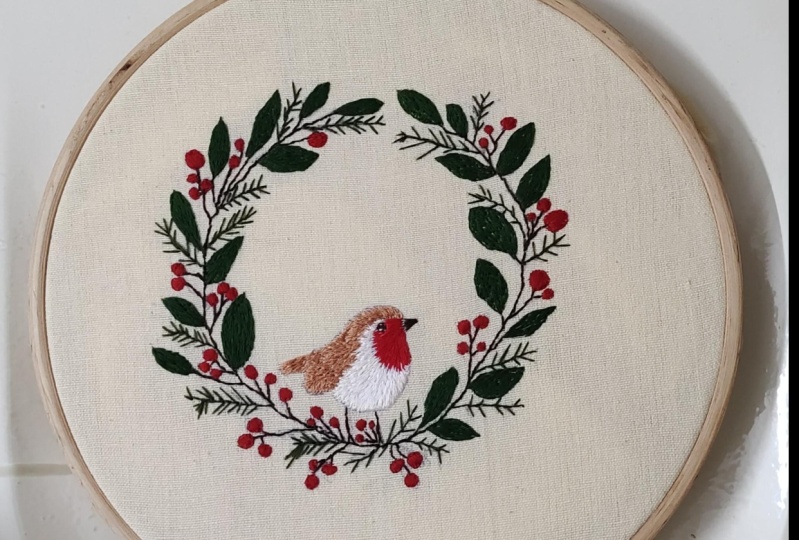
In this quick class, you will learn how to create a beautiful, festive embroidery design that brings charm to your holiday decor. This class is made for intermediate embroiderers, but I also encourage motivated beginners to give it a try. You can also choose to not make the robin that is in this pattern and only make the wreath. I want you to have all the information you need to make this pattern, so you can relax on the couch and make this embroidery piece.
Throughout the class you will learn:
- What you class project is
- What materials you need
- Embroider the wreath
- Embroider the berries
- Embroider the leaves
- Embroider the robin
- Finish your embroidery piece
You can have a look at my other class for a more in depth look on how to make the Robin.
Meet Your Teacher

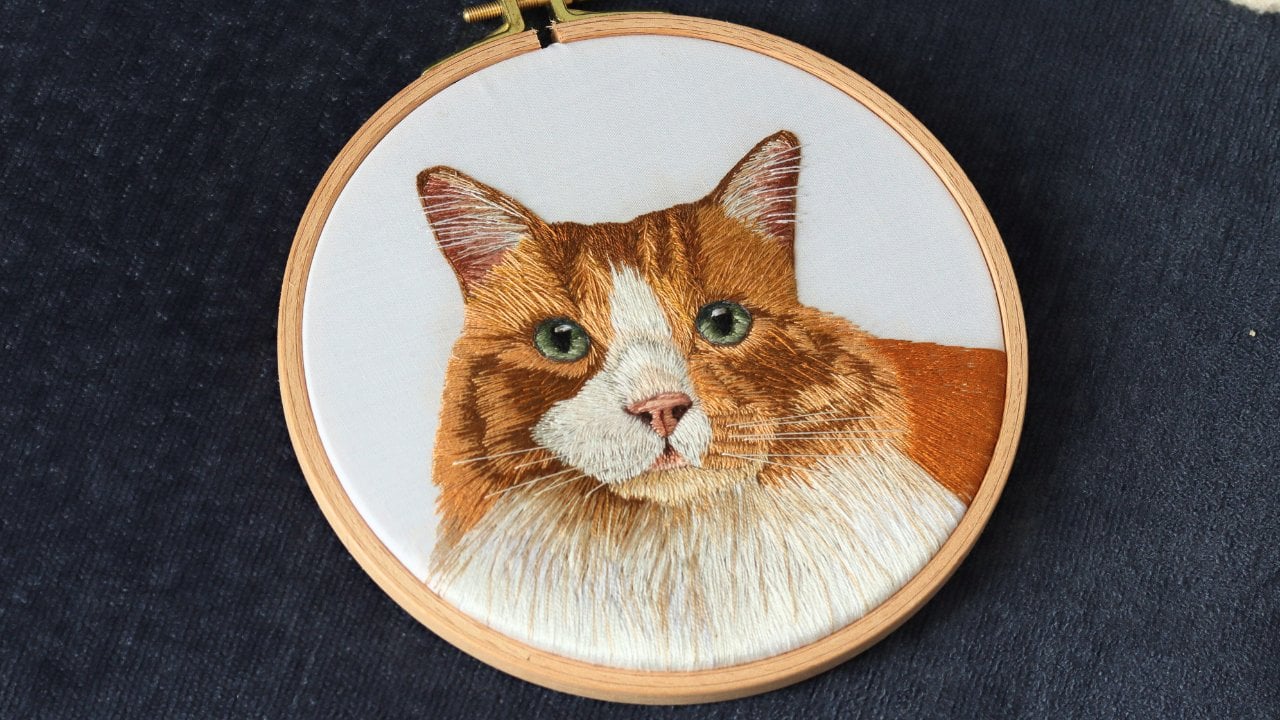
Hi, my name is Floor and I'm a Dutch embroidery artist living in The Netherlands.
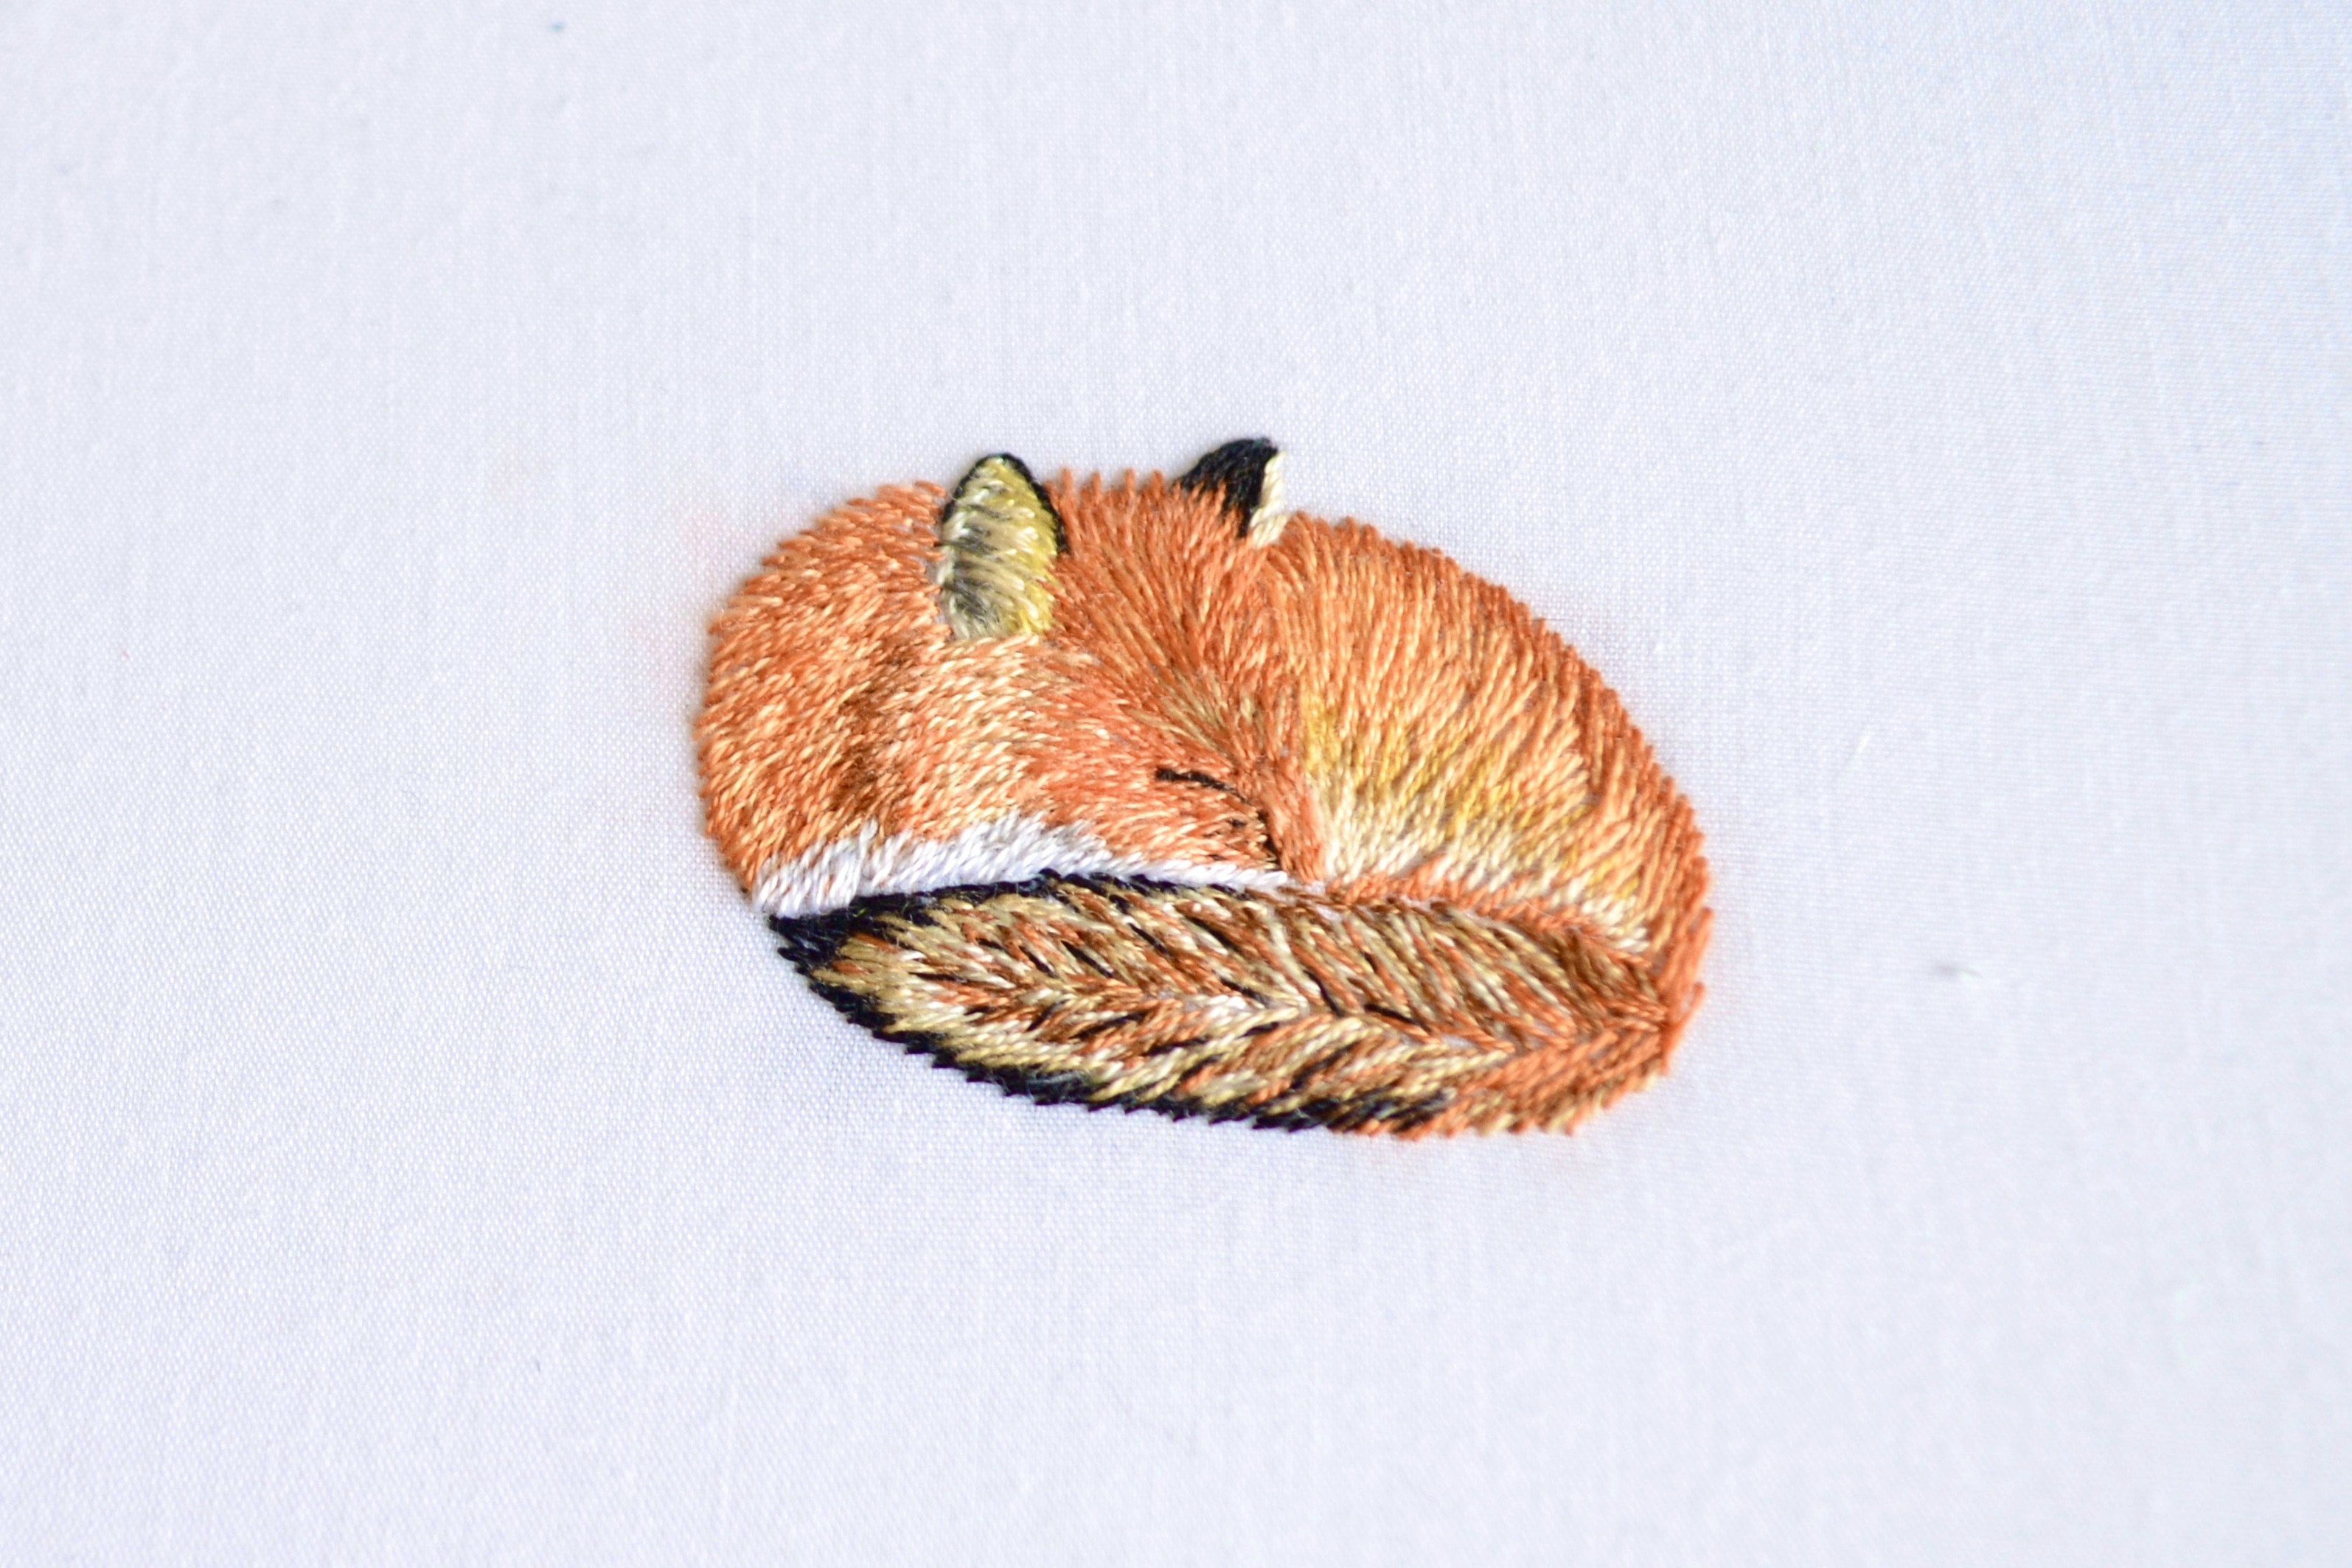
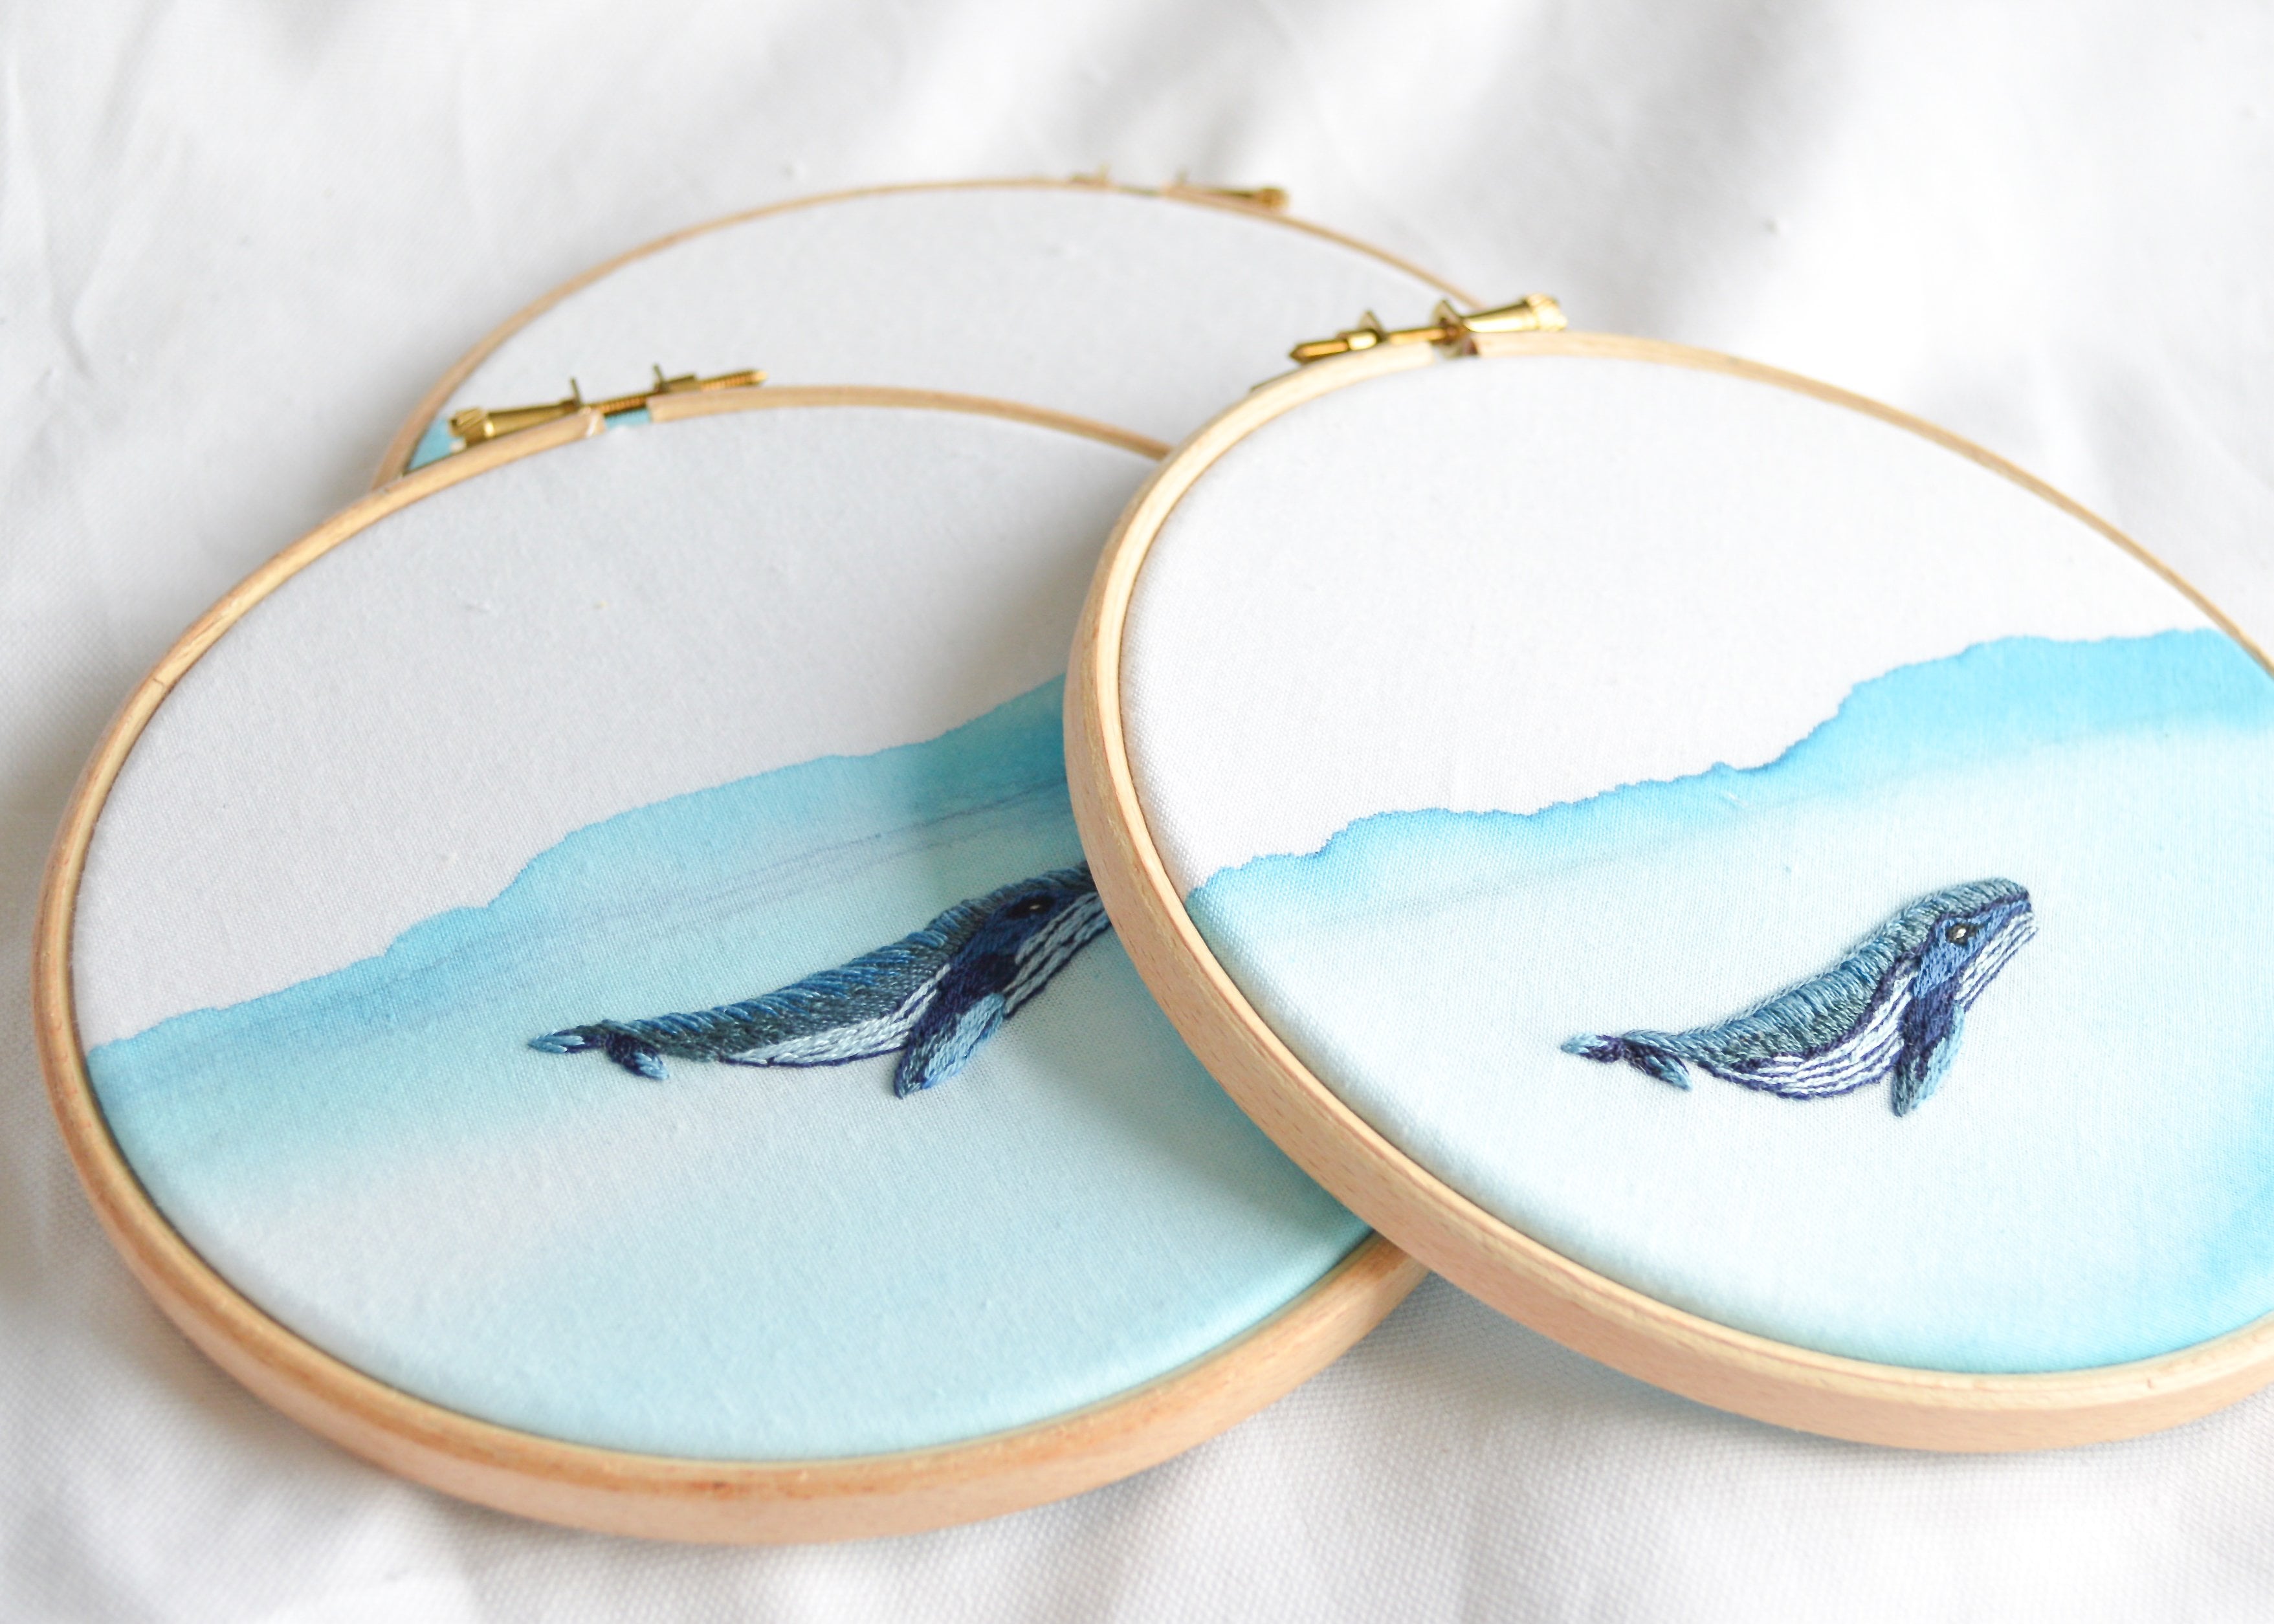
Originally from a design background, I found my artistic freedom and expression through the more traditional art of embroidery. Entirely self-taught, I started my journey in 2016 and am continually learning new skills and applying them to my work. I also like to explore the boundaries of traditional hand embroidery by creating some pieces as mixed media, to contrast and compliment the thread itself.
I have found that embroidery has led me to explore the textures present in the world around me - living on the coast, the beautiful beaches, scenery and animals constantly offer me inspiration for new projects. One of my favorite topics to explore in my pieces is the interplay between tex... See full profile
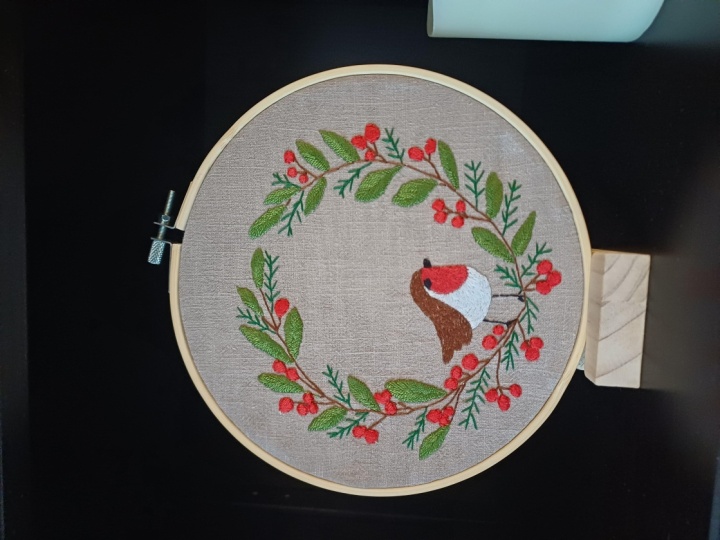
Hands-on Class Project
Have a good look at the pdf files you can download
- Get all your materials ready
- Decide on how you want to have pattern on the fabric
- Upload your christmas project in the project section of this class.
Class Ratings
Why Join Skillshare?
Take award-winning Skillshare Original Classes
Each class has short lessons, hands-on projects
Your membership supports Skillshare teachers
Learn From Anywhere
Take classes on the go with the Skillshare app. Stream or download to watch on the plane, the subway, or wherever you learn best.


Related Classes