Stippling for Beginners: Easy Dot Art Techniques | John Anderson | Skillshare

Playback Speed


1.0x


  • 0.5x
  • 0.75x
  • 1x (Normal)
  • 1.25x
  • 1.5x
  • 1.75x
  • 2x

Stippling for Beginners: Easy Dot Art Techniques

teacher avatar John Anderson, Artist / Adventurer

Watch this class and thousands more

Get unlimited access to every class
Taught by industry leaders & working professionals
Topics include illustration, design, photography, and more

Watch this class and thousands more

Get unlimited access to every class
Taught by industry leaders & working professionals
Topics include illustration, design, photography, and more

Lessons in This Class

    • 1.

      Dotwork Introduction

      0:52

    • 2.

      Dotwork Basics

      1:23

    • 3.

      Stippling Variations

      2:42

    • 4.

      Shading Objects

      3:43

    • 5.

      Gradient Dotwork Examples

      4:17

    • 6.

      Examples and Project

      0:55

  • --
  • Beginner level
  • Intermediate level
  • Advanced level
  • All levels

Community Generated

The level is determined by a majority opinion of students who have reviewed this class. The teacher's recommendation is shown until at least 5 student responses are collected.

223

Students

2

Projects

About This Class

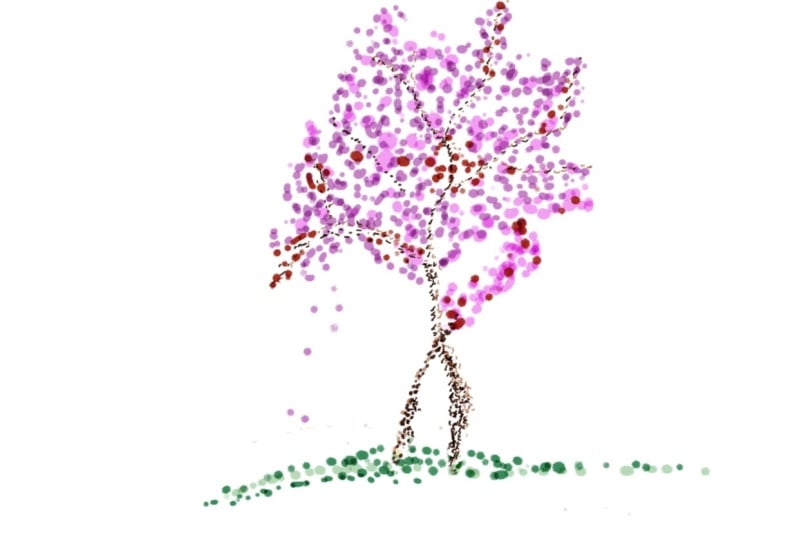
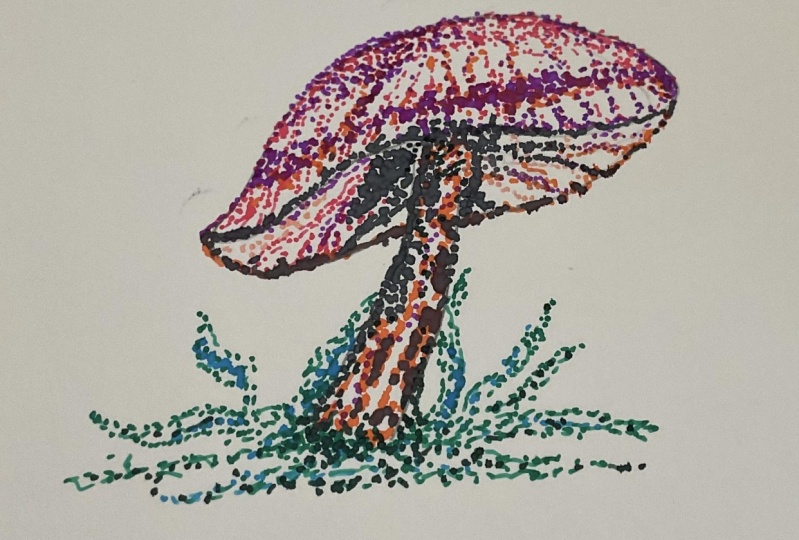
If you are just getting into drawing or want to expand your drawing skills, this class can get you started! In this class we will learn how to get started with dotwork or (as it's often called) stippling.

This dotwork tutorial is for young and old alike. If you are an artist, or wannabe artist, it is a great way to explore your creativity and try something new. It also can be a fun exercise to teach to children or grand kids, keeping them busy but still learning!

Drawing is a great way to expand your creativity, to gain confidence in your capabilities!

You will learn:

  • What tools I like to use for creating dotwork
  • Different styles and types of stippling
  • How to use dotwork to add more detail to an illustration

Follow along and learn how to use dotwork in your illustrations that you draw everyday! You can download the practice sheet and use the basic tools, a pencil, or pen and paper to get started. But the most important ingredient is you and your skills!

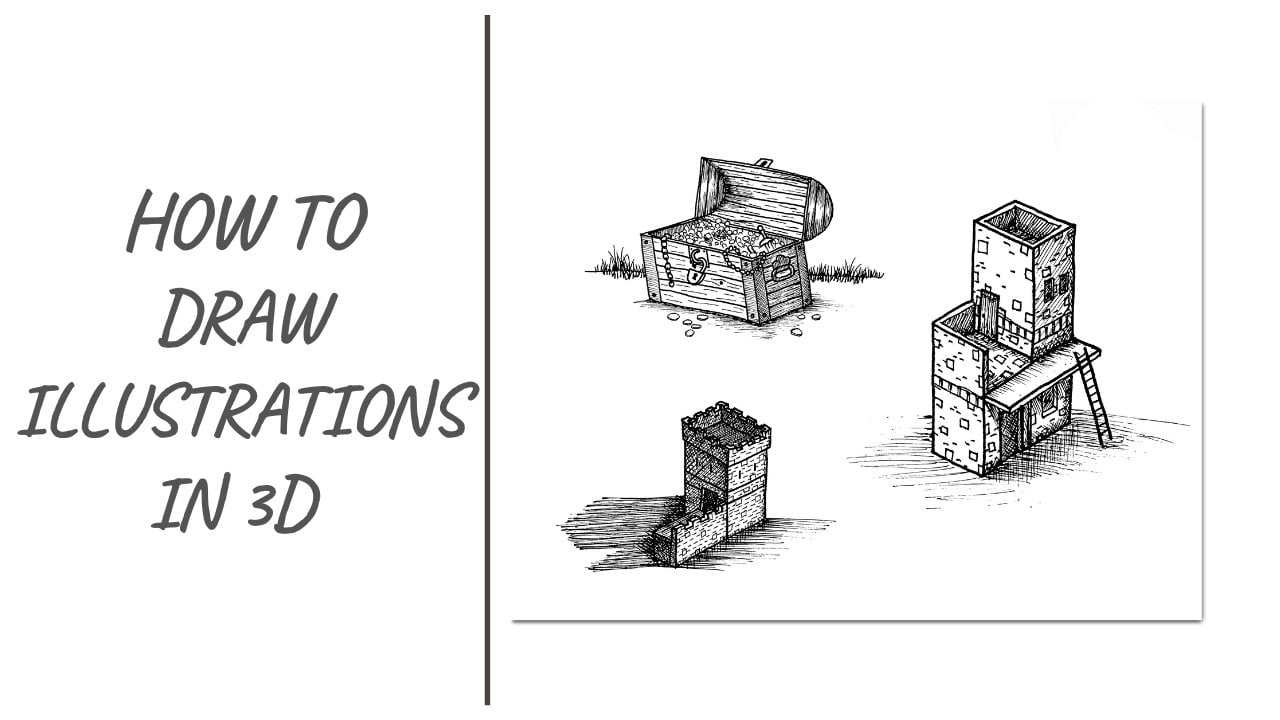
John likes to draw, he’s been drawing since he could hold any drawing utensil! He has filled many sketchbooks ranging from simple shape drawings to detailed cabins in a pine forest or historic Castle illustrations. His favorite type of drawings to create are the little knights and castles you can find in his other classes. They can be quick and easy or be made into just about any size and complexity you want.

Even if you’re new to drawing, you’ll find this class a quick and easy way to get started creating in more detail!

If you liked this class be sure to check out these:
How to Draw Mountains: https://skl.sh/2KpF4QA
How to Draw a Cabin in the Pines: https://skl.sh/2UP1MYo
How to Draw a Simple Medieval Castle: https://skl.sh/2GE91dY
How to Draw Broadway Tower: https://skl.sh/2Su6E3H
How to Draw a Medieval Scene: https://skl.sh/364VPuh
How to Draw Simple Trees: https://skl.sh/3ejaR2Z
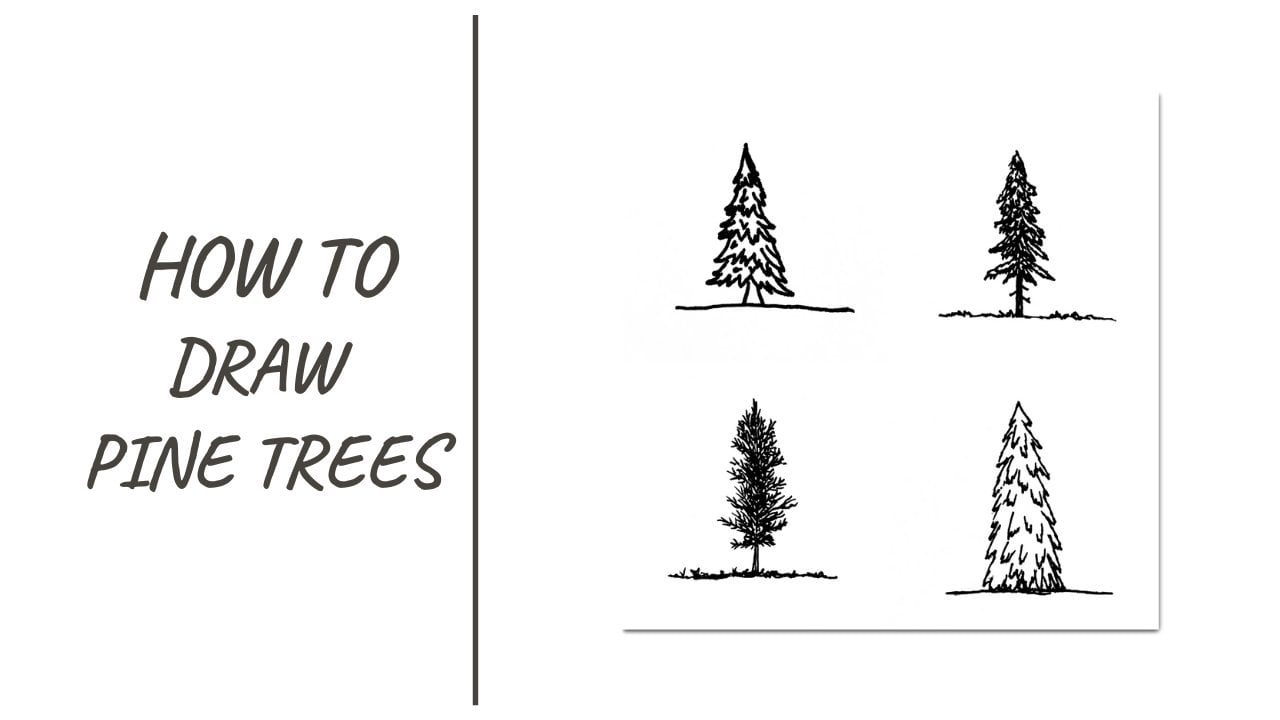
How to Draw Pine Trees: https://skl.sh/3eo5yPP
How to Draw a Fairytale Castle: https://skl.sh/38O3jTU
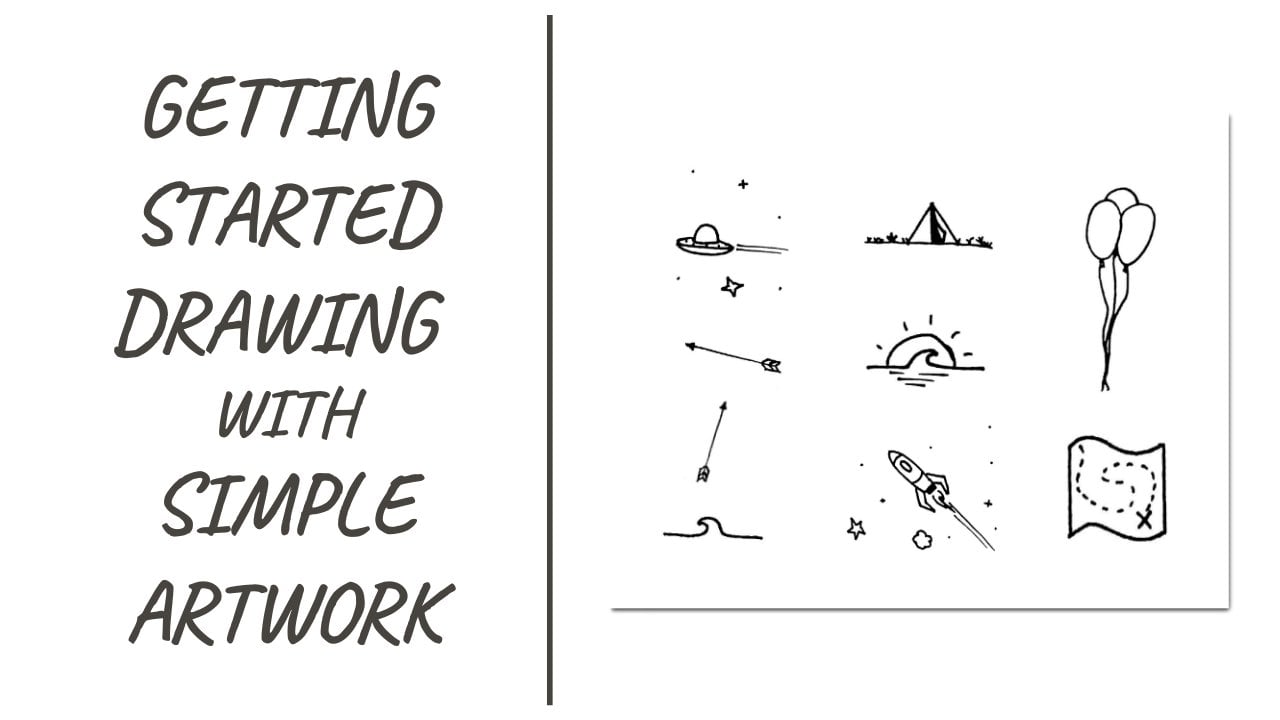
Get Started Drawing with Simple Art: https://skl.sh/3icIm9g


Meet Your Teacher

Teacher Profile Image

John Anderson

Artist / Adventurer

Teacher
Level: Beginner

Class Ratings

Expectations Met?
    Exceeded!
  • 0%
  • Yes
  • 0%
  • Somewhat
  • 0%
  • Not really
  • 0%

Why Join Skillshare?

Take award-winning Skillshare Original Classes

Each class has short lessons, hands-on projects

Your membership supports Skillshare teachers

Learn From Anywhere

Take classes on the go with the Skillshare app. Stream or download to watch on the plane, the subway, or wherever you learn best.

Transcripts

1. Dotwork Introduction: Hello everybody and welcome back to another drawing class. In this class we're going to learn how to do stippling and dot work. So if you haven't already, be sure to go down and download the practice sheet I made for you. And we will use that later on. Here are some examples of shading that show you how you might use it in different types of joins. You can see how it adds more detail to an illustration. And here's just another example of shading in a castle. So I'm just going to grab a pen and a piece of paper. And I'm going to go through a few different examples here. And you're going to need a sturdy join surface such as a table or desk. And that way we won't, we'll go round. So let's get started. 2. Dotwork Basics: For stippling, there's different types of dots and different patterns and stuff. And we're just going to show you a few different ones. There is light and dark. And that is simply the spacing of the dots. This would just be light stippling and dark stippling. You're just going to stick them closer together. And that is it going to make it a darker pattern for shading in on your piece of art art. So let me just show you a few different examples. There is dark, very dark stippling, and then we can just do light stippling. And then I'm going to show you very light. So this is simply just sticking them really close together. And that's gonna give us a darker appearance for our stippling work. And then if we want to do a little more of a medium shade, little bit lighter, We're going to space them out a little bit. And then if we wanna go super light, we're gonna give them a lot more space between each other to make it a much lighter shade. 3. Stippling Variations: Next we have the pattern of our dots. And this is even that you're just going to make a simple line like this. And then you can do alternating lines of dots. So just alternating the darts back and forth on the lines, something like that. And then lastly, you can just randomly stick the dots on the page. You can kind of run around in circles or you can make lines. Sometimes you mix it up and it gives you a good shading pattern on your sketch. Next we have gradient or changing lines. So getting closer together in line or spacing out. So getting farther apart as you go out, show you a few more examples of what I mean here. So when you make a line of dots, you're just gonna get them closer together here on one end or the other, or in the middle. And that makes a gradient line of dots. And then of course you can always go back and add more in there. And then of course, for shading in, you're going to work from whichever side you have a light source. So just show you here an example on a circle. I like to make kind of a reference point of where am I shading is going to end. Sometimes that works better for some illustrations. And then just lighten these here. And then getting darker at the edge of the drawing over here. If you imagine your light is coming from this side, then you're going to have it darker on the opposite side of the object. So you will find this in my mountain drawings that I did. You will have a light source from one side or the other from where the sun is, for example. And then you will darken in the back side of the mountains. You can find that in my other class. So you can work from either direction. You can go starting from your light side of fewer dots where you can start here on the darker side. And your work your way lighter. 4. Shading Objects: So go ahead and grab so go ahead and download the practice sheet that I made for you and I'll show you how to staple or do some dot work here. So we're going to imagine that our light is coming from this side over here. So we're gonna darken in the opposite side. I'm going to start with the thicker dots closer to the opposite edge of the light. And then I'm going to work my way lighter, going back this way. It's okay if you mess up a little bit because this will blend in once you get your entire thing drawn out. You won't notice it as much later on with your drawing. So I'm gonna make this round curve here for our reference point of where I'm going. And I'm going to lighten that might dots here. And I'm gonna go back over this darker side and just fill in a few of these light spaces to darken that up a little more. So that is how I would make a circle. So if I was making the Moon or any other round object with a light on one side of it. That would be how I would go about that. You can practice your own ways of doing these on the rest of the page. And now I'm going to show you how to do it on a square or light is coming from up here. We're gonna make the bottom of this dark. So I'm gonna do some light dots here from about there. And then that's about halfway across the square. And then down here I'm going to be dark. And then I'm gonna be starting to get lighter here. And then we will get very light up here, closer to the top, About a third, three-quarters of the way up. So that kind of divide r square. All right, so there we have a gradient change from one side of the block to the other, or square, and darker on one side and crowing lighter to the other. Next, I'm gonna show you a cone shape here or triangle. We're gonna imagine our light is coming from the side over here. And then we're going to darken this half of the cone here. And then getting it thicker and darker as you go across. You can start from either side. But just making the line of where it's going to end up helps you visualize where your stippling is going to stop. Then you can kind of just go back over and fill in some light spots as you go around your darker side of the object. Filling those in. 5. Gradient Dotwork Examples: All right, so let's do a few more of these. Gonna do this round one here. I'm going to make the light here in the middle and just make a light spot here in the middle of it and darken the edges. And we will see how this turns out. Now there's a whole bunch of these on the sheet that you can practice on. So just be sure to try a whole bunch of different styles and different ways to do stippling on the sheet. So that's what this sheet is forward just to practice a whole bunch of different ways. No, I'm just randomly putting these dots around. So I'm just going to randomly stick these around to fill them in by the edge. Alright, there we go. The shaded circle. You can see we have a light here and the middle as if it was a more brighter spot and then shaded on the outside. And we can do the opposite of that right here and dark in the middle of it. And then we can lighten up as we go out. Now I'm going to show you a different way to do that. I'm going to do close dots here in the middle. And then I'm gonna get farther apart as I go out to the outside. So I'm gonna do close dots and then get them thinner or space them out further as we go out to the edge. And that way I have a darker spot here in the middle. So put them closely together here and then work them farther apart. And then of course fill in as you go in towards the middle on your darker spot, you just kinda fill it in around here. It just head to those lighter spots and give them a few more dots to darken it up. All right, now you can just go over the drawing again. And even up your gradient dot work, where it needs to be a little bit darker, you can darken it in. Alright, so there we have two opposites. And this one, the inner side is dark. And then, and here we have the outer ring, darkened dune. So be sure to go over the rest of these practice different ways of doing it. One of the best ways I've found is to make a reference point of where you're going to end up with your dots. So if you want to end up halfway across, just making reference point there of lighter dots. And then working your way down. You can make it darker as you go down. Darker. And though dots will also be getting closer together. Alright, so that is how to add stippling or dot work to any doodle drawing or illustration that you draw. 6. Examples and Project: Here are some examples of shading that show you how you might use it in different types of joins. You can see how it adds more detail to an illustration with building texture or shadows. You may also use doubling to complete an illustration such as this. And here is another example of shading in a castle. Be sure to download the project paper that I made up for you and practice stippling and shading on these objects. You can practice different variations and styles. Be sure to upload a picture of your stippling project. Check out my other classes here on skill share. And I will see you in the next class. Thanks for watching.