Spline Project: Making a 3D Character with Spline in 15 minutes | Yeti Learn | Skillshare

Playback Speed


1.0x


  • 0.5x
  • 0.75x
  • 1x (Normal)
  • 1.25x
  • 1.5x
  • 1.75x
  • 2x

Spline Project: Making a 3D Character with Spline in 15 minutes

teacher avatar Yeti Learn, Design | Code | Animate

Watch this class and thousands more

Get unlimited access to every class
Taught by industry leaders & working professionals
Topics include illustration, design, photography, and more

Watch this class and thousands more

Get unlimited access to every class
Taught by industry leaders & working professionals
Topics include illustration, design, photography, and more

Lessons in This Class

    • 1.

      Introduction

      0:34

    • 2.

      Making a 3D Character: Ghost

      13:00

  • --
  • Beginner level
  • Intermediate level
  • Advanced level
  • All levels

Community Generated

The level is determined by a majority opinion of students who have reviewed this class. The teacher's recommendation is shown until at least 5 student responses are collected.

286

Students

4

Projects

About This Class

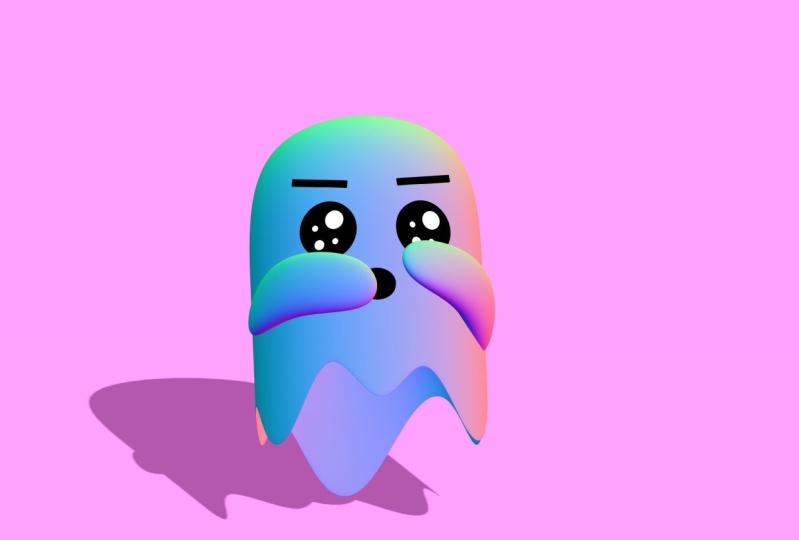
In this course we will make an awesome looking 3D Ghost Character.

If you are new to Spline check our introduction course for Spline from the profile page.
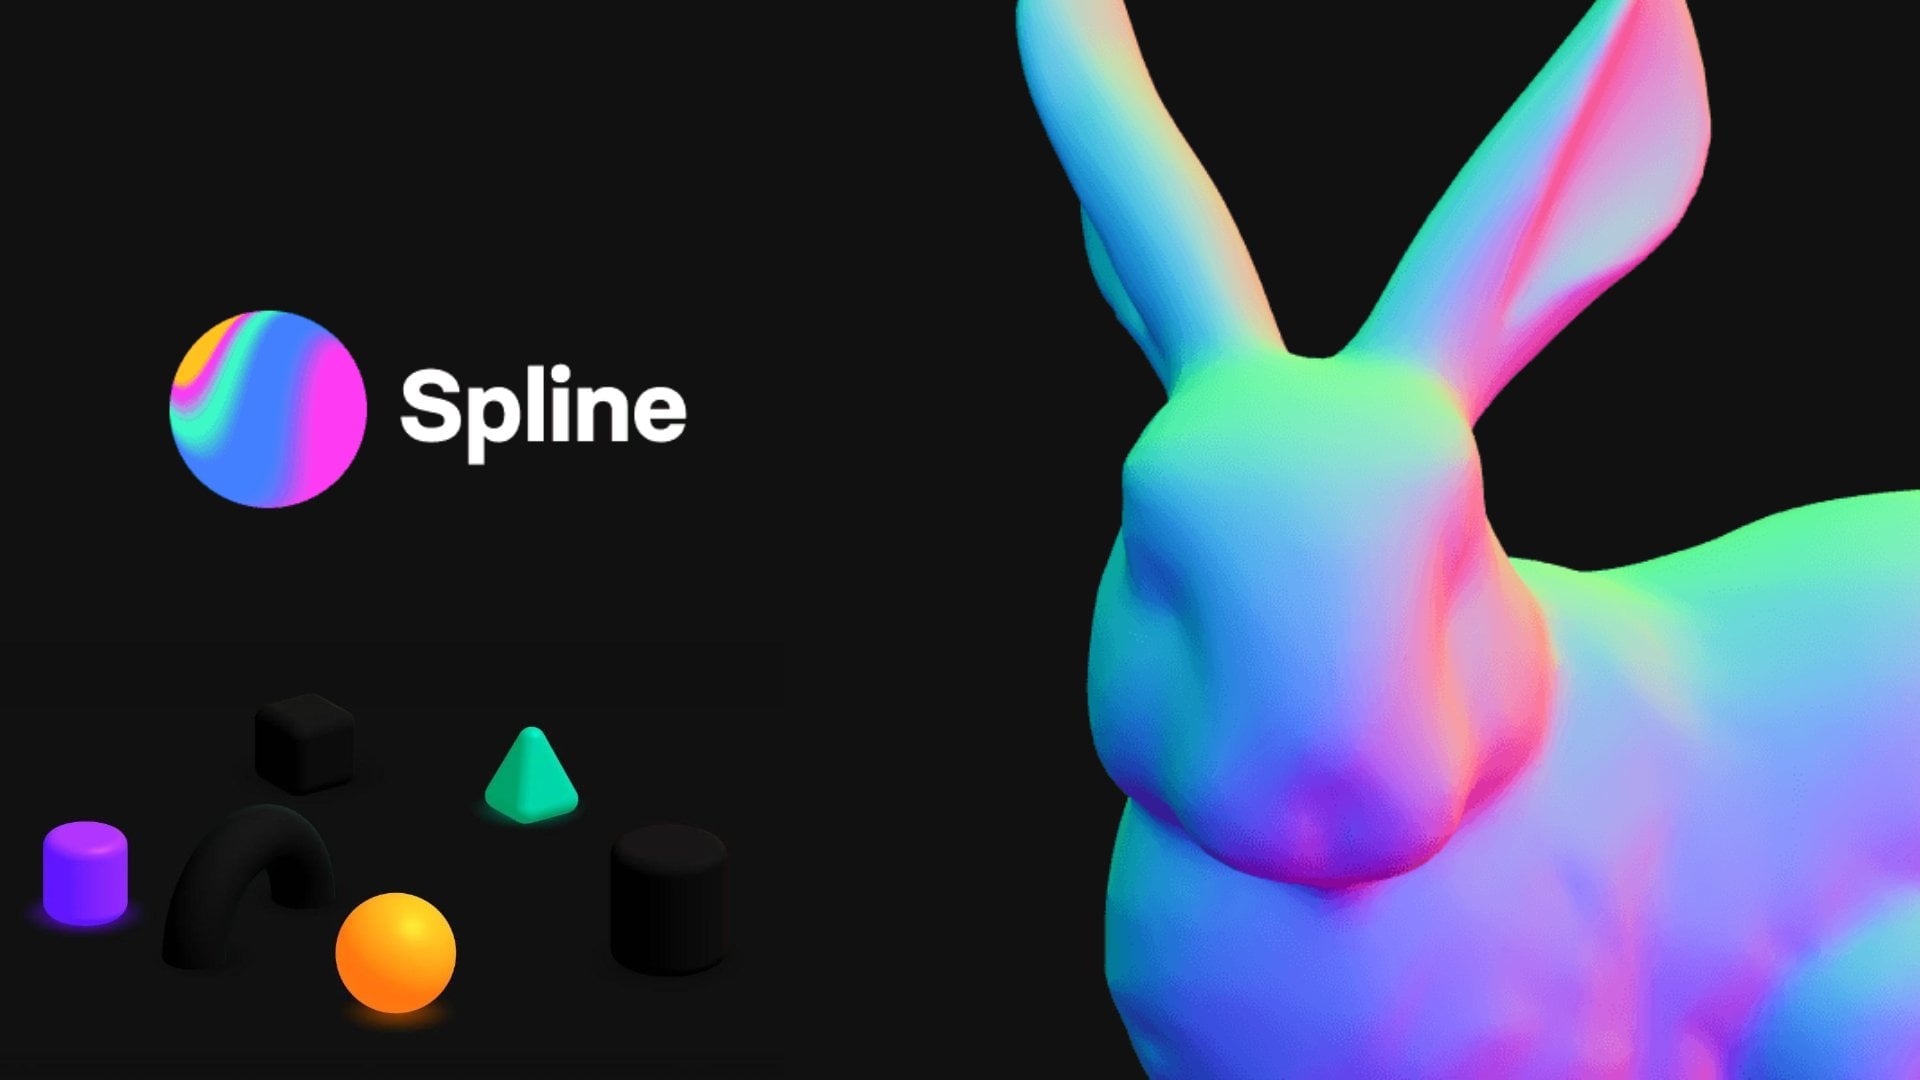
Why Spline?

Spline is a fantastic tool which enables you to make perfect looking models which can be exported to any website, game engine, or other software. Here are some of the reasons why you want to learn Spline with this online tutorial...

  • You can create 3d scenes, edit materials, and model 3D objects easily.

  • Revolutionary for web3 projects

  • Realtime collaboration

  • 3D sculpting

  • Interactive experiences

  • Animating objects has never been this easy before.

Where can I use them?

It’s up to you! You can upload them directly to your website. Spline has many export options for web technologies like live url, vanilla javascript or react code. You can also export objects and animations to make games, videos & more.

Why this course?

We as Yeti team, are working to create professional online education lectures. We are trying to keep it as simple as possible. You'll find the best practices 3D modeling and animations.

All students have access to the Q&A forums where our Instructors, Teaching Assistants and Community are ready to help answer your questions and cheer on your success.

Who this course is for:

  • Designers

  • Programmers - Developers

  • Freelancers

  • 3D Modellers

  • Game Designers/ Developers

  • Animators

  • Graphic Designers

  • Who feels comfortable with another modeling tool and want to learn Spline Design

  • Everyone interested in animations, visuals, modeling, illustrations and art

Meet Your Teacher

Teacher Profile Image

Yeti Learn

Design | Code | Animate

Teacher

Get a professional service from beginning to advanced level.

Team Yeti are working for preparing courses that makes you an expert in a specific area. While doing this, we are trying to build the most intensive courses for not wasting your time. For that reason, our contents are simple, compact and intense.

Whether you want to learn a new skill, or you want to improve yourself on some area, we can guarantee that our courses will serve you the quality that you are looking for. Because during the process, you will be given a professional education by Yeti Learn team.

All courses can be reachable from anywhere and anytime you want. Besides, we are answering your questions 24/7.

See full profile

Level: All Levels

Class Ratings

Expectations Met?
    Exceeded!
  • 0%
  • Yes
  • 0%
  • Somewhat
  • 0%
  • Not really
  • 0%

Why Join Skillshare?

Take award-winning Skillshare Original Classes

Each class has short lessons, hands-on projects

Your membership supports Skillshare teachers

Learn From Anywhere

Take classes on the go with the Skillshare app. Stream or download to watch on the plane, the subway, or wherever you learn best.

Transcripts

1. Introduction: Hi everyone. In this video we will be doing a 3D animated character in under 15 minutes. Using spline. We will work on a browser, and I'll put the final project link in the description so you can always go check it yourself in case you wonder. Also notice that discourse assumes you have at least beginner level knowledge of supply and if you are totally new to supply, and we also have an introduction course where we are talking about the basics of spline. Once you're finished that course, you will feel more comfortable making these kind of projects. 2. Making a 3D Character: Ghost: Here we are on startup screen. And as always, I will start with deleting this rectangle. Height helpers and turn off grid planks. Done, I will create a new cube by holding Shift Option and reset. It's all properties. Now that it is centered, we can click Smooth and edit button to start modeling. I will set the subdivision level to treat with blue bar tool and the new subdivision and move it a little bit higher. At the second one. This time, drag it all the way. But that's because we want a sharp edge at the button. Resize it and check their appearance from all perspectives. Increase the subdivision level so that we have smooth transitions. Maybe resize again just to be sure that it looks like a ghost, silver and select the object. Now we can click edit mesh bottom here, increase based subdivision. And now we can select these four bottom faces. Hold Shift while selecting the other one, and move all of them up like this. We can increase the level again to check how it looks like. Let's make it 0 and click on increased based subdivision. Because we need more corners to create the fluctuation parts of the ghost. And these many subdivisions should be enough. So I will switch to the vertex mode from toolbar at Mitre way, double-clicking on the object will switch to the editing mode. Select these three corners and we will move them up like this. Also select three dots from here. I will do the same thing for all around the ghost. We're just leaving small gaps to get smooth transitions, increase the level all the way up to five. And it looks like a ghost already. Maybe we can fix these corners, maybe a bit high. Alright, we are done with the body of the ghost. Now, I will reset the camera and start making the ice. I will just select LH from toolbar and click on surface of target. So I'll just circle robust pond here, change its lighting to funk so that we can see also change the color to black. Let's make it thicker by increasing the extrusion value. We can see the difference better from this perspective. I want smaller eyes. Let's give AT for x and for y. I can now duplicate this one for the left eye as well. It's time to rotate these circles and stick them to the body. Match here, actually just resizing the eyes and repositioning until it looks like natural. Well finally I decided on 74 width and height where Alice navigate the circle format. Again, put it here. Also narrow, it's somewhat. Again, let me adjust the position for the next step is to create the little circles inside of the eye. Replicate this one, and change its color to white. Let me bring it to the front and I will make it smaller. 2020 will work for this one and put it right there. Same thing for the rest. Finally, you should also position them on the z direction so that they are not outside of the eye. Once you are ready with the left eye, we can duplicate it and reposition for the right eye. I will just delete this circle for now. Group all of the circles we created for the left one. And I will call it left eye. Not too much. So take it out. Duplicate this group. This time, rename it. Right, I adjust the position. It's time to create the eyebrows. Click on the rectangle from the toolbar and click on the surface just above the I, changed the lighting, the font color to black. Also resize and rotate the rectangle. Let's look at it from this side. I'm going to increase our extrusion level to six and make the necessary adjustments like the previous parts of the ghost. After positioning the left eyebrow obligated and do the same adjusting for the right wall. Once you are happy with the result, let's group all of them together and also hide this group so we can focus on the arms which we are going to create. For the next step. Create a new cube by holding Shift and Option reset properties. And by the way, I'm doing the same steps every time because in that way we don't have any scaling issues. So selecting the cube from the right menu increase the subdivision levels, make it longer and narrower as well. Now we will try to bend this object and do the slide slope, maybe clicked Edit Mesh and the new subdivision right at the center. So we should have our text March so that we can select these corners like this. And let's pull them a little left. It is really is a demand. Objects in splat. Make it narrower again. On this side as well. Now, double-click on an object to go back to Edit much. Maybe we can pull from there. They'll get more. Alright, that's it recreates the arm. Rotate it 90 degrees, so it looks like horizontal. Now that the arm is ready, go ahead and make our ghost visible again. And we can place to maybe this should be a smaller. Let me adjust the rotation and position as well. Just be sure that the arm is stick to the body. We don't want some flying effect. Replicate left arm and do the same thing for the other one. Finally, I will add a new material, which is normal. I believe it looks really good with this little ghost here. That's why we don't worry about any material or color that's also applied to the arms. You can also copy the material and paste it. Put another object. I'm just doing final checks and fixing some rotation and position of the arms. We can make it more realistic by adding a shadow to the project. To do that, I will create a new rectangle. I want to do it from top angle because this will be the ground object and just move it here. It is a 2D object now, so it has no lighting material. What if we change this to form? We can see the shadow from the directional light change the color of the ground. And you will now understand why we did the grant using a 2D object instead of cubed. It's because when you make the background color staying with the rectangle, the rectangle will become visible. And I really like this. We'll remember if you change the color again, you should also change the color of the background. Right? We are also done with the scene. I will rename this as ground and lock it because we will never gonna make changes on it. Also rename the left arm, the right arm, and move them into the group because they are also some parts of the goals. Also notice that you can not change the position of directional light anymore since the ground will be effected. After finishing all the modelling stuff, it's time for the animation part. Selecting the group. I will just add a new event and I will select from the drop-down menu. It is that easy to create a mask, follower and dimension in supply. And you can put this project into your website directly, and it will follow your mouse in there in your website as well. Okay, This was too easy. Let's add more animations. This time I will make something about the eyebrows. Maybe they can be angry sometimes. To do that, select the left eyebrow first and add the new state. In the second state we just created, change the position in array that looks angry. We can also change the rotation. Also add event to trigger the state. And I mentioned select Start as the type of the animation will play when it starts. I want to enable cycle and repeat because it will look nice if this little guy changes emotion continuously. And let's also enabled the leg in repeating process. Finally, I will set duration 1 second delay too. Once you are done with the left eyebrow, though the same steps for the right eyebrow blade to see the result. Wait a second. Here it is. This is the repeating animation and it is independent of our actions. But I don't really like the transition effect. So let's try Supreme. Instead. Also change it for the left eyebrow spring. And there was a try. Write a better. Alright guys, that's it for this project. I hope you enjoyed during this tutorial and see you in the next one.