Transcripts
1. Hello !: Hello guys. Welcome to my class. Do you have the habit of watching sunrise, sunset every day? Well, I for one attempt to watch every sunset, my balcony. So how many colors they'll be in the sky and around the sun. And have you ever wondered how soft and settle those colors look in the sky? Like it's not forced a doll. And blending in so perfectly. Well. Today's class is all about capturing that beautiful, harmonious combinations of soft rich colors in our landscapes. I hope you are ready. Let's get started.
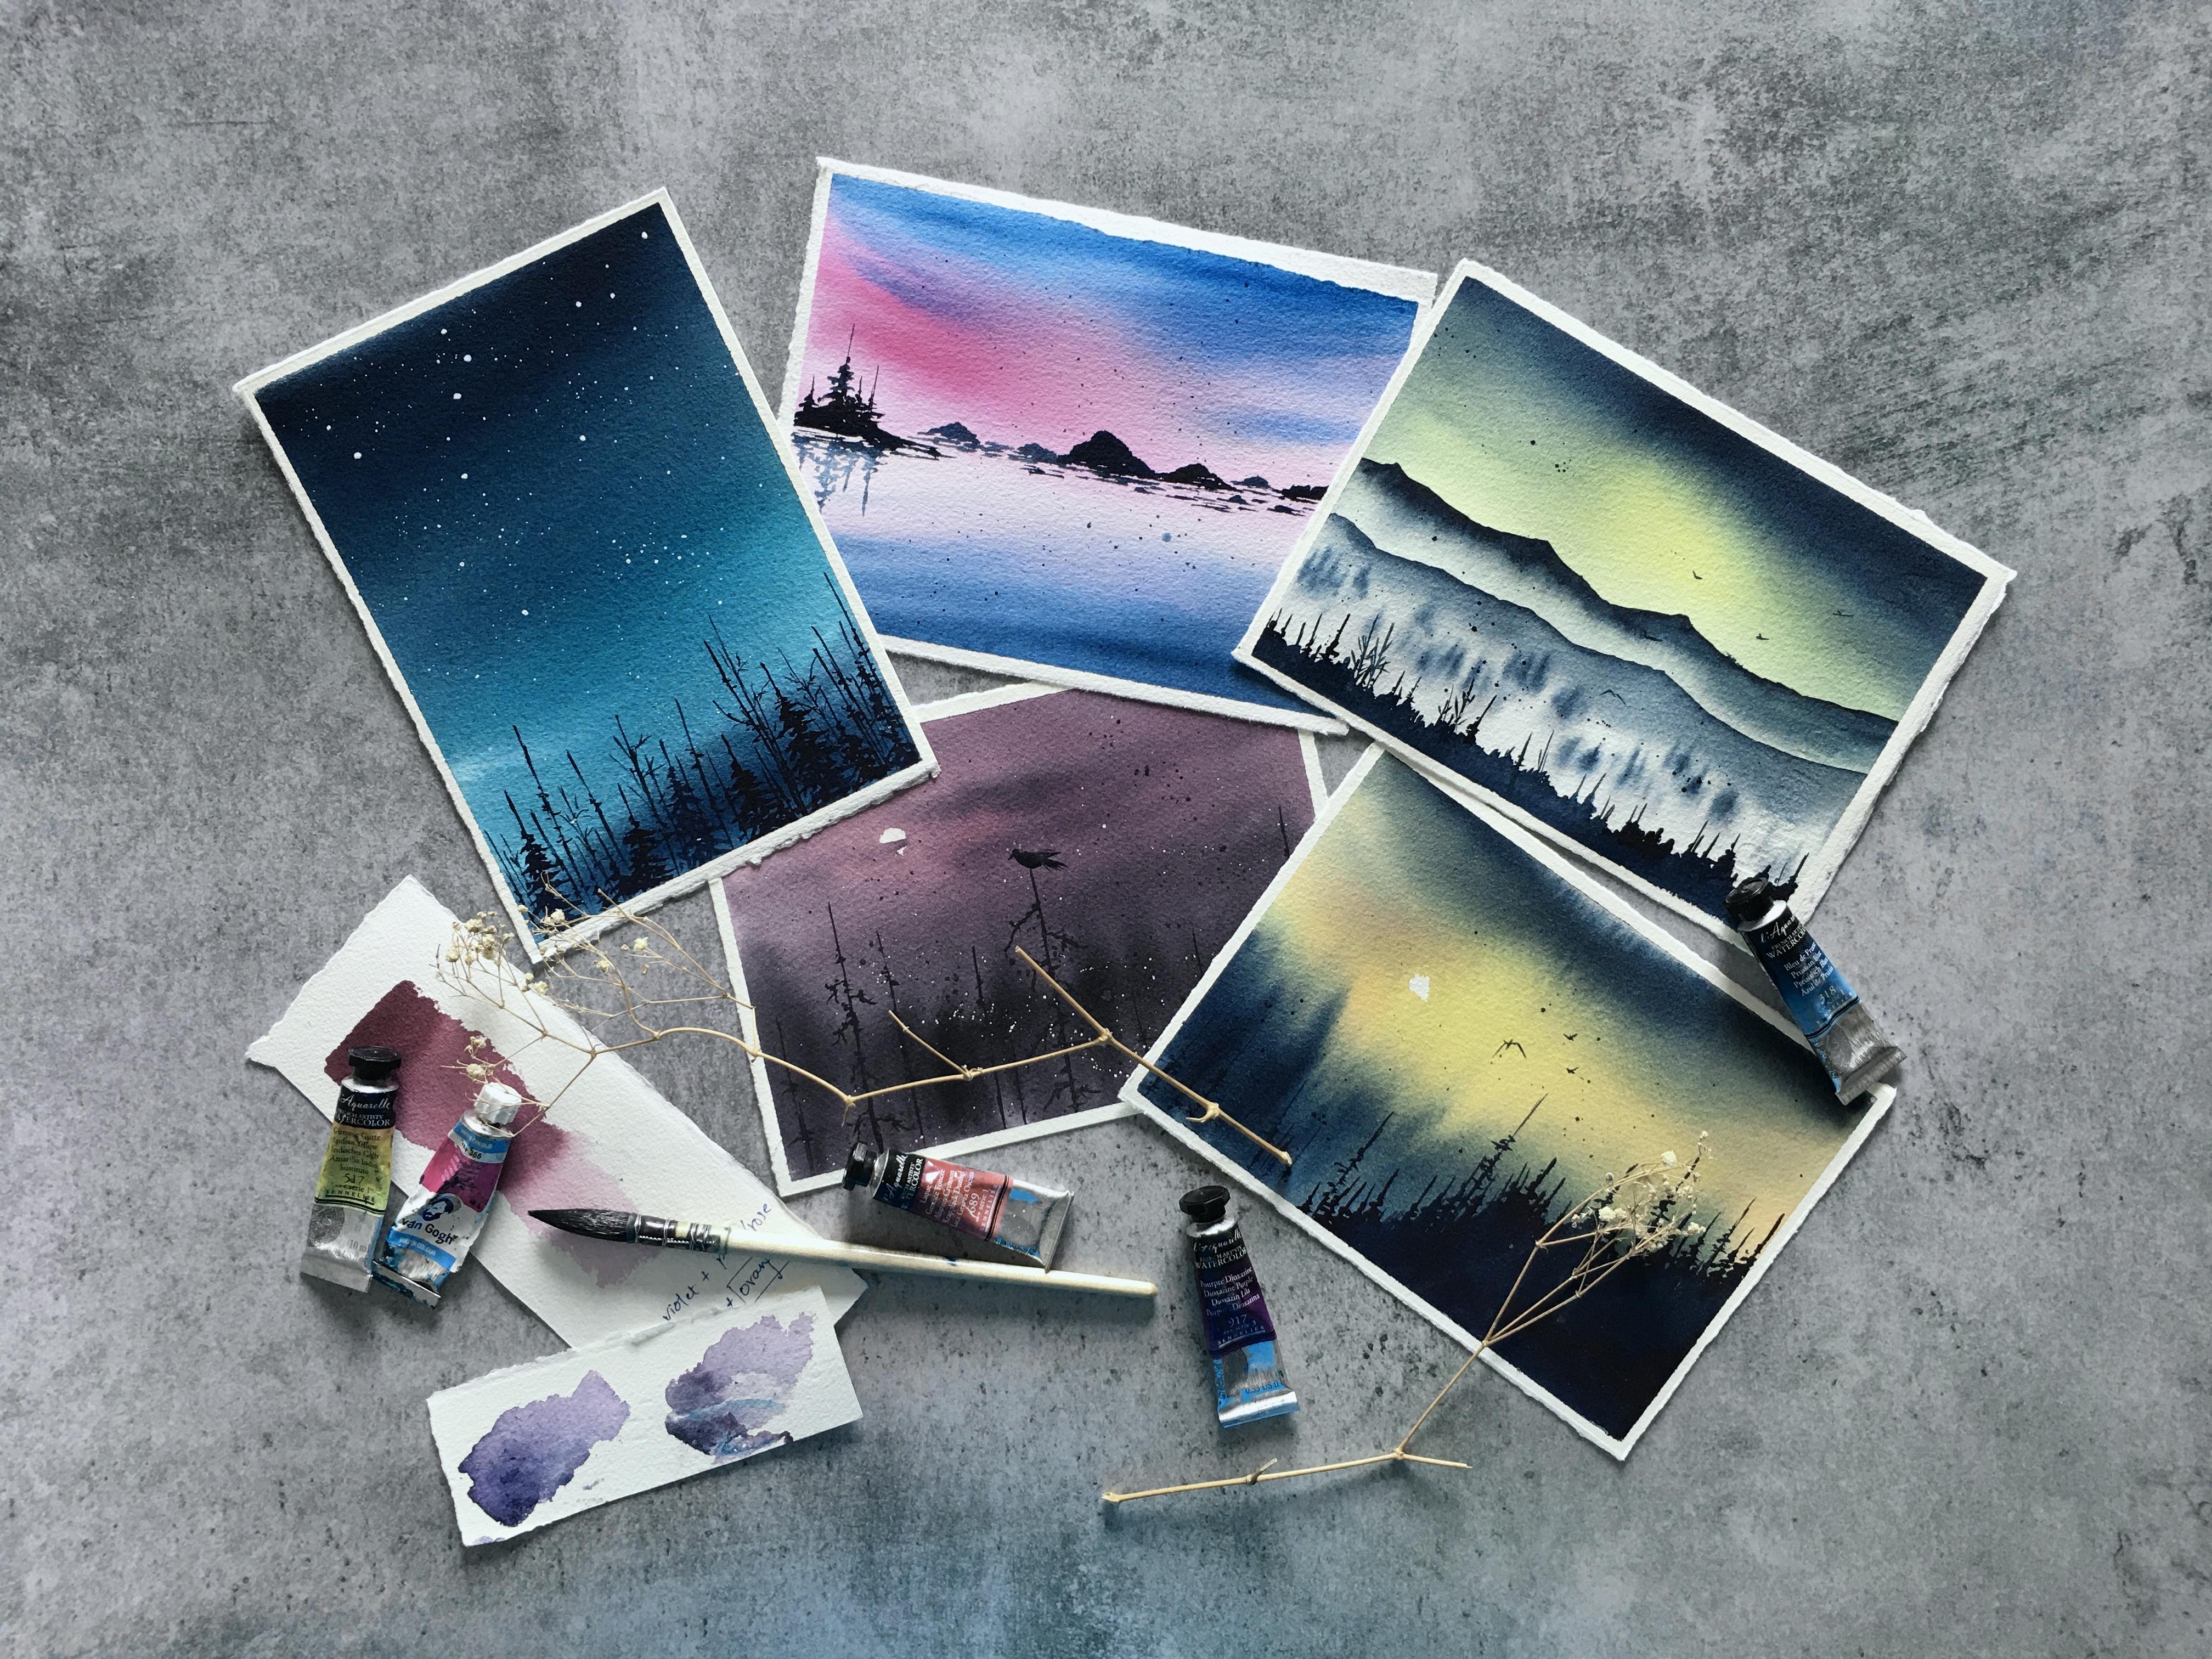
2. Art Supplies : And this
3. Techniques 1 - Damp brush: Let's talk techniques required for this class today. First one I'm talking about is done brush technique. You might have heard me on sane me using this technique for a lot of my landscapes before. And I also have a video on this technique in one of my previous classes. I use damn brush, the liftoff, the colors in this particular landscape. It's one of the class projects. You can see the white color in this landscape, right? That's because I have lifted some color of using the damn brush. So you need tissues for Dan bridge technique and it's very, very important. So I'm going to start the bridge technique, quick wash. Since I'm only teaching brush technique in context to one of our class projects. I'm going to use the same color, screen and indigo. It's going to be messy. So I want to leave some color off. So I will take this shoe and I will remove the excess water present on the brush. You can see it. It's red and I'm going to remove the water and I will lift the color off. And you can see the white color coming through. And you need to be fast for lifting the color because your paper needs to be wet. And that's it. That's how you create beautiful washes using DOM brush technique. Now let's talk about the brush for dam brush. Now, the brush needs to be Somalia to you. I'm not talking about the type of brand or anything. Just that the brush that fits your hand and a whole lot of tissues. If you're not comfortable using tissue papers, you can use a washcloth instead. So this is how you should use damn brush technique for lifting and blending the colors. I hope you had fun this little information useful. Let's move on to the next one. And thank you for watching.
4. Techniques 2 - Light To Dark: So the first important technique in watercolor you need to know is whenever you're painting with colors, always start with light to dark colors. Here. I have painted pink and blue later, here, L0 and indigo. And here a low orange and indigo. And here it's some kind of rusty maroon and binds gray. If you bind the dark color First, you cannot add the light color. I think it's obvious, so always start from light to dark. And I'm gonna give a few examples today. We practice all these examples before you start your class project. And I'm going to take a low because it is the lightest thinking to add the darker sky on the top of the paper. And the next two darkest color is a Prussian blue. So I'm gonna take, and I'm going to blend the color into the L0. This is just for you guys to practice. First, add light color and then dark color. And if you want to know how, how to blend these colors together, I would say these two guys to watch the next video that is Sadie flout. The same technique I have used to paint this landscape onto the next example. So I'm using windrows and blue color. In those two colors, windrows is the lightest. And I'm going to add it first. I'm going to use this one to paint the cloud. And it's the same color combination and the same techniques I have used for this particular landscape. I'm going to show one more example. And I'm going to show how to paint this particular landscape with that sun in the middle. Even the light space in the middle. And I'm going to carry on with a law. But the rest of the paper. And this is one of the techniques we are going to discuss in the coming videos. It's called How to paint the sun. The final dark color. To finish up the landscape. Unlike the previous example, where we used only two colours, here we are using three, that is a low range. And indigo. Always go from light to dark color, no matter what the landscape you're painting in watercolor. And that's it for today's video. I hope you like this and I'll see you in the next video. Thank you for watching.
5. Techniques 3 - Subtle Clouds: There are lots of different types of clouds you can paint in water color. For this class, I chose to paint subtle clouds, and I have been did them in almost all of the landscapes in today's class. So all of the landscapes in today's class are having settled flout. Hence the name soft skies and saddled clouds for today's class. In some of the landscape, we can only recognize them by seeing the different color. For example, this pink sky is having blue colour clouds. I'm gonna quickly show you how to paint the satellite clouds. As always, start with the first wash. I'm going to use a taco screen for the fast wash. Now, I'm gonna take a smaller brush that is a number two. And I'm going to take a darker color. In this case, I'm going to take indigo and I will just add a few lines and make sure your paper is somewhere between vector damp and not completely dry. This is how I have painted the subtle flouts in almost all of the landscape at this one more time. And I'm going to show another example. Here. I'll be using yellow and blue. And please practice at least tries, tries if needed. And what are the techniques that I'm teaching you today will only be achieved by practice. That's how I have been in all of today's class projects. I hope you found this information useful. I'm gonna see you in next video. Thank you for watching.
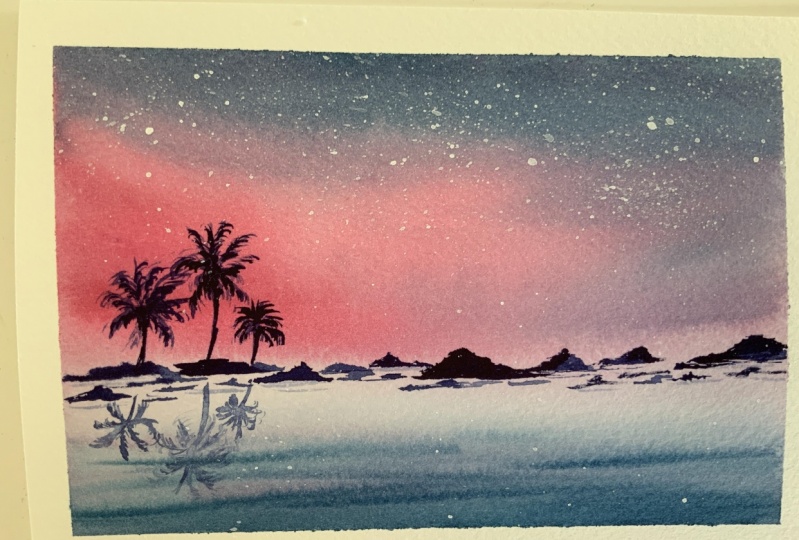
6. Technique 4 - Painting The Sun: So the next technique would be painting the sun are not painting it. I don't know how to say it. So I've used this painting or not painting Sun technique in two of my landscapes. Already kind of painted this technique before while we are talking about light and dark technique. But this time I'm going to explain it better. These are the two landscapes that I've used this technique on with the clean Wash. So whenever you're painting the sun in this way, paint and leave the white round space in the middle as it is. And without painting anything, any color over it. So okay. If it's not perfectly round or we are not going for that Ada. Now since it's wet and wet, there is some color that will go into that whitespace. So take a tissue paper, wrapper, finger around it and just dab a little. It will clear out the whitespace. Again. Again, this has to be done only when the paper is still wet. If it's tried, you can't do anything. I'm just going to add a few cloud and it's kinda looking great now is kinda like in our night sky. Sky. And I have used this technique on this landscape. It's similar to that color as well. Now I'm going to paint one more time using alarm orange. It's kind of like morning sky. Like I said, paint around it.
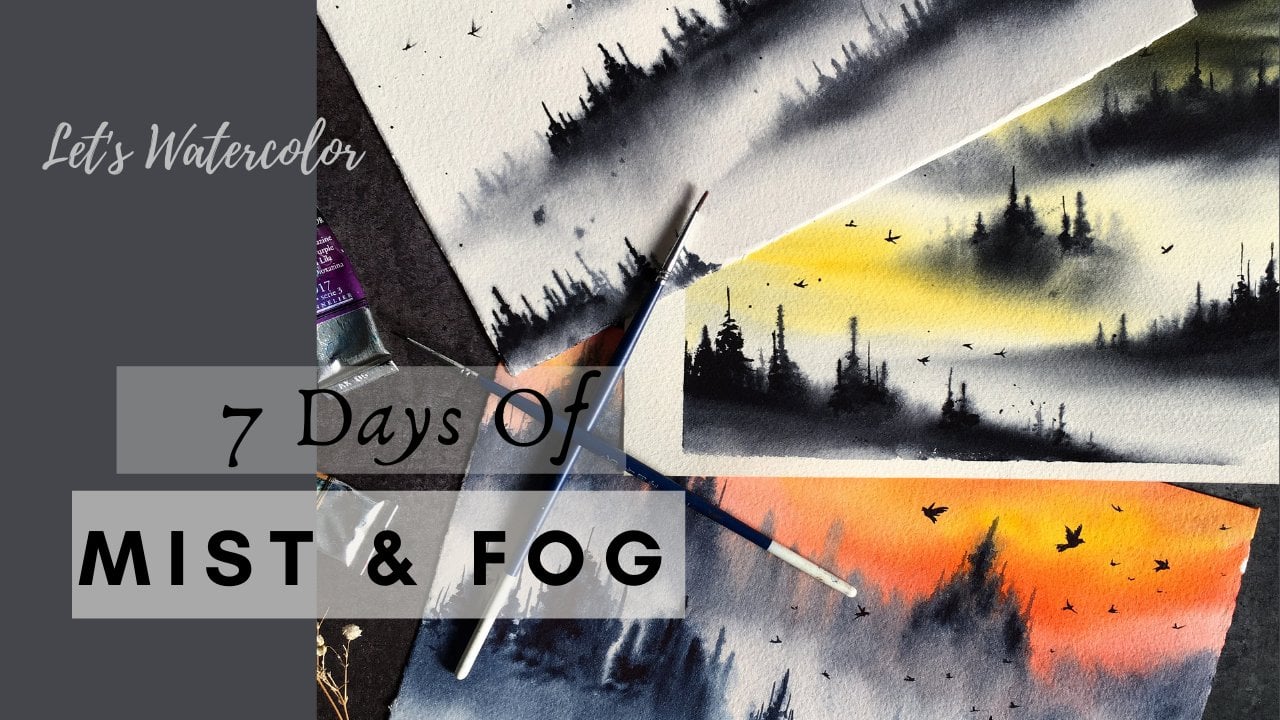
7. Techniques 5 - Background Pines: In two of the landscapes
of today's class, I have painted the pines
in quite a different way. I call them as background pines, as you can see here, and here as well in Pines gray. Now I'm going to
quickly show you guys how to paint these
background pines. Now, these are detailed pies and these are the
background pines. I hope you found the difference. To paint these background pines, all you need is a good brush, and I'm not talking
about the brand. I'm talking about the brush that you can hold properly
in your hands. Something that's
familiar to you. At with a quick wash. Now I'm going to
cover the entire wet area with yellow color. O Take pressure blue and take lots of it and add
at the bottom of the paper. Now, turn your
paper upside down. And take a damp brush like we have discussed in one
of the previous videos. Lift the paper up and just
drag the pressure blue. Now, there is a reason why I
call them background pines. These are not going
to be detailed, something you see
in the background. That is it. Now, turn the
paper to your side again, how to paint the
background pines. But in a few of the landscapes, I have painted two
layers just like this. Now I'm going to show
you how to paint a double layer of
background pines. Take a dark blue indigo works as well and repeat
the same process. This is it. This is how you
paint the background pines, Layer one, as well as Layer two. I hope you find this
little video helpful. Make sure you're using 100%
per because we need the paper to be wet for a long time and
you're using a good brush. That's it. Thank
you for watching. We'll move on to the next one.
8. Class Project 1 - Pink Sky : Let us start with a simple project. We're only going to use two colors, windrows and Prussian blue. If you don't have pressure in blue, you can use cellular blue is going to add these colors on my palette. I'll start by reading the paper with clean water. As always, I'm using my number 40 brush. Like we had discussed in Techniques video, in watercolor, always go from light to dark. So I'm adding windrows first and then I'm going to carry on with the Prussian blue. I'm thinking quinoa should dominate the Prussian blue, but in a subtle way. So 70% of the top part of the paper will be covered in windrows and just a little bit will be covered in Prussian blue. Remove all the excess water from your brush is in the tissue paper like we have discussed in Techniques video. And just blend the colors into the paper. Now let's take Prussian blue and let's cover the top of the paper completely with Prussian blue. Now is the time to put our trials into action. We had discussed a lot about adding clouds in a certain way in Techniques video. Now, let's just carry on with it. Now I used Prussian blue to add satellite clouds over the Quinn rose background. Now when it comes to the foreground, I was thinking to add a lake. So I'm mixing both cornrows and Prussian blue. And now I'm just going to add a few ripples as well. Now remember it's important for your paper to be ready for all this time, to carry on with all of this. And also you need to have a very good grip brush. Now we have discussed a lot about adding the repulse while the paper is still in our previous class. Legs and reflections path. Like we had discussed in that class. I have added might've burst and I'm keeping this for drying. I broke my promise. We are using three colors. The last one is indigo. So I chose indigo because it's a good contrast between the light windrows and light Prussian blue background. Now let's use Indigo for a bit of detailing. Took my number one brush and I'm adding a few, you know, faraway islands in this lake. Paper doesn't have to be valid. In fact, it has to be dry. So if you guys absorbed in this landscape, we convert technique except at the ripple section. So in case you need to practice this landscape and don't have a 100% cotton. It's okay. You can practice on cellulose paper. Just add random lines. So it looked like islands floating on water. I feel trees as well. With the same brush at a few pine trees. It's easier to paint the reflections when you turn your paper upside down. I told you guys in lakes and deflections class, the reflection should always be lighter than the subject itself. Using tissue paper. And this time I'm using indigo. I hope you'll find this faster project, simple and easy to see you guys in the next video. And thank you for watching.
9. Class Project 2 - Blue Sky : For our next project, I'm using two colors and indigo colors on my palate. So while adding the tube, a leak and my hands are now full of paint. So I'll just have to wash it up and come back. Start by reading the paper with clean water and I'm using my number 40 brush as usual. This is a kind of painting where the focus should be on the first wash, that is background instead of the trees that we're going to add later. So I want to wash to be perfect. So I will keep the masking tape under the board. So always go with light to dark color. I'm mixing a little bit of white screen here, and I will start adding the screen in the middle of the paper. Then I'm gradually darkening it with indigo. Now, let's go for another wash because I need the top of the paper to be in darkest color possible. So having the darkest to background makes the stars look brighter. So let's do some magic here. And I'm going to take a damn brush and I will remove a little bit of paint to reveal that white color. Now I will take the indigo Jack and the bottom part of the paper as well. When you add the trees in the next step, this bottom, indigo gives you an illusion of the mist and it's gonna look really beautiful. I think we are done with the first wash and we have said the background as well. I will keep this for drying. The background is completely dry it. And I'm taking a synthetic brush and I'm using indigo. I will start adding the pine trees on the paper, and this is the foreground. Now the most common method I use to paint the pine trees is I will first draw a straight line and I will move my brush in a zigzag manner. And I also use synthetic brushes for painting the pine j's because I need more control. And I am painting the pine trees all over the foreground using the same brush and using the same color, indigo. After painting the pine trees, I'm going to add few random dried trees in the middle of this pine trees. You not to make it look for law on hold. And I'm using the same brush, synthetic brush, and also Indigo. And I'm using white gosh. If you don't have like gosh, you can use a normal whitewater. I'm taking a smaller number one brush, flattering. Now. I'm gonna add some big status. I guess this is remoter masking tape, completely dry. And I hope you liked this class project. Let's move on to the next. And thank you for watching.
10. Class Project 3 - Fiery Sun : Let us start without tired landscape. So this time I wanted to go for an unusual color, at least something I never used. And I thought I'd mix a lot of colors that I have and see actually what color I'd get. Randomly selected three colours. One is windrows, a violet color. And I'm gonna put this paint on my palate now. Let me tell you guys, I don't know what color I am making. I'm just going to mix all these colors and see what color I'd get. So far I have makes Violet, Red and windrows. Let me mix indigo that I have on my palette. Ebit of orange. I think this is it. And let's see what color I got. Ok, it looks like the red, maroon color. And I'm gonna use this color for my landscape. If you already have discolored, you can use it. If you don't have, I'm going to write up what are the colors I have mixed so you can mix them to. Orange was highlighted here because orange was the key to get this in all maroon color. Maroon color. Very fun mixing these colors. The great combination for the recipe maroon is fine screen. So I'm going to take a bit of it. Now. Let's start the painting by reading the paper with clean water. And I'm using my number 40 brush, as you guys all know by now, that that's my go-to brush for the fast washes. So when you combat these two colors that is rusty maroon and find scrape, this color that is resting maroon is the lightest. So in watercolor, like we heard discussed, you should always go from light to dark. So I'm going to add this recipe, maroon color first. I wanted to show the sun just before it setting and darkness already creeping in. But I don't want to, you know, use masking tape or masking fluid for the sun. So I just did not paint anything in around so good. And I have painted that St. maroon color around it. Since the paper is wet, it'll spread to that whitespace as well. So take a tissue paper and wrap your fingers around it and just dab a little to make the paper dry and to restore dark whitespace. So it's time to add clouds and I'm using Python script for this. Cover the rest of the paper with fine screen as well. Marrying few more clout. And notice my paper is still red here. Now, while the paper is still, let's add background pine trees. And I'm keeping my masking tape and drank the paint down. And this is not a detailed representation of pine trees. It is something that you can see in the background, but not very clearly. Announcer, It's important that your paper needs to be wet, value paint this type of trees and evolve and need to use a 100% cotton paper for you to paint this type of trees as well. And we are done. Let's give this word drying. All before you do anything, make sure the first layer of your paper is completely dried. Now, I'm planning to add a few trees and a bird on the foreground. So I'm taking my synthetic brush. It has a sharp dip and I'm using fine screen. Now these trees are not gonna be pine trees. These are random trees with branches just bending the straight line on a few branches in as exact manner. And there's nothing more to it. It's very easy. This type of trees in the foreground, consistency is the key. You always paint a very small number of trees are repaint way more. Both gives the wrong look to the landscape. So always keep this in mind, especially when you're painting the details. Consistency is very important. So if you ask me how to know when to stop, my one suggestion would be to keep observing photographs of denature. At some point, you will intuitively know how to create a landscape. Doubt using reference pictures sometimes as well. So I will stop adding trees now. Now it binds gray and the same brush. Let's paint a board. I always loved to paint only single bird because it kind of gives a feeling of solitude. Sometimes. With my smallest number one brush, I'm going over this landscape. All of these dark colors that is rusty maroon and white paint as well. Don't you guys think it looks wonderful? Remote of masking tape. One sheet of paper is completely dry. And I hope you like this landscape. And let's move on to the next video. Thank you for watching.
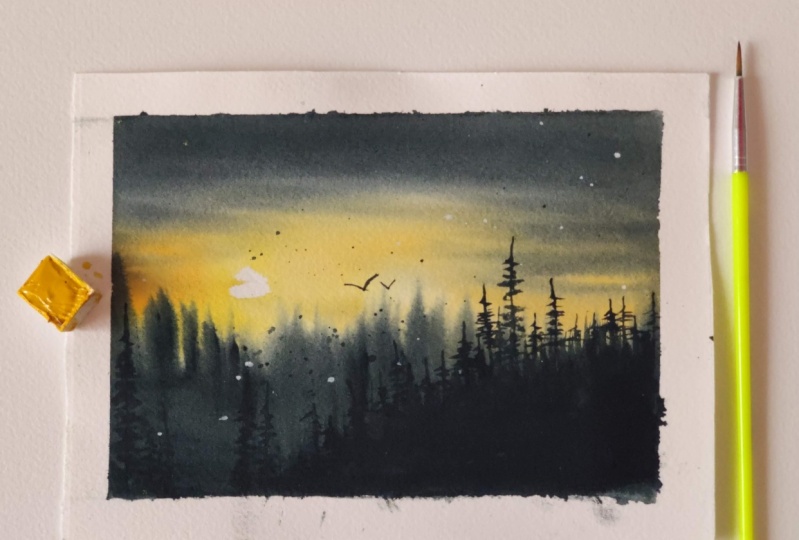
11. Class Project 4 - Mystic Sun: For this landscape, indigo, yellow, and orange. And I'll just put them on my very clean palette. And one other important thing, always keep the tissues ready. Now, as always, read the paper with clean water and I'm using my brush. Now remember lighter dots in watercolor. So I'm gonna take yellow fast. But just like in the previous landscape, in this landscape on Soviet whitespace in the medulla, without painting anything. And this white ground space is the sun. The paper is white. Dialog will spread to that whitespace. So data tissue paper, wrap your fingers around it and I'll just a little to clear out. The next light color is orange. And I'm going to lightly orange around dialogue. Now comes the darkest color, indigo. And I'm gonna add indigo on the top as well as bottom of the paper. But first, I'm going to add the saddle clouds using the indigo on both sides of the sun. Now I'm going to take some are indigo and fill up the bottom of the paper. Just like the previous landscape, we're going to add the pine trees now. And it's easier to paint the background pines when the paper is upside down. And I'm gonna keep the masking tape under the bold as well. It helps the pain to move down. Now take a damn brush and sort of drunk the pain down. And it creates the illusion of trees in the background. That is it. Painting the background. Now, blend extra pain if you see it right here. So I'm just gonna blend it. I'm gonna keep this for drying. And it's the first layer is completely dried. Go for the second layer. And I'm using my number to brush. And I will take the darkest indigo. And I will add a bunch of trees in the foreground. I'll just like how we have defined in the background. We're gonna paint the same on the foreground as well. Keep your paper upside down and just drag the paint down with the same brush. So once you're done with that, we're going to go for the details. I'm going to take a small brush number one brush, and I'm going to add a few pines in the foreground. Since it's all about painting, only fine. I'm fast-forwarding this video. A few. And last step, let's spend a few, but I am using and number one, brush to paint the boat. And you all know, my landscapes will not end without some splattering. And I'm using indigo flattering as well. Remoter masking tape only after the painting is completely dry. And I hope you like this video. Let's move on to the next one, and thank you for watching.
12. Class Project 5 - Misty Morning: So I'm going to take only two colors. And indigo. I will keep this panes on my palate. Since this is the last to landscape, my palette is so messy and full of colours. Looks like it's an important step for most of our landscape. I'm gonna take this masking tape. Ok, I said before, it helps in flow of the paint. Now let's start the first step that is reading the paper with clean water. I guess you already know what depression amusing. Indigo and in this book colors, yellow is the lightest. So I'm gonna start with that. Now take indigo and paint at the top of the paper. Now I'm gonna take all the water away from the brush. And oh no, my tissue got stuck in the brash, but it's ok. Now the brushes, Dan brush and I add subtly flout using indigo. Remember, you can only perform a 100% cotton paper. If it's not, then it will be dried by now. Since we are going to paint the mountains and the bottom of the paper, we need the paper to be dried. So I'm gonna remove the masking tape under the board. And I'm gonna keep this for drying. Make sure the first layer is completely dried before you attempt a second layer. Now, I'm taking indigo and a number toothbrush and I will likely start painting the mountains. There are not very detailed. Now I'm using number four, mob brush, and I just read the brush with clean water. You can see there is lot of water on the brush. And I'm gonna just blended Jess. Now, once you are done with the first layer of mountains, keep this for drying the same brush, but take the lightest shade of indigo, lighter than the previous color that we took for the first layer of mountains. Here you can see the lightest to share. To get the lightest shade, you need to add more water to the pain. And the second layer of Mondale's with the light shade of indigo. And with the same number for brush blended Jess, just like we have done for the previous mountain. Previously, we have kept the paper for drying after finishing the mountain. Here. We are not keeping it for dying while the paper is still wet. After painting the second Mountain, take a small brush and indigo and paint the pine trees. Now these pine trees will not going to be details. They're just gonna be like the background binds. We have been turned in previous two landscapes. This pine tree, just like we have blended the edges of mountains before. We are going to have to paint another layer of pine trees. While the paper is still valid. I think I should stop painting this. But we had talked about consistency before. Sometimes I don't follow it as well because I get too carried away. While painting the sort of interesting subjects. Now I will stop and I'm going to keep this one for complete drying. The paper is completely dry. I'm gonna take the same number to brush and I'm gonna take the indigo, This time, the darkest indigo. And I'm gonna paint the foreground. This foreground is kind of like a line over it. We're going to paint pine trees. And I'm going to take a small number one brush to paint the detail, the trees on the foreground. So I'm going to add it. And darkest indigo. Let Spain smile. Pine tree. I think. Cuter than the big teeth. And obviously, these are my favorite to paint. Some dried up trees with branches. So I'm going to add some. If this is all for the foreground and pine trees, let us take the same number one brush. And I'm going to add some bullet. And of course, sunlight splattering with indigo. And remote the masking tape only after the paper is completely dry. That's it for our last landscape after this class. I hope you liked it. And thank you for watching.
13. Thank you: Well that's it for today's class. I hope you liked all the landscapes that we have been done so far and learn something new from the techniques we have discussed. And please practice the techniques before you paint the class projects. And thank you for watching. I'll meet you in the next class.
 Sukrutha Jagirdhar, Watercolor Artist I Creative Entrepreneur