Transcripts
1. Welcome!: Welcome to this class,
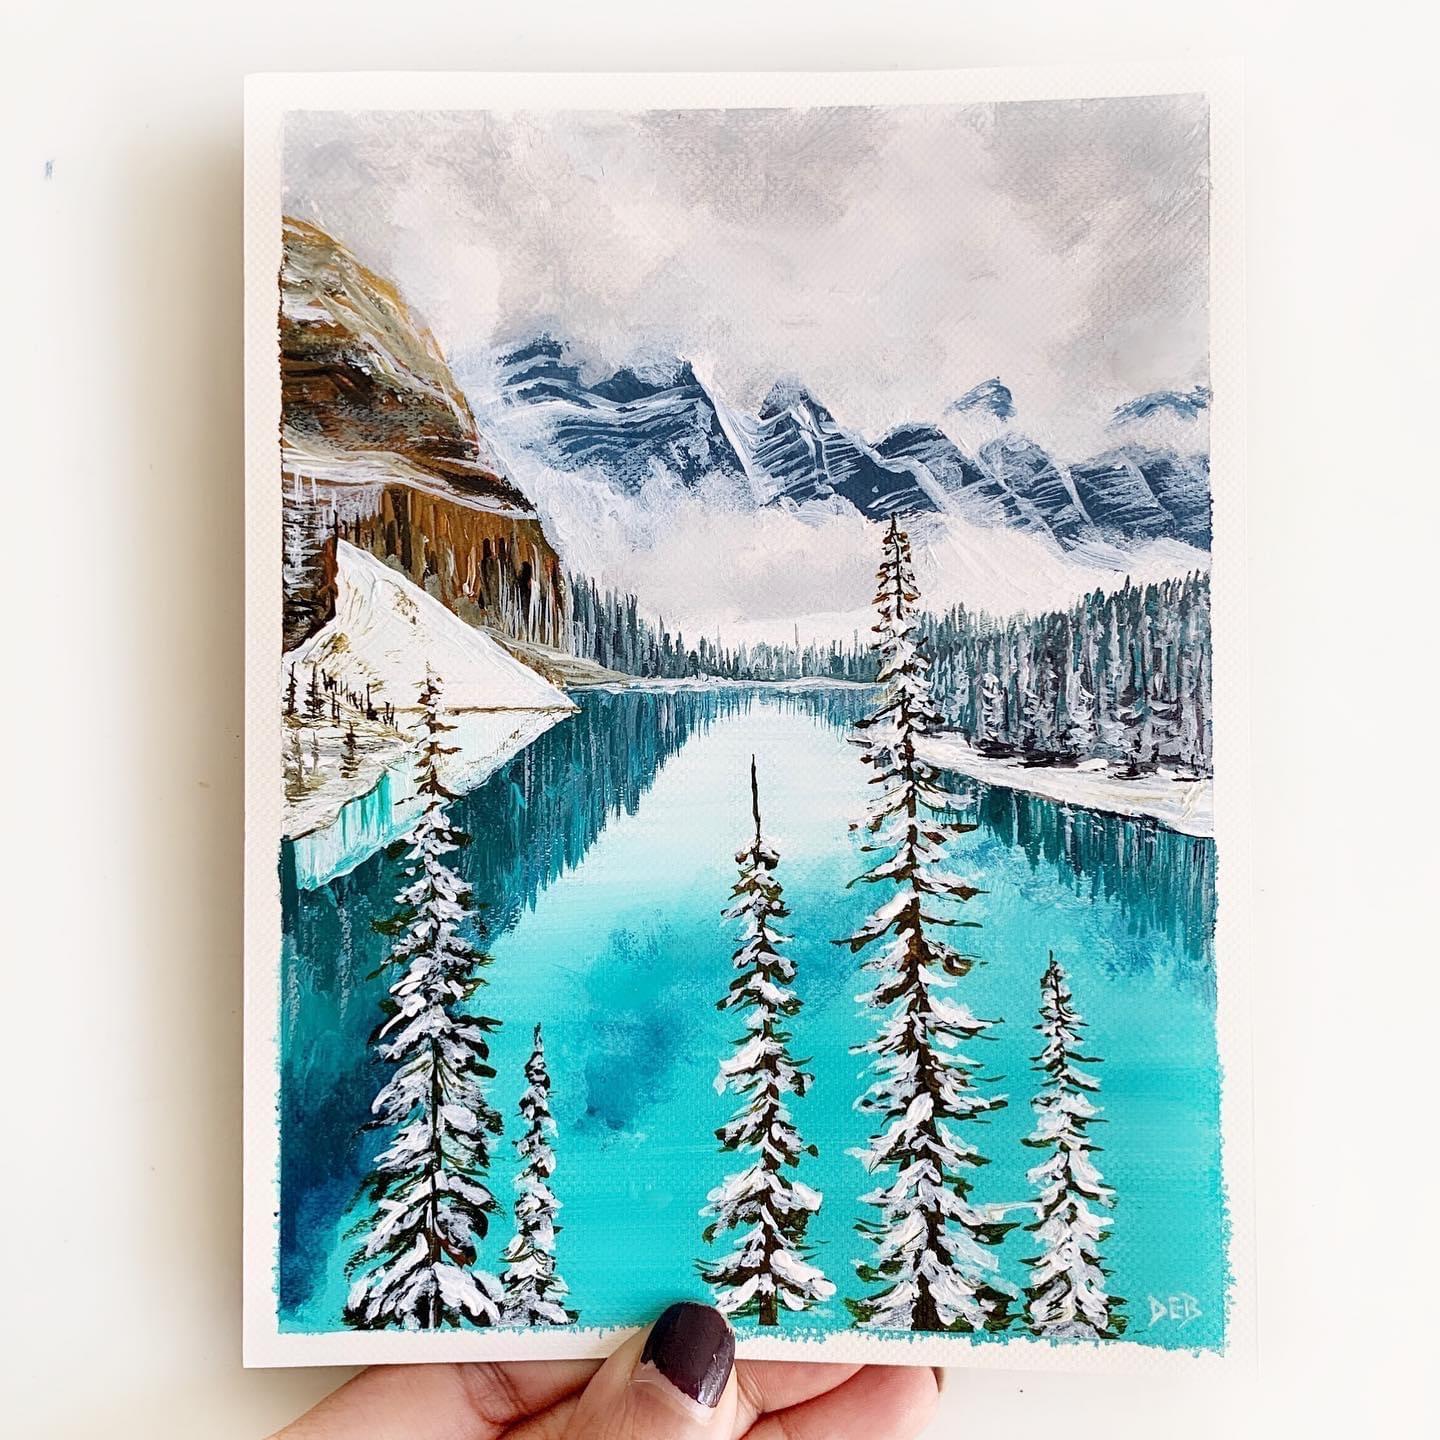
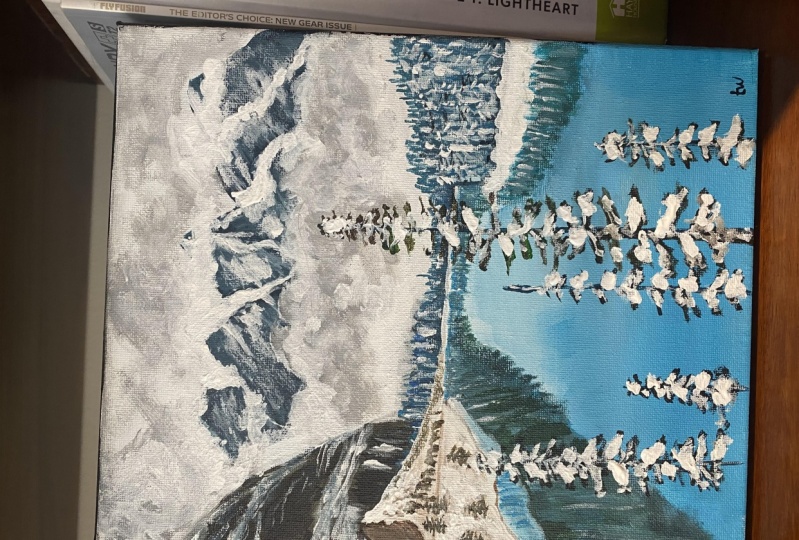
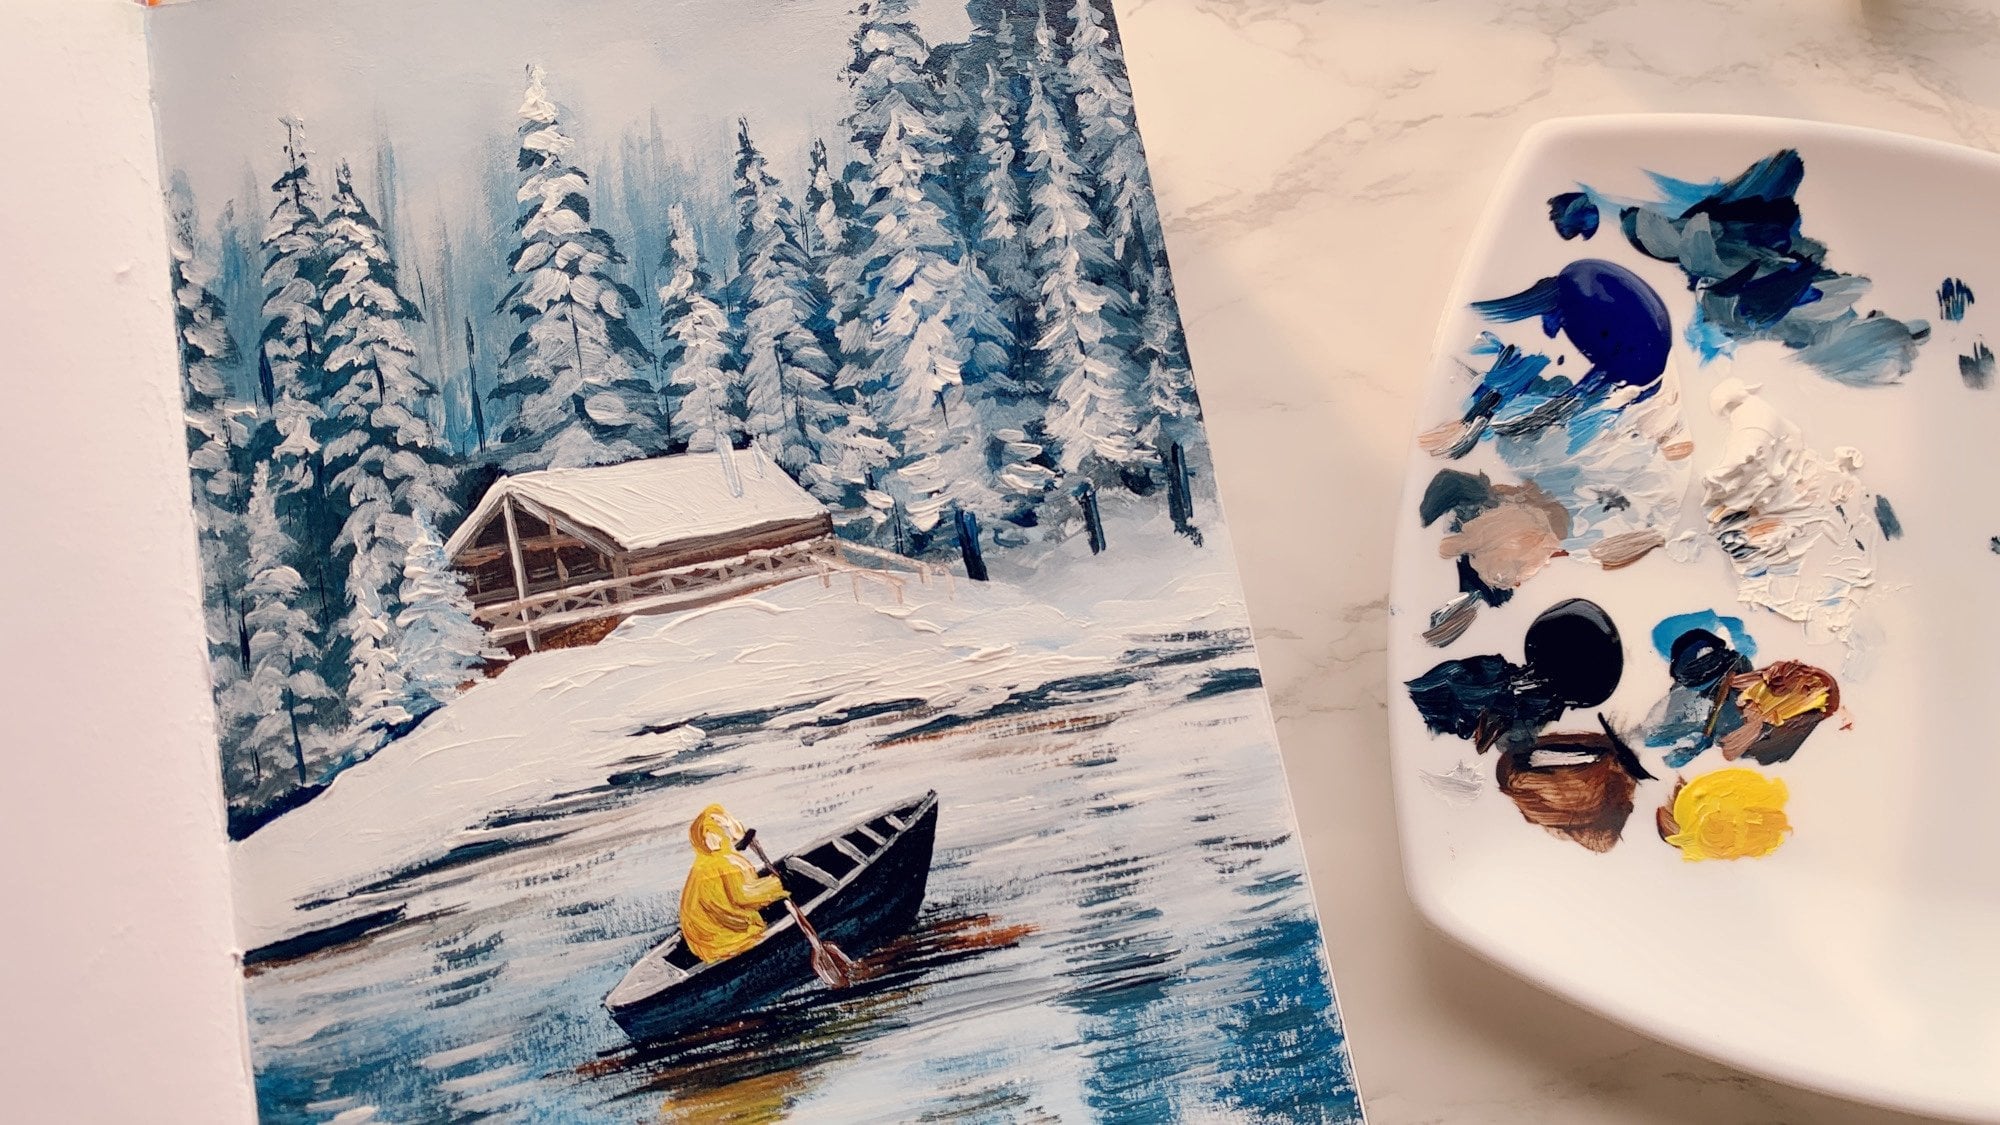
where we will be painting a Syrian winter
landscape inspired by the breath taking Morin Lake
in the Baf National Park. This scene captures
the majestic mountain ranges in the background, partially veiled by soft clouds, while the snow
covered pine trees in the foreground add a
beautiful sense of depth. One of the things I love about this painting is its
soothing color palette. We will be using just
three main colors, till blue, Prussian
blue and brown, along with black and white. With this limited palette, we can create a harmonious, peaceful composition
that proves you don't need a wide range of colors to bring a
landscape to life. To make the painting process
simple and enjoyable, I have divided it into
eight key sections, and we will go through
it step by step, following the reference image. So whether you are a beginner
or an experienced artist, you will be able to
follow along with ease. I am so excited to guide you through this process
and help you create your own version of this stunning winter
scene. Let's get started.
2. Sky: Okay, so I'm starting
with by sketching out, you know, the objects
of the landscape. I generally try to
skip this step, but when there are too many
objects and I need to have, you know, kind of understanding
of where what goes, I generally do this tap. It's a good practice to do this. If you are not confident
of painting it directly with a paint brush, I generally actually
enjoy painting with a paintbrush directly
without doing it. But yeah, sometimes I do
like I'm doing today. Now, let me take out my
three colors Prussian blue, teal blue, and brown, along with black and white. All the colors are referenced in the description box below. Alright, so now I'll start
painting with my flat brush. Starting off with almost
white and just a tiny, tiny bit of black
to create the gray. The whole sky, I'm going to create because it's
kind of a moody sky, so not much blue in the sky. So I'm just going to
use black and white, as in just gray and white to
create the entire sky and create the clouds effect
also with it. Lots of white. And just to mix gray also, just make sure that
you pick up very, very less amount of black, tiny bit of black because just black is a very high
pigmented color. So if you take just
a little bit of it, it's going to create
a lot of gray. Okay. And now I am alternating
the colors and going over the sky area to create
the clouds and the sky.
3. Mountains: Now with my small round brush, I will start, you know, covering up the major
objects in the landscape. So we'll start with a
distant mountain range. And for that, the color I mix is prussian blue black with white. So the color is a mix
of these three colors. It's a beautiful shade
that you create. So I'm not doing too much
of extraing at this point. My focus is on just covering up the entire block
of the mountains. And now with brown and
little bit of, you know, the color that I had from the
remaining previous colors, so a little bit
of blue and black is still there in my brush. I did not wash it. So with the same brush, I
picked up brown and I'm, you know, feeling
blocking off the color of the mountain in the front. H And this time, I am creating the textures on top of this brown
mountain by picking up a little bit of white on my brush because I
already have the brown, I did not want to vet it, so I picked up a
little bit of white along with it to create
some of the textures. Also, remember,
creating textures, you need to have really
lace amount of paint. The more dry your brushes, better textures you create. Now, I am using a
different brush for doing the textures
of the blue mountains. The reason I'm not
using the previous one is because I want to do, like, you know, thinner lines
than what I did before. So with white, I'm just going over the blue mountains and
creating some snowy textures. Again, remember to keep your
brush filled with less bent. So if you're using
thick body acrylics, it's going to be easier for
you than fluid acrylics. But yeah, if you have fluid
acrylics, that's also fine. Just make sure you
have less bent. This is a little in the process.
Just enjoy the process. Watch it once so that you understand this how I'm
doing the textures. So I'm kind of holding the brush horizontally
on the canvas. So as in almost making the brush lie down on the
canvas and with the side of the braceles I'm creating
some dry strokes on the mountains which helps create amazing
realistic textures. Okay. So if you use
the tip of the brush, you will have lots of paint, and it will kind
of go as a blob. Whereas if you make the brush
lie down on the canvas, it will have really less paint and it will give you
very nice texture. So watch it a couple of times, give it like practice it on a rough sketch book with your brush lying
down on the canvas. It's really fun thing to do. And then, you know, you will be able to do this really well. Just take your time
and do it slowly.
4. Clouds: Now I'm painting a little bit of white on top of these
mountain ranges, but these are the clouds that are kind of floating in
the center of the mountain. And that's why after
painting the clouds, I'm going and adding
some of the peaks of the mountain range that are showing through
from the clouds. So that is the small little
black blue color shade that I created earlier for
creating the mountain range. That's the color I'm using for adding just a little
bit of the pigs. Okay, now I switch back to my other brush and I'm creating some clouds in front of this mountain n. So I'm
starting with white. And then I will start
taking a little bit of gray with which
we created the sky at the beginning and add a lot of clouds in front
of the mountains. Make sure to have lace paint and use dry strokes
because with dry strokes, you create amazing
cloud textures. B Now I'm adding a little bit more of
the grayish clouds in the sky with dry brush
techniques and kind of, you know, dry brushing
the color on the canvas. To Do Do do do one thing to keep in mind
while you're painting the clouds is not to
make it too dark, okay? So just to maintain, you know, the serenity
of this landscape, we don't want to make
everything too dark, so keep it more on the lighter side and it
looks very soothing. So have really light gray on your brush while you're
painting the clouds.
5. Mountain textures: Now I'm starting to create some more textures on
this brown mountain, like the way we did in
the Blue Mountain rent. So creating textures in
the mountains is one of the very important technique that you're going to
learn in this painting. So just dry brush strokes, change the colors,
and you're going to create amazing textures
in the mountains. No. Here I'm using a little bit of
black on the brown, and I'm not covering it
up entirely with black. So a little bit of brown is showing through
from the back. And I'm just adding
the black just to show the shadow of this rock.
6. Distant trees: Okay, now, along with painting the textures of the mountains, now I am starting to
paint the distant trees. So they are kind of
in vertical strokes, so that goes almost with the
texture of the mountain, but these are the
distant trees that I'm going to continue and keep
painting towards the right. Oh The color I'm using for painting
the distant trees is a mix of black and til blue. So you can see, even
though we are using a limited color palette just by mixing it with
white and black, we can create so many
different shades out of it, and those are the shades
that we are using in this landscape to paint
different objects. So I'm going to continue in painting what I call strokes for creating the distant trees now. To
7. The Lake and the reflections: And now I'm back with my flat brush to
create the lake area. So with just a few strokes, I will be able to cover
the entire place, right? So this time I'm using just tale blue and mix it with white to blend
it towards the horizon. Oh. And now with the same
flat brush, see, this is the benefit of
sketching out your landscape. So I know where the
land is coming, and now with my flat brush, I can just paint the reflection even before painting the land. And the reason I like painting the reflection first before
painting the object so that I can place the object on top of it and whatever color goes inside the land will be corrected rather
than doing it later. So what happens if you paint the land first and
then the reflection, the reflection colour might get inside the
land a little bit. So I kind of like doing it. And here I am painting the reflection of
the mountain range, the blue mountain
range in the back. So it's not very prominent, just a few dry strokes of the brush on the clear blue leg. Our Okay, I just took out just
a little bit of dark green to create
the halo blue color. So by mixing dark green with Prussian blue, you can
create that color. So if you have halo blue, you can just directly
use that color, which is basically a
little darker version of the teal blue color. Okay. So using that color, I'm using that colour to create the reflections of
the right side land and the trees over there, okay? The reason I'm using
the small brush for this reflection and not the
flat brush is because of the, you know, size constraints. So if you're painting
it on a bigger canvas, then probably you can use your flat brush to
create this reflection.
8. Distant snowy pines: Now with a mix of
teal blue and white, I created a very
lighter shade of blue, which is almost like
the snow color. And with that, I'm
going to create textures on top of the trees on the right side land to create the snow effect on these trees. So I'm just going to go in the same vertical
strokes but not cover the entire
background that I created, but just go slowly on top of
it and create the beautiful, you know, snows on top of
it on top of the trees. Make sure not to create absolutely, you know,
straight lines. Make sure the lines
are a little broken, and that's how you create
the realistic snow textures. Creating the snow here, make sure you pick
up a lot of white and add a very good amount
of white to create the snow. So almost let the
color pop out from your canvas makes it
look very realistic. Now that all the tree
structures are done, I'm just going to
go very gently on top of it and create
the pine tree effect, which is, you know, the zig
zag shape of the pine tree. So I'm not going
to do it in detail each of the trees that you see
over here in the distance, but just go over some of them and just
create a little bit of the horizontal strokes
coming out from the pine trees. I'm just adding a
little touch up of the reflections in the leg, and, you know, blending with your finger is a
really good trick. I don't know if
you have tried it, but you can blend amazing
stuff with your finger. So try it out if you haven't. Now I will paint the white
snow land on the left side, just like how I did
on the right side, make sure you pick up a lot of paint and create
beautiful textures. So just by pushing
the paint around, you can create amazing
snow textures on the land. Now, after painting this snow and make sure give it some time, five, 10 minutes,
make sure that, you know, the color is dried to be able to create the
textures on top of it. You know, the texture
requires that you have a dry brush, you have less sent. So also the background
also has to be dry. So after that, just go slowly
on top of it very gently, feather touching with
your small brush and create some
beautiful textures. And I love creating the small details,
so on the left side, I just painting out all
the small fine trees, very small, so not
too much in detail, but yeah, just a little bit. Now, I'm adding some
final touch ups to the distant horizon line and creating some of the snow
effect on the distant trees.
9. Front Snowy pine trees: Okay, now we will start painting the pine trees in the front. And how we're going to
do it is in three steps. Okay? So first stave, we are going to create as in not three steps
in three layers. In the first layer,
we are going to paint the pine tree structure
with a black and brown mix, which is kind of
like the dark brown. So if you don't have
the brown, you can mix it with burn
sienna, as well. So it is the darkest layer,
which is at the back. Then on top of that, we
are going to add a layer of a lot of white mixed with
a little bit of steel blue, almost like a whitish layer. That will be the second
layer on top of that, we're going to create
a plain white layer, which will be the absolute
bright white snow on the top. But in these three layers, what I want you to understand is that you see that now that
I'm doing the first layer, I am not making the
leaves too thick. So the lines are
very thin, right? And as and when I'm
progressing to second layer, I will increase it
a little bit with the second layer of color,
and in the third layer, I'll increase the density of the leaves even more with
the plain white color. You'll understand as
and when we progress. But I'm just telling you
the entire structure of how we are going to paint
it so that you understand. So you see the main trunk is visible and
then I'm not doing too much of leaves putriding
out from the trunk. Also, another thing
that you want to keep in mind while painting
the snow pine trees, is that when you're
painting the second layer, you want to make
sure that little bit of the first layer is visible. And when you're painting
the third layer, you want to make sure
that little bit of the first layer and the
second layer are visible. So that is the reason
we're building up one layer on top
of other so that, you know, all the colors
are visible from the back. And by developing three layers, you create a huge depth in the pine trees and they
look almost realistic. Alright, so right
now we are painting them just the first layer with the same color
all the trees. Alright, so that's the
end of the first layer. All the five trees are done. Now I'll start the second layer. So for the second layer,
I am just using white, but you can mix a tiny
touch of blue tinge, the teal blue tinge into it to create the snow color
just a little bit, okay? Or you can do it just
with white like me. So I am, if you notice here, I'm just going on
top of the brown. By top, I don't
mean, you know, top, as in on top of the canvas, but on the trees on the
leaves that are there. So I'm keeping the
brown in the bottom, and I'm creating the
white on the top. So from the bottom, the dark layer is
showing through. So the bottom is basically
the shadow of the tree. So the bottom is dark, and I'm adding the
white on the top. Also, I'm not creating a continuous line while creating the shadow highlights
on top of it. I'm kind of, you know,
holding my brush loose and creating some small strokes
on top of the trees. Oh A The idea of doing this is not to cover up the
entire background, like I said, the first layer, make sure that a little bit of the first layer is visible, and that is what gives the
structure of the trees. So enjoy this fra tape. It's a lengthy
process of painting all the white snow on the
tree, so enjoy doing this. And this is such a
beautiful stape. And in the third layer,
you're going to be surprised even more how
beautiful this turns out. Okay, that's the end
of the second layer. Now I'm starting the third
layer, and in the third layer, we are not going to go all over the trees and add the
white in every places. So I'm just going to
add pick and choose. I only in some places, I'm going to add lots
of white to show the depth of the snow falling on the leaves
of the pine tree. So watch this tape little bit this third layer
specifically because here we are not going to go
over the entire tree. Okay. And only in the place
closer to the main branch, that is where we're
going to create some of the snow so that it looks like it has fallen
on the leaves. Okay, so the third layer
is developing well, but what I want to do is
just peel off the tape once because all the sides
of the painting is done. So I'll just peel off the tape because I want to
have, you know, look at how the painting
is looking overall, otherwise, you know,
I'm not able to understand how it is. So I'll peel up the
tape, and then I will go over the third step one more time and create some more of the snow
on the pine tree. A so this is going to be
a little lengthy process. I'm going to add a lot of minute detailing
of the white snow falling on the pine leaves, but the technique
is just the same. I'm going on top of the
leaves layer and adding the white on the top
part and letting the shadow show
through on the bottom. So just watch it a little bit and you'll get
an understanding of it. So I'm going to make it a
little fast pace so that, you know, you don't
waste a lot of time, but you can just watch
it and understand how it is how I'm doing it and you will be able
to paint it on your own. I wouldn't suggest you watching this entire step this is just the same as I did
in the first two layers. So if you've already watched
it, you know how to do it. So you should be able to
paint it along with me. One thing to keep in mind
while you're doing this tape is if you feel that you have covered up a
lot of the shadows, you can go with a little
bit of black and touch up a little bit of shadows
below the snow color. So how is it going? Are you painting along with me or are you getting
a little bored? So if you have any doubt, any questions about
this painting, please post it in the
discussion below and ask me, if you have any
doubts, any questions. Um, I would be glad to answer it and let me know
how it went for you. And there you go. Our
final painting is done. I think the final touch up of the snow on the
snow pine trees, which is, like, absolutely the highlight of this painting. So that is why doing the last step is very
important that you add quite a bit of snow on top of the pine trees to make
it look really good. So let me know how it went. Did you enjoy painting this? Show me what you
did, take a picture, and, you know, share it
in the Facebook group. I would love to see
what you have done. And thank you so much for
joining me in this class, and I'll see you
in the next one.
 Debasree Dey, Acrylic Artist & Educator