Transcripts
1. Introduction and Class Project: Hi. In this class, I will teach you how to create fun and unique double exposure portraits using only your iPhone, a bunch of free apps, and your imagination. We will have some fun editing the photos. You will learn how to use different blending modes and layers. I want to invite you to ignite your creativity and take your iPhone photography to the next level using the simple yet powerful tips. Professional photographers know that taking the picture is only half of the story. A lot of the magic happens when you edit it. Thanks to the apps which are available nowadays, you can use the tools that, until recently, were only available for professionals. I will walk you through a step-by-step process and show you the tools I use to edit my images. Once you learn them, the possibilities are endless. Now, let's talk about the structure of this class. First, we will go through a list of items you will need to complete the class projects. Next, I will show you how I take the photo I will be using. We will discuss clothing, background, and lighting. Then I will share with you my editing workflow and the apps I use. I will also give you some tips on how to blend several photos seamlessly. Finally, I will talk about my inspiration sources and how the techniques you will learn here will help you create your own amazing images. Hi, I'm Kasia, photographer, video creator, and a big fan of living creatively every day. For the class project, I encourage you to create your own double exposure portrait using the techniques I will be showing you. I hope you will find this class useful and that it will help you create something truly unique, so let's create.
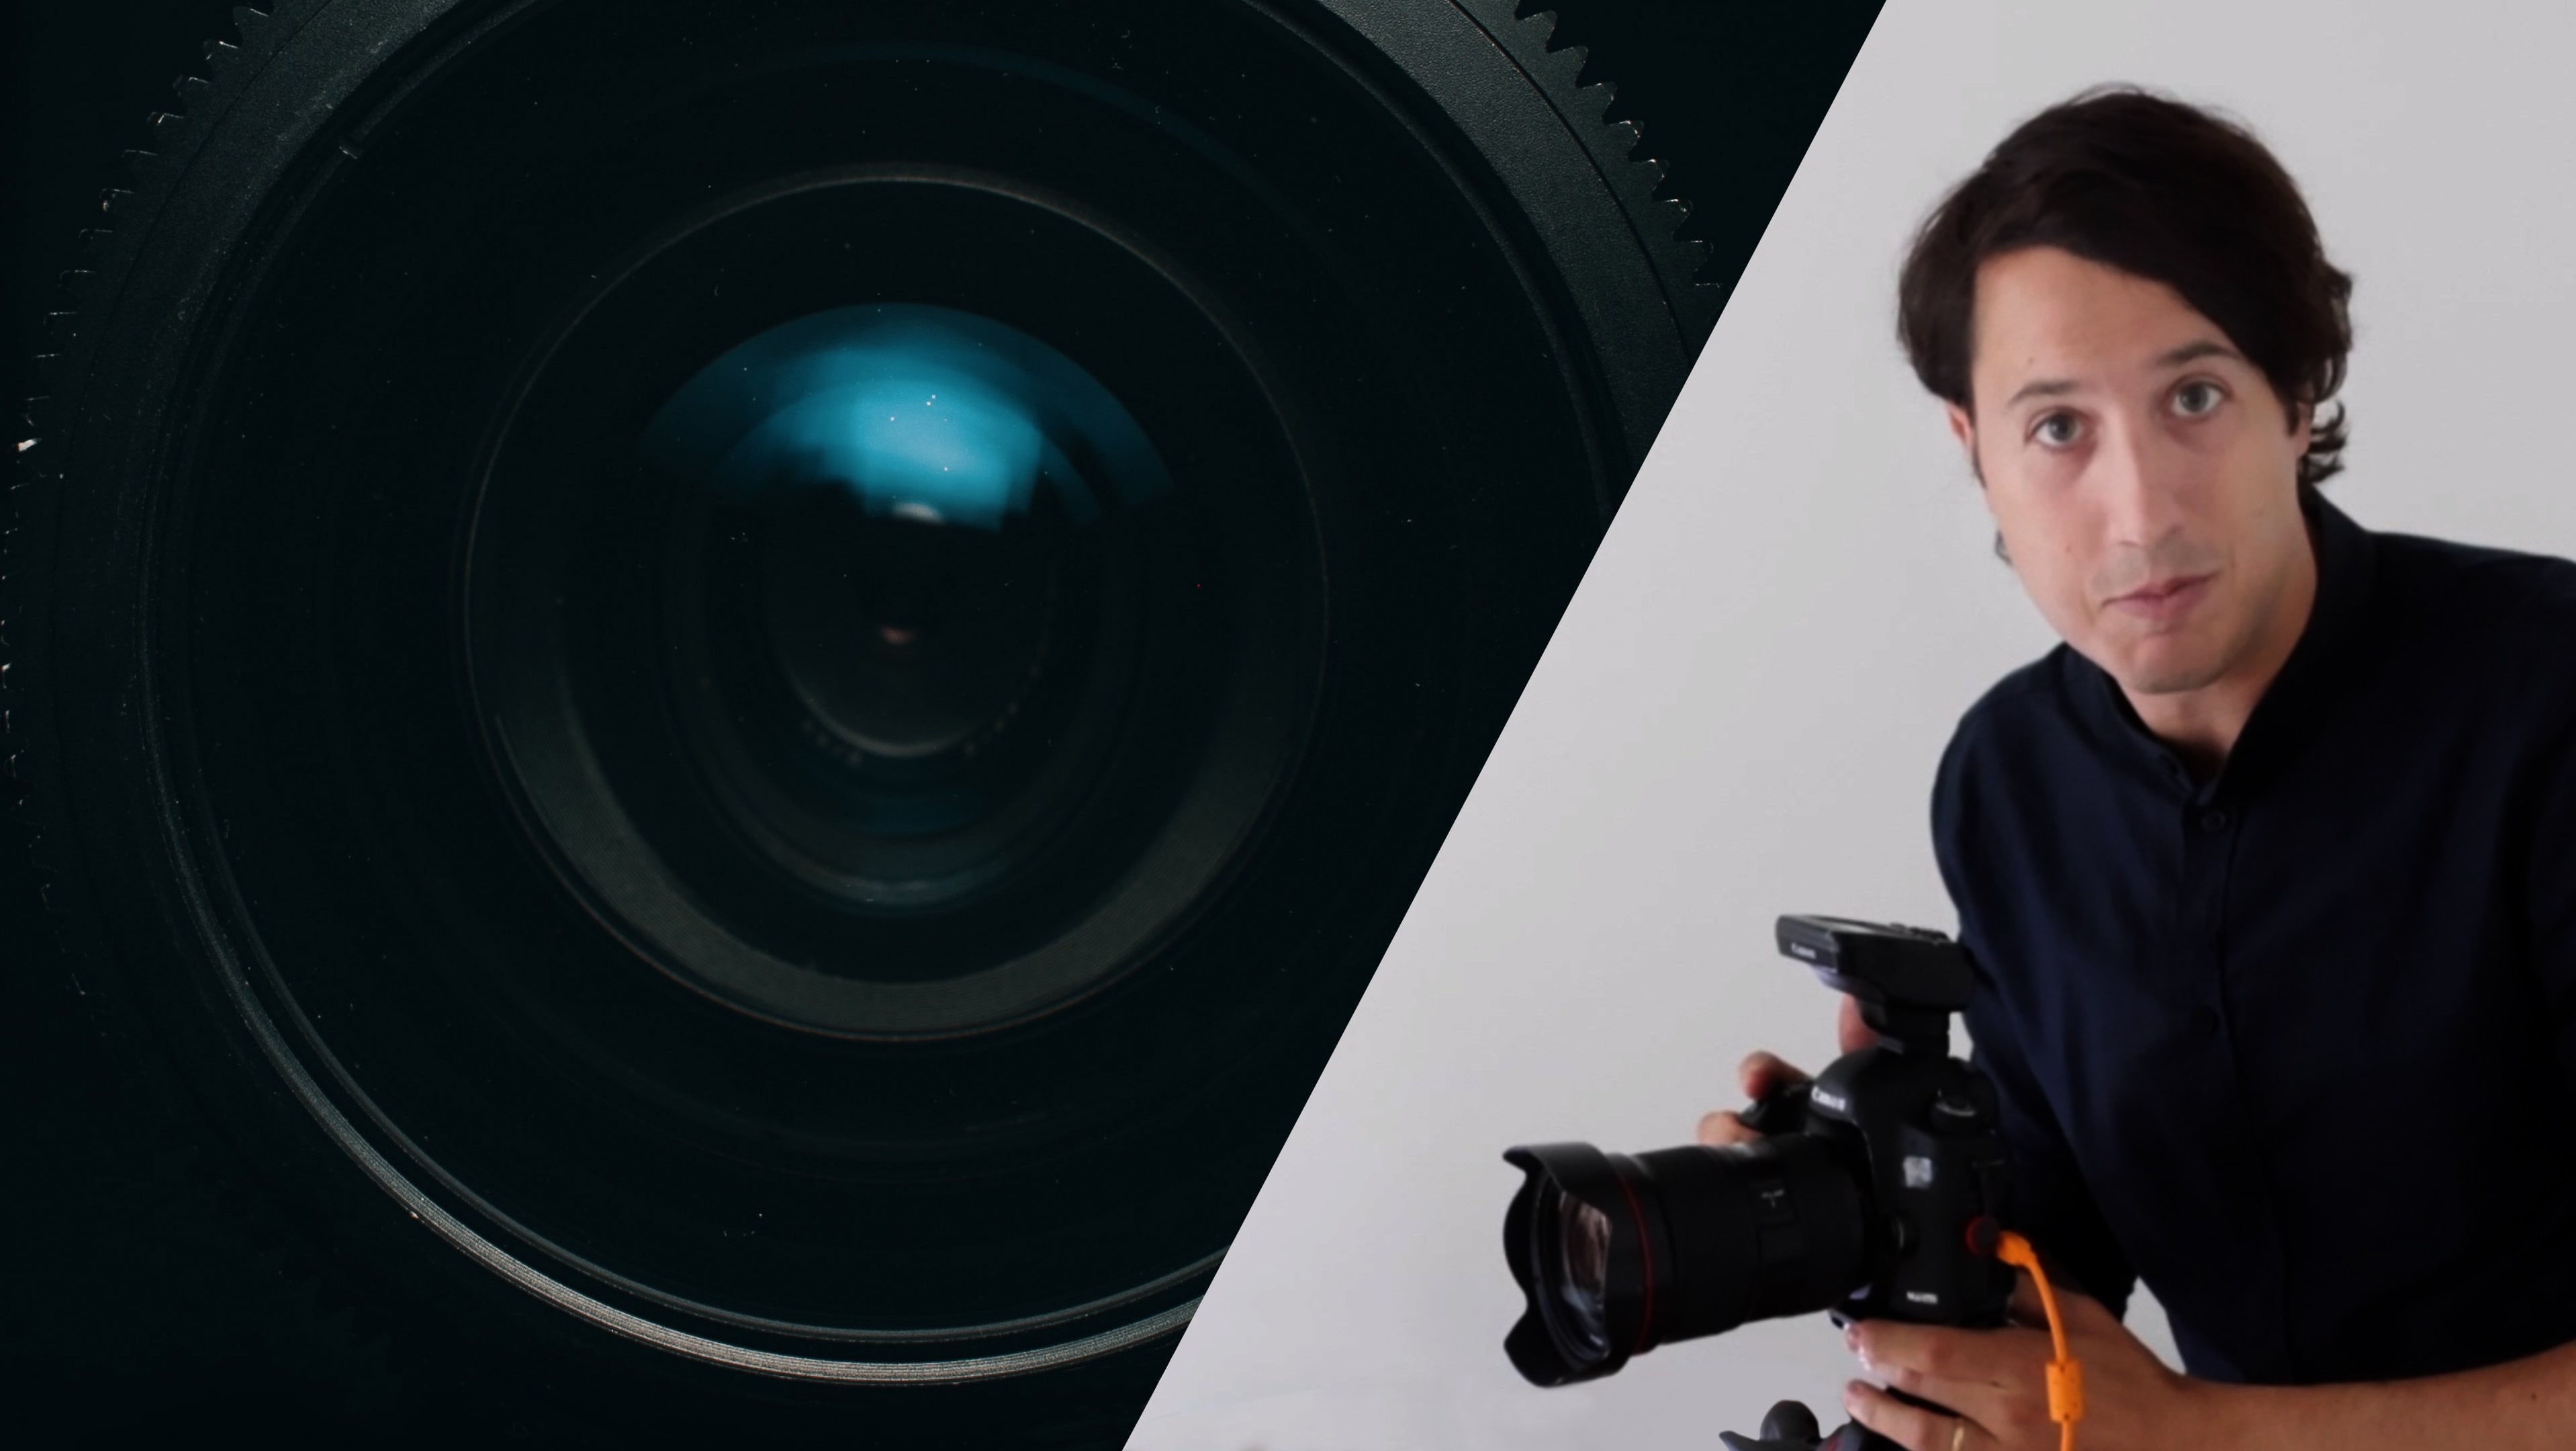
2. What You Will Need: Let's have a look at what we'll need for this class. As you can see, I have already prepared myself for the shoot. I have my hat on, I have my dark turtleneck. My goal here is to have only my face and maybe my hand as lightest parts of the image and the rest I want to be dark. That's why I'm wearing a dark turtleneck and also this hat. What we will also need is your smartphone. It can be an iPhone or another smartphone with a camera, and it doesn't really matter. We will also need a number of free editing apps. I'm talking about Lightroom, Photoshop Fix, Photoshop Mix, and Snapseed. As you can see, I have also my little tripod here and a clip to hold my smartphone. Now, this is not necessary, but it's really helpful if you don't have anybody to help you with your pictures. If I place my camera on this tripod, I only need a small Bluetooth trigger to work with it. Also for the editing, it's very useful to have a pen with a rubber ending. Let's shoot.
3. Shooting Portrait: To take the photos, we will be using the camera included in the Lightroom app. One of the advantages of using this camera is that you can choose the format in which you'll be taking your photos. The most common file formats for smartphone photos is JPEG, where data is being compressed to smaller and easier to manage files. The Lightroom app's camera gives you the option to shoot your photos in their all formats. A raw file is a collection of unprocessed data. The file has not been altered, compressed, or manipulated in anyway. This gives you much more freedom and flexibility while editing. You probably do not want to shoot raw all the time, but for the sake of learning photo editing and experimenting a little bit, I strongly encourage you to try it. To start taking photos, open Lightroom, and tap the blue camera icon. Your camera is now open. By tapping File Format icon in the top-center of the screen, you can switch between JPEG and DNG, which is a raw file format created by Adobe. When you first open your camera, it will probably be in the outer shooting mode, but it is useful to know that you have the option to switch to Professional Mode. To enter it, tap to expand the shooting mode and choose "Professional". As you can see, now you can choose the following controls: exposure, shutter speed, ISO, white balance, and switch between auto and manual focus. Since it is out of the scope of this class we will stick to the default settings, but I encourage you to play with them. Also, don't forget to test your Bluetooth trigger before you begin. If you are in this screen and the camera does not react when you press the Bluetooth trigger, try and press the trigger on the camera first. It should activate the Bluetooth. Now, let's start shooting. I encourage you to shoot until you really have a picture that you like, and you know it will work with your vision. I think I'll use this one. Let's see how it works. Let's edit.
4. Editing Your Photo: Now let's choose the picture we'll use for our composite. I am here in Lightroom, in my Lightroom camera photos as you can see. I will scroll through some photos we took. I like this picture. This one is not bad either. Let see, I think I will take this one. Let's take this one. Now the only thing we will do in Lightroom is going to profiles, and we will change it to black and whites. I wanted to save early contrasts in black and white picture just for the purpose of this project. So I shows profile number 9, I click to accept. Now we will go to Photoshop Fix. The only thing you need to do is close Lightroom, open Photoshop Fix, and create a new project with a plus button. Now you will chose Lightroom as your source. Here's our picture. We press Open, and here is our new project. Now what we want to do a few things. First of all, I will kill some of the imperfections. For this, I will really zoom in and now I will use my pen. You will have to be very precise, but some things could be disturbing in our composite, so let's remove them. As you can see I'm using the spot heal brush most of the time it does quite a little job. If you're happy with your results, just confirm it. We will also liquefy the photo because I want to have straight lines and more symmetry on both sides. So I'll press liquefy and here we choose the warp function. Here you can add in the size of your brush, I just need to press on it and go up and down. Here you see the size changing. Now I will zoom in a little bit and I will try to straighten the sides. I need a bit smaller brush. Now the more you zoom in the smaller your brush becomes in relation to your photo. So sometimes it's nice to zoom in and be really precise. It looks okay to me now, we are finished in Photoshop Fix, now we will save the photo. We will save it back to Lightroom and we will process it further in Photoshop Mix. Will click on a new project, image, and then Lightroom. You have to scroll down and the last picture will be the one that you edited before. Click on it and open. Now we will be cutting out the silhouette in this image, we choose the cut out function. As you can see here, you can add or subtract. Now nothing is selected, so we will be adding. I will do first a very general selection. As you can see the smart selection tool is doing quite a good job. Here I made a small mistake, I really didn't want any of my hair to becoming out from under the heads, but didn't work so well. Now I'll have to zoom in and try to select my hair so that it doesn't look cut out. If the smart selection is not doing such a great job, just switch to basic, and then you can really zoom in and manually correct your selection. You have to really be patient with it. Now we will add some small piece here. This looks all right. Let's see this side. As you can see here, we have a big piece of bread around which we want to remove. I would say it is smart to actually blend with job site. I select the "Smart" brush and I will "Subtract". I'll really zoom in here to see if it will work. I see that it's working. I'll just select this part. Now, I'll have to go back to the "Basic" brush and adds the strand of hair. As you can see, it's really much easier using the rubber end of the pen, but it's also possible with your finger. We can always do some changes later. Now, we will add another color layer, we will go for white. Let's place it under our subject. Now, if you like your selection, you can always press on the top layer, place it above the under layer, and press "Merge on Layer". Now, we are ready to edit our photo in Snapseed. We will save it to Camera Roll. Let's open our photo in Snapseed. Here we have it. Now, once this is open, let's go to "Tools", and let's choose "Double Exposure". Using the icon with a little plus sign, you can choose the second photo you want to combine with your portraits. I have created a separate album especially for this project, so I have selected different landscape photos which good to work nicely with our portrait. Now, we will try out a few of them. Let's go first with this one. You can see I can scale the underlying photo to make it match our portraits best. But I don't really like this effect. It's a bit too light in the area of the face. We will choose another one. Let's click on the "Plus" icon again. I really like this one. But I can directly see that is also a bit too light for this purpose. The face in the portrait is not visible. Let's try again. I think I will choose this landscape with the mountains in the background because I really like the effect that the lighter area here with the clouds gives. I also like the fact that we have a river here in the foreground, which gives us a bit of a depth, and it's quite dark in the middle area where we have the face. Now, let's play with different blending modes. To choose a blending mode, use the icon here in the middle and just try out what looks good with your portrait. I have noticed that the lighten mode works quite well, so I will use this one. I'm quite happy with this result. Now, let's export this photo. Now, let's go to Photoshop Mix for some final touches. Let's open a new project, an image. This is the picture we've been working on. As you can see here, our silhouette is totally separated from the background. What I would like to do is to have a little bit more of a connection between the tool, maybe a color that binds them together. I will add another layer, a color, and we will choose something bluish. Let's press down. Now, our silhouette has disappeared. The only thing we need to do is to press on the top layer and change the opacity. You have to play with it and see what you like. For the moment, I will keep it around here. One more thing I'll do is play with my blend modes. Darken is okay, but then I'm not 100 percent happy with it. You have to just go through them and see what works best for you. It's also depending on the photo. I think I will go with Multiply. Here, you can also play with the opacity. I like it; it's around 40 percent. Let's accept. Now, I will merge these two layers. Now, I want to show you another trick. We will add another layer. This time, it will be an image from our composite file. I will cut out some of the birds so that they create a connection between my silhouette under the ground. We just "Cut Out" and we will zoom in. My birds are all selected. I'll accept it. Now, let's reposition them. Sometimes you can see that there are some places where you need to do some correction if it is like here. I will select "Cut Out" again. "Subtract", I will go in and make that correction. Let's try again, as first position than the way we want. Now, if you see that, for example, you don't like like this one or there are too many, it's destructing, you can always press "Cut Out" again, choose the "Subtract" brush and remove the element you don't like. "Accept". Let's click somewhere outside so we can zoom the whole thing. I think I like it like this. The only thing that I find disturbing is that we have this overlay above our subject and the birds are quite dark. What you can do is click on the "Layer" and diminish the opacity a little bit. When you're happy with your result, save your picture to the Camera Roll. As you can see, this is our cut out silhouettes. Here, we have it with another photo composited together. This is the picture with the final touches, so a color overlay and also another element that connects them together.
5. Finding Inspiration: My main tool tips regarding inspiration would be keep your eyes open and stay organized. You can find inspiration everywhere if you know how to look for it. It can be a combination of colors, shapes, the way the light is falling, or a beautiful picture in an album in your favorite bookstore. As a creative person, you should always look around you because you never know when you will find something that will inspire you. My other advice is to always take a picture or a screenshot of the interesting things you find and place it in a dedicated album on your phone. This way, if you don't know what your next project should be, you can always scroll through it and I'm sure you'll find something that will help you. Another great inspiration of source which I am sure you already know is Pinterest. I encourage you to look at the work of artists from different fields not only photography. Look at drawing, sculpture, painting. Spend some time analyzing the work of your favorite artists. Really think through what it is that attracts you to their work. Is it the use of color, composition, lighting? Really think about it, then try to incorporate those elements in your own work. The point here is not to copy other artists work, but to be inspired by it.
6. Final Thoughts: My goal when creating this class was to give you tools which you will be able to use in many different projects, involving not only photography. I have also included the files so that you can try the techniques I'm showing straightaway. But I would really like to encourage you to create your own composite portraits and to share them with us. Feel free to share your progress or the questions that might rise. There's one more thing I would like to mention, the image of birds I have used in this course is actually not a photo, it's a drawing created in Procreate. Procreate is a drawing app. I encourage you to use it to create layers for your composites. You don't have to limit yourself strictly to photography. But if you are not interested in creating your own digital drawings, it's okay. You can use the ones I have provided. I hope this class will help you see the potential of a smartphone as a creative tool.
 Jimmy & Kasia, A Couple of Compulsive Creators