Transcripts
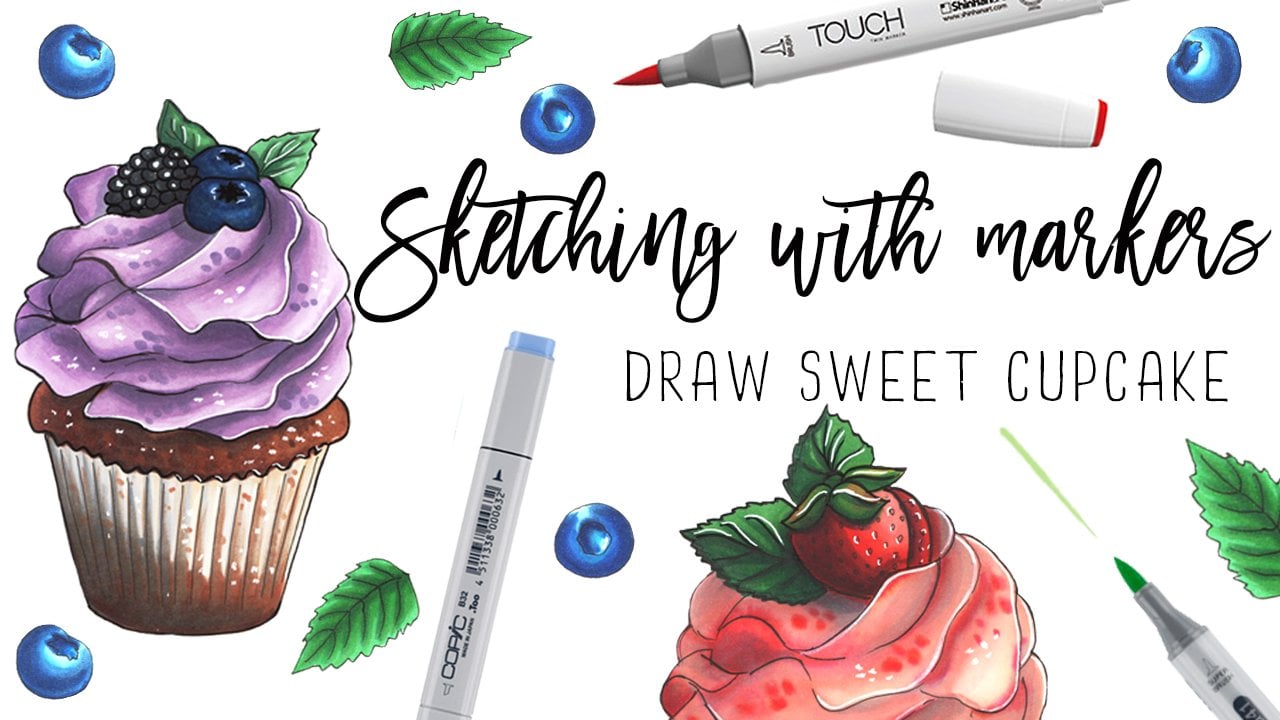
1. Trailer: Sketch illustration with markers are in trend now. It's easier and more convenient to work with markers than with paints. But at the same time you can create truly detailed illustration. My name is Olga. I'm your illustrator, graphic designer, content creator, and educator. In this class, we will be learning how to draw fine detailed food illustration using markers. Together we will draw an appetizing croissant from the beginning to the end. We will be covering how to transfer an image from a reference to a paper? How to draw the right pencil sketch? What are the steps of the coloring with markers? How to make textures look realistic? How to make your sketch more delicious? As a bonus part, we will create some nice lettering. I'm thrilled to see the pieces you create during and after this class. Welcome to my class. Let's get started.
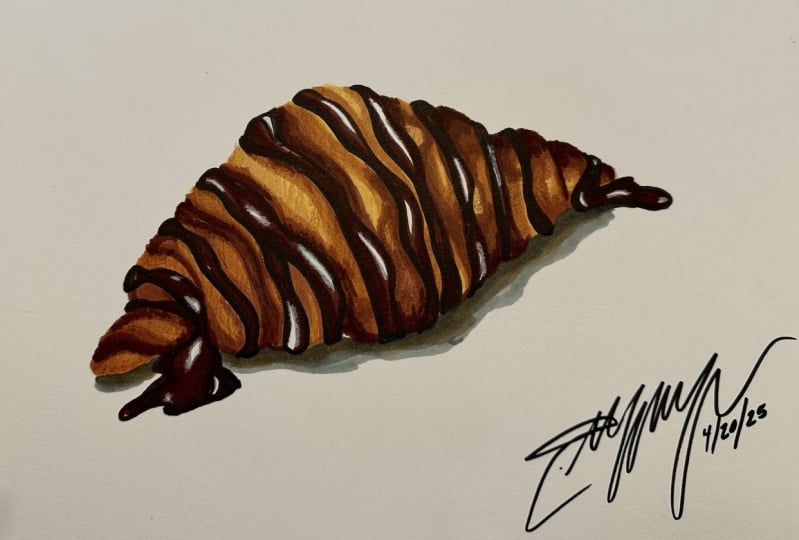
2. Class Project: As a class project, we will draw a croissant. You can draw from reference I've prepared, you can find it in the attachment section, or you can draw from any other reference image. You can easily find some nice pictures on Pinterest or Shutterstock for example. Of course, you can use a real croissant as a reference. So let's start.
3. Pencil Sketch: Let's start drawing. First, we need to outline the place on the sheet where the croissant itself will locate. If we simplify its shape, then it will bend oval. Place the circle approximately in the middle of the sheet. That's it. Now, looking at the reference, we begin to draw the details of our croissant. There is no need to repeat it exactly, we are drawing a sketch illustration. Our main goal is to keep the proportions and to make the croissant look like a croissant. We draw these faults of the dough which are formed when the dough is wrapped. Now, I will slightly remove the top layer of the pencil with a soft eraser so that it's convenient to draw the chocolate glaze. Let's start drawing the glaze. I will start at the top right edge. Again, we don't bother to repeat the reference very accurately. We repeat it as much as possible. Draw the lower left part of the glaze. Well, our pencil sketch is almost ready. Now with a soft eraser, we remove the top layer of the pencil and excess lines so that they don't interrupt us in further working with color. That's all. Now we can start to work with markers.
4. Coloring: The Croissant: So let's start working with markers. If you don't have double-sided paper, don't forget to put an underlay as the marker will leak through the sheet and stain your table. For the croissant itself, you will need 3-5 shades of brown from light to dark. I'm using touch brush Copic and Sketch Marker markers. You can find my palate in the attachment section. Of course, you can use any markers, or other materials you like. To begin with we will make the first color layer. I will use this bright shade with a yellowish sub-tone. When working with markers, we always move from light to dark because you can make it darker anytime, but it's difficult to highlight it. We put all the strokes in the form of the object. This makes an illustration more realistic and gives volume. Here I erase the pencil some more. Well, the first layer is ready. Now we start adding darker shades. I will take this one BR107, and start to darken, leaving some bright areas. For a more realistic picture when working with color, you need to pay attention to the light shadow modeling, plus be sure to keep the highlights where they are. Of course, I focus on the reference, but I have no goal to repeat it exactly. We work here with strokes. Again, note that all the strokes I've put in the form of the croissant. Don't forget to leave brighter areas. Then I take a little darker brown tint. I have this potato brown shade and start to apply the south layer. I do everything the same. I focus on the reference, put [inaudible] in the form of the object, leave bright areas. Those will add a volume to the sketch and work on the textures. Well, our croissant has already become voluminous. Now, I will take the even darker brown and work through the darkest baked areas of the dough with it. I will start with the tip of this croissant. Somewhere the strokes will be thicker, somewhere thinner. The main goal is to convey volume and the light shadow areas, and I finish on the other side of the croissant. Now I take this BR107 and gently mix at the colors before the marker is completely dry. Then we select this marker, I once again go through the highlights areas. Now I will add a little more medium brown BR103. That's it, now we can move to the chocolate glaze.
5. Coloring: The Glaze: We start working with circles. Again, we will move smoothly from light to dark. For the first layer of the glaze, I use a base razor dark brown BR95. We start to make the first layer. Here it is important to try to leave a base bright white highlights. Yes, they can be drawn with a white gel pen later, but it will not look so natural. Here we also put strokes in the shape. But if you accidentally painted over the highlights somewhere, it's okay, you can fix it later. Here below, highlights are more met and I will draw them with a white pencil later. Now I take an even dark and brown BR92 and run it over those glazed areas that are darker in the reference. Now I take a Copic E77 and darken even more. I want to make the glaze darker than on the reference so it has more contrast and is noticeable. Do you see how the glaze immediately becomes voluminous? Don't be afraid to add darker shades, but do it carefully. Now in the darkest shade, this is my Copic E49, I go through the darkest areas on the glaze again. Now, we use BR-95, which was the first one. We mix it all a little bit. Again, you can darken it a little more here, while the marker is still not completely dry. Done. Now, we will wait for the marker to dry and add some more details.
6. Coloring: Adding Details: Now we need to add some details and a drop shadow. Let's start with the details. The markers are dry and became lighter. Now we can work through these toasted places, and add even more texture to them. For this, I will use a brown BR95. We work with such strokes to convey these toasted areas. Here is the tip of the croissant is even darker. These parts can be emphasized more, and then we need to add marvel into them. Again, note that we put all the strokes in the shape of the croissant. In some places, we can add more texture with the dots. Okay, that's it. Now we can add a drop shadow. When working with a shadow, everything is the same. We move from the lightest cold gray to the darkest one. The darker the shade, the closer we have it to the object itself. Let's start with CG0.5, and use it to draw the base shape of the shadow. Don't be scary. The shadow will dry out and become much lighter. Anyway, so we'll additionally draw that borders with a blender. I will take a blender, and blur the border of that shadow. It's even simpler to do it with the [inaudible] tip. Now I take my CG1, and work it over the shape of the shadow, but a bit closer to the croissant itself. Now CG2, and again a little closer to the croissant. Draw pretty quickly until the marker is dry. Now CG4, the darker the gray, the closer it is to the object itself. It is the rule for drawing shadows. CG5 goes almost to the very edge of the croissant. Now, with the help of the CG1, I mix it all. As I end, I blur at the edge of the following shadow, a little more with a blender. Our sketch is almost ready. Now we can add small final touches to it.
7. Coloring: Final Touches: Our croissant is almost ready, now we can add small details with a white pencil and a white pen. First, I want to go over the lightest areas with a pencil to emphasize them even more and with my finger, I slightly blur this pencil. You can do this with a piece of soft paper, but it's more convenient for me to use my finger. Thus, our croissant becomes even more luminous and realistic. Now we use the same light pencil to draw more highlights on the glaze. We do this very carefully so as not to overdo it. Now, I will add some finishing touches to the glossy highlights with a white gel pen. I expand them a little bit to make them more noticeable. If you have a soft eraser like a modeling clay, you can use it to lightly go over the highlights and dim them a little more. If there is no such eraser, then it is better to leave them as they are. This eraser absorbs at the top layer of the pencil. It doesn't drop, but bloats. Now the highlights have become more matte. That's it, our sketch is ready. You can leave it that way or add some lettering to make the composition more interesting. In the next part, I will show you how to do this.
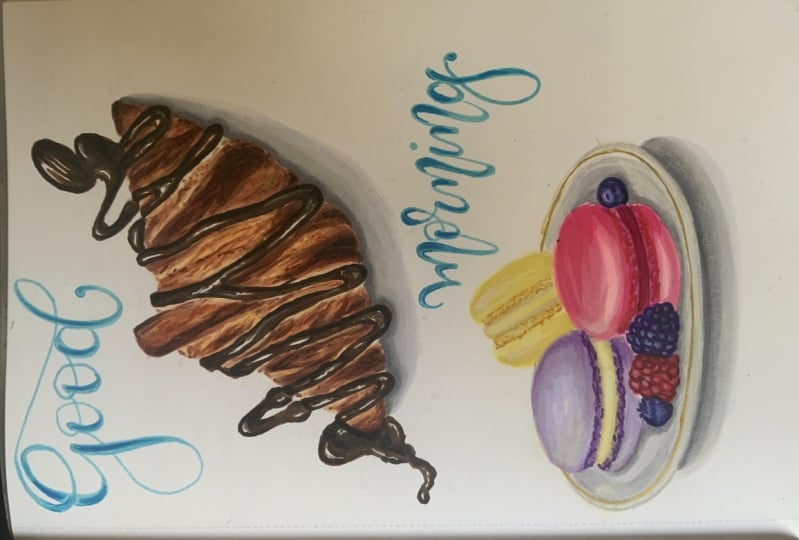
8. Bonus: Lettering: Now we are going to add some lettering to make our sketch more complete. You can add any text you like. I will add "good morning" phrase because I associate croissants with morning and breakfast. I outline at the place where the words will be and begin to draw letters. Lettering can differ from calligraphy, in that we draw letters, not write them. I will be doing a combination of a theme type and imitation of a calligraphy. I like how such typefaces look together. Mark at the place where the word "morning" will be and begin to outline the letters. I think I will move this letter a little more. I have such lettering. Now I can remove the top layer of the pencil so that it doesn't interrupt drawing the letters with the liner. Now I take a rather thick liner and start tracing my letters. Now I draw more accurately with a thinner liner. I will make an imitation of a calligraphy. First I will outline and then I will add thickness to the letters in the right places. Add thickness to the letters in those places where our hands would go down if we were to write this work. Now I will paint over these places. Now I remove all extra lines with my soft eraser. Our sketch is ready and yes, it looks more like a detailed food illustrations than a sketch.
9. What's Next?: We did it. We just drew a full sketch illustration together. Although we reached the end of the class, your work is not over. Practice every day. Try to draw different objects. Take your sketchbook with you and draw in coffee shops, parks, and so on, so on. Remember that practice makes perfect. Plus, be sure to follow me so you can receive notifications when my new class is live. Thank you guys for joining me and, of course, for your positive reviews. See you next time.
 Olga Sh, Sketch Illustrator | Master Coach ICI