Transcripts
1. Intro: Hello, and welcome to this mini Sketchbook Snack where we're going to
be drawing some silly, spooky ghosts in
our sketchbooks. My name is Jenni Macklin, and I am known as Tiny
Leaf Press online, and I'm also the creator
of Sketchbook snacks, a series of classes designed to get you playing
and having fun in your sketchbook without
any of the pressure or perfectionism that can really overwhelm us as
artists sometimes. So my classes are designed
to be light, easy, and fun and to get
you in and out of your sketchbook with a
minimal amount of mess, a minimal amount of time,
and a maximum amount of fun. So I hope you will
consider joining me in today's class where we're
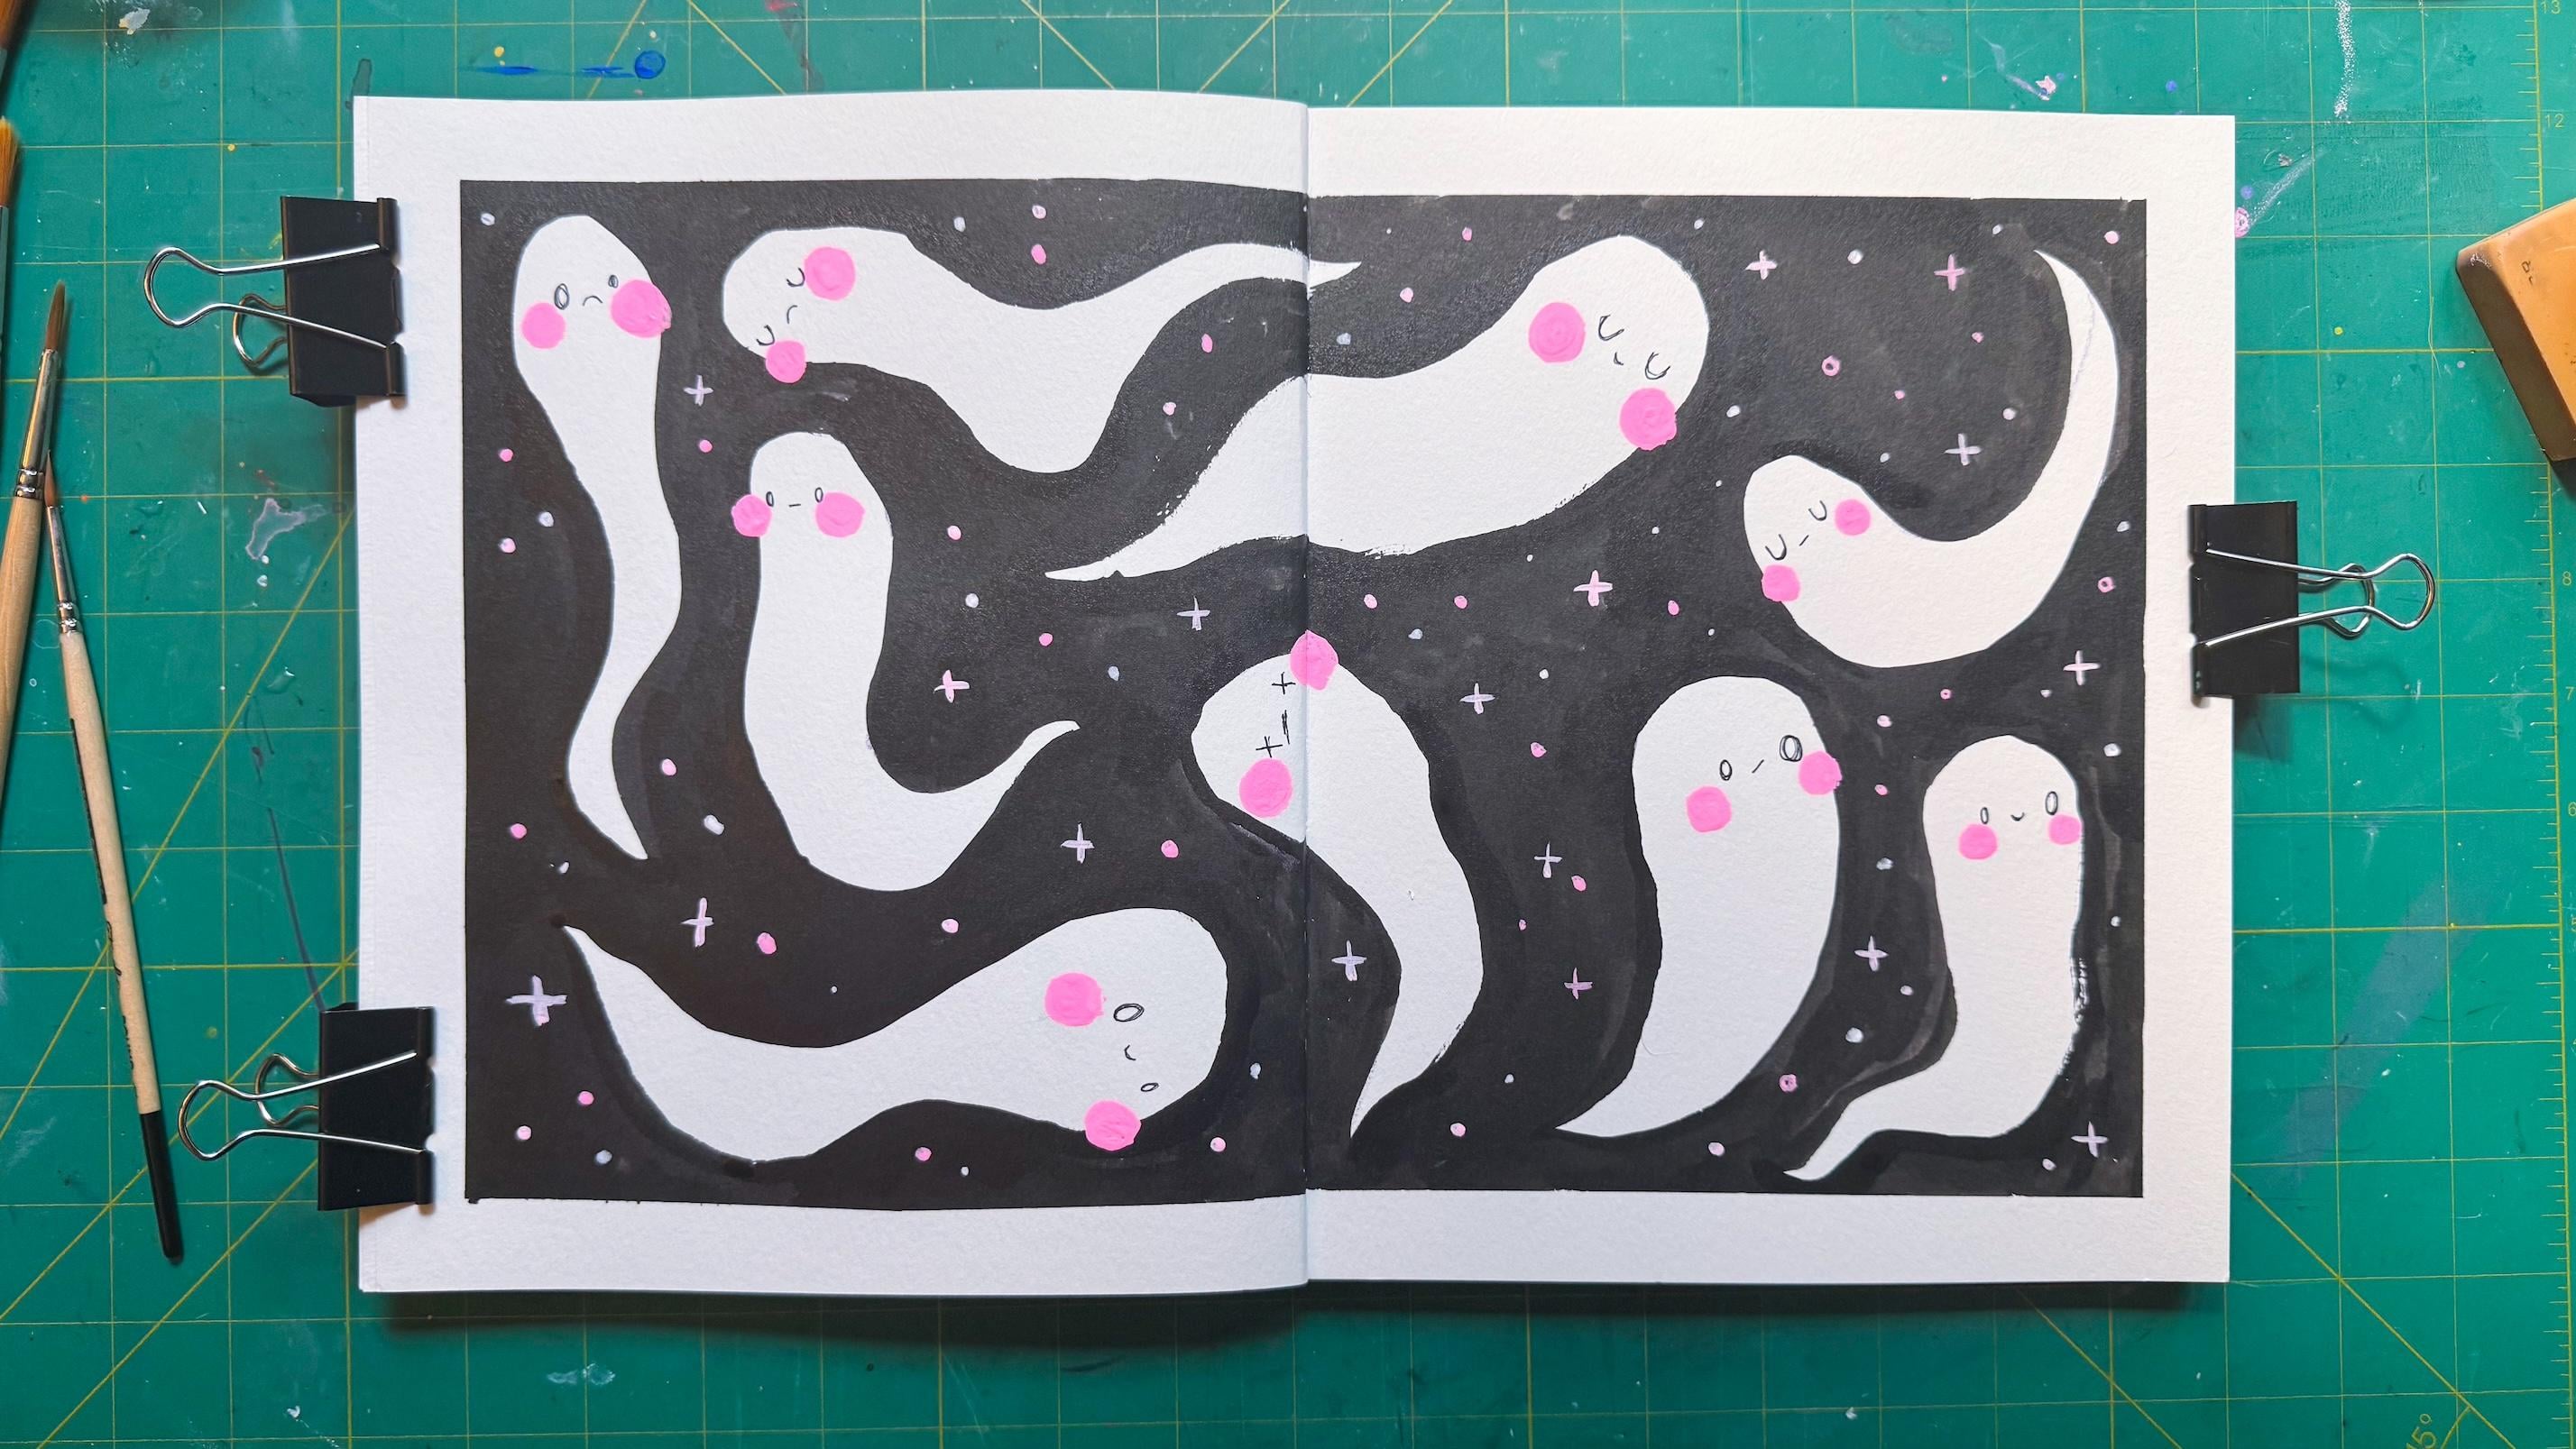
gonna draw this amazingly fun, spooky spread full of
delightful ghosts with just a few materials that
you might already have on hand and ten or 15
minutes of your time. For our final project, we'll be creating
this delightful double page spread full of silly spooky ghosts using just a few supplies and quite
a bit of negative space. So if you're ready to hop back into spooky
season temporarily, join me in class
where we'll create this fun sketchbook spread
together. See you there?
2. Materials Needed: Before we jump into our project, I just quickly wanted
to go over some of the materials and
supplies that you might want to have
on hand for class. One of the hallmarks
of a Sketchbook Snack is to use the supplies that
you already have on hand. So all substitutions
are welcome. There's absolutely
no need for you to go out and buy new supplies. So you really only
need three things, something to create your
background color with because we're going
to be creating our ghosts using negative space. So the color of the paper
of our sketchbooks is actually going to make up
the body of our ghosts. So we just need something to differentiate that from
the rest of the paper, and we'll be filling that
in with a darker color. In my case, black.
Then if you want to make your spooky ghosts a little cute and
follow my example, you'll want something to draw a little bit of blush
on their cheeks. I used a pink gouache, but you could also use a posca pen or a colored
pencil or a marker. Again, whatever's
going to layer on top of your other
materials nicely. Then lastly, we want
to add some details. So we'll be using
a pen or marker to add in those little facial expressions on
all of our ghosts. The last step is going to be our flourishes and
little sparkles, which I also used four. Again, you can use anything
you like for this, whatever is gonna layer
on top of your material. Then there are a few
standard art supplies that you might want
to have on hand, like a cup of water,
some paint brushes, and a little dish to
mix your paint in. But other than that, it's pretty simple and you shouldn't really need a lot
to get started. So go ahead and gather your
supplies and meet me and the next lesson where
we're gonna get started on our project
together. See you there?
3. Class Project: In this lesson, we'll be
starting our project, which, as I mentioned in
the intro video, is a double page spread full of spooky ghosts
using negative space. I'll be doing a demonstration, and you are welcome
to follow along or go off on your own path and do
things in your own style. Either way is perfectly fine. Let's go ahead and jump
over to my desk view, and I will start
the demonstration. Alright, it's time to
work on our project. As you can see here, I am currently filling a
dish with my ink. That's what I'll be using
for the background. You might also notice
that I've used some washi tape to create a border around the
edges of my sketchbook, and I'm holding it down with clamps to keep
the pages flat. These are both optional things, but I find them very helpful,
the clamps, especially. And if you'd like to have
your border around the edge, just put a little bit of tape
down before we get started. Okay. So now what I'm going
to do is our first step, which is creating the
space for our ghosts. We want this spread
to be full of little cute ghosts
across both pages. So if you want to plan it
out like I'm doing here, just scrab a light color
pencil or a regular pencil, it really doesn't matter that much because we are
going to be covering it up with our ink in just a minute when
we do the next step. But I like to plan out the space a little bit so that I know that
it feels balanced. And so I can also make some adjustments if I
need to, as you'll see, when we get to the next step, I adjust that top ghost there, just a smidge because I
didn't really love the shape. And do try not to
be a perfectionist. A little bit of
adjustments are fine, but I don't want you to
fiddle with it too much because this is supposed
to be relaxing and fun. So I'm going to speed
up each step as we go. I'll come in and introduce this step and tell
you what I'm doing. And then I will speed up the video so you don't have
to watch it in real time. And then you can get to creating your project
a little bit faster. Okay. Alright, now that we have created these outlines to create sort of a
layout for our ghosts. The next step is to
fill in the background. So I'm going to be using
this ink like I mentioned, and I'm just going to
use a paintbrush to fill in the gaps around
all of our ghosts. So it's sort of like they're floating in a night sky almost. So go ahead and get
your dark material, whatever color you're using. It's definitely easiest to use
paint of some kind or ink, but you could also take the time to fill this in with
colored pencil or marker. I found this to be a very relaxing and meditative
of the process. So, you know, I think that you might find
it to be that way as well. And if you want to fill it in with some nice
scribbly marks, that could be really cute. And also very meditative. So go ahead and get your
background filled in. I'm going to speed up the video, and we'll be back in the
next step in just a minute. H. Okay, this next step is actually
kind of a bonus step. If you are using a
different material, you might not have to do this, or if you are a little bit
more careful than I was, you might not have
to do this either. But basically, what I'm
going to do in this step is take a smaller brush and go over the outlines of my
ghost to create a finer, sharper edge. Okay? That's all we're
doing in this step. I'm going to speed it up again, and then I'll see you
in the next step. Now that we've created these
refined edges everywhere, it's time to let our ink dry. This is a very important part
of the process because if we layer paint on top of this
ink and it's not fully dry, it could mix with the black and change the color that
we're trying to go for. I could also just get all over your hands,
and that's no fun. So go ahead and wait
for your paint to dry, and then we will get
onto our next step. For this step, I'm going to add cute little faces to each
of my ghosts using a pen. This is just a simple
ballpoint pen. So you can use anything that
you'd like for this step, but go ahead and just create some simple expressions
on each ghost like this. I'm using my signature style of these weird little eyes and
kind of silly expressions, but feel free to use whatever shapes and
expressions that you'd like. Alright. After we do this, we're gonna get on
to the next step, and I'll go ahead and fast forward once more, and
I'll see you there. Alright. For this step, we are going to be
using gouache to create some cute little
pink cheeks on our ghosts. I've already mixed up my paint. It's off screen
here. That's fine. It's not important
'cause you're gonna use whatever material
you want for this. Mine's just a mixture of pink and white gouache to
create a shade that I like. And I'm going to
go ahead and just paint these nice little circles on each side of the ghosts cheeks because I think it
makes them look really cute. This is, of course, optional
if you don't want to give your ghosts any blush, but it's just a fun little
thing that I like to do. So I'll speed this
up once again, and I'll see you
in the next step. Actually, I just realized that I forgot to put the mouth on
this middle ghost here, so I'm going to add
that in really quick. And then for our next step, we're going to add some
little flourishes and details into our
background here. So, like I said,
it's sort of like these ghosts are floating
in the night sky, and I thought it would be nice
to add some flourishes and little sparkles to make
that even more impactful. So right now, I'm just mixing up a couple of different shades, using the same pink that
I used for the cheeks. I'm just adding a little
bit more white to create three different shades
that I'll be using for the different detail
elements in the background. I'm going to keep
this really simple and just put little dots and crosses and sparkly elements around the page kind
of just at random, how it feels good, I guess. So there's no real
rhyme or reason to this except to try to create
a sense of balance. So if you want to use
multiple different colors, like I did, I think that
adds a little bit of depth, but feel free to do this
with just one color, maybe gold or silver, something like that to add a
little bit of extra sparkle. But I'm basically just gonna do these little marks
like this X here, and then a couple of dots
around the page as well. And you'll see me
switch colors between the three different
shades as I go. But of course, I am going to
speed this up so that we can get to you creating your
project as quickly as possible. Okay, that is our
project finished. The very last step, which is optional if you
didn't use tape like me, but it's to remove the tape and reveal your beautiful
sketchbook spread. So very carefully.
Remove your tape. If you've put some on like I do, it can tear, and you will get to see your
beautiful creation. Oh, also, it's probably
a good idea to wait a little bit
until your paint has dried for your details and stuff because
you don't want to accidentally smudge them when
you're removing the tape. And, of course, if you didn't wait for your
background paint to dry, you want to let that fully
dry before you remove the tape and before you remove the clamps so that your
paper doesn't warm. Alright. That is it for
our cute, spooky ghosts. I hope that you had
fun in this class and that you enjoyed making this fast little
Sketchbook spread with me. It was a nice simple project, and you can easily repeat
it whenever you want, just by putting new
shapes on the page. I'll see you in the next lesson where we'll wrap up
class. See you then?
4. Wrap Up: Alright, you did it. You took ten to
15 minutes out of your day and made some
art in your sketchbook. I hope that you
had fun working on this project because
that's really the whole point of
a Sketchbook Snack. Sometimes it's really
easy to get too busy or too overwhelmed or stuck in your
head a little bit, and it's hard to get back
into that creative space. So if you took these
ten to 15 minutes out of your day and created
your double page spread, I am so proud of you and I that you are too. If you'd
like to take more fun, silly classes like this, you can check out the rest
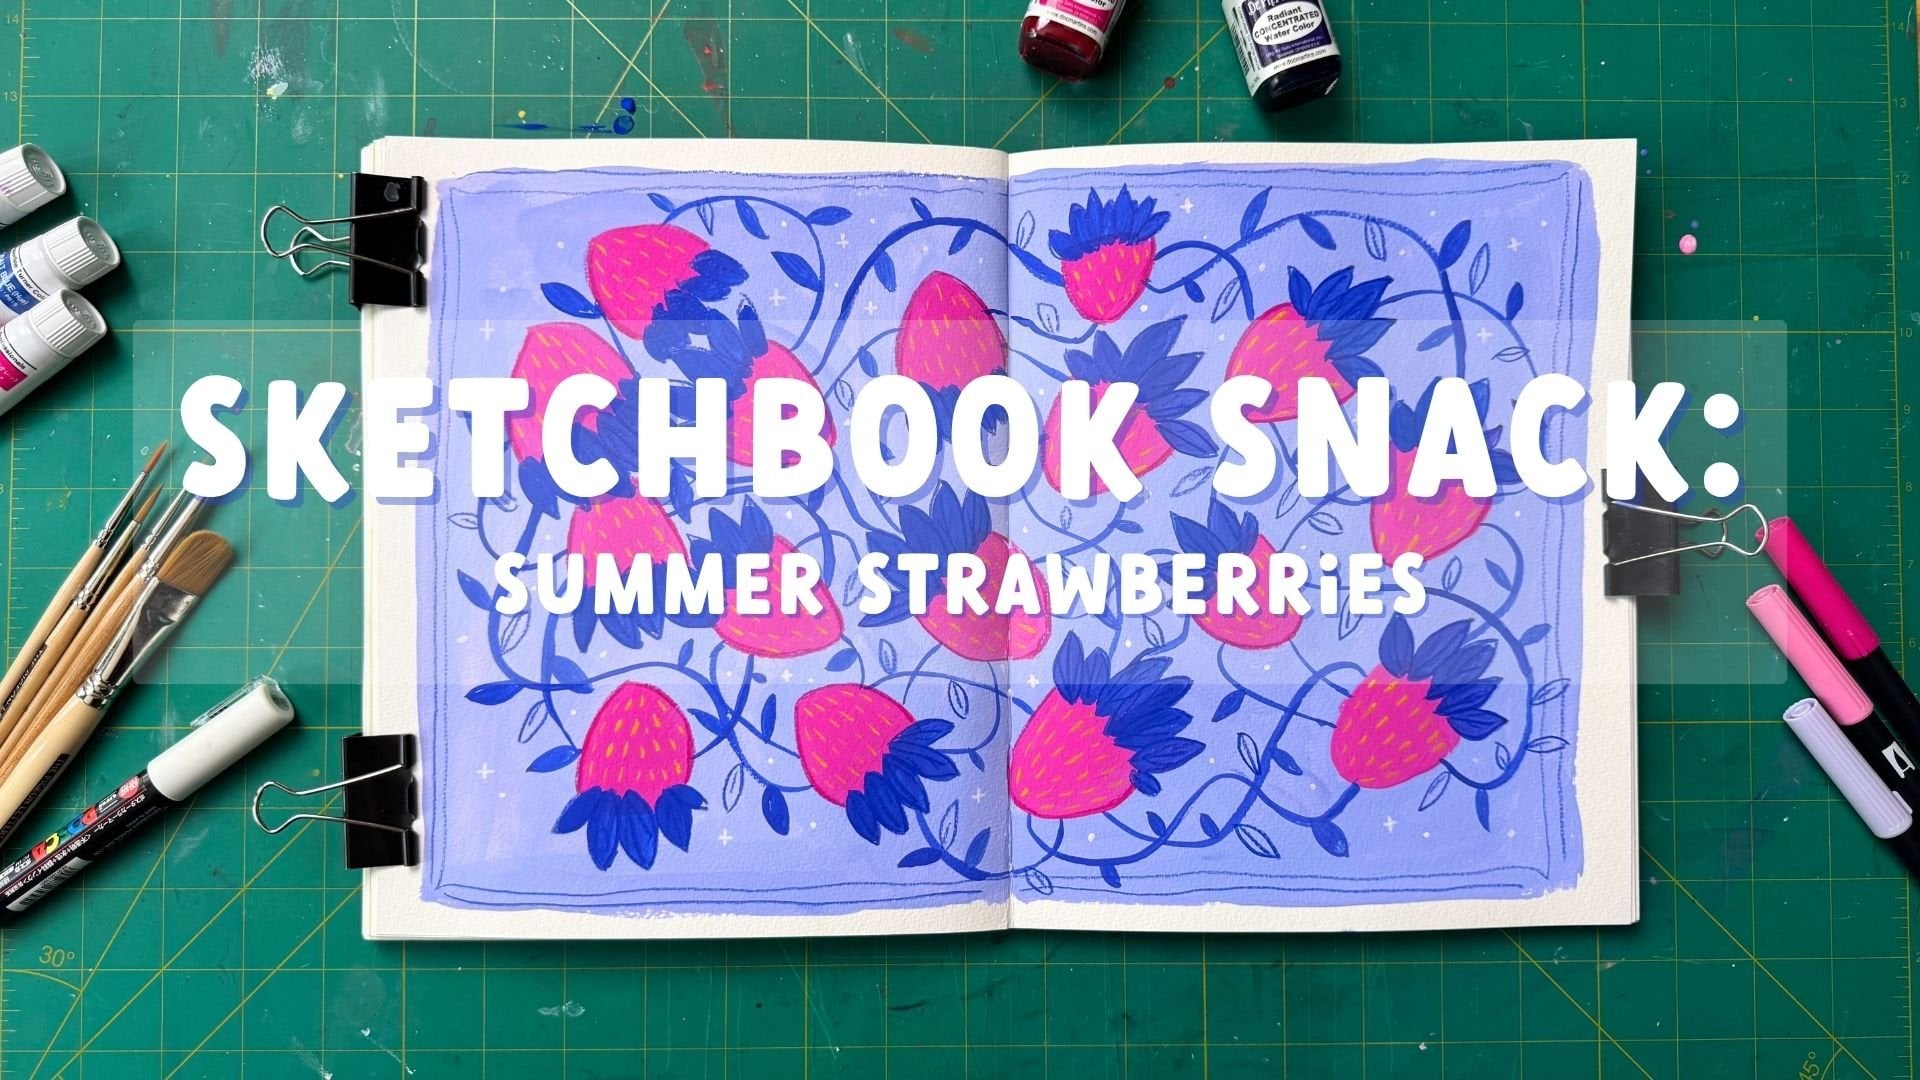
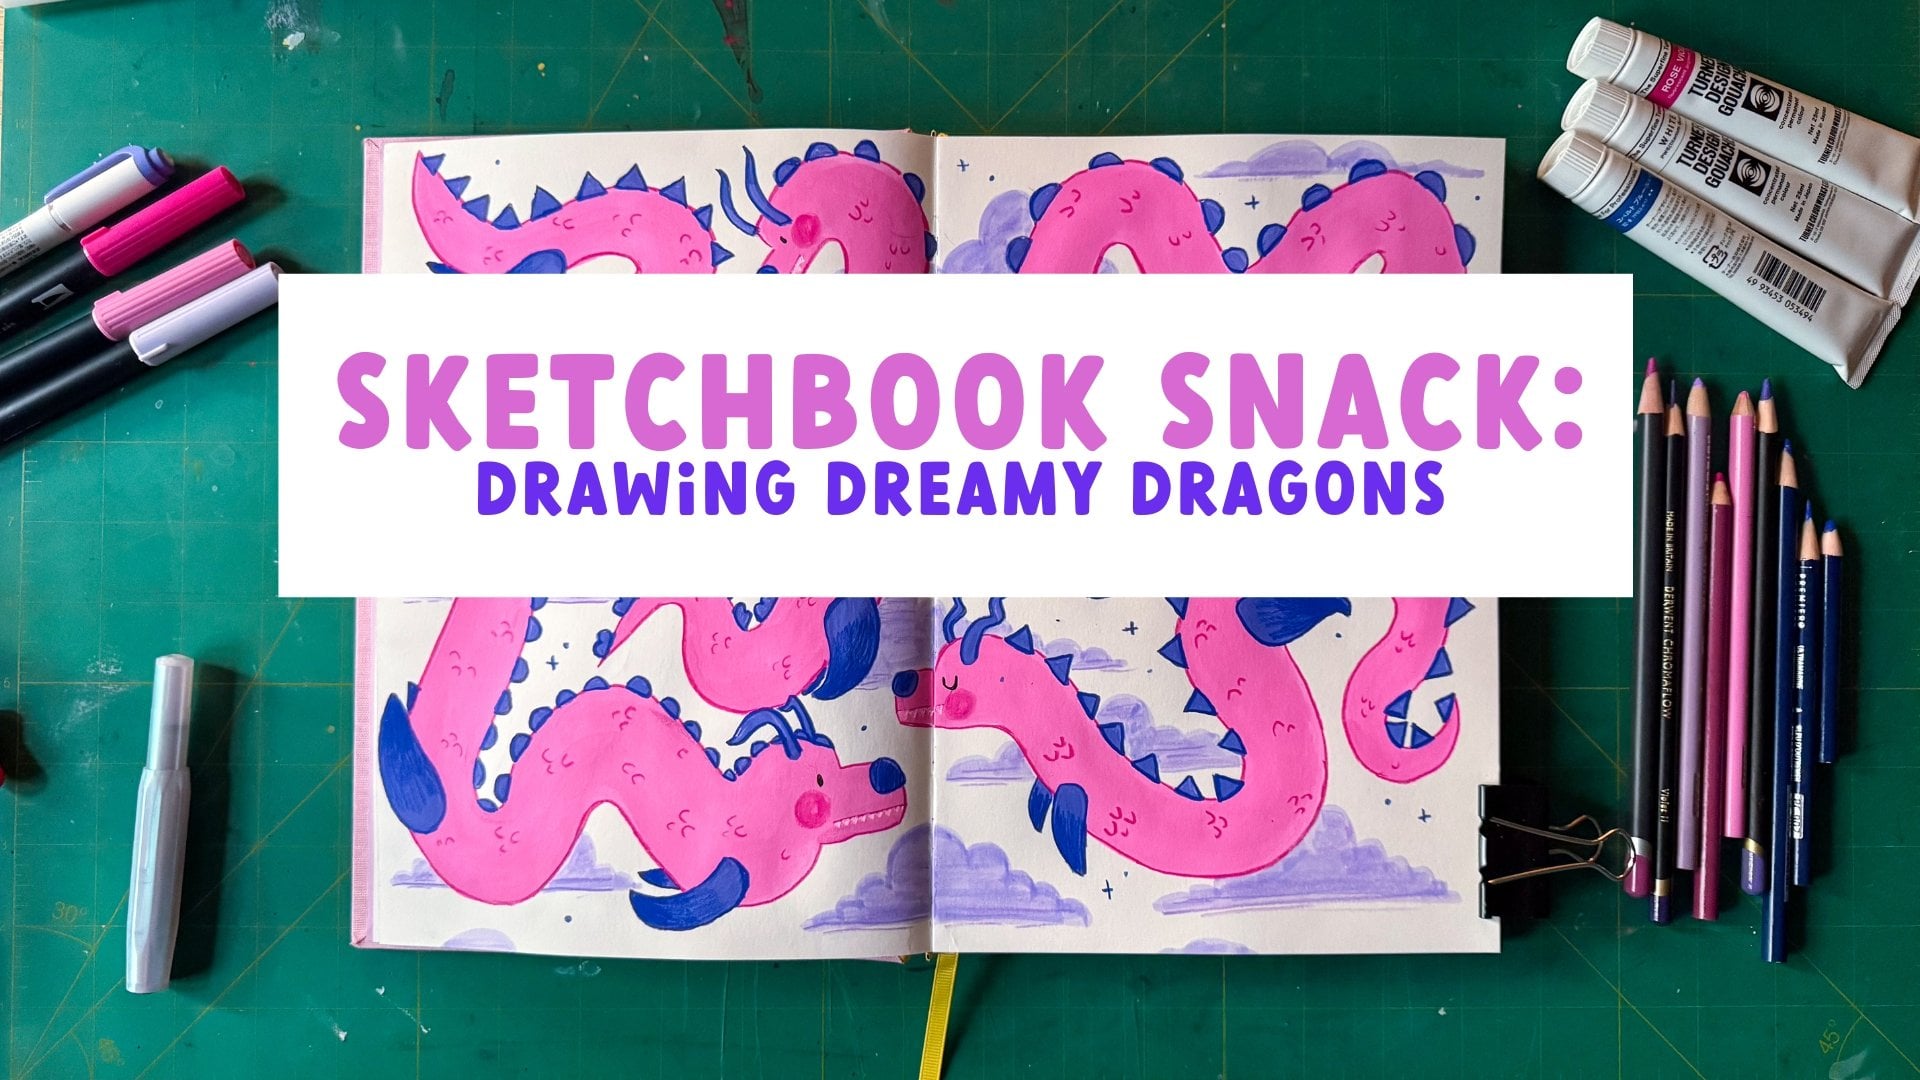
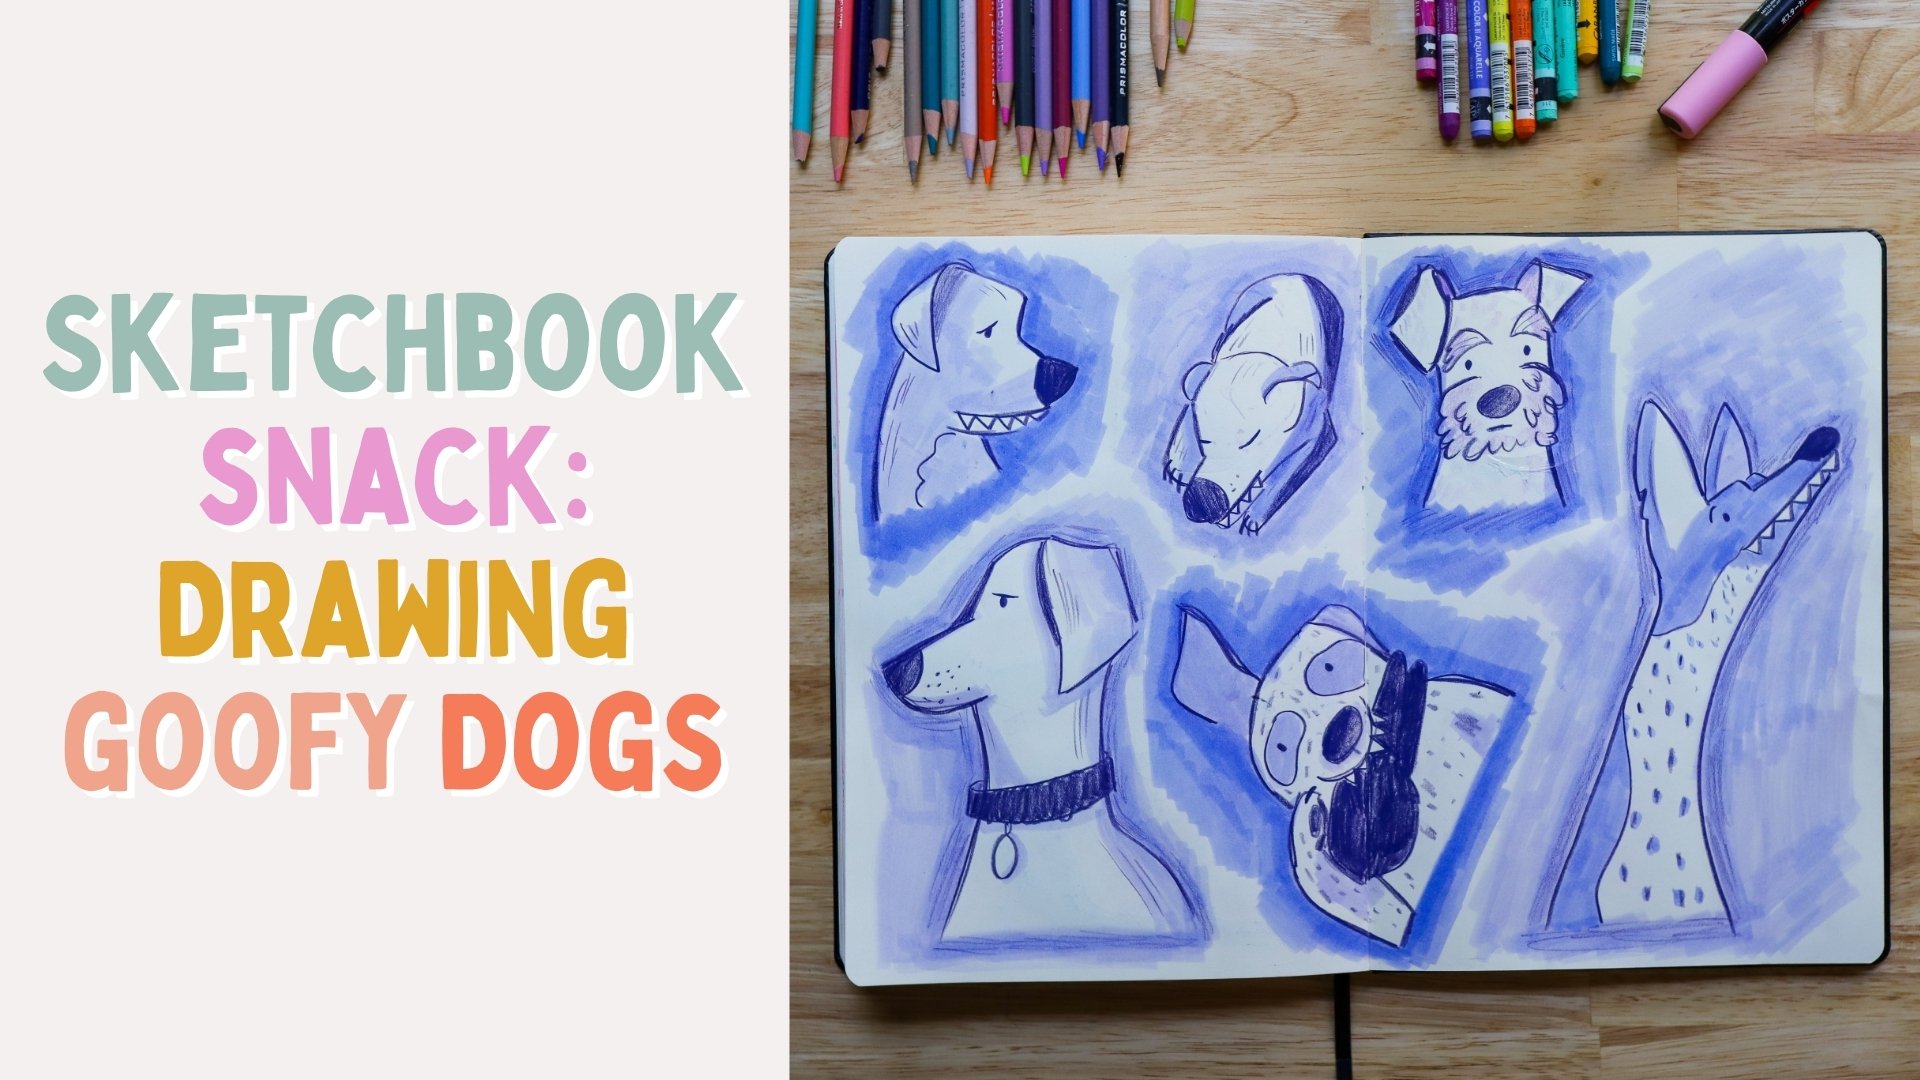
of my classes on Skillshare. I have some on drawing
cats and dogs and dragons. There's all kinds
of things that are just as simple and easy as this. I guide you through
the exercise, and you can either
follow along with me or create things in your own style. The goal is not to create an exact finished replica
of the lesson project, but just to have a little bit of fun in your own sketchbook. If you've just been watching
along up until now, it's now your turn to go ahead and complete
your final project. After you do,
please upload it to the project gallery
here on Skillshare. I love seeing students projects. It's my favorite part of
teaching on this platform, and I comment and view every
single one that I get. So if you'd like to
share your work, I would absolutely
love to see it. You can also tag me on Instagram at Tiny Leaf Press if
you'd prefer to share it. Once again, thank you so much
for joining me in class. I hope you had a wonderful time, and I will see you next
time. Bye for now.
 Jenni Macklin, Illustrator & Surface Pattern Designer