Transcripts
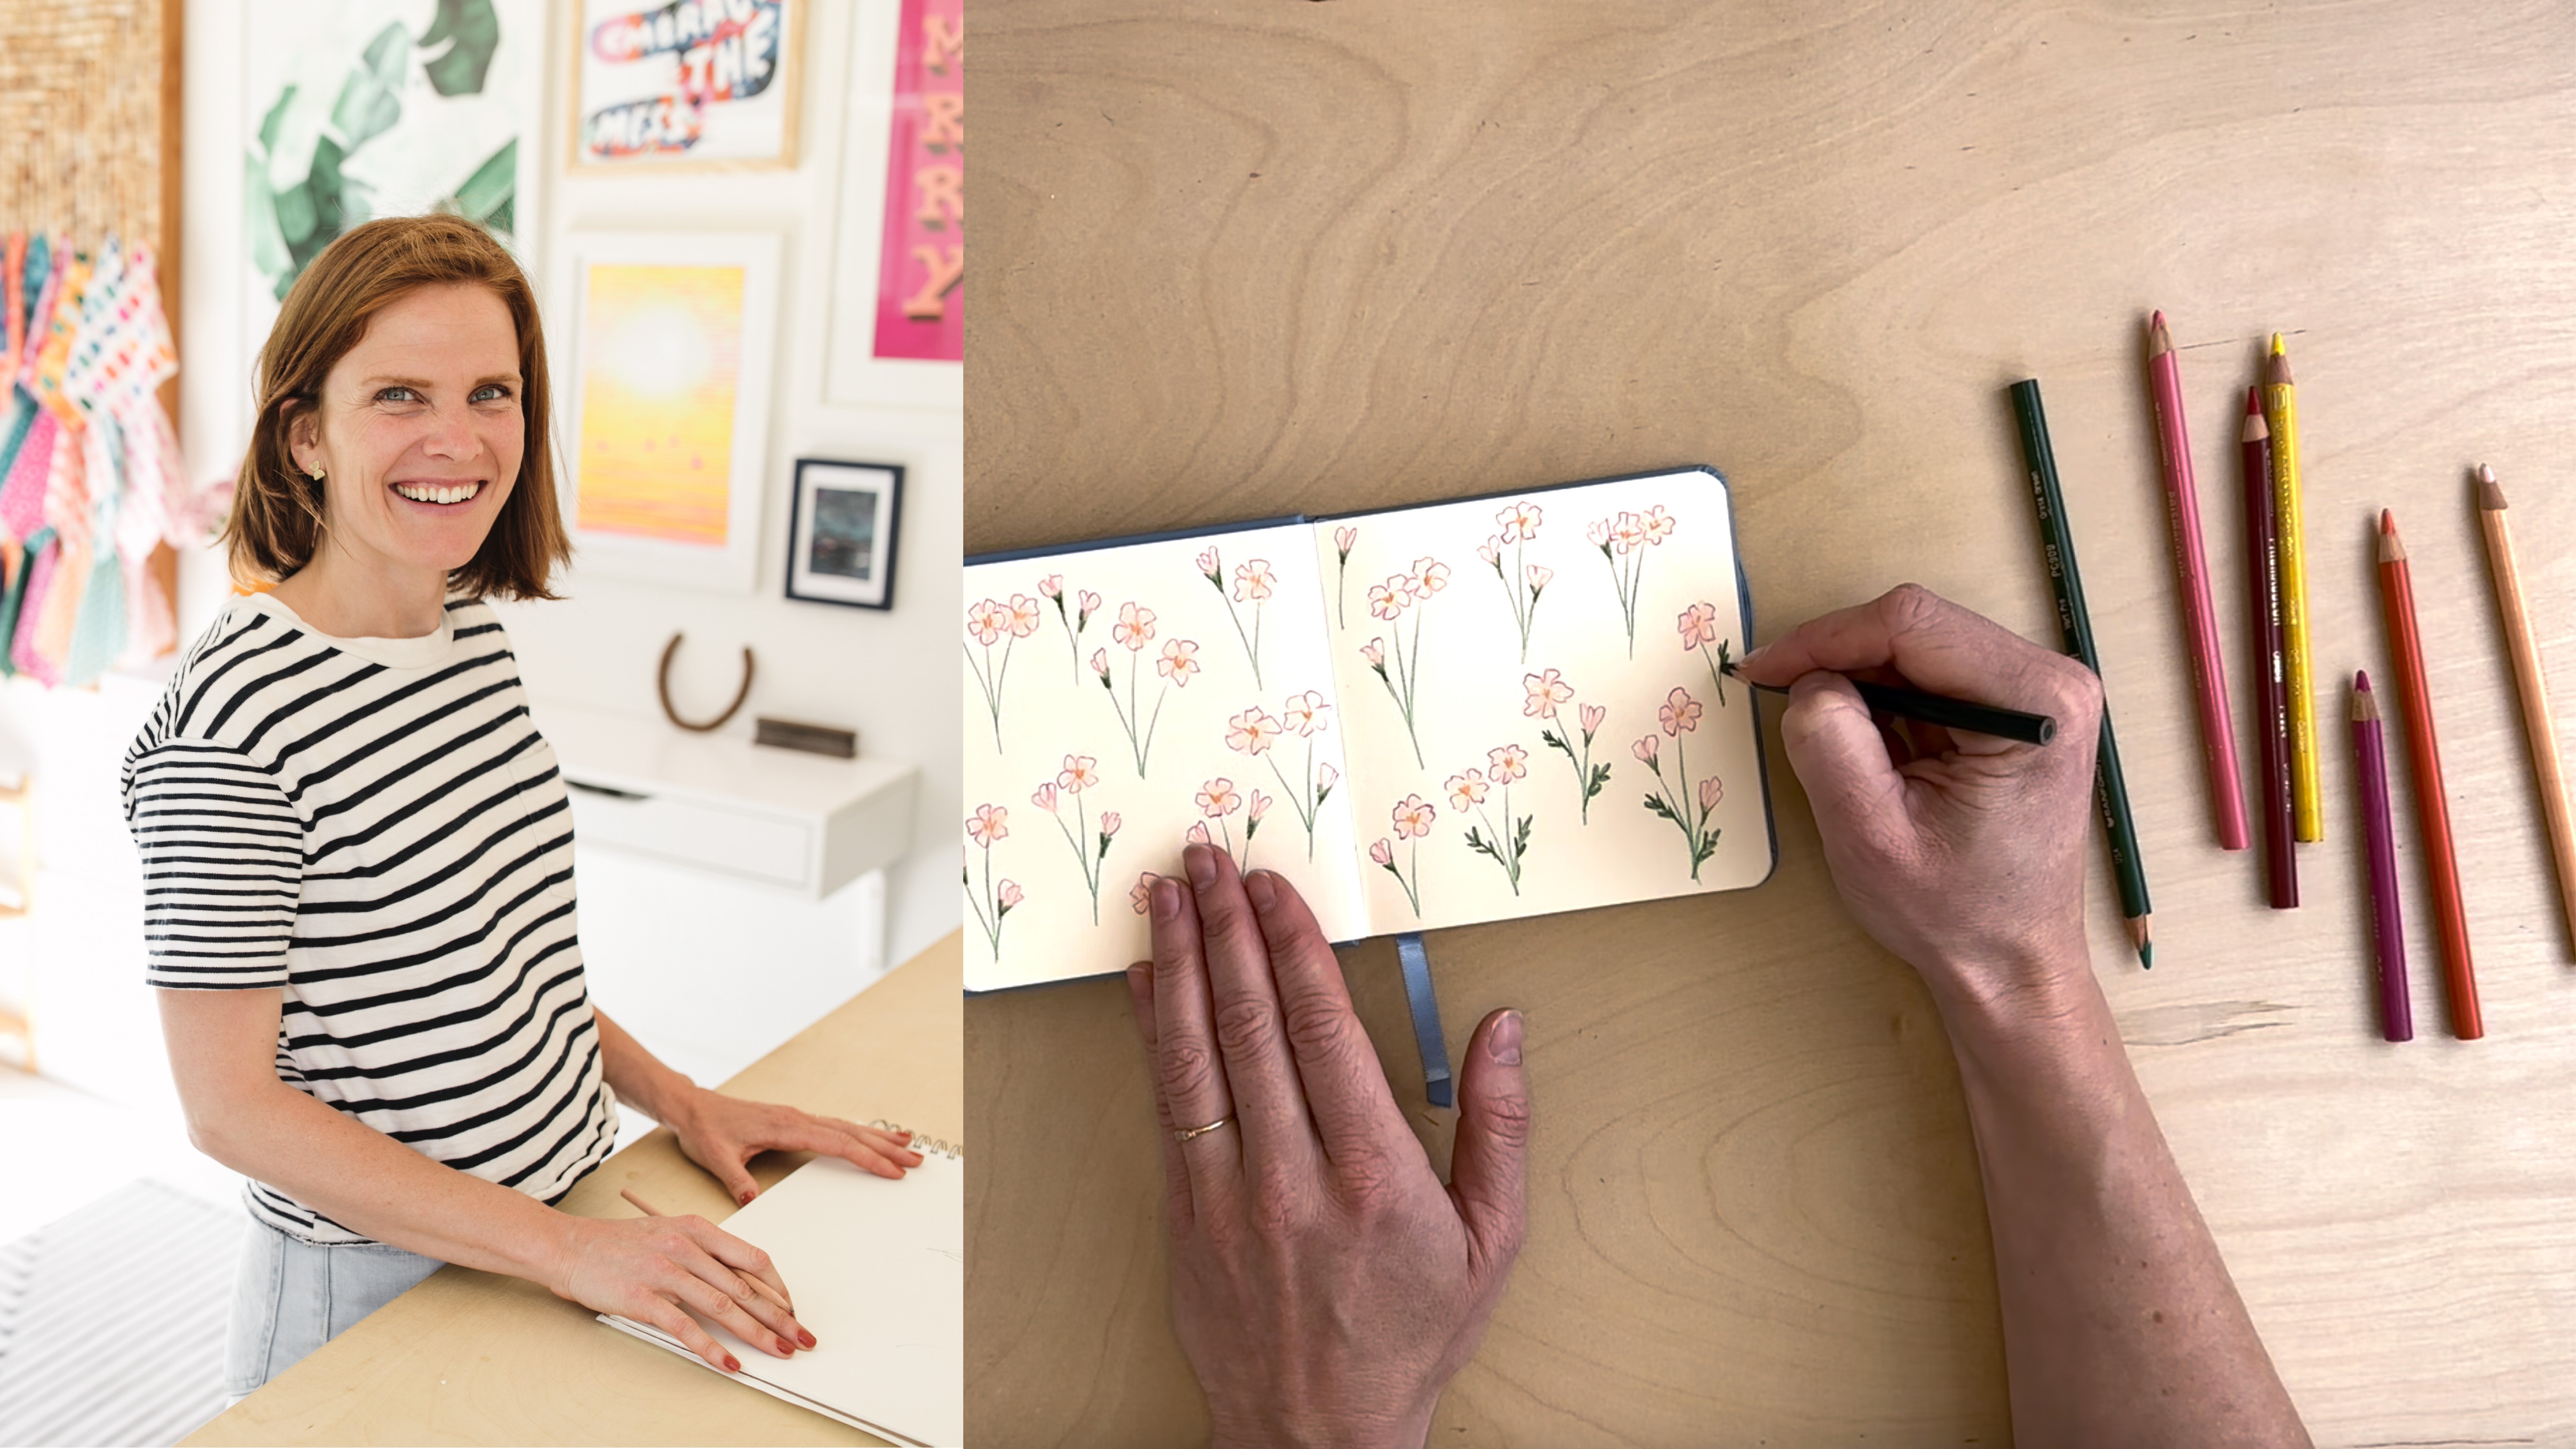
1. Introduction: Hi. My name is Jenny Colin, and I'm an artist and designer from San Francisco, California. This class is full of bite size, creative exercises to
help you show up for a consistent sketchbook
practice and work through the ups and downs of
creativity that we all feel. As a working artist, sometimes
when I show up to create, it feels like work. But I know that if I keep showing up and I keep
putting in the time, I will be there
and ready to grab inspiration when it does come to me and I don't
want to miss it. That's where my sketchbook
practice really comes in. The consistent creative
practice guarantees that my muscles are warmed up, that I have time set
aside for creativity, and that my mind is open
and ready to receive inspiration and ideas
when they appear. I take my sketchbook exercises seriously just like
I would at the gym. They will help me improve
my form and maintain my creative fitness
so that I can show up for a lifetime
of creativity. This class is your invitation to sit with your
sketchbook every day, even if it's just
for a little while, and especially when
you're not sure what to create or maybe don't really
feel like showing up. If you've taken my
previous class, beginners guide to a
sketchbook practice, then you already
have some tools in your tool belt for
approaching the blank page. This class provides
more bite size prompts for you to lean on when you are feeling alull and
creative inspiration or want to work
on something new. The exercises are intended to build on each
other over time, and you can return
to either class whenever you need a boost. When I'm struggling
with creative block or a lack of inspiration, I find that working through
that lull with a pencil or a paintbrush in my hand is the most effective way to get
through to the other side. So take away some of the stress of creating
and join me for seven more days of sketchbook prompts to get
your creativity flowing. Oh
2. Class Project: For the class project, you will fill seven
sketchbook spreads, each responding to
a different prompt and exploring a different topic. We will test out different
ways of filling the page, different strategies for getting started and different materials. To get started,
I'll tell you about the materials that
I will be using, and you're free to use
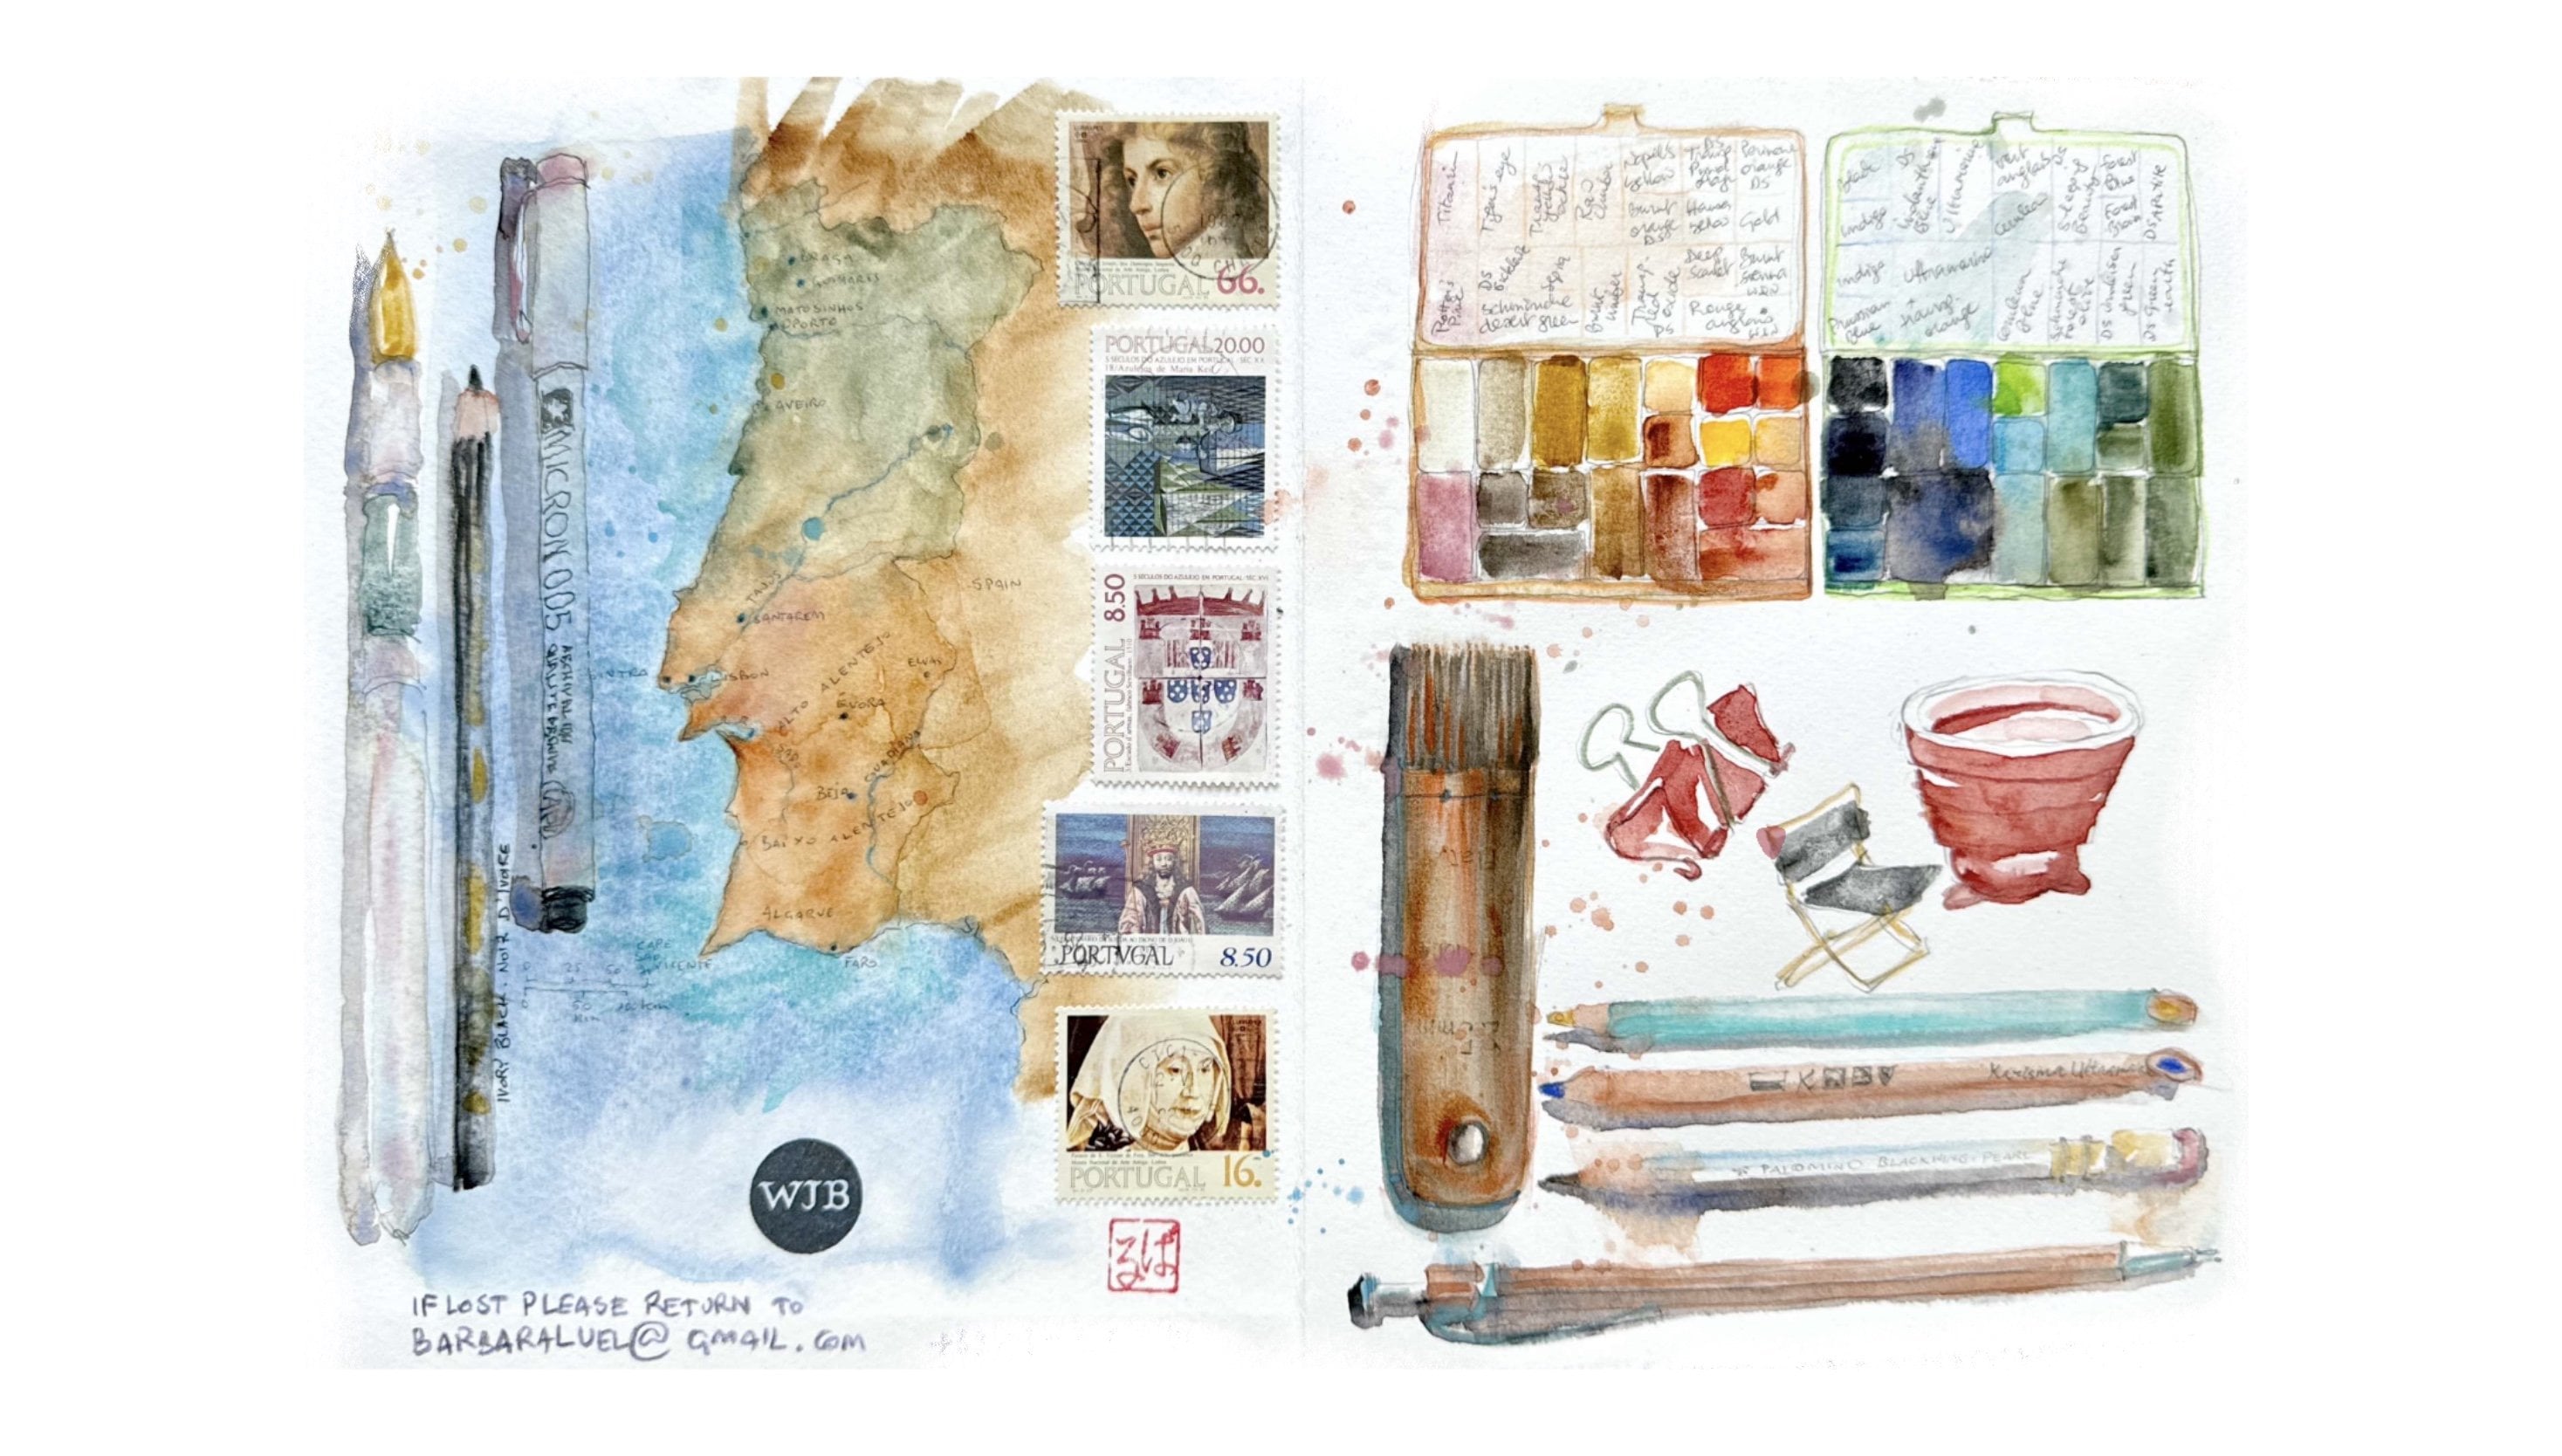
anything you want. I have my sketchbook, of course, an essential part
of this process, but it doesn't have
free fancy either. This can just be any
paper that you have, can be lose leaf paper
if that's easier for you or any sketchbook that you already have or if you
need to go buy one, just whatever is
available nearby. Of course, there is
the classic pencil, which is always a good one. You don't need
anything fancy here, a pencil, is your friend. Then I also have a couple
different fine liner pens, just black ink that I like
using to add some line work. These are both
pretty similar size, but just a little bit different. I also have a brush pen that makes a really
nice, smooth, inky line. I also have some
colored pencils, a nice variety of
colors to play with. I have my neo coolor two
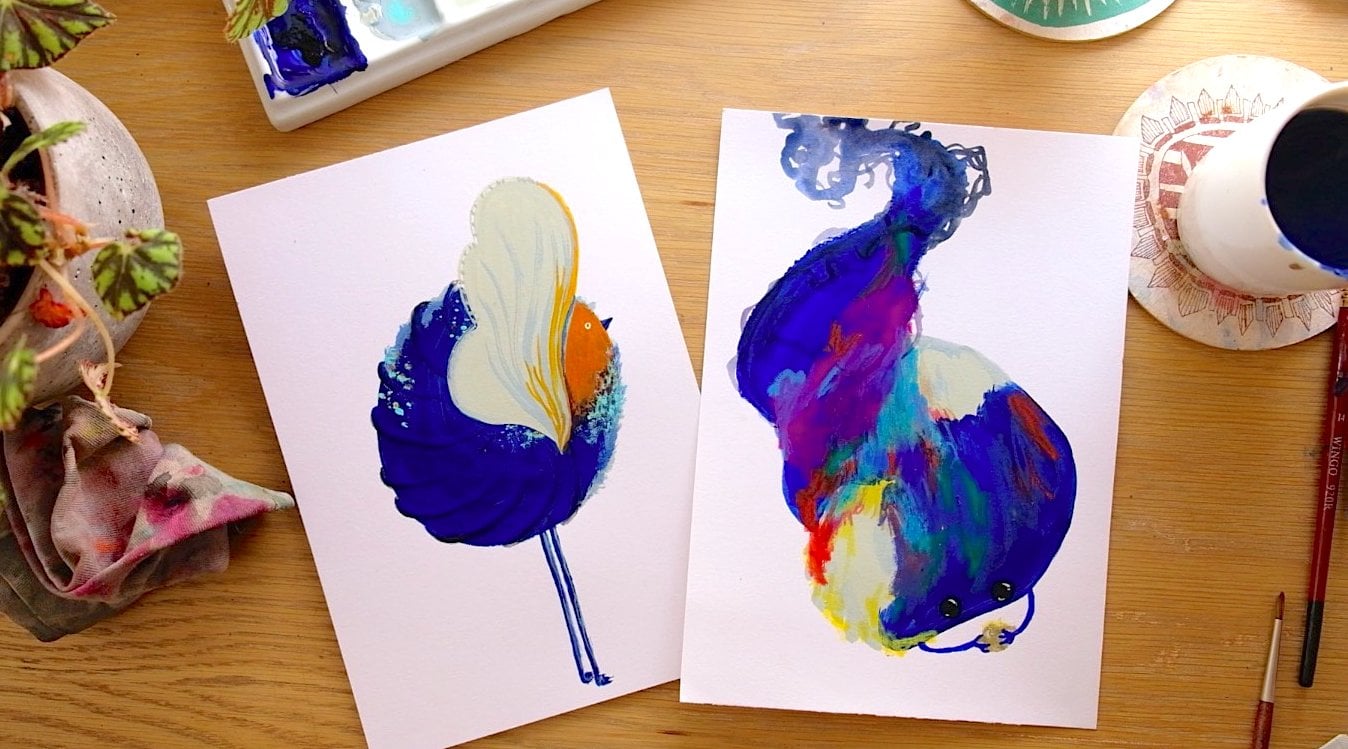
quell crayons to play with. These are water soluble, so I can play with them with the water and get some
really nice blending. And I have my water colors. They're a little
messy. That's fine. This is just how
they look real life, and I have a couple of brushes
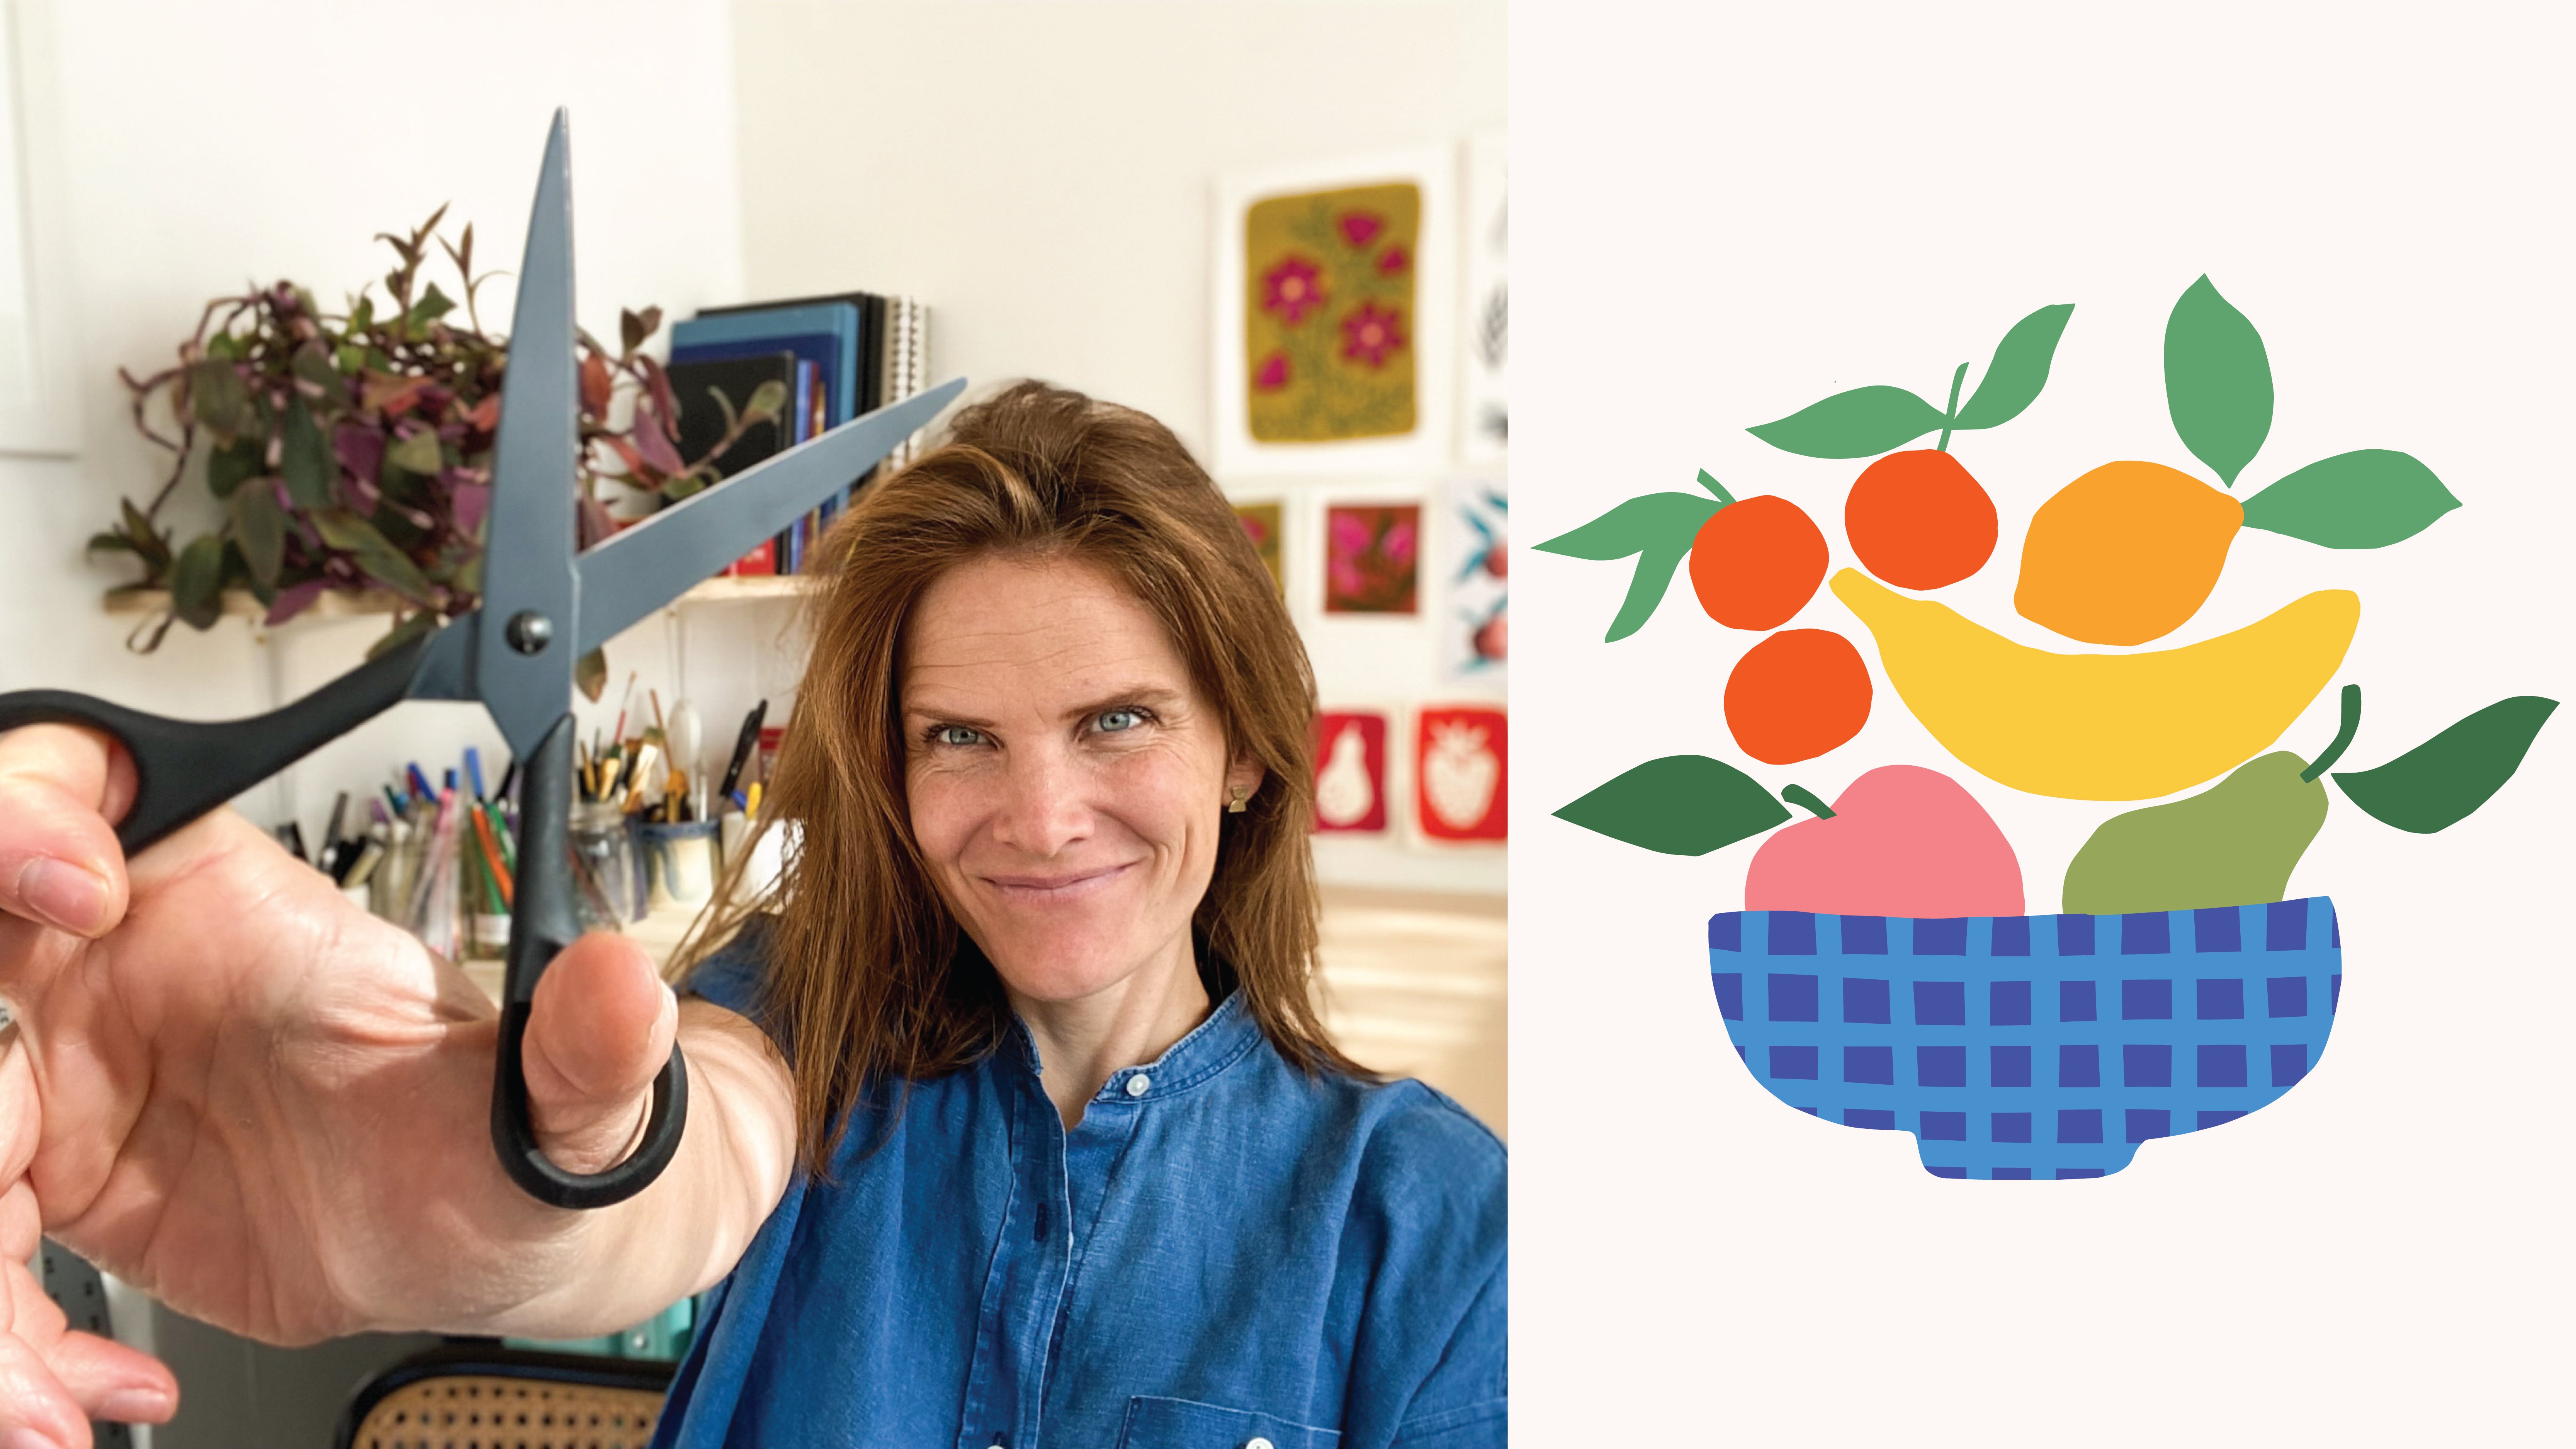
to use and then my water. And I'll be doing some collage, cut paper collage with
scissors and colored paper. You'll also need a
couple small items for reference drawing, which I will talk more
about in lesson four, but it's again, things that
you have around the house. If you'd like to see some of my recommendations for my
preferred art materials, I have shared a link in
the class resources. But again, start
with what you have. When it comes to sketch
booking practices, let's quickly review
some ground rules. One, there are no rules. A sketchbook is a place
to play and experiment, and there's no way
to do it wrong. There's no wrong answers here. Two, make it easy. Remove barriers to sketching, by keeping your supplies handy, by setting a timer for yourself so that you don't overthink it and spend too much time and worry about
spending too much time. Pick subjects to draw
that really interest you. So you want to come back
and draw them some more. If this should be
fun, doesn't have to be heavy and serious,
it can be really fun. Whenever there's
something that's blocking you from moving forward or
making you not want to start, just ask yourself, how
could I make this easier? Three, start. Mess up the page
a little bit with some marks if that's
going to make it less precious and help
you get going and know that you can always
start again on the next page. Refer back to number
one if you need to. There are no wrong answers here. Number four, keep going. Don't expect your first try to be the best thing
you've ever made. Please don't let it be
your last try either. Keep going on that given page. Sometimes I really don't like
something when I just get started only because I haven't brought it to its
finished point yet. As I add more and more, it starts filling out and looking the way that
I saw it in my head. Please push through that part. Then also keep going in general. Show up the next day and
the next and know that you will continue to
improve over time. Practice is the only way to get better at
anything. All right. Now that we've gone over
those ground rules, and you have your
materials collected, we'll get started with our first spread in the next lesson.
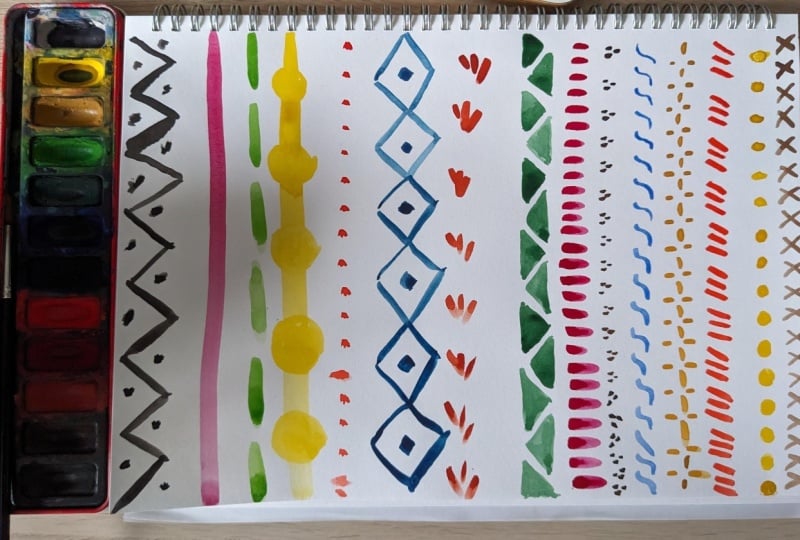
3. 1st Prompt: Stripes: Let's get started.
The first exercise is just keeping it simple,
making stripes. And I'm going to start
on the left side of my page and go all the
way to over to the right, coming up with as many
versions of stripes as I can. Yeah, We'll see
where that takes me. I'll be using watercolor
for this bread, but you can use any
materials that you prefer. The most important
thing is to remember that there is no wrong
way to make a stripe. As long as it goes from the top to the
bottom of your page, I'm calling that a stripe. I'm going to be doing
a combination of organic shapes and
geometric shapes. Some of the ideas I will put on this page I
will really like, and some of them I might
be less excited about. All together, when I
see the finished page, I'm going to be really proud of filling it from
left to right, and it's going to
look great together, even if some
individual element of it is not something I would pull out later to
use on its own. I'm going to change
up my brush to get a different size stroke, doing some more
figurative elements here. I'm moving at the speed at which my brain is coming
up with ideas, and I'm trying not to dwell on anything once
it's on the page, instead just moving
forward, moving forward. My goal here is to get
my hand drawing and painting and to loosen those
gears so that I can freely. It's also perfectly fine to revisit ideas multiple
times on this page. I've done a few different
stripes that are diamond shape, I've done a few different
stripes that are dashes, and some of these that
I'm laying down now, I am putting a first
layer down with the intention of
coming back over it once the watercolor dries. Now I'm doing another take on a floral to put
in the stripe. I really enjoy adding in some elements that
aren't just abstract. There are no rules,
as we've discussed, so I can go back and
fill in parts of the page that I've
already passed on. It's really whatever you are inspired to do because the point of any of these exercises is to find that inspiration and let
that inspiration find you. O. So now that I've filled
the whole spread, I'm going to revisit some parts that I wanted to add
extra layers on top. Some things you might not turn out exactly
as you envision them, and you don't need to keep
seeing it through if you want. You can try something different. I'm really pleased by how dense and full the
spread is licking, and there I have it. There's the finished product. Join me in the next lesson for another sketchbook
exercise to use when you are not
sure where to begin.
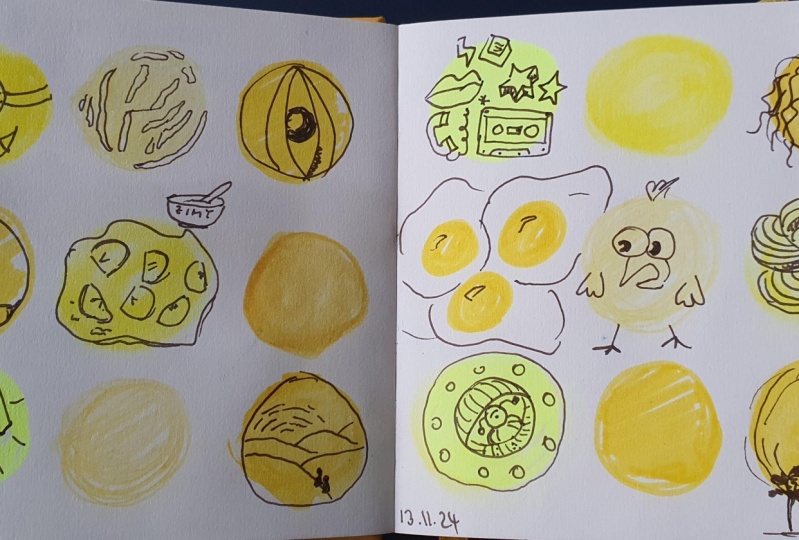
4. 2nd Prompt: Think Outside the Circle: Okay. Now we're going to
be doing circle exercise. This is one that I've
done a few times in different art classes
or design classes, where it's just a way to kind of open up and think beyond the first idea
that comes to you. And so what we're going to do
is we're going to start by filling our page with circles. I'm going to do this
with water color so that then I can go back in with pen afterwards
and add in my details. I'm choosing a light
color to make it easier for my lines on top of
it to show up well. So I'm making a page full of yellow circles that do not
need to be perfect circles. I will also do a page
of traced circles. Excuse my pencil for this. Yeah. I'm using a roll of washi
tape as my template. So they are more
or less the same. So I'll start on this
right hand side and do a page just with color pencils, probably, while I wait for
the watercolors to dry. There can be anything.
So look at a circle, think, what could this be? And I'm going to start
with a beach ball since that was the
first thing that came to mind when I looked at
this page of circles. Simple doesn't always mean bad, and sometimes you need to get the simple ideas out of your
head to make room for the more creative, inventive,
eclectic ones. Next up, I'm doing the top of a coffee mug or a hot cocoa mug. So changing the
angle of the circle, thinking about all
the different ways circles appear in
the world around us. And these are a way
to get ideas down. It does not need to be photo realistic or perfect
drawing by any means. So I'm going to
continue in this way. Illustrating drawing what comes to mind as I go across the page. You can certainly revisit
ideas and Do similar motifs. For example, this
tomato I'm doing, I could do a whole page
of tomatoes that all look different or a page
of fruits and vegetables, and that's totally fine. The circle can just be a
part of something bigger, like this asteroid
falling to earth. It can be the entire
thing like this compass. There are lots of
different ways to interpret this and there are no wrong answers. We have it one page
of round things. Now, I'll do my other page in slightly different
way with my fine liner. Moving back to my other
page, that's now. I'll be filling in
some ideas here, just working in one color
on top of the yellow. This is another
way you can do it. That's a little bit simpler. As I'm continuing to go and trying to decide
what to draw. I'm looking around the
room. I see a taper. Can go with that.
Chances are something in your visual line
is going to be c, and you can find it
when you look for it. Here is my spread of circles turned into
objects and ideas, thinking outside the circle. Join me in the next lesson as we play with filling up the page
in a totally different way.
5. 3rd Prompt: Building Blocks: For this next page, we will be doing an exercise
I'm calling building blocks, and this is all about stacking up motifs on top of
each other to fill the page from the
bottom up and thinking about how gravity and physics would have all these objects
relate to each other. Some examples of things
you could use for prompts are actual kids blocks, like I'm doing here,
some toy blocks. You could also draw something
like river stones or a stack of dishes and pots and pans or other kinds of
vessels and dishware. I'm using mixed
media on this page, so I'm using water colors, but also my neo coolor
water soluble crans. And I'm going to play with some positive and
negative space, leaving some of them
just as outlines. I'm not working just on
one part of the page at a time so that I can
let my watercolor dry a little bit in between
the different sections so that I minimize bleeding
between the shapes. I can also space out colors across the page this
way and stick to one for a while and use it a few times before
changing to another. This is a bit like a puzzle, building it up, thinking about how the shapes
fit together, thinking about how the overall
composition could look, utilizing big shapes
and small shapes, and having it feel
balanced in the end. I also am cognizant
of wanting to reuse the same shapes so that it feels cohesive like a set of
blocks would and reuse the same colors so that the
finished product is balanced, cohesive, fits together,
and pleasing to look at. As I'm approaching
the end of this page, I'm really looking at
the color distribution and bringing in
some colors that I haven't used as much as others. And here is my completed
page of building blocks, which is so satisfying
to see together filled from bottom to
top left to right. Join me in the next lesson for a fun spin on drawing from life.
6. 4th Prompt: Little Things Big: Next page is going
to be something that I'm callingle things big. And for this,
you'll just need to find something small around your house or out on
a walk from nature, and we're going to expand
it and really blow it up. So I have some shells that
I've just had kind of sitting around my studio for a little while and I
haven't drawn them yet. But they're going to be a
great subject for this. I don't need to
draw all of them, but here to some examples. So little pieces of
coral and shells, and I'm just going to try to take this small
shape and make it huge. So I'll start with
this. Let's see, which one of these do I want
to do. Let's do this one. Drawing from life from an object or set of
objects in front of you is a great way for breaking into sketching when you're
not sure what to draw. It takes away some
of the guesswork and stress when you are just trying to translate something that you can see in front
of you onto the page. You can definitely still take
creative liberties and draw it in a way that suits your
style and your ability, and it does not
need to be perfect. It can be loose, it
can be abstract, but having that
reference to start with is a great way to
loosen up and get going. This exercise to make
something small, blown up really big is a great way to look at
something super closely. And all the folds
and crannies and shadows and highlights trying to bring these out and draw
these out in a big way. It's a fun way to translate
something through your brain. So it doesn't have
to be perfect, and it doesn't have to
be exactly what you see. In fact, it is not
exactly what you see. It is much larger. So this really lets you take
your own spin on something. I'm coming in with
some different colors to fill out the page and bringing in slivers of some of the other shells
to balance my composition. Some good examples of things
to draw for this exercise are things from
nature like shells or feathers or leaves or acorns. Also, small trinkets or
toys from around the house, if you have small
kids, like I do, and even office or
art supplies like pencil shavings or paper
clips or binder clips, something you might
have around your desk. And here is my full spread. I just used three
colors of color pencil, and I'm pretty satisfied with the result and was able to
spend some time looking really closely at something
and getting outside of the stress of creating and
into just the joy of it. Join me in the next lesson for another fun exercise to
bring into your sketchbook.
7. 5th Prompt: Patchwork: Next exercise is patchwork. And for this one, we're
going to be making a kind of patchwork quilt shape
or inspired illustration. I'm going to start by drawing some kind of skeleton for mine. And I'm not measuring. I'm not making it
super specific. I'm just eyeballing it. You can definitely make it
more precise if you want. I'm drawing the blocks for this patchwork quilt
style illustration, starting with rough squares, and then I'm going to
divide mine up to have every other square broken into triangles for
some variation. Once I have this skeleton down, I can start filling it in. I'm going to be taking flora
from around my environment, so my backyard and my
home State of California, that will be my inspiration or my theme for this patchwork. Some other ideas are foods. It could be a meal that you
had that day or recently, you could take inspiration
from the season that it is a spring or summer
or winter patchwork. Again, local plants or
anything that you would like. One thing that I find
helpful for this type of illustration is to pick a
really limited color palette. So I'll be using three colors. I have this darker rust brown, soft pink, and then I'll be bringing in an orange as well. In all of my squares that I have left without
triangles drawn in, I'm drawing the plants. And then in the
triangular blocks, I am painting in
those colors just so that no same color is side
by side for a background. And that is the only
rule I'm giving myself. The rest is just following
that rule to its natural end. By the time I have
finished this spread, I hope to have every inch of this page covered
with water color. And it's fun to see it
getting filled in bit by bit, trying to balance the color from my limited palette
across the page. The As the page is coming
more and more together, and I'm more than halfway done. I'm thinking about if there's any additional pattern or texture I want to
bring in at the end. Do I want to come
back over any of these squares to
add in more detail? I just have a couple more
places to put in some plants, and I'm also racking my
brain at this point. I often find with
a sketchbook page that it doesn't quite feel the way I want it to feel until
I have pushed it to the end. So right now, and I'm
looking at my page, it is getting really close.
So I want to keep going. I want to keep filling
in those squares, see it through to
the place where I started with the
intention of getting it to because it'll often feel a lot better just having
it all the way filled in, all the way realized. Oh. And I am going to come back and add
in a little bit more detail. Bring some of these colors
into the middle of the shapes. Give a little bit more
contrast and texture. And here is my finished
page of my patchwork. Join me in the next
lesson for a chance to switch up your materials
and different.
8. 6th Prompt: Material Mixup: For this spread, we're going to forget about some
of the materials that we had out here on
the table before because the whole point is
trying something different. So whatever you've been
doing up until this point, whether it's pencil or
pen or color pencils or paint, pick something else. Something very different, not just going from pencil
to color pencil, but go to paint, go to a, like, soft pastel or an oil pastel, something that'll feel really
different in your hands. What I'm going to do is collage, and that's another great one. Um if you haven't yet been using collage
in your sketchbook, Using scissors as your
means of drawing is totally different than using a pen or a pencil
or a paintbrush. And I'm a huge fan. So, I have a few different
colored papers, and I have my scissors, and I'm just going to play with some shapes using my paper
and scissors for this page. I like the idea of
doing a bouquet. So I'm going to work on
some flower cutouts. If you're intimidated by
using collage or cutouts, I have another skill
share class all about this called
drawing with scissors. I go into some of
my tips and tricks for getting over any fear you
have about using cutouts. Some other sketchbook ideas besides a bouquet
for this spread could be a landscape or
a travel destination. As I'm cutting out my shapes, I'm not gluing them down yet. I am simply cutting the shapes and placing them on my page so I can keep moving them
and arranging them as my motifs develop. And layering them and trying to create some
visual interest. I find it really helpful to take the large page and cut smaller sections from
it to be working with. If it's a smaller
rectangle or square, and then I can cut
out from there. Now I'm just getting a lot
of pieces that I know I will need for the
stems and the leaves, and I'll be working on arranging all those in a little bit. I like the imperfection
of paper cutouts. I like the handmade feel of it. So I'm not trying to
make anything look perfectly smooth or
erasing any of that. I'm trying to lean into it. Remember that you can always
start over with a cutout. So if you mess something
up or cut it out wrong, you can always get a new
piece of paper and cut it. Now it's time to
glue my pieces down, which can be a
challenge in of itself, but I find most helpful here. I'm just using a standard. First, I'm going to
glue these green bits onto the leaves below them. And I use a piece of
scrap paper. Add my glue. By starting on the
top and working down, this groups my motifs together in the little
bits don't get lost. It lets me keep them as
close as possible to where I want them on
the page as a unit. And then I'll start
putting down these green stems so that I can attach
the blossoms on the top. The school glue stick is
nice because I can still rearrange things or move things around once
they've been placed. The glue is not
final and dry yet. O Now that all of those pieces are down, I can go back in and add in some details or
additional pieces where I felt like
somewhere missing. So I'm filling out the
stem part of this bouquet, especially coming at the bottom, where there really wasn't
enough volume yet. And here is my
finished collage page, another spread done
in the Sketchbook. Join me in the next lesson for our final exercise,
drawing the rainbow.
9. 7th Prompt: Draw the Rainbow: For this page, we're going
to do a rainbow spread. And so we're going to start on one side with however you
want to start your rainbow, you can to start with red as in the classic rainbow or pink, and then go all the
way over to violet. And drawing as you
move across the page, any objects you can think of or things you can think
of in that color. So I'm going to do a mixture
of colored pencils and myo colors starting with pink
and working my way across. So if I just planning out
a little bit, pink, red, orange, yellow, green,
blue, indigo violet. And, we'll start
start sketching. You can really draw
anything that you like in the color
of that section. I'm going to be trying to draw mostly items that are
a particular color, but for example, the
bow that I started with could be drawn in any
section in any color. And I can use other
colors to highlight elements or draw things
like stems and leaves here. I just want the main color for that strip to be whatever
part of the rainbow it's in so that the overall effect going from left to right
is that of a rainbow. I find that these
bulk kinds of drawing exercises where I'm
going for a quantity over quality kind of feel can really help me
not feel so precious about any individual element or any individual idea
because it's all just contributing towards a
bigger, greater image. If I worry too much about
any one little thing, then I might get too attached and not end up liking
the end product as well. I'm jumping around
from one color to another as ideas are coming to me for what I want to draw. Some of these colors
are definitely easier for me to think of a lot of objects in that
color like red. But again, you can draw anything as long as
you're using that color. It can just be leaves and green, it can be water and blue, it
can be bows and all of them, as I mentioned, whatever
you want to draw, as long as you use that color. When in doubt, I always
draw flowers and fruit. So those will be showing
up a lot in every color. Oh as my page is filling in, and I have less and less
room for each new image. It gets a little bit more
challenging to fit it, but it also can be
part of the fun to fit something in
a particular space. I'm really enjoying how
this feels with a really dense and filled in
series of images. And once I have gotten as many images as I can think
of or can fit on my page, I'm just going to go in here and fill in some of the
background with the particular color
to get more of that overall look of the
rainbow across my spread. And here is my finished
spread going from pink to purple with all
the colors in between. We've made it through seven more sketchbook exercises to bring to the page when
you're not sure what to make, and you might be feeling a little creative block
and you want to break. Fd me in the final lesson as we wrap up and celebrate
what we've done.
10. Final Words: I hope you enjoy
these seven prompts to get your creativity
flowing and that after seven full spreads
of Sketchbook goodness, you are on a creative streak and the inspiration is flowing. Keep showing up and keep
putting your ideas and thoughts onto the page
so that you can come back and see where it
takes you in the future. We would love to
see your projects, and if you would
upload photos of your finished
sketchbook spreads to the class projects
and Resources tab, that would be much appreciated. While you're there,
give a word of encouragement to
someone else as well. Keep sketch booking and show me your work on Instagram
at Jenny land. I would love to see if
you keep going with this and where it leads you.
 Jenny Koland, Artist, Designer, Color Enthusiast