Transcripts
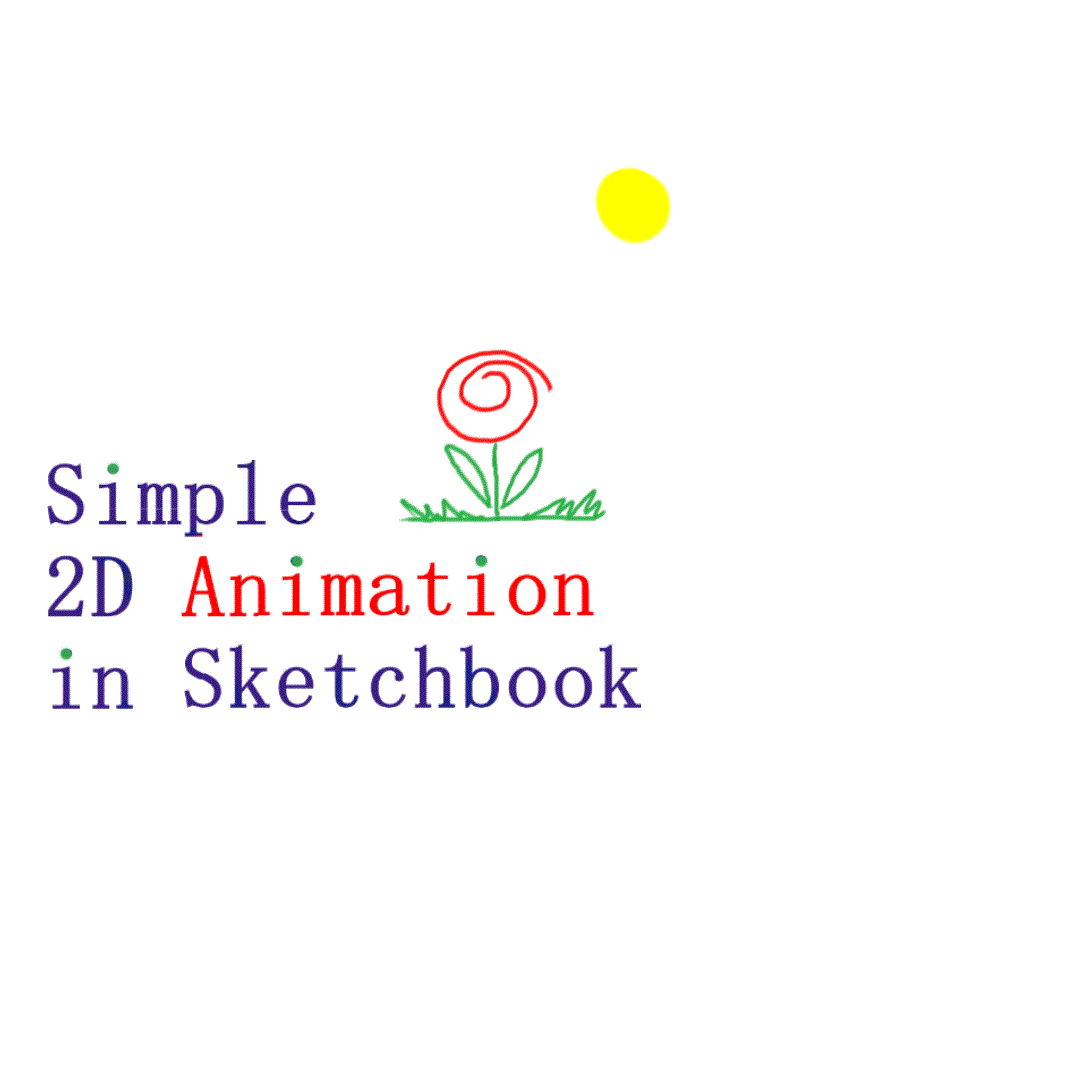
1. Introduction: Hello guys in this class, you will learn that great and it's simple to the animation projects is not as difficult as people are used to think. You can tell your little stories, even if you can do really well, not only adults but kids can do this. I will show you how to greet easy animation projects using Autodesk sketchbook. This program is a great tool for creating teaches art in general, and many artists use it for their personal and commercial project because it is very easy to work with and it's free. You will learn how to use schedule for digital join and painting and how to use its animation mold to create greeting cards. Short, funny videos Get Citra. You can follow several simple projects that will prove how easy animating can be. He will also learn how to save your animation as aji for a video file to share with friends on Facebook, Instagram and other social media. All you need is the program installed time and a bit of patients. If you're Rangers and join me and let's have fun
2. Getting Familiar with SketchBook: okay to begin with, let's get familiar with the program In case you never used it. This is the brush palette. You can use any brush and try which one you like the most. A pants, a market and airbrush it sits right? Of course, there is in the razor to delete and wounded lines. Here are more brushes to choose from, and if you click on this icon, you will be able to play with the brush settings on the top. There are instruments that are very useful as well. Zoom allows you to make the image bigger or smaller. The zoom toe can also be activated when you press space bar, so you don't need to go to the toolbar. There is a number of select tools to choose which option is best for you. It can be rectangular. It can be around or free hand, which is the most useful. This is a transformation tool that allows you to change any shape. You great if you want to crop your image, Use these two and do is very important. You can use it any time you make a mistake. Here, you can find a free hand selection again, and this tool allows you moving the whole layer or change the image size all rotated. In order to speed up the painting process, you can use this pocket. You can use this old feel you're going to use Grady and feel and then customize it and you can use a radio feel and customize it as well. The letter T means text. After you created the text, you can transform it, make it bigger, smaller or irritated. Like any other image, these icons allow you to hide or show the main to balance. Two. Great and you layer, just click the plus icon. The brush park allows change in the size of the brush. You only need to pull the cursor to the right to increase it or to the left to make its more. If you pull the cursor down, you decrease capacity. If you pull it up, you increase capacity. Okay, now I'll show you a very useful trick. If you click on this lock, you look transparency, which means that you can change the color of the object, not effecting anything else on the where. When you unlock it, you can draw again anywhere on the converse. If you want to change the size off the whole image, you choose image on the menu and type in the numbers that feed your project. If you plan to bring to your image later, choose the resolution 300 pixels.
3. Switching to Animation Mode - FlipBook: in the menu File Jews New Flip Book. Now you can choose any given former or creating custom sized cannabis and type in your old numbers. I'll make it square frame rate means the speed of your animation project. The bigger is the number. The more frames per second will be played, which also means the bigger amount of drawings you will have to create the standard speed is 24 frames per second. The number of frames suggests the length of your animation. If you create 24 frames, it will be at one second field, 48 frames, two seconds. People 72 frames, three seconds and so.
4. Getting Familiar with FlipBook: flu book has the same tools as sketchbook. The brush pair with the toolbar, the color palette. The difference is that here you have only three layers available, foreground middle ground and the ground background image can be changed. You can only add some background car, the foreground and middle ground layers of those where you can create animation. And for that you will also need the timeline. Each sale here is a free to create an empty frame. Click here. What you draw on one frame won't be shown on the next one. The frames are like different pages to duplicate. Frame breast, double plus bottom. To delete a frame, press X bottom after do it in the frames, you can feel them with empty frames. Present lease button. These bottles with squares allow seeing the premieres and following friends. The bigger is the number the longer frame sequence you will be able to see. Also, you have the play button and the stop button. They look plain in the right corner can be turned on and turn off. These bar allows scale in the frame sequence to see more or less frames at once. The timeline will play only those frames that are visible with the loop on the plane goes on and on. If you switch it off, the frame sequence will be played only once.
5. 1st Project: Animating a Ball: Okay, let's create our first project in the Manu file. We choose new flip book, choose the size and the amount of frame. Now on the middle ground layer, I draw a circle. He doesn't have to be a deal at this point, just a direction of line. I put a mark for orientation to remember where the movement started. Then I changed the color and the brush. How I duplicate frames on the timeline and come back to the first frame, choose the foreground layer and draw the first Red Bull on the first frame. Now I choose the second frame and drove the ball again. I go to the third frame and click the square bottoms to show one previous frame and one next free. This way it will be easier to place the ball in the right position. Then I drove the ball again on the fourth frame, the fifth frame and so on alone. The Green Line, which shows me the direction off the movement, Think of when you mation is a Megan Little steps. One after another. This Red bull makes a little step ahead on each new friend. The line of its movement can be straight, curved, angled, circular and Citra. It's important to remember that the smaller are the steps this lower and smoother with the movement and the bigger other steps, the faster will be the movement. - So here we are. The bull is now at the start Mark, I press play to see how it works. It goes wrong. Fine. Now I turned the little poem and press play again. Now the ball never stops and these are the basic rules you should remember.
6. 2nd Project: Animating a Flower: I chose the background layer and throw the ground line in the direction of life. Go to the foreground layer and draw a flower in the first frame. Now I greed several empty frames. I go to the first frame, choose this election tool and select the flower in the menu. Aided, I choose copy. Then they go to the second frame and in the menu edit, I choose based. Now. I moved the entire layer to put the flower in the right position and slightly tilt it. Then I go to the third frame, praise the flower again, correct its position and tilted a bit more. I repeat the same routine to create the movement along the directional lines. Now I tell the flower in the opposite direction to start moving back. As you can see, it is the same action again and again. Then I do the same token, the flower to the right side. - I create a new empty frame and duplicated to have some more friends. - Now we're back to the starting point. Now I choose the background layer, eliminate the direction aligned and drug Ross and the Sun. I check the movement of the flower and notice that it is kind of jumpy. So I zoom up to revise each frame step by step to find him steak. After finding it, I fixed the flowers position and check the movement again. - Now it looks better.
7. 3rd Project: Animating a Drawing: I drew the simple drawing on the background layer, and now I am a raising the park that will be changing now. I switched to the foreground layer and throw the Bailey line in the first frame. Then I create a new frame and duplicated several times. I go to the second frame, make a previous in the following frame visible and throw the bell align slightly higher than before. Then I go to the third frame and throw the bill align slightly higher than before, and so on. Now I come to the first frame and draw a trickle of wine. I go to the second frame android again and so on. I want to create an illusion of flow and liquid, and it's quite easy to do because when you drove freehand, you can't copy a land precisely, even if you try. So the way the lines in different frames will be slightly different, and that will create an illusion off the movement. Let's Jack hold looks it most too fast. In such a case, you can create additional frames in between the ones you already created, or simply add empty frames to slow down the movement. - You see this feed changed
8. 4th Project: Using Text in Animation: In case you want to create a greeting card, you will need text breast e letter on the toolbar. Here you can choose color style formed and the size of letters. Type in the text and click. OK, you can move the text using the same tools before now. I great empty frames. I choose yellow color to similar it light. Choose foreground layer. Go to the first frame, try all the size of the brush and make the first brushstroke in the second frame. I do a similar brushstroke near the 1st 1 in the third frame. Well, you are already family. Where with routine, so I will accelerate the video. Now when you need more empty frames, simply add new ones. That's how it looks so far. Let's get a balloon on the big ground layer a draw, a directional line. I choose the foreground layer and draw a balloon. I choose the red color and go to the tool bar. I click on the icon circle and square and choose circle. This way I can draw a perfect oval or circle. I click on the icon to ensure the function off and to draw Freehand. Now the selection tool. I select the balloon, go to the menu file and click copy. Then they go to the second frame and paste in the balloon. I placed the balloon next to the previous one. I continue the same way with the following frames, step by step, placing the balloon along the direction online. Once in a while, I check how smooth the movement is after place. In the last balloon, I choose the background layer and erase the directional line and here is the result.
9. 5th Project: Multilayer Animation – Creating a Background Image: In case you want to create a multi color illustration with animated elements, it is better first to grade illustration in sketchbook, not flip book. Because the number of layers is not limited here and the whole process of drawing and painting it will be easier. First, I great a new layer and name it background. This will be aesthetic picture in the animation. None of its elements will move. I think of it is a theatrical decoration or a movie set. Every story needs a place where it all happens, so here it is. I made a very simple sketch. It's just a reminder where the thing should be. Now I will paint the tour. I am painting in a very loose style, which, of course, you don't need to copy. If, for example, you want to have clean straight lines, press shift key while drawing them, and you will have idealised, straight vertical and horizontal lines. The painting process takes some time, so I accelerate the video. The basic process here is to create contra lines and feel the empty space using the bucket , too. To correct some details. You can use a razor undo or a smaller brush when painting smaller details changed the size of the brush using the brush park. Now I grating you layer that is placed under the background player. I choose light blue color to feel in the whole layer. This is the fastest way to create it. Once the sky, the river and the windows that reflect the sky. Now I changed the color to a lighter blue and feel in again. I think this way it looks better now. I create a new layer that is above the background layer. Here I draw offense with black color. Now I look this layers transparency, choose a yellow color and increase the brush size I planned all over the fans and and some flowers to the bushes. After making the brash smaller again, I go back to the background layer and fix some details. Now I'm urged, wears. Then I deal with an empty one I created by mistake and merge two layers again. Now the whole picture is on the same layer
10. 5th Project: Creating a Middleground Image : I moved the sketch layer above the background layer and great in you layer and name it middle ground and draw a boat that will move in animation. - I painted the same way I did. The houses joined control line and feeling in the space with the bucket to and then fix in some details with a smaller brush.
11. 5th Project: Creating a Foreground Image and Saving Separate Layers: Now I great a new layer above the middle ground layer and name it. I choose the black color, the smaller brush and they zoom up and your little bird sitting on the bush and then fix some details. - Now I hide all the layers except the one with the bird. I go to the main you file and click save as I choose BMG Foreman and save the file. Now I hide all the layers except the middle ground leg. Again, I go to the menu file and click Save as I choose being G former name the file and save it. I do the same with the background layer. Then I make all the layers visible and save the file a stiff not to lose any information in case I needed in the future. Now I am ready to go to flee book. At this point, it is important to check the campus proportions to create economists off the right size and flee book. My picture is square, so I create a square canvas for fully booked as well. I change number of frames and click OK
12. 5th Project: Importing Images into Flipbook: First I choose the background layer and then go to the menu file and click add image. I choose the background picture and scale down to feed the size of the converse. Then I go to the middle ground layer, go to the main you file and click add image. I choose the middle ground picture I scaled down and place in the right sport. Now I go to the foreground layer, go to the menu file and click at Image. I choose the bird picture. I correct its size and place it in the rights place.
13. 5th Project: Animating Middleground and Foreground: everything is ready to start animating. I go to the background layer and draw a directional line brace and shift key. Then I create a new frame and duplicated several times to have frames ready. I choose the option of seeing a previous and the next frame. Then they go to the middle ground player. Choose selection, too, and select the bolt. I go to the menu, edit and corporately selection. I go to the second frame and pays the picture, Then place it one step ahead along the direction of line. Then I go to the third frame and the repeat the routine. What is important here is to be precise when place in the bold so it doesn't jump up and down while moving. Okay, the first step is done. Now I go to the foreground, layer true selection, too, and select the bird. I go to the menu, edit, corporate this election and choose the second frame Isa mob and based the image. I go to the third frame and repeat the routine. Now I duplicate the last frame with Bolt in it, which means that the board will stay still in the same place. Then I keep grating movement of the bird because it wants to catch up with the boat. - Now it's an important moment. I'm switching the layers and placing the burden on the middle ground layer so that now the boat and the bird could be one object. I just the timeline to see a bigger frame sequence and check how it all looks. Eyes a mouth, choose to this election toe and select both the boat and the bird. I copied the image great new empty frames and start placing the picture like before moving it alone. The directional line. - Okay , the bullet seems to move. All right now I go to the background layer press old key to pick up the color off the water and paint over the direction line because it is not needed anymore.
14. 5th Project: Adding Details: I choose blue collar that is slightly darker than water and draw a wave on the foreground layer and in the first frame. Then they choose selection to select the wave and copy it. I based it in the second frame, one step ahead of the previous one. Well, you are for me later with these routine over you. So I simply accelerated video. These wave movement can be considered an additional element, and you can create many additional elements. For example, a cloud moving in this guy, another bird hoping on the bush, some fish jumping out off water, some person looking out a window at sea. For that, you can use both middle ground and foreground layers. The only thing you should avoid is overlapping the pictures on the same layer because it will great unnecessarily complications.
15. Saving Options: when you're animation isn't ready yet. You should save it as S K b A four months to be able to continue working on the project when it is ready and you want to show the result of someone you have several options. You can export it as the PNG sequence, which means that every frame that you created will be safe is a separate BNG file. When exporting, you can choose the amount of frames so you can save one or all of them you can export your animation is MP four file. In such a case, you can choose the amount of frames, and also you can change the speed. Make animation slower or faster than the original version. Also, you can export your animation as Jeff. In such a case, you can choose the amount of frames. You can change the speed and also choose the look option, which means that the animation will keep repeating itself nonstop
16. Final Thoughts: Now, when you know how to draw an animate in sketchbook, he can repeat my process and recreate the projects I demonstrated. Or you can invent your own animation project using the principles I introduced you to. How can you use this skill? I'd say Start with animated greeting card. It won't require much time to make, and it will be fun to surprise your friends with the personal animated message. I'll be very glad to see what have come up with. So please post your chief or video files in comments, and I hope you'll enjoy the whole thing.
 Joan Tatley, Sharing what I've learned