Showing Mastery of Light by Creating Sunrays in Watercolors
 YU-YIN LIN, Artist/ Teacher
Watch this class and thousands more
Watch this class and thousands more
Lessons in This Class
-
-
1.
Introduction
0:50
-
2.
Art Supplies
1:11
-
3.
Project 1 - Lifting
3:47
-
4.
Project 2- Wet-on-Wet
3:26
-
5.
Final Thought
0:46
-
-
- --
- Beginner level
- Intermediate level
- Advanced level
- All levels
Community Generated
The level is determined by a majority opinion of students who have reviewed this class. The teacher's recommendation is shown until at least 5 student responses are collected.
361
Students
3
Projects
About This Class
Have you wondered how to add a sense of atmosphere to your watercolor painting?
Have you wondered how to enhance magical and dramatic mood of your artwork?
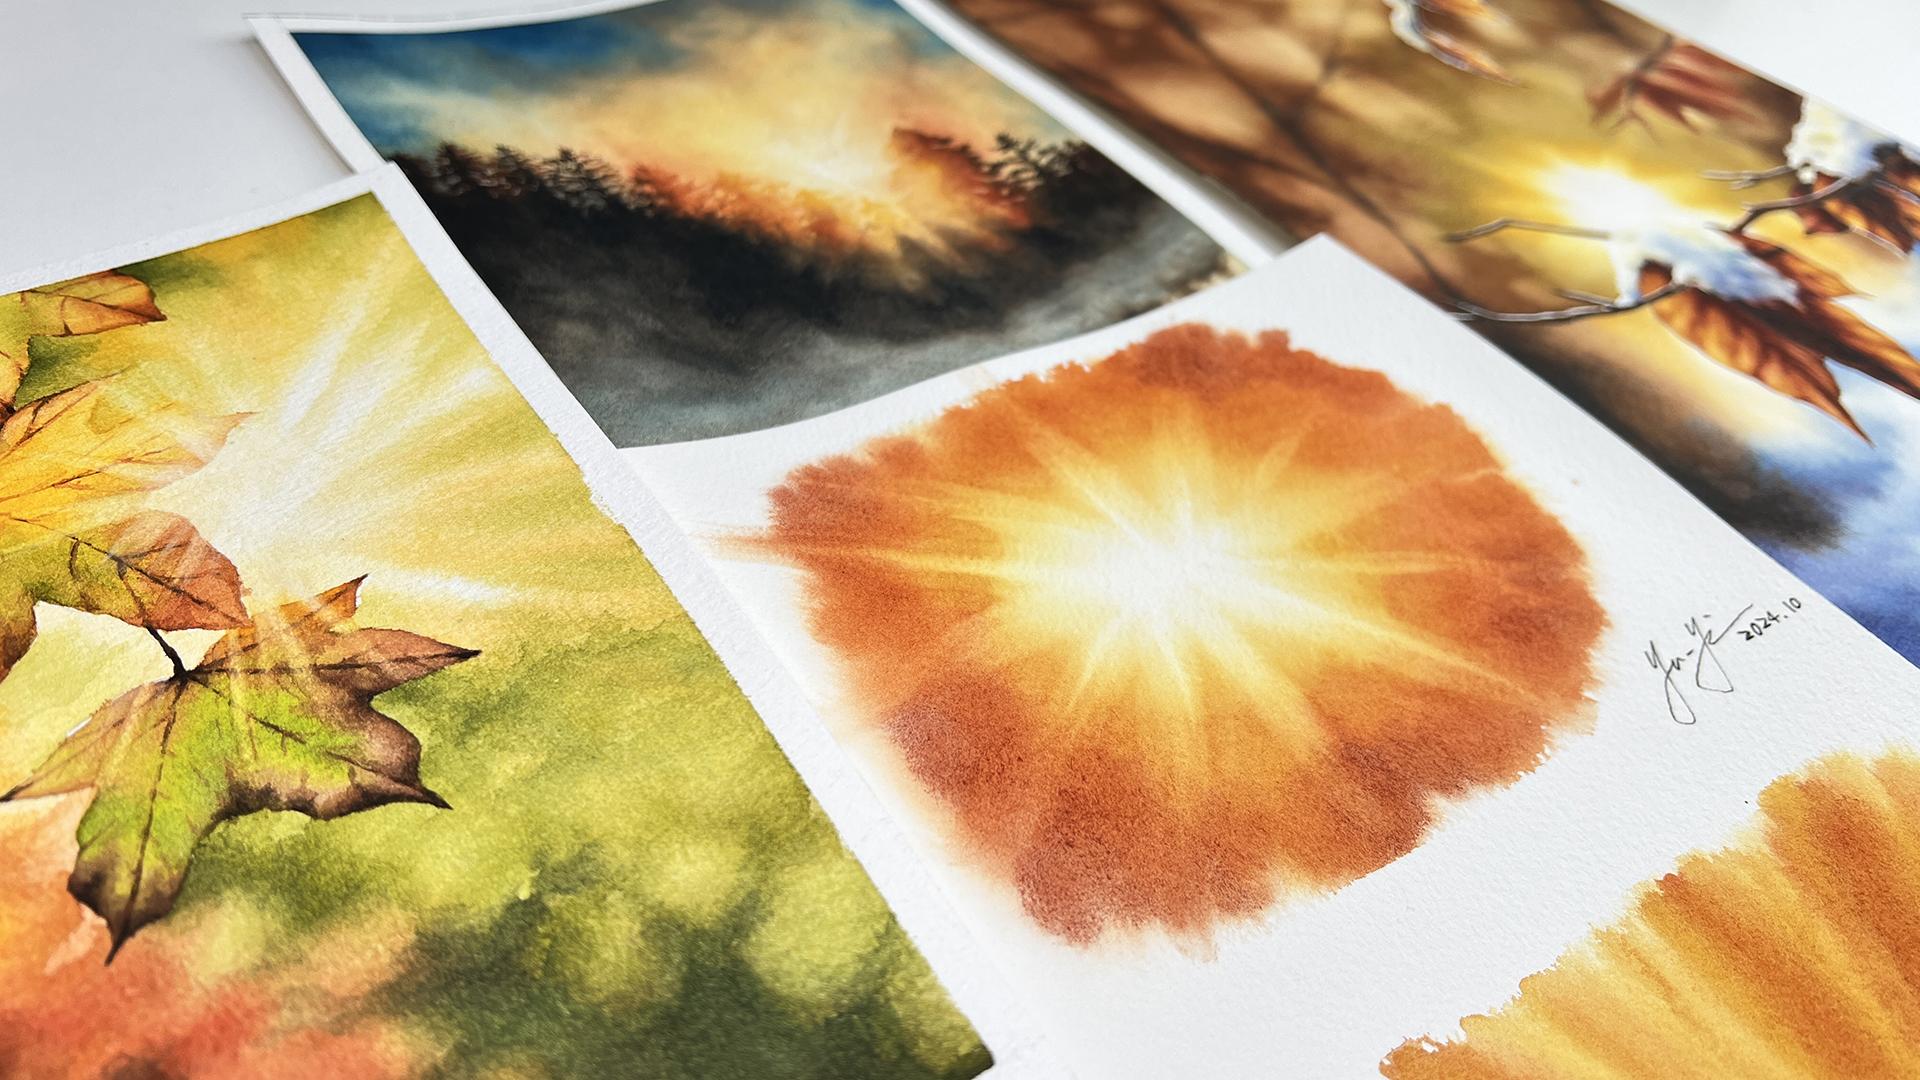
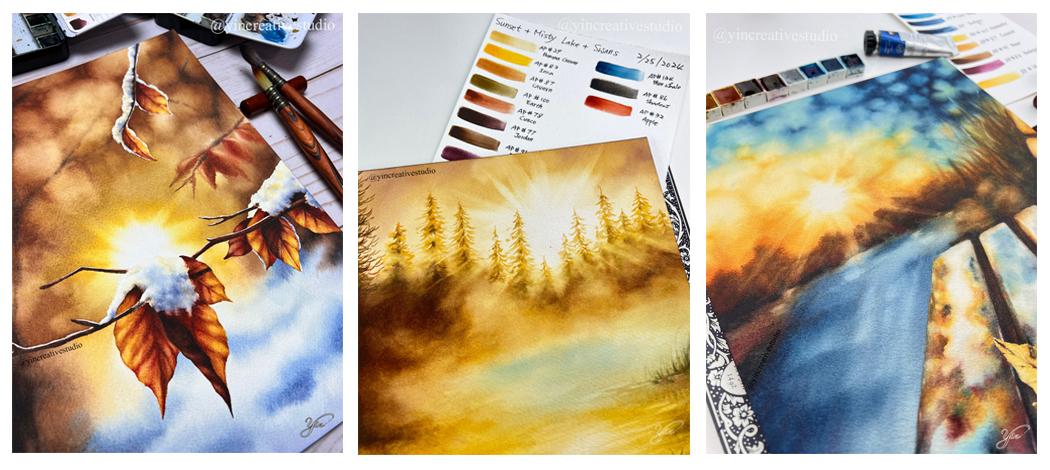
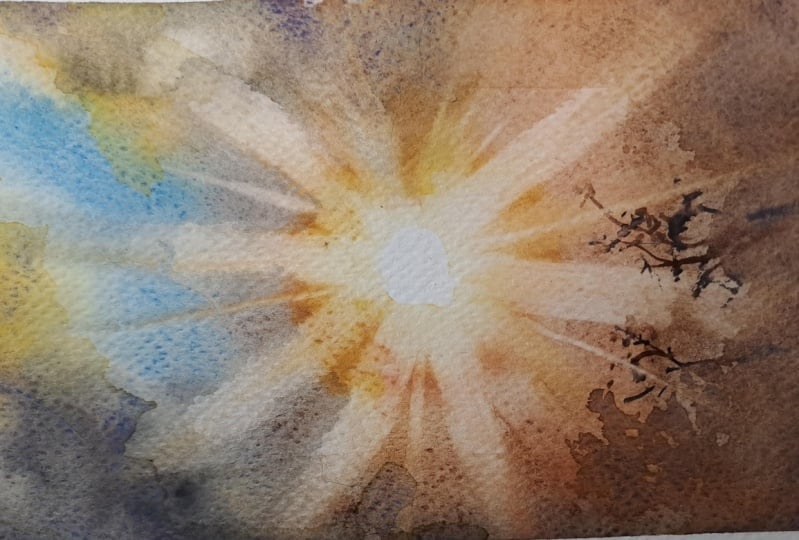
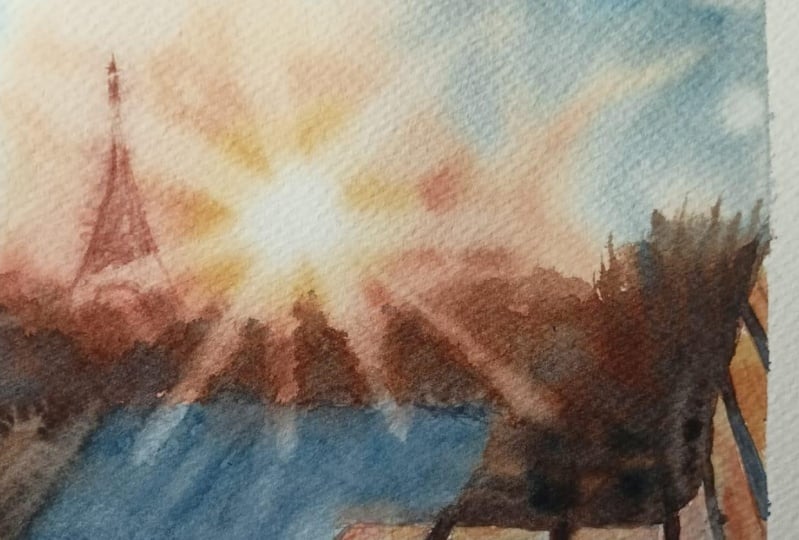
Sunrays! Creating sunrays in your watercolor painting can not only create depth and 3-dimensional look, but also bring a poetic feeling.
In This Class, You Will Learn:
- Art supplies: what materials that we need for this class.
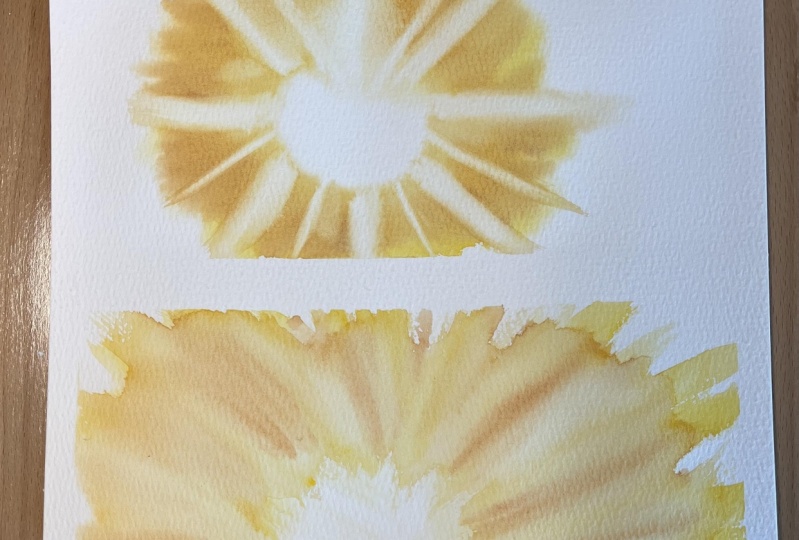
- Two different techniques of creating sunrays.
- Tips of avoiding harsh edges, watermarks, and blending colors better together.
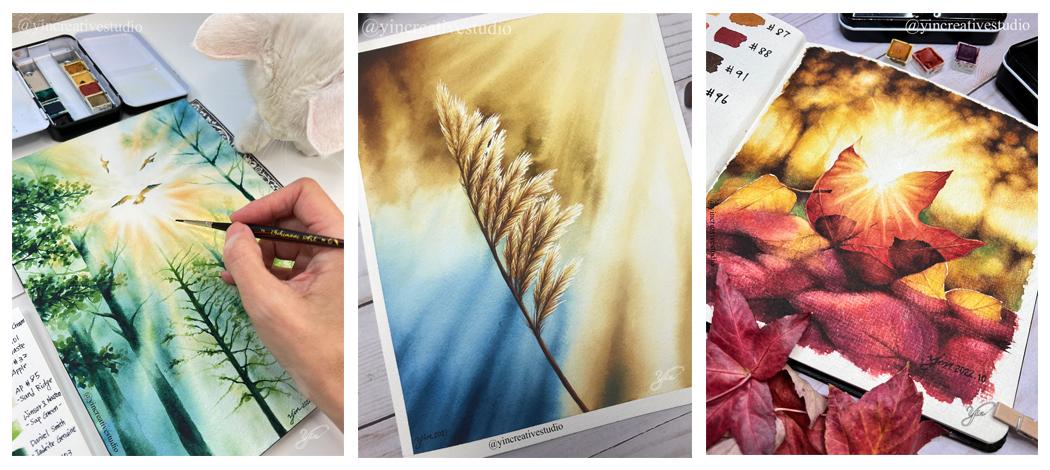
- How to create multi-layers of sunrays.
- Where to apply sunrays to your paintings.
This class is suitable for everyone of all leaves in watercolor painting. After this class, you will be able to not only show mastery of light in your painting, but also create the mood of your artwork.
Additional Resources:
- Follow me for my latest paintings on Instagram.
- Follow me for my latest paintings on YouTube.
- Check out my website.
- Get 15% Off for Art Philosophy watercolor confection sets: when you use my discount code (yincreativestudio15%) to purchase the paints that I use in this class.
- Get 15% Off for Schimoniart Brushes: when you use my discount code (yincreativestudio15) to purchase the brushes that I use in this class.
- Arches Cold Press Paper
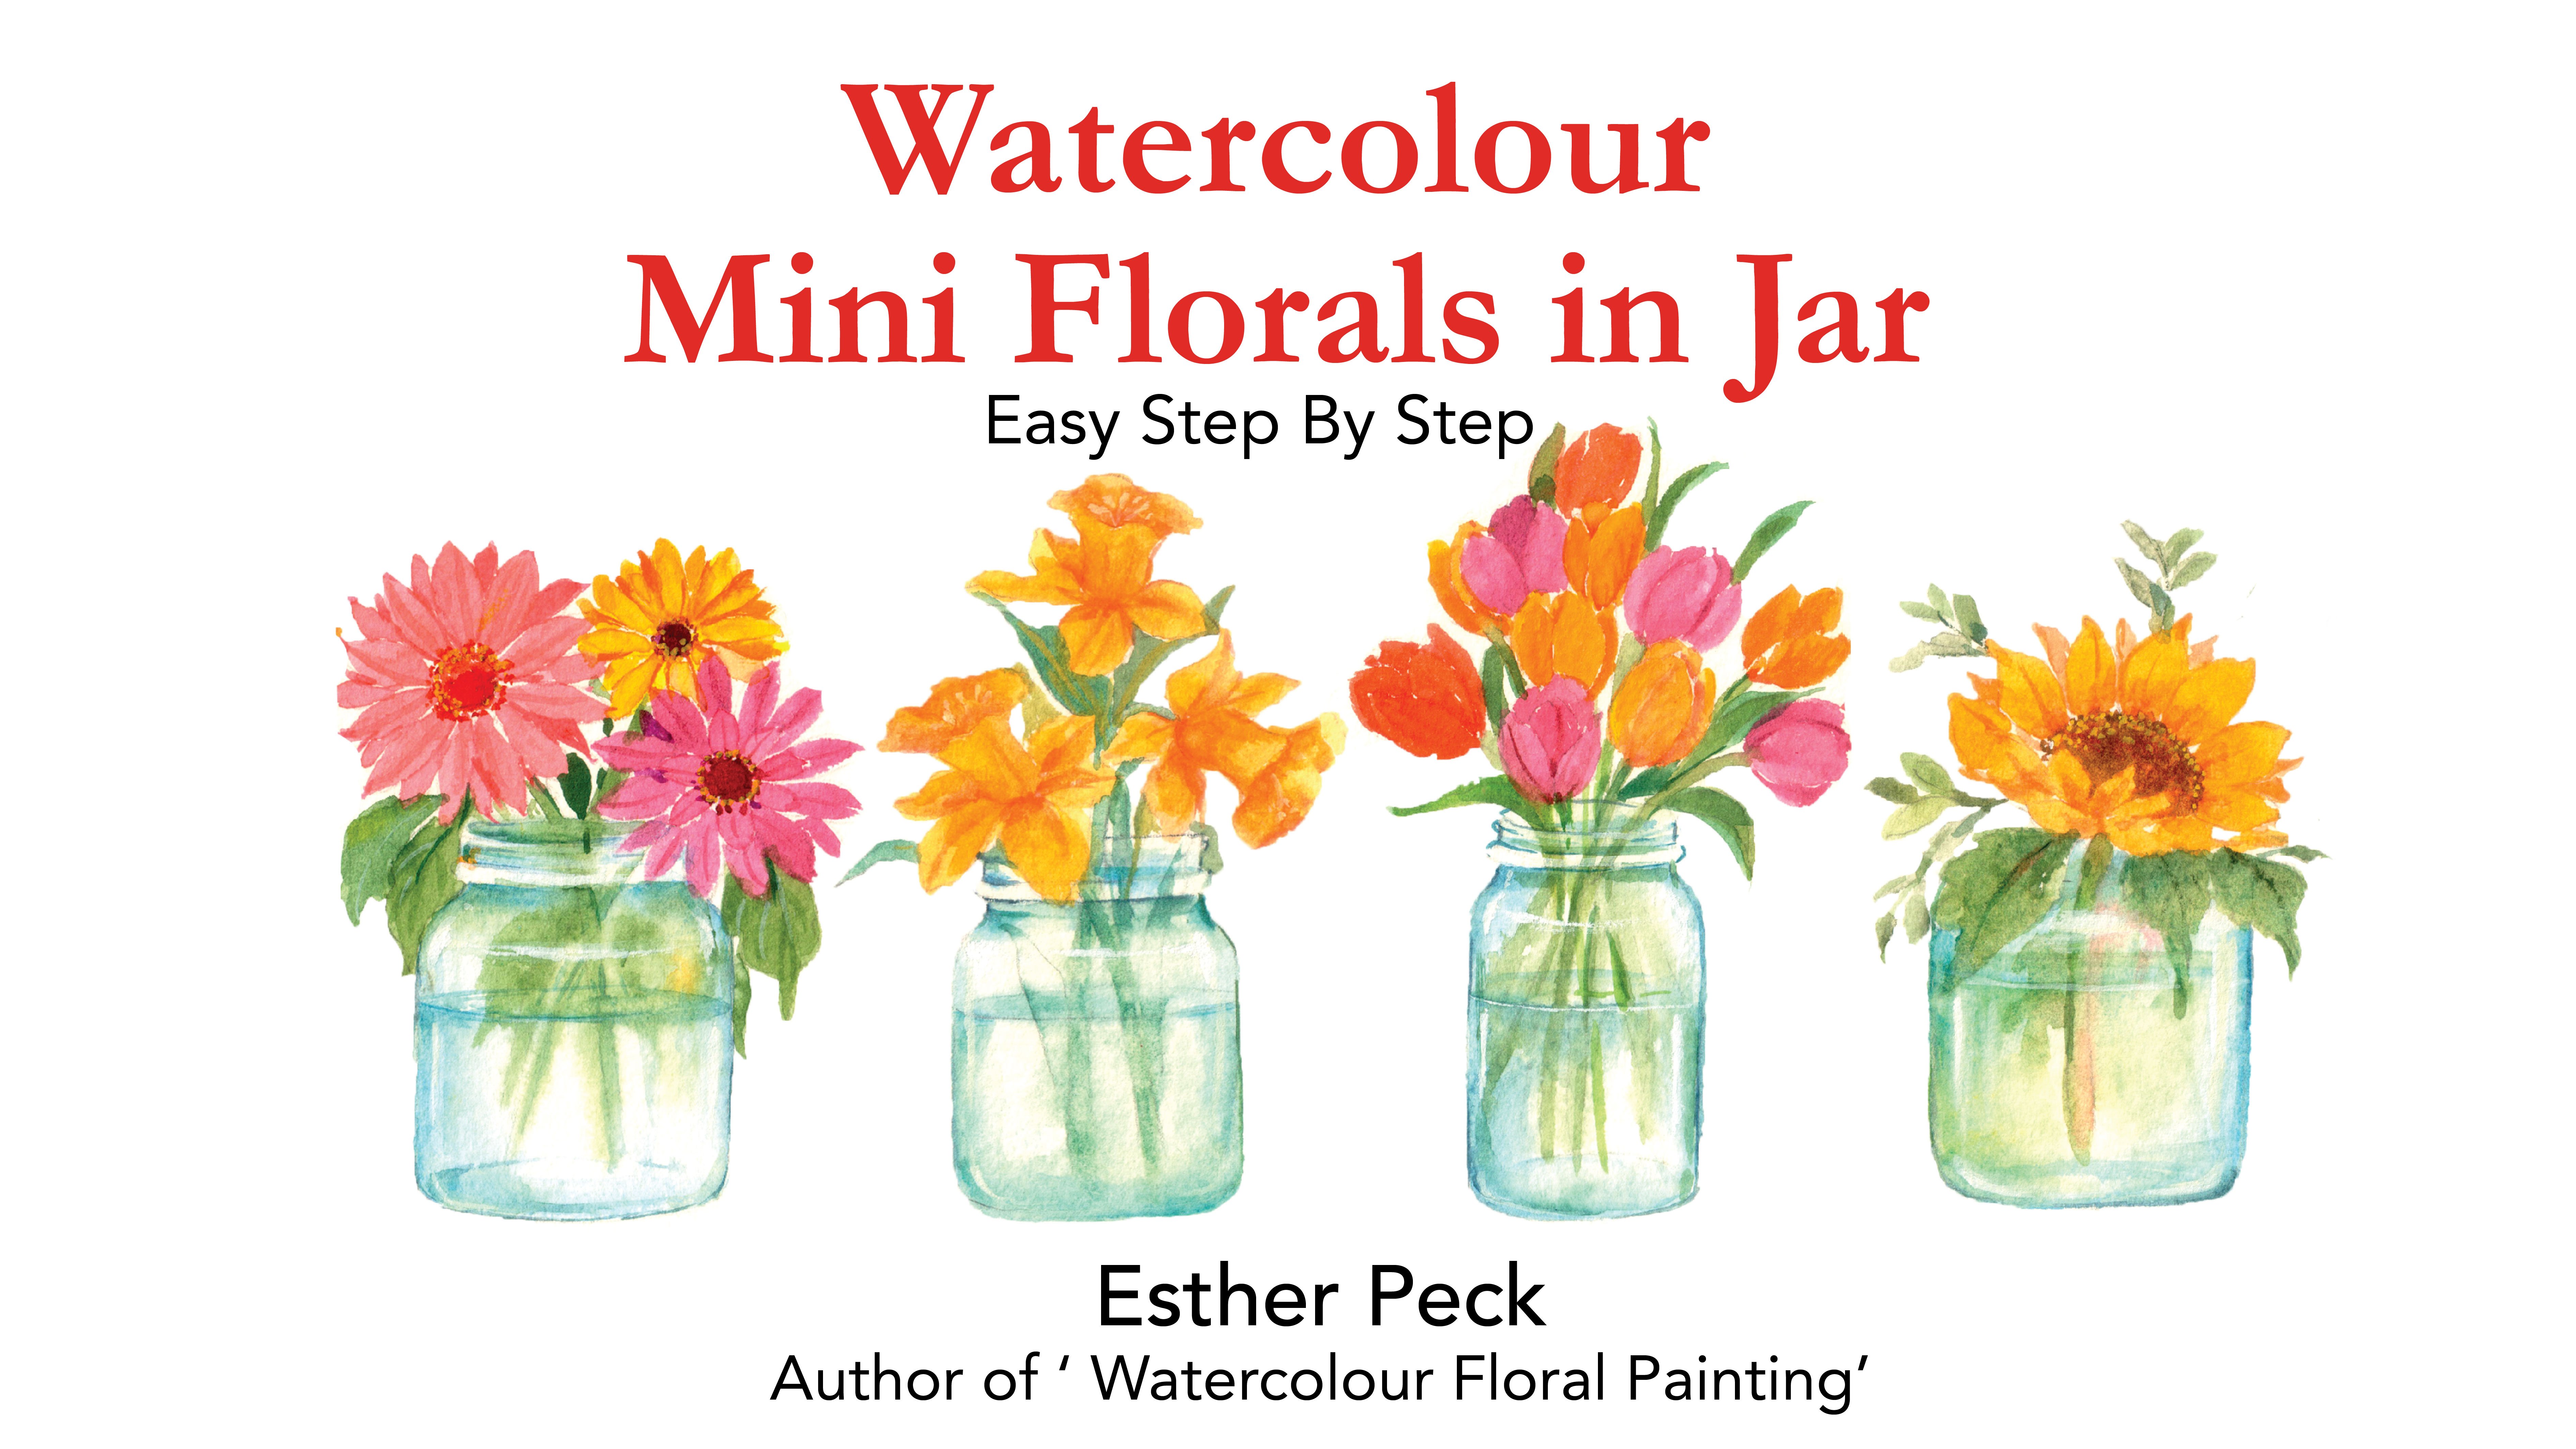
Recommended Class:
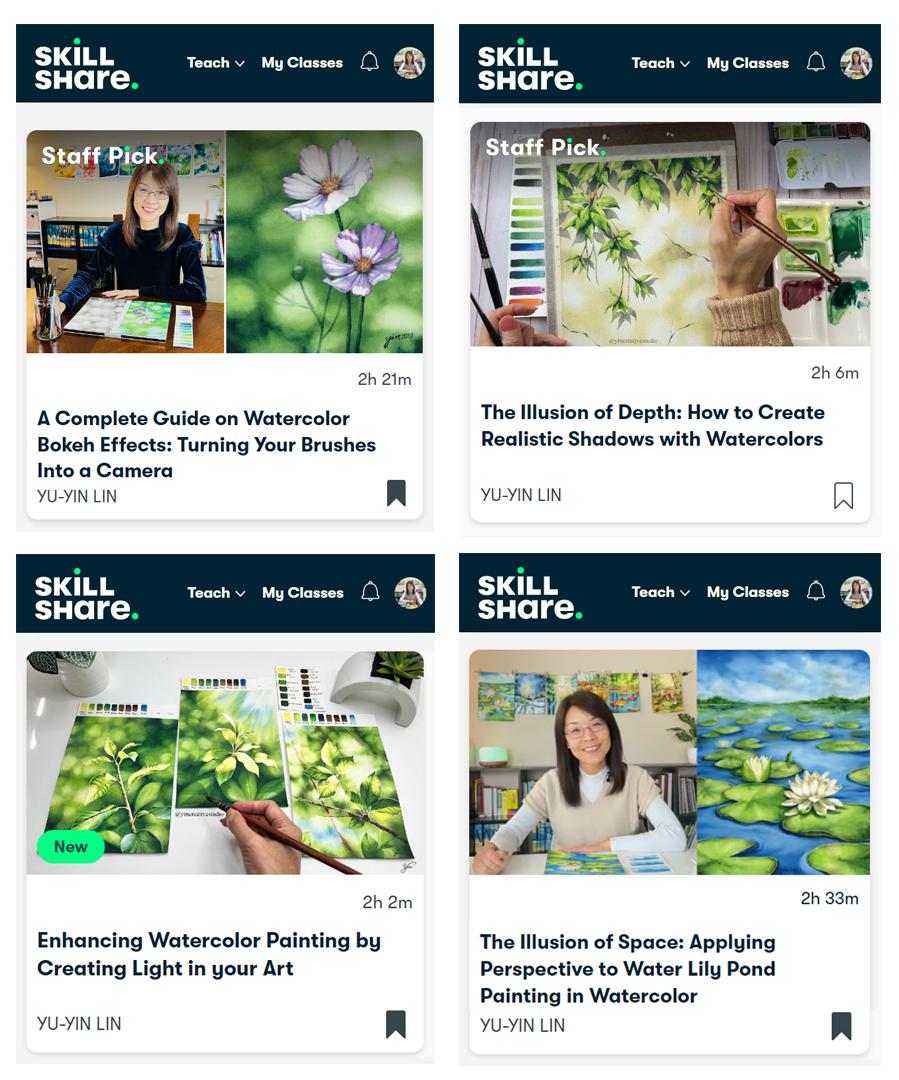
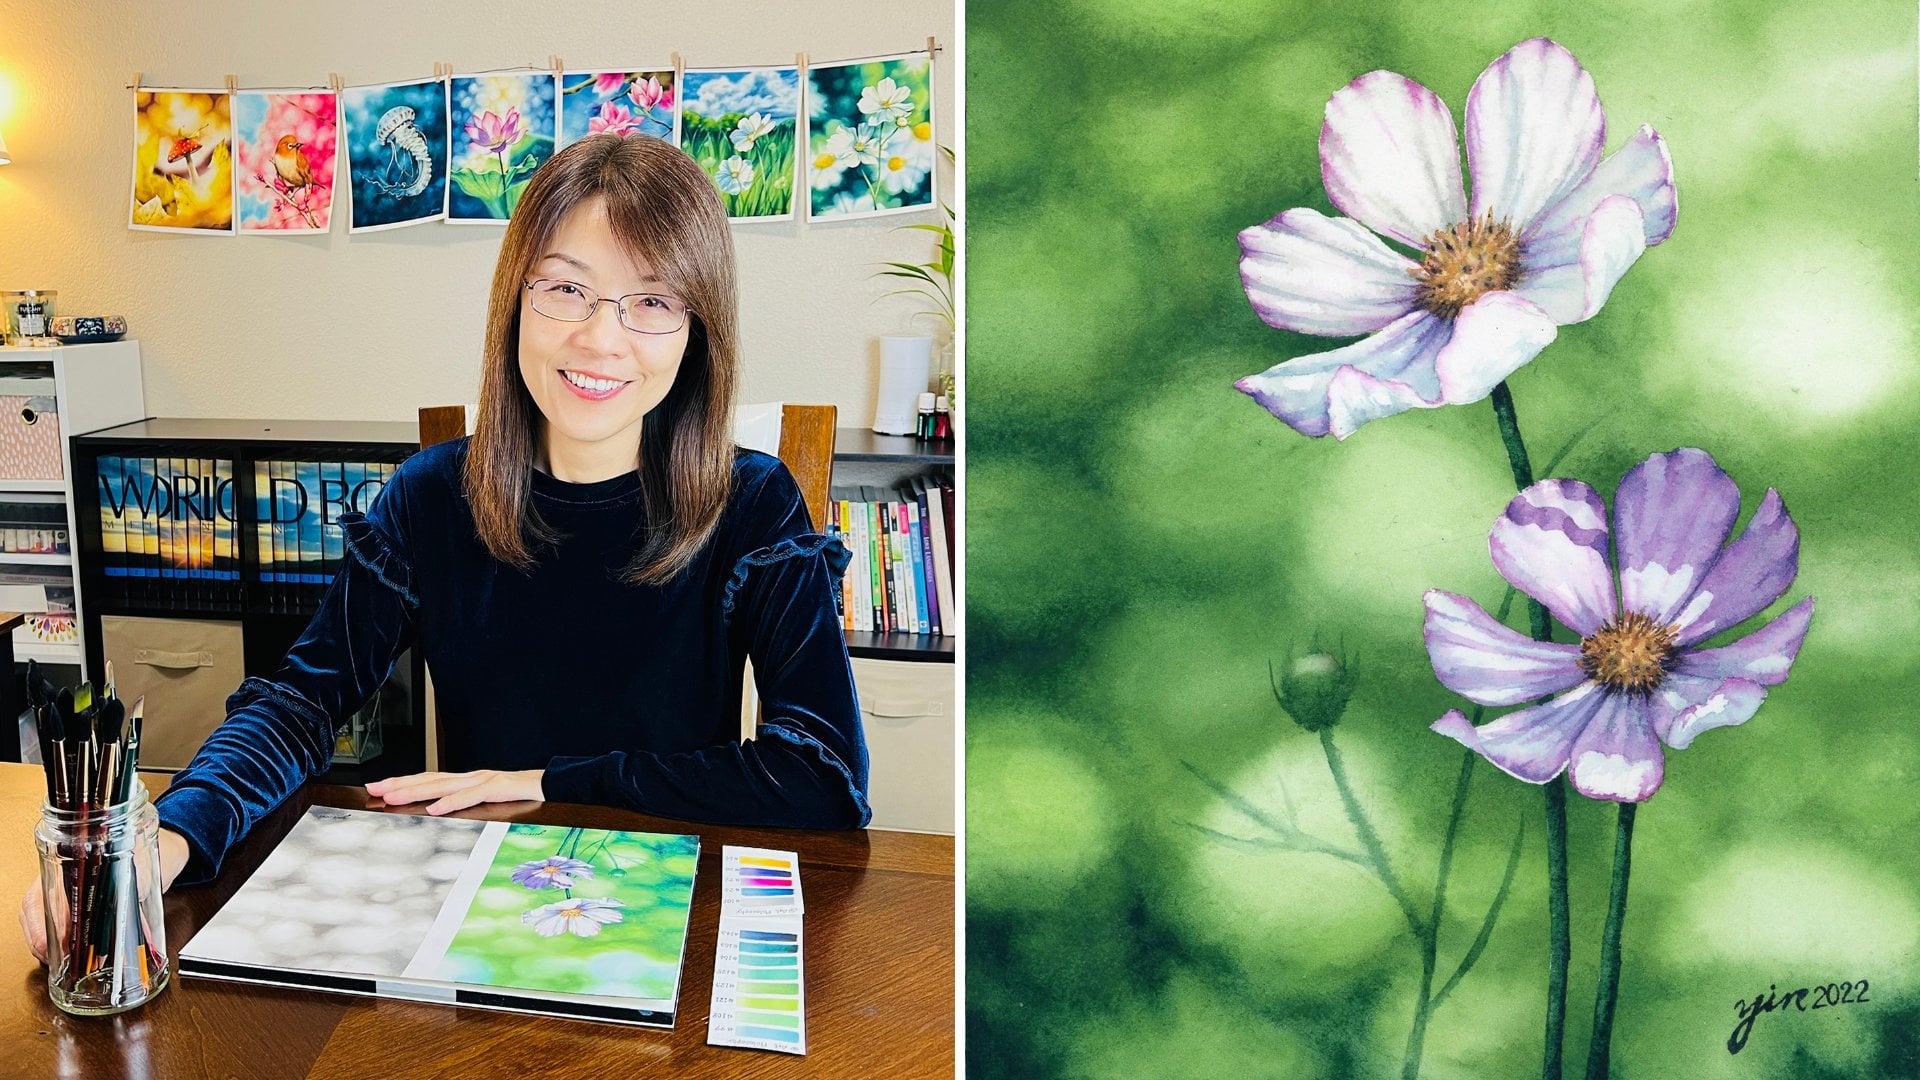
Meet Your Teacher

Hello everyone, I'm Yu-Yin Lin, an artist, art educator, and a designer. I am originally from Taiwan where I earned my Bachelor degree in Oil Painting. Then I obtained a Master's degree in Art Education in the United States where I currently reside.
Art has been an important part of my life since I was a child. I have tried a variety of art mediums, including Oil Paint, Watercolors, Chinese Paint, Charcoal, Graphite pencils, Ceramics, Print Making, and Photography. After obtaining my degrees, I somehow became a designer by applying my artistic ability. On the other hand, I have devoted more time to watercolors due to my textile design projects.
I am always amazed and inspired by nature that has offered so much for me to paint. Plus, I challenge myself to figu... See full profile
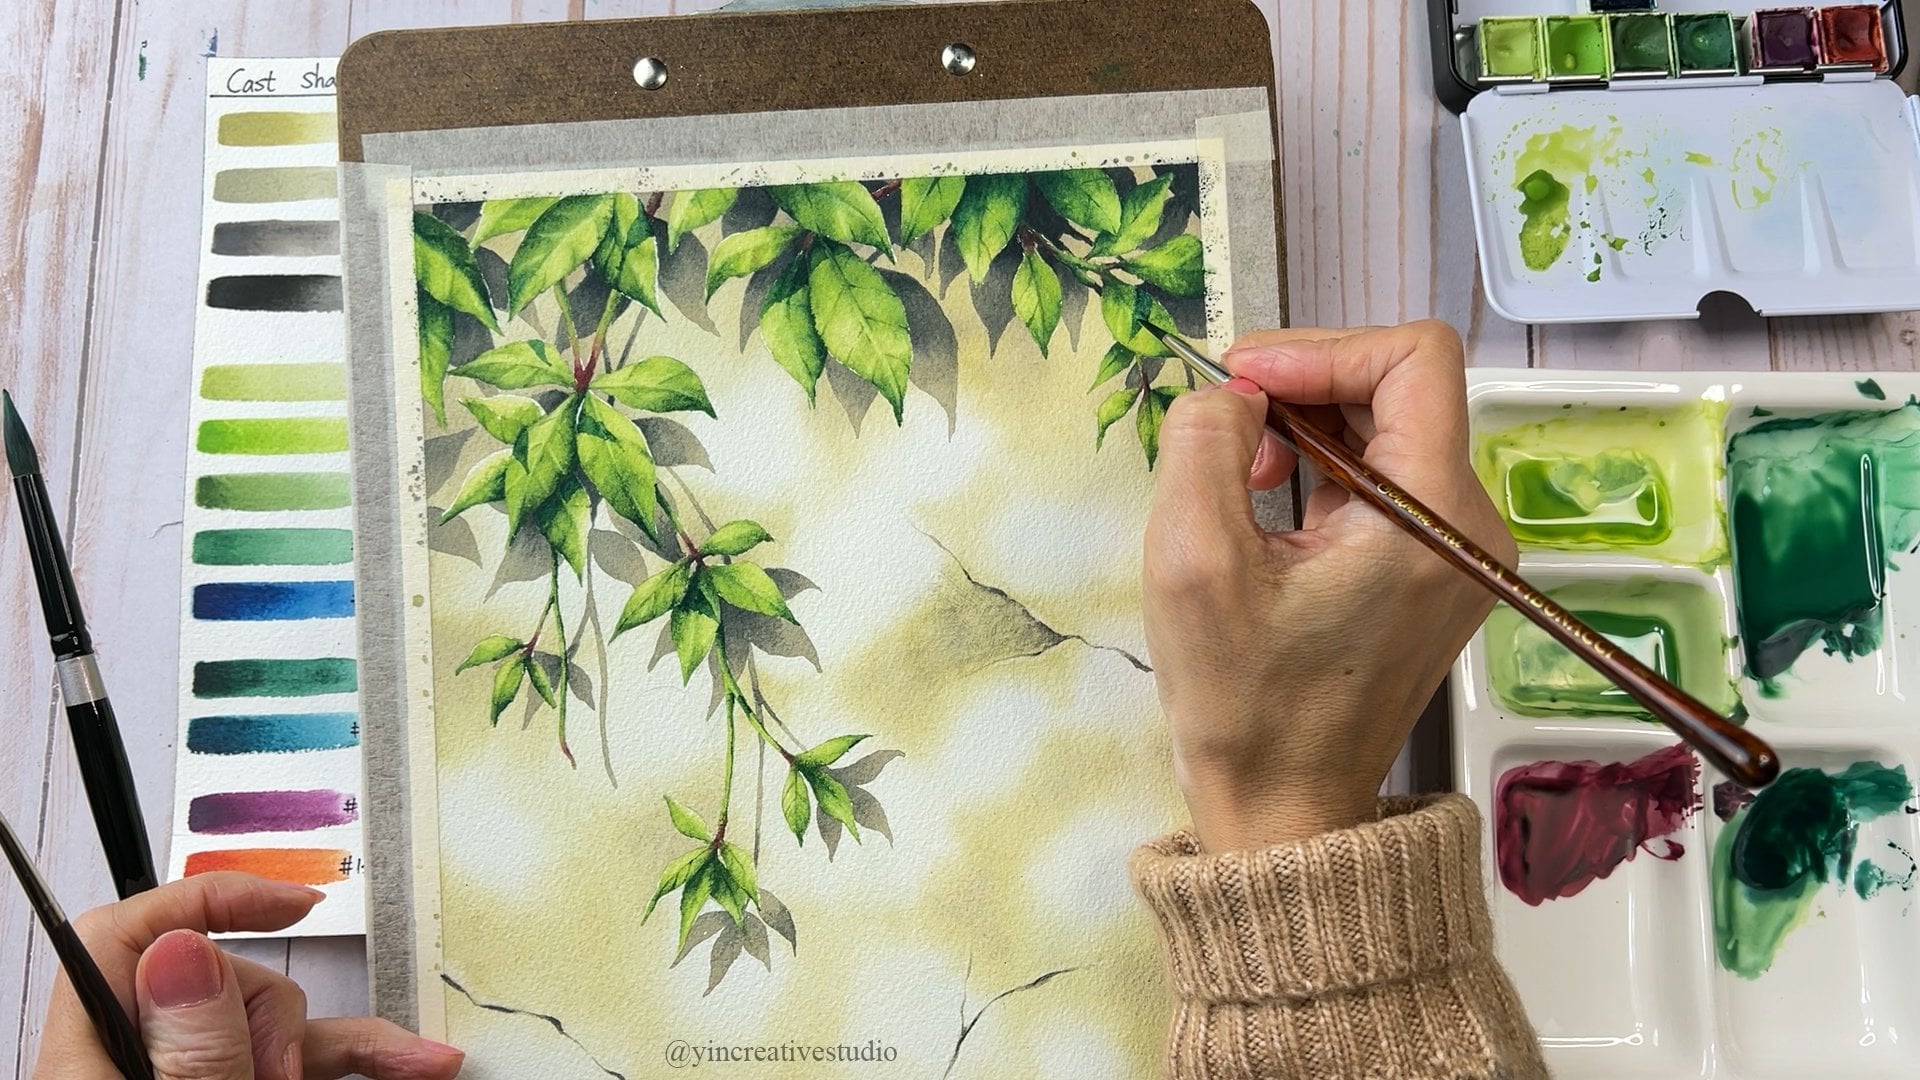
Hands-on Class Project
Painting Sunrays to Enhance Magical Atmosphere in Watercolors.
For this class projects, You will learn two different ways to create sunrays. I will guide you step by step and provide you all the tips that will help you create soft but magical light in your watercolor painting.
Here are the steps of this project:
- Art supplies that you need for this class.
- Learn about how to create soft background with smooth transitions.
- Understand the directions of sunrays.
- Learn about the first technique, which is Lifting, including the tips.
- Learn about the second technique, which is wet-on-wet, including the tips.
- Learn about how to create multi-layers of sunrays.
- When and how to apply sunrays to your paintings.
Materials:
- Watercolor Paper: Arches- Cold Pressed, 140lbs, 100% Cotton.
- Paints: Namaste (Yellow) from Art Philosophy.
- Burnt Sienna from Winsor & Newton.
- Burnt Sienna from Daniel Smith.
- Brushes: Oval Wash ½” from Princeton Neptune.
- Round #8 from Princeton Neptune.
- Quill #6 from Princeton Neptune.
- Flat Brush from Schimoni Art Brushes.
- Soft Mottler Brush from Schimoni Art Brushes.
- Ceramic Palette.
- Rag/ Old Towel.
- Water Container.
- Water.
Class Ratings
Why Join Skillshare?
Take award-winning Skillshare Original Classes
Each class has short lessons, hands-on projects
Your membership supports Skillshare teachers
Learn From Anywhere
Take classes on the go with the Skillshare app. Stream or download to watch on the plane, the subway, or wherever you learn best.