Transcripts
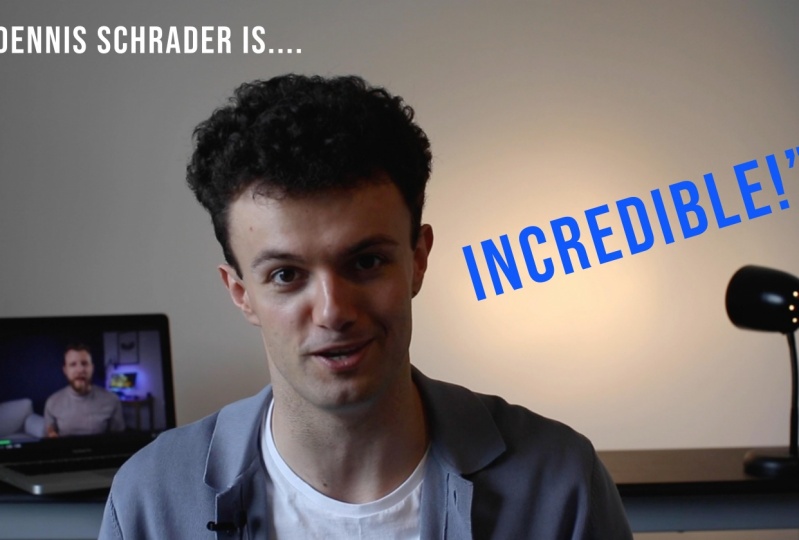
1. How to Shoot Professional Talking Head Video (Interviews, Youtube, Online Courses & more): There is a lot that goes into successful talking head video, whether that is for an interview in online course or YouTube video. My name is Dennis Shot, and I'm a freelance videographer based out of Germany, and I have been shooting lots of talking heads and lots of other kinds of videos for clients since 2017 in this class. I want to share tips and tricks and the knowledge with you that can make your talking head videos grade if you know how to use them. You see, I think there are three main elements that make a video like this, either good or bad. Number one. It's the visuals. It's what you see doesn't look pleasing to the eye. Is the subject lit? Well? Are the colors right? Is the image too crowded and chaotic, or is it simple and clean? Number two is the audio. How does it sound? We tend to not think about it like this at first, but if you pay attention to it, you will notice that a bad looking video that sounds good is much better than a good looking video. That sounds bad. So making your subject sound good is crucial and third. It's the most obvious and probably most important one. It's the actual content. What is the person saying? What is the teachers saying? One of the questions of the interview in this class I will help you figure out to off the three the visuals and the audio so that you can fully focus on making sure that your continents engaging, interesting and basically made to achieve whatever you want achieve again, like whether it's an interview, YouTube video, whatever it might be. Remember that making good content, no matter what kind or for what platform. The technical things are kind of commodities. You should have them somewhat on point to not be left out, so to speak. But understand that just great visuals and great audio is not gonna make for great video or course or interview. But working on structure and being engaging and doing your research on your topic are all much more important to get good results that all being said, let's jump right in to make sure that you're talking head videos will look and sound amazing without spending too much time or money
2. Find the right location: so the first thing to do when you want to shoot a talking head is finding your friend and video production. When we talk about frame, we basically talk about the image that the camera captures. In this case, this is the frame. We want to find the exact position. Where to put the subject. Where to put the camera to get the best looking shot. Now there's a bunch of things you want to pay attention to when choosing your friends. If you want to get into more details, I suggest you check up my more detailed course on framing here in skill share. But for now, let's focus on those things here. Number one context. So the first thing to look for is the background. That kind of makes sense to the context off the video you're shooting. So if you should an interview with the baker in the bakery, then it will make sense to have some kind of bakery background that adds context to who you're talking to, you know, maybe some kind of bread shelves or some no machine or something like that. If you make a skill share class on painting, then you could have your creative workspace with brushes and chemists in the background because that's where you do your work. You get the idea. So in my case, I have a very neutral background because I do all kinds of tutorial. Sometimes I use my computer in the background. Let more on that later. I I also shoot cooking videos. I do all kinds of stuff, so I have kind of a few different scenes with in my room and change it up according to what I shoot. But you get the idea. Number two is death. The next thing to look for a step, having depth in your image will give you a feeling of space off freedom, and it's kind of pleasing to the eye. It becomes especially clear when we do the complete opposite. Sitting in a very narrow and the kind of like cluttered space makes us feel almost like claustrophobic and kind of pressure and stress. The feeling of death can be achieved by different techniques, so the first thing you could do is leave as much space as you can between the subject and the wall that is behind the subjects. In this case, you can see the blue wall is not very close. I'm not sitting right at the wall, and that gives a slight feeling of depth, often just stepping away. A few steps from the wall will help a lot compared to the, you know, standing right at the wall. Which is kind of a funny thing that people seem to do when they start out making videos. But don't do that. Remember this idea that you want to shoot into the open room? So another way of adding some feeling off that is to film in the camera with the lens that allows you shallow depth of field. Well, that means is that only a very shallow portion of the frame is actually in focus and the foreground, like right here in my hand, if you can see and the background that you can see right there is nice and blurry, and it gets blurry very fast, so you don't need to be very far away in order for that to be blurry. And that gives the feeling of depth. And it makes the whole image, and especially the subject, look more three dimensional in some sense of more real. So I understand that some of you might shoot videos on your phones. But if you have a camera with an interchangeable lens, that is a good option. And you can achieve that by either filming on a long focal length, like 50 millimeters or more, or by using a very fast aperture off something like F 2.8 or lower. By the way, if all those numbers and aperture and what all that means is totally confusing to you, check out my class on the basics of filmmaking. Also, link down below. That will explain all the basics to so now Number three clutter. We choose our frame based on context and depth, so the next thing we want to think about this clutter or like they're off, I should say having a tiny back room with not too much stuff is very, very helpful to get a professional looking frame, and there's a bunch of ways to get there. The most obvious thing is to just clean up your space, take everything off the desk that doesn't belong there in line things, so they look tidy and allows some free space for the bookshelf behind you. If you have one or honestly, you might even move that whole bookshelf. In some cases, a bit of chaos can add to the image. I think like that this kind of creative chaos that you can see in an artist affiliate like I remember shooting one specific documentary shoot where I was shooting in the creative workspace of artists. And I loved this chaos there because it kind of added to the scene. It was, you know, in the category of context, it added to the image, and it made it all. Gave it some life, you know, because that's the rial workspace. That's how it actually looks, and you don't want to make it look tidy when it's actually not. And it's all about the artist and how they work. You obviously don't want to clean up, but if you're not sure, you probably should go for the clean route. Another way to have some order in your frame is to create symmetry, so placing things symmetrically in your friend will give a sense of order and cleanliness, and that, generally across the border is very pleasing to most people's eyes. All right, so now before I think color now we get a little bit into advanced territory. If you really want to go that extra mile, you can start playing with color in your bankrupt. The idea behind this is to have a background that is in contrast to your subject. So, for example, if you have a light skin tone in your subject like myself, you want to go with complementary color in the background. That can be either something fairly neutral, such as a light gray or something like this. But what really looks good with light? Skin tones are blue tones, and as you can see in the background, I not only have a blue wall, I also have those led stripes behind my monitor right there that also give another little blue accent lighting. There's actually famous color grading style called orange and teal that some of you probably have heard off that is used to movies like Black Hawk Down Transformers. For those exact reasons, blue or teal goes very well with the orange Penis off skin tones, and you can get those blue tones into your background, either by having a blue wall there already like this, or you could have a blue light shining onto your neutral. The probably cheapest option to do that are blue colored led. Ease off any sword or just a little self box light, where you put a layer of blue diffusion in between. You know, they're those so called gels that have all kinds of different colors that allow you to, you know, without buying an extra lamp that has that color you can, you know, put it on your land, and it changes the car. You know you can have the orange and purple blue whatever you want. There's lots of different gels, but don't worry about it. I have exactly recommendations linked below, but that's a great way to achieve color contrast. But honestly, I just want to say again, remember, if this gets too much into the nitty gritty with color contrast, you can skip this step. You will already have great results with 1st 3 points, context, depth and clutter. So let's go ahead and talk about the next point
3. Position your subject: another. We have our set, our background and our seen it sorted out. It's time to actually position are subject in the frame. One thing is to choose the background, but another thing is where exactly? To put your subject and where exactly, to put your camera. Right now, there's a couple of ways to position your subject. I recommend either debt center or slightly to the side following the rule of thirds. The centered version gives you a more symmetrical frame that puts the complete focus onto your subject like me right now, right? That works especially well if you talk directly into the camera and you don't do much else but talking, right, I'm not doing something on a computer. I'm not painting something. I'm not doing anything specific but talking right now, so that works really well. The other option is to follow the rule of thirds and position your subject either on the left or on the right side of the frame, and this one works very well. For example, if you later want some kind of, you know, graphical elements popping up in postproduction, another situation where you would use the frame like this is in interviews, often in interviews, you will notice that the person being interviewed it's not looking directly to the camera, but rather a little bit off to the site, right to like an imaginary person. Honestly, like if you were to listen to me right now, I don't even particularly say anything specific, and I don't talk to anyone specific. I'm just looking at my blue ball and inventing words, so it looks like I'm talking like an interview. That is a very industry standard. Way to shoot interviews. You record an interview. Make sure to have your subject look into the direction where there is more space that gives the subject the so called lead room on the site that he or she is talking into. The next thing to get right is the head room, and generally you could say you want a hand with off space above your subject. So something like this, as you can see, kind of fits very well right now. Yeah, more or less so that's something you could go with because much more will make your subject look very small, which, by the way, might be your goal in some cases or When you chop off the head of your subject, it will mostly look just, you know, really bad. The only moment where you would want that is when you really want to shoot a super close up off the ice, in which case you will have really cut up everything, except for exactly the point that you want to film. Now. Finally, we want to pay attention to the height of the camera. Try to position neutrally more or less on eye level with the subject. You can make creative choices to change that, but for the standard, look stay on high level because similar to the effect of having too much or too little headroom. Having your camera place way above your subject or way below gives some kind of energy to the frame that you might not want because of your cameras position, way below eye level. In this filming up, that will certainly make your subject look much bigger, and it will also have a different kind of perspective because you're filming from below, and in comparison, if you put your camera way above eye level, you will obviously shoot down. Your subject will look a little bit smaller. And again it's a different perspective because, you know, you have your subject look up a little bit, I guess, or something. And that's usually not the lucky one. For a neutral interview for professional interview, you want to state level. And now just a quick note for those who shoot again with the camera with interchangeable lenses or once where you can, you know at least change the focal length. There are a few options of what you might want to do for just a simple talking head shot. Using one camera, I would probably use the medium close up with the focal length off, you know, around 50 millimeters. That will give you a flattering face shape and also shelled up the field. And if you have a YouTube or online course talking head, you might want to go a little bit wider like me. Right now, for example, especially for shoots that include my computer when I'm working on something or really anything else that you might want to do. Except we're just talking, I would recommend a white angle off even 20 up to 28 millimeters. Right now I'm filming on 28 millimeters, and that will give you more space to act and have your viewer be able to follow. You follow what you do now. After all those steps, we have an amazing looking frame with fairly easy steps, right? You just have to follow those easy steps and it's gonna look amazing. Now the next step is to take care off the lighting.
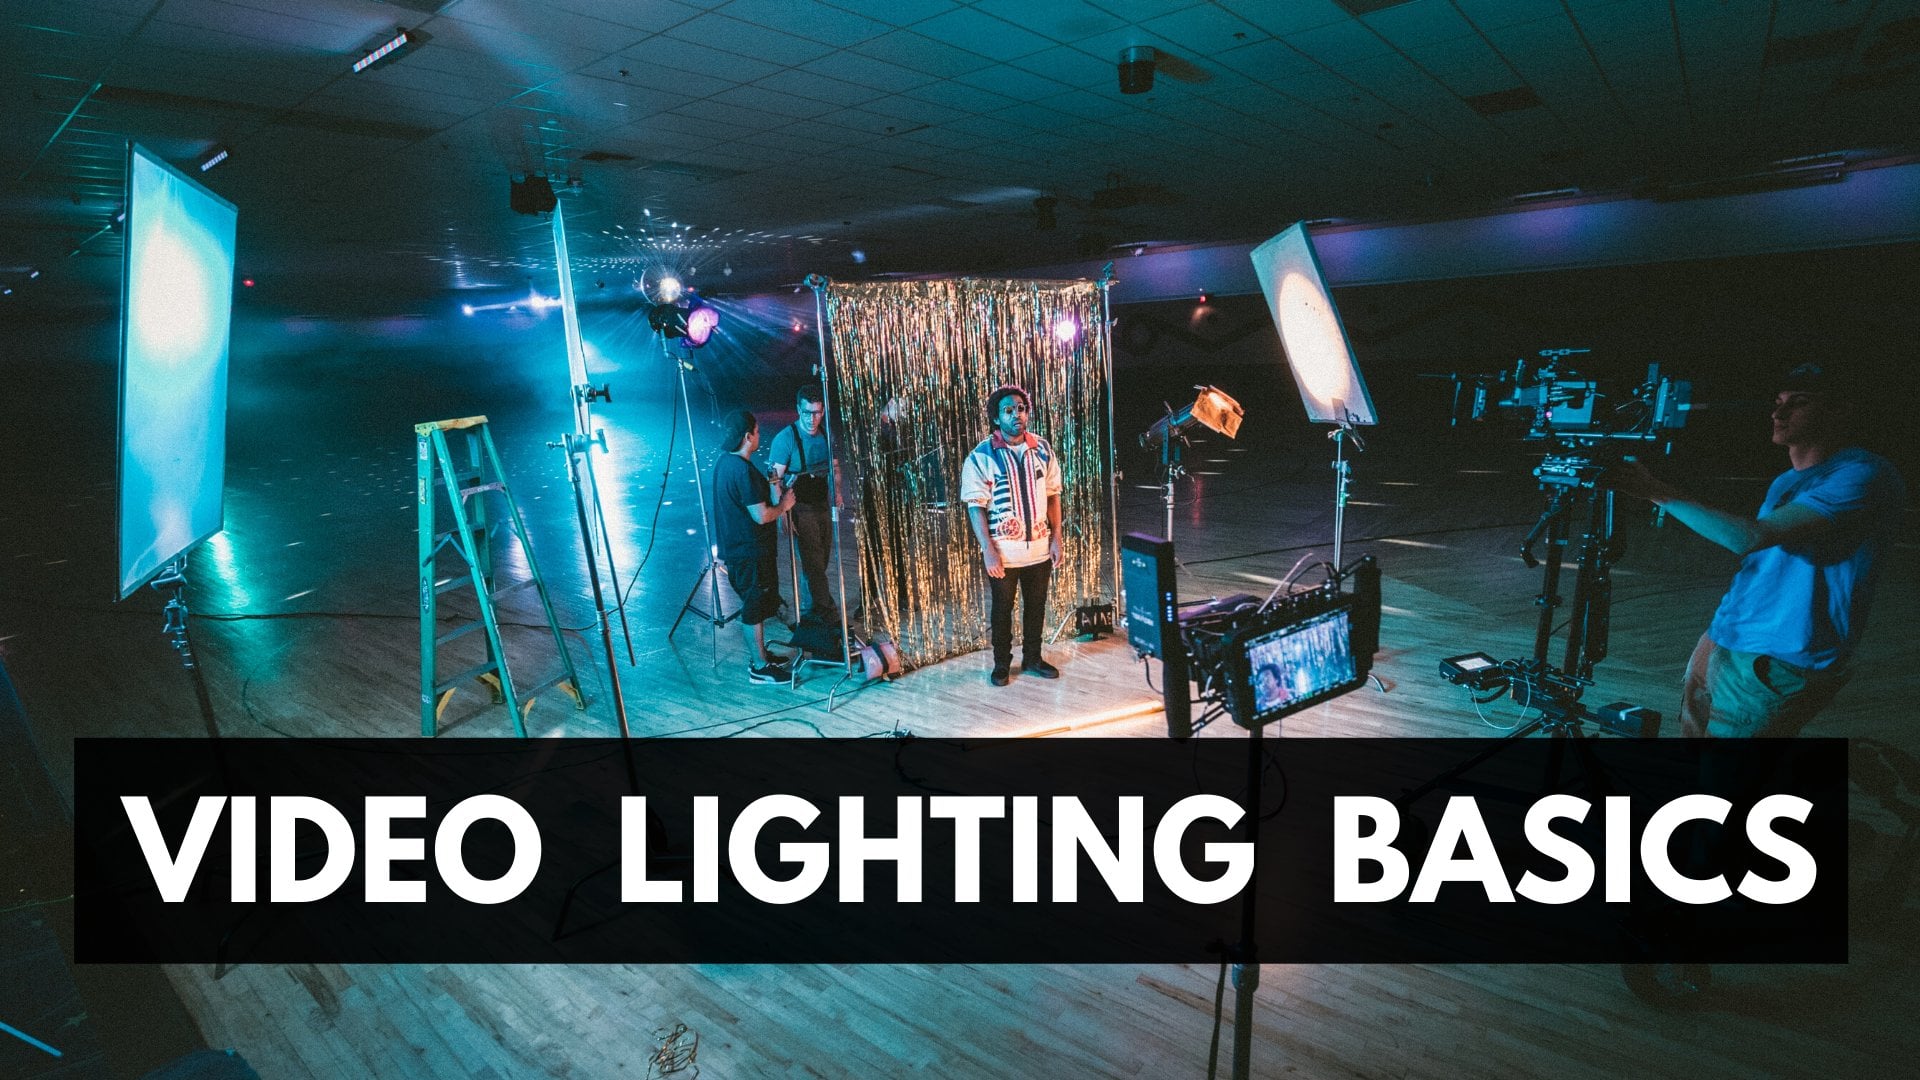
4. Simple but good lighting for Talking Head Video: All right, So now let's talk about lighting, especially. Why not to use sunlight now with lighting. I first want to say, If you're really hard core low budget, you can obviously make use off daylight. You know, we have the most amazing light source, basically for free, working for us every single day. But I want to give you my humble point of view on why I don't like using sunlight for those specific kinds of videos. Number one Sunlight limits are framing options. If you need to position yourself according to the sunlight, you will have way less options in terms of framing, you know, because you cannot move the son. You have to move yourself. So if you want to worry about depth and context and contrast and colors and all the things that we learned just right now, it's kind of difficult if the light is fixed in a certain position and because you don't necessarily want to, you know, paint the specific wall that is behind you when the sun shines on you in the color that you need it. Or maybe you just have the messiest space ever right behind you. When you're properly lit by the sun. So, like I said, you can obviously make it work if you have to, like, that's not an excuse to not film it all. But if you can choose, and if you have the budget to just invest even 50 60 70 bucks into some kinds of lights, that's gonna make your life way easier right now is actually perfect because against what you might think clouds sky is actually the best thing for lighting because kind of like the clouds are acting as a diffusion, which you don't have to use. You know, like super bright sunlight directly in your face does not look good. It makes hard shadows. It needs to fusion. So right now you don't really see the sun. You don't really see anything. It's just gray sky, but it looks amazing if you ask me. The next thing is that sunlight is not very consistent. The sunlight changes during the day, and sometimes, you know clouds will come by and honestly, depending on where you live on Sundays, you might not even have any significant sunlight to film anything. And on the other hand, sometimes you will have way too much and the lightest way too hard, and you will need hang up some kinds of badges and shower curtains to get diffuse light. Those things just make it way more difficult to have an even and consistent, you know, levels and quality off lighting. Another obvious question would be, What if you want a film after sunset? You know, I personally like filming actually my videos late at night. In this case, it's daytime but usually do it late at night because it gives me a feeling of quietness and calm, you know, because the rest of the world's kind of already had sleep so I can focus on my thing. And, you know, there's nobody ringing doorbell. Nobody's calling me. Nobody is texting me. You know all those things. So there will be totally impossible with sunlight because the sun takes a break at night. There is no sunlight at night, so you're kind of in my position. I would be dependent on some kind of light. And lastly, imagine you want to shoot your videos in a room with only very small or no windows at all. Just wouldn't work. So just to make it clear, I love sunlight. I really do. I think I can give the most stunning and amazing lighting. But the thing is that often needs a lot more knowledge and work and, you know, stuff to get it right for this kind of video that you want to be able to replicate over and over again, and that just looks consistent and you want to look professional. I think artificial lights are much easier. And here's the amazing thing about the things you need to start are very, very low price point. All you really need is a cheap video south box light that you can get on and on sleep. Like I think in Paris off to including the light sense for, like 50 60 maybe 70 bucks. And those lights are cheap, but they will give you good results. Was soft and flattering light on your subject. They might not be the super duper, highest quality off light, but honestly, my experience before you start talking about quality of life, there's so many other things to get right on. They will do the job like I've worked, have literally done client work with them for years before a change to bigger lights. So those cheap self boxes are great entry level light to use because they're affordable, they do the job and, you know they're not too big and bulky. Perfect. So now let's talk about how to light a talking head video. Here's what we want to use them for. Good results. You can obviously go with the strategy. Just make your subject bright, but I want to give you a little bit more often advanced version for really good results. But don't worry, it's really simple. We will use simple three point lighting. Three point because we have, you know, three light sources. And if you want the detail version on this again, I already have a class on this here in skill show. You can check it other if you want to, but I'll explain it right now to there's three lights and the 1st 1 that we use is the key light. That's the main, most important light that lights your subject, and we put our key light at a 45 degree angle to the site of our subject and also a 45 degree angle upwards. So it's kind of coming diagonally from, you know, the top right or the top left corner. And generally, I would say, put it as close as possible to the subject. But the thing is, if you cannot adjust the brightness which you cannot do with those cheap self boxes, you might want to do, you know, just according to the strength of the light so you don't totally over blow your face. It doesn't look like completely white, like it would happen with me if I would put it to close. So now the second light sources the fill. Technically, that can also just be, you know, one of those cheap reflectors, because the idea is that it fills up the other side of the subject. So you don't have too much of a dramatic shadow, you know, not too strong of a shadow. I personally like this kind of look. So if I shoot for myself or shoot those kinds of videos from like right now, I don't even use any film or if at all, I use a reflector. But in this case right now, I don't use any felt. Now, the third light is the backlight, or the so called edge, which describes really good what it actually does, because the idea is to let your subject from the back, which will create this kind of edge and separate your subject really well from the background. Remember, that's again another thing that adds depth to the image and three dimensionality. And for your backlight for your edge, you can either use another one of those. Self box lights are also just one of those really handy little led lights pointed at the back of your subject and try to get this edge. You sometimes have to move around a little bit to get the result that you want. Just make sure that your life is not visible in the frame or, you know, changes too much of the general scene against your will. Like in this case, my background is also lighting my back wall, which I like, so I leave it like that. But you might not like that, so you have to position it in a way that it does what you want without doing anything that you dont want. And now if you want to take it to the next level, you can put some kind of beautiful lamp in your background to add visual point of interest , and those things are called practical lighting. And you can really use any kind of lamb for that or even a candle to have a little accent light in the background. Something like this, in this case I'm using The led is behind my computer monitor. And if you look closely, even have something popped up on my monitor, it's just an image that I put on full screen mode, and I zoomed in a little bit, and that gives illusion off. I think it's like lightbulbs that just gives another little color. Extend a little light accent in the background, and also we have mentioned before the idea of coloring the background to create more color contrasts. And that's exactly what this is. It's great technique. If you don't already have a color wall, you can either use white lights in combination with gels. Like I said before, which are those transparent sheets of plastic to color your light? Or you can use the light in the color of your choice, and it's slightly expensive, honestly, but too perverse. Tell option for that are those small RGB, which means they can create basically any color that you want led panels that you can buy those were able to make. Like I said, any color of light that you can imagine that that fits your background. Example of that is also linked in the project description for you, and that's it. That's how you create an amazing light situation for literally less than 100 bucks. I don't know your situation that might sound like a lot. I can promise you it's not a lot in terms of video production costs. It's very, very affordable. But I would encourage you to really think about what you want to do with your videos. You know, whether you do YouTube videos, online courses you might want to make money from. It may be right. And if you want to make money, sometimes we have to invest a little bit of money to get started, to make it look the way we want it to look like
5. Capture good audio: all right now are images done and it looks fantastic. Now we have to make sure that it also sounds fantastic because, remember, like we said in the beginning, the sums almost more important than the visual. You know, we talked about this. Like if you're recording something with a terrible quality of audio, people will forget that your image looks like Hollywood. You know they won't care because it sounds terrible and their years will hurt. So it's really important to get the sound right. And, as always, basically, there's a bunch of ways to reach the goal, and I will share with you the first things. First, you will need some kind of microphone whether you film with the camera or your film on your phone. The in camera microphones will not give you any good quality of sound. So now let's talk about some microphone options that you can use. The first option I would recommend is one of the slab earlier microphones that I actually have right now taped onto my T shirt from the back side. They will give you nice sounding audio, and they're not very pricey, and this one here is the road smart left. Plus I believe, which runs you about $50. You can probably go even a little bit cheaper than that. And then when I started out, what I did is I could not afford the wildest option that I'm using right now. So I just took my phone and I made a voice recording. Because every phone already has a pre installed application for voice recording, right? And I made a simple voice recording and that just plucked the microphone because it comes with an adapter for your phone. Actually, which is really nice. You plug it into a microphone, and then you just record the audio into your phone and you will have almost like a wireless experience because the whole thing is in your pocket. You're not connected to the camera, and at the same time you just have to make sure that you record the in camera audio loud enough so you can use it later to sync up the audio that you recording with your phone to the audio that recorded in camera with the camera and then you could just exchange it and you will have pretty high quality of sound with basically just the cost of this road Smart left. And now, for those of you who record the video already on the phone, you can do it the same thing. You will just be a little bit more, you know, limited in terms of cable length, because depending on health far away from the phone, you said you might not have a long enough cable to put it in there. But now that I think about it, most phones, especially when you use them in selfie mode, record a pretty wide angle. So you probably want to sit fairly close, so that might work. But you can just buy a cheap extension cable to give you the range that you need Now this is totally sufficient for audio, and it's still what I use most of the time. The only difference is I don't record into my phone anymore. I use the actually wireless option directly into my camera. I'm using the road wireless goal and now another option. And another reason why I like this is because I could move. You know I can go somewhere else. Those kinds of microphones are also especially helpful whenever you have your subject move . You know, like every other kind of microphone depends on the subject being somewhat close to the microphone. And if your subject is moving, that can get really difficult, usually impossible at some point. Imagine you follow your subject. Your subject is walking, and the person is like looking into a different direction and not looking to the microphone . Then you will have bad audio and all that is solved when you use those level year Mike's because the microphone goes with them. You know wherever they go, no matter which direction they turn to, usually you can hear them pretty well now. Another option would be to get an on camera shotgun microphone, such as the road video Mike Syria's. They cost anywhere between 50 bucks to, I think, about 250 bucks with the best version, and they are definitely more versatile in a different way because they just record what you point them at and depending on what else you might want to shoot. That might be your solution, because if you don't only want to suit, shoot a specific subject that need to capture everything they say, you now have the option to for example, if you want to grab some kind of general audio off the off the scene on in an event video, for example, I could just pointed in the direction where the thing is happening, and I get a fairly good amount of sound that I would never get when my subject was over there. And I need some audio from something that's right there. That's obviously impossible. But assuming that we only want to shoot talking head level, your mikes are more consistent and also more cheap. And so that's what I would go for. The last thing you could do is what I'm doing. Usually, whenever I record something at the computer using microphone that's attached to my desk, you can see it right there. Actually, it's on the microphone stand that I put on my desk, and it's very comfortable with this little swivel arm, and I could just pull it towards me, and I use it whenever I do some kind of voice overs whenever I do some kind of tutorial, perhaps in Premiere Pro, the screen recording works really well, and there's actually a microphone that's designed for singing, you know, it's not even one of those very expensive podcast microphones, which sound amazing but also cost amazingly much. Those singing microphones are actually surprisingly affordable and can give you great results. In this case, I use a microphone from T Bone. It's also linked in the gear recommendations down below, and I use it with a bunch of accessories, which in total, I think, cost me. I don't know, not more than 100 bucks, for sure. I have a microphone arm, like I said, that's attached to my desk, and I use a sharp mount, which basically helps me to not have any kind of sound reactions whenever I touch my desk, because otherwise it would be like, shaky and sound really bad. And this is a great solution when you do lots of voiceovers or podcasts or screen recordings. Like I said, where you want really good audio and I do some of those things, which is why I have that microphone there. And since I have it, I like using it whenever I should some kind of educational content at my desk. Now all of those options are good enough in terms of sound quality for recording simple talking head shots It just really depends on your specific situation and your budget. And this is how you get the amazing audio matching your amazing visuals.
6. The Assignment: homework time. So I know most assignments are usually very easy to pull foot. But for this one, I really want to put some effort into it. Are you ready? I want you to record a little video message for us. For me and private, one else was watching. Make a short sequence that you shot with the knowledge that you learned today. You know, all the things we learned regarding lighting audio, you know, the depth and your frame, the framing all that. And I know that's not as easy as just, you know, uploading a screenshot or something, which I usually do. But we want to get things done and not just watch a cool class, right? So create your frame as you like it. Use the principles of depth, color, contrast, composition to get a nice image and then show us where you could do with three point lighting. And finally try to get the best audio quality you can get with the options you have and then upload the whole thing to somewhere where we can watch it. You know, Instagram, your website, maybe an unlisted or listed YouTube video, and I want to say one thing. I know what this all might be a bit scary to put yourself out there to kind of expose yourself to being judged by others, right, but cannot be totally honest. I had and honestly still have the same thing every single time. I put out a video even here on skilled share or YouTube every single time. I'm not behind the camera, which is my job, but I'm stepping in front of the camera and have to talk. I feel the same way. I put up those classes to help you guys, to encourage you to do those kinds of videos to do the things that I do. I'm super grateful to be able to do this kind of thing for a living and not have to sit in stinky office for eight or 10 hours a day, you know, and I want you to feel really safe to express your current stage off skill, you know, so we can all help you grow because that's what it's all about. It's not about watching class after class after class, just for entertainment. I mean, you can obviously do that, but I would encourage you to put something out there. You know, even just in this limited space of this course Here, put something out there. Have people help you. Let me give my two cents to it. And also, you know me. I answer to every single upload. And I really am beyond excited to see her cases upload. So wait no longer used to things you can afford right now and make the best you can, CIA.
7. Important Note: first of all. Thank you. Thank you. Thank you for taking time to take this class. I really hope the time was worth it for you. And if you did enjoy the class, please take a couple of seconds to leave a rating. That way more people would see this and therefore make better videos. And that's I guess, Good for all of us, right? If you have any questions, ideas or feedback, few free to connect with me on instagram or on my website. Also, make sure to follow me here so you will get notified with the next class about video production, creativity or freelancing. Thanks again. And if you have any questions, please let me know.
 John D., Freelance Videographer and Creator