Transcripts
1. Intro: Hi, welcome to my
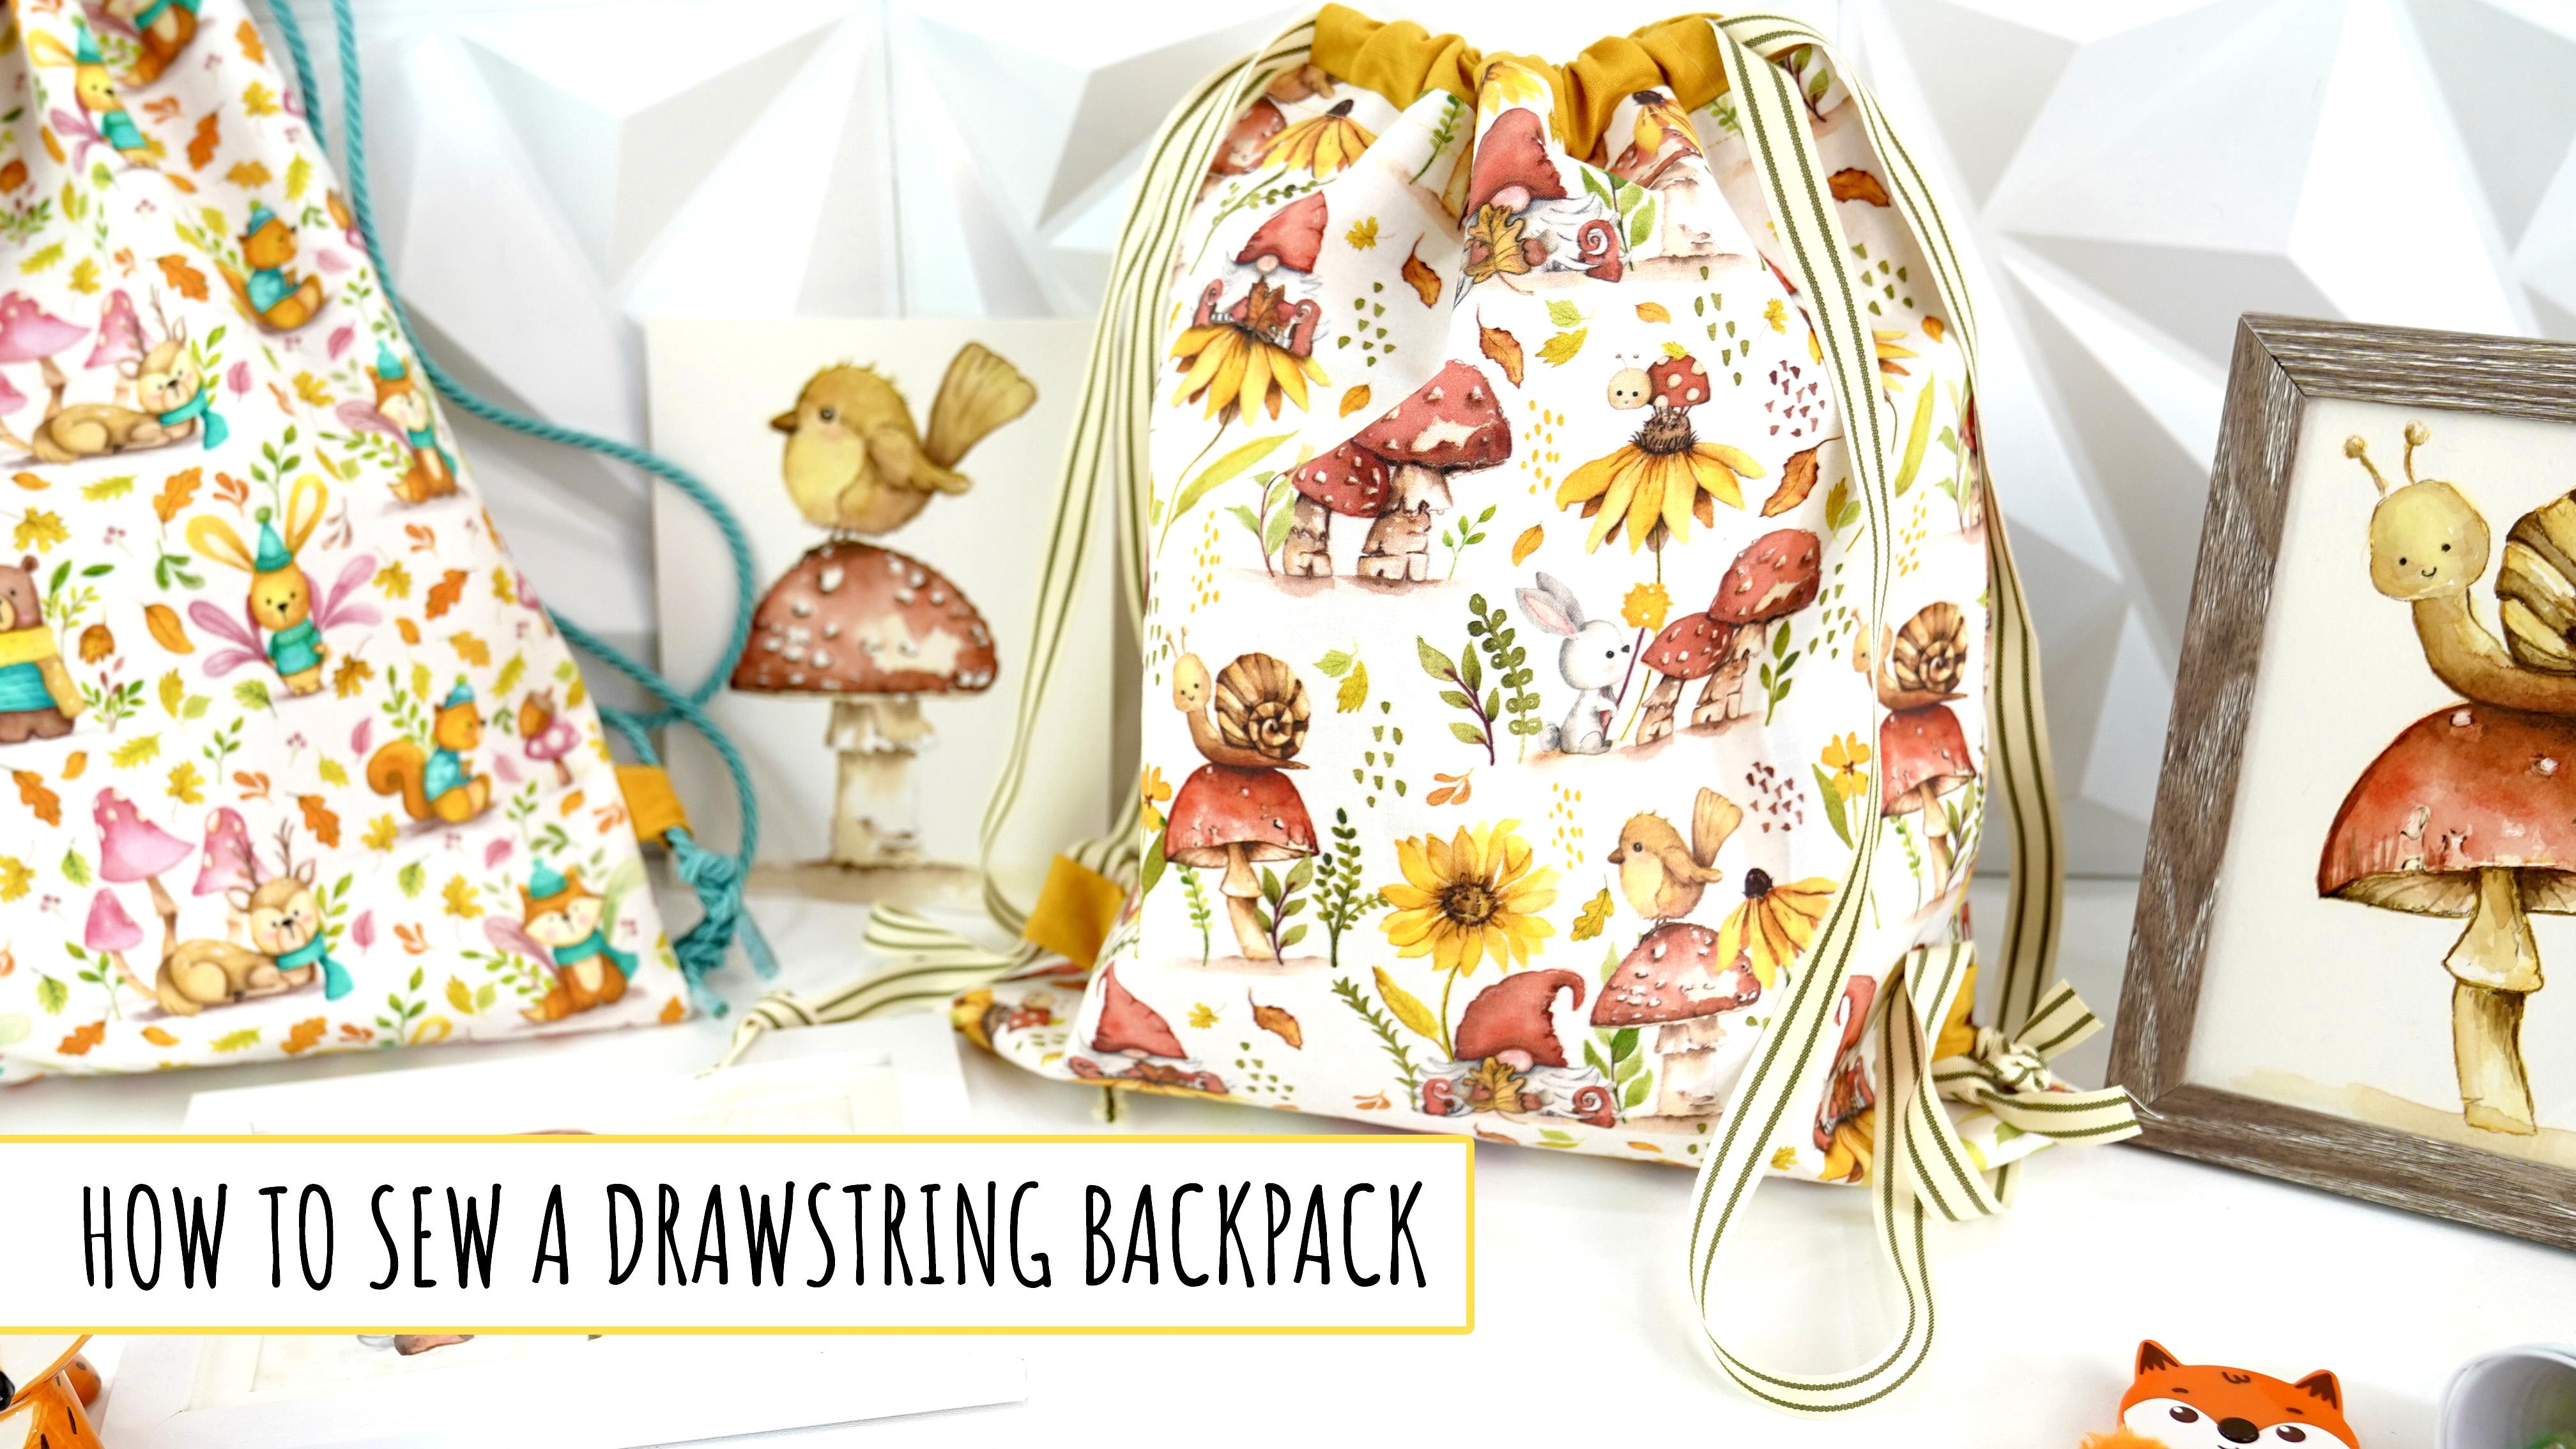
new sewing class, how to sew a drawstring
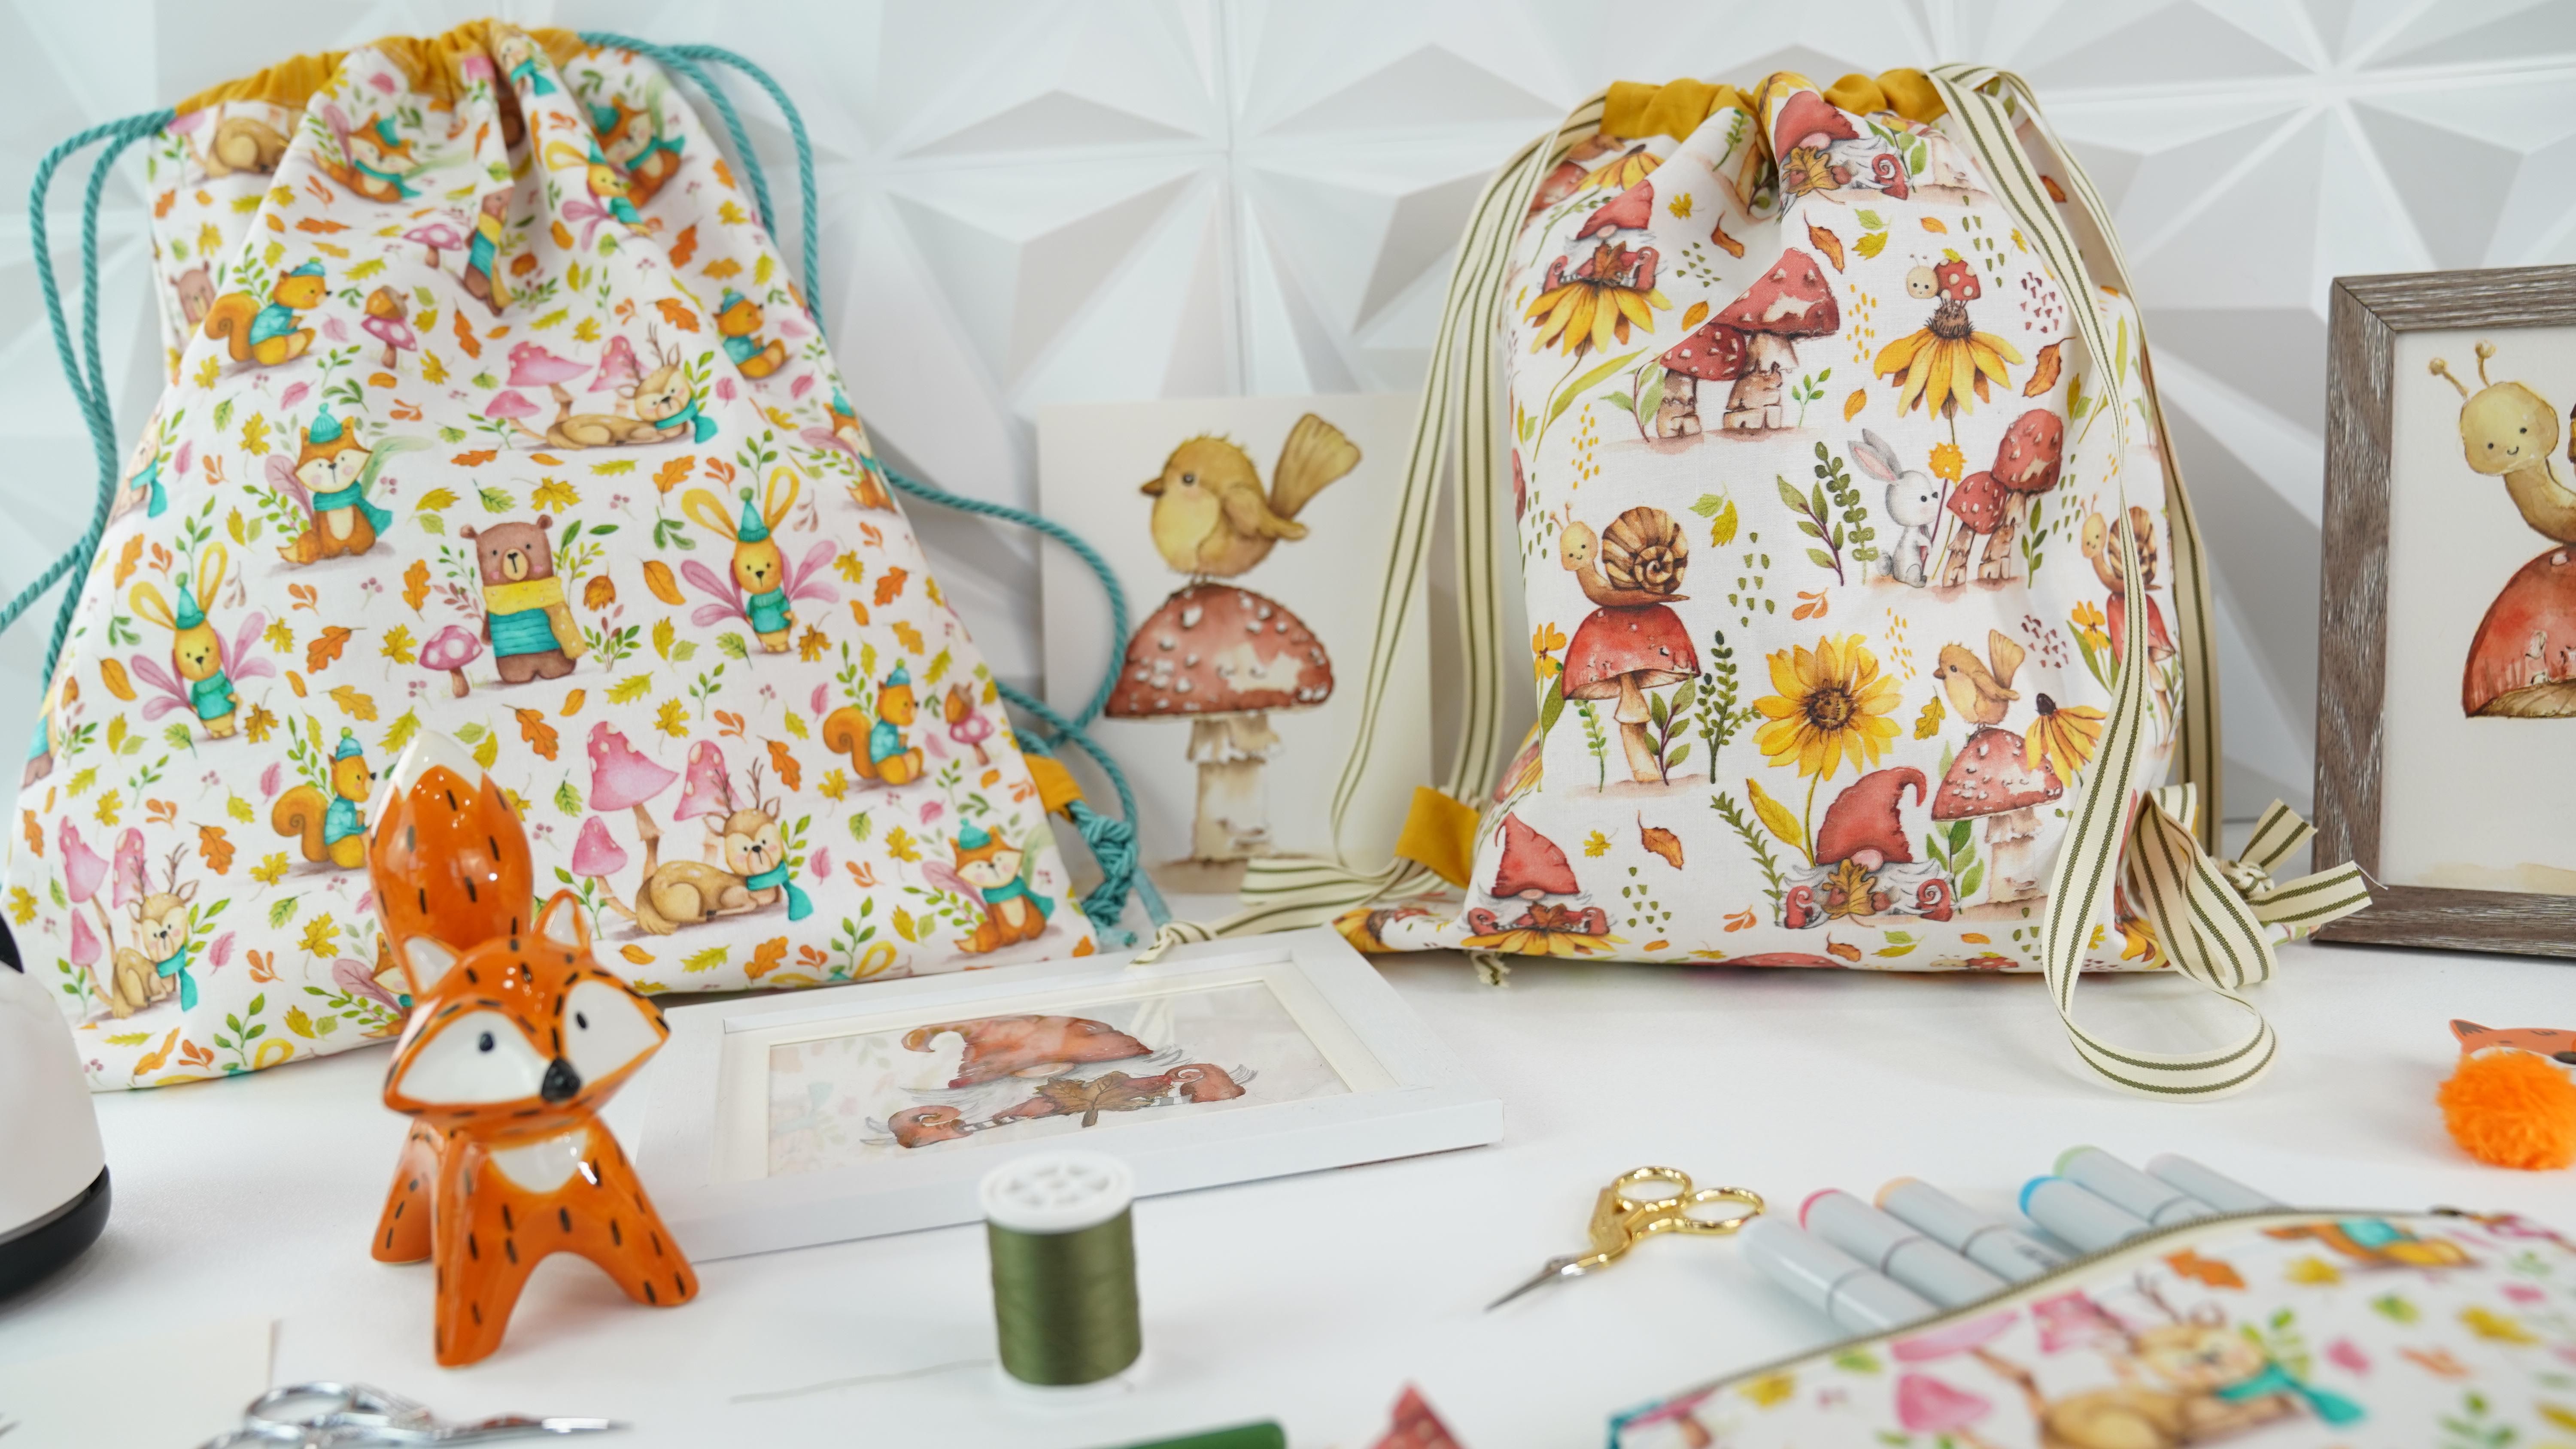
backpack with lining. Today we're going to
learn how to make this beautiful and practical
drawstring backpack that you're going to love
and use all the time. I love that it has a lining that combines beautifully with the outside fabric and also it makes it more
durable and sturdy. We're going to learn a lot of fun and useful tips
along the way. The bag is super easy to
make is such a fun project. I just love combining all
different fabrics and also the different strings
or ribbon that we can use. I've designed both of these fabrics specifically
for this project. They match and
coordinate together. I hand painted it
using my watercolors. I think they turn out super
cute and it's a full theme. They're called the
Watercolor Woodland Friends. If you want to follow along
using the same fabrics, you can purchase
them as spoon flour. And make sure to leave the link down in the resources and the
description of the class. I separated the class in different segments that
are very easy to follow. You can pause and cut your fabrics measure
and make sure that you have all your
elements and fabrics together so you can follow
along and sew with me. Also, it's a very easy project and I think it's super fun to combine with different
fabrics and make it for different projects
or even presents. This is the first time
seeing one of my classes. My name is Luciana. I'm an architect and a designer, and I've been sewing
my whole life. My most incredible memories
are in my grandma's house, around her sewing room. I remember being around the house and her
sewing room and she was use everything and I will just create the most
fun things for my dolls. I designed my own fabrics, they're all available
in my shop. A spoon flower, one
of my designs go selected for the packaging for spoon flower that
was very exciting. Also, some of my products have been in the major
craft stores around the US like Michael's and
Hobby Lobby across the US. I've been in some TV shows in London as well as
HSN. Here in the US. I'm surrounded by
city every day. For me is water colors, designing, sewing
with my own fabrics. I just love the whole creative
circle and I love having the opportunity to share all that with you
through skill share. Welcome to my class.
Let's get some.
2. Today's Project: Let's sew a rostering
backpack together. In today's class, we're going to learn how to sew this
beautiful backpack, an easy sewing project to
make and a perfect gift. The C is divided
into short segments, easy to follow to make the whole sewing
process fun and easy. Each segment is
full of sewing tips that you will use in your
future sewing projects. We're going to start by cutting our fabric and the interfacing, and going through all the
materials needed for the class. I made a slide that you
can pause or download for your reference so you
can see all the dimensions, fabric panels, and
materials needed. We're going to be using a medium weight
interfacing that's fusible and some string
or ribbon for our straps. Once we have all
our panels ready, we're going to fuse our
interfacing to the main fabric. Adding interfacing
gives our backpack a little bit more
body and structure. Then we're going
to sew our tabs to our main fabric to get everything ready
for the next step, placing the pretty
size together. We're going to go ahead
and close our main fabric. Then we're going to sew
our lining together, making sure that we leave a gap for turning our back
right side out. Later on, I like using the same fabric so it coordinates perfectly
with the project. And then we're going to
choose a longer stitch for our top stitching
to prep our casing. Once we have our casings ready, we're going to go
ahead and sew it and attach it to
our main fabric, leaving the lining wrong side out so we can face the
pretty size together. We're going to go
ahead and sew all the way around to close
our backpack. I'm going to share a lot
of different tips inside the segments that
you're going to be able to use in future
projects as well. This is my favorite part. When you see the project right
side out and everything is coming together to
finish the lining, we're going to go ahead
and close the gap. Then the last step
before threading the draw string is
just to go around with the top stitch
to finish our bag. I really love this project because I'm actually
going to use it a lot. I think it's very
practical and I also think it makes
a really good gift. For our final step, we're going to decide to use
a ribbon or a draw string. We're going to
learn how to thread it and the length
of each ribbon. I love how choosing
the right color for your straps makes your project stand out a little bit more. It's just a little detail, but it's just a finishing tah that makes everything
come together. At the end of this class, you have made a beautiful
draw string backpack. I can't wait to see all your
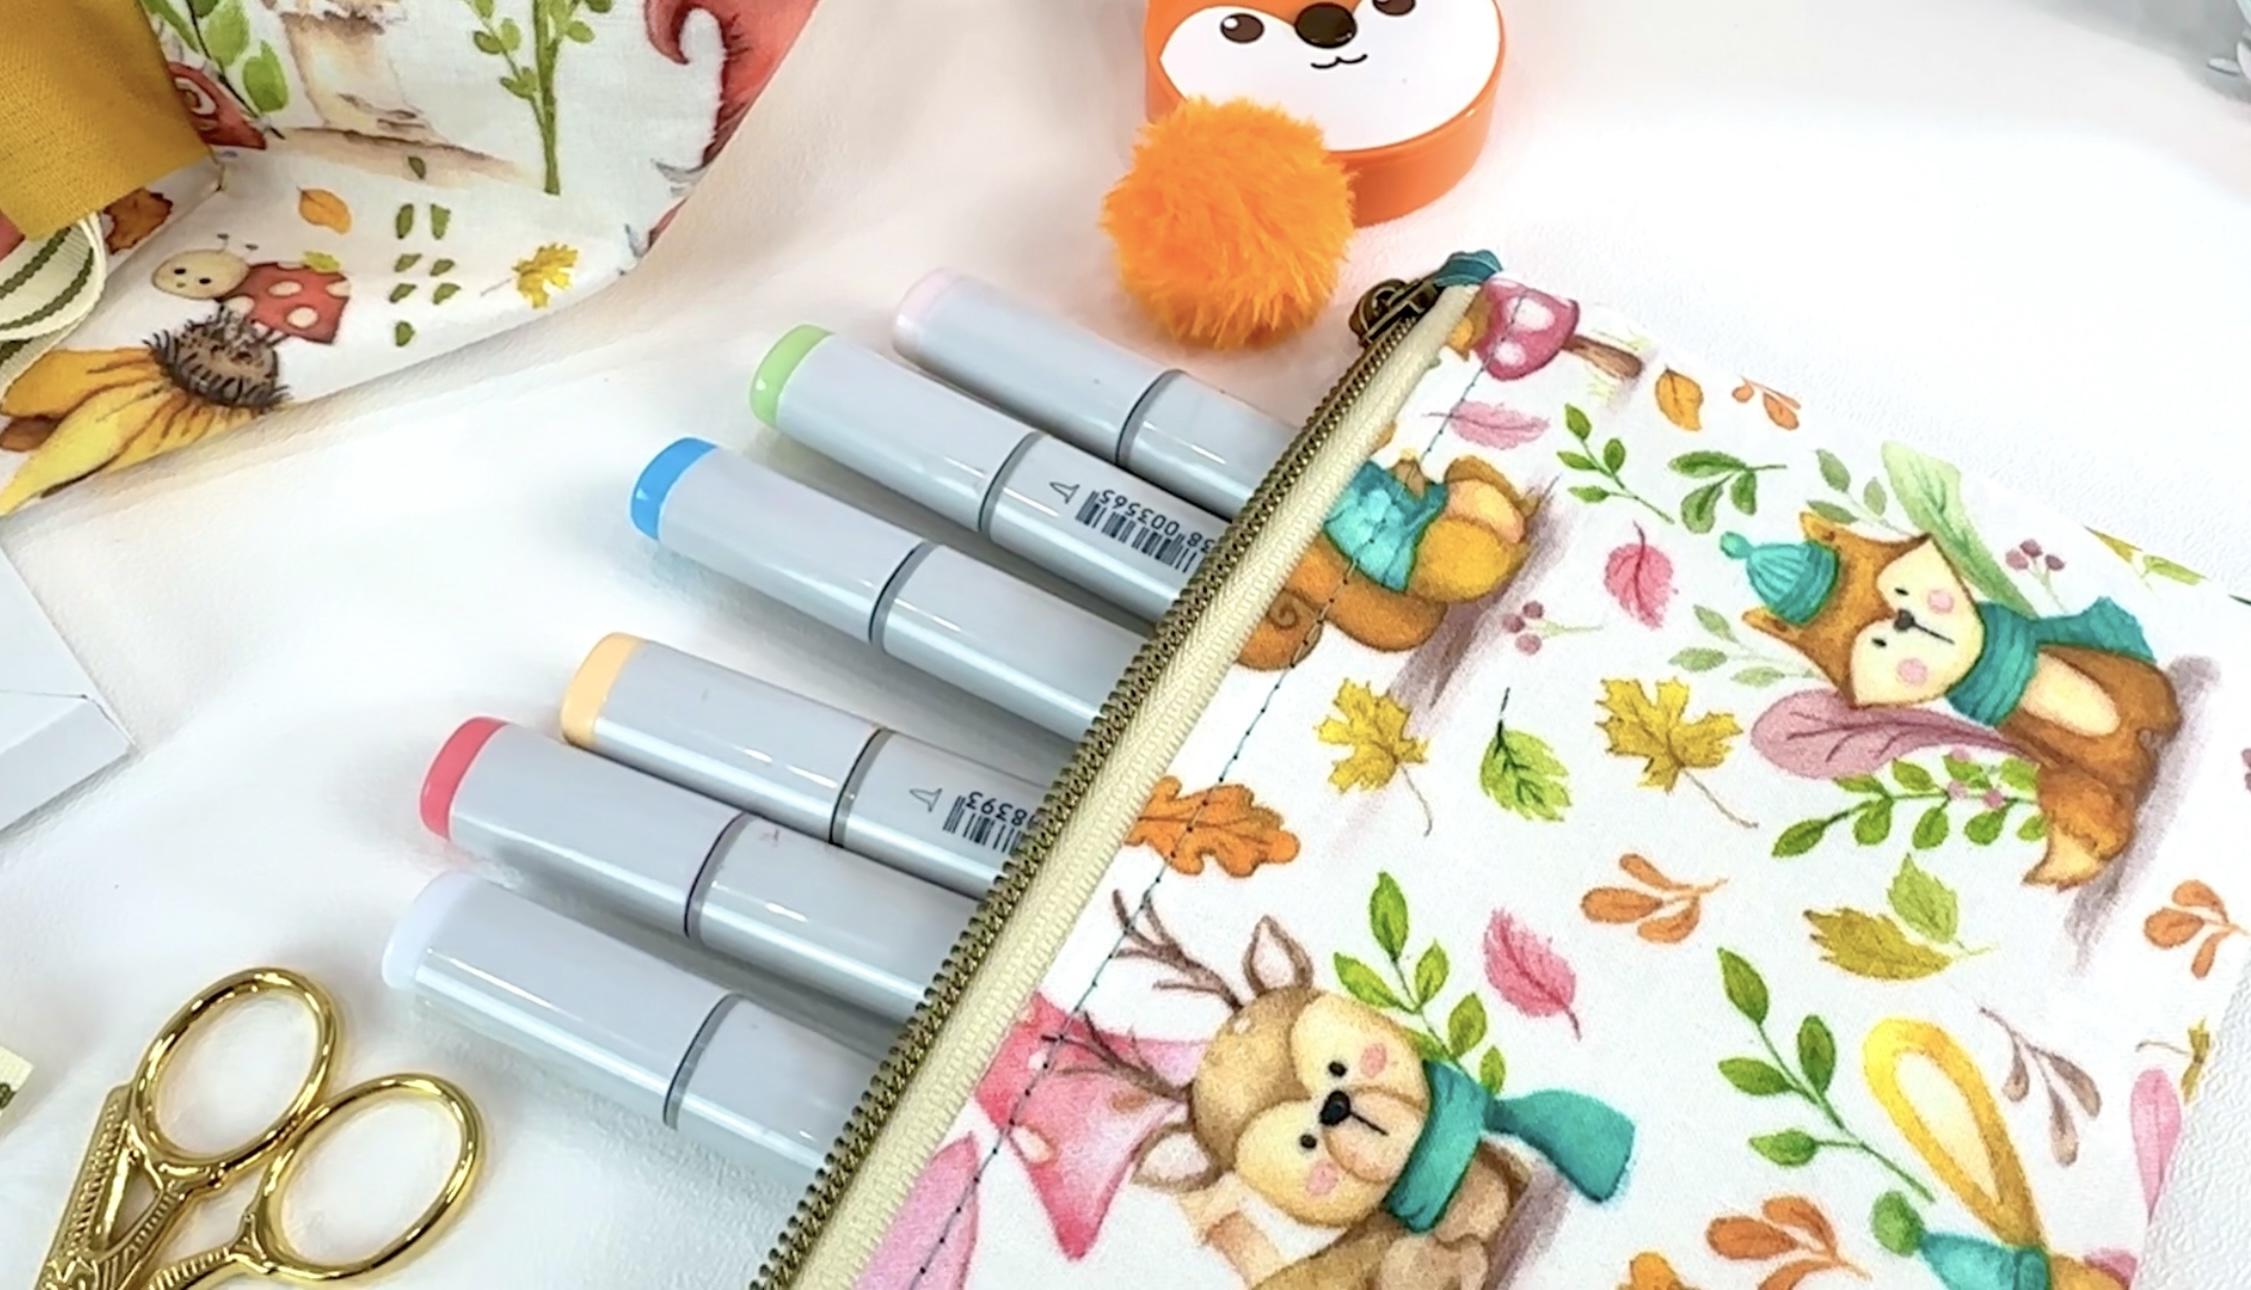
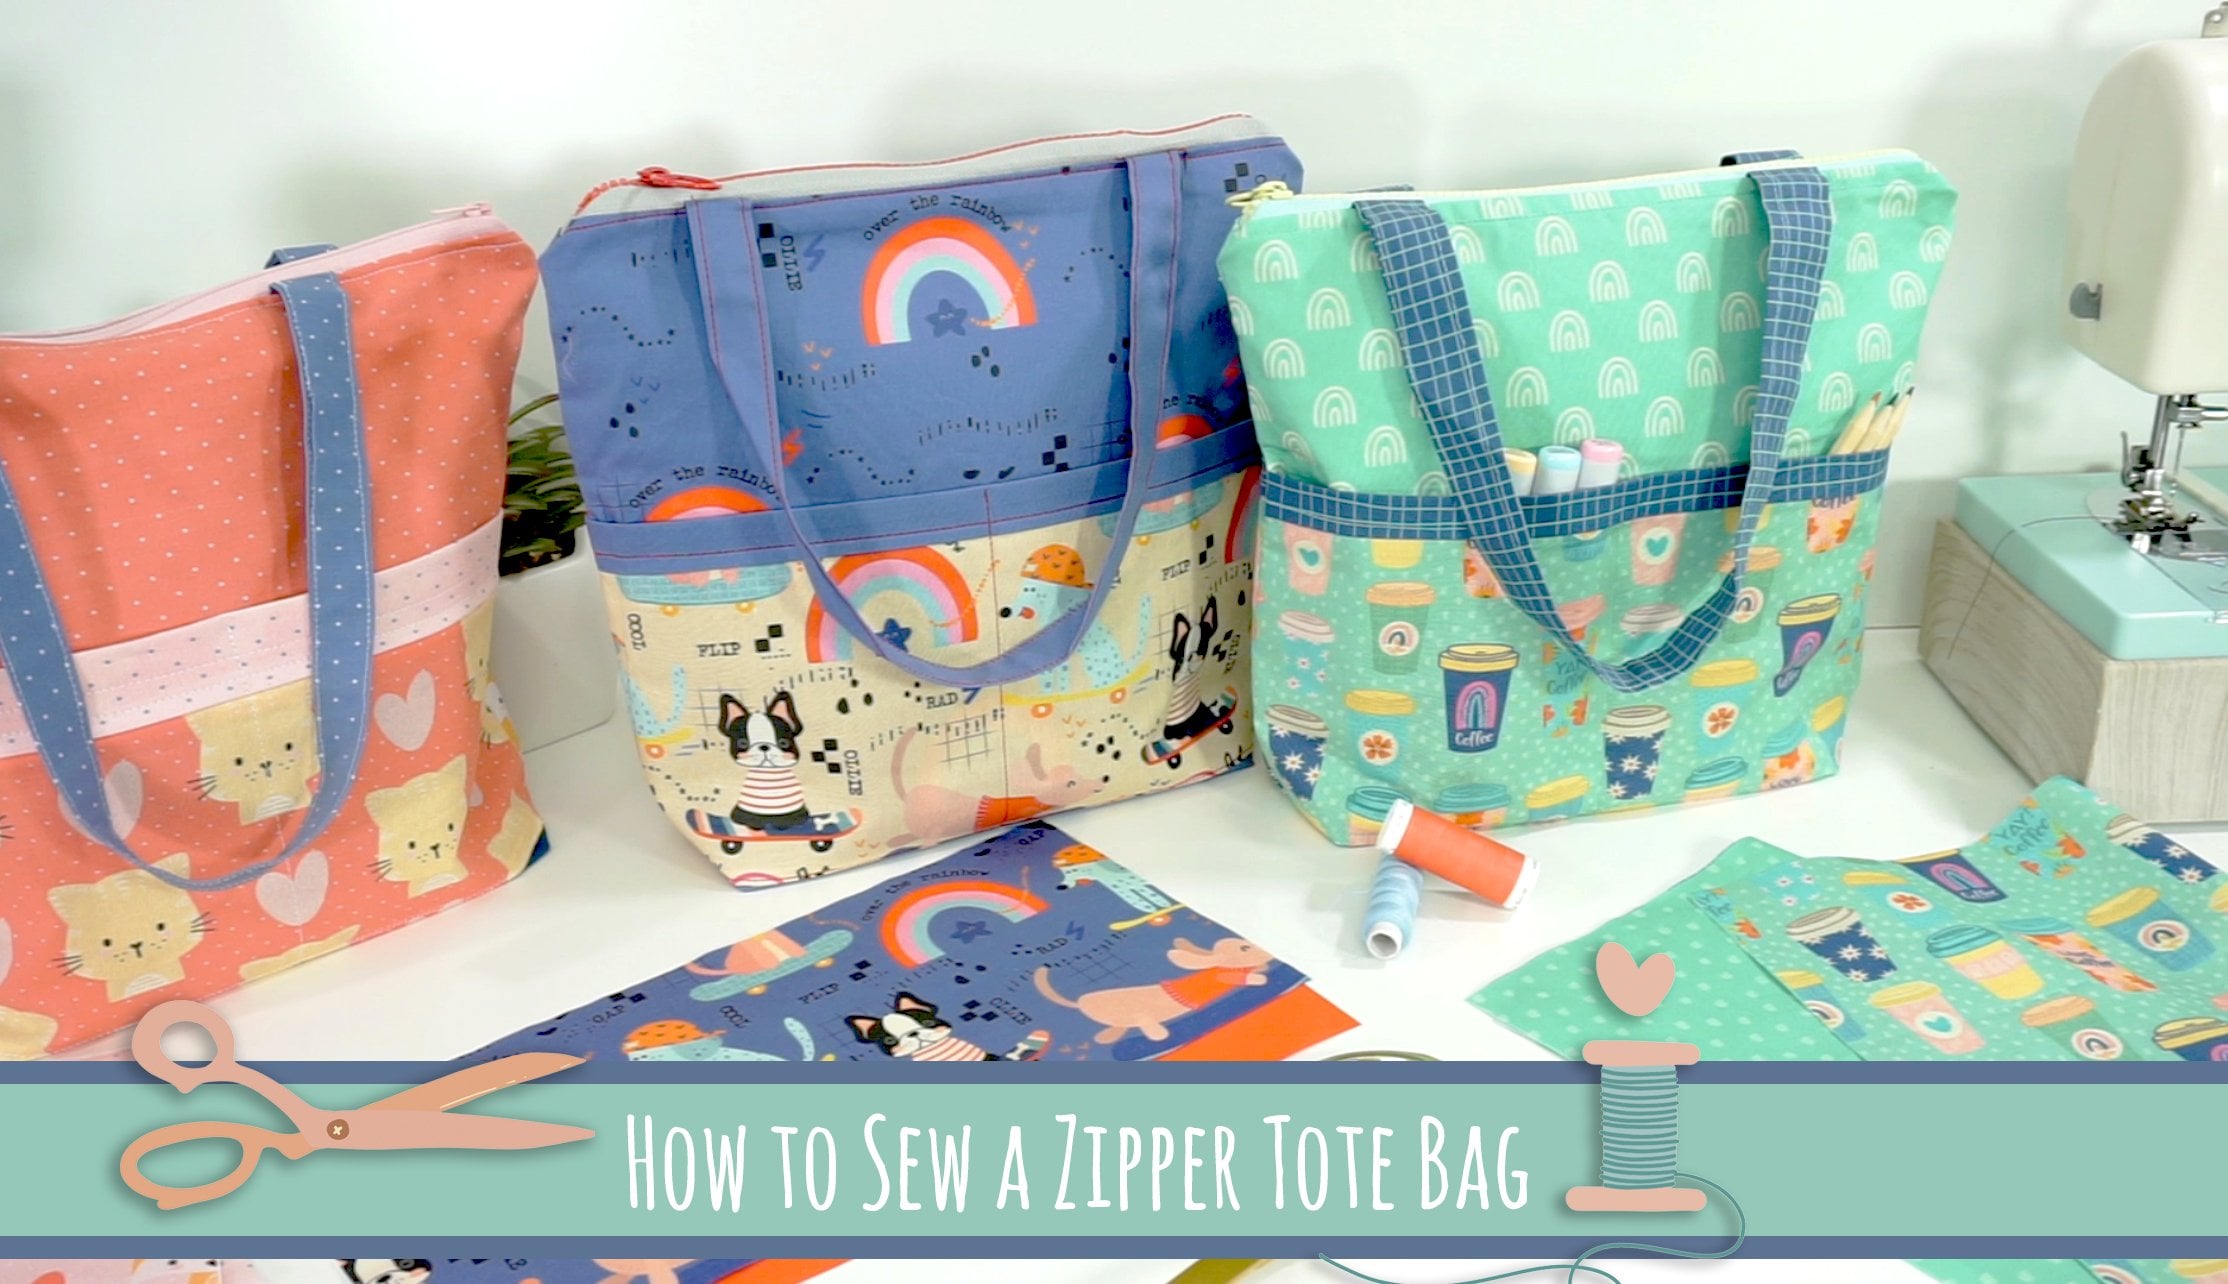
beautiful finished projects. I also love that you can make a great kid by sewing a
coordinating zipper pouch. After you finish
your beautiful back, you can check out my
other classes to sew a coordinating Popa pouch or pencil case to
go along with it. I can't wait to see all
your beautiful projects. So let's get started.
3. Materials Needed : In this lesson,
we're going to go over the materials needed to create our drausting backpack
for our main fabric. We're going to cut two different
panels that are 14.5 " by 15.5 " for our lining fabric. We're going to cut two panels
with the same dimensions. Then with the same
lining fabric, we're going to cut
two strips for our casings with the same width, 14.5 " or 37 centimeters by
3.5 ", or 9 centimeters. Then for our tabs, we're going to cut
two liter squares of the same lining fabric
that are 2.5 by 3.5 ", or 6.5 centimeters
by 9 centimeters. For the straps, we can use
draw strings or twill tape. Later in the class,
I'll show you both, and I really love the
look of both of them. You can go ahead and choose whichever you prefer
for your project. I use approximately 85
" for each of them, but this is for an adult. If you're creating one for kids, just make sure to
make it a little bit shorter and
adjust accordingly. For one backpack, you're
going to need two strips or draw strings that
are 85 " long each. Finally, I like using
fusible interfacing. This one is the Pelon 809
that we're going to use on our main fabric to give it more body and more
structure to our back. So let's go ahead and
cut our fabric panels.
4. Cutting your Fabric and Interfacing: Now we're ready to cut
our fabric panels. I have a directional fabric
for my outside fabric, that's why I'm going
to cut two panels with the dimensions that we just
saw in the previous slide. But for my lining, since it is a solid or if you have a non
directional fabric, you can go ahead and
cut the same width, 14.5 " or 37 centimeters. But for the length, then we
can go ahead and cut 30 ". We're not going to have
the extra half an inch that we're accounting
for, our seam allowance. That's an important
detail at the end, our main fabric and lining
fabric end up matching. Also, we're going to be using a fusible interfacing on our main fabric to give
structure to our back. I'm using the pelon
eight or nine, but any medium interfacing
will work fine. The dimensions for
our interfacing are going to be 1 " smaller. We have half an inch on each side to account
for our seam allowance. This helps reduce the bulk
around our seam allowances. The fusible
interfacing has like, a texture like little bubbles. That's the glue, that's
the part that's going to be facing down towards
our main fabric. To start sewing, we should have two panels for our main fabric, the outside of our back. Then I have one long panel or two panels if you have a
directional one for your lining. Our smaller interfacing,
two panels for those, and then two panels for our
casings and for our tabs. Now let's iron on our interfacing to our main
fabric in the next lesson.
5. Ironing the interfacing: To start ironing our
interfacing to our main fabric. I recommend that you iron your main fabric first
so there is no wrinkles. We're going to place
our texture side of our interfacing facing down. That's the part
that has the glue. And then we're going to
fuse it to our main fabric. Here you can see
what a difference it makes to have interfacing. Now we're ready to put
interfacing in our second panel. In our next segment, we're going to be
swing our tabs.
6. Sewing the Tabs: We're going to press our tabs with a pretty side
facing together. And we're going to go ahead
and sew along the edges. Now we're ready to turn
our tabs pretty sides out. We can do that with a
safety pin or I have this really practical
tube turning set that makes it easier for
us to turn it rise set out, I like pressing the Sam
right in the center, So when we fold it in half, it's hidden in the middle. Now we're ready to
secure the tabs to one of the panels
for our main fabric. We're going to measure 3 ", or 7.7 centimeters
from the bottom. And we're going to place
our tabs above that mark. Let's go to the sewing machine
and sew the taps in place. But this time we're
going to make sure to use a smaller
seam allowance. We're going to sew right
close to the edge, like about one
eighth of an inch of seam allowance is this
teaching doesn't show one more close in the bag with a half an inch seam allowance also half out left to right. You place your tabs
going to determine the diameter of how big the hole is going to be to
contain your drawstring. If you want, you can go
ahead and sew over it again. This reinforces our tabs because we're going
to be pulling from it just to make sure
that it's going to be secure and we're
not going to have any worries when we're
using our backpack. Now we're ready to
sew the outside of our bag using a half an
inch seam allowance.
7. Closing Main Fabric: Now we're ready to
close the outside of our bag using a half an
inch seam allowance. Let's place the pretty sides together and clip
everything in place. Let's sow the sides
and the bottom part, making sure that the
top is still open. I'm using a half an
inch seam allowance. As you can see, my interfacing is that half an inch smaller, It's easier for us
to go ahead and sew and not have the
bulk in our seams. When we sew our size together, we want to make sure that
we're sewing to the left or that teaching that we
previously had from our tabs. I stopped sewing and took my fabric out just to
show you that detail. But you can go ahead and
leave your fabric in, making sure that
the needle is down, rotate your fabric, and keep sewing with a half an
inch seam allowance. I'm always backstitching
at the beginning and at the end just to secure
everything in place, cut away the excess
fabric at the corners, making sure you don't
touch any of the stitches. So when we flip everything
right side out, the corners are nice and sharp. In the next segment, we're going to close our lining together.
8. Closing the Lining: When we saw the
size of our lining, we got to make sure to
leave a gap that's big enough for us to turn the
whole back right side out. I like to use pins to mark
that four to 5 " for my gap. When I'm in the sewing machine, I remember that I have to
stop sewing right there, back stitch, and then
keep sewing again. To leave that gap, you want to backstage
a couple of times at the beginning and
at the end of this gap because we're going to put
tension when we're flipping the whole back right side out perfect. Now we're ready to start
prepping our casings.
9. Prepping the casing: Before sewing the long
side of our casing, we're going to do a top
stitch to hide the raw edges. Because the top stitch
is a decorative stitch, we're going to go ahead and
put it at 3.5 so it's a wider and longer stitch that shows in the
front of the bag. Flip over your casing to
make sure that you're sewing with your coordinating
fabric on top of it. I have a wide obin, but a coordinating
thread on top. Now let's sew the long
sides together to close the sewing with the pretty sides of the lining right side out. Make sure that this line of
stitching is a little bit closer to the edge because
when we attach it to the main, we're going to be sewing
right next to it. Let's repeat the same steps
for the second casing. In the next segment,
we're going to sew the casings to
the main fabric.
10. Sewing the Casing: To center the casings, I like to fold them in half so I can cut a notch and
mark the center. I'm going to do the same thing
with the front of my bag, so you can go ahead
and match the sides of the bag so you can cut
a notch on the center. Let's align the casing to the bag and clip
everything in place. Let's go back to our regular
size for our stitching. And then I like
removing this part of the machine so it's easier
for us to go around. Also, let's make sure
to start sewing on the left side of our
preview line of stitching. In the next segment, we're
gonna close the back together.
11. Closing the backpack: Now we're ready to start
sewing our backpack together. We're going to face the
pretty size together for the lining and the pretty size together of our outer fabric. Right now what we're seeing is the wrong side of our lining. Take your time to align
everything together. Make sure to push
all the corners out, and the top edges, and the side seams, and our line as well. Once we have everything aligned, we're ready to start
sewing all around it. I'd like to start sewing
on one of the side seams, so make sure to
align them together. We're going to open
up the seams from the lining and align it with the seams of the main fabric. I always love the first time that we see everything
come together. It looks so pretty and
we're almost done. We just got to make sure to push all the corners out
and close the gap.
13. Topstitching: Now that we close the gap, we're ready to start top
stitching around the back. This helps us secure the lining and the
outer fabric together. And also it gives us a
decorative stitch for the outer fabric to get
ready for our top stitching. I like pressing
everything in place. I also like removing the
arm for my sewing machine because we're going
to sew all the way around it so it makes it easier. And also because
we're top stitching, remember to make your
stitch a little bit longer perfect. We just finished
sewing our backpack. Everything looks great
and so beautiful. And now the next step is to start threading
our draw string.
14. Threading Drawstring/Ribbon: For this backpack, I
chose to use a ribbon. And we're going to go
ahead and cut it 85 ". It is long because
we're going to have to make it go
all the way around. It's like double. It goes around in a loop
through the casings. Also, you want to have
some extra ribbon because you don't want it
so close to your back. You want it to be a
little bit hanging. Also, you need a little bit
extra to tie the knots. At the end, we're going to start threading it
from left to right. Here, you can use
a big safety pin. Or I'm using this
little tool that I usually use for my elastics. Either one works now that
we have it all the way out. Now we're going to
start threading by this time from the
right to the left. Now to secure
everything in place, we got to thread
both ends through the loop and make
one or two nuts. If your tabs are too loose, you can go ahead and
do a top stitching on the tabs just to make
it a little bit smaller. Now we're ready to
thread our second strap. We're going to repeat
the same process, but this time we're going
to start from the right. That's it. I love how it works and I love how
everything looks. The ribbon coordinates
beautifully with the fabric and the lining. I'm really happy with
this backpack having the medium interfacing
also gives body to the backpack and makes
everything polished and nice. Also, having everything
separated in little steps makes everything
a little bit better, in a sense that we can pay
more attention to details. And then that adds
to the final look. I decided to make a
second backpack so I can show you how it looks
with actual draw string. This is also one of my designs that I hand painted
using my watercolors, and I thought that
extra little detail of teal will coordinate perfectly
with this draw string. I'm going to repeat the
same steps as before, threading the drawstring
through the casings and making sure to tie the knots that it's not going to come
through the tabs. Congratulations on
finishing your backpack and thank you so much for
sewing along with me. I love how choosing different fabrics and
different fabrics for the lining as well makes every project unique
and beautiful. I hope you have fun choosing your fabrics for your project. But if you want to follow
along using the same fabrics, I leave the link in
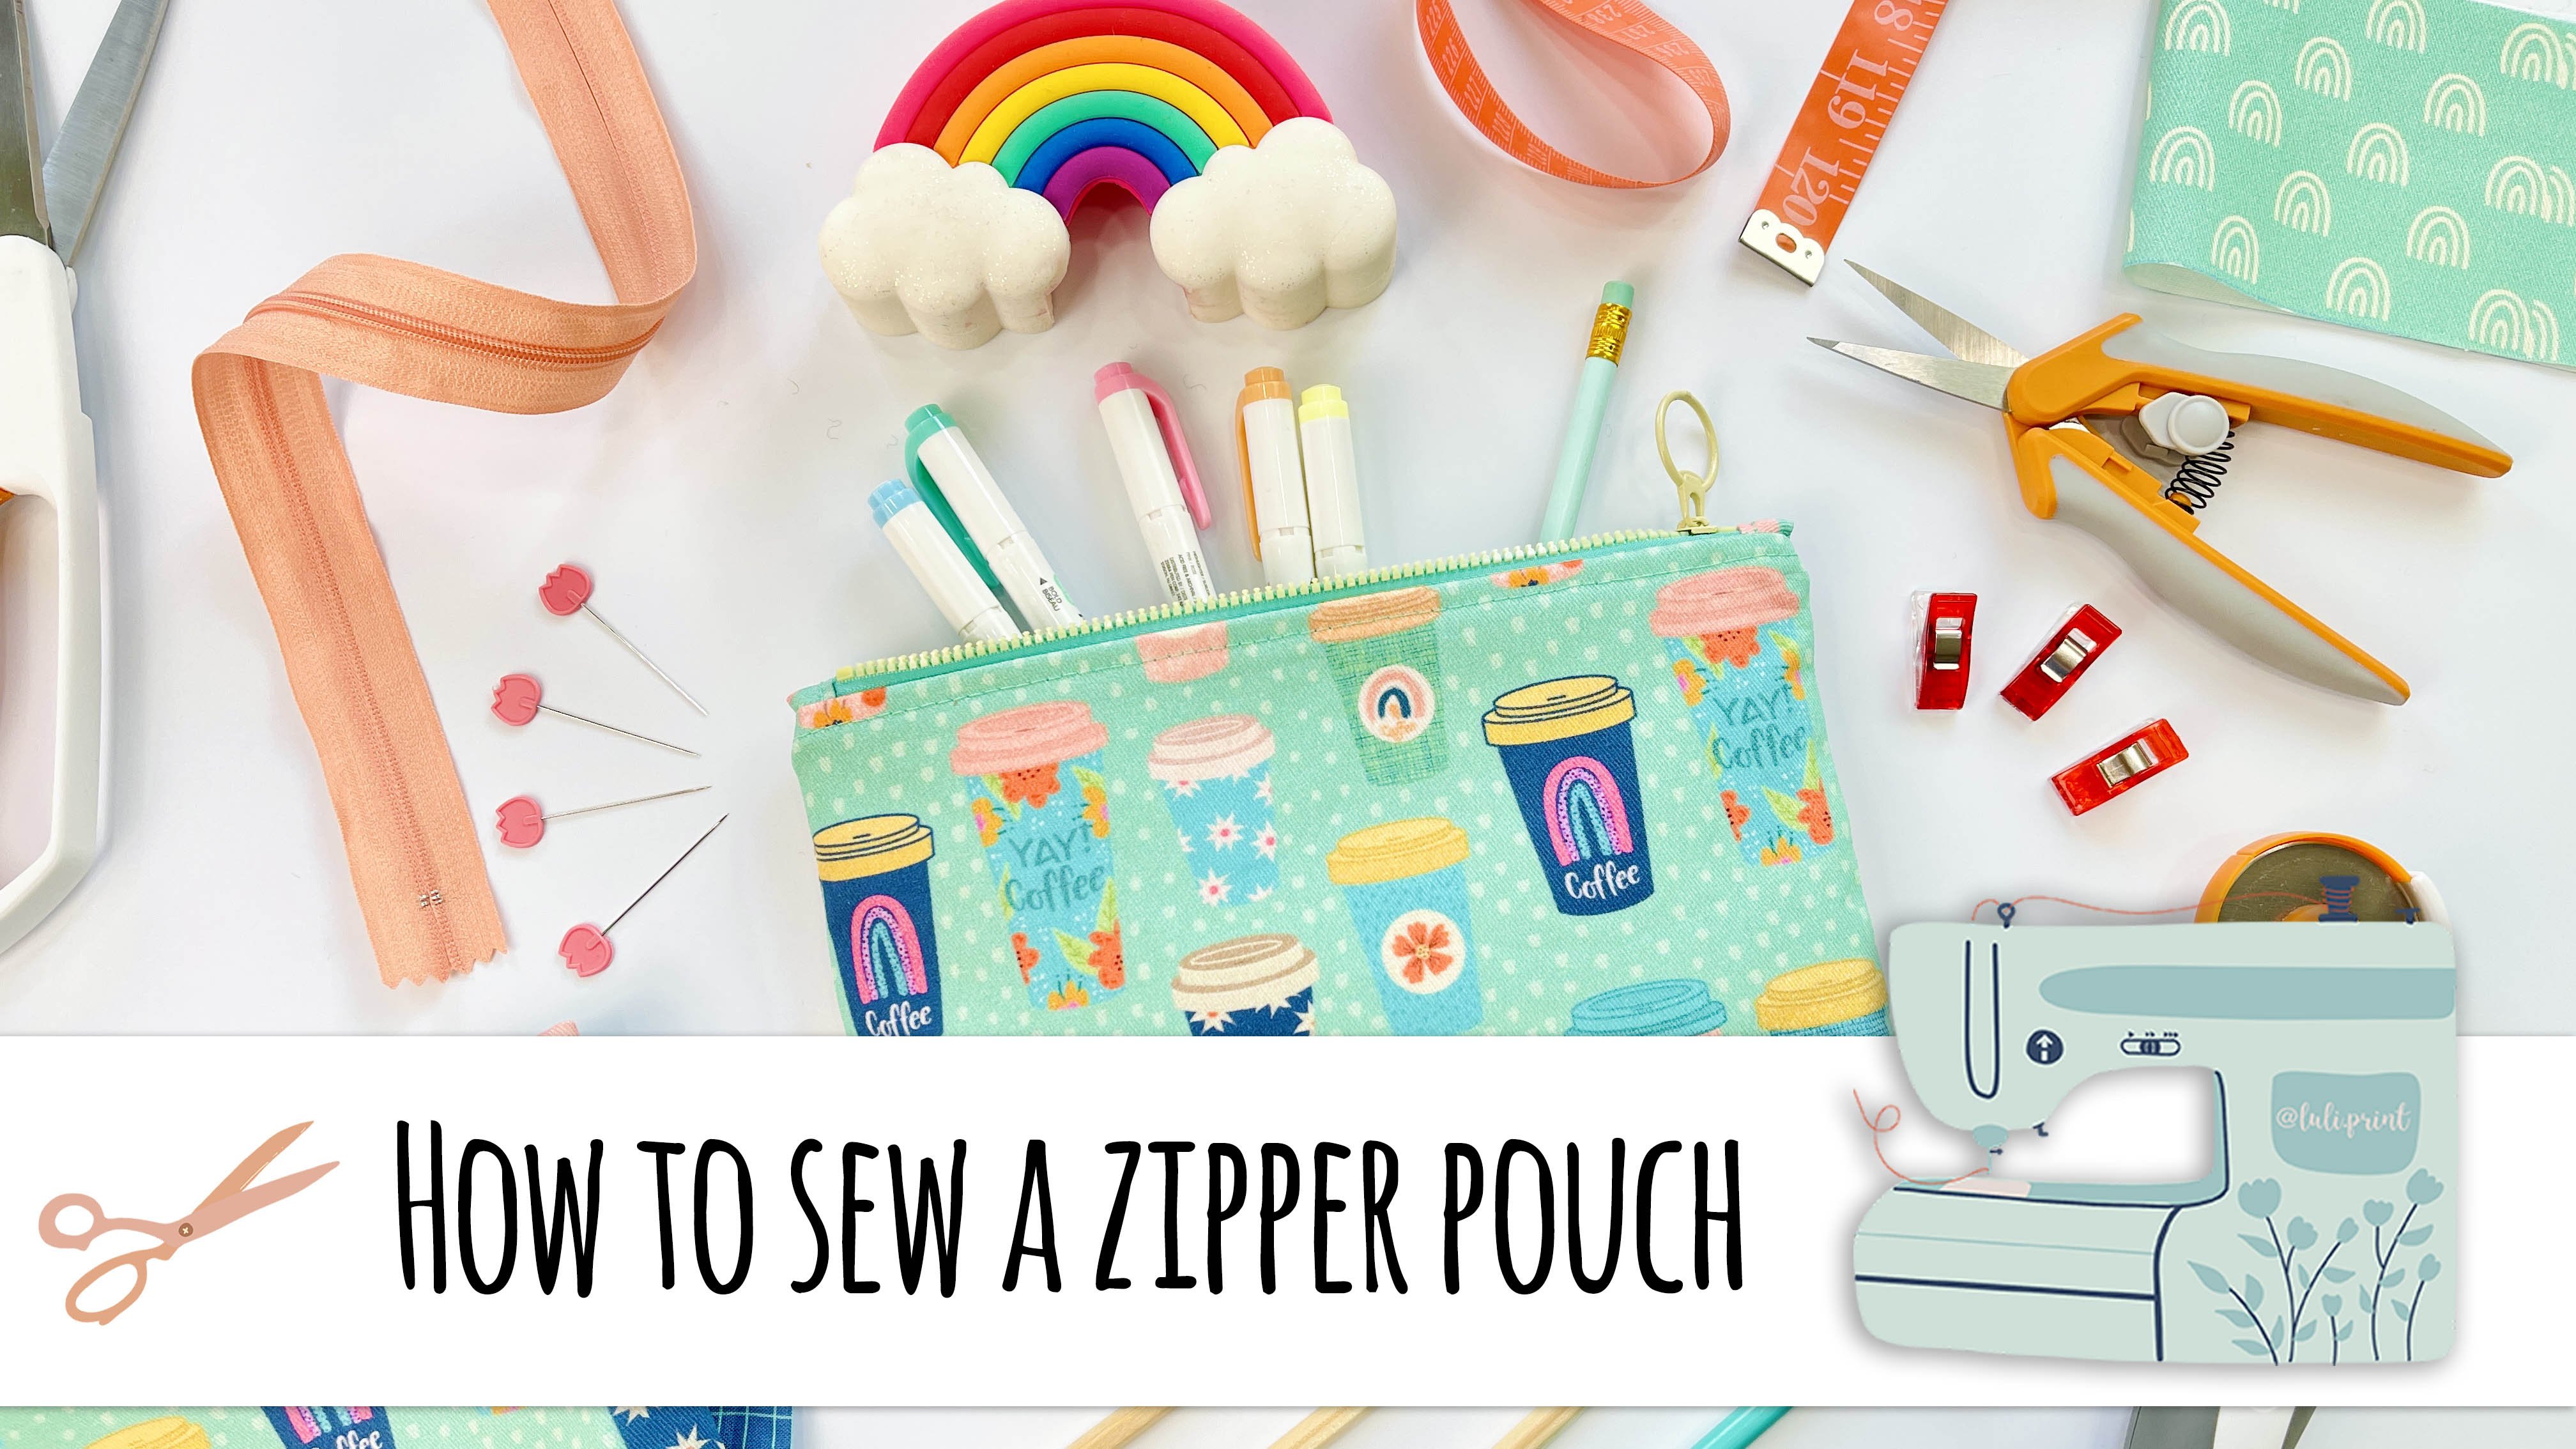
the descriptions for My Spoon flower shop also decided to sew a coordinated zipper pouch
that looks great as a set. If you want to visit
my other classes, I have free downloads
for different patterns, so you can create your
own zipper pouches. I also have one that is
like a pop up pouch. And I think that's super cute because it also converts
into a pencil holder, check it out, and have fun
with the new projects. I can't wait to see your
finished backpacks. Please make sure to
share your projects.
15. Congratulations!: Congratulations on finishing
your drawstring backpack. I hope you have fun
today sewing along, and I hope you learned some of the tips that we
learned along the way. Please let me know
in the comments if you have any questions. And I would love to see all
your finished projects. Please don't forget
to share so we can all get inspired
by each other. Thank you so much for sharing this class with me.
See you next time.
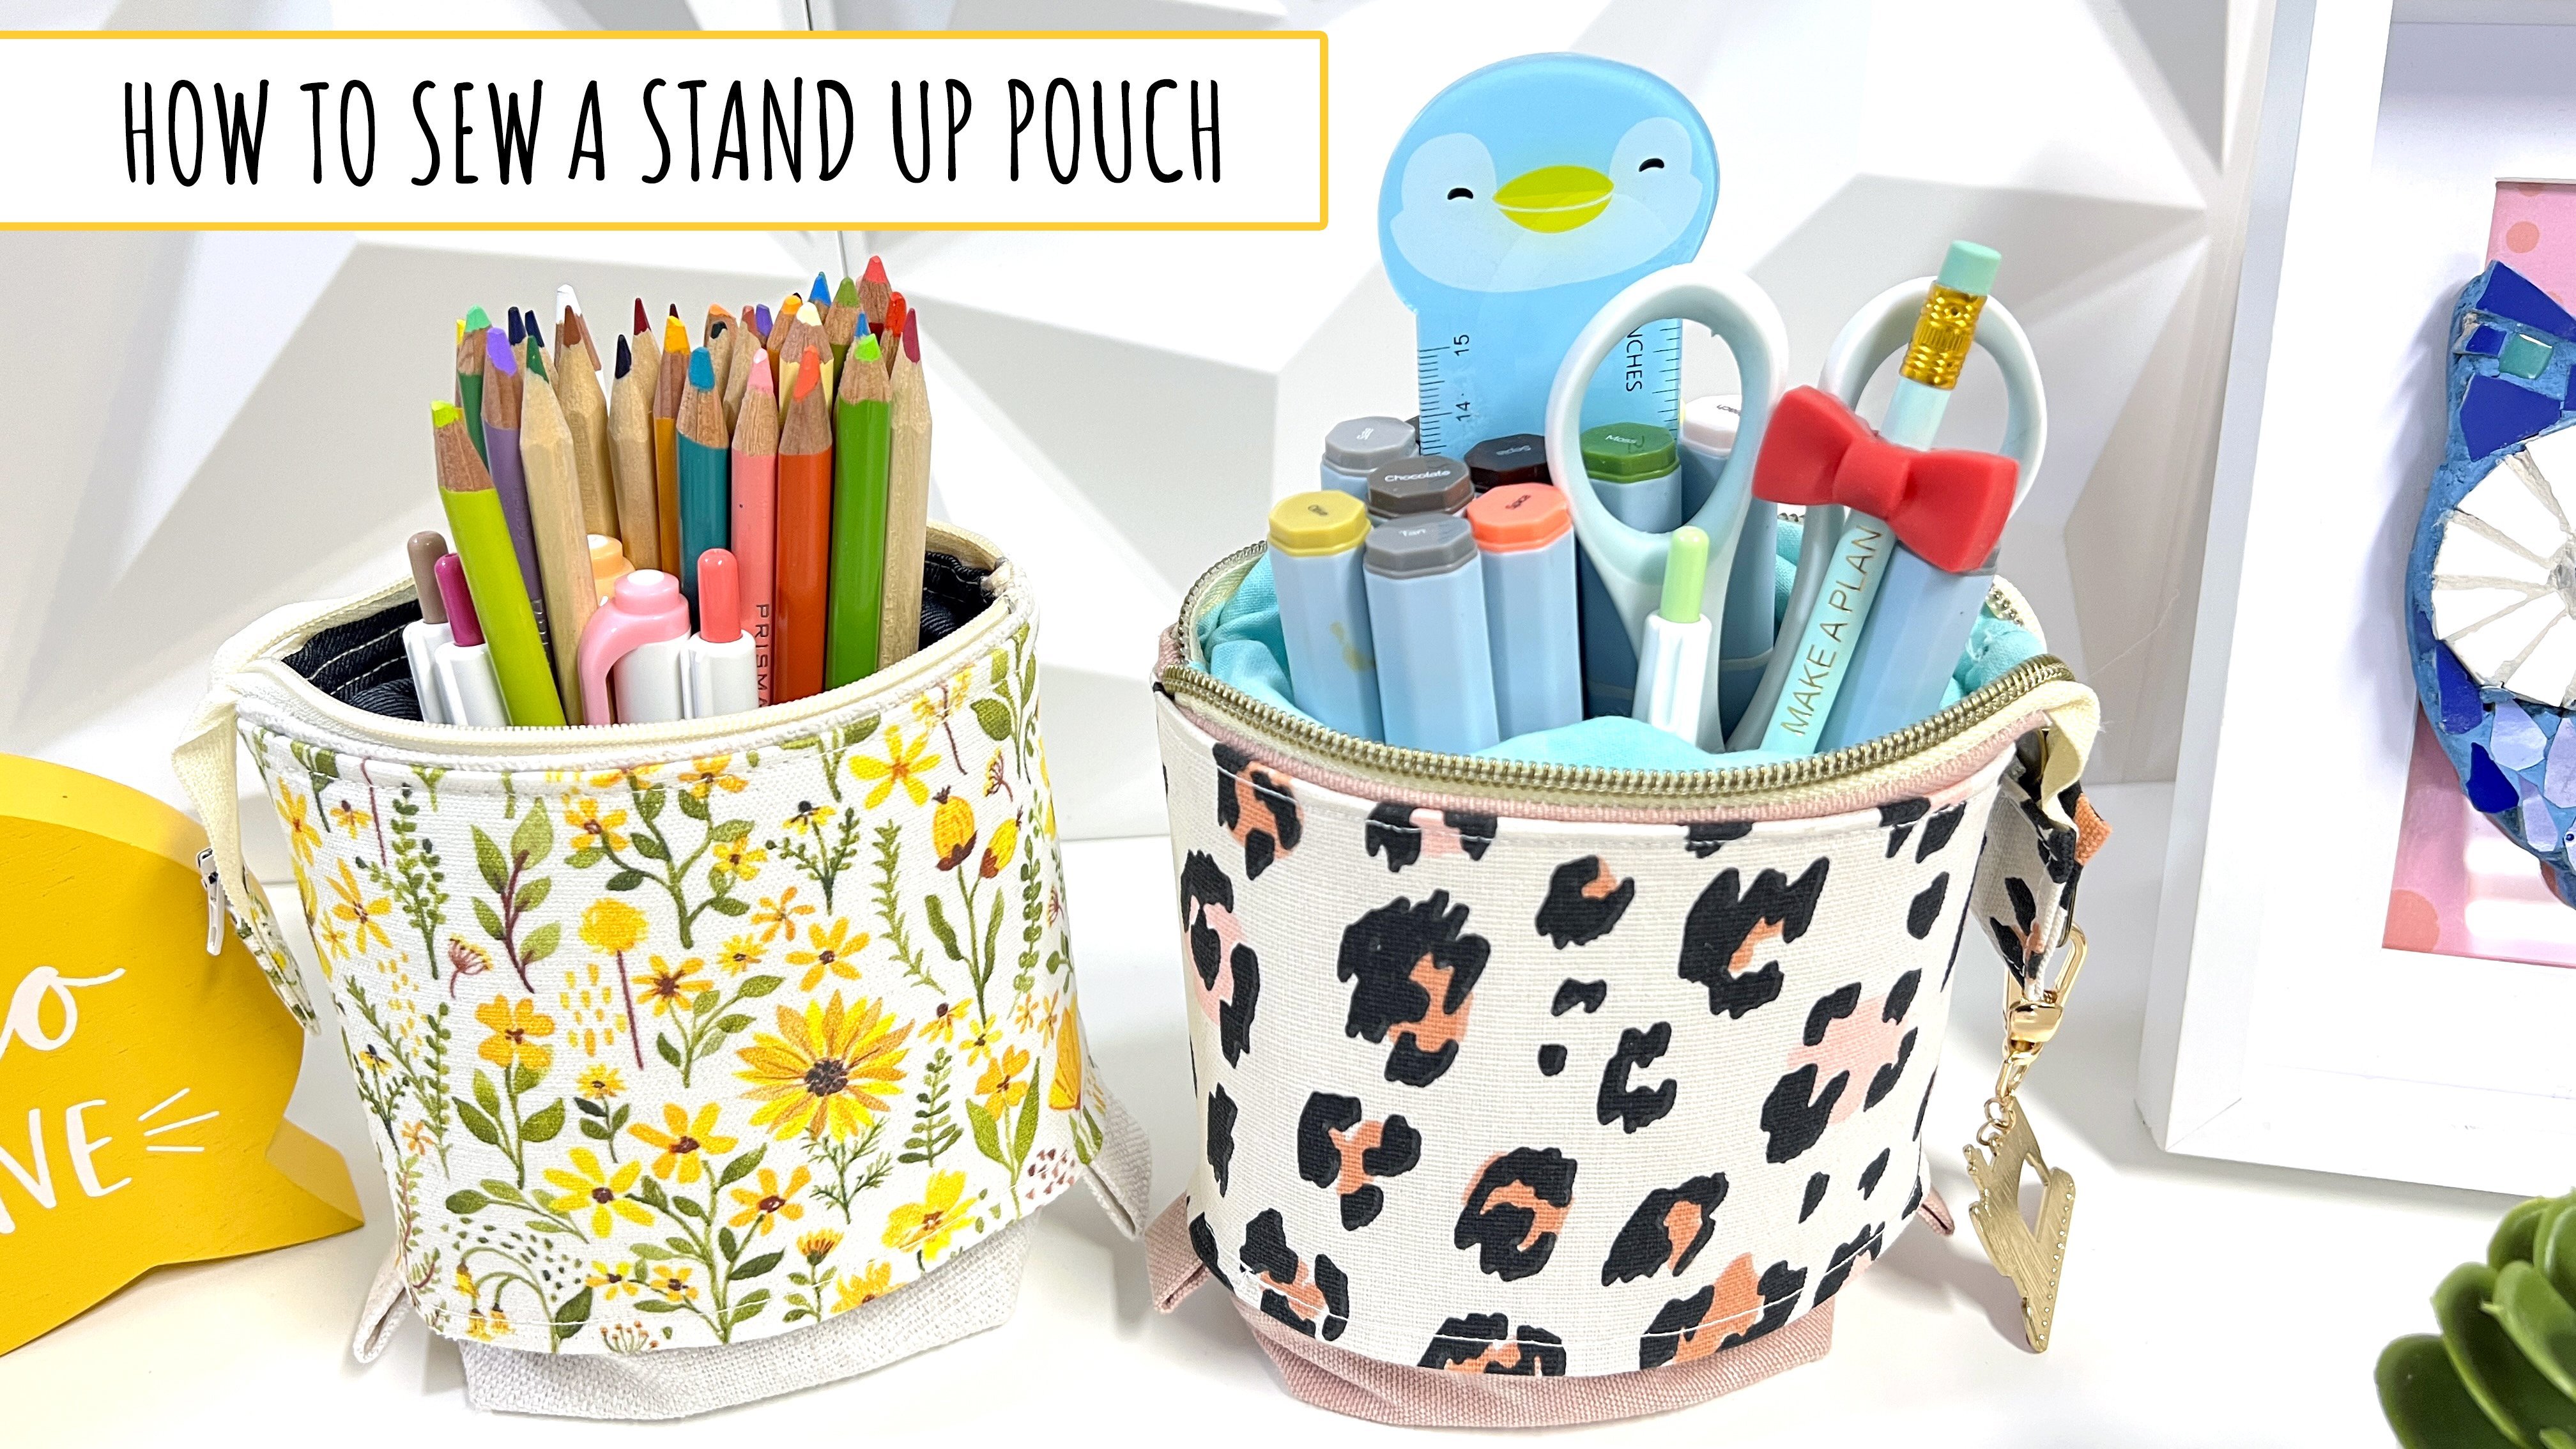
16. Sneak Peek of my other classes: I have another
class that teaches you how to sew these
beautiful pouches. This is the standard pouch. And then we have three other
pouches in the same class. Another class that I have is the pop up pencil pouch that I just love
because you can have it on your desk and you know what
marker you want to use at the moment it converts
into like a pencil holder, then when you're ready to go, it comers into a pencil pouch. It's very practical. As you can see, I have
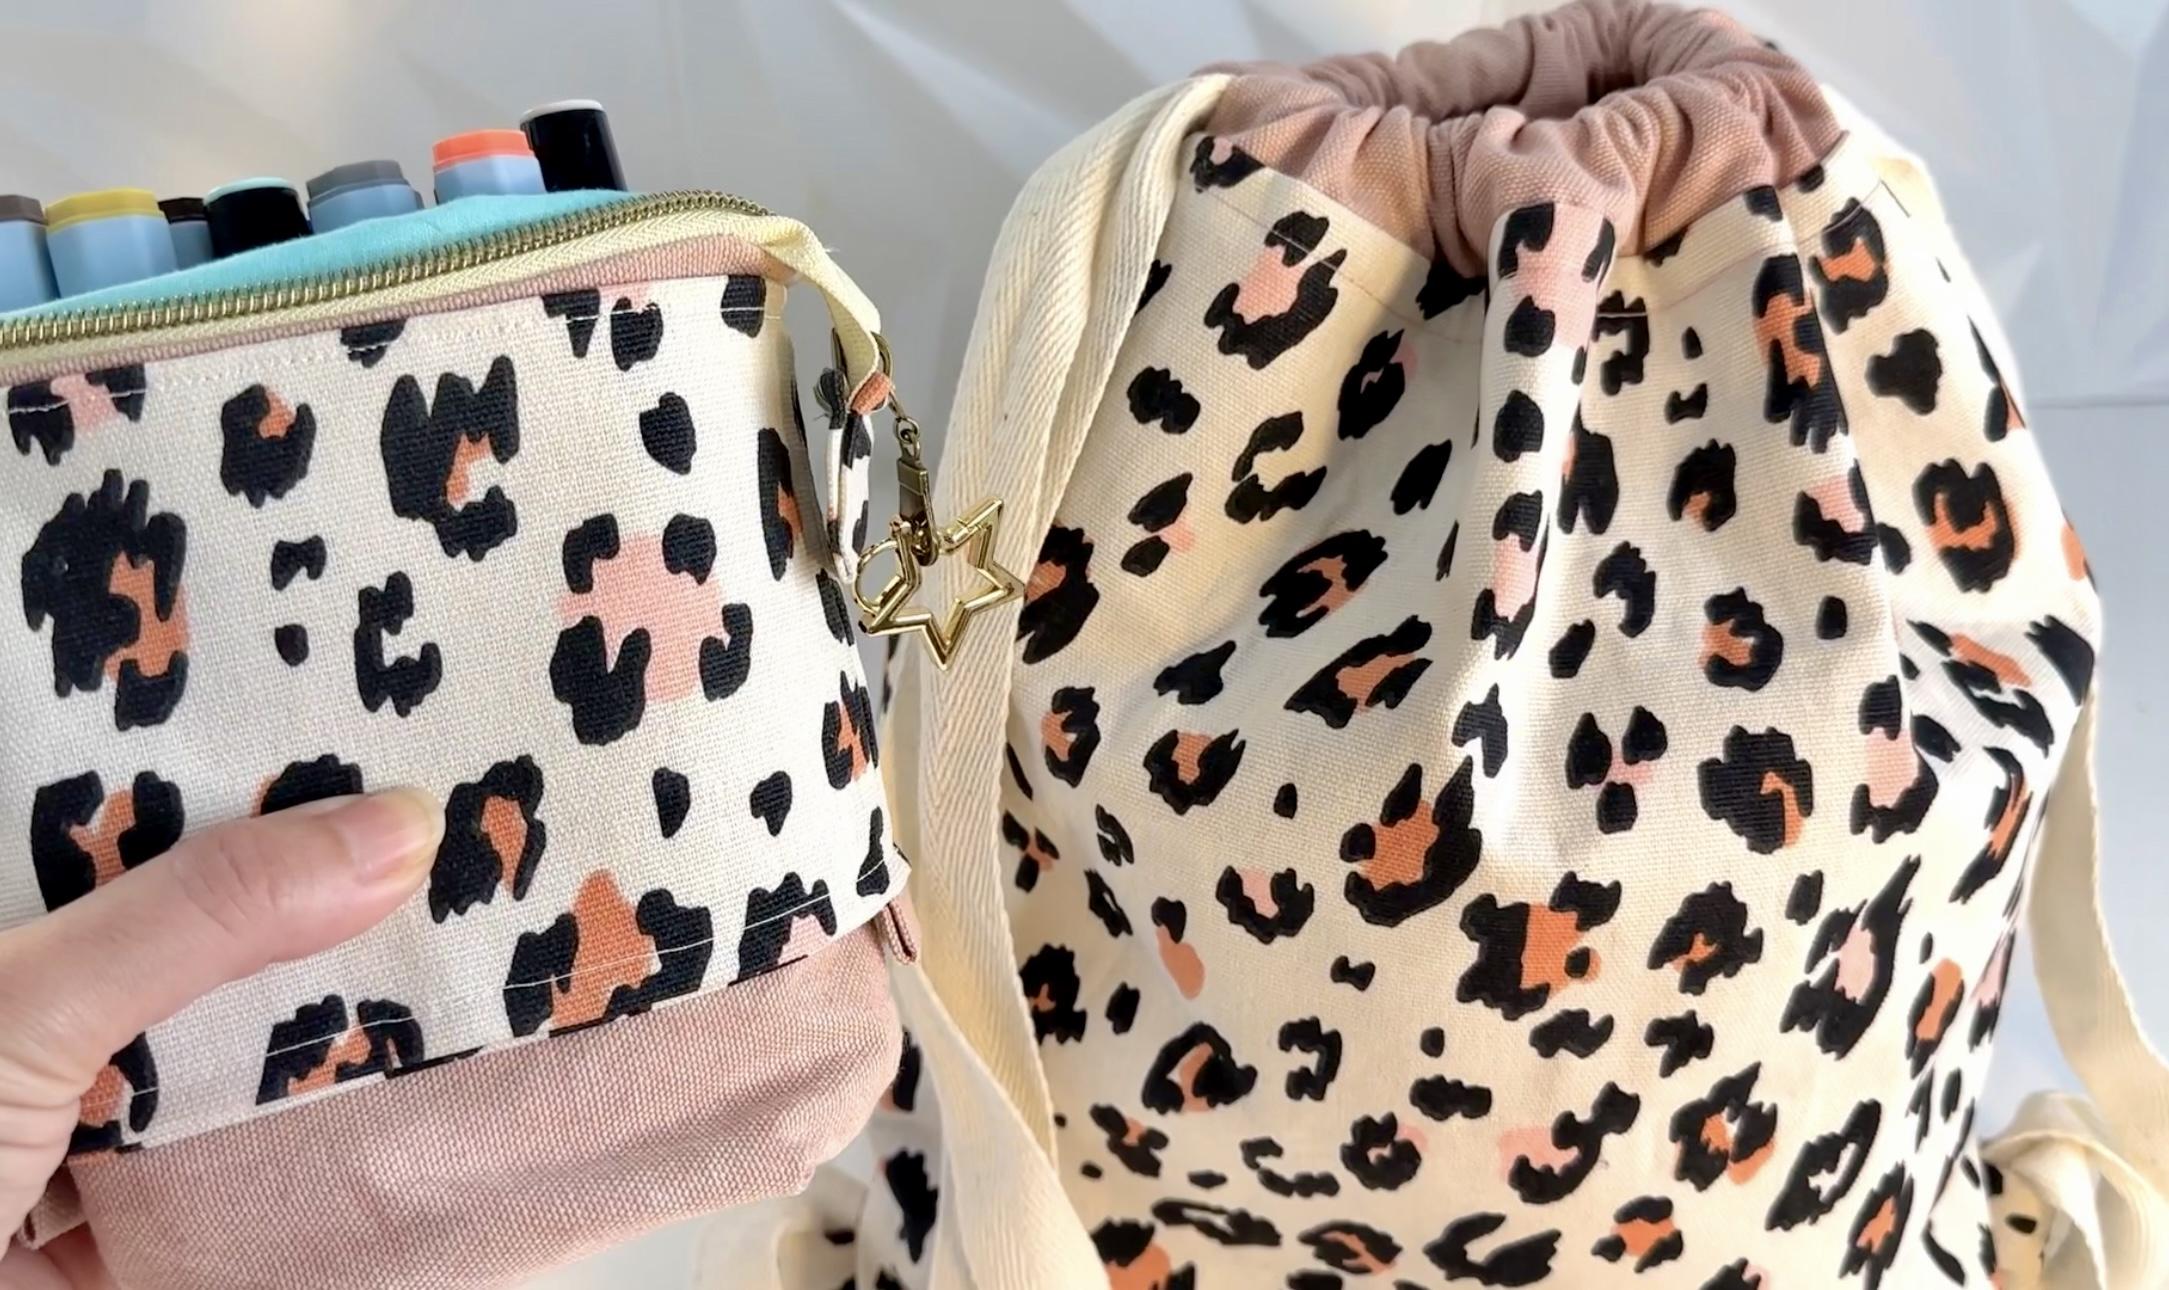
it all in my studio. I also sewed the draw stream backpack
that goes along with it. Look how cute the set goes. I really, really love
combining the pouches. This is, the pop up pouch is a different class or like
a standard pencil pouch. Super fun to make it a combo.
 Luciana Caballero, designer+architect +creator +teacher