Sew a Tote Bag - FREE SEWING PATTERN INCLUDED | Tammy Johal | Skillshare

Playback Speed


1.0x


  • 0.5x
  • 0.75x
  • 1x (Normal)
  • 1.25x
  • 1.5x
  • 1.75x
  • 2x

Sew a Tote Bag - FREE SEWING PATTERN INCLUDED

teacher avatar Tammy Johal, Self taught sewist & pattern designer

Watch this class and thousands more

Get unlimited access to every class
Taught by industry leaders & working professionals
Topics include illustration, design, photography, and more

Watch this class and thousands more

Get unlimited access to every class
Taught by industry leaders & working professionals
Topics include illustration, design, photography, and more

Lessons in This Class

    • 1.

      Introduction

      0:18

    • 2.

      Sewing The Bag

      4:41

    • 3.

      Sewing and attaching the straps

      6:15

  • --
  • Beginner level
  • Intermediate level
  • Advanced level
  • All levels

Community Generated

The level is determined by a majority opinion of students who have reviewed this class. The teacher's recommendation is shown until at least 5 student responses are collected.

744

Students

3

Projects

About This Class

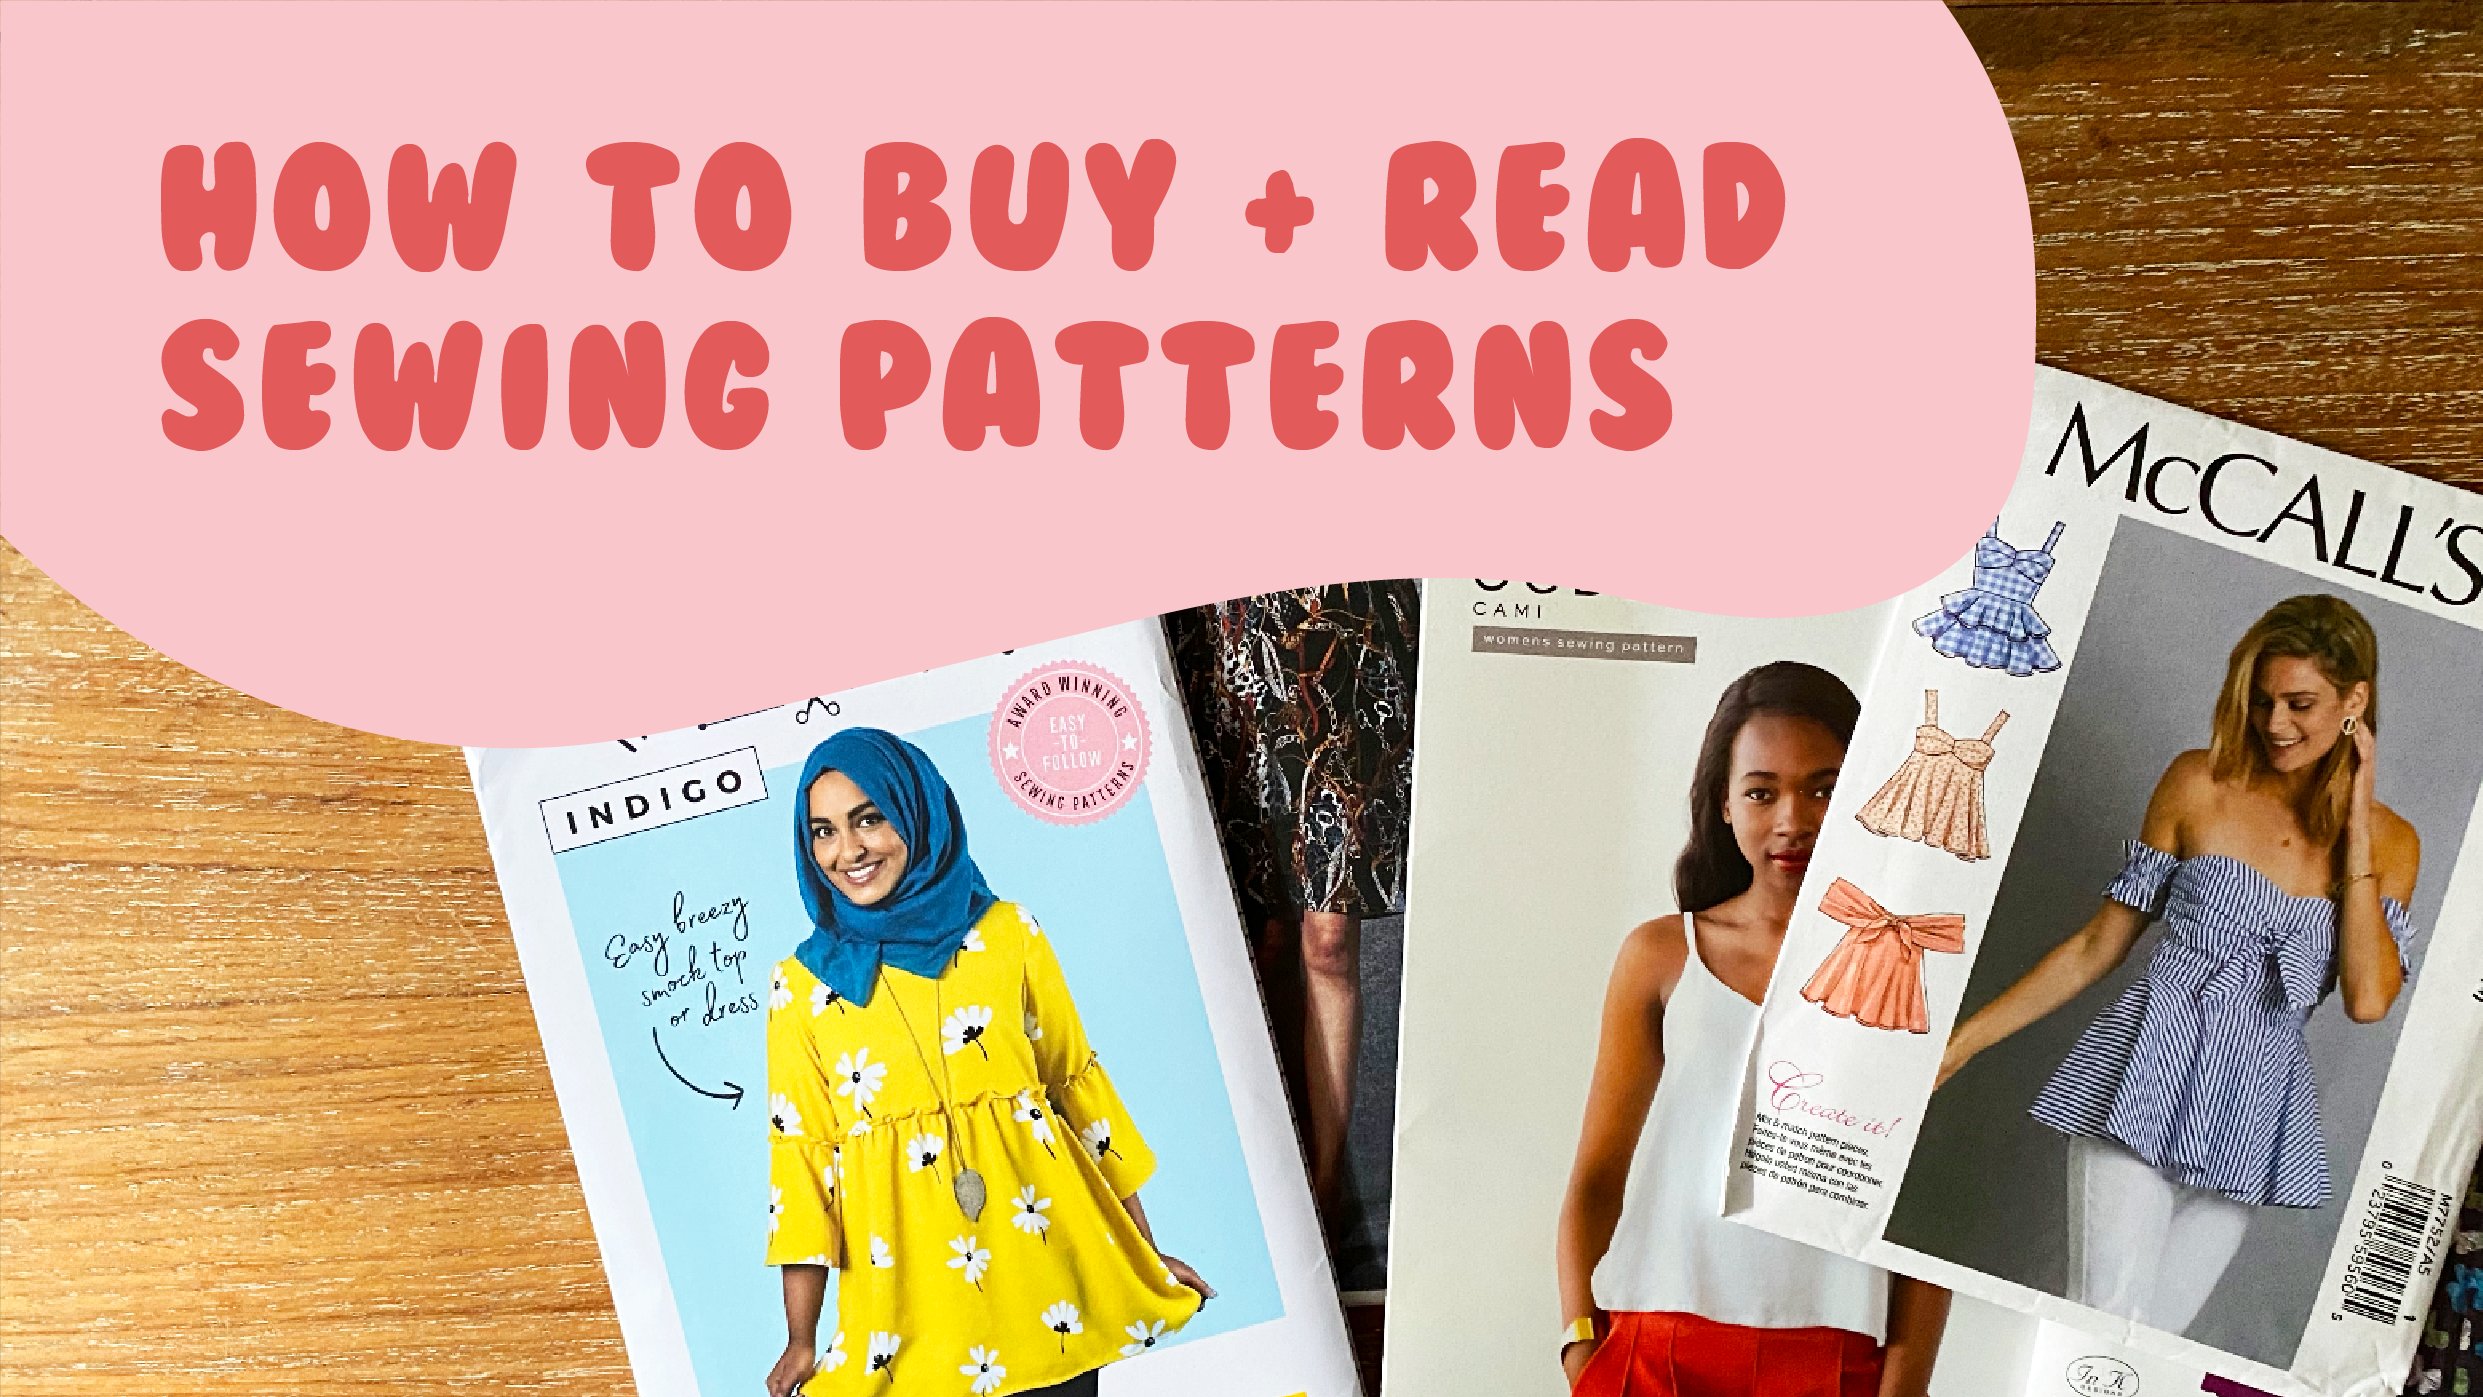
Hi I'm Tammy and welcome to this class on how to sew a tote bag. This tutorial is beginner friendly and teaches you, step by step, how to sew this stylish two-tone tote bag. Download the pattern for free in the resources pack, along with the written instructions.

I can't wait to see how your tote bags turn out! Feel free to share them in the project section :) 


Find more of my sewing patterns over on my Etsy shop https://www.etsy.com/uk/shop/TammyHandmadeStudio

Meet Your Teacher

Teacher Profile Image

Tammy Johal

Self taught sewist & pattern designer

Teacher

Hi! I’m Tammy, I’m a self-taught sewist and I teach sewing classes here on Skillshare. Sewing has given me the confidence to be bolder with my clothing and has given me the skills to learn how to create a handmade wardrobe that I truly love. I also work full time as a graphic designer, I hope to inspire others to start making their own clothes and to show how fun and rewarding handmade clothes can be! 

My Instagram: Tammy.Handmade

My Etsy Shop: https://www.etsy.com/uk/shop/TammyHandmadeStudio

See full profile

Level: Beginner

Class Ratings

Expectations Met?
    Exceeded!
  • 0%
  • Yes
  • 0%
  • Somewhat
  • 0%
  • Not really
  • 0%

Why Join Skillshare?

Take award-winning Skillshare Original Classes

Each class has short lessons, hands-on projects

Your membership supports Skillshare teachers

Learn From Anywhere

Take classes on the go with the Skillshare app. Stream or download to watch on the plane, the subway, or wherever you learn best.

Transcripts

1. Introduction: In this tutorial, I'll be showing you how to create a stylish and one tote bag is in a the pattern. This specific bag uses a color blocking technique and also comes the simple tote bag version. You can download this pattern for free in the resources pack. 2. Sewing The Bag: You need two contrasting fabrics that are medium weight. For this project. I've chosen these two quarters linens and a rust and Navy Callaway. The fabric has a really nice handle and the color is really vibrant. So I've already cut out the pattern pieces for this project. This is the top section of the bag, and I've marked the notches by cutting into them. You'll need to cut out two pieces for this section. Here other straps, the bag and unions are cut out two pieces. I actually ended up choosing the rust colored fabric for the straps, not these blue ones, as I felt, they would create a nicer effect. For the bottom of the bag. Your knees cross out one piece on the phone, a mock the notches. I really love the combination of the rest of the Navy because it was really stylish and more than. So let's get started with this project. The first thing you want to do is take the Boston Bar piece and flatten it out. Then with right sides together, take the top bar geese and place it on top, matching the notches. Pen across the edge. Let the bad ground and do the same thing for the other edge. We will say across both edges using a half inch seam allowance. Yeah. Once you finish the scenes of an overload, thinking shares or as exact steps to prevent the fabric frame. Press the finished things. So this is what the bag looks like from the wrong side. Now we will put the right side of the back together and penance. So the side seeds is an a half an inch seam allowance. Finish the seams and practice. This is what the bad luck psych. After the side seams are finished, you can see the bottom of the bag has no seam and is instead coded. 3. Sewing and attaching the straps: Next we will create the straps. I've already pressed and voted one of the straps as an example. But what we will do is take this chaps, put the wrong side facing up and press the top and bottom edge in by half an inch. This should look like this one's pressed. Now we're going to fold the strap and half and press again along the whole strap. This should hide the raw edges of the straps. Search along the length close to the edge to create a neat and clean Finish. This is how the straps look one stitched. As you can see, they lie nice and flat and look really clean because there are no more edges. Now we will take the bag and along the whole top edge, we are going to fall to the right side, towards the wrong side by one-inch. Press and a vote again by another rich and press in place. This is what the balance sheet that collect after it's been pressed. As you can see, the linen really holds its shape so it makes it much easier to handle. Now we're going to stitch along the top, securing the head. The top of the bag is now nice and clean and there should be no more edges visible. So connect the straps we just made. We're going to measure three inches from the side scenes. Play. So straps from one end to the other. Evil wanted to talk. The raw edge underwent Penning traps and face. Hey, I'm working with one step at a time as this can be a little tricky. When selling this track and place, you want to sell books at each end. To sell a box, start at one end and pivot the needle when reaching a corner. Then once all four corners assigned pivot needle again. And so a line through the middle. This will make us drops very robust and carrying heavier items. So this is how it looks after one has been siren. Now you want to connect the other end three inches from the side seem to the exact same step for the other side of the bag. Straps are in place and attached a for really strong that can be sold a box. The last step, what we're going to do is with the front sides facing out of the bag and push your hand through to the bottom. Area out. Take a measuring tape and create a triangle by marking 1.5 inches down from the tip. We're going to sew along the bottom of the triangle. You want to repeat this on the other side. And this will create a study, a more structured water. Gets her bag inside out and give it a good press. Now you have obese for new back. I hope you enjoyed this class. You can find more of my passions over on my Etsy shop, which is linked in the description box. And if you're looking for more sewing videos, check out my other Scotia classes.