Transcripts
1. Welcome to the class!: Hi and welcome. Did you know that
more than 95% of new products tend to fail within the first couple of
years after their lunch. It's quite shocking, write
this number comes from a study conducted by the renowned Harvard Business
School professor Clayton Christensen. But no need to panic just yet. There's a way to increase
your chances of success. And it's truly use
of service design to define the product features
that you customers want. Defining those features is a sub-component of the
product strategy creation. Service design offers
a framework that will guide us through the creation
process of these features. In essence, the service
design framework is composed to seven
or eight activities, depending on the framework used, which will be covered in
detail in the coming lectures. First, there's the user
research activity, followed by the problem
statement Activity. Then we have the Ideation, the Prototyping, and
a Testing Activity. After that, there's a
prioritization Activity which implementation
to close it all off. So if you're a product
manager in markets here, a product to or a consultant in charge of creating or
managing the new product, then don't go anywhere. This course has everything
you need in order to deliver a product that meets and exceeds your customers
expectations. My name is Thibault Dubois
and I'm a manager in one of the largest consulting
companies in the world. I mean, activities as a
consultant consist of advising and guiding businesses throughout their
digital transformation. My professional career, I had the pleasure to work
with product managers, product owners, marketeers in creating exciting and
offerings for their customers. But now that's enough for me. And it's your turn to act. If you feel that this course
is something for you, Dan hop on board, and if
not, maybe next time. In any case, I wish you a wonderful and educational day
and I hope to see you soon. Bye
2. Introduction: Service Design is a mindset A2, and a set of core activities. These activities
can be grouped as User Research,
Problem definition, solution Ideation, prototyping, testing,
and implementing. The remainder of this chapter, we will focus primarily
on these activities. You can execute these activities in a sequence like process. There are eight steps and total. First, you start with researching the user
so that you have a crystal clear understanding of the pain points
and frustrations. Second, you, once you have a clear
understanding of the problem, you need to define a problem statement that
needs to be solved. The third step is
that you need to ID, ideate around this
problem statement and come up with a
short-list of solutions. First step, you create prototypes that can be
tested with actual users. In the fifth step, you will
actually test your prototype with users and
collector feedback. It's important that you iterate on the feedback
that you receive and create new prototypes and test again with that
feedback incorporated. Then in the sixth step, you will actually go ahead
and implement your MVP in a real-world environment
with actual users. This is often called the
Proof of Concept, or POC, will most probably attract the early adopters that are
interested in your products. It is actually the better
version of your product. This is a pretty
standard approach, but know that it's allowed to
deviate from this process. In fact, the process is
meant to be followed in an iterative way
where you go back and forth between the
different activities. It's perfectly fine to jump from the Prototyping Step back to the Research
tab, for instance. This is likely to happen
as you discover more user needs during your
Prototyping Activity. And that you will
want to further understand those needs back in your user research
and vice-versa. So my advice would
be to approach this as a guide that
you can follow loosely. What's important is that
you adapt this process to your specific needs
and that you also go through all the
steps at some point. As mentioned, we will
do a deep dive on each of these core activities
in the upcoming lectures. The first one being
the user research. I hope to see you there. Bye
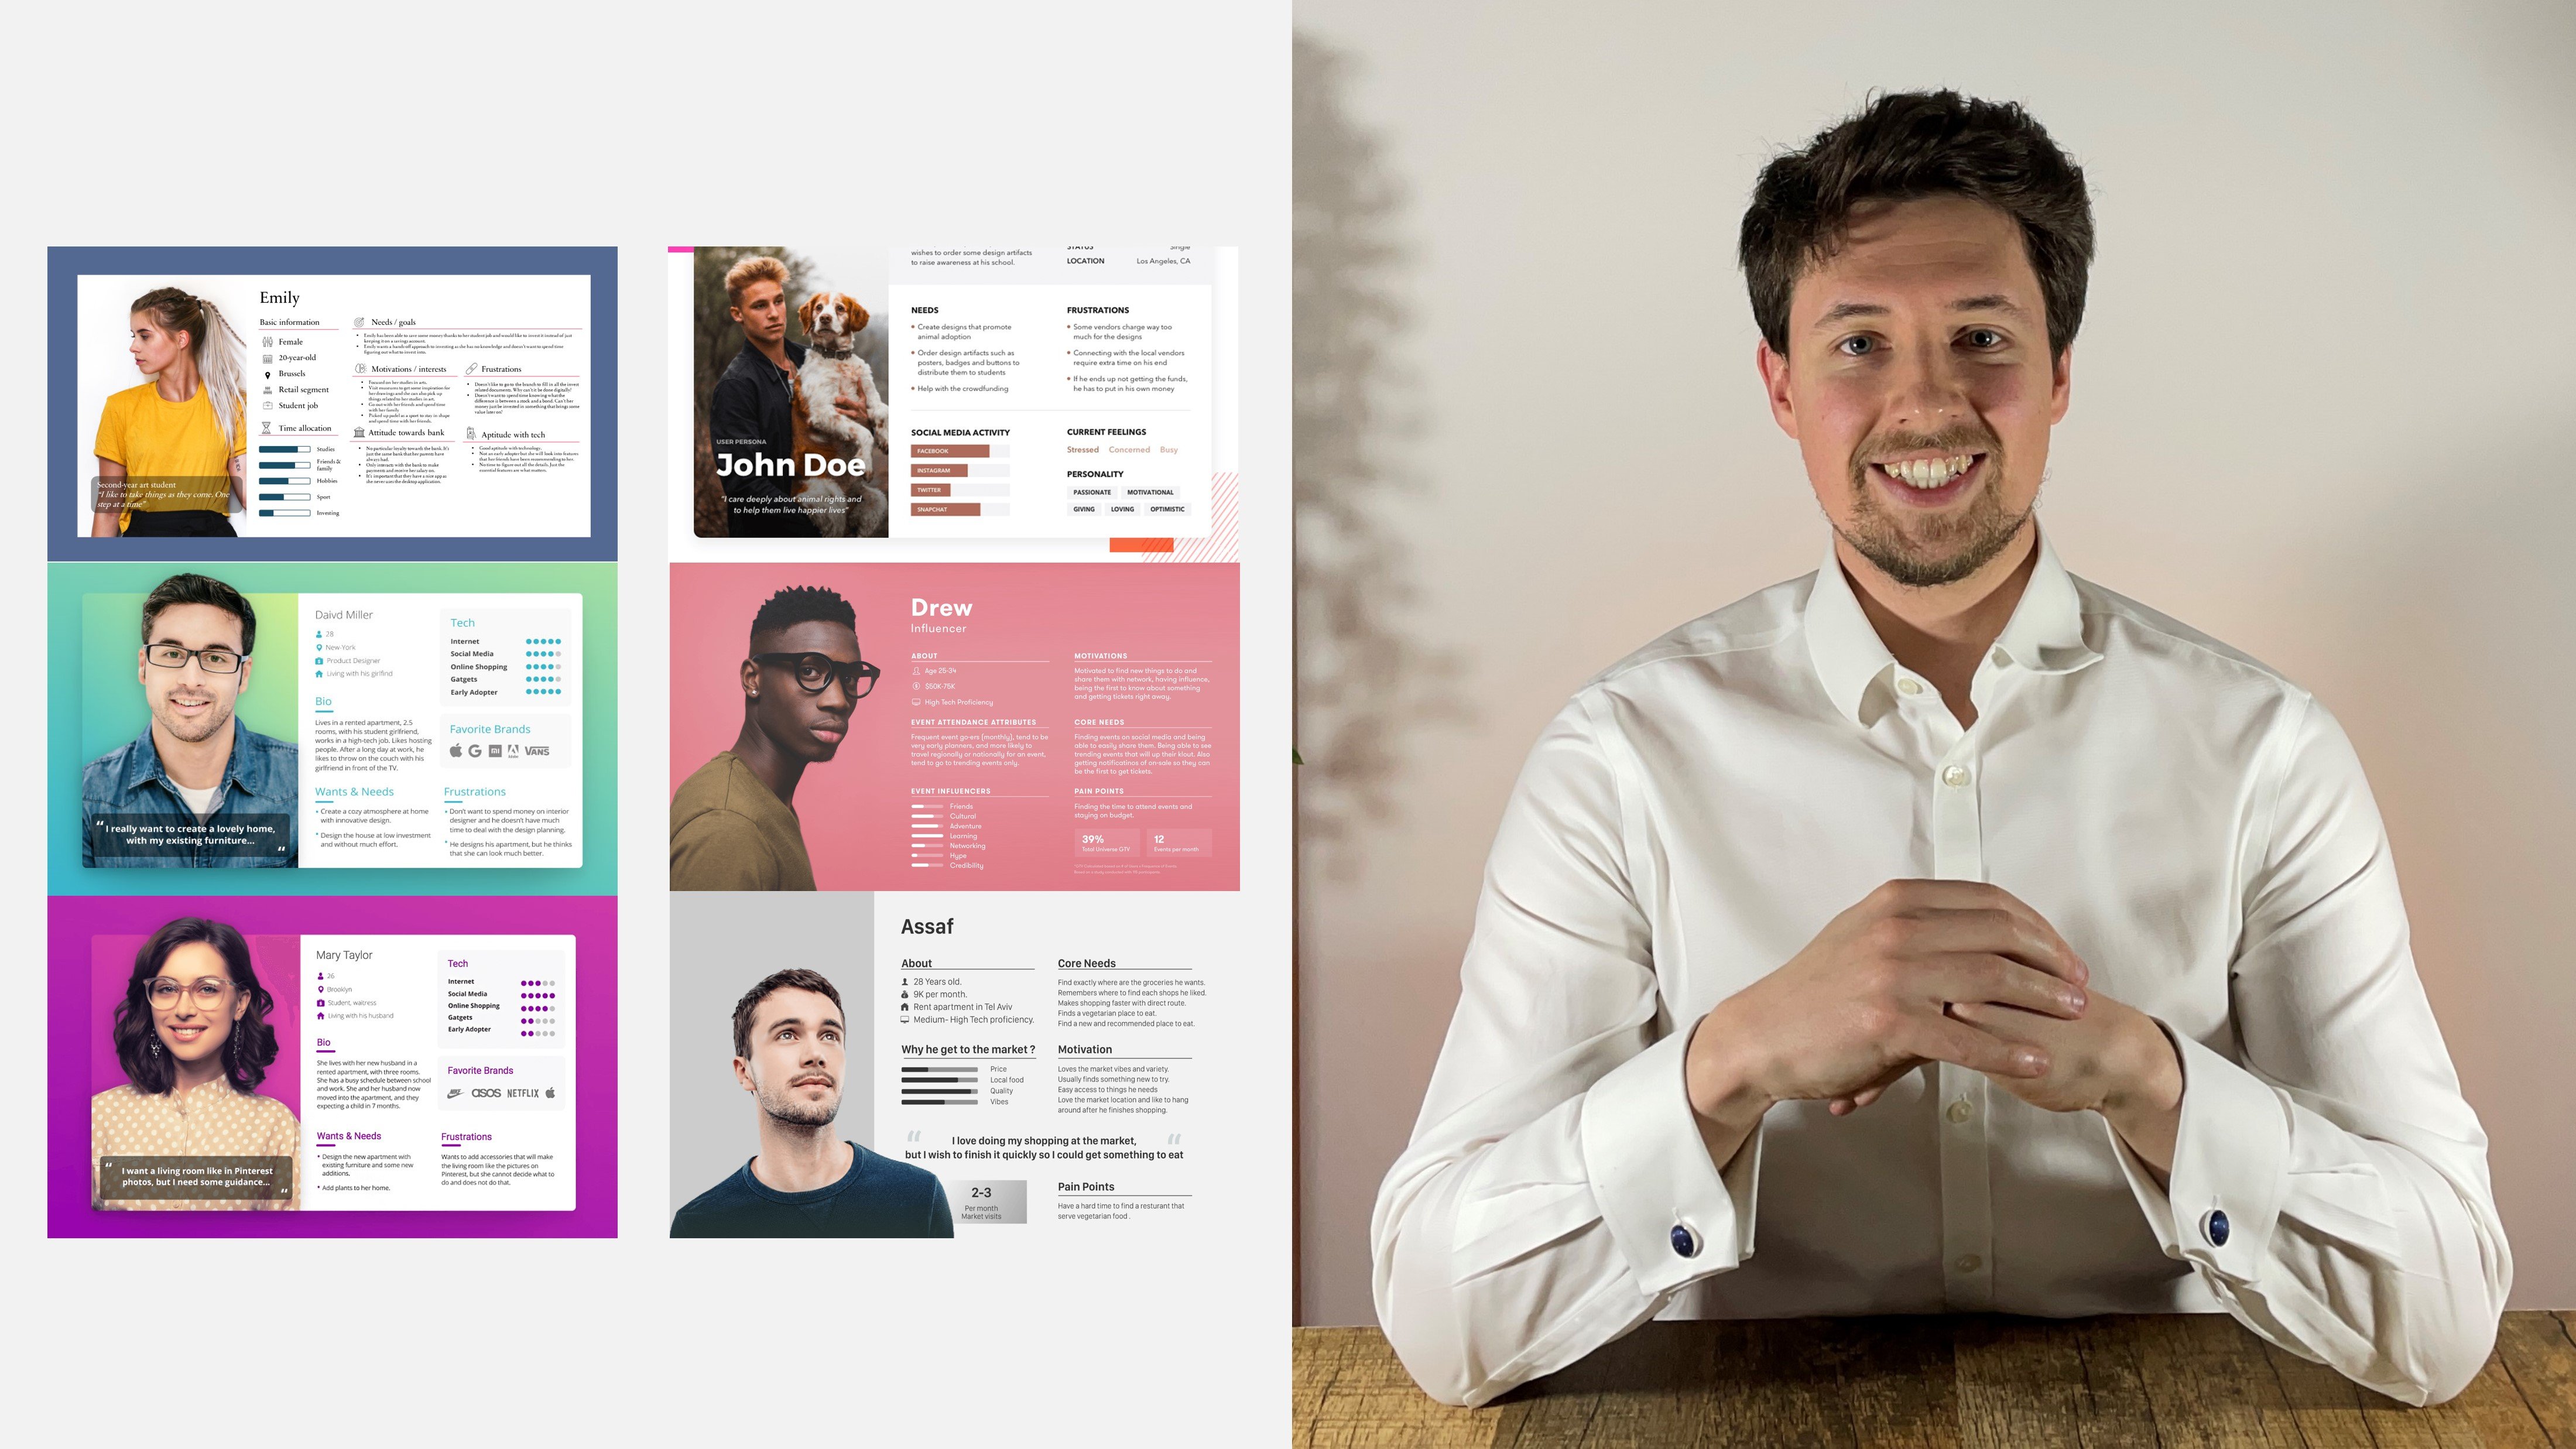
3. SD Activity 1 - User Research: Hi and welcome to the
user research activity. User research is the process of gathering information about people and their behavior in relation to his
service or product, whether physical or
digital offering. The goal here is to
build empathy with our users and gain and genuine understanding of
their practices, their routines, and
their frustrations. Normally, you
already should have a lot of data regarding users thanks to the customer
analysis lecture and the value proposition
canvas lecture, this lecture will focus
more on how you can gain a deeper understanding of
your customer using empathy. A technique like user
empathy will allow us to immerse ourselves into the context of our
potential users. That way we can truly
understand them and create laser-focused
features that provide an answer to their specific
problems that they're facing. More concretely,
you want to gather information on
three key aspects. First, you want to have a general understanding
of your user, who they are, what
their profession is, their demographics, etc. you want to have a basic
idea of your target group. Again, don't hesitate to reuse the information that
you already collected. Next, you want to gather
information on the situation. So in other words, you want to understand the users activities, how to execute those
activities today, what's going well, and
what's frustrating them? And finally, you
want to know what the ideal solution would
look like for your users. You're basically asking them how they would solve the
problem they're facing. Also, what's stopping
them from doing so? Collecting those three sources
of information is key, but how should you go about it? Well, we're going
to collect them using a technique
called empathy. This is however, easier
said than done at some given to everybody to develop
empathy for a customer, to be able to put
yourself in the shoes, their work environment,
how they feel, the frustrations
that they're phase. Developing empathy
takes time and practice to make our
lives a little easier, I will go over a
four-step approach that will enable you to be, to build empathy more easily
for your target group. These steps, our discovery, immersion, connection
and detachment. During the discovery step, you will enter the user's world, make contact with them,
and trigger curiosity. This will help you to get into the right mindset to
understand your user. The next step is immersion. In this step you
wonder around in the user swirled to
collect qualitative data. You are literally
shadowing a user or doing their tasks yourself. Experiencing something yourself
is way more powerful and informative than
just listening to someone telling you
how they do it. Next is the connection step. You in the connection step you will resonate with the user and recall the experiences to
connect and create meaning. This step may occur naturally
while collecting the data. So basically you will
explain what you experienced and how
that experience, how did you feel
that experience? It's important to get a
validation from the user to make sure you had to write experience to base
your cell phone. And finally, there's
the detachment step. You will take a step back into the role of the
product manager, designer, and reflect
and create IDs. While it may seem
sufficient to get the empathic insights by
following the previous steps, you need to look at
your subjective data with a service design
or product manager. I tried to translate
those empathic, empathic experiences
into concrete features. Again, you should repeat
this exercise for all the customer segments that you want to target
with your product. Let's now explore a practical
example where we will apply empathy to employees working at the self-service food court. The goal is to ultimately create a new and more efficient
workflow for them. In the first step,
the discovery step, you will start by
walking around, be behind the scenes, and observe the
employees in action. This approach will help you to understand the challenges
that they're facing, the iris they put in and the limited space to
have to move around. The step is critical in
triggering your designers or product managers curiosity and gaining insights into
an existing workflow. In step two, the emergent step, you will immerse
yourself into food core team by participating
in their daily routines, engage with the employees
during coffee breaks, take pictures of things
that stand out a few to you and experience their
contexts from their perspective. This step allows
you to see things to the user's point
of view and it may reveal opportunities for improvement that you would
have missed otherwise. The third step, the
connection step. During your immersion,
you will find out how the employees are
affected by the issue such as lack of
communication about changing menus and
special offers. And this can cause frustrations and the feeling of helplessness, which you may be able to relate to from your
own experience. This step allows you
to develop empathic, empathic insights and help you design better solutions
for the employees. And the final step,
the detachment, you will use the informal
communication channels that the team already users to create solutions
that will give them a stronger
feeling of control. This could include implementing better communication systems to inform employees of
the changes in the menu, or providing additional training to help them feel more
confident in their role. By staying detached from your
own biases and assumptions, you can develop solutions that address the real needs
of the employees. I hope this example makes
things a little bit more clear. There are still a
couple of tips and tricks that I wanted to give you before we
finished the lecture. First and foremost,
is that you need to set aside your own assumptions. This one, do you any good when
empathizing with the user? So really start from
a blank page here. Next is to see everything
through the eyes of a beginner. This little trick will
help you to approach users twitter mindset
that's free of assumptions. It's your free pass to
asking stupid questions. There'll be surprised by
the workarounds that people developed over the
years in response to inefficiencies in
the current process, D should be addressed in
new processes or workflow. I can only sometimes
only be uncovered by asking stupid questions like, why do you do the
process like this? It's also always good
to ask why questions, why something done that way. Don't just accept the
status quo and try to understand the rationale
behind something. Be critical. Tried to document your user research through audio recording,
filming, or pictures. That way you're sure that to always access to
objective information. And the final tip is
to try and identify extreme users and have
interviews with them. These users are not
our target group, that they make certain aspects
of the problem very clear which normal users might perhaps not identify
as a big issue, but it's still frustrating them. There you have it.
In the next lecture, we will take a look at the next activity which is defining our
problem statement. I hope to see you there. Bye
4. SD Activity 2 - Define: Hi, and welcome to
the defined activity. During this activity, you will be centralizing, analyzing, and synthesizing the information gathered during the
user research activity. In order to define a
problem statement, a good problem
statement will help product managers
and your team to create great ideas and
establish features, functions, and other
elements that will allow to solve the
right problem. Now, what makes a problem
statement a good one? It problem statement
has the advantage to guide you and your team and
solving the right problem. And it provides a focus on the specific needs that
you have and covered. A well-crafted
problem statement has several key characteristics
that you should keep in mind. Let's break them down one by one to make it easier
to understand. Firstly, a good
problem statement should be human-centered. This means that you should frame your problem statement according to the specific users
you are targeting, their needs and the
insights that your team has gained during the
research phase as well. By focusing on the people
who will be affected by the problem you
are trying to solve. You will be able to develop a solution that is more
effective and meaningful. Secondly, the problem
statements should be broad enough to allow
for creative freedom. You don't want to
focus too narrowly on a specific methods for
implementing the solution. As this would limit your
team's ability to explore new areas that could bring unexpected value and
insight to the project. Avoid listing
technical requirements as this can be
unnecessarily restrictive. Thirdly, the promise
statements should be narrow enough to
make it manageable. A statement that is too broad, like improve the human
condition can be overwhelming and cast team
members to feel daunted. To avoid this, you
should provide sufficient constraints to
make the project manageable. Finally, your problem statements should be actionable
and start with a verb such as create,
define, adapt, etc. This makes the problem more
action-oriented and helps to focus your team on what needs
to be done to solve it. By keeping these
characteristics in mind when crafting your
problem statement, you can develop a clear and focused and
actionable problem statement that will set your team
on the right path. Let's go over a bed and a good example, going with the bad one. First, we need to increase our food product market share among young teenagers
by five per cent. This is a bad example because it doesn't take the box
of human-centered. It centered around
the objective that the company needs to
reach, not the user. Now, let's take a look
at a good example. Teenagers need to eat nutritious
food in order to thrive, to be healthy and grow. With this problem statement, we take all the boxes, it's focused on the user. It's broad enough to allow for creativity and narrow enough
to make it manageable, and it's actionable as well. What are some of the tips
and tricks that you can use to help define an activity, to help you during
the define activity. First half, we have
the information space. This is a place where
all the data from the research phase is
gathered and analysed. It's important to put it
all together so that you may identify certain
things and patterns. This could be ultimately,
this could ultimately lead you to a problem statement
that you want to solve. Next step, we have empathy maps. These types of maps give you a 360-degree view
about the user. It gives you information on what a user set that
thought and felt. It helps you to detect the pain points and other
things that are hidden. And the final tip I
can give you is to use how might we questions. These type of questions
can be used to spark creative
ideation sessions. For example, you've
observed that the youth of today is not really watching
TV programs on TV anymore. One questions which can guide you in your
ideation session. It could be, how
might we make TV more special so that youth
feels more engaged? So that was the
defined activity. In the next lecture,
we will have a look at the ideation activity. I
hope to see you there. Bye
5. SD Activity 3 - Ideation: Hi, and welcome to the
Ideation Activity. During this activity,
the goal is to generate as many
ideas as possible, true creative and
curious activities, such as brainstorms, worst possible ID
techniques, etcetera. The benefits of doing
Ideation are numerous. It helps to go beyond
the obvious solutions and therefore increase the innovation potential
of your solution. It allows for team members to co-create and build further
on each other's ideas. It enables to visualize
a specific problem from different perspectives
and uncover unexpected areas of innovation. And it helps to get
obvious solutions out of your hats and drive
your team beyond them. To be more creative. There are many
techniques that you can, you can use to help
your team ideate. We already mentioned brainstorms
and worst possible ID, but there are many more. Here's a small
non-exhaustive list. Brain, the brain,
right? Brain Walk. Challenge assumptions, scamper, mind-map or Sketch or
sketch storms, storyboard, analogies, provocation,
cheats, storm, crowd storms, Prototyping,
co-creative workshops, etc. it's important to
understand that generating IDs is just the beginning
of the process. When service design. To make the most of your IDEs, you will need to approach them systematically
and strategically. While there are many techniques
to for generating IDs, you won't be able to cover
all of them in this lecture. However, I encourage you to
explore them on your own if you ever need to facilitate
an ideation session. Once you've generated
a quantity of ideas, it's time to start
with finding them. You'll need to
systematically mix, recombine cold steel
and evolve or park your eddies until
you've arrived at the best possible outcomes. Keep in mind that's a real value of your IDs often lies and the outcomes that they produce rather than the
ideas themselves. To make the rest of your IDs, it's important to have
a way of collecting, categorizing, re-finding, and narrowing them
down to a short-list. This will help you to select the best ideas to
move forward with. By using these methods
to refine your ideas, you can ensure
that you're making most of your ideation
sessions and produce the best
possible outcomes for your service design
and creation projects. Boosted voting or dot voting, four categories, bingo
selections, ID affinity maps. Now how matrix Six Thinking Hats of validation boards
and ID selection criteria. Personally, I often
use dot voting. You basically give
every participant three votes and they have to choose which IDs
they liked the most. The IDs with the most votes will make it to the next round. So that's it for the
ideation session. In the next lecture, we'll be talking
about Prototyping. I see you there. Bye-bye.
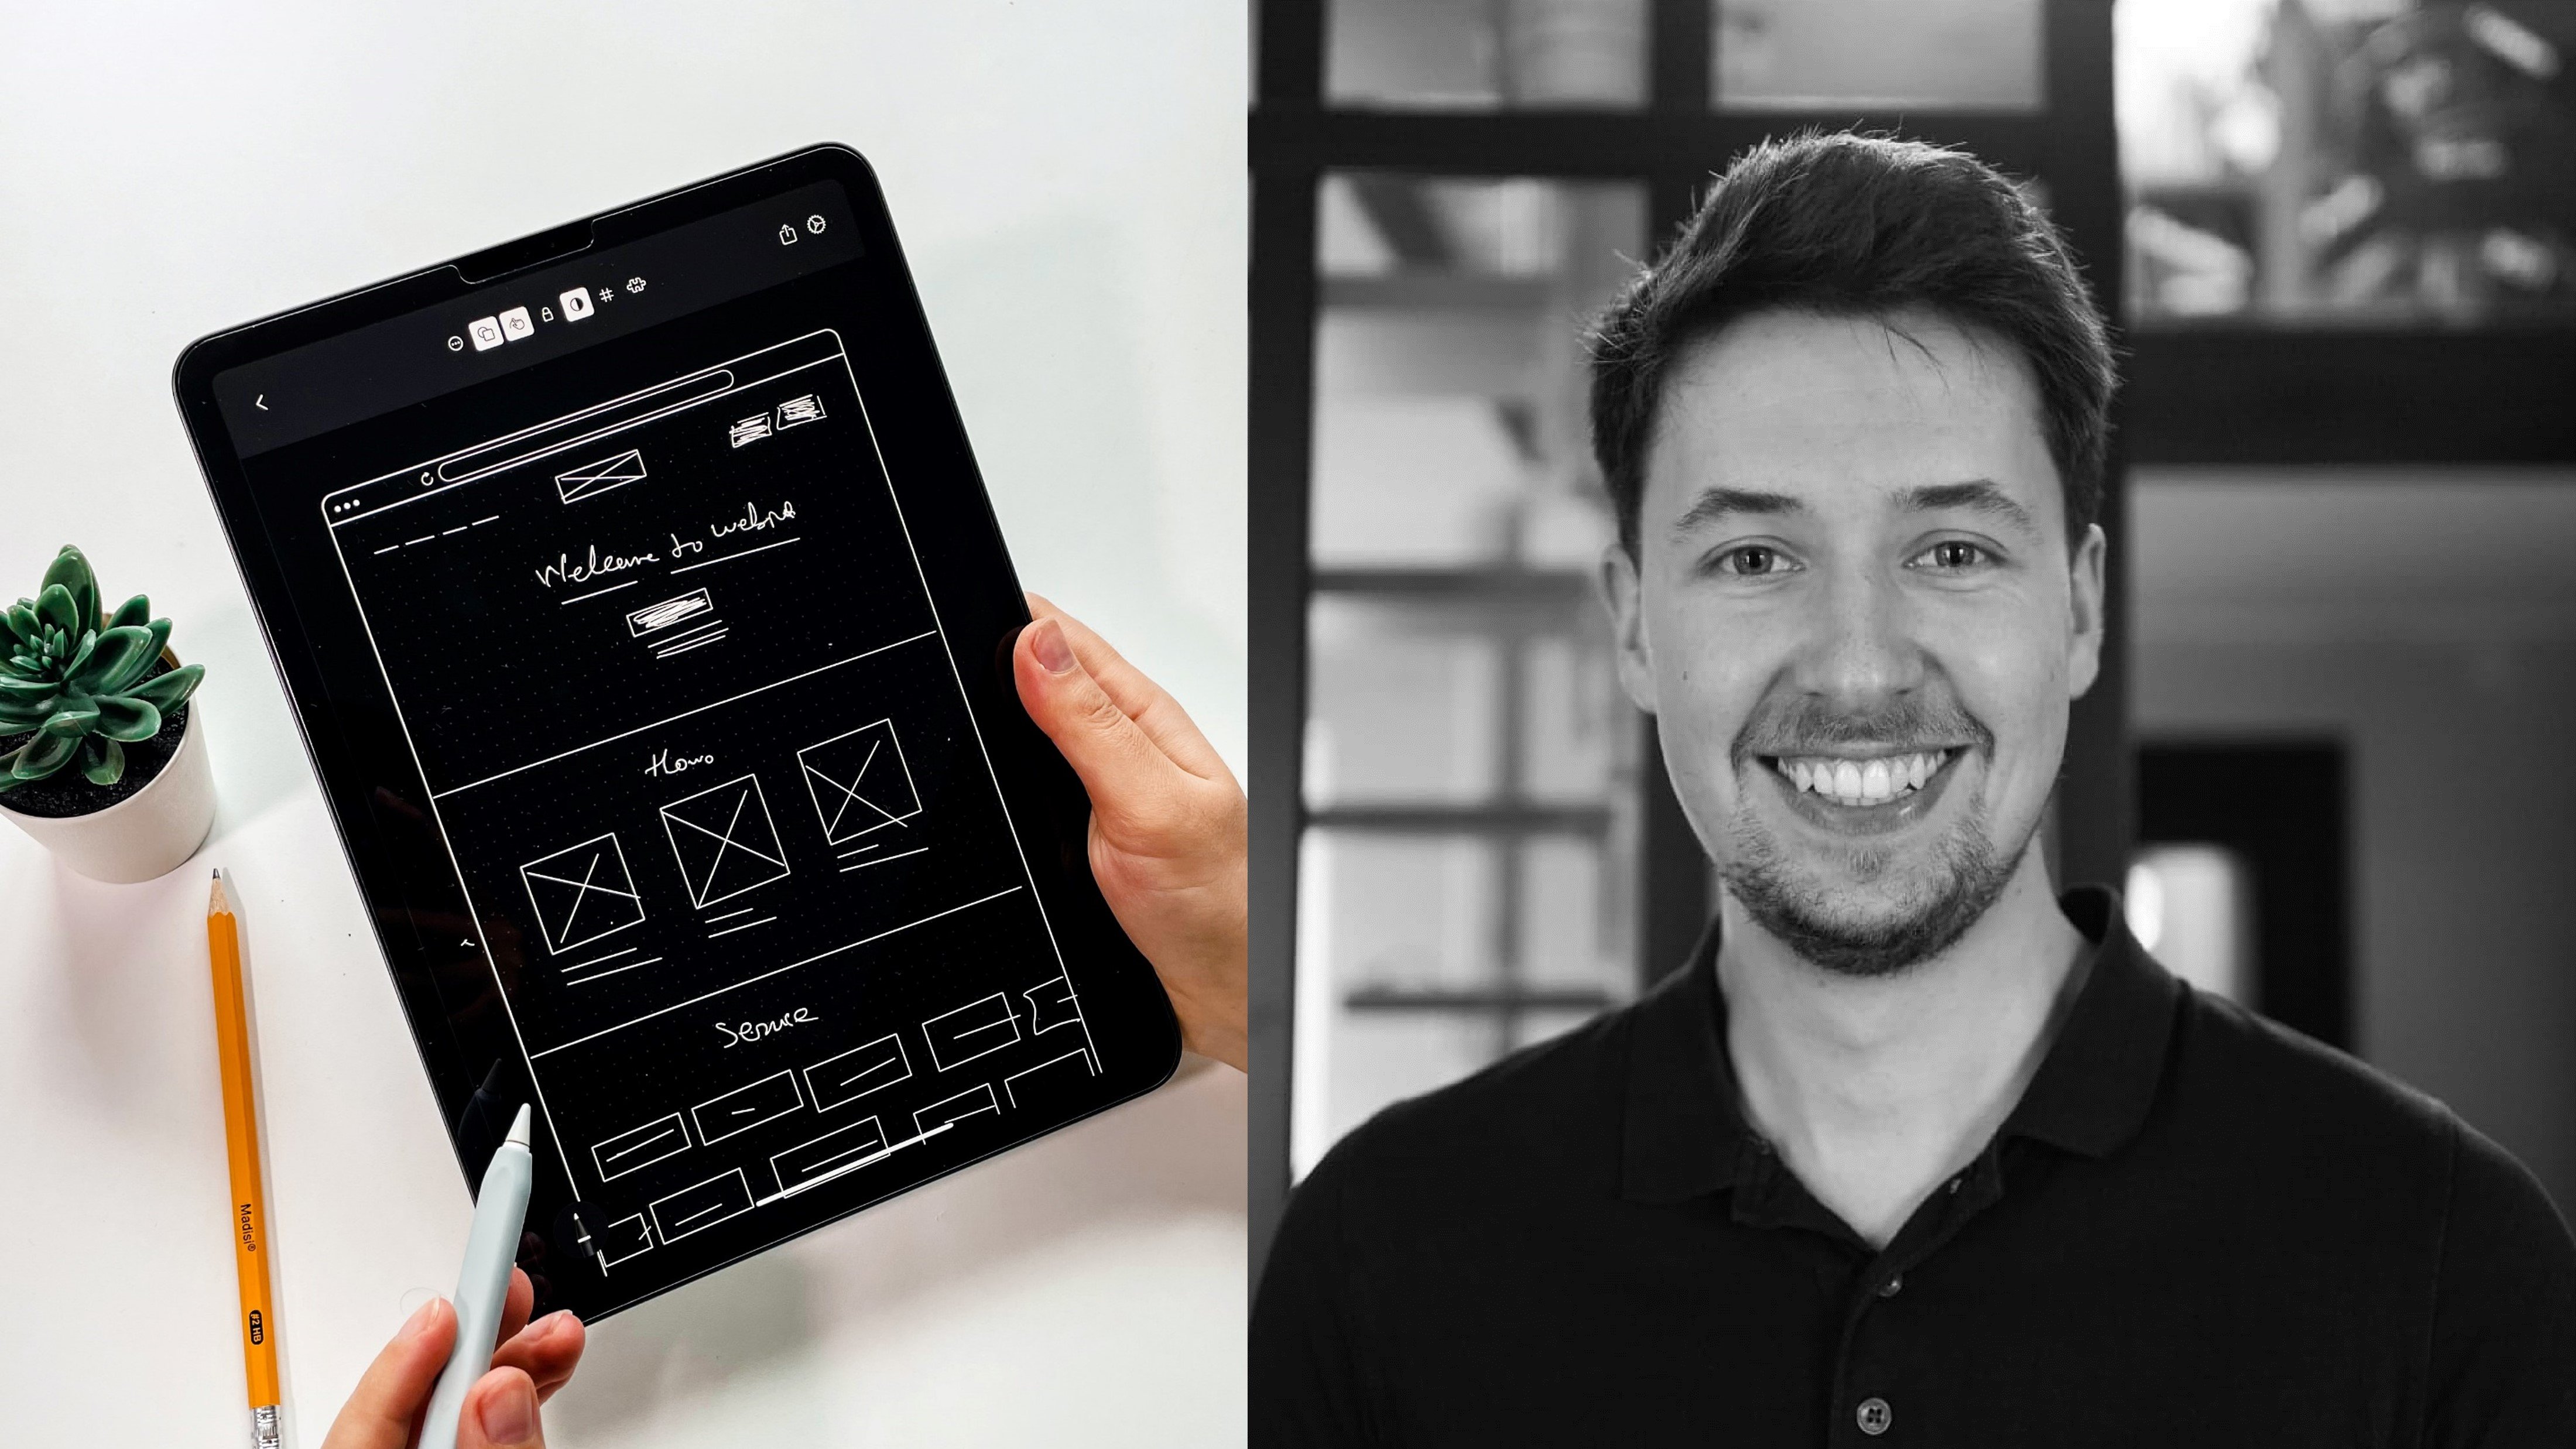
6. SD Activity 4 - Prototyping: Hi, and welcome to this lecture on the
Prototyping Activity. So let's first kick off by understanding what
a prototype is. It prototype is a
preliminary model or version of a
product, service, or system that is used
to test and validate it's designed before the
final version has developed. It can be physical or
digital representation of the final product or service. I can range from low
fidelity to high fidelity. Three main types of prototypes. You have low, medium, and high fidelity prototypes. Low-fidelity
prototypes are simple and inexpensive to create and are typically used to test basic design concepts
and usability. They can include sketches, paper-based models, or
simply digital wireframes. Medium fidelity prototypes are more details than their
lower counterparts and often include
interactive elements such as clickable buttons
are basic animations. They are useful for testing more complex and certain
functionalities. Then you have the high
fidelity prototypes. They are the closest
representation to the final product and often
includes detailed graphics, realistic animations, and
interactive elements. They are typically used
to test usability, end-user experience
of the final product before it is actually developed. To develop a prototype, you should first define the objectives and
scope of the prototype, which involves determined at determining what do
you want to achieve, what the prototype and what features or functionality
is you should include. Once this is done,
you can choose the type of prototype
that best suits your needs based on the stage of the design process and of
course, of the project. Next, you need to create a
design plan for the prototype, including the layout,
content, and interactions. Use design software or tools
to develop the prototype, taking into account to choose any type of prototype
and the design plan. After the prototype
is developed, thus than evaluated
with actual users or internal stakeholders
to evaluate its usability and effectiveness
and overall design. Gather feedback
and use it to make any necessary revisions
to your prototype. We will do a deep dive on the testing part in
the next lecture. Finally, iterative
prototype based on the feedback received, making any necessary changes and creating a new
version of it. This should, this process
should be continued until the final design is achieved and validate their you have it. That's it for the
Prototyping Activity. Let's now move on
from Prototyping to the next step which
is Testing it. See you there. Bye bye.
7. SD Activity 5 - Testing: Hello and welcome back. In this lecture, we will tackle the testing part
of service design. You have to know that user
feedback is priceless. Without it, we're not sure that what we're
developing is actually answering the needs of
our customers and we risk to have
something that feels. So my advice is to seek
feedback as much as possible, as frequently as possible. You never have enough feedback. Testing can be undertaken
throughout the process, the progress of the
service design project, although it's most commonly undertaken together with
the prototyping stage. Now, don't forget that service design
isn't iterative process. There's definitely
applies to Testing since you might acquire
insights that can have an impact on the previous activities and help to improve the
process overall. It allows you to enrich your user research and gain a better understanding
of your users. For instance, it could
lead to insights that changed the way you
define your problem statement. It could help you to generate new ideas in the
Ideation stage with new features and will
probably lead to an iteration of your
existing prototype. In terms of tooling, there are a wide range of
testing methods that are available to product managers,
service designers, etc. such as human computer
interaction tests and user centered design tests. Human-computer
interaction tests, also known as HCI, tests, are conducted to evaluate
the interaction between humans and computer systems
or digital interfaces. These tests aim to
assess how effectively users can interact
with a system, how intuitive to interfaces, and how well the system
is meeting user needs. Hci tests often involve
observing users as they perform tasks on a
computer or digital surface, defies and collect data
on their interactions, such as mouse clicks, keystrokes, or eye movement,
and verbal feedback. The data collected during HCI tests helps
designers identify usability issues and improving user interfaces and enhance
overall user experience. The prototype of tests, the user centered design tests, also known as you see D, are conducted throughout the design process
to ensure that the product or system
meets the needs and preferences of it's
indented intended users. You see detests involves
gathering feedback and insights from users at different
stages of the design cycle. Allowing designers
to iteratively refine and improve the products. Based on user input. Usd, UC detests typically involve techniques
such as interviews, surveys, focus groups, and
usability testing sessions. The focus is on
understanding user goals, preferences, and pain points, and incorporating that knowledge into the design decisions to create a user centered
at user-friendly product. In summary, HEI tests
specifically evaluate the interaction between
humans and a computer system, focusing on usability
and interface design. While you see D tests encompass a broader
range of methods aimed at understanding
user needs and preferences throughout
the design process, both approaches
contribute to creating products and systems
that are intuitive, usable, and that are aligned with the
expectations of the user. Okay, I can hear you ask, when do we know The
test was successful? Or in other words, what are the
acceptance criteria? Well, the ultimate
goal is to create solutions that are desirable, feasible, and viable for users. When it comes to testing
a design solution, there are three key elements
that you need to monitor. There is desirability,
feasibility, and viability. Desirability is
all about people. In fact, it's what's puts the human in human-centered design. For a solution to be desirable, it must appeal to the needs, emotions, and behaviors of
the people that will use it. This means that the
designers need to understand their users and create solutions that meet
their needs and wants. Feasibility on the other hat
is all about technology. When designing a solution, it's important to
consider whether it's technically
possible to implement. This means taking into account the current state of
technology and making sure that the two solution
can be practically implemented without
incurring huge costs. If solution relies on
technology that doesn't exist, then this is not
going to be feasible. Finally, there's viability. This element is all about
the business objectives. A good design solution
should always be self-sustaining and
work as a business. This means that
designers need to consider whether
the solution will work within the context of a business and its
goals and objectives. Solutions that are not viable
will not be worth pursuing. So those were the
acceptance criteria. Before we conclude, I want
to give you a couple of pointers that you can use
when building a test. First, let's users
compare alternatives. In other words, you need to
create multiple prototypes, each with a change in
variable so that your users can compare prototypes and tell you which one they prefer. The next pointer is to show, don't tell. By this. I mean that you
need to let users experienced the prototype
or for themselves, give too much context. Normally, a good
prototype should be intuitive and
self-explanatory. Also, don't forget to ask
users to talk to out there experience when users are exploring and using
the prototype, ask them to tell you
what they're thinking and how they're feeling when they're doing the
tasks they ask to. The next tip is that
you need to stick to observing your users
when they are using your prototype and resist
the urge to correct them if they are not doing something correctly as intended. It means the mistakes
they're making means that there is something not
clear what the prototype, it's always tell them that
they can't do anything wrong. And if they're stuck,
it means it's up to your prototype and that's something needs to
be fixed there. And the final tip is to
ask follow-up questions. Always make sure that you're, when you ask
something to you user that the questions
are not close, that you have open questions
and you'd leave some space for free interpretation
and you have it. That concludes the lecture
on the testing activity. Next step, we have the
actual implementation of our products in the form of the Proof of Concept. Theater. Bye-bye.
8. SD Activity 6 - POC implementation: Hi, and welcome to the final activity in our
service design journey. So we've now tested and iterated on a
couple of prototypes, and it's time to take it a
step further out talking about the implementation of
an actual proof of concept, also known as a POC. A POC demonstrates
its feasibility and potential value to stakeholders with actual working software, a POC can differ from a
prototype in a sense that the prototype might not have any working software
under the hood. To take the example of
a mobile application, a prototype could be a
series of clickable screens, but without any code behind it. Whilst they PBOC includes
the screens to code and connections to the necessary
back-end applications. Let's go over the different
activities to implement a product or service
using a POC. The first activity in the implementation step is
service service development. In this phase, the
service design team develops the service
delivery model, defines the service
processes and procedures and determines the
required resources and technology infrastructure
needed for the POC. This step is critical
because it lays the foundations for the
buck and it helps to ensure that at the team
has a clear understanding of service concept and
how it will be delivered. The second activity
is the creation. Based on the service concept. The service design team
creates a POC that demonstrates to the key features and benefits of the service. The POC is typically a
simplified version of the final service that can
be tested and evaluated. It can take various
forms such as websites, mobile application of
physical prototype, depending on the
nature of the service. Here we need to use
our prototype as the basis for the actual book. Once the POC is created, the service design team moves to the third Activity,
the book, Testing. The puck is test it and have
controlled environments to identify any issues or
areas for improvement. This can involve user testing, feedback from stakeholders and analysis of performance metrics. The testing phase
is critical as it helps to identify
any shortcomings and the POC and
provides insights into how the service can
be improved further R&, based on the test
results to service design team moves to
the fourth Activity. The POC refinements, pockets refined to improve
its functionality, usability, and user experience. This may involve making changes to the service delivery model, the process to sort of
technology infrastructure. The refinement phase is
crucial as it ensures that the book is optimized to
meet the needs of the users. And also other acceptance
criteria envelope. That concludes the
core activities of our service design journey. In the next lecture, we will go over
the key takeaways. See you there. Bye
9. Key takeaways: Hi, congratulations
for finishing the chapter on what to create. Let's quickly go over the
things that we've seen. So we now know that we
can use service design to create an end-to-end concept
of a product or service. We then went further into the different core
activities that make up the service
design journey. These activities
included User Research, Problem definition, solution ideation, prototyping, testing,
and implementation. User research is the process
of gathering information about people and their
behavior by using empathy. Next, we looked at
the define Activity during which we will be
centralizing, analyzing, and synthesizing the
information gathered during the user research
activity in order to come up with a sharp
problem statement. Then we also looked at
the Ideation Activity. We understand that at
the Ideation can help us to go beyond
obvious solutions, to co-create and build
on each other's ideas and to see problems
from a different angle. After the Ideation Activity, we entered into the
prototyping phase. We saw that the prototype is the preliminary model or
version of a product, service, or system that is
used to test and validate the design before the final version has developed. It can be a physical or
digital representation of the final product or service and can range from low fidelity to high
fidelity frameworks. After that, we also
learned that testing can help us get a very
valuable feedback. As without it, we're basically
operating in the dark. Testing can be undertaken, true, the progress of
services in project, although it is most
commonly undertaken together with the prototyping
stage towards the end. We also learned about
product roadmaps, MVPs, and how to create
than true story mapping. It product roadmap is
a high level plan that visualizes the information
on major features, improvements and updates at
our plant for the product, along with estimator timelines for each of these activities. Initial or it may also include information on the
resources required, such as the budget
and personnel, as well as any
potential risks or dependencies that may impact
the product's development. And finally, we saw
what a POC was. Just remember that
a POC can be used to demonstrate the feasibility and potential value to stakeholders with actual
working software. It's a step closer
to the real-life setting compared to the
prototype envelope. This concludes the what
to create a chapter. In the next chapter, we
will be talking about the launch or commercialization of your product or service. So stay tuned for that by
10. Share your thoughts!: Hi Thibault here. Congratulations for
finishing the course. I hope you've got
something out of it and it will be helpful in
your future career. In case you'd like to course, please leave a review and let others know what
you liked about it. That seems extremely
helpful to meet, and it's also helpful
for other students. Now, I'll, if I go have a
nice and educational day, Bye
 Thibault Dubois, Manager in business consulting