Transcripts
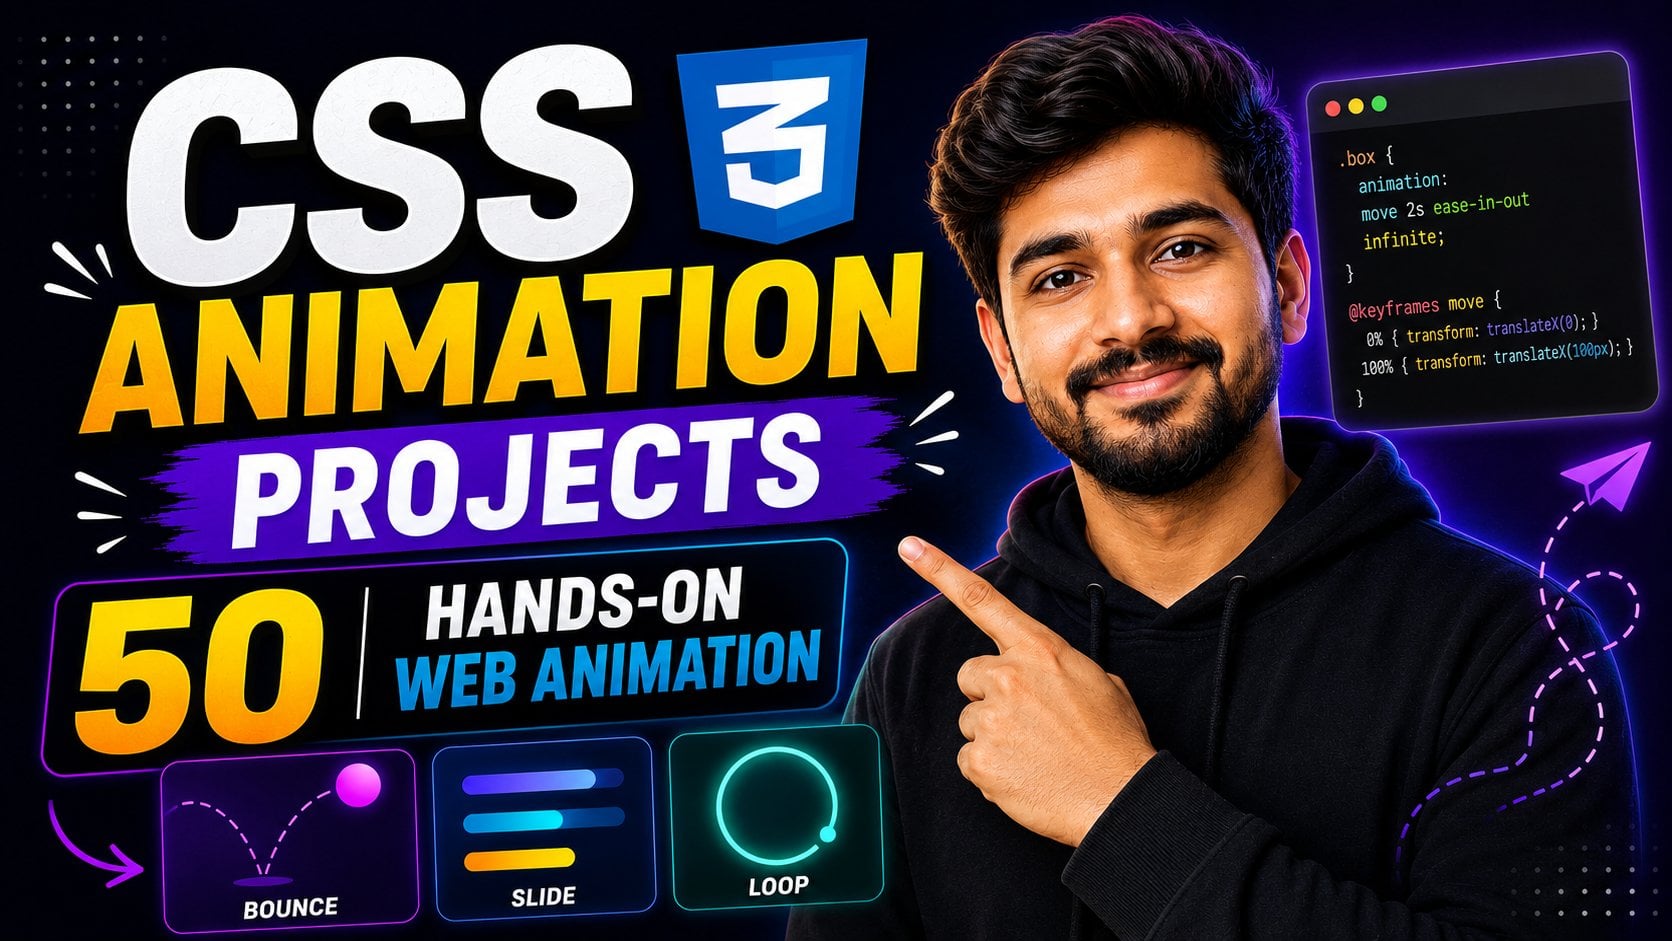
1. Introduction: Hello, it's good
to see you back. Once again, I'm back
with a new class. And today in this
class, we are going to learn JavaScript
scroll animation. We are going to create scroll
trigger animation with the help of pure
JavaScript ML and CSS. We are not going to use
any library such as SAT. So this is a simple
web page layout. If I scrolled on my page,
this is page number two. And if I scroll it little more, when the second page
reach a certain distance, it trigger a animation. It triggered this animation. Here we apply
transform animation, and if I scroll up this page, again, it back to its
original position. It triggers when it reached
the certain distance. At the same way, if I going
jump into another page, again, it reached the
certain position, it triggered the animation. Here we apply scale animation
with fading effect. Then if I scroll down
it a little more, then at that section, here we apply rotating animation
with fading effect. And at last, we apply all the animation together
and create a image gallery. We apply rotating animation,
transform animation, and fed in animation together
and create this gallery. This is what we are going to
build today in this class. Hello. My name is John Shortca. I am Fullstek web developer
and online instructor. So from the next video, we are going to
start the practical.
2. Create the HTML structure: So finally, I am in my
studio code editor, and as you can see in my
current working directory, I already create Scripto js
file and style dot CSS file. And in my current
working directory, there is a folder called images. And inside this folder, we
have some images such as cats, horse, and lion, we are
going to use these images. So at first, inside
this estimate page, I'm going to create
some section. So I'm going to use
section tag, section. Then I'm going to assign
a class to this tag, class and here I'm going to assign this is
section Section one. With that, I want to assign another class to this section, which is show Animate. Then inside this section tag, then inside this
section tag here, I'm going to take a H
one tag, heading one. And also, I'm going to define a class to this
heading tag class, and I'm going to
make it animate. Then inside the tag, I'm going to type first section. Then I'm going to
take a paragraph inside this section
using T tag, P, and also I'm going to assign a class and our class
name is animate this one. Here I'm going to type
some dammitextOwise, you can type
animation on scroll. HTML, coma, CSS, and JavaScript. I'm going to set this five. After that, at the same way, I'm going to duplicate
this section. So basically here we need to create total
five different sections. So I duplicate this section, and this is section number two, and I'm going to use
the same content here. I'm not going to use
this class to animate. I don't need this for now. After that, again, I'm going
to duplicate this section, and this is section
number three. Again, I'm going to
duplicate this section, and this one is
section number four. Also, you need to make some
changes in heading one tag, it is fourth section. Fourth section. This is third section. Third section, and this
one is second section, and I'm going to sub this file. After that, I'm going to
duplicate this section aight. But this time, I'm going
to name it section five. Inside this Section five, I want to put some
images, not the text. So here I'm going to take another Delement DV and
our class name is class. Here I'm going to
assign a class images. Then inside this deep tag, I'm going to use some image tag. Here, I'm going to assign
total three image. So to type image IMG
image as a source, and as a source, here, I'm going to use the first
image, cats dot JPG. Which is inside
my images folder, images slash cat dot JPG. With that, also,
I'm going to assign a class and our plus
name is animate. I want to sub this file. Oops,
here I did a sil mistak. We need to provide the path
in source, not in old. So I'm going to review this
file path from this place, and I'm going to put it
inside this source attribute. Then I'm going to set this file. It's cats dot JBG I'm
going to sub this pile. After I set this file, I'm going to duplicate this section. Next, I'm going to
assign the next image, which is hors dot GPG. So instead of using cats, type hors dot GPG. Then I duplicate this line
and this time I'm going to use the third image
ions Lion dot JPG. I'm going to set this
file. After set this file, if I back to my browser, if I show you my browser, this is our browser, this is how our page look like. Next, we need to
style this page. Let's jump into this
style dot CSS file. Basically we done our CSS part and we need to jump into
the style dot CSS file. As you can see, here
I open tyle CSS file. At first, I'm going to use, I'm going to import a font, which is Poppins from Google. After that, I'm going to
select Universal selector. I'm going to type star
inside the Carlevs. The first property I'm
going to use margin, margin, and I'm going
to say it margin zero. Then I'm going to
define padding, padding also from all
of the direction zero. It's a universal selector. That's why it's going to apply all the margin and
padding all the elements. Next, I'm going to
define box sizing, box, sizing, border box. After that, I'm going to
style the section tag. Section. Then in the alia says, first, I'm going to at first, I'm going to use dis property, display, and I'm going
to make it flex. Then justify content,
Justify content center. Also, I'm going to type align IMs center because I want to horizontally and vertically
center the elements. Then I'm going to
define flex direction, flex direction, flex direction, I'm going to use column value. After that, I'm going to define minimum height
to this container. Minimum height mean height, and here I'm going to
use 100 V HV for height. Next, I'm going to define
the background color. Ground background, and he, I'm going to use hashtag one, A, 24, two D. This color code. This dark gray color code. It's not gray. It's a
dark blue color code. And then after that, I'm going to hidden
the overflow, sometime overflow hidden and
I'm going to set this file. After I set this file,
if I back to my browser, this is our section
tag looking like. We have PtolFive section
and for all this section, it applied this CS scope. That's why all the
section look like same. Now, let's style
the other section, we need to change their
background color. For that, let's back to the visual studio
code, and this time, I'm going to target section
two dot ACC, Section two. Then inside the Carlrss
I want to change the background color
background color, and I want to use RGB color, RGB for red, I'm going to
use 96 for green hair, I'm going to use 30, and for blue, I'm
going to use 158. It's a kind of purple color,
and I'm going to save it. At the same way, we need to change the other
section background color. So I duplicate this code, and it's for Section three. And for Section three, I want
to use background color. This color code, Hatag zero, five, six, 96, four. Then I'm going to
duplicate this line, and this time, I'm going
to select Section four. And here I'm going to say
Diagraund color has dag F, if a six double zero,
this orange color. Next, I'm going to style
section number five. So I duplicate this section and I'm going to change
the background color of section number five
and I want to make it here I'm going
to apply RGB color, RGB, and for red, I'm going to use 255 high
value for the green, here, I'm going to type
zero and for the blue, I'm going to pass 85. Then I'm going to set
this file this file if I back to my browser, here you can see
all the different color for all the sections. Now, we need to work
on the H two tank, and now we need to work on H one element,
heading one element. So let's jump into
the studio code. And this time, I'm
going to target H one. Inside the colssF I'm going to define font size, font, size, I want to use font
size 90 pixel, and then I'm going to
define color font color, color and I want to use white
color So time has tag FFF. And I'm going to set this file. Now, let's apply the font style. So to apply the font style inside this universal selector, I'm going to use font
family property font family and font family have to
use font family pop ins. Pop ins, and it's come from
SanseriFon family. Sanseri. And I'm going to
set this fire set this fify back to my brother. This is how our
font look like now. Next, I'm going to
style these paragraphs. Let's jump into the
code editor again, and after that, I'm going to
select the paragraph tag, P. Then inside the color recess, the first property I'm
going to use font size, and here, I'm going to
type font size 35 pixel. After that, I'm going
to define color, color, and for color, I'm going to use
this color code, zero, zero EF, this
light blue color. After that, I'm going to
define font to eight. Font to eight, font weight, I want a little boulder, I'm to use 600. Then I'm going to
change the color of paragraph from Section two, Sootyp dot EC two
space paragraph. Then inside the clirass here, I'm going to use color and
I want the same color code, so AmtypHtag zero, zero, a zero. And here I'm going to use
green color variants type Hatack zero f zero, this green light green color. Then I duplicate this section, and this is for
section number three, and here I want to change
the color FF zero, this light yellow color. Then I'm going to change color
for section number four, Section four, and I'm going
to use and at the section, I'm going to use a
different color zero, five, 69, 64, this color code, this dark green color code. After that, we need
to work on images. So at that section, first, I'm going to select T SEC, Section five, then I want to select the images which is
inside the Section five. I want to target the
class dot Images. In GES. Then inside the cols. Basically, here I target. Basically here
from Section five, I want to target this
deep element images. And inside the colses I'm going to use display
propriety, display. Display, I want display flex. With that, I want to provide a little gap between
these items, some type gap, and I want
40 pixel gap, 40 pixel. And I'm going to satisfy. After satisfiy back
to my browser, this is how our paragraph
text look like, and this is how our
images look like. Now let's come next
to each other. Next, we need to work
on these images. We need to provide
maximum width. We need to set maximum
width to these images. Or that let's back to
the users to your code. And here, I'm going to select
Section five, dot SEC, Section five, Section five, and from Section five, I
want to target the images. Images DV and from
Images Dev I want to target image IMG Image tag. Then inside the Cariss here, I'm going to use property
call max With maximum width, and I'm going to
set it 350 pixel. I'm going to set this file.
After I set this file, if I back to my browser, now you can see the result. So this is the first
part of this tutorial. At that section, we work
on the layout design. So at the next part
of this tutorial, we are going to
start JavaScript. So thanks for
watching this video, stay tuned for our next part.
3. Start working with JavaScript and add class in a section: Hello, guys. Good
to see you back. This is the second
part of this tutorial and at that section, we are going to
working on JavaScript. We're going to starting
working on scrolling effects. Let's jump into the studio code and jump into the
script dot js file. At first, inside
the script js file, I'm going to target
all these sections. I'm going to declare
a variable AET late and our variable
name is section. Section equal to here, I'm going to type document, quirselector Quielector
inside the roundresss inside the single course, I want to target all the section tags using
its class name section, section, and Semgon
in this line. After that, I'm going to type window dot on scroll method, on scroll, equal to here, I'm going to use arrow function. Then inside the Clss, basically, this function is executed whenever we
scroll through the page. Inside this function,
we need to look through all of the
section one by one. Hemotp sections,
I'm going to use, I'm going to use for
each loop, for each. Then inside the
round resses here, I'm going to pass section
AEC and arrow function. Then inside the Cal resis, here we look through
this section and each section named sec. Then I use a arrow function
for callback and inside it, I'm going to declare
a new variable T late and our variable
name is late. Here I'm going to declare a variable name scroll distance. Scroll distance equal to
window dot, scrollY, scroll Y. Basically this variable going to store the distance value of the scrolling from the top of the screen to
how much we scroll, it's going to store the
value at that variable. Next, we need to retrieve
section distance. I will declare another
variable late and our variable name is
six section distance. Section distance equal to
sec dot, offsite, talk. And so we're going to this line. This offset property
is the distance from the section outer border to
the top edge of its parent. Let me explain
this with example, what is Oset top value? Here you can notice
the distance. This is our first
section and this is our second section and
the distance between the browser top position to second section top position is called offset top distance. We need to extract this
scroll distance is equal to the distance from the
to the top of the page. I want to apply some sty on this second second
section element. The same thing, we
need to apply for third section and fourth
section and fifth section. So whenever we achieve
certain distance from the section from the
top of the browser, then I want to
trigger a animation. Otherwise, I want
to trigger a style. Basically, it's
pretty familiar with scrotal animation in Giza. But here we are not going to
use any library for that. We are going to use
Raw JavaScript. Let's back to the studio code. And here I'm going
to use condition. If inside the roundresses
scroll distance, scroll distance greater
than equal to sec distance. Then inside the Carl says, here, if this condition is true, then here, I'm going to
type sec dot class list. I want to add a class. Class list dot add. Inside the round ss, here, I'm going to define a class and our class name is show animate. Show animate. And semi go on to s line. As you can see, I
distance squals equals to the section
distance, otherwise, greater than section distance, then the IP statement
will be execute. Now let's go to the browser and see when this condition
is happening. So here int top page. Sorry, top section. The section distance
is the fixed value. The distance between top and the second section is the
height of the first section. It never change unless
we change the height. Meanwhile, the scroll
distance is changing value. When we scroll down
the page, otherwise, scroll up the page,
it's changed the value. In some point, those two
value are exactly equal. This is where the IP
condition becomes true, and that will happen
until we scroll down it up to top edge
of the second section. So whenever it touches the
top edge of the browser, it triggered the animation. To clear this concept more, let's inspect the page. Here I'm going to
inspect the page. Now here you need to close
look on the second section. Here I scroll down my page and the sections touch the top. As you can see, it's
not working because I did some syllamistic later
jump into the code editor. Yes. This is the syllabistic.
It's not a class. It's tag. We need to select it using tag name because if I show you my index Still
page, it is a tag Name. We do not use any class name
to select this element. First, we need to use tag name and also we need to
make some correction, the spelling of distance. DI, not E, distance, DI, this one, and we need
to set this file again. I'm going to set this file
and back to the browser. This time, if I
scroll down my page and hit the second
section, top position, touch the top of the browser, then you can see
it added class to our section in our
second section. At the same way, if
I scroll down it more a third section, top position, touch this
section, touch the top. Now you can see
this time, again, it add a new class. In our section three. Also, if I scroll down it
a little bit and again if the fourth section top position
touch the top of browser, you can see it add in class. This is how it's
work. After that, now we need to target
this show animate class and style this section and
implement the animation. We are going to do
it later before, but before I want to set some condition in my Javascript,
let me show you what. Let's jump into the studio code and and here we need
to handle the s part. So to type s inside the calices. This time, I want to remove
this show animate class. If the condition is not match, so I type SEC section
dot class list, dot, this time I'm going to
use remove method, remove. Then inside the rounds, inside the single course, I'm going to pass this
class name, show animate. So whenever condition
is not true, then it's going to
remove the class from this section and semicon
to end this line. Let's set the file and
back to the browser. Now, you can notice if I scroll down my page
and the condition is true, as you can see, it at the class through animate
in our section two. But if I school up this page and this condition become fails, again, it removed the
class from this section. At the same way, if I
scrolled on the page and Section three touch
the top position, now you can see it at
the class, show animate. If I fail the condition, you can see it remove
the class from here. Using it, we can
trigger the animation. Also we can remove the
animation from our sections. Now before I work on this class, I want to set another condition. Now I want to add the class
before this third section, otherwise, second
section reach the top. I want to add this class, show animate in our second
section when it reached this distance before we touch
the URL bar of the browser. For that, just need to minus. From the distance here, I'm going to minus
150 pixel, 150 point. If I set this file and
back to the browser, now you can notice Weboy
scrolled down my page and this section
reach that position, now you can see it at
the class show animate. At the same way, if I scroll down the page
and this section, the third section top
reach that position, so as you can see it at the class in this
section, show animate. We do that because
when I scroll down my page and the content of
this section become visible, I want to run this animation. That's why I do that. This is it for the second
part of this tutorial. At the third part
of this tutorial, we are going to style the class. We're going to style
Show Animate class in our style section. So thanks for
watching this video, stay tuned for our
next tutorial.
4. Start working on animation: Hello, guys. Good
to see you back. This is the third part
of this tutorial. In our second part, we learn how to add a class
in our section. If I inspect this section and scroll down this
page at certain point, if our second section
reach a certain distance, then it add a class in
our second section. Show animate. At the same way, our third section reach
certain distance, it add the class, show animate. And if I scroll up this page
and condition becomes false, then it removes the class
from these sections. Now now in the studio, we are going to style
this class, show animate. Let's back to the
isal studio code, and I'm going to jump
into the style CSS file. After that, now at that section, I want to target the class of animate which is inside
the section tag. Here I'm going to type here I'm going to select
the animate class, which is inside the section, section past animate Animate. Then inside the Cariss
the first property, I'm going to use opacity. Opacity, I'm going
to make it zero. If we apply opacity zero, then it become hidden. Then I'm going to
apply filter property. Filter, and here I want to apply blur and I want
five pixel blur. After that, I'm going
to apply transition. Transition and for
transition I want, transition duration
is 0.5 second. If I set this file and
back to my browser, now you can see all the
elements are hidden. You cannot see any element which is linked
with animate class. Let's back to the code again. Now, whenever we
scroll this page, I want to make this
section visible again. I want for the HH two tag
and the paragraph tag. For that, we need to
target show animate class. So time section, show animate. Show animate space, dot, I want to target animate
class. I want to style it. Then inside the
liver says, first, I'm going to make opacity, opacity, I'm going
to make it one. Because I want to
make it fully opic. Basically, I want to say I
want to make it visible again. After that, I'm going to apply
filter Filter, Blur, blur. And here I'm going
to pass zero pixel. I'm going to set this file. After I set this file,
if I back to my browser, now you can see
whenever I scrolled on my page and this
section is active, now you can see it
appear the text. So when the show animate
class added to this section, then it's going
to show the text. So as you can see,
whenever I scrolled on my page and the third
section is active, it shows the content. At the semis work
for fourth section. And if I scroll up this page, as you can see it hide the text, it become invisible
again now you might have why the first section
is already visible? Because if I show you my
index dot estimate file, as you can see, her use
show animate class. We manually pass this
class at that section. That's why our first section
contain all become always visible and now we can add different effects
in different sections. Let's work to the CSS file, and now I want to target the animate class which is
inside the second section. So type dot SEC section two, and from here, I want to target the animate class, animate. Then inside the Carras I want to use transform
property, transform, and I want to move
this element at 100% in excess at
excess direction. I'm going to use translate
X, translate X, 100%. Then I must this file. I set this file, if I
back to my browser, now you can notice let's move this element 100%
at XX direction. Now, whenever I
scroll this page, I want to move this element from this position
to zero position. For that, I'm going to
duplicate this section and whenever the show animate class is active inside this section, some type, show
animate, show animate. Then I want to make it 0%, otherwise, zero, simple zero. And I'm going to set this file. After I set this file,
if back to my browser, now you can notice whenever
I scroll down my page, in our second section, it's
come from this direction. At the same way, we can add different effects for
our different elements, such as third section. So let's do that. Then I'm going to
duplicate this section, and for the section three, then I'm going to target
the section three, and here I'm going to
use scale property. Scale. At first, I want to scale down the heading
tag and the element. I'm going to make it 0.70 0.7 time whenever we
act show animate class, in that case, I want to scale
up this element, scale. Here I'm going to use one Val. And I'm going to set this file.
Let's get to the browser. As you can see, when we're going jump into
the third section, it scale up the alienates when condition become
false, again, it disappear. Now, let's work on
the fourth section. Again, I'm going to
duplicate this section. And this time, I want to target fourth section here I want to apply rotate
property, Transform, transform, rotate
and by default, I want to rotate it 30 degree and whenever the show
animate class is active, I want to rotate to
the zero degree. I'm going to set this
file. After set this file, if I back to my browser, and reach the fourth section. Now you can notice this
element is rotating. Again, you can see this is
how it's rotate the content. Now, let's work on last
section, fifth section. In our fifth section,
we have three images. For that, let's jump into
the visual studio code, and first, I'm going to
duplicate this section. And here, I'm going to
target Section five, and at that section, I want to apply translate X
with rotate value. Translate X 100%, 100%. With that, I want to
apply rotate value, rotate, and I want to
rotate it up to -90 degree. Then here, I'm going to apply
translate g translate g, I'm going to make it zero. If I set this file and
back to my browser and scroll down to
the images section, you can see the result. Now I want to add little
delay between these images. Also in the paragraph. I want to say this paragraph. For that, here, I'm going
to use the animate class, which is inside
the paragraph tag, some type P dot animate. Inside the carvers, the property I'm going
to use transition. Transition the and I want to add 0.2 second transition delay. After set this file,
whenever I back to my browser and scroll
down this page, now you can notice
after H one tag, it's appear the paragraph tag because here we add detail transition delay
in this paragraph. At the same way,
if I'm going jump into the Fourth section, after I rotate the H one tag, it rotate the
paragraph because of this 0.2 second
transition delay. Next, I want to add little delay on image number two and
image number three. Let's back to the
user's studio code. If I show you my
index estimate page, as you can see here
inside this image class, inside this deep element, we have total three image. We need to target image
nth child two and three. For that, let's get to the
style SASS file and here. We are going to use
child selector, some type dot, which
is from Section five, some type section five, space, I'm going to target the
image, ING, image tag. Then inside the colon, I want to sag second
child some type N TH, nth child, Nth child, I want to target the second one, I'm going to pass to here. Then inside the carnivorous, I'm going to use property
called transition delay. Transition transition
delay and I'm going to pass 0.2 second
transition delay. Next, I want to select
the third child, three, the third image
here I'm going to add transition
delay, 0.4 second. I'm going to set this
file. After set this file, if I act to my browser and going jump into
the fifth section, now you can see here
you can notice we add detail delay on second
image and the third image. This is how we create this scroll trigger animation
without any library. We can easily do that
using GSAP animation, but here we do not
use any library. Here we use basic pure
JavaScript to do that and CSS. Thanks for watching
this video stay tuned for our next JavaScript
animation project.
 Jayanta Sarkar, Behind the Code: Jayanta Sarkar