Transcripts
1. Introduction: Today, in this class,
we are going to build this beautiful paradox website using HTML CSS and JavaScript. As you can see, when I
scroll down my page, the tree and the mountains
move side by side. Also, you can notice the
background mountain go downward. And if I scroll
down a little bit, still it moved the mountain
and the tree side by side, and when I scroll up the page, it come to its original place. This is what we are going to
build today in this class. This effect is known
as parallax effect. You may have seen this effect
in most of the websites. It creates the website, you are very interactive and beautiful. Hello. My name is
Joan Sharkar I'm Fullstack web developer
and online instructor. Today in this class,
we are going to build this beautiful website. Let's start the class.
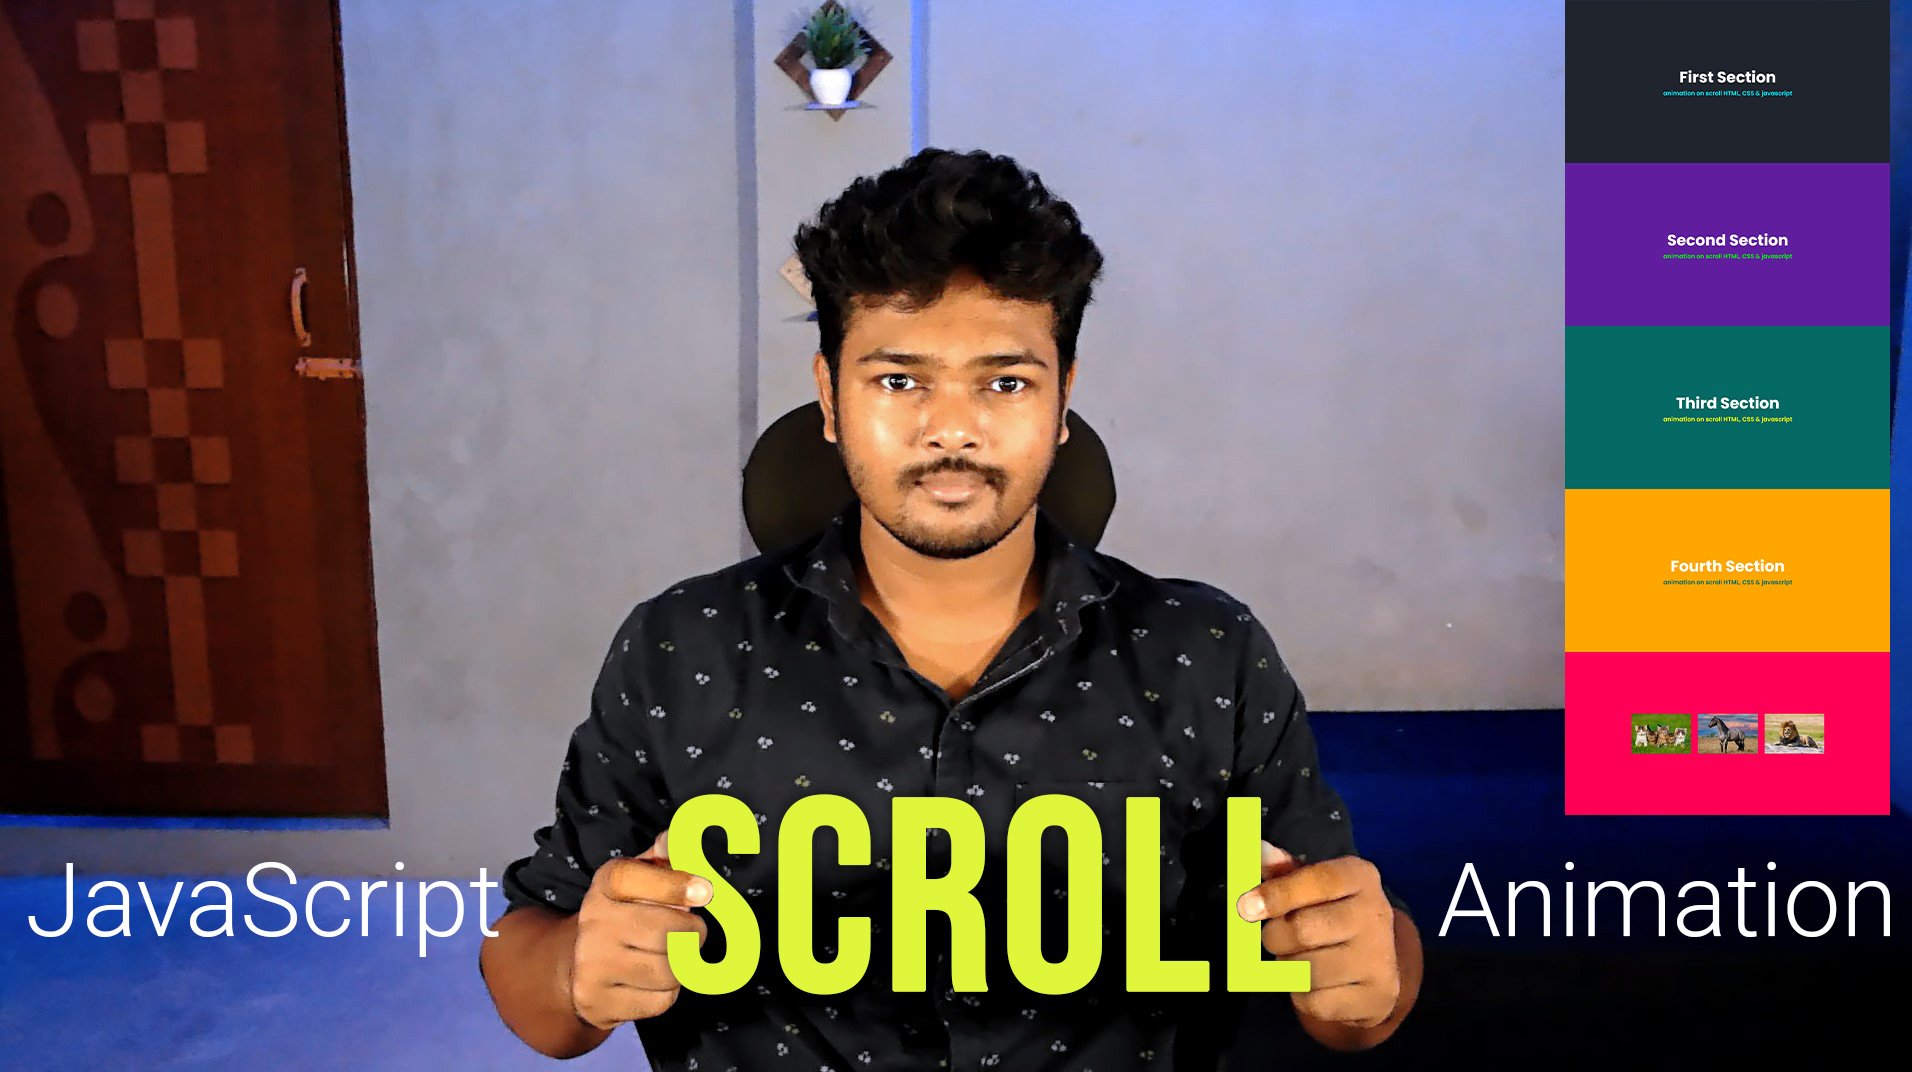
2. Website parallax Effect: Today, I'm going to build this beautiful Paralex
animation effect. As you can see, when I
scrolled on my page, it moved the mountains and
the leaves from the sea. So let's see how we can create this beautiful Parlex
animation effect with the help of
JavaScript CSS and HTML. So finally, I am in my
vis studio code editor. As you can see, I already
create index dot tMLFle, style dot css file and
scrip dot JS five. Also you can see in my
current working directory, we have a folder called
images inside this folder, we have all the images
such as hell Image, Hill two, L four, Hill five, leaf, and plant. Also, the coconut
tree, this one. These are all PNG images, and I'm going to use
all these images to create this paralytic effect. So let's to the index dot five. At first, inside the body tag, I'm going to take another
tag called headed headtag. Then inside this
head attack, first, I'm going to take a
heading to tag H two, and here I'm going to type Logo. Also, I'm going to assign
a class to the H two tag, some type class, and also
our class name is logo. Then inside this head attack, here, I'm going to
take a nap tag, navigation tag nerve and I'm going to add a
class to this nap tag, class, and I'm going
to type navigation. Then inside this nap tag here, I'm going to take anchor tag A. Then I'm going to add our
first anchor element, our neighbor element home. Then I duplicate this section and I'm going to name it about. Also, I'm going to
duplicate this section and this time I'm going to name it services at last, I'm going to add contact. I'm going to set this
file. After set this file, if I back to my browser, let me show you this
is how it looked like. Now we have the logo
and the navigation bar. Now, let's jump into the CSS file and style
the body section. I am in my CSS file. At first, inside
my style CSS file, I'm going to import a font. I'm going to import Google
font, which is pop ins. I'm going to use this
one. After that, here, I'm going to select the
universal selector, start. Then inside the clrass here, I'm going to add some sty. First, I'm going to add margin. Margin, and I'm going to
set margin by default, I'm going to set margin zero. Then I'm going to use padding. Padding, by default, I'm
going to say padding zero. After that, I'm going
to use box sizing. Box. Sizing, box
sizing border box. Then I'm going to use
font family property, font family, and here, I'm going to use Poppins
P O double PINs, Poppins, this one, and apacoma here and I'm going ultrapas the family,
which is sensoric. San si, this one, and I'm going to set this file. After set this file, if
I back to my browser, now you can see it remove the default padding
margin from it, also it changed the font, default font to pop ins font. Now, let's back to the
Visal studio code. Then after that, inside
the style CSS file, I'm going to select
the body tag, body. Then inside the calices first property, I'm
going to use background. Background, and I'm
going to set this color. HatagFF nine, if nines
a light gray color. Then I'm going to
say minimum height. Man height, minimum height, I'm going to say it
100 viewport height. Then I'm going to
target the header tag, this one, this header section. So I'm copy the tag name header, and here I'm going
to type header. Then inside the calibraces. And first I'm going to define
the position position, and I want to make it absolute. After that, from the top, I want to place it zero
and from the left, also, I'm going to
place it zero position. Then I'm going to define width. I'm going to define with 100%. I'm going to use 100%
width of this screen size. Then I'm going to
define padding. Padding from top and bottom, I'm going to use 30 pixel
and for left and right, I'm going to use 100 pixel. Next, I'm going to
use this property, display flex and justify
content, justify content. I'm going to use flex start, flex start and align
IAM, align, IAM center. Also I'm going to set the Za
index and I'm going to say Za index 100, I'm
going to set this one. Here we use flick
Start because I want the logo and the navigation
war left side of our screen. That's why we use flix
Start and to make sure the header will be visible no
matter what element we add. I say Z index 100. Now after set this file, if I back to my browser, let me show you this
is how it look like. Now you can notice we have
padding from top side, 30 pixel and from the bottom
30 pixel and from the late, here we have padding 100 pixel also from the right,
hundred pixel. Next, I'm going to
style this logo, so I'm going to
target this logo. Now I'm going to
target the logo. I'm going to type dot LOGO logo. Then inside the
colss Here, first, I'm going to define the
font size font size, and I'm going to make it to EM. After that, I'm going
to define color. Color and here I'm going to use this red
variant color code, this one, and I'm going
to set this file. Also, we need to define
some margin at the right, some type, margin, right, herd pass 270 pixel
because I need gap between the logo and the neb elements. I
preset this file. If I back to my browser, this is how it look like. Now let's target the
navigation menu. Let's back to the
code and first, I'm going to use its
class name navigation, so I copy the class name
and back to stylo css file. So type, dot, navigation
and inside this navigation, I want to target all the anchor
text inside the calices. Inside the colors is the first property I'm going
to use text decoration, text decoration, and I'm
going to make it none. I don't want any
text decoration. I want to remove the underline. Then we need to
define the color. Color here, I'm going to use
the exact the same color, this one, which we use
for the logo, dark red. Then I'm going to
define padding. Padding from top and bottom, I'm going to use
six pixel padding and from left and right, I'm going to use
15 pixel padding. After that, I'm going to define border radius, border radius. Border radius, I'm
going to make 20 pixel. Also, I'm going to
add little margin. I'm going to type margin. From top and bottom, I'm going to assign Margin
zero and from left and right, I'm going to assign
Marin ten pixel. After that, I'm going to
add little font to it, font weight, here I'm going
to assign font to it 600. I want little boulder font, and at last, I'm going to
add little transition on it, transition, and
here I'm going to add transition
duration 0.5 second. I'm going to set
this file. After set this file if I back
to my browser, let me show you this
is how it looked like. Now I want to add
Hi it when I hover my cursor on the anchor emits. I want to change the font color and the background color
when I hover on it. So let it back to the
code, and this time, I'm going to create a Huber
selectod using Ancag A Huber. Then inside the clirass here, first, I'm going to change
the background, background. I'm going to make
background this color. And our font. For the font, I'm going to type color
and I'm going to make it white. I'm going to satisfy. After satisfy if I back
to my browser and Huber my cars are on
these neb elements, you can see the result. This is how it look like when
I Hoberm cars are on it. It said background color
red and font color white. Now let's work on the images that we use to create
the parallax effect. Let's jump into the studio code. As you can see in my
current working character, we have the folder name images. First, I'm going to jump
into the index dot H file. Then a header section, I'm going to create a section. I'm going to use a
section tag section, and here, I'm going
to assign a class, and our class name is parallax. Then inside this section tag, first, I'm going
to take a image. I G. And here, I'm going to pass
the image source. Inside the double
codes, I'm going to type the folder name images, and from this images
folder, first, I'm going to add this
image, hill dot PNG. Then I'm going to assign
an ID ID is a Hill one, and I'm going to
duplicate this section. One by one, I add
all the hill images. And at the same way, I add
three leap and plant images. And I'm going to set this file. So we have to tall eight
images, five hill image, one tree image, one leaf image, and last one is plant image. So to set this file, if I back to my browser and you can see this is
our first hill image. This is our second hill
image, this is third one, this is fourth one, this is
fifth one, this is the tree. This is the leaf, and this is the and this one is for plants. We need to put all
the images together. But before, also I'm
going to add another tag, which is H two for the text. Here I'm going to
type H two and inside this h2d I'm going to
type paralyxParalyx, if. Then I'm going to assign
ID to this H two tag, ID, I'm going to make it text, and I'm going to set this file. Now, let's jump into
the tile your CSS file and target the parallax D. Here, I'm going to target
the parallex D dot, paralx and inside this, then inside the calibraces. The first property, I'm
going to use position. Position, I'm going
to make it relative. Then I'm going to use
display property. Display, I'm going to use flix. After that, I'm going to justify content center and align item
align items also center. Then I'm going to assign height, height and here I'm going
to use height 100 VH. After set this file. If I back to my browser, you can see it put all the
images next to each other. Now let's get to the
studio code again. Next, I'm going to hide
the overflow area. Overflow, it's a hidden. After that, to order to give
the exact shape we want, we need to select the images which is inside
the parallax deep. Here I'm going to type
dot parallax, image ING, then inside the Carlss here, I'm going to pass position, position, first, I'm
going to type absolute. Then I'm going to add top value, top, and I'm going to pass zero. Next, I'm going
to use bed value. As I'm going to pass zero. After that, I'm going
to defy wet with, and here I'm going
to set 100% weed. Then I'm going to define
the pointer event. Pointer events, here, I'm
going to use Nun Valu. None. I'm going
to set this file. After set this file, if
I back to my browser, this is how our
images looks like. Together, they form this
beautiful background. Reason this is happening
because image, all of the image are designed
only for this purpose. Their resolution is same. This is one view split
into multiple images. This is it for this tutorial. At the next part
of this tutorial, we are going to complete
this animation. Thanks for watching this video, stay tuned for our next part.
3. Website parallax Effect part 2: Hello, it's nice
to see you back. This is the second
part of this tutorial. As you can see in
our previous part, we arrange all the images at right place and create
this dautiful view. This is one view that split
in a multiple images. Now, let's work
on the H two tag. I'll jump into the visual
studio code editor, and if I show you my
index estimated file, here you can see the
two tag, two ID text. I'm going to use
its ID name text, and let's jump into
this style CSS file. Here at first, I'm
going to target, I'm going to target the
text using its ID name. So inside the ibas here first, I'm going to define
the position, some type position,
I'm going to make it absolute position absolute. After that, I'm going to define
the font size font size, and here I'm going to
say font size five EM. Then I'm going to define
the color, the text color, color and I'm going to
use the white color, Has tag if if A. After that, I'm going to
use little text shadow. But before I use
this text shadow, let's back to the browser. Suppose this file if
I back to my browser, this is how it look
like Perlix effect. Now, let's add
little take shadow to give it little depth. Let's back to the Studo code
and Hem type text shadow. Take shadow, and I'm
going to use this shadow, and I'm going to satisfle to satisfy if I
back to my browser, this is how it looked like. Now it provides little
death in this text. Now, let's add the
content section. Let's jump into the
Studio code and jump into the index dot
estimate file. Then after this section, here, here, I'm going
to add a new section, Section, then inside
this section, but before I'm going
to add a class, and I'm going to
name it content. Then inside this section tag, first, I'm going to take
a H two tag, H two. Then inside this H two tag, hemo type, paralex
scrolling website. Then I'm going to
take a paragraph tag. Inside this paragraph tag, I'm going to take some
dummy text for scrolling. I need content to scroll. Type m I'm going to
add nearly 750 word, and I'm going to set this file. After set this file, let's
back to the browser, and this is how it looks like. Now, we need to style
this content section. So let's add some study. I'm going to jump into
the studio coordinator and I'm going to open
style or CSS five. I'm going to start the styling. At first, I'm going to see
the content section using its class name dot content. There inside the class, first, I'm going to define the
position and position, I'm going to make it relative. After that, I'm going to define background
color, background, and for this background, I'm going to use the same exact
same red color, this one. Copy the color code and
I'm going to put it here. After that, I'm going to add some padding from
all of the direction, padding 100 pixel from
all of the directions. Then after satisfy if
I back to my browser, this is how it looked like. I think this red color
is very vibrating, so I'm going to try to
match with this color. Let's change the color code and this time I'm going
to use this color. Something match with
this background and back to my browser again. Now, it is quite match with
this background color. And then we need to
change the text. We need to arrange the text. At first, I'm going to
target this heading tag, so Hemo type dot content
H two, heading to tag. After that, inside the col ressF I'm going to
define the font size, font size, I'm going to
use three EM font size. Then I'm going to
define colored. Color and hemotype color white. Hastag if if if. Then I'm going to define
margin, margin at bottom. Margin bottom, I'm going
to pass ten pixel. And I'm going to
satisfy satisfy, if I back to my browser,
this is how it look like. After that, we need to
style this content section. For that, again,
I'm going to jump into the CSS file and this time, I'm going to target the
content dot content, and I want to target
the paragraph. Then inside the colorss first, I'm going to define the
font size, font size, I'm going to use font
size one EM after that, I'm going to define
the color of the text, color, Hen to set it, white, has tag,
has tag, if if if. At at last, I want to use
little lighter phone so I'm tri font, weight 300. I'm going to set
this file. After set this one if I back
to my browser. Now this is how it looked like. Now it's look better and we have enough content to scroll. So we successfully
complete our styling part, and now we need to work
on the paralxeffect. For that, we need to jump
into the JavaScript file. Let's jump into the JavaScript
file, script dot js. At first, we need to
target those elements. I want to say those images, I want to move when I
scroll down my page. For that, I'm going
to declare a variable late and our first variable
name is text, THT. First, I want to target the
text using its ID name text equal to document that
get element by ID. Here I'm going to
pass the ID name. Then inside the round
resses I'm going to pass the ID name text and
semicon in this line. Then then at the same way, I'm going to target Hill four, Hill five and Hill one. Also, I'm going to
target the leaf. I'm going to copy
its ID name leaf and back to script JS file. I'm going to duplicate
this line and this time, I'm going to target
leaf and I stored it in this leaf variable and I
pass the ID name leaf. Then I'm going to
target Hill one, Hill four and Hill five. So from here, I'm going
to target Hill one. Copy its ID name and that to the Scribb Js file and I duplicate this line
total two time. This time, I'm going
to target Hill one. Then I'm going to target
Hill four, hell four, and also I'm going to
change the ID name Hill four and at last, I'm going to target
Hill five, H five. It's not leaf five,
it's a Hill five, so I copy hell not leaf and
replace leaf with Hill. So I successfully
target those elements which I want to move when
I scroll down my page, such as this text, the first hill and the fourth hill and the
fifth hill, also the leaf. I don't want to select
this coconut tree and this and these plants. I don't want to select them. I want to move only
the background hill. I want to see the first hill, the fourth hill and
the fifth hill, also the leaf and the text. That's why I select all of them and store it in a variable
in different variables. These are the elements
that I want to animate. Now let's work on the effect. So type, Window, dot,
and even listener. Then inside the rounder says, first, I want to scroll. If I scroll, then I want to
run a call that function. Here I'm to use arrow function. Then inside the crass, it's basically
mean whatever code we write inside this
called function, when I scroll it, it's
going to run this code. Inside this function,
I will create a new variable late and
our variable is well. T value equal to henotype and I want to
extract the value of scroll Y, Su type window, and here we need to
extract the value of scrollY type window,
dot, scroll, Y, and sub end this line because we need only
Y xs scrolling, not Xs strolling to execute
the parallax effect. Basically, it's going to
excess the vertical distance. Now let's work on the elements, which I want to change. Now to get the value, at first I want to change the text position when
I scroll down my page. I want to add a little margin. I want to add margin
at top of this text, so it's going to move downward. For that, we are going to use style method,
let me show you how. So hero type, first, I'm going to type
the variable name. Which stored this
text, W is text, text, dot, style, dot, I want to add margin top value. Margin, top. Then equal to margin toque, then I'm going to
assign a value. Equal to here, I'm
going to pass. Basically, I'm going to
use template literals. I'm going to use back ticks. Then inside the back ticks, I'm going to use dollar sign, then inside the Carlss, then inside the crass, first, I'm going to
provide the value, the value we get from this
scroll, some type value, and I'm going to multiti it multiply and I want
to multiply with 2.5. Every time when I
scroll down my page, it's going to change the
value and it's going to multiply with 2.5 pixel, then provide the
unit PX. That's it. After set this file, if
I back to my browser, and try to scroll
down this page, here you can see the result. Whenever I scroll
down this page, as you can see, this text
add a new margin at top. At the same way, we
are going to move other elements at left
side and right side. Let me show you how. Let's
get to the studio code, and this time I'm going
to duplicate this line, and I'm going to target
the leaf Leaf style, and this time, I want to
move this leaf from the top. Hemo type style dot, top. Above that, here I
want to multiply with -1.5 minus 115 pixel. Here, I want to provide
negative value. So when I scroll down my page, it's going to provide
the negative value, dynamic negative value
to this top property. At the same way, I'm going to do this line, and this time, I want to move this leaf
element at lip side, PT and here, I'm
going to pass value, I am going to pass
the positive value. I'm going to set this
file. After set this file, let's back to the browser. But before I'm going to add something cools, it's necessary. Otherwise, it can throw error. So back to the browser, if I scroll on my page, here you can see, you
can notice the leaf. Whenever I scroll down my page, it provide little
move away effect. As you can notice, it move
away from this seam because here we use minus top value
and positive left value. That's why it move
upside and left side. At the same way, we need
to handle the hill five, hill four and Hill one.
Let me show you how. I'm going to duplicate
this line and this time, I'm going to target Hill five. I want to move this
hill five element left side and to provide
the same way too. It's going to move it lip site. Then I duplicate this line, and this time I'm going
to target Hill four, and I want to move this hill
four at opposite direction. So here I'm going
to use negative do, negative lift do at last, we have another
element which is hill five and I want to move
this element top side. It is the background hill. That's why I want
to move it top. So I'm going to
pass top property, top and here, I'm going
to change the value. I'm going to use only one pixel. Every time, according to the dynamic value, it
multiply with one. Oops, our background
hill is not hill five, it's a hill one, not five. It is the main dground hell. So after satisfy, if I back to the browser again and
scroll this page, now you can notice this
beautiful parallax effect. I hope now it's clear for
you how we can create it. Thanks for watching this video. Stay tuned for our next project.
 Jayanta Sarkar, Behind the Code: Jayanta Sarkar