Transcripts
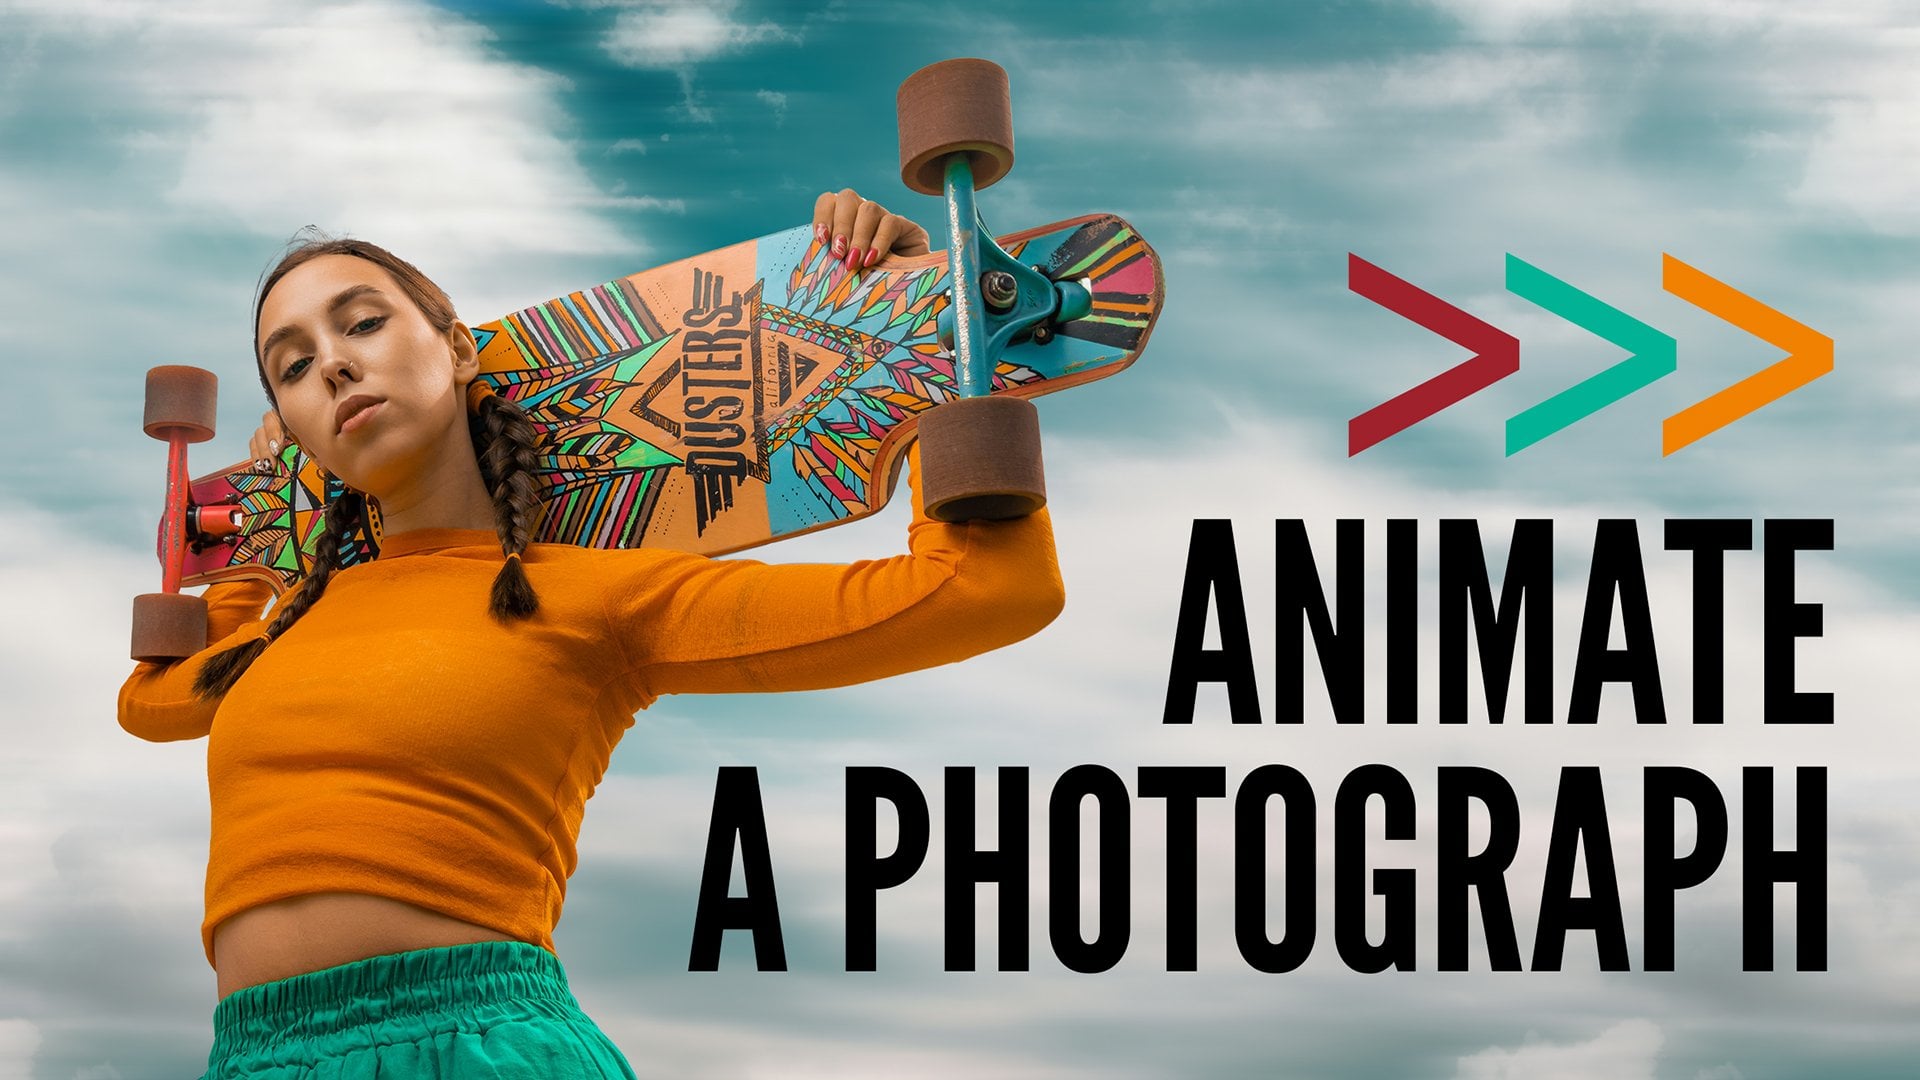
1. Animate Your Profile Pic!: Be honest, when's the last time you updated your profile pick? If it's been a hot
minute or several, it might be time for a glow up. But forget stiff
headshots and boring os. What if your profile image
could actually move? I'm talking about fun, quirky, eye catching animation
that makes people stop scrolling and
start smiling. In this class, I'll walk
you through how to create your very own doodle style
animated profile pick. It's perfect for your
website, your socials, email signature, or anywhere you want to add a
splash of personality. Whether you're an
artist, freelancer, content creator or just
someone with a face, this class is for you. We'll keep things light, fun, and totally beginner friendly, and I'll show you exactly how to doodle on top of a photo, animate your artwork
in Photoshop, and export it for the web. No fancy plugins or
complicated code required. I'm Cara Pltnich, your creative collaborator and
digital doodle enthusiast. I've been teaching
design, Illustration, and all things Adobe
for over 20 years. So grab your favorite Selfie, and let's make something
seriously delightful. I'll see you in the next video.
2. Gather Your Supplies: So we're going to start
with the image you want to use for your
profile picture. In this case, I'm just
using a stock photo. You'll find it linked
in the project files. It's free from Adobe stock. So if you want to practice
with the same image, feel free to download it. Also, you can use any
colors you want, of course, if you want to use some
colors that I've prepared, you can download the swatches I created from the
project files section. If you go to the Window menu
and you choose swatches. You'll see your
color swatches here, and you can go to the
panel menu and just choose Import swatches and
then navigate to the doodlefun dot ASE file, and that will load them
into your swatches panel. You have the picture
and the color swatches, the other thing you
want to do is get yourself some Photoshop brushes. There are countless
brushes to choose from. They are free for Creative
Cloud subscribers. If you go to your
brush tool and you come up to the Options bar
or Control panel up here, and you click this
little Dropdown. Here you'll see a cogwheel. If you click on it and
choose Get more brushes, that will take you
to this page on Adobe's website where
if you scroll down, you will find all of
these packs of brushes. So there's art markers, concept brushes,
dry media brushes. I mean, you name it, and all you have to do to download any of these
is click Download. That'll drop the ABR file
onto your hard drive, and then back over in Photoshop, if you go back to
that same brush panel and that same cogwheel, and then you choose
import brushes, you can navigate to wherever
you saved that file, and when you click
Open, you'll see a load right down here at the
bottom of your brush panel. So now that you've
got your image, your color swatches,
and your brushes, join me in the next
video, and we will prep the file for some
doodle animation fun.
3. Setup Your File: To get our file prepped for
a looping gift animation, first thing we want
to do is resize it. This image is over
6,000 pixels wide, and that is huge. So let's make an adjustment
by choosing Image image size. And here we want to make sure
that resample is turned on. And I'm going to drop this
with down to 1,200 pixels. You can enter whatever
size you want here, but the idea is that this is
going to be on the web and so we really don't want it to be too huge. Then
we'll click Okay. To fit it back on the screen, press Command or Control
and the number zero. Next, we're going to
select the subject and copy them into
their own layer. If you have the contextual task bar visible on your screen, you can just hit Select Subject. If you don't see the
contextual taskbar, just choose Window
Contextual taskbar. You can also just press W for any of the wizard
like selection tools, and that will give you
the option to select the subject right up here
in the Control panel. From this drop down,
I'm just going to make sure I get the
best selection possible by telling Photoshop
that I want it to process the
selection in the Cloud, and then I'll go ahead
and click Select Subject. And I want to jump her into her own layer by pressing
Command or Control J. Now that she's in her own layer, I want to make her
black and white. So you can do that with
an adjustment layer, but it's just not
really necessary. I'm just going to use a keyboard shortcut to quickly
desaturate the layer, and that is command or control
shift and the letter U. For this next bit, I'm
just going to hide the background layer so we
can see what is happening. To really help you or your subject stand out
from the background, I think it's really helpful to add a white stroke around them. So I'm going to hide
this background layer so that I can see the stroke. And with the subject selected, I'm going to come down to the bottom of the layers planel, click the effects icon
and choose stroke. Here, I want to make sure that the position is set to outside, and then we can play with
the size setting until we get a thickness that we
feel like looks good. I think something
like 18 pixels works. You want to change the
color, you can click right down here and
choose something else. But I find white works really
well, then we'll click. Okay. Finally, I'm going to turn this background layer back on and click to make it active. Next, I'm going to add a quick fill color to the background to cover up our subject and
just get us started here. So from the Swatches panel, I'm going to choose, I think, this light pink color. And with that selected, I'll press Option
Delete or Alt delete. And that will fill
the background in with our currently
active color. Alright, now that we
have a background color, our subject is separated
from the background and has a nice little
white stroke around them. In the next video, we are
ready to start doodling.
4. Doodle!: Now that our files prepped, we are ready to start doodling. And as we go about
making these doodles, we want to think about keeping the separate elements
on separate layers. Maybe not every single piece, but definitely certain things. So we want to make sure
that we are making a new blank layer for every different piece
that we want to add. So for example, I'm
going to select a blue color here from
my swatches panel, and let's go to the brush
tool by pressing B. And then I'm going to click
up here and choose let's see. Here we go. It was a brush
called letterers hunk. This is a lot of trial and error because
I don't know what this is going to look
like, but remember, we can make our brush
bigger or smaller using the left and right bracket keys next to the letter
P on your keyboard. And I'm just going to
come down here and do, like, a bit of a
squiggle like that. If I don't like
it, I can undo it. And one thing that
can be really helpful especially if you
don't have a tablet. And in this case, I am drawing with my finger
on my track pad. It's really helpful to crank
up this smoothing slider right here so that you can
get a nice brushstroke. And I think I want one that's a little messier
like maybe this one. And we'll make this kind of big. And then I'm just going to
do a squiggle like that. Pretty simple, right?
Now, this piece is, I think, good by itself, but I want to add some
marks on top of it. And I think I want
those pieces to actually be part of this, so I will keep it
on the same layer. But I'm going to switch
to a white color and grab I don't know, a different brush and
make my brush very tiny. And I'm just gonna come through. Let's hide her for a minute. And I'm just gonna draw little stripes like
this all along my mark. And again, I'm doing this. I don't know why I'm
using my trackpad. I have a pen tablet right here. But honestly, I don't know. I just for this kind of stuff, I don't even bother getting
it out and turning it on. Alright. So, I feel like
that piece is good, and I'm going to now
make a new layer. Let's put something good up
here with a yellowy color, and again, your brushes will vary depending
on what you downloaded. Maybe I'm just going to
do whatever this is, this asteroid belt brush and just scribble
something big and messy like that and get
another different brush, maybe something with
some texture in it. This seems fun and maybe
I'll grab a pink color. This. And again, with the
smoothing, crank it up. Hmm. That's way too clean. So, like I said, this
part's a trial and error. So I'm just gonna play
around a little bit, and you go ahead and
play and experiment. I like this brush. This
is the Golden Age Ink. These are all just various
free brushes from Adobe. Like that. And again, I'm gonna
switch to White. I'll press D for
my default colors and X to flip flop them. And then I'm going to come
in here and just search for Oh, buttery Ink. Maybe that's good.
Draw some circles. Nope. Let's get a marker. So don't forget that you can
search, too, China marker. I like this brush. So I'm just going to
draw some circles. And I am putting this on the same layer, but
you don't have to. But I want this whole
piece to move together. So that's what I'm doing. But if you wanted to animate these dots separately
from everything else, then you could just put
them on their own layer. Okay. I'm just keeping
things simple over here, but I feel like that is
good for that layer. Let me add one more good
kind of textury layer. And I think there's a brush
in one of these packs, the summer 2020 update
pack called jungle Jam. And this brush is cool. It gives you some nice texture. So I'm working on
another blank layer, and I'm just going to kind of stamp some of these
rushes in here. Maybe like that. I think that's looking
good. And now I want to add just a couple of,
like, scribbly marks. So I'm going to go back
to that China marker. And I'm going to use black and
crank the smoothing again, and I want a different
blank layer, and I'm just going to draw
a loopy squiggle over here, a tangly kind of mess like that. And what I like about it is
it doesn't have any edges, any dangles sticking out. So that's one thing,
and then I'm going to make one more blank layer, and I'm going to go to one
of the lettering brushes. Here we are. There's a
letterers collection, and one of them has these
dots just called dotty. And on yet another blank layer, I'm gonna zoom out, so I don't have to travel
as far with my hand. Maybe zoom out even more
and do something like that. Alright. So now we want to
save our work as a PSD. So take some time to
explore different brushes, different colors,
textures, all of that, make sure that you put different elements that you
want to be able to move separately on a separate
layer so that it can move separate
from whatever else. Another thing that's
helpful to keep in mind when you're making your
animations is that self contained
doodles like this can be moved in any direction
in your animation, whereas something like
this can't be moved down or away from the edge without displaying
this cut off piece. So if that doesn't bother you, then I guess you can move it
however which way you want. But if you want to avoid that, then you might want to draw a giant doodle and move it like this so that it has
room to wiggle. Same with this piece over here, maybe if I start
with it down here, then I can move it this
way and this way, right? These dots are another example. Just something to
think about when you're creating your artwork. Join me in the next
video where we're going to make this doodle move.
5. Animate: All right, here we go. We're
ready to animate this. It's surprisingly simple. We're going to go
to the Window menu, and we're going to
choose timeline. And down here, this
button may say create frame animation or it might say create video timeline. So we want to click
this dropdown and make sure it says
create frame animation, and then we click on. Now, all we have to do is arrange things the way we
want them for each frame. So by default, Photoshop
creates our first frame, and it looks just like this. So what we're going
to do is click the new frame button to
make a second frame. And for this frame, all we need to do is
grab the move tool. And work our way through the various layers
and just move them. And we want to move
them really not a lot. So really just a little bit. Photoshop is not going to
recognize any transformations you apply to a layer
from frame to frame. So you want to move layers, but you don't want to use free transform or scale
them or rotate them. But we can make
adjustments to position. So if I want to take
this line right here and move it just a
little bit like this, maybe I'll move this
line down like that. And the palm background here, maybe I'll shift it down. Well, I don't really want
to show the edge over here, so maybe I'll shift it this way. And we'll move this guy up. And our squiggle guy down. So now, Photoshop is going
to remember the position for all of these layers for this
frame versus this frame. So if we click back
to the first frame, we can see how
everything has moved. So that's looking good so far. Now we just want to
create one more frame. Again, click that
new frame button. And again, we're going
to move things around. So the tricky part is we want to be able to move
them so they're different than these
first two frames. So on this third frame, making sure the third
frame is active, maybe I'm going to
move her this way. And let's make sure
that's different than the first frame and
the second frame. Okay. And let's see. The
black dots started out here. They moved slightly
to the right. And so on frame three, maybe I'll move them to
the left a little bit. And apparently a little
more. There we go. This guy will move
maybe over here. It's not that important. It's just important that. They move. Perfect. So ultimately, you want to be able
to toggle between all three frames and see
that everything is moving. And if you don't like where something is in a
particular frame, just select that frame
and then move the layer. You just want to make
sure whenever you're making adjustments that you
know which frame you're on, because it's really easy to
think you're on frame three, and now you've just
messed up frame two. So keep in mind
that you can always undo by pressing
Command or Control Z, and you can always
delete frames if you need to and make new ones
if somehow that's easier. Or if somehow you get
really messed up, which is really easy to
do if you forget to pay attention which frame you're on while you're
adjusting layers. But if you really somehow get messed up and
you're just like, I want all my frames to put my subject over here in
exactly the same spot, you can just choose a
frame, position your layer, and then shift click to
select all the frames. And then if you come over
to the timeline panel menu, you can choose match
layer across frames. You can choose which attributes you want to match.
Then click Okay. And now you will see that
this layer is matched for all those attributes
in all of these frames. So, I would want to
move her back over here and in some kind
of similar position. So, it also helps to make sure you're moving things in
different directions. Like, you probably don't want to move every element down and to the left in the same frame because then it looks like
it's all moving together. So from one frame to the next, I would want to make
some things move up, others move down,
some move left, some move right, et cetera. So you get more of
that wiggle effect that you're likely after. See how this is shaping up, let's click this
little drop down here, make sure this is
set to loop forever. And then we want to click
on one of the frames, Shift click the last frame so that all three are selected. And we're going to change
the timing down here from a zero second delay to we could choose any
number of these presets. I like to use other,
and I like to type 0.3. And if we click Okay,
and then we click Play, we're going to see
our animation. So from here, if you want to make the animation move faster, you can lower the
delay on each frame. And if you want to
make it slow down, you would increase the delay. So make any adjustments
that you want to make. Save an updated version
of your working file, and join me in the next video, we'll turn it in to
an animated gift.
6. Export: Now to export this so you can post it on your website,
share it with the world. You're going to go to File, Export, Save for Web. Here, you want to make
sure GIF is selected. There's a lot of settings
you can tweak here to try and minimize the file size. You can see what the file size will be by looking over here. We can see right now at its current size and
current configuration, this is going to weigh in at 900 K. So depending
how you're using it, you may want to try
and make that lower. So you could reduce the size. You could try to get away with fewer colors and see if that's going to
make a difference. In this case, I
dropped it to 128, and I think it still looks fine. But, you know, that's up to you. You might be surprised what
you can get away with here. And sometimes it's fun
to create a gift that really it kind of looks like
a throwback to the 90s. So whenever you get this
set up the way that you want and you confirm
the size that you want, you want to make sure it's
going to loop forever, and then you'll click Save. Give it a name, and
if we go take a peek, there is our animated gift. Now, it could be
possible that you also want a MP four for
whatever reason. So if you find yourself
needing an MP four, just go to File,
Export Render Video. Here I'm going to make sure
I set this to document size. Make sure all frames
are selected and then click Render,
and there we go. Now, it's not going to
automatically loop in this preview because
it is an MP four. So keep that in mind. You'll need to know what
kind of format you want to export to depending on
how you want to use it.
7. Next Steps: And that's a wrap. Your doodle style animated
profile picture is officially alive and ready to charm the Internet. And
we want to see. So make sure to post your finished project in the
project section down below, whether it's silly, sweet
or straight up, strange. We want to see it
and cheer you on. If you enjoyed this class, please make sure to leave
a review and check out my other courses
here on Skillshare for more creative fun and magic. You can also find me
at carapltnch.com for more inspiration,
freebies and fun. Thanks so much for watching and until next time, happy creating. Oh,
 Khara Plicanic, Photographer, Designer, Adobe Educator