Resin Art Mastery: Crafting Stunning Coasters Step-by-Step
 Saba Faisal
Watch this class and thousands more
Watch this class and thousands more
Lessons in This Class
-
-
1.
Introduction of the Class
1:59
-
2.
What all things are required for this class
2:07
-
3.
Learn how to mix resin and hardener
2:58
-
4.
Learn how to put pigment in resin and then set in mould
1:53
-
5.
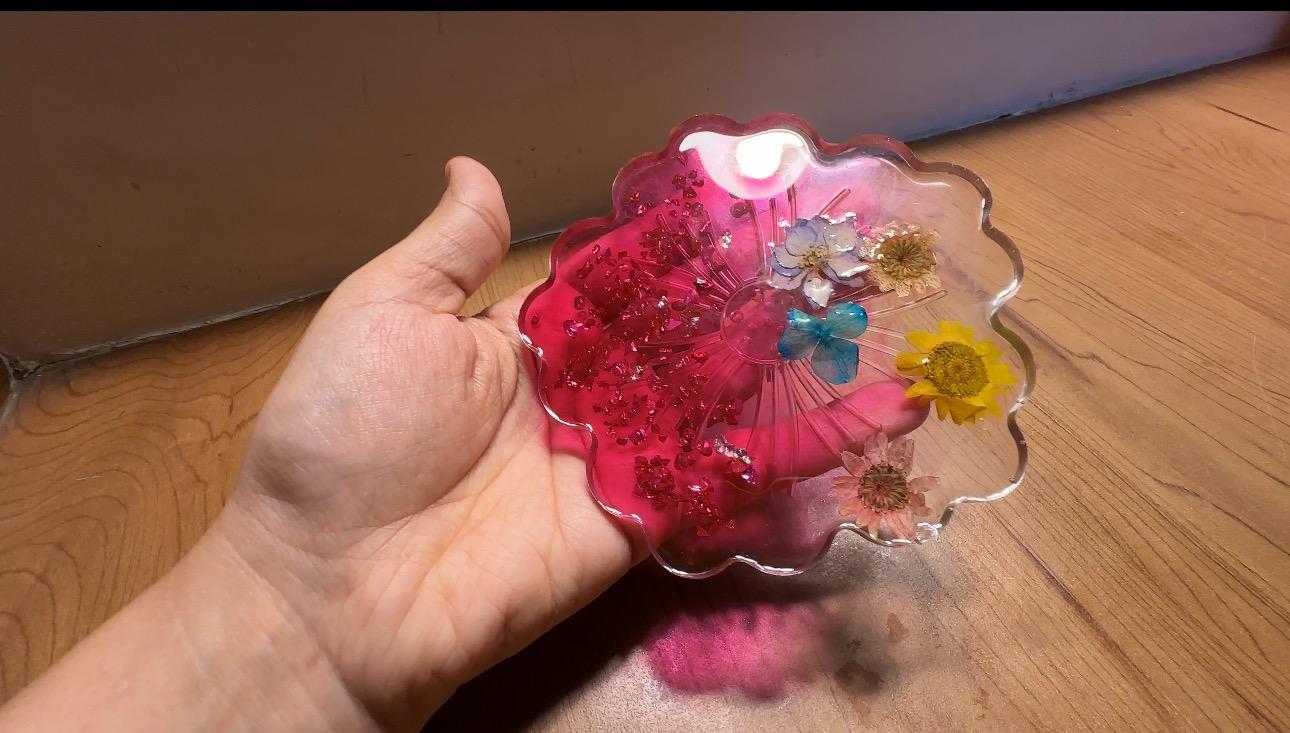
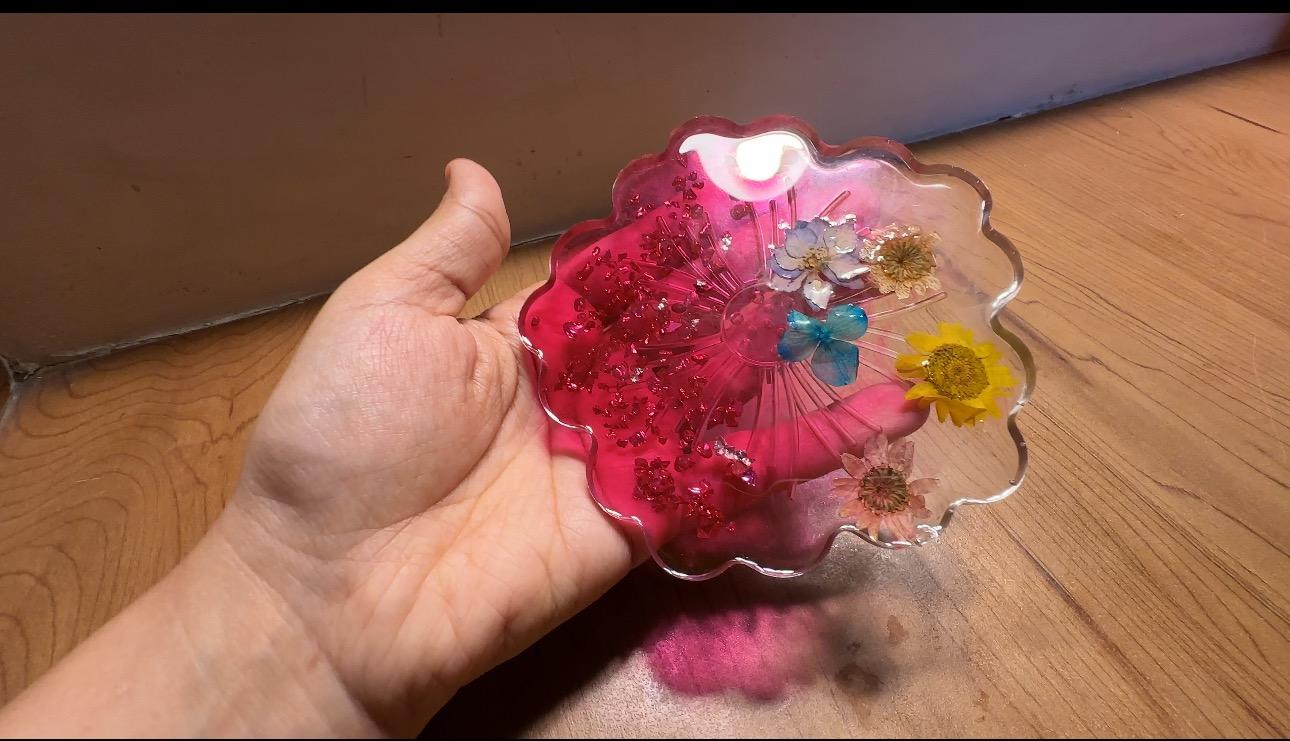
Start adding flowers and stones.
3:04
-
6.
Demould and colour the edges for final work
3:32
-
7.
It's your turn to make coaster
2:24
-
8.
Congratulations! It's a wrap !
0:57
-
-
- --
- Beginner level
- Intermediate level
- Advanced level
- All levels
Community Generated
The level is determined by a majority opinion of students who have reviewed this class. The teacher's recommendation is shown until at least 5 student responses are collected.
113
Students
--
Projects
About This Class
Welcome to our comprehensive Resin Art Coaster class, where creativity meets functionality! This hands-on course is designed to guide you through the entire process of creating beautiful and unique coasters using resin, ensuring you gain the skills and confidence to craft your own custom pieces.
What You Will Learn:
-
Introduction to Resin Art:
- We’ll start with the basics of resin art, introducing you to the materials, tools, and safety precautions necessary for working with resin. Whether you're a beginner or have some experience, this foundation will prepare you for the hands-on projects ahead.
-
Step-by-Step Coaster Creation:
- Dive into the practical side of resin art with detailed, step-by-step instructions on how to make your own resin coasters. We’ll cover everything from mixing resin and hardener, choosing the right pigments, and incorporating decorative elements like glitter, dried flowers, or pigments, to pouring the resin into molds.
-
Hands-On Practical Approach:
- This class is designed to be entirely hands-on. I’ll be demonstrating each step in real-time, allowing you to follow along and replicate the process at home. You’ll gain confidence as you see each stage of the coaster-making process unfold before your eyes.
Why This Class?-
Practical and Comprehensive:
- This class is thorough, providing all the information and guidance you need to master the art of resin coaster making. From beginner tips to advanced techniques, you’ll be equipped to create coasters that are as functional as they are beautiful.
-
Creative Exploration:
- Resin art offers endless possibilities for creativity. In this class, you’ll not only learn how to make coasters but also gain the skills to experiment with colors, textures, and designs, allowing your creativity to flourish.
-
Personalized Learning:
- You can customize your coasters to reflect your personal style. Whether you prefer subtle elegance or vibrant, bold designs, this class encourages you to create pieces that are uniquely yours.
What You’ll Need:
- Basic Supplies: Resin, hardener, mixing cups, stir sticks, coaster molds, gloves.
- Decorative Elements: Pigments, glitter, dried flowers, or other decorative items of your choice.
- Finishing Tools: Sandpaper (if needed), Paint marker for colouring the edges
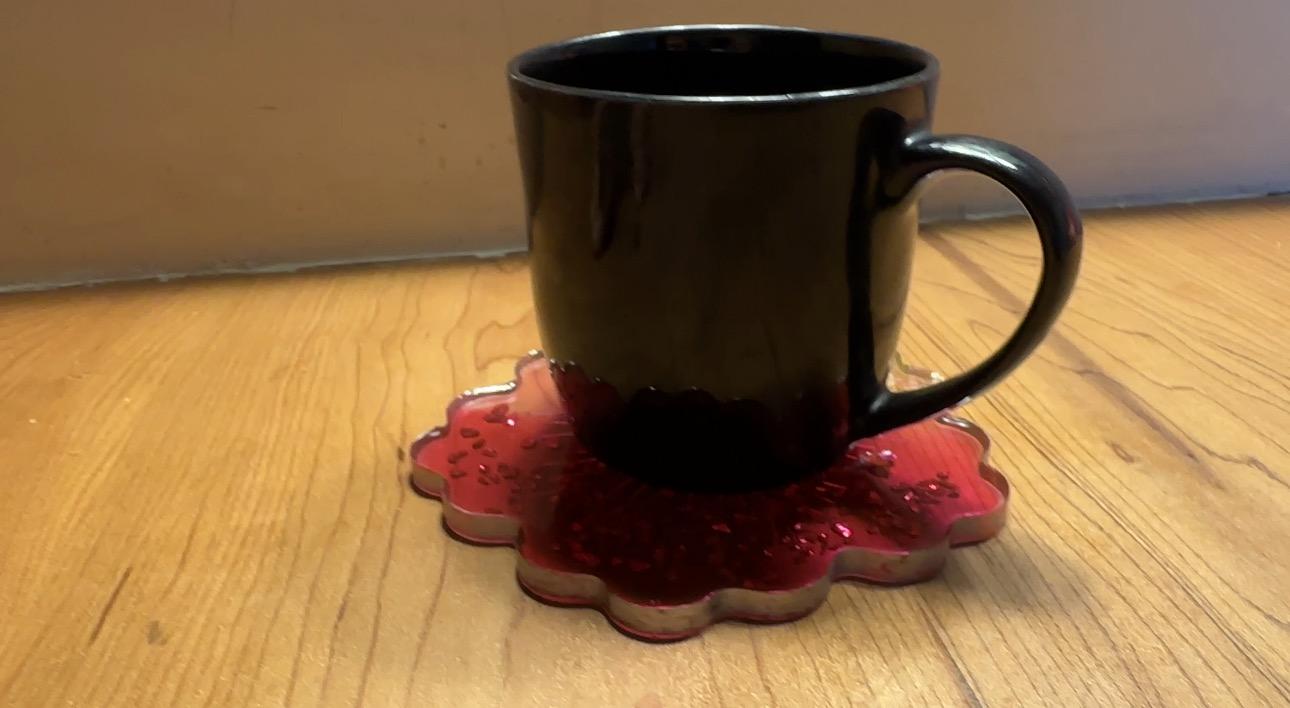
What’s Next?By the end of this class, you’ll have created a set of stunning resin coasters that are both functional and artistic. These coaster make perfect gifts, personal items, or even products for a small business. Join me in this creative adventure, and let’s make something beautiful together!
- You can customize your coasters to reflect your personal style. Whether you prefer subtle elegance or vibrant, bold designs, this class encourages you to create pieces that are uniquely yours.
-
- This class is designed to be entirely hands-on. I’ll be demonstrating each step in real-time, allowing you to follow along and replicate the process at home. You’ll gain confidence as you see each stage of the coaster-making process unfold before your eyes.
Meet Your Teacher

"Hello, I'm Saba, a passionate graphic/UI and UX designer with several years of experience in the industry. I've worked with numerous clients, creating impactful designs for their brands. Now, I'm excited to share my knowledge and skills as an instructor on Skillshare."
In my classes, I believe in a hands-on approach where students can actively apply what they learn. I provide step-by-step instructions, practical exercises, and real-world examples to help students develop their skills and gain confidence in using sketch tools.
By taking my classes, you will gain a detailed introduction to sketch tools and learn how to create professional logos for brands. Through hands-on projects and guidance, you will develop the skills and confidence needed to bring yo... See full profile
Hands-on Class Project
Congratulations on making it to the project phase of our resin coaster class! You’ve learned all the techniques you need to create your own beautiful and functional resin coaster. Now it’s time to put those skills to work and design a set of coaster that are uniquely yours.
For this project, I want you to create a set of coaster that reflects your personal style and creativity. You can choose any of the techniques we’ve covered in this class.
As you work on your coaster, feel free to experiment with different colors, decorative elements, and techniques. Remember, resin art is all about creativity and exploration, so don’t be afraid to try something new and see where your imagination takes you.
Once you’ve completed your coaster, I would love for you to share your work in our project gallery. This is a great way to showcase your creativity, inspire others, and see the amazing variety of designs that your fellow students are creating.
Submitting your project is simple. Just take some photos of your finished coaster, upload them to the gallery, and add a brief description—perhaps sharing what inspired your design, any challenges you encountered, and what you enjoyed most about the process.
I'm so excited to see what you create! Remember, every project is a reflection of your creativity, so take your time, enjoy the process, and most importantly, have fun. Happy crafting!
Class Ratings
Why Join Skillshare?
Take award-winning Skillshare Original Classes
Each class has short lessons, hands-on projects
Your membership supports Skillshare teachers
Learn From Anywhere
Take classes on the go with the Skillshare app. Stream or download to watch on the plane, the subway, or wherever you learn best.