Quick Ink Techniques: Create an Abstract Illustration using Looping
 Hattie Linton, Digital Artist and Ink Illustrator
Watch this class and thousands more
Watch this class and thousands more
Lessons in This Class
-
-
1.
Introduction
1:21
-
2.
Sketching Your Outline
1:30
-
3.
Practicing Looping
1:13
-
4.
Completing Your Illustration
3:01
-
-
- --
- Beginner level
- Intermediate level
- Advanced level
- All levels
Community Generated
The level is determined by a majority opinion of students who have reviewed this class. The teacher's recommendation is shown until at least 5 student responses are collected.
12
Students
2
Projects
About This Class
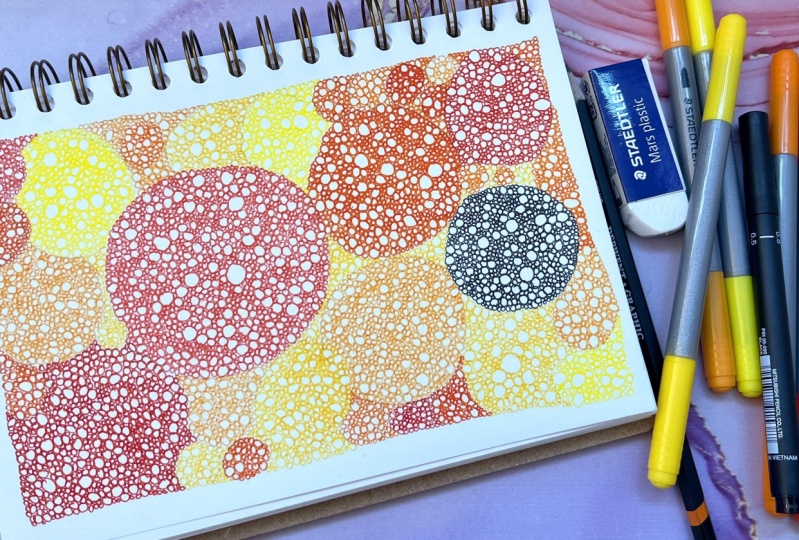
Welcome to Quick Ink Techniques: Create an Abstract Illustration using Looping!
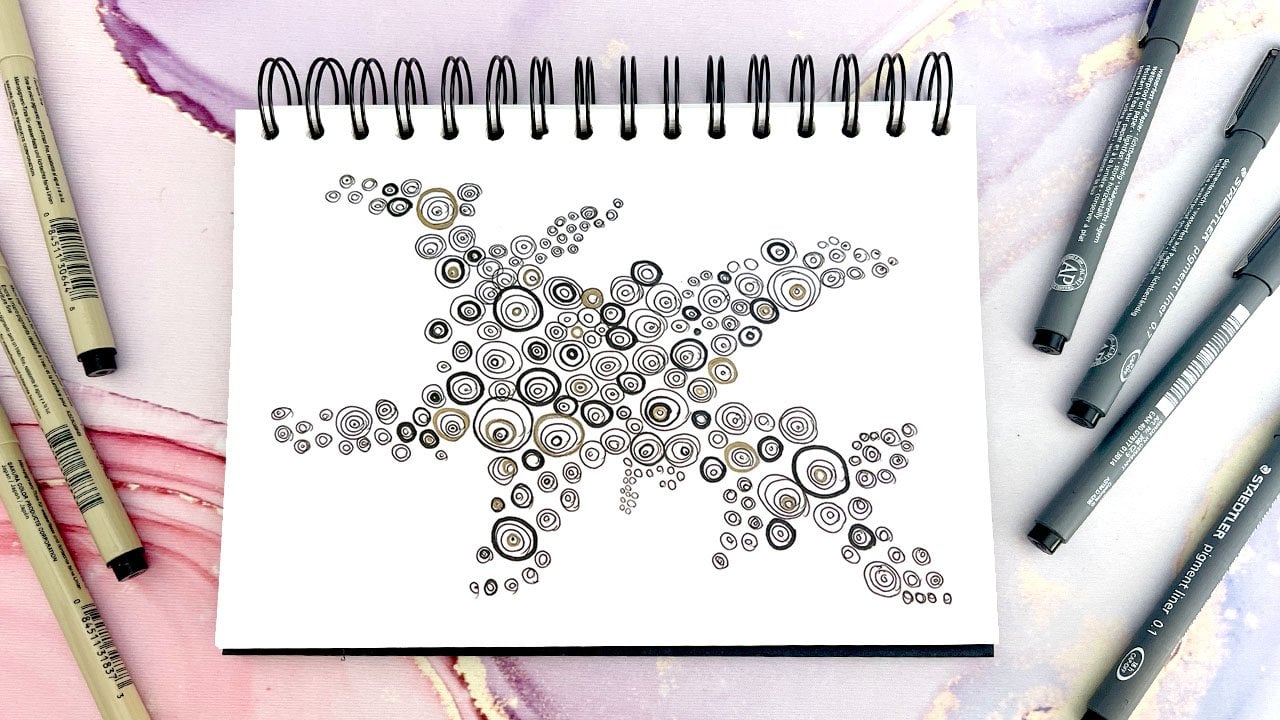
Discover the fluid, expressive world of looping ink techniques in this quick and engaging class. Whether you want to add movement to your line work or experiment with texture and layering, this 10-minute session will introduce you to the creative possibilities of looping with ink.
Perfect for all skill levels, this class covers:
- Looping variations for creating depth and variety
- Nib sizes & colour combinations to achieve different effects
- Different stylistic approaches to make your artwork unique
Through step-by-step demonstrations, you’ll explore different ways to apply looping and bring everything together in a final abstract ink illustration. This class is ideal for both beginners looking to explore ink for the first time and experienced artists wanting to expand their mark-making techniques.
Grab your pens, and let’s get looping!
Meet Your Teacher

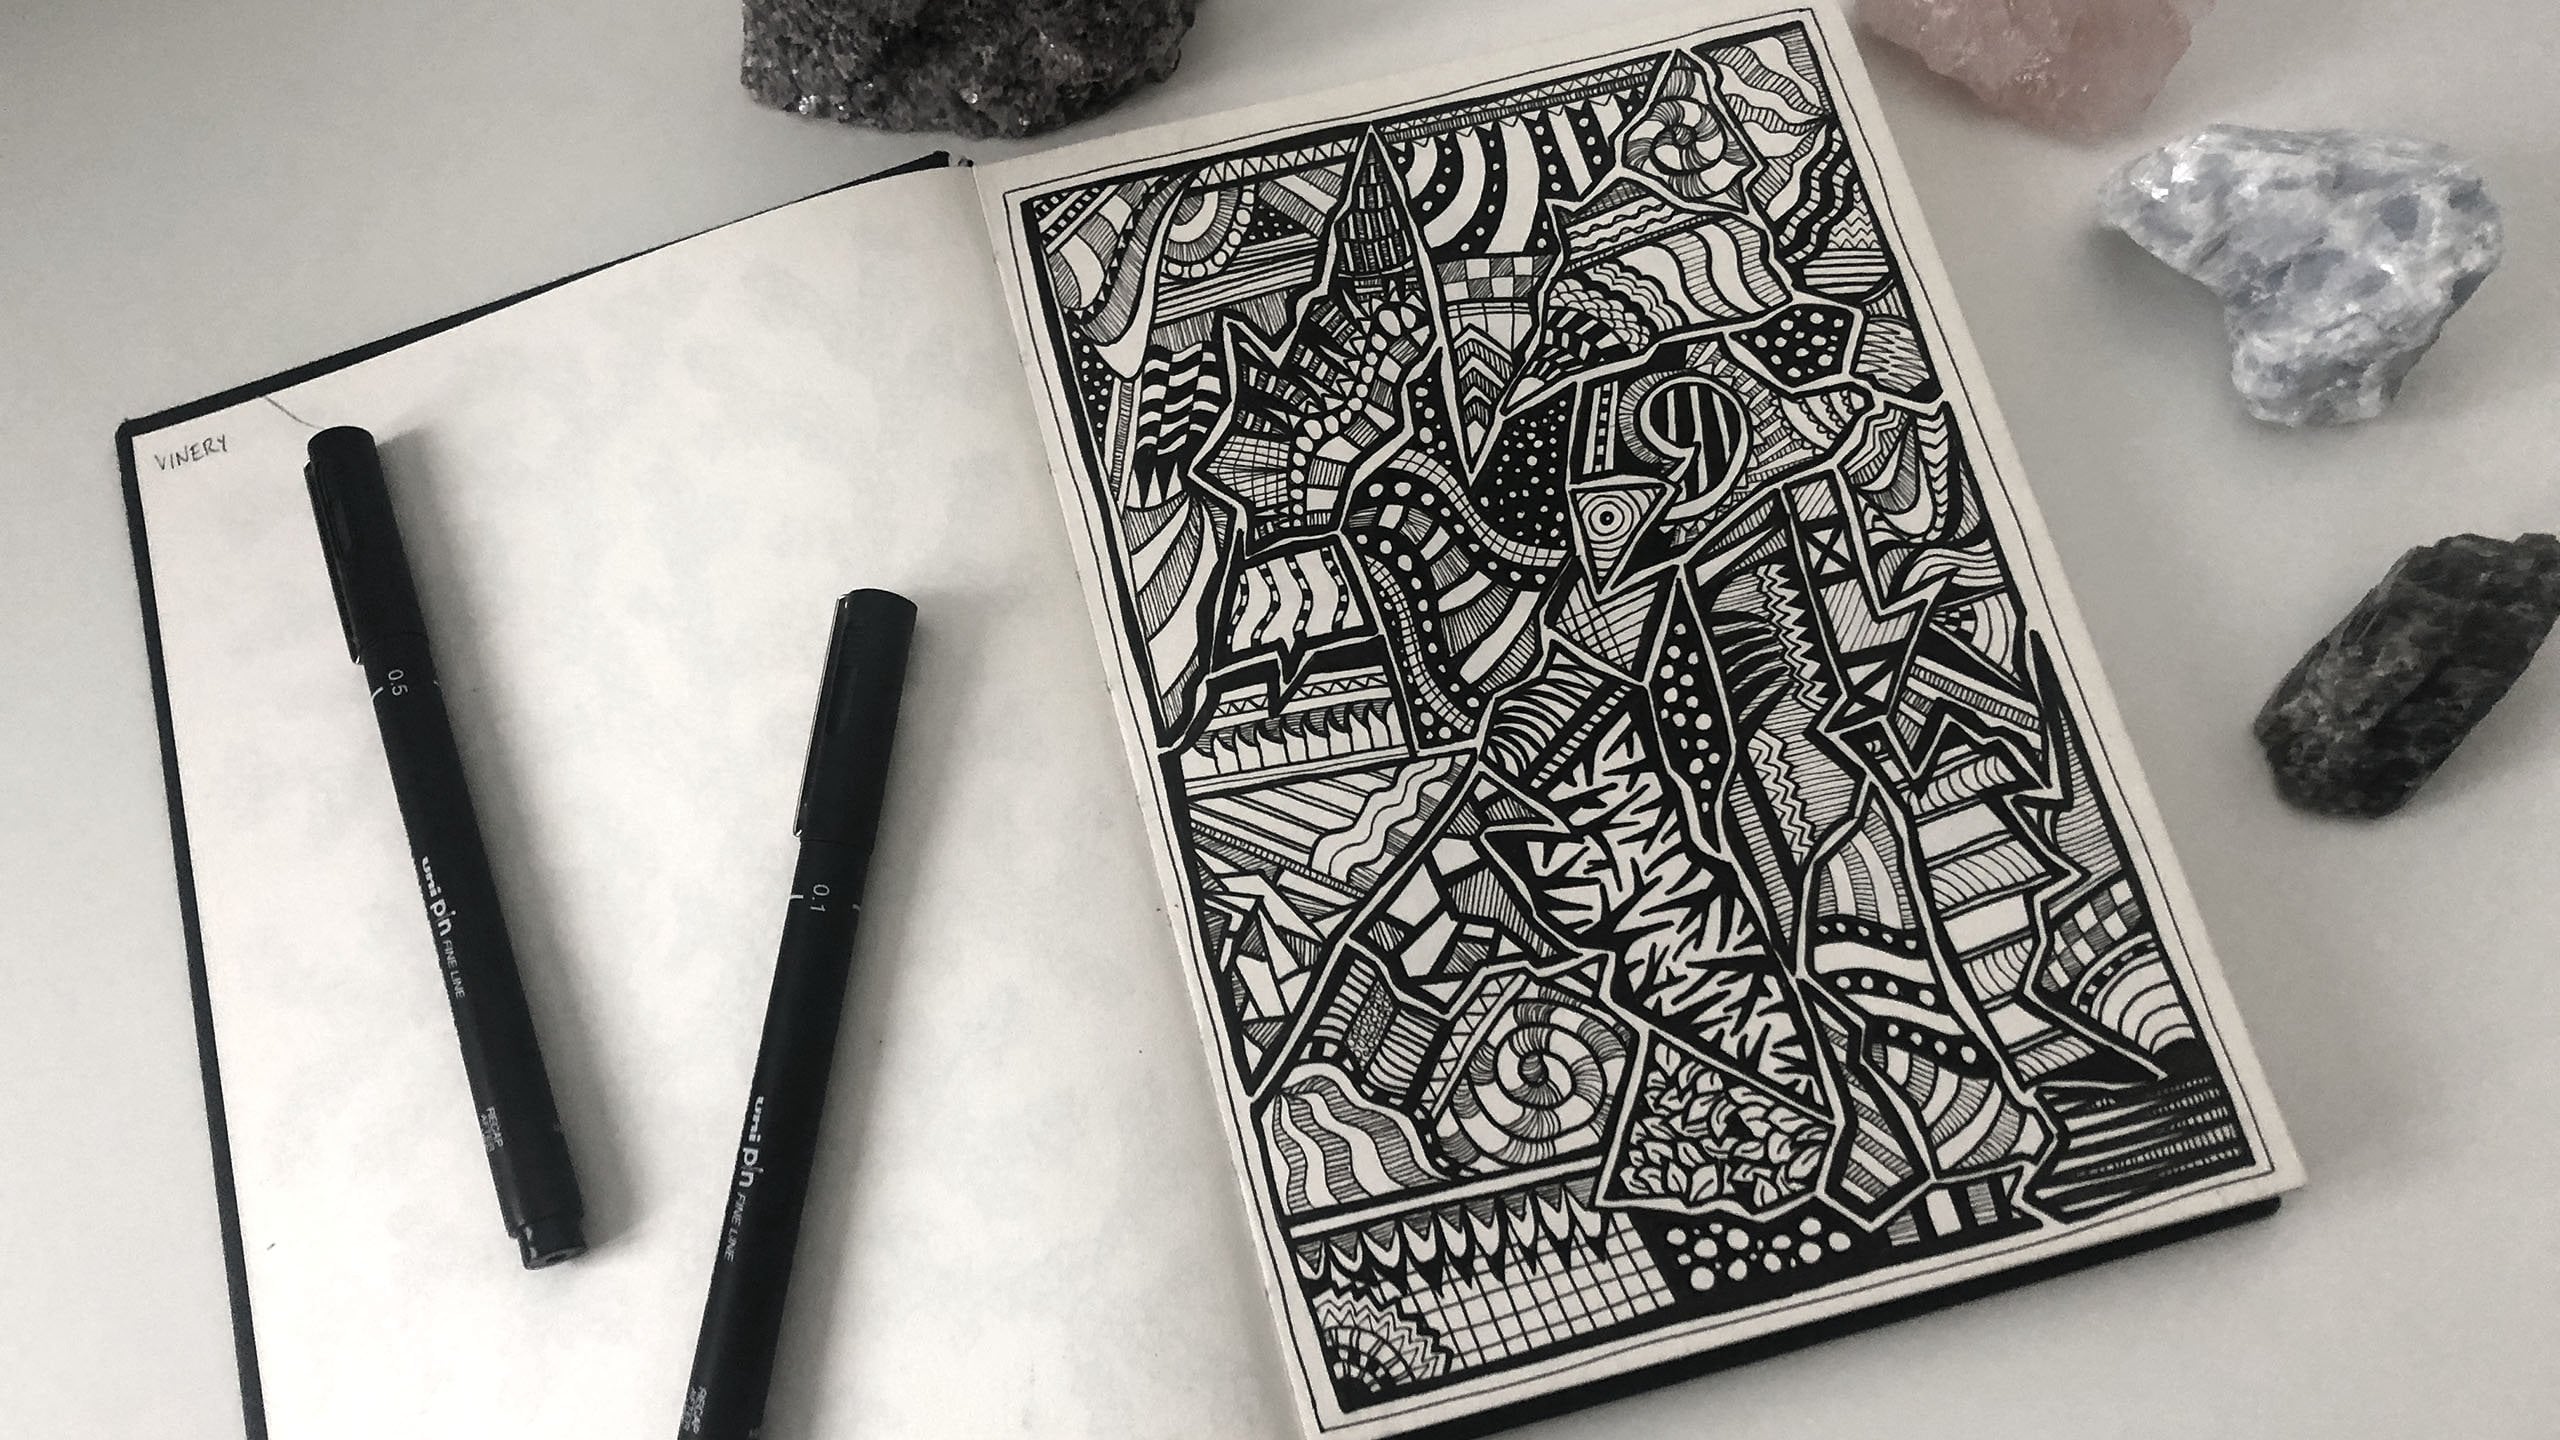
My name is Hattie Linton and I'm an Artist and Illustrator based in Peterborough, England.
I've been working professionally in art for the last few years, taking commissions, selling my designs on products and drawing original artworks.
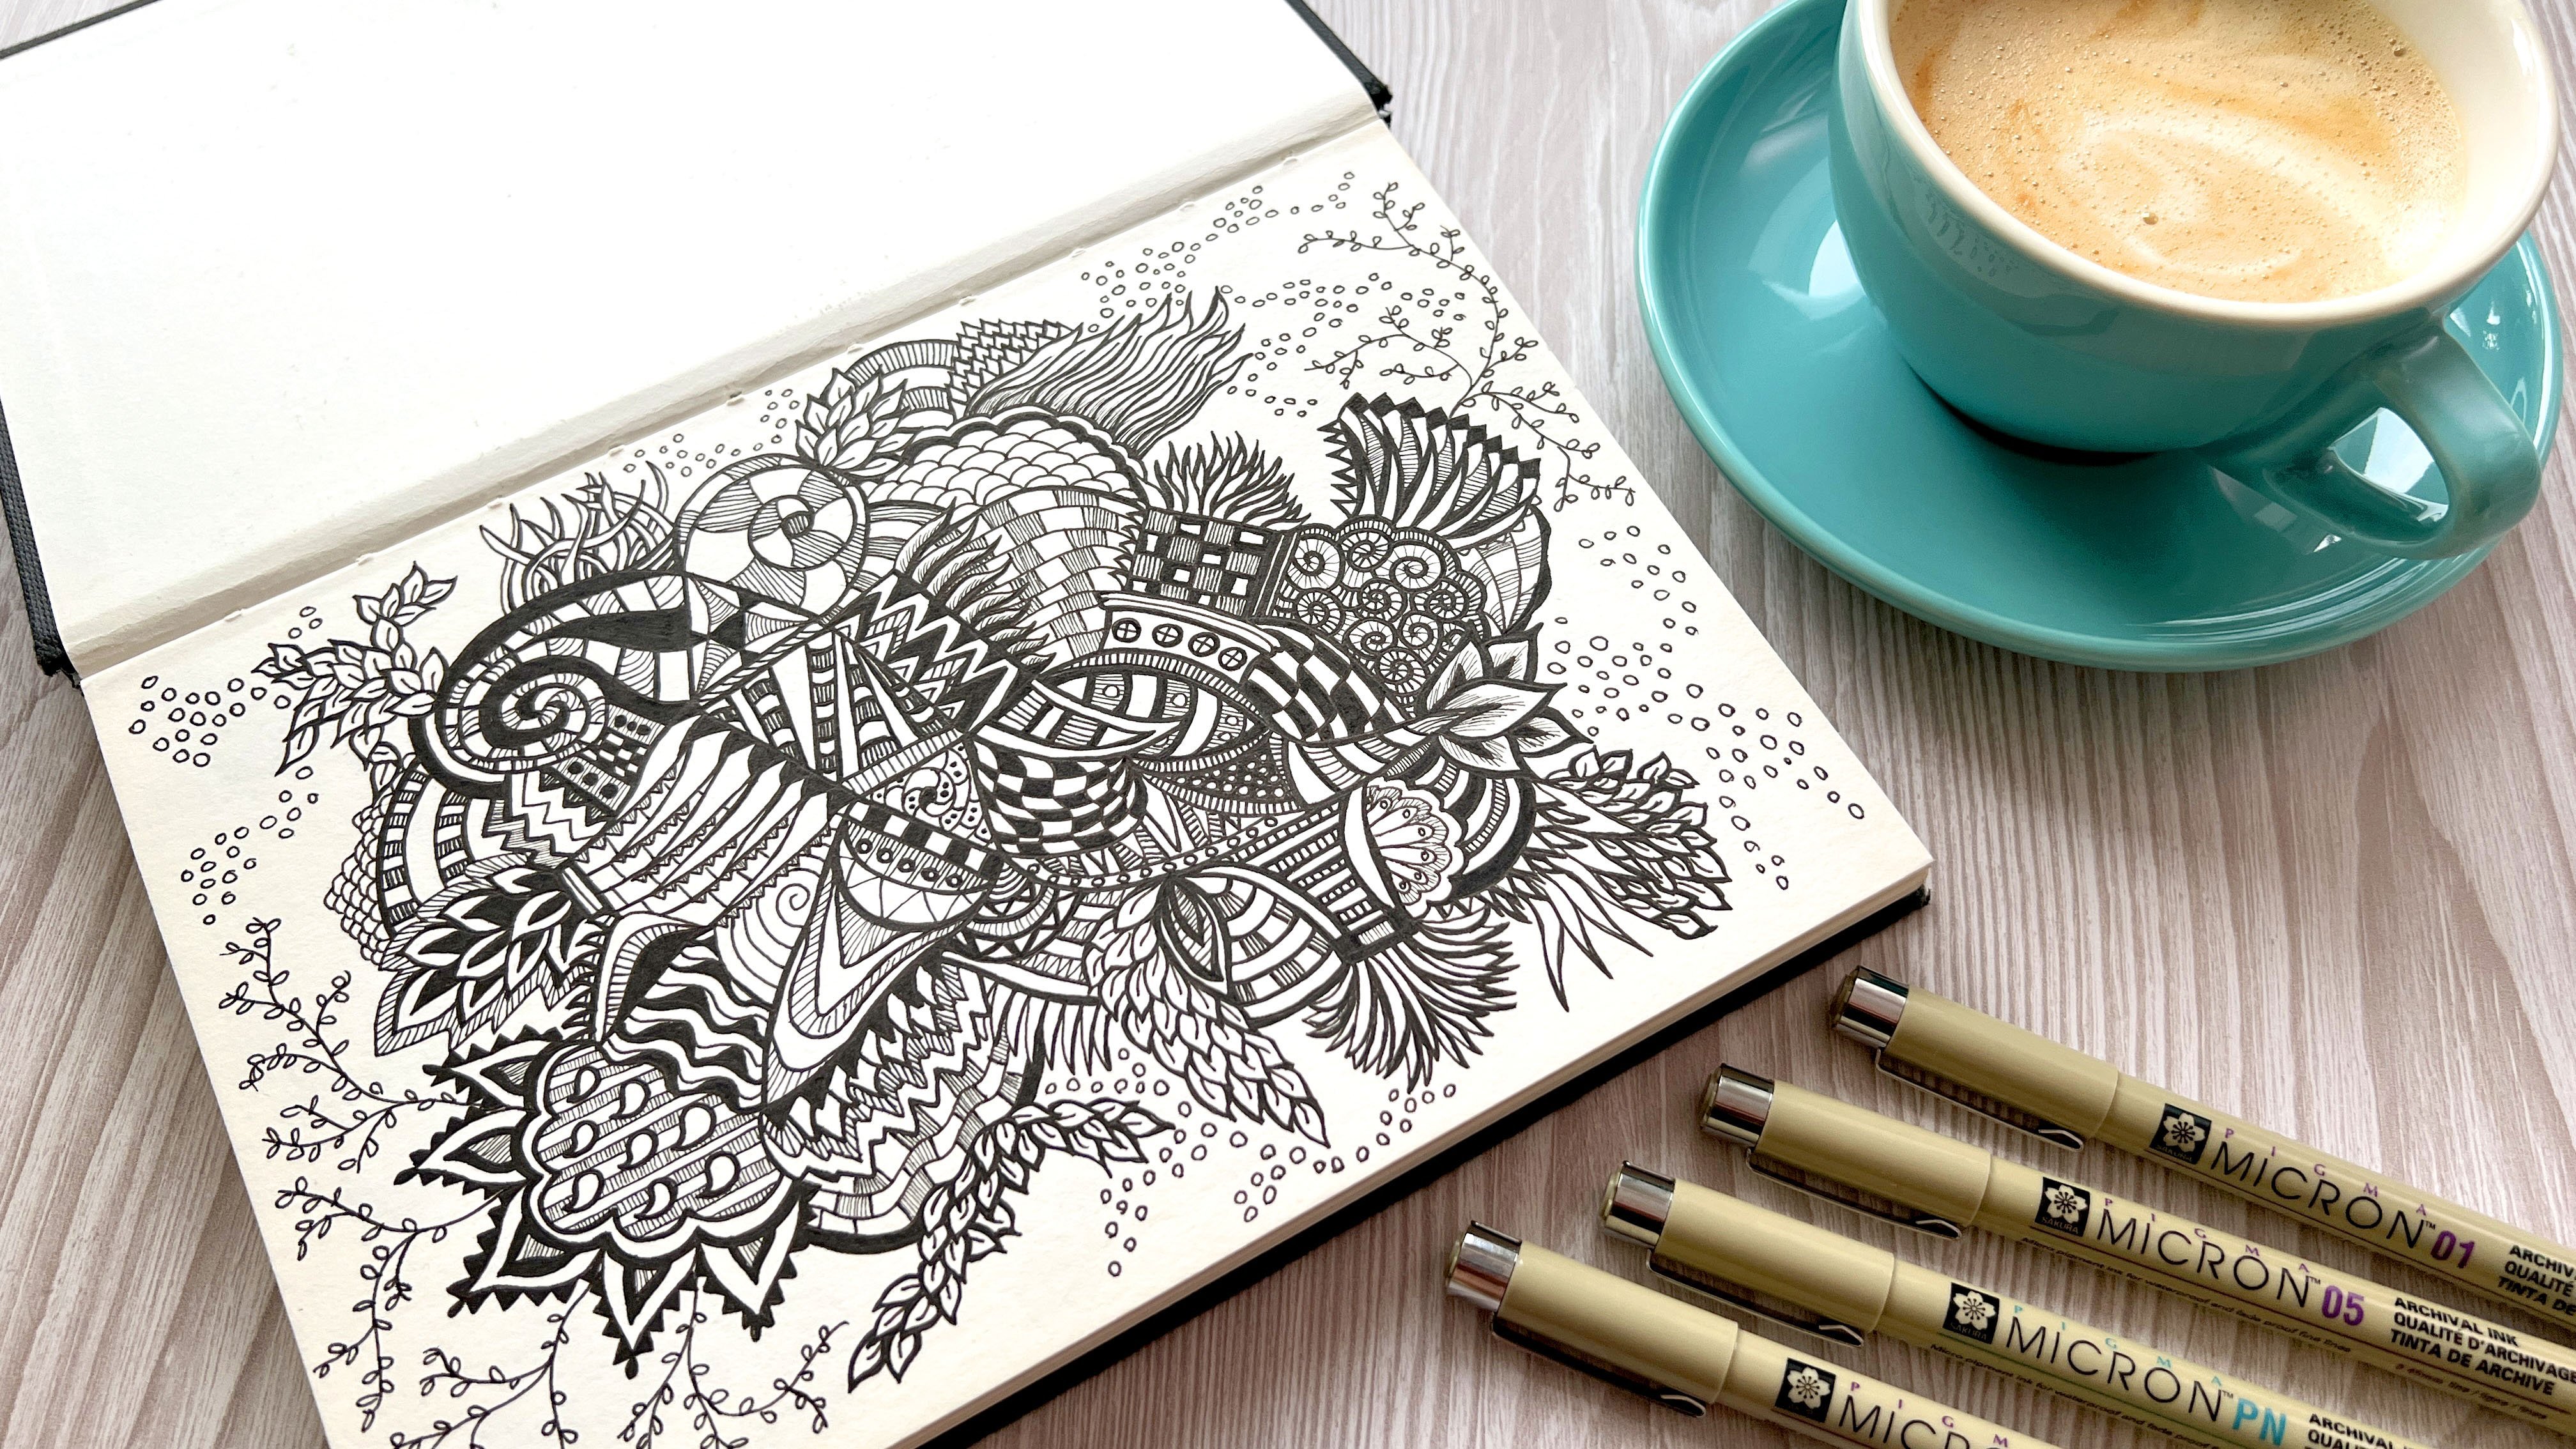
I love to draw and a lot of my work is very freeing as I enjoy drawing abstract illustrations and patterns - I never know where they're going to end up so it's always really exciting.
I studied art at school and then after university I ended up working in a completely different field and my pens just began to gather dust in the corner.
Then one day in 2015, on a whim, something drove me to pick up my pens again and start drawing, and I haven't stopped since.
See full profileHands-on Class Project
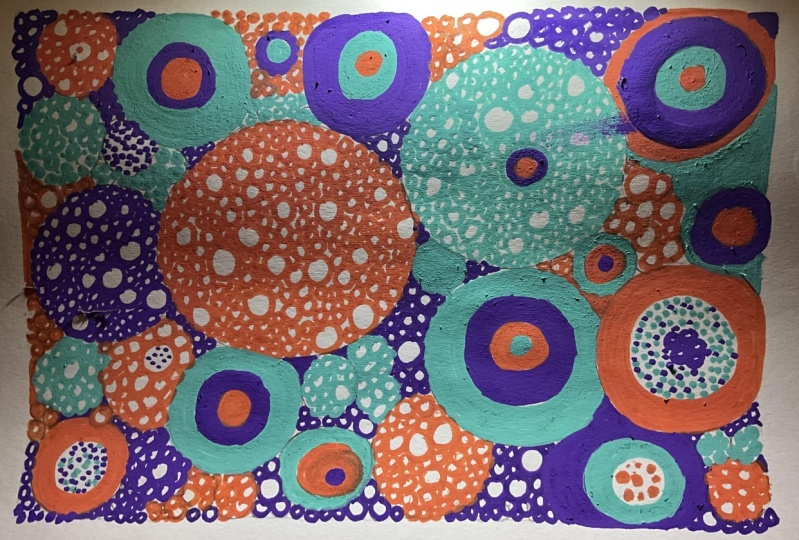
For this project, you’ll create a dynamic abstract ink illustration using the looping technique. This is a great way to explore the fluidity of ink and experiment with different line weights, overlapping loops, and colour layering.
Steps to complete your project:
- Prepare your materials including paper, and your choice of fineliners.
- Practice looping techniques by experimenting with different sizes, densities, and directions.
- Plan your abstract composition
- Build your illustration using looping lines to create texture and depth.
- Share your final piece in the project gallery!
Upload photos of your process and final artwork! I’d love to see your experiments and hear about your experience with looping.
Class Ratings
Why Join Skillshare?
Take award-winning Skillshare Original Classes
Each class has short lessons, hands-on projects
Your membership supports Skillshare teachers
Learn From Anywhere
Take classes on the go with the Skillshare app. Stream or download to watch on the plane, the subway, or wherever you learn best.