Transcripts
1. Introduction: Stamp brushes are
really easy to make, incredibly versatile and a
brilliant time saber tooth. I use them all the time
in my illustrations. I'm Nick. I'm an artist, illustrator and
designer of fun things. I work with both traditional
materials and digitally, and I love to combine them both. I sell my illustrations all over the world on all kinds
of lovely things. In this class, we're going to look at all sorts of uses for stamp brushes from simple
repeatable shapes to templates, textures, and even your
artists signature. I'll show you how to
make a simple brush that we can then swap
out really easily to change and ways to tweak brushes to make them
behave in different ways. It's a quick and easy class and it'll save you
a lot of time. If that sounds good,
let's get going.
2. Simple Stamp Brush: There are so many uses
for a stamp brush from simple shapes for
abstract compositions and collages to textures, templates, details that you'll
use over and over again, and even your
artists signature or logo to make your mark on
your finished artwork. But first things first,
we're going to start by making a really simple brush just to get the process down. Start by opening Procreate, tap the plus in the
top right corner and tap in the little
new Canvas symbol. I'm going to use a 3,000
pixel canvas at 300 DPI. It doesn't matter all that much, but don't make your
stamp too small. It's always better to start big. If you use larger
canvases than this, I suggest you start
at your normal size. Let's start with our design. First of all, it's easiest
to draw the stamp in white. So that we can see what
we're drawing easily, I'm going to tap on the layers, tap on the background
color, and choose black. Any dark color will
work. It doesn't matter. Then I'll make sure
the color selected in the color chip at the top right is set to white to draw with. If you choose any other color, it will be semi transparent. Pick any good solid brush. I'm using the Yaga brush in the basic section of the
New Procreate library. I'm going to make it a
bit bigger, but first, I'll tap on the size
slider and then tap the plus so that I can go
back to this size later. That's better. In general, bold shapes work really
well for stemps. Try and make it
something directional so that we can tell which
way up and around it is. I'm going to draw a
simple houseplant shape, but you can draw
whatever you like. You don't have to
do this at all, but I'm holding at the end of my plant pot stroke so that
it snaps into a shape. Then I can use this top shape editing menu and
you can see that some dots have appeared so that I can move the edges
or the corners around. You can do it all free hand,
of course, if you prefer. I'm going to drag
the color chip into the closed plant pot shape
to fill it with solid color. Keep it fairly
simple for this one. It's our starter brush and you can get much fancier
later if you want to. Let's make the brush.
When you're ready, tap on the layers, tap in the layer with your art
on and choose copy. Tap on the brush symbol, tap the plus at the top right, and select Create New brush. This gives us a brand new
brush with default settings. In the menu on the
left, choose shape. The shape source is
the tip of the brush, which is exactly what we
want our stamp to be. We need to replace
the circle here by tapping edit, import, paste. Tap on the tick when
your stamp appears. If you draw on the drawing pad, you'll get a long
stroke made from multiple stamps of your brush, which may or may not look good. That's not what we're
after right now. To make this into a spaced out stamp rather than a stroke, tap on stroke path in a left menu and take
the spacing slider at the top all the way up and you can see on
the drawing pad what difference that makes. These stamps are
actually really small and we want to make
them big by default. Go to the properties in that left hand menu and move the maximum size slider
all the way to the right. Tap on the tick at the
top right to exit to the canvas and let's see
how our brush works so far. I'm going to change the
background color to white and then add a
new layer to draw on. I'm unchecking the
plant layer to hide it. Choose black for the stamp
and tap on the canvas. It's really huge, so you can adjust that with
the size slider. Even though the opacity
slider is on max, the stamp is still reacting
to the pencil pressure. Sometimes it does
look good to have varying opacity like
this flower stamp. But here's how to go
back in and change to get that fully opaque
stamp every time. In the brush library, tap on your new brush to get
back into the editor. Go to Apple Pencil, and this shows you
how the pressure you use with the pencil
affects the brush. At the moment, you can see
that the opacity is on Max, so it's reacting to how
hard you're pressing. Slide that all the
way to zero so that it makes no difference
how hard you press. Tap the blue tick
to finish editing. I'm going to delete that
layer and make a new one. Okay, that's better. You can choose another
color to stamp with. Let's just do a couple more
things to finish this brush. First, we need to name it
by tapping and holding on the brush in the library
and choosing rename. I will call mine plant brush, and I like to add my initials so that in a distant future, I'll remember that
it's one that I made. In the brush Editor,
in about this brush, you can add your logo or your photo or your name and
your signature if you like. It's important to create
a new reset point so that you can go back to these exact settings
at any point. As we want to make some more
brushes based on this one, it's important to
be able to do this. This method is perfect
for making simple, solid or hollow shapes for
collage style artwork. Or for your artist's
signature or logo. Oh
3. Ribbon or Border Brush: We can change this brush really quickly to make it
more versatile. Go back into the brush editor
and in the stroke path, move the spacing down to get more of a ribbon
type of brush, but the stamp repeats evenly
along a brush stroke. This makes your stamp a bit more useful and it's really
great for borders. We can quickly make another version without having to change all the settings by sliding the brush towards the left
and tapping duplicate. We're going to work
on this new brush with something a bit
prettier for a border. This time, I want to show you a different way of making
the brush stamp shape. Although, of course, you can
do it in the same way as we did last time by drawing
in white on black. For this one, I'm going to draw the shape on paper
with a marker. Using my iPad camera, I'm then going to
take a photo of it and it's important
that the photo is square. Back in our Procreate file, tap the wrench or
spanner Actions menu and in the ad section, tap in Serta Photo. Tap on the wand for
the adjustments menu and choose curves. You don't have to
understand these really play a bit
until the black looks really black and the
white looks really white with as little texture
showing as possible. I'm going to pull the line
downwards where it crosses that first quarter marker and pull up towards
the third one. I'm moving that bit to the left to get rid
of that texture. Just move things around until
your drawing looks good. Tap the wand again to get
back out of the curves. This next bit is
the same as before. In the layers menu, tap on
your layer and select Copy. Tap on the new brush and
choose shape and then edit. Import, then paste. Tap on the tick and let's
see how that looks. This is what happens if
you use a black brush on a white background instead
of the other way around. Procreate inverts it and you end up getting a white
shape on a black square. Let's get that fixed. Tap edit above the daisy shape and then just two finger tap
on the image to invert it. Tap the tick to go back and
now it looks a lot better. If your preference is to
draw with black on white, then this is the way
to deal with that. Just to show you the difference, this is what
happened when I used the original photo without
changing the curve. The brush editor sees
everything other than pure black
or white as gray, you get this gray semi transparent square
around your image. I'm going to rename
my new brush. And then switch off
the daisy layer, add a new one, and
let's try it out. It's also a ribbon brush
because we based it on the settings that we
left our plant brush in. It's cute, but it would
look better if the daisies rotate rather than being
all lined up like this. Go back to the editor in the shape settings
and let's just draw a continuous line on the drawing pad so we can see live the changes
we're making. You can change the rotation
and you can see what it does. If you slide it
all the way over, your shape will just
follow the stroke. Let's take that back down to around 50% and you can choose any amount that
looks good for your stamp. It might not be
the same as mine. Either use the slider
or if you prefer, you can tap on the number
and enter it that way. The other way of doing this
is to change the scatter. I like a combination of both. Let's go back out and have a
look at this on a new layer. Draw a line across and hold it at the end
to make it straight. I'm going to stretch
it out a little bit and you can tap up
here to edit it further. This method is great for
doodles, dots, cross hatching, and so on to fill spaces and add hand drawn textures
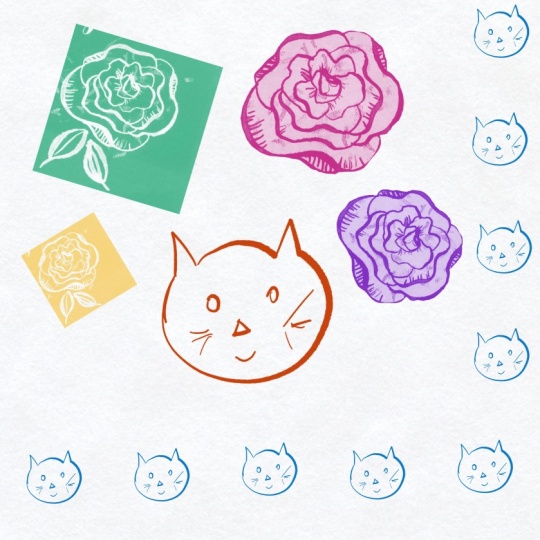
and details quickly. Using rotation stops them
being too repetitive. You can also use this method to capture paint or ink marks, drips, and splashes to
add to your artwork.
4. Frames and Page Stamps: We can also make that
border into a stamp. We need to set up another brush, and as we don't want any
rotation on this one, we can duplicate the
original plant brush. I'm going to rename it and
then go back to the layers. Remember that we need
the brush damp to be either black or white
and white is quicker. So let's turn the background
off and select white. Go back and tap on the layer
and choose Alpha lock, and this protects any
transparent parts of that layer from
being painted on. Tap again on the layer
and choose fill layer, and it's turned everything
on that layer white, which is perfect.
Copy the layer. Go into the editor, and just like
before, go to shape, edit, import, paste,
tick, and come out. Switch the background back on and on a new layer,
let's try it out. Choose another color, adjust the size until it looks good. You can always use
the selection arrow to move it around a
little if you want to. You can also select
it and choose Fit to Canvas for
perfect alignment. You can use this
method for things like stamped lines, grids,
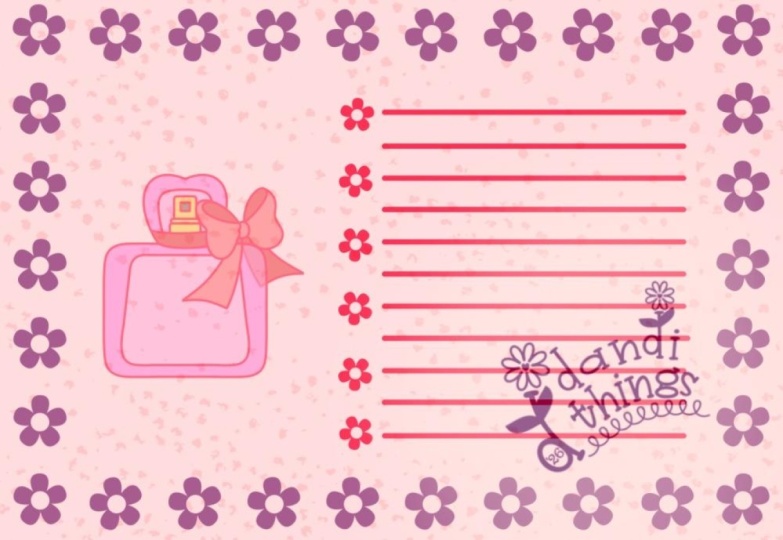
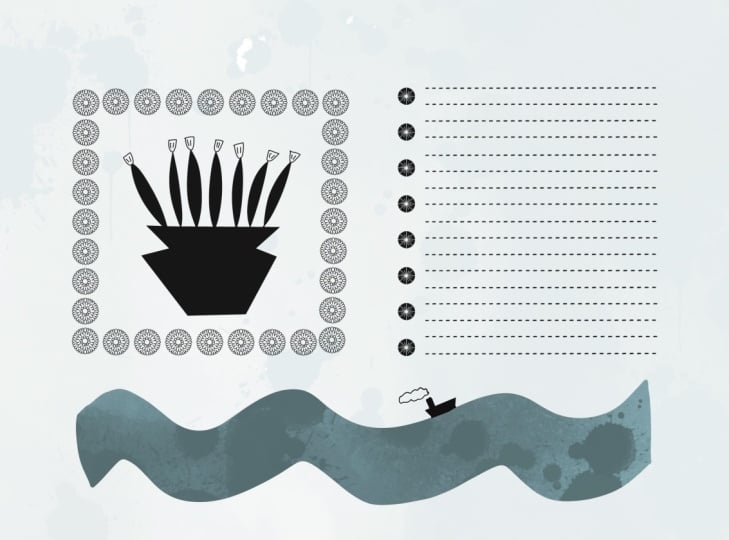
and templates. We'll make it to do list. Make a new layer to work on and switch off the visibility
of all the others. In the wrench Actions menu, choose Canvas and switch
on the drawing guide. Tap on Edit Drawing Guide. In the little pop up menu here, slide the grid size to something
that looks good to you. Select your stamp brush and stamp on the left
side of the grid. Let's use our flower
brush for this. Et's make a new
layer for the lines. In the basics brush library, I'm going to use the
Yaga brush again to make the lines because
I want them to be the same size and even
all the way along. You could decide to
do a textured line or wiggly lines if you prefer. I'm drawing a straightish
line and then holding my pen down at the end of the stroke
to straighten it. If I hold a finger on the
screen at the same time, it means the line will
snap to horizontal. This actually also
works for vertical, 45 degrees and also
15 degree angles. You can tap and edit at the top if you need to
make your line longer, shorter or reposition it. In the layers menu, slide the line layer to the
left and duplicate it. Tap the arrow at the top
to select the new line. In the pop up menu, tap snapping and turn on
magnetic and snapping. Drag the line down and mine wants to snap too
far down the page. I'm going back into the snapping menu and I'm just going to take the distance
down and try again. That's better. In
the layers menu, use your fingers to pinch the line layers
together to merge them. Duplicate this new layer, select it using the arrow
and drag it down as before. Keep repeating this until
you have enough lines. I just need one more. This time, I'm going to use the S shaped selection
tool on the free hand setting to draw
around one of the lines. Then using three fingers, I'll drag down on the
screen to bring up the copy and paste menu and
tab duplicate. Now I'm going to switch
off the drawing guide so that we can see the
canvas more easily. That looks fine, now we just need to make that
into a stamp brush. I'm going to pinch all those
layers together into one. But if you're going
to make different versions of this brush, maybe with dots instead of
flowers or something else, you can always duplicate any
unflattened layers first. Now tap on the merged
layer and Alpha lock it. Now choose white, tap the
layer again and fill layer. This would be feeling a
little bit familiar by now. At the bottom of the
layer, switch off the background so you
can see the image, tap the image layer
and choose Copy. Go to your brushes and
duplicate a similar brush, and in my case, it's
this daisy border. I'm choosing this because
it was a whole page brush. Tap and hold the new
brush to rename it. Go into the brush editor
and in the shape, edit, import, paste, and tick. Go back out to the
canvas, make a new layer, hide the previous layer, choose another
color and switch on the background to try
out your new brush. Mine is a bit big,
so I can adjust it just like any other
brush until it looks good. Alternatively, I can
tap the arrow and select the whole layer and
adjust it that way too. These stamps are so useful for journal and planner pages,
templates, headers, banners, anything that you want to
use over and over again. Oh
5. Make and Use a Texture Stamp: Let's make a texture brush next. Although this one is
also super simple, I wanted to include
it as this is something I use all
the time in my work. As well as showing you
how to make the brush, I'll show you quickly
how I use it as well. This brush is going to stamp a texture over the whole canvas. It's a good idea to start
with a canvas and a photo, which is the size
you normally use. For this class,
I'll stick with the same 3,000 pixel canvas. Start by finding
a texture to use. As an artist, for me, the most useful textures
are painting ones. So I'm going to use
some watercolor paint on paper for mine. You could also use a surface
texture, for example, textured paper, concrete, rust, or anything else you
fancy adding to your art. Start by taking a square
photo of your texture, which fills up the whole frame. Bring it onto your
canvas by tapping the wrench actions
icon on the top left, choosing ad and then
insert a photo. My photo is a little
bit too small, really, but we'll
go with it for now. I'm going to tap on fit to Canvas in the pop up menu here. Normally, I wouldn't make things bigger because it can
end up pixelated. But let's just pretend it was the right size
to start with. Tap on the layers menu, tap on the inserted
image, and choose Copy. Go to the brush library. I'm going to choose
the toads brush because that's the closest to what we want and I'll slide it to the left
and duplicate it. I'm going to tap on the
new brush and rename it. Then tap on the brush again
to bring up the brush editor. As all the other brushes before in the shape
menu, I'll tap Edit, import, and paste, and then I'll do a two finger tap on the imported
image to invert it. This is going to give me the lighter version
of the texture. It's up to you whether
you do this or not. Tick to exit the editor. I'm going to switch off
inserted image layer add a new layer and I'm
going to try my brush. Let's just take the size up to make it cover the whole canvas. I'm going to switch that layer off for now and just go back to the scene that I made
earlier with the houses. I'm going to add color
to the background so that we can see the full
effect of the texture. I'll go back to the
texture layer and switch it on and
it's quite dark. I'm just going to
change the color. I'll select the layer, lock it, and choose fill layer
to turn it white. This could be actually
any color you like, it doesn't have to
be black or white. Then I'll tap on the N to
the right of the layer and I'm just going
to take the opacity down until it looks right. You can also play with all
these different layer modes and just scroll through them
to see what looks good. It will very much depend on
what color your top layer is and what color the layers below are as to how this looks. With each of these
possibilities, you can also change the opacity to give more or
less of the effect. So this is how one single texture will
cover your whole scene, which is great if
you want to give an overall texture, for example, a paper texture or a more organic painted
texture like we have here. But what if we only want the texture on part of the image? If we want to put our
image on a T shirt, we don't want the texture
going further than the image. Let's draw something.
I've just recently got two lovely little
ginger rescue kittens, so here's one of them. I've put the head
on one layer and the details on another layer above it because I only want the texture to
be on the head layer. I'm going to make a
new layer in between. Then I'll go to my
texture stamp and I've chosen a darker orange and I'll stamp that
over the whole canvas. I think that needs
to be even darker. I'm going to tap on the layer, choose Alpha lock
and fill layer with the darker red and see
if that looks better. That's a stronger effect. Now I'll tap on the layer again and I'm going to
choose clipping mask. This means that the
layer will only show above any pixels
in the layer below. I can also move
the texture layer around until it looks good. Again, I can play with
all these layer effects and I can play with the opacity
until I'm happy with it.
6. Organize Your Brushes: We've just made a lot of new stamp brushes
and at the moment, they're all just lurking in
the library we made them in, which is the basics. I don't want these in basics. I want them in
their own section, so let's get that sorted out. I'm going to tap on
the plus at the top of the brush library and
choose Create new set. That will make a new set in
the library that we're in. I'm going to call mine stamp
brushes with my initials. And press Apply and your new
set will appear at the top. It's empty, so we need to go down to our brushes
in the basic section. Tap on hold on a brush, drag it out over where it says, stamp brushes, and you
kind of hover until the section you
want to put it in goes dark and opens
up like this. You have to fiddle about a bit sometimes to
get the hang of it. Then I'm going to drop
my brush in there. Then I'll go back and
do the same thing with all the other brushes until they're all in my new section. Once they're all in
there, we can move the whole set to somewhere
more convenient. I would like mine to
be at the bottom, and I'll drag it
all the way down. Sometimes it's hard to put
them all the way to the end. I'm just going to leave
mine in the second from the end and then just
move the lower set up.
7. Final Thoughts and Project: So that's it. I hope you've enjoyed following along and
making your own brushes. You've designed some
fun and useful stamps. You've learned how
to tweak them and to easily swap out the brush
shapes to make new ones. You can use your new knowledge
to make all sorts of stamp brushes to save you
time and your creative work. Your project for this
class is to follow along with me and create
your own stamp brushes. Post your finished
brush or brushes in the project section
of the class as either the stamped image
or a screenshot of your brush or an image
made using your brush. I can't wait to
see what you make. I always look at your projects
and I love seeing them. Feel free to share what you
do with your new knowledge on social media and tag me Nick squirrel so
that I can see it. I do share some in my Instagram
and Facebook stories. If you enjoyed the class, please could you spare a moment
to leave me a review. It really does help me and it helps others to find
my classes as well. Follow me here on
Skillshare to be kept up to date with
my new classes and discussions and sign up for my very occasional newsletter to find out what else I'm up to. Thank you so much for
taking this class with me, and I can't wait to see
all the brushes you come up with. Bye for now.
 Nic Squirrell, Artist and illustrator