Quick & Easy Home Studio Setup: A Step-by-Step Content Creator’s Guide | LAMZ | Skillshare

Playback Speed


1.0x


  • 0.5x
  • 0.75x
  • 1x (Normal)
  • 1.25x
  • 1.5x
  • 1.75x
  • 2x

Quick & Easy Home Studio Setup: A Step-by-Step Content Creator’s Guide

teacher avatar LAMZ, Creative Internet Pioneer

Watch this class and thousands more

Get unlimited access to every class
Taught by industry leaders & working professionals
Topics include illustration, design, photography, and more

Watch this class and thousands more

Get unlimited access to every class
Taught by industry leaders & working professionals
Topics include illustration, design, photography, and more

Lessons in This Class

    • 1.

      Why this Course will Help you

      1:15

    • 2.

      Your Class Project!

      0:24

    • 3.

      The Home Studio Setup Guide

      6:53

  • --
  • Beginner level
  • Intermediate level
  • Advanced level
  • All levels

Community Generated

The level is determined by a majority opinion of students who have reviewed this class. The teacher's recommendation is shown until at least 5 student responses are collected.

202

Students

1

Projects

About This Class

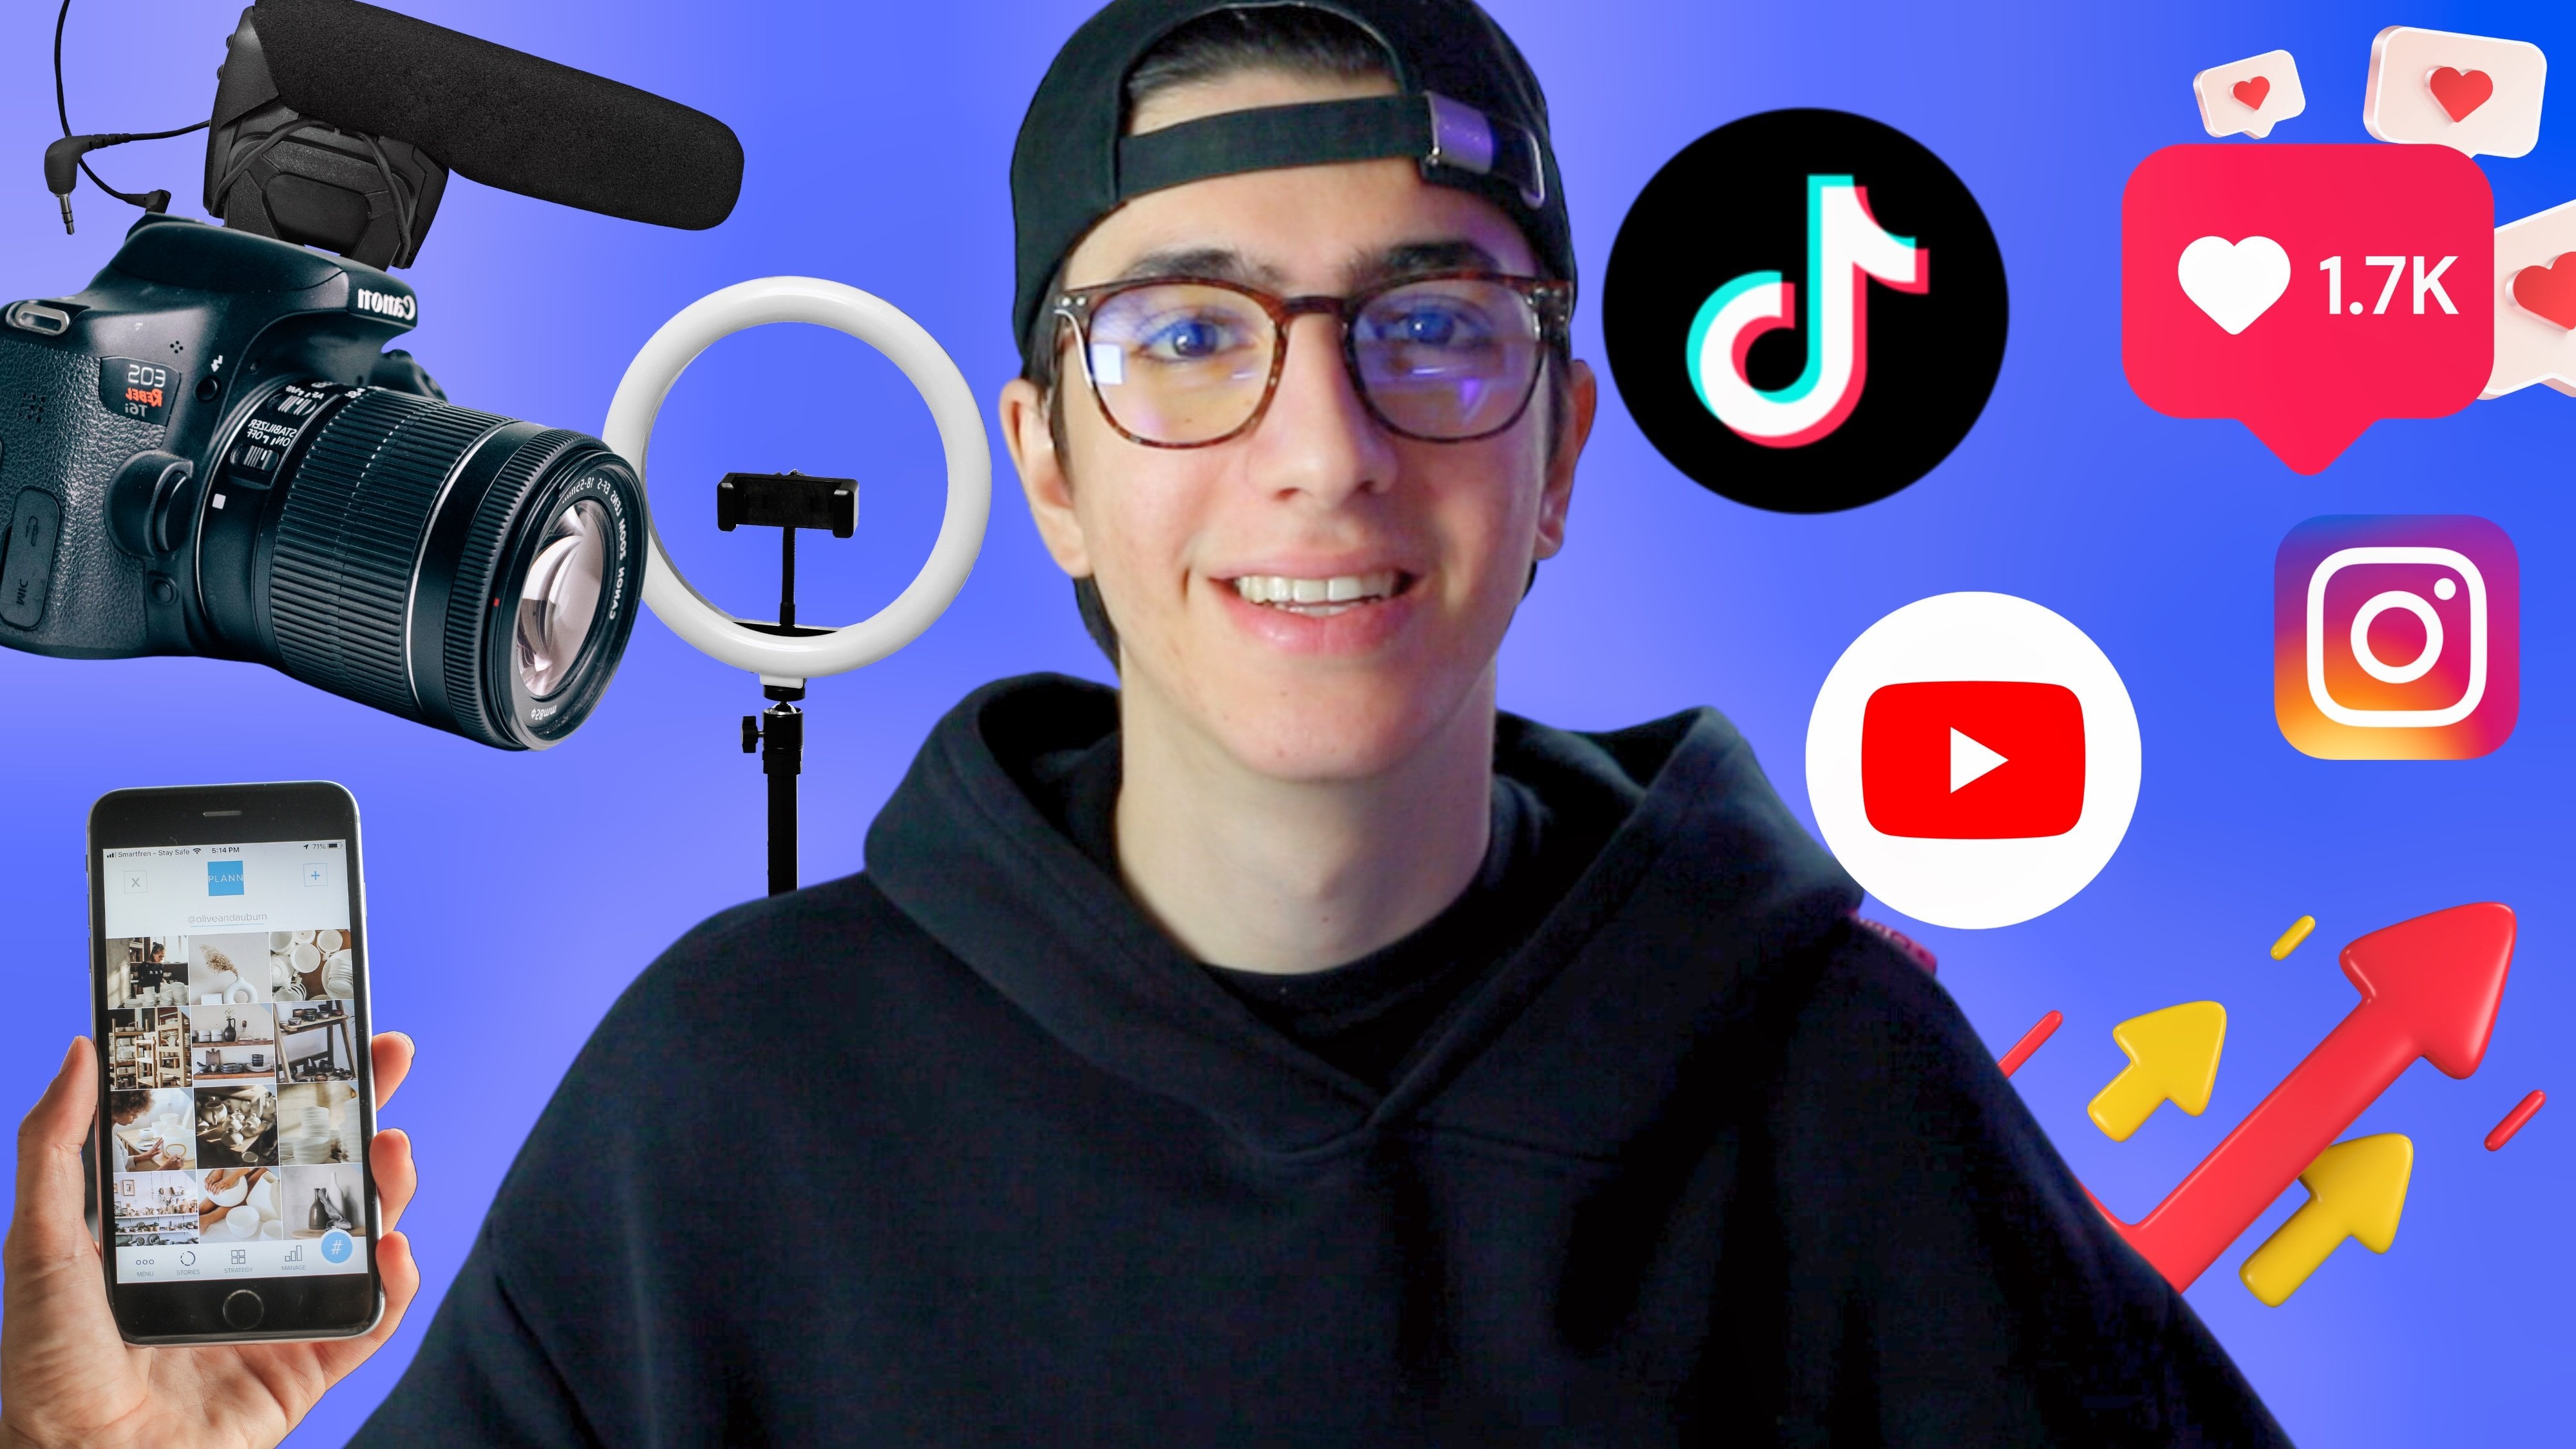
Transform your space into a professional home content creation studio with ease! In this quick and impactful course, you’ll learn how to set up your home studio to maximize efficiency, aesthetics, and functionality. Quick & Easy Home Studio Setup: A Step-by-Step Content Creator’s Guide will give you an insider look into my personal setup, covering everything from cameras and lighting to desks, chairs, and essential equipment.

Get ready to level up your content creation process, whether you’re vlogging, recording podcasts, or producing educational videos.

What You Will Learn:
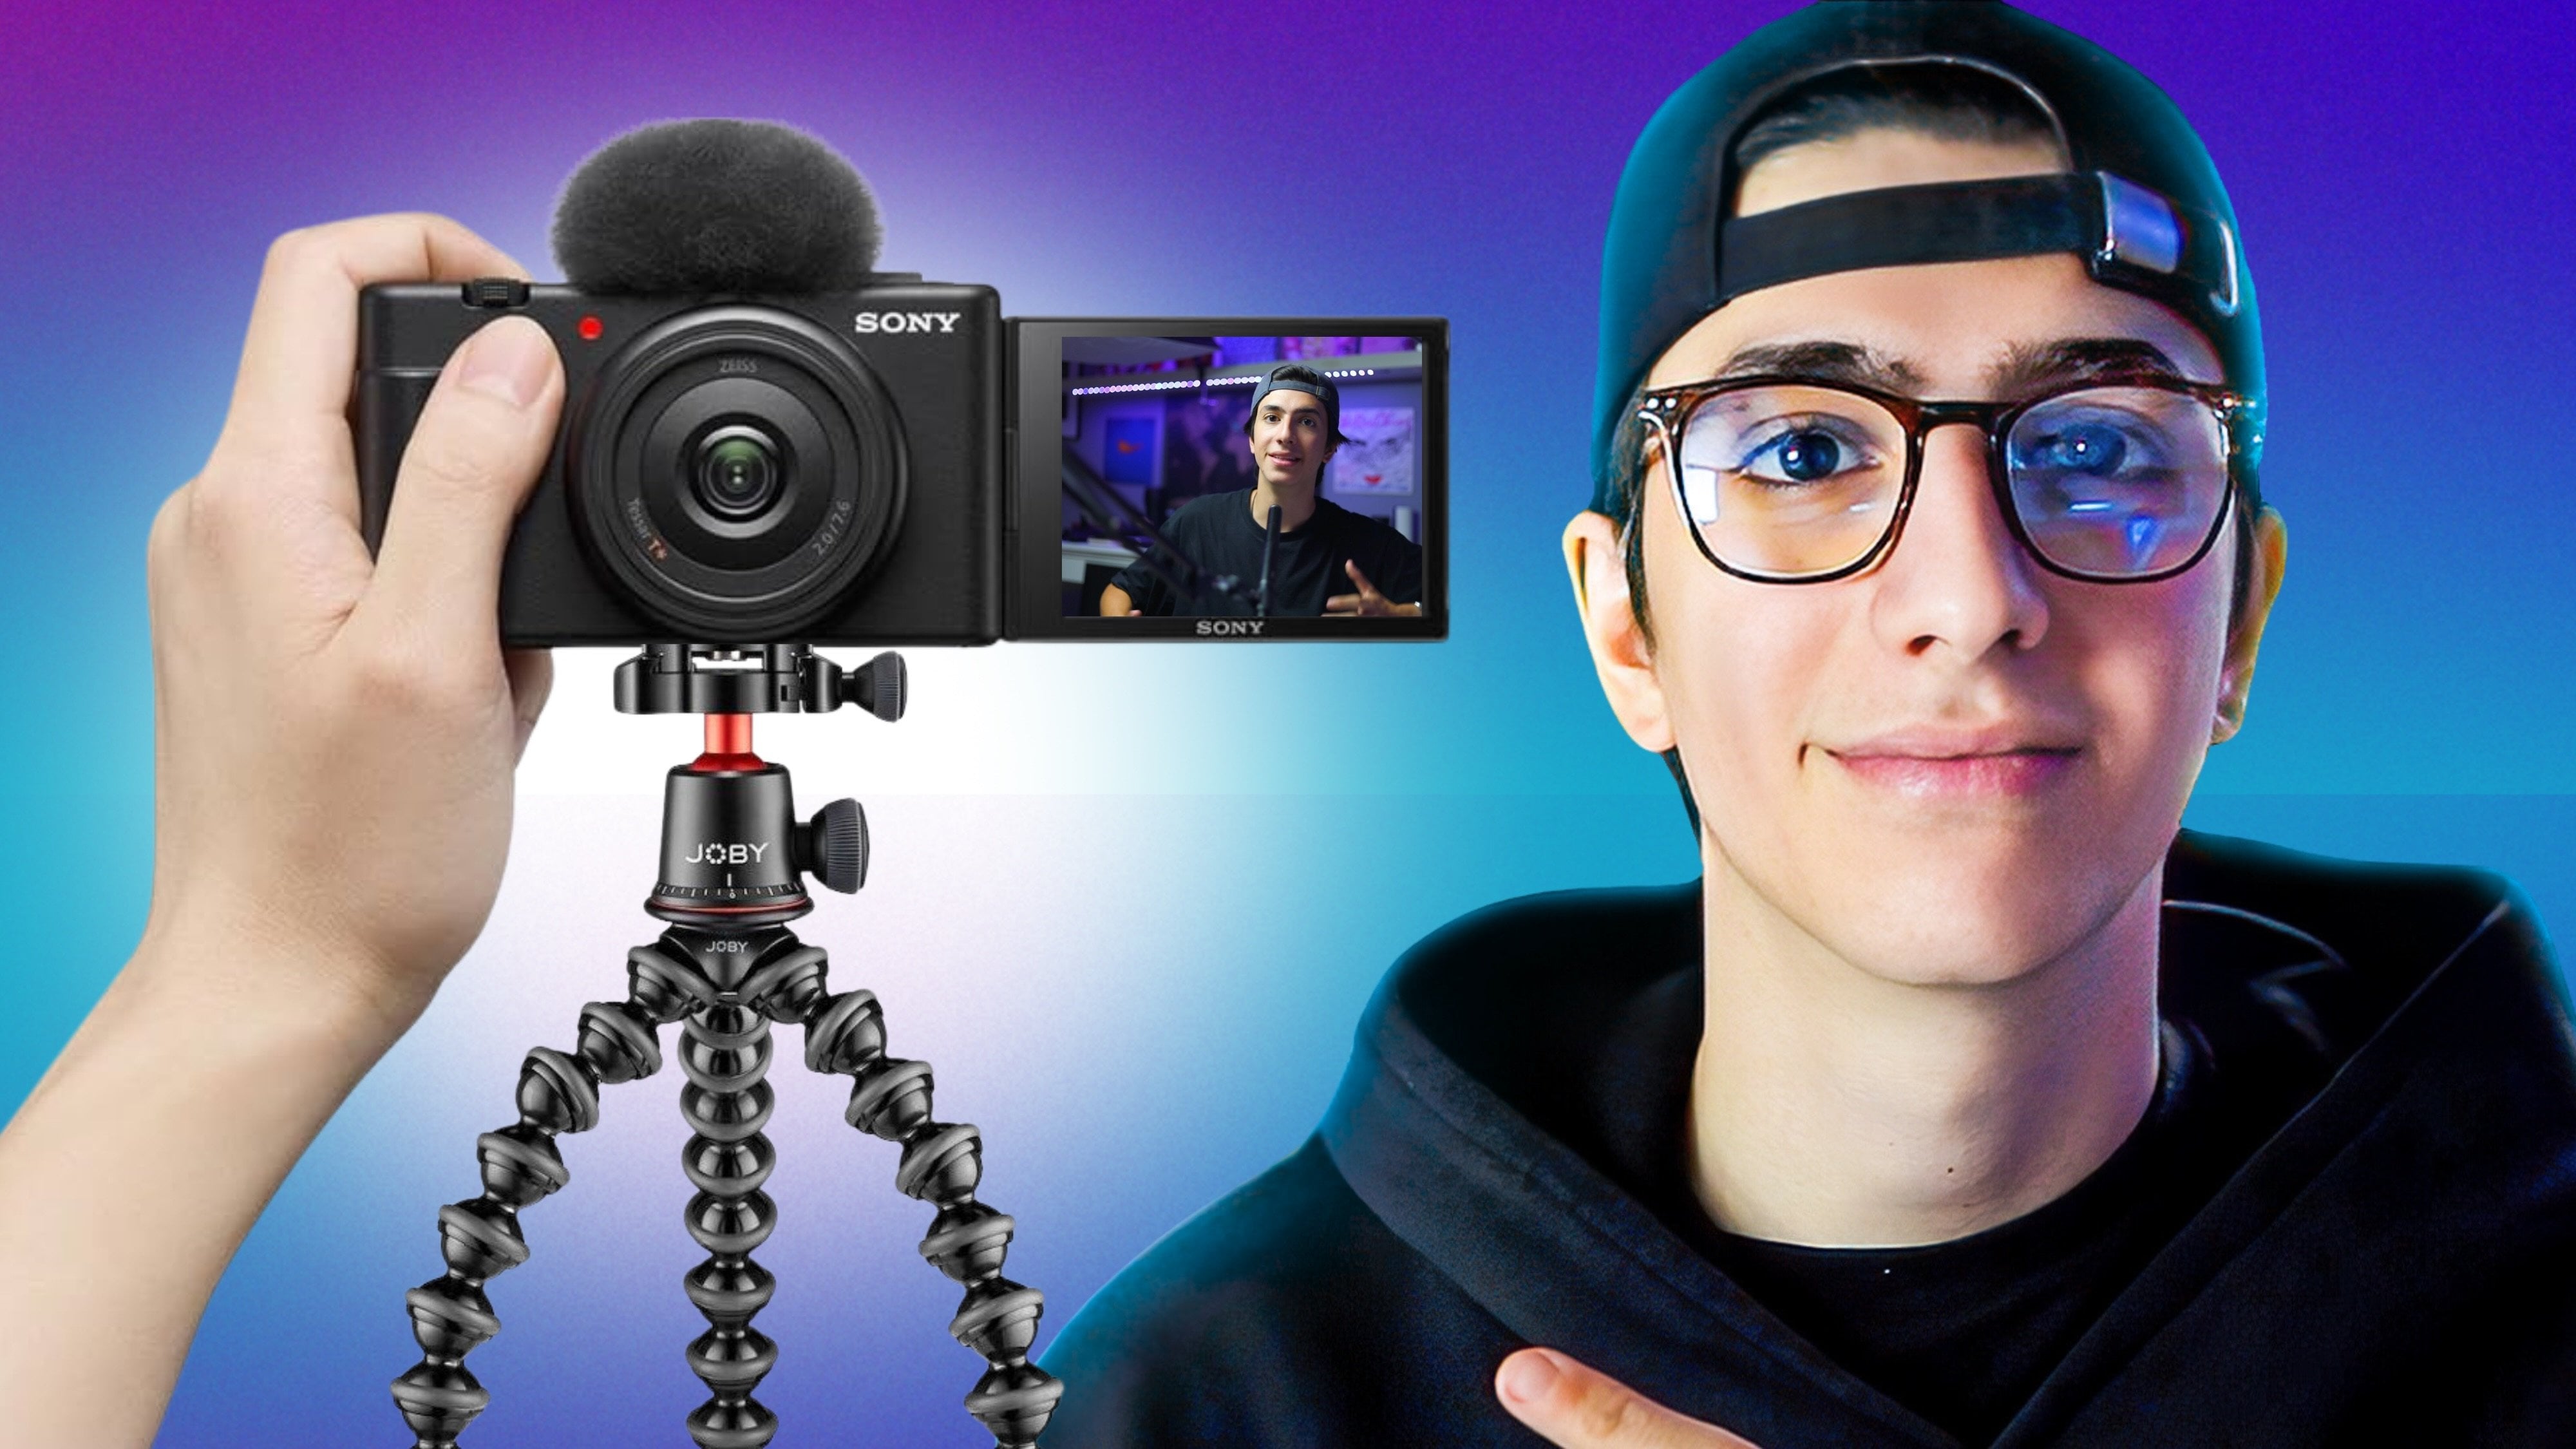
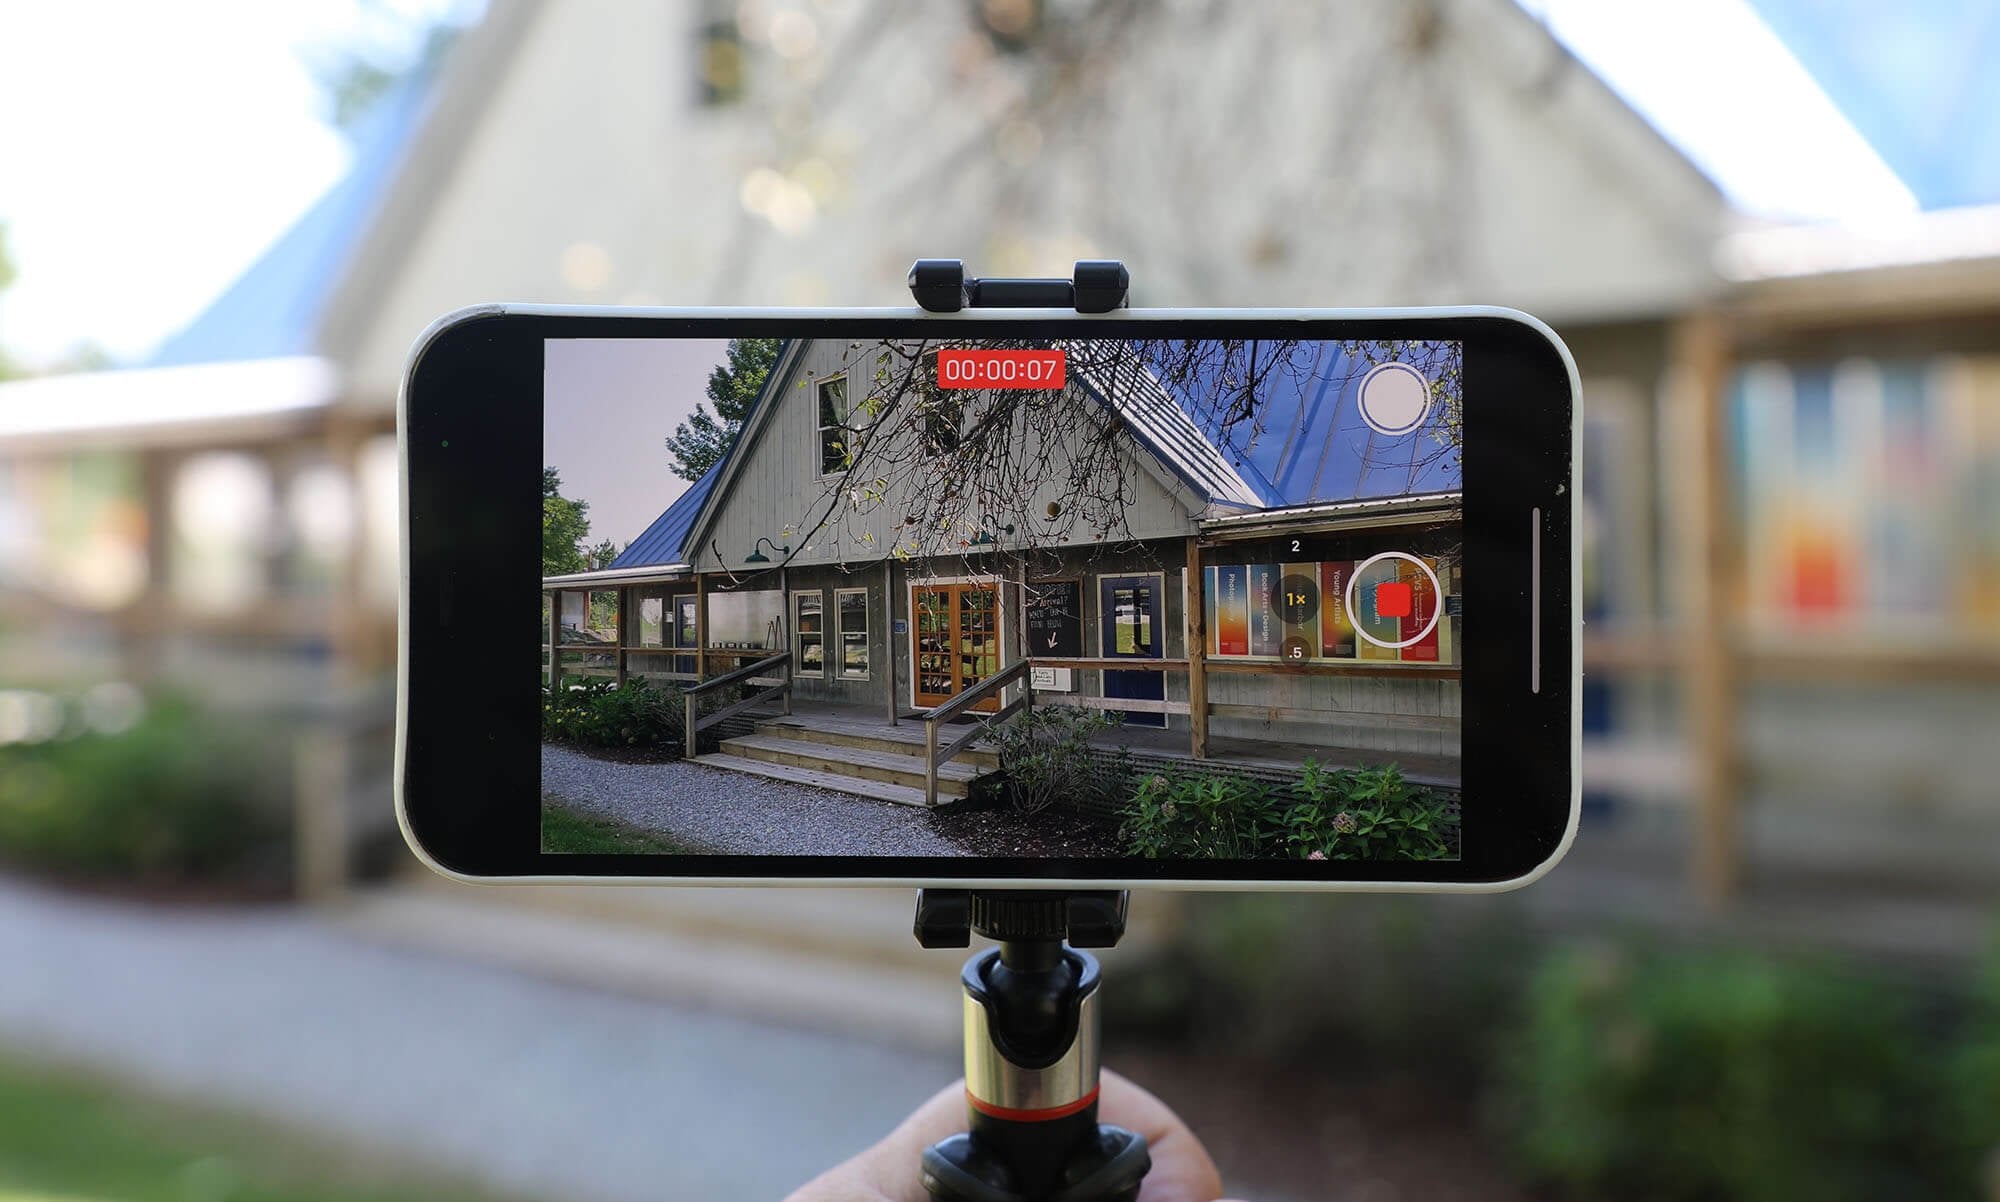
Camera Selection & Setup: Find the best camera options for your needs and learn how to position them for optimal video quality.

Lighting Techniques & Positioning: Understand how to use natural and artificial lighting to get the perfect glow and minimize shadows.

Studio Furniture & Layout: Discover tips on choosing the right desk, chair, and layout for a functional yet comfortable content creation space.

Technology Essentials: Learn about essential tech equipment, including the MacBook and other hardware/software tools that enhance content production.

Optimized Workflow & Organization: Get tips on maintaining a streamlined workspace to boost creativity, productivity, and video production quality.

Why You Should Take This Class:

Creating high-quality content doesn’t require a massive budget or a large space. With the right tools and setup, you can turn any room in your house into a professional content creation studio. This course will help you understand what equipment you really need, how to make the most of small spaces, and how to create a visually appealing and practical workspace. Whether you’re just starting out or looking to upgrade your setup, you’ll gain valuable tips to enhance your production quality and workflow.

Who This Class is For:

This course is for aspiring content creators, vloggers, podcasters, educators, or anyone who wants to enhance their content production setup at home. No prior experience is necessary; this course will guide you through all the steps to create a studio that works for your specific needs.

Materials/Resources:

All you need to get started is a device to access the course content and a willingness to explore your creativity and build your home studio. Throughout the course, I will provide a list of recommended equipment, tools, and tips on setting up your perfect content creation space.

Start your journey to building a functional, stylish, and efficient home studio to produce high-quality content with ease and confidence.

Meet Your Teacher

Teacher Profile Image

LAMZ

Creative Internet Pioneer

Top Teacher

I'm LAMZ!

A former doctor who turned creative professional, dedicated to helping people enter the new era of the digital renaissance.

My classes empower people to master content creation, content marketing, and content monetization so they can thrive in the modern digital economy.

With over 60,000 students worldwide, 35M+ views on my content, and three active creative businesses, I share everything I've learned through six years of trial and error on my creative journey.

Through proven strategies and direct coaching, I guide creators to understand the fundamentals of content creation, attract the right audience, and build a sust... See full profile

Level: Beginner

Class Ratings

Expectations Met?
    Exceeded!
  • 0%
  • Yes
  • 0%
  • Somewhat
  • 0%
  • Not really
  • 0%

Why Join Skillshare?

Take award-winning Skillshare Original Classes

Each class has short lessons, hands-on projects

Your membership supports Skillshare teachers

Learn From Anywhere

Take classes on the go with the Skillshare app. Stream or download to watch on the plane, the subway, or wherever you learn best.

Transcripts

1. Why this Course will Help you: Ed my first piece of content about ten years ago. In this extremely small bedroom of mine. Now, back in the day, I didn't have a camera, I had no idea of lenses, I didn't have lights. I didn't even have a PC or a Mcbok to edit my videos, but I had a vision, and I knew that one day, perhaps I would be able to structure a home studio to have. Now, I'm very happy to say that ten years later, after experimenting with creating a home studio in this extremely small bedroom of mine, after creating literally hundreds of hours of content, right? And knowing exactly what it takes to create a hyper functional content production studio in your house. I'm here with this small course right here in which I'm just going to be breaking down my home studio. So I just moved perhaps you can see some boxes behind me, and I restructured my home studio to maximize for efficiency and productivity. So in this small course right here, we're going every single thing that a home studio should have, how I have structured my gear, how I've placed my cameras, my lights, and how you can completely copy this and replicate this to your case to maximize again your production, make this whole production process effortless, seamless, and just more enjoyable for you. Welcome to the score. 2. Your Class Project!: Last project for this course would be for you to take a picture of your home studio and submit it in the class project description down below. I will be personally reviewing every single class project submission of yours, and this is just going to be a cool way to connect with me as your instructor. I'm very, very hyped to see your home studios down below. Let me show you exactly how my home studio looks like and how you can also structure yours, if you will. 3. The Home Studio Setup Guide: So, gentlemen, this right here is my home studio. The studio that I've built from scratch inside my new place. And I'm going to give you a quick tour of like everything you can appreciate here and why everything is structured in position in the way that they're right here. Now, again, keep in mind that it took me many years to reach this point to create the studio right here, and you really don't need, as expensive gear as I have. For example, this slide right here, a pretty expensive light, but you can recreate this with a cheaper light. It's just that I want you to focus on the positioning of the things and what matter the most, which I'm going to be highlighting in this lesson right here. Let me say you exactly what's happening in this scene. Everything starts. We're going to start with the desk and the chair. As fab as gone graders, I want you to remember one thing. The bigger the desk, the better. Just buy as big of a desk as possible because we're going to be just resting lots of things in the desk. We're going to have monitors, arms in the desk, we've got the speakers and everything. So as big the bigger the better regarding the desk right. In my case, I could have purchased a bigger desk because as you can see I have some space here. The thing is that I wanted a motorized desk and this desk is motorized for my shootings. Because when I'm sitting right here, you can see the camera can't really see me. But when I press this button right here, which is a preset, the whole desk lowers down. Yeah, that's pretty cool. And the camera can see me, right? So this is a preset for shooting, this is a preset for editing where the desk comes right up, right? So now I can go ahead and edit. So that's why I bought this desk here. It's a bit of a shorter desk, but still gets job done. As you can see, it's fully packed, right? So I have no real estate whatsoever in the desk. Now, regarding your chair, The chair really doesn't matter. The only thing that matter is for the chair not to have a head rest because in my case, for example, this chair you used to have a head rest, but I remove the head rest because again, I didn't want it to show in my videos, right in the videos that I shoot, so I don't have a head rest, I've removed the head rest, and you can appreciate this. Now, the other end of the room in this case right here is this huge ultra wide monitor that I have. And in general, I advise my students and my clients to purchase monitors in this case. This is a big overkill. I absolutely love this monitor right here. I've had it for many years. It works perfectly. It's a big investment, but if you have the dollars to spend just purchase a big monitor, I'm just like a desk right bigger the better regarding the monitor. In my case, everything is powered. You can sit right here from a Macbook pro. I is it 20 2020 or 2021 Macbook pro and it's connected to the motor. I have a magic mouse, and a magic keyboard, really basic stuff. I've heard some controversial reviews regarding the Magic Mouse. In my case, I simply love it both the Magic Mouse and the magic keyboard for video editing. I absolutely love. Now in my case, again, my MCO doesn't have the best storage, so I hooked up these two external storage devices. This one is portable, this one is not portable and have all of my movies inside these two portable devices. This is my computing system. Regarding audio, my computer blasts from these monitor speakers, got speaker one and Speaker two, which at the moment is being serviced Um, unfortunately got damaged during transportation, but this was Speaker one, Speaker two, just some basic monitor speakers, if it gets studio speakers, they're just sound amazing, but you can also obviously edit your videos from your headphones. These bases, the monitor stands, I've built myself. Yeah, they look pretty good. So that's pretty much regarding my operating system and the audio of the computer. Now let's move to the cameras and for the cameras, I'm going to lower the desk. Press this. The desk is going to be lowered, and I'm going to show you the structure of my camera setup, which is very, very interesting. I've got camera A looking directly on the subject, which is me right here in a straight line. This is my key camera right now I'm sitting with my phone as you can see from the window right there. This camera A, it's sing directly me It is a canon five D mark four with a 24 to 105 millimeter F four lens currently at 50 millimeters. Right here, right in shooting me. The same camera I hooked with this microphone right here. This is just a very basic microphone that I bought many years ago. It's serving me great this points. I see no reason why the change it. Perhaps I might change it in the near future. This is camera A, and then we go camera B. Camera B is right there. It's a canon 700 D, I think. I actually purchased it pretty recently. Has this LDD screen Again, it's hooked up with a 50 millimeter of 1.8 lens shooting from a 45 degree angle. I want to appreciate the symmetry here, because we have camera A completely aligned with the chair. Camera B on a 45 degree angle, Now we're going to be moving to the lights part, in which we have the key light, which is again the elephant in the room. It's a huge light. It's a newer studio light, you can tweak the temperature, light temperature, the Kelvins, all that stuff. As we've talked about in many of my courses, the key light rests again on a 45 degree angle from the subject. This is a subject right here, M, 45 degree angle key light, 45 degree angle secondary camera, completely straight line the primary camera. Now, when we go to the background lights, we've got these two lights right here. We got light bar A, and light bar B. Don't pay attention to the boxes again, I'm moving. Background A, background light B, and these again provide symmetry to the image. Again, they give a cool symmetry effect that I like. What I also like is this background light right here, which is a filler light. I can open it from here. It just shines in the back of the subject. This way, you can see, for example, in the introductory video of this course right here, you could see just an amazing orange glare in the back of the subject, which is me, due to this light right here, which is the exact same light as this one right here, but without the umbrella. And this ladies and gentlemen concludes the setup. This concludes this amazing setup that again, it took me many, many years to master to understand how to structure and to eventually build. Thank you very much for being here thank you very much for following along in this course right here. I really want to see your setup, so please submit it in the class project description and then see the next course.