Transcripts
1. Welcome : Hello, lovers of Procreate. In this class, I want
to introduce you to the power to Page
Assist in Procreate. This amazing feature is built
to have multiple artboards with multiple layers in
one multi-page interface. Page Assist allows
you now to import any PDF and access
each page separately. Now you can flip through
the pages as you like. Treat it as a workbook and add layers above the original page, maybe to improve your Lindbergh
or to recreate shadings. With this tool of Procreate, you can easily create any presentation to
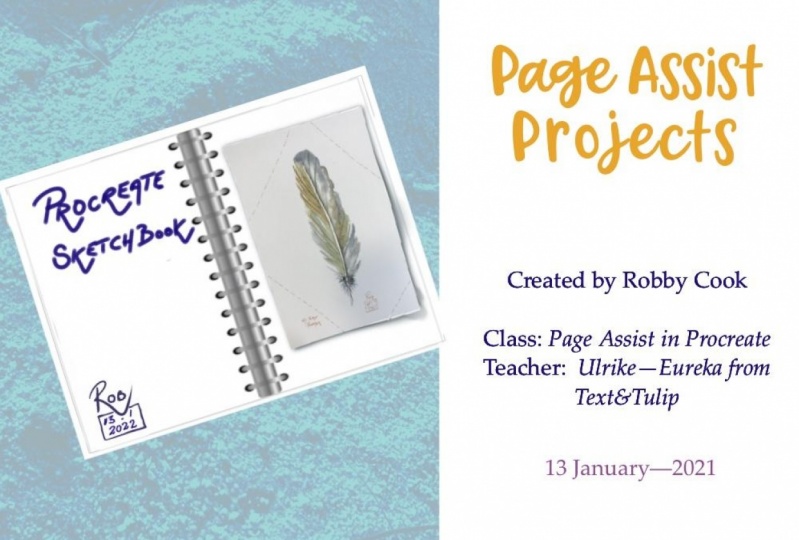
showcase your work. My name is Rico from
Text and Tulip. I'm an illustrator and
hand lettering artist. I just received the box from the publisher house packed with a calendar I fully created in
Procreate with Page Assist. In this class, I
will take you behind the scenes and not only
introduce you to Page Assist, but I will also show
you how easy it is to set up a consistent
grid to arrange your calendar with your
artworks in no time ready to go as a printable PDF
or to share digitally. In the first part of the class, you will create a multi-page
interface of scratch, navigate through
the page options, and speed up your
workflow by using consistent elements that serve
as a grid for each page. In part two, you will import
a PDF into Procreate, alter each page with Page
Assist and layer groups, and finally, export a
principal multi-page PDF. By the end of the class, you will be able to export your own calendar in
a multi-page PDF. Beginners and pros,
all are welcome. Page Assist is a great tool
for professional designers and all who love to draw on the go and keep a
digital sketchbook. It can be a great way to maintain a daily
drawing routine, as well as to organize your
design concepts in one place. Let us dive deep into
Procreate and Page Assist. Can't wait to see you in class.
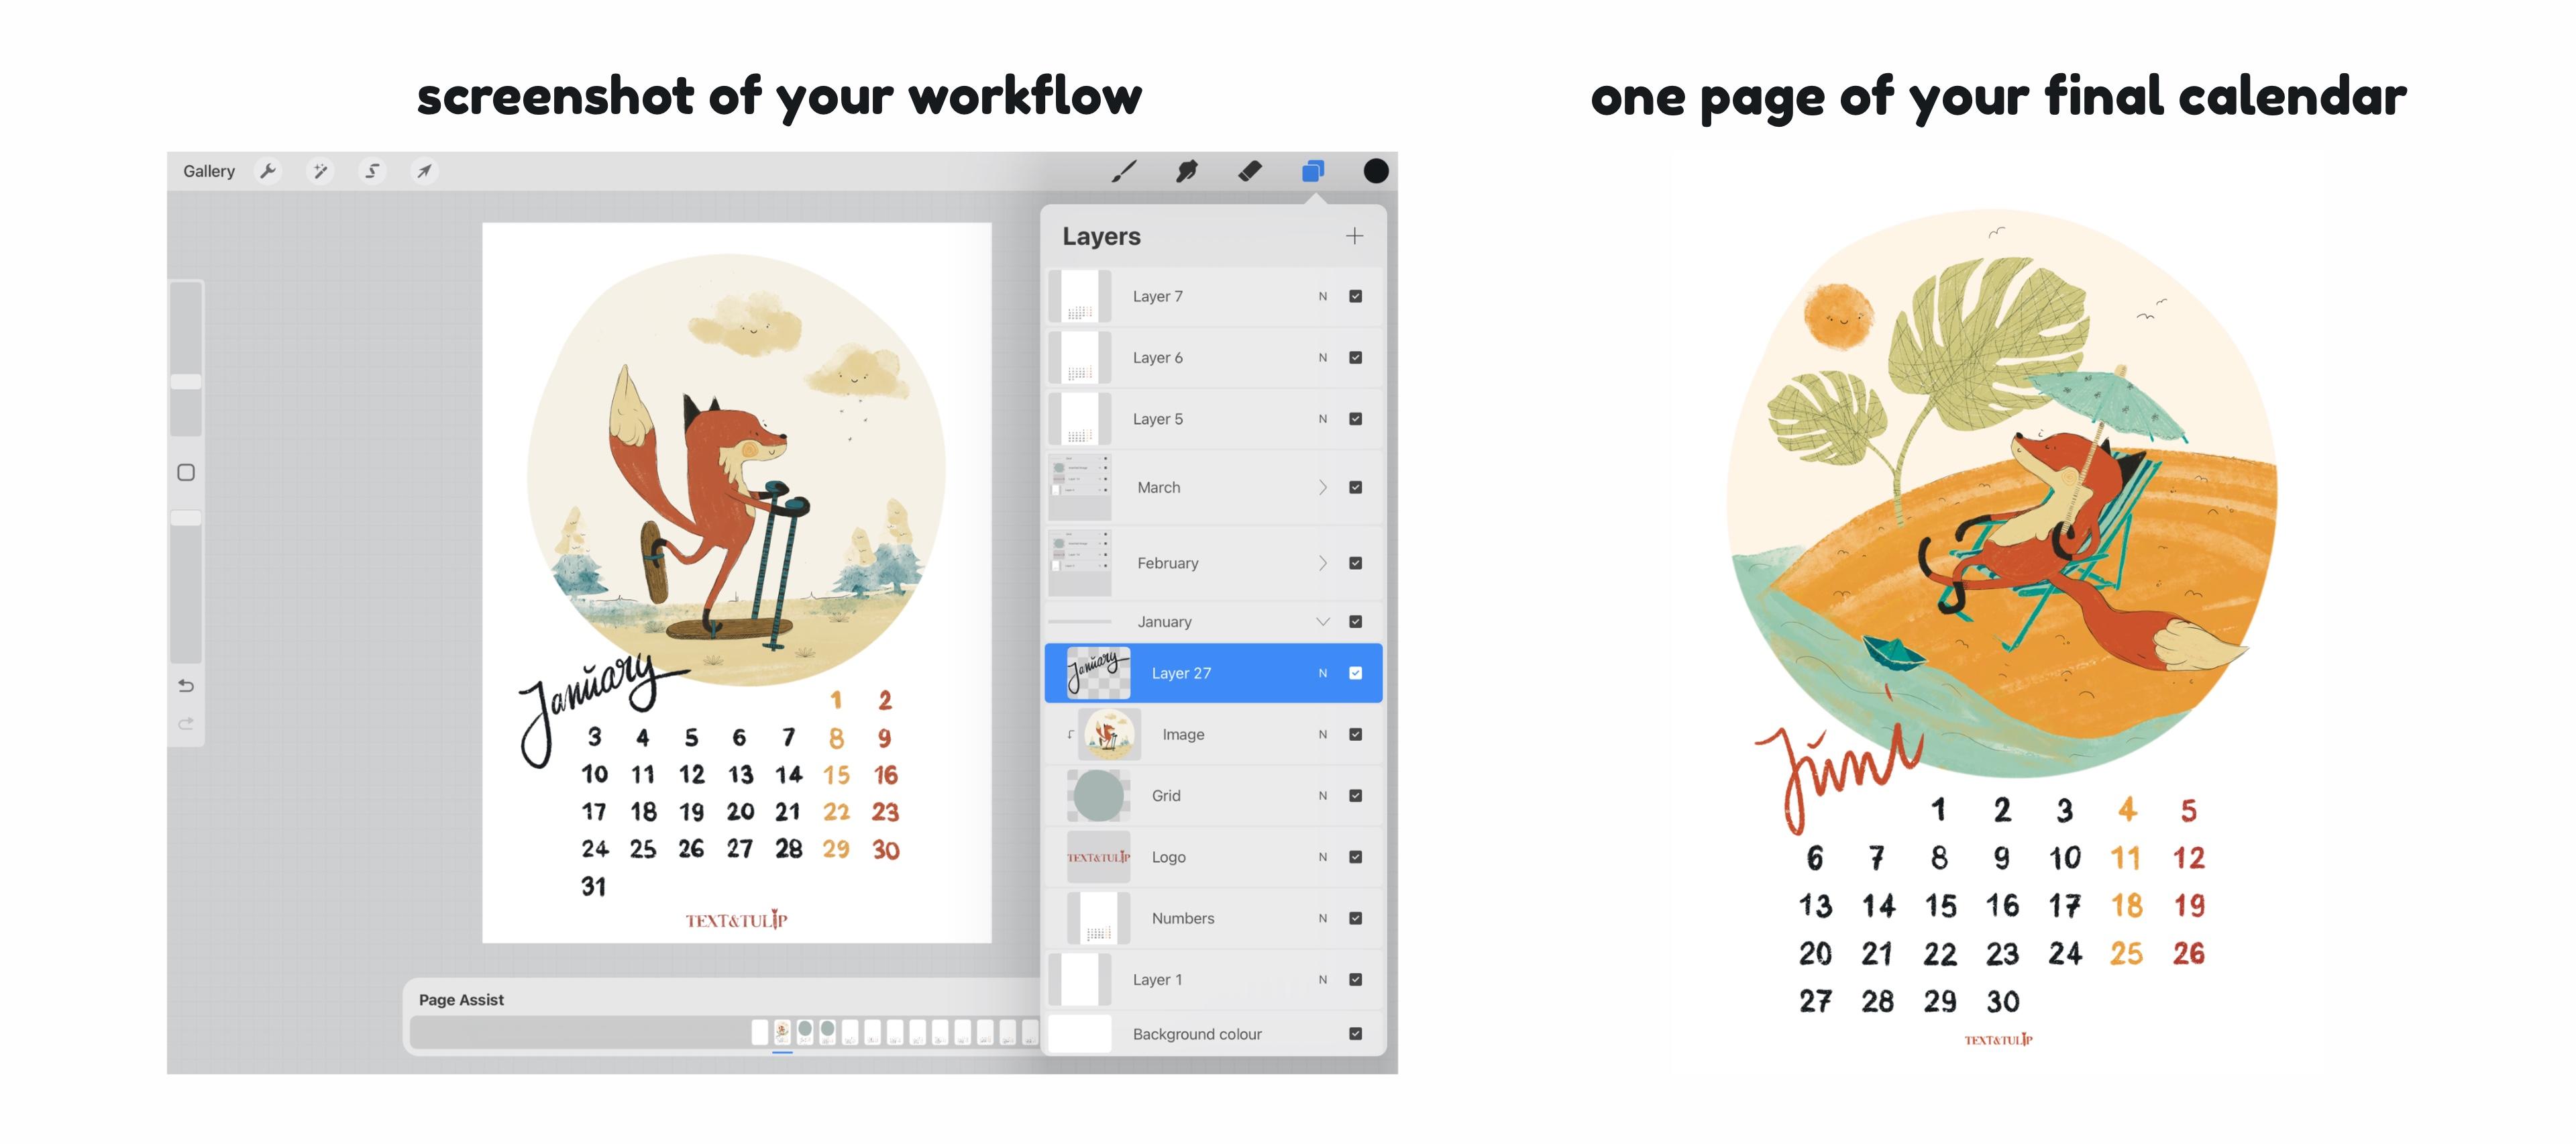
2. Your Project: Your project consists of two steps I
want you to share. First, share screenshot of your workflow
within Page Assist. It's absolutely easy. Show us your timeline or layer panel while
working in Page Assist. Depending on your device, you take a screenshot like this, and now save it to your photos. Second, share two images of
the pages you've created. Highlight the repeating
elements you've used as a grid. Once your pages are ready, export two of them as a JPEG, and save the images
to your camera roll. Let me show you again. Select one of your pages, and for this example, I want to go with April. Type the range and go to Share, Share Image, type JPEG, and save the image. Now, head to Project and Resources
tab within my class. From here, click
"Create Project." Now, upload your pictures
from Task 1 and Task 2. Click "Publish"
once you're ready. Last but not least, be kind and leave encouraging feedback
to your classmates. This will help strengthen the Skillshare community and create a great place to
learn from each other. I'm so excited to share the features of Page
Assist with you. See you in the next lesson, where we are going to line
up the tools we need.
3. Your Tools: Here are the tools you need for this class. I work with the iPad Pro and the Apple Pen second generation. On top of my screen is a
paper-like screen protector. Because of that,
the screen display can look a little blurry
during the class. You will also need any version
of Procreate that supports page assist or at
least Procreate 5.2. Procreate is available
in any app store. You pay only a small
amount once and have lifetime access to Procreate
on all your devices. If you want to do exactly
as I show in this course, go to Resources and get the plain calendar PDF I
created for the class. Please download it
on your device. We will import it into
Procreate later in class. Also, select 12
images you created. This is what you need, a
drawing device and stylus, Procreate with page assist 5.2, the plain calendar PDF, and 12 pictures, illustration, photographs, simply any artwork you
can call your own. Everything in place? See you in the next
lesson where I'm going to introduce you to the
basics of page assist.
4. Page Assist Basics: In this lesson, you will set up your canvas, activate Page Assist, navigate with Timeline
and Layers Panel, and you will learn how to add, copy, and delete pages. First, open a new document, tap on the plus in
the right corner, an A4 is displayed as an option. Now, this is your
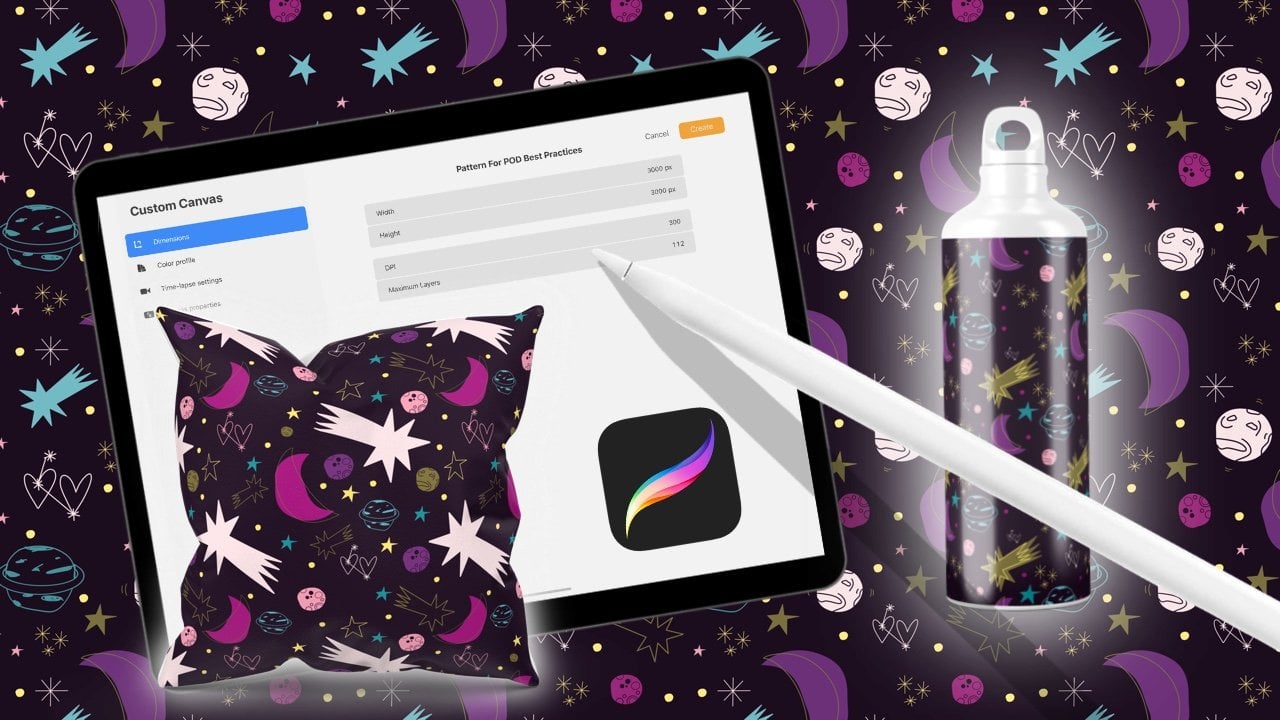
basic canvas and all following pages will have exactly the same specifications. Before you set up the canvas, consider special criteria
you might have to meet. For example, for my
principal calendar in A4, the printing house requests an additional two
millimeters on each side, 300 DPI, and a CMYK
color profile. If you are going for a
digital project only, A4 and RGB will work just fine. Head to the canvas
informations if you like to check all the
specification you will work with. You can see the dimensions
and the resolution. I choose 300 DPI. Also, the maximum of
layers is displayed. Available are 92 in my case, and this depends on the kind
of iPad you're working with. My color profile is set to RGB. Hit "Done" in the top menu bar to get back to your canvas. We return to the Action menu and
tap "Canvas" again. Now, tap the Page Assist
toggle to switch. It will turn blue. Now, the Page Assist
interface is active. At the bottom of your screen, you will see a
timeline opened up. The timeline
represents every page of your document as a thumbnail. In the timeline, tap on new page to create a
new page or go to "Layers", tap on the "Plus", and a new separate page is
added in the timeline below. Page Assist can be a great way to keep a
digital sketchbook. You can draw and paint on your
canvas as you normally do. Your changes will affect the currently selected
page in your timeline. To navigate between your pages, you can flip through
the timeline or choose the layer menu. You're currently selected page is always underlined in blue. If you want to delete or duplicate a page, you have at least two options. First, the timeline, tap on the thumbnail
to select the page, tap it again to open the page options of the
page, and now choose. Undo your last action with a two-finger tap on your canvas. The second way is
your layers panel. Each layer represents a page. To delete or duplicate
a specific layer, tap on the layer bar, swipe to the left and now
choose the option you want. All actions will be represented
in the timeline as well. These are the basics. Now you are able to
set up your canvas, activate Page Assist, navigate with Timeline
and Layers Panel, and to add copy
and delete pages. In the next step,
you will learn how Page Assist can
ease your workflow. I will show you how to
set up a standard page.
5. The Standard Page: In this lesson, you will create
consistent elements, group multiple layers
into one page, and design a consistent
grid for your artwork. Page assist is amazing
if you want to have repeating
elements on your page, which have to be always in the same spot, at the same size, like illustrations,
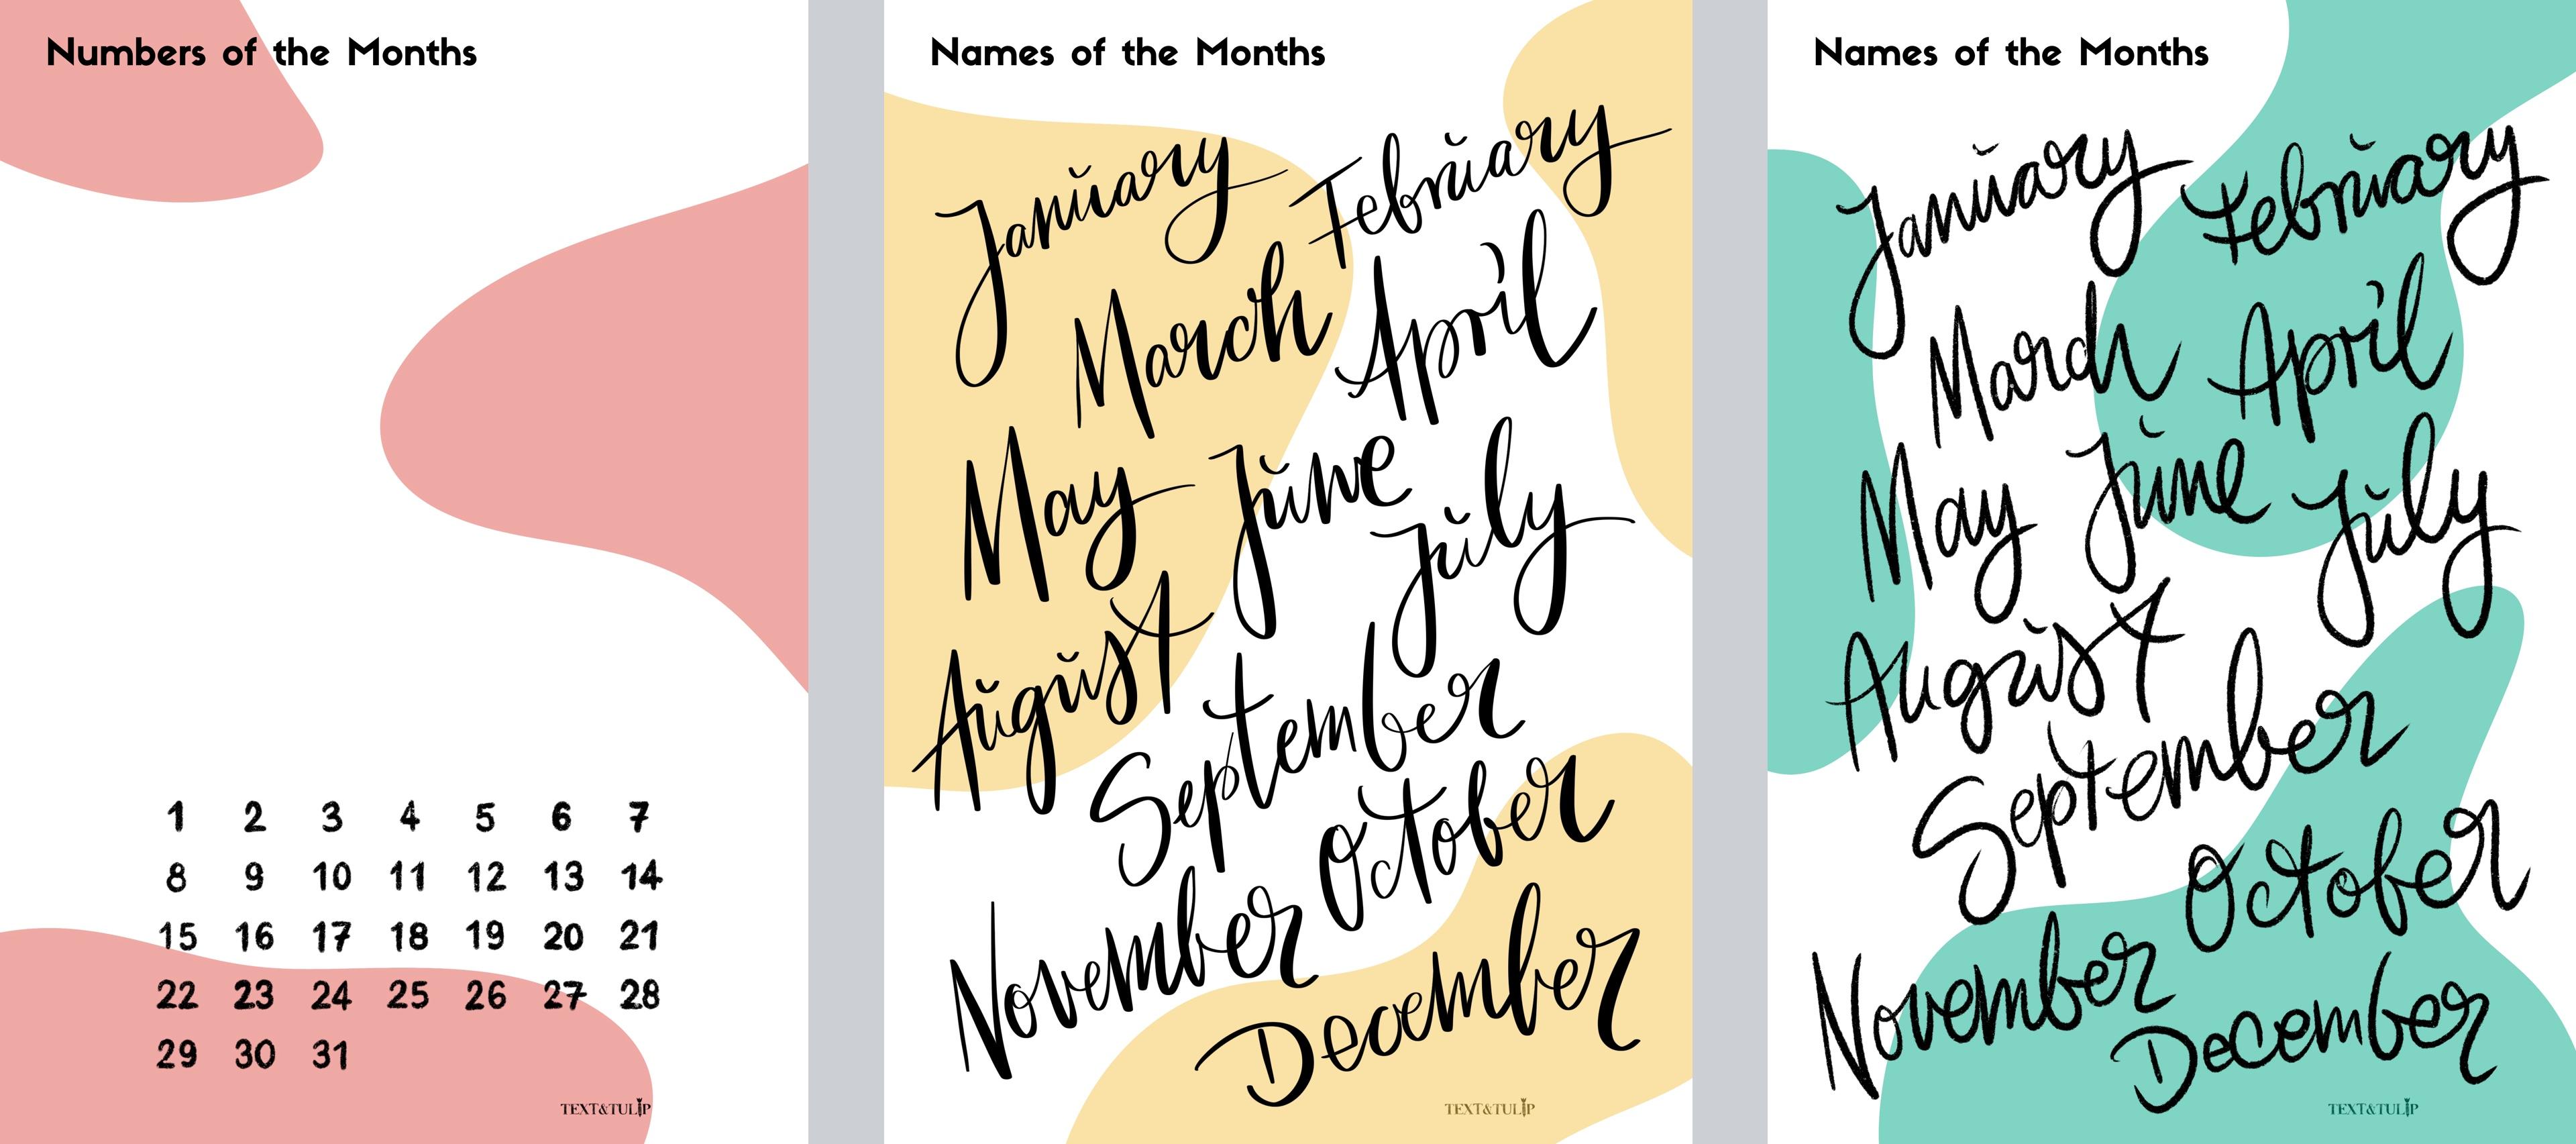
your hand-drawn logo, or as simple as a page number. Let's take the fox
calendar as a reference. Each page should show my logo
at the bottom of the page, be consistent where the
calendar figure sit, and have a design spot for
the image of the month. Let us activate page assist
to get that done in no time. At first, I need a new
layer for my logo. I go to the Layers panel, and now I choose a warm red and a stamp brush of my
hand-drawn signature. With the support
of snapping tool, I can easily align it and get it centered in the middle at
the bottom of the page. Guide lines looking great. Let's place it here. Be aware, Procreate is
a pixel-based program, to keep your lines
nice and sharp, please avoid to scale your
drawings from small to big, or to move your drawings
on your canvas a lot. This is especially important for drawings with a very
fine line work. The next layer will hold
the calendar figures. You can draw them straight away on a new layer in this document, or insert an image as I do. As these two are my
first standard elements, I group them with drag and drop. I move one layer right
on top of the other, until it will automatically nest inside the other
layer. Well done. Last but not least, I need to find the right
spot for the illustration. Hit the wrench in
the top menu bar and tap on "Insert Photo", tap on one of the
blue corner nodes to access the dimensions. I change it to 1,750 by 1,750 and place the illustration in the upper third of my page. Still, the snapping
tool supports my workflow and helps to center
the illustration easily. Now, I do not want to get distracted by a
particular image for the month in the layout grid so let us create a
neutral placeholder. Swipe with two
fingers to the right, and this layer is
set to Alpha Lock. Now, I can recolor just this element without
affecting the whole canvas, and I go with a light gray. To keep everything
well organized, tap on the bar "New
group" to select it and tap again
to access rename. I would call this
page standard page. Now, to use this grid on
every page of my document, I just need to duplicate
this default page. Now, it's time for recall. Name two ways to duplicate
a page in page assist. Exactly. Swipe the bar
of your standard page to the left and tap "Duplicate"
or head to your timeline, tap on the thumbnail
of your active page to access the page options
and tap "Duplicate". Again, keep in mind
to always duplicate the original standard page to maintain the quality
of your artwork. The more you copy the copy, the more you will
experience quality losses. I think we got it, well done. In this chapter, we worked with multiple
layers within one page, created a standard page
with a consistent grid, and repeated two ways
to duplicate a page. In the next lesson, I will show you how
to import a PDF into Procreate and work on
the pages separately.
6. Import a PDF to Procreate: In this lesson, you will download a
very helpful PDF, open the PDF in Procreate, find 12 images for
your calendar, and prepare your images as PNGs. Also, I will share a
little secret about the images I've illustrated
for the fox calendar. But first, head to
projects and resources. Under the resources,
you will find the plain calendar PDF, tap on the "File" to
start the download. Now head to your download
folder and there it is. Tap on the "File" to open it. This PDF consists of 13 pages, one plain cover page, and one page with the calendar figures for
each month of the year. Take it as a starting point
for your upcoming designs, even though the dates
might have changed by now. In the right-hand corner, you can tap on
"Open" in Procreate. Procreate opens automatically. You can access all
calendar sheets as pages. They're displayed
in the timeline and in the Layers panel. Before I show you how easy
it is to consistently place a signature and images for each month please get
your images ready. Meanwhile, let me share the little background story to the illustrations
I'm working with. I illustrated 12 foxy pictures. The canvas in Procreate had
to square size of 25 by 25 centimeters with 300
dpi and was set to CMYK. Each illustration is
created separately on its own canvas in Procreate to enjoy a maximum of
layers to work with. The ideas for the images
didn't fall from sky. It's a family tradition. In summer, I hand out 12
pieces of paper and they say, hey Ulrike, draw, in this case, a fox that steals the goose, someone wrote back, or please draw a fox
as sly as a fox. I did that. Ulrike, please draw a fox that loves hanging out at the
beach or dancing foxtrot. Of course, we don't
want to miss that. This sort pushes me out of my
comfort zone and forced me to draw things and perspectives I have never
would have dared to take on. First most design
of the calendar, I recommend you prepare
your images as PNGs. If you save them as a JPG, you will always export the whole canvas you
were working on, including all the whitespace
around your image. A PNG on the other side sits on a transparent
background and allows an easy fit with no unnecessary overlaps
in the calendar design. I prepare them like this. Open your "Illustration", go to the Layers panel and
"Deactivate" background color. Go to the Actions menu and
share the image as PNG. Now you can save it
to your camera roll. In the gallery, all
the other images are already set on
transparent background. I select all of
them tap "Share", tap "PNG", and save 11 images. Export successful. Well done, now you know how
to download a PDF, open the PDF in Procreate, find 12 images for the calendar, and prepare your images as PNGs. See you in the next lesson
where you will learn an efficient method for
calendar design in Procreate.
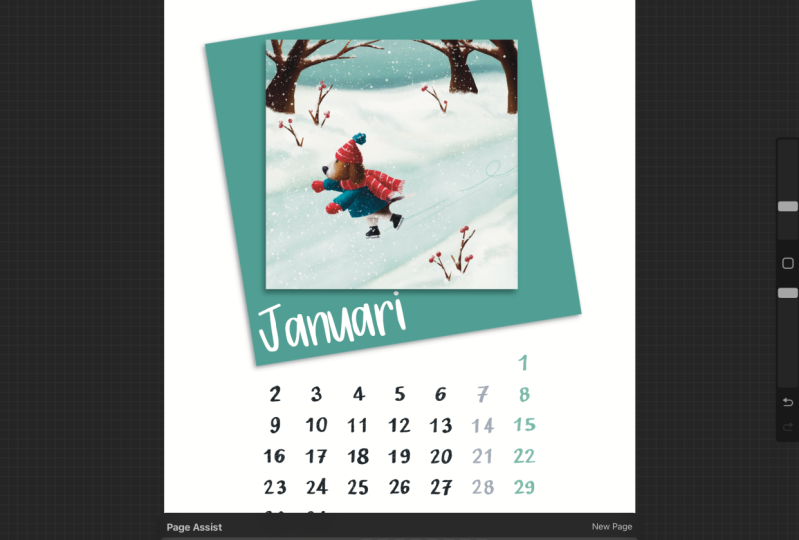
7. Design Your Calendar : [MUSIC] Now it's time to wrap up everything
you learned so far and design your calendar. You will use the
standard page for each month and insert 12
images into the grid. Let's quickly
summarize the elements of the standard page. The standard page is packed with consistent elements you need on each page within your project. We will build the
calendar grid that consists of the gray
placeholder for the image, a signature or place
for your logo, and one sheet of the
plane calendar PDF. We already opened the
plain calendar on Procreate so all months including the page for
the cover image are presented in the timeline
and in the layers. We'll create a new layer above one calendar layer and I group
them with drag and drop. On the new layer, I will place my first standard
element, my logo. Feel free to place your signature or
simply a page number. The Snapping Tool is
still activated and this makes it easy to move the
object to the correct position. The placeholder is my
second standard element. Therefore, I import one
of the prepared PNGs. Since I need the illustration
a little smaller, I tap on one of the corner
nodes to access the dimensions and place the illustration
in the top third of my page. I turn it into a
neutral placeholder so with a two-finger
swipe to the left, I activate Alphalock and
fill the image with gray, but this way, not
the entire layer. Now I group my two
standard elements. Since the calendar numbers
are different on each page, they are not part of the grid. Now, rename it to grid. Now it's time to duplicate. Swipe to the left, tap Duplicate, and done. After that, I nest the duplicated grid into
the calendar layer above. Remember to name each group
according to the month. Of course, I will start with January and move forward to February and let's check. Here you can see how
nicely this page is prepared with multiple
layers we can work on. Now we need this grid 10
more times but please bear in mind that you must always
duplicate the original grid. Do you remember why it
is so important to copy the original and not
the copy of the copy? Well, it is absolutely
essential for the reasons to keep quality
losses as low as possible. Keep in mind every copy you
make of a drawing within your document will have to
deal with quality losses. The same applies to enlargements or when you move your
object on the canvas. [MUSIC] You can pause the video now and repeat the process
for each month by yourself. Duplicate the original
grid and group the copy with the next
calendar figures. Now rename the group into
the name of the month and continue the process until
you reached December. [MUSIC] Once the grid is set, we start to place the
illustrations for the month, tap on the layer of
the gray placeholder, go to the Actions menu, insert a photo and choose the PNG file of
your illustration. Now just resize to the same size as the
placeholder below. If Snapping Tool is selective, you will find it really
easy to get the spot right. Let's design another
month together. Now, select the PNG and place the illustration directly over the placeholder
using the Snapping Tool. Are we ready? Beautiful. I want to invite you to combine
ease with accuracy. When the Snapping
Tool is activated, it is quite easy to find the
right place for the object on the canvas but with the
addition of clipping mask, your illustration
will fit exactly into the shape of the
underlying object. Turning on clipping mask
will allow me to automate illustration only within the
form of the placeholder. This small checkmark
indicates that the layer is connected
to the one below it. This way you can be sure that
spot overlaps are cut off exactly and at each illustration has the same outer shape. Let us repeat it on the
other pages as well. Activate clipping mask and done. [MUSIC] You can pause
the video again and repeat the process for each of the remaining
months on your own. Insert the image, then use Snapping Tool to align the illustration with
the placeholder below, and finally, turn on clipping mask for 100
percent accuracy. Finally, the fox sits
down on the hill and discovers the shooting star that carries all the wishes
for the next year. No matter what you came up with, I wish you to be 120 percent
satisfied with your results. Now you're able to design a
calendar with page assist. You're well-trained in preparing a standard page with a grid for each month and insert your images perfectly
aligned to the grid. But do not forget to give the plain page a striking
cover image. Take your time. See you in the next class
where we are going to export the multi-page
artboard as a PDF.
8. Export a PDF From Procreate : This is the last
step of our process. You will export your
artwork as a PDF and you will know how to
avoid the major mistake. We start with the big mistake. Hit the wrench and tap on
the Actions Menu Share. Now go with the first
option that shows PDF. Of course, we like
the best quality. Save your rectifiers and choose the right folder
and give it a proper name. For now, I'll type the name
and test for this file. The PDF file is now
in my folder but it's only 2.3 megabyte in size. If I look closely, only one page of the entire
calendar was exported. Back in Procreate, I go to Share, but I go to Share Layers. Now I tap on PDF and
choose the best quality. Again, I save it in the
folder of my choice. You can already see that the file name changed
into the cover image. In my folder, the new PDF has a size
of 24.5 megabytes. Looks good and all are happy. Congratulations. You mastered the last step. You can export your
artwork as a PDF and note difference between
single and multi-page export. See you in our final lesson for a little sum up
and closing thoughts.
9. Sum Up and Final Thoughts: Congratulations, you made it. No matter what your
superpower is, now you're ready to set up a multi-page design in
Procreate using Page Assist. You can set up and
navigate Page Assist, design a standard page with repeating elements
on multiple layers, and import an existing
PDF and export your work as a single
or multi-page PDF. As a learning example, you designed your own calendar. Now it's up to you, try out your new skill set. Page Assist is a
great way to maintain a daily sketchbook or to create
a showcase for a client. Let me know in the comments, which way you will use Page Assist and
Procreate the most. Do not forget to head to
Project and Resources, and upload the screenshot of your workflow and two
pages of your final piece. Please be so kind and leave feedback plus a review
for the course. This will help other
students to find the course more easily
here on Skillshare. Thanks for following along. I hope this introduction to
Page Assist was helpful, enjoy art-making. Cheers.
 Ulrike Text&Tulip, Digital Art in Procreate