Transcripts
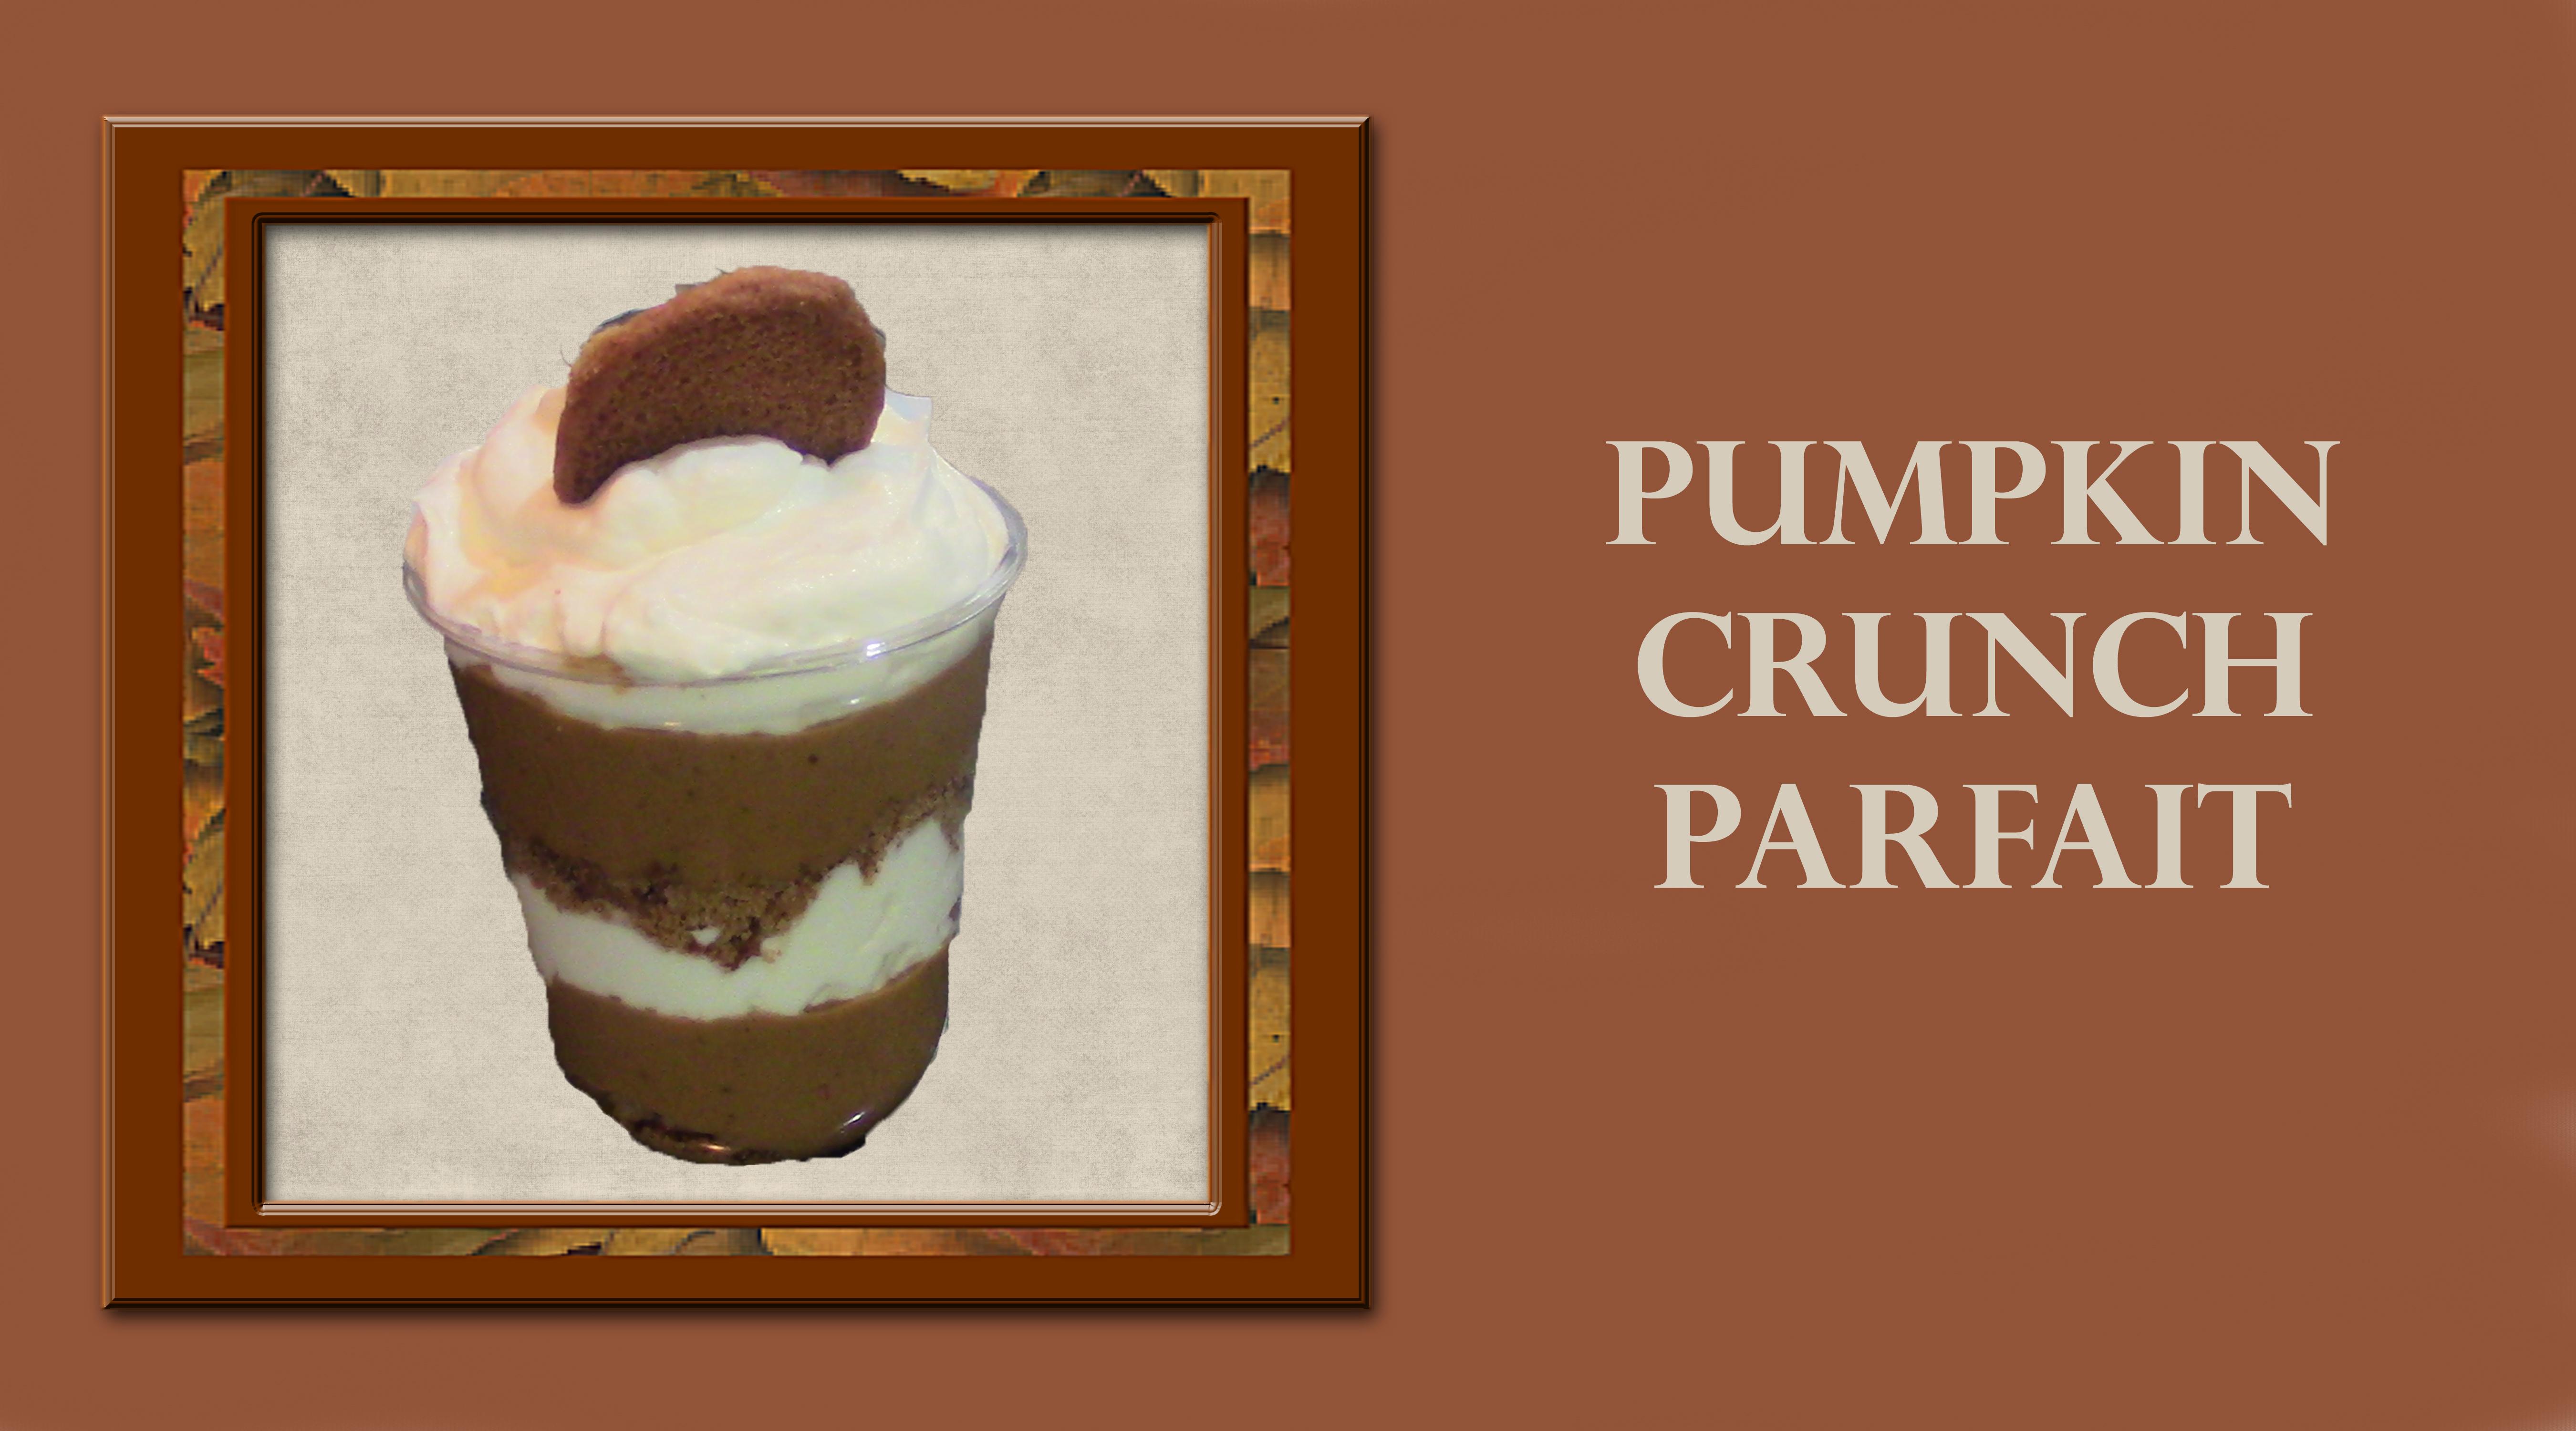
1. 01 Introduction: Welcome to this class. Today I will teach you how to make this delicious
pumpkin crunch parfait. First, I will teach you how to make the ginger snap cookies. Next, I will teach you how
to make the pumpkin pudding. Then I will teach you how to make the stabilized
whip topping. I will finish up by teaching you how to assemble
your parfase. I am a self taught baker. Many years ago I wanted to
open up my own home bakery, but I didn't feel like my cake decorating
skills were the level that it should be to make beautiful cakes for
people, special occasions. I took some classes, watch some videos, read
some books, and of course, did a lot of practice
until I felt like my cake decorating skills
were up to that level. I then opened up my
own home bakery, and I had this business
for several years. Part of that business
was to do weddings. And with the weddings,
we often would make treats like this to
serve to the guests. I had this business
for several years until my husband got a job
offer in New York City. We felt like this was
a good move for us, and so I closed
down my bakery and we moved across the
country to New York City. Now here I do not
want to go through the steps to open up
another home bakery, but I still love baking. As a retired teacher,
I love teaching. I have decided to share my
skills you on skill share. This is aimed at the baker that would
like to learn how to make a fall parfit with
everything made from scratch. I am excited to teach you
the skills in this class. Let's move on to
lesson number one, Making the ginger snap.
2. 02 Gingersnap Cookies: We are ready to start making
the ginger snap cookies. In this bowl, we want to measure out the first eight ingredients. Let's start with the
dark brown sugar. Just dump it in
there, pack it down. There's our one cup and
our one fourth cup. Next we want to
add our 2.4 cups. Four, just going to
measure into my cup. One cup, two cup, and a four cup. Now we want three fourths of a teaspoon of the baking powder. And you're going to have
to probably do that with a 12 teaspoon and a 14 teaspoon. Now I need a four of a
teaspoon of baking soda. We're ready now for the salt, and I need 14 teaspoon
salt and I'm just using regular salt if you want to
get the fine sea salt fine, but I'm just using regular salt. Next we're going to add the 1.34 teaspoon of
the ground ginger. There's 1.5 and that makes 34. Next I want 1.4
teaspoon of cinnamon, There's the one, and
there's the fourth. I then want 14 teaspoonful
of ground cloves. 14 teaspoon ground cloves. We now want to just
whisk the salt together, get everything mixed in. Once we have the salt
whisked together, we'll be ready to
add our liquids. Now, it says stir in the
butter and the eggs. I'm going to start with the butter and I just
want to stir it in. I want to get the butter
pretty much mixed in. I'm getting right there. I'm going to add my egg. Pick that egg up, let's
get that stirred in. We're just going to
keep stirring this until all of the dry is
mixed in with the moist. And we have our cookie dough. Here is our cookie dough. We're now ready to put it on the baking sheets and bake it. Ready to put the cookie
dough onto the cookie sheet? And I've got just the scoop. You may not have a
scooped out size. You can just use a small spoon and then form it in your hands. With the scoop, I'm
able to scoop it out and just place it on
the cookie sheet. I do want these to be about an inch apart,
and that's all. Now, if you don't have
a scoop, as I said, you could scoop it
up with your F with a spoon and then form it
in a ball in your hand, which would also work. The scoop just makes it a
little bit quicker for me. Now you notice these
are not very big. That's because they
are ginger snaps. Ginger snaps are small. I'm going to continue
until I have my pan full and then I'll
be ready to bake them. We'll be back when the pan is full to show you
how we bake them. I have them scooped out
on the cookie sheet. We're now ready to put
these in the oven. We're going to place
these on the middle, wrap in the middle, and we're going to cook
these for 14 minutes. We'll be back in 14 minutes
when these are done cooking. Our timer has just gone off. When you look at these cookies, they look just like
they are supposed to, going to take them out and stick the rest of the cookies
in and cook them. Now we're going to take
these cookies and just put them on our
cooling rack to cool. And if any you're
sticking together, you can separate them. At this time, we're going to
let these completely cool. We'll take the other ones out of the oven and let them
completely cool. Also, our next lesson is going to be making
the pumpkin pudding.
3. 03 Pumpkin Pudding: We're ready to make
the pumpkin pudding. This is done on the stove, so let's move over to the stove. In this pan, I'm going to put my 34 cup coconut sugar,
my 12 teaspoonful, my two tablespoons, and my
two teaspoons of cornstarch, 12 teaspoonful of cinnamon, my 14 teaspoon of nutmeg, my 18 teaspoon of allspice, and my two teaspoon of ginger. And we're just going
to combine these, mix them all together. Now we want to
whisk in the milk, the heavy cream, and
the pumpkin pure. We're going to pick this
over a medium heat. We want to gradually bring
it to a boil while whisking constantly to make sure
that the milk doesn't. We also want to be scraping the bottom and the corners
of the pan with the whisk, making sure everything
gets completely mixed in. Keep whisking this until
it comes to a boil. It'll take a few minutes. I have been stirring
for a few minutes. If I stop and look, I can see steam is
starting to rise, but I don't have
any bubbling yet. I just keep stirring
until it comes to a boil. It is starting to thicken up. Okay, you'll see it is boiling. I'm going to set the
timer for 2 minutes. I'm going to keep
stirring while it boils. For 2 minutes, this has been
boiling for about 2 minutes. We're going to go ahead
and turn the heat off. There's the timer,
and I'm going to add my butter and my vanilla. I want to stir that in. I'm just going to stir til that butter is
completely melted. And there you can see the
butter is completely melted. I'm now going to take my pumpkin pudding and I'm going to pour
it into this bowl. We want this to chill in the fridge until it's
completely cool. I don't want to
form a film on top. I'm going to put this
Plasta wrap on top. We're going to push it down so that it's touching
the pumpkin. No air can get in there
to help it form a film. Now this is going to go in
the fridge till it's chilled. In our next lesson, we will make the
stabilized whipping cream. Then we'll be ready to put
our parfaits together.
4. 04 Making the Stablized Whipping Cream: We're ready to make the
stabilized whipping cream. It starts out the stove, I'm going to start by pouring 14 cup of water in the pound. I'm then going to sprinkle my one teaspoon of
gelatin over the water. And I'm going to let this
sit for two to 3 minutes. This is for a couple of minutes. I'm going to place the
pan over medium low heat, and I just want to stir it until that gelatin is
completely dissolved in. As you can see, that's totally clear because it's
completely mixed in. So we're going to remove it from the heat in this small bowl. I'm going to place
one tablespoon of our whipping cream and a two, a teaspoon of the
cream of tartar. And then I just want to whisk this till it's
completely mixed in. As you can see, I have
like a paste right there. I'm now going to
put this cream of tartar whipped cream in
the bottom of the bowl. And then I'm going
to add the rest of the whipped cream and three
tablespoons of sugar. We're now going to pick
this on a medium spin. We're going to mix this
for about 2 minutes. We'll be back in a
couple of minutes when this has
started to thicken. This has been going
for 2 minutes. You can see it's
starting to thicken. We're now going to add our water and goes
and mixture to it. We're going to add
our one teaspoon of vanilla and we're
going to continue to mix this until it's
thick and smooth. You can see that. Strange,
let's turn it off. Bring this up and
see what we have. You can see that's very thick with all of our
ingredients made. In our next lesson, I will teach you how to
assemble the parfase.
5. 05 Assembling the Parfaits: We're ready to
assemble the parfase. We're going to start by
crushing our cookies. I have a plastic bag here and I'm going to stick
some cookies in there. Not all of them, because I don't know how many
it's going to take. I just want to stick
a few in there. We'll start with that. May
I want to see this up then? I'm using mallet.
A cooking mallet. I do not want to use
this site that's spiky because I don't want
to tear holes in the bag. So I'm going to use
the smooth site. I'm just going to
break my cookies. I want this to be
a course break up. So I don't want to
use a food processor because that can
break it up too fine. Double chicken,
make sure I don't have any too big chunks. If I do, I want
to break them up. Here we have our cookie crumbs. I'm going to start by
putting some crumbs, cookie crumbs in the bottom, just enough to cover the bottom. Once I have the cookie
crumbs in there, I just want to make sure
it's evenly distributed. Then I'm going to spoon my pudding on top
the cookie crumbs. You can see about
how much I have in there and I'm going to do
that with all of them. It's looking like it's taking
about three spoonfuls. Let's see if I can
do one where you can see there's one spoonful, two spoonfuls, three spoonfuls. And that makes it about
where it should be. Let's do our last one now, I want to put the
whip topping in. I put that in, spread it around. It looks like it
may take a couple, because I want to
spread it around. As you can see, it's
about halfway full. With that, I want to do
that with all four of them. I'm going to go back and I want to do one
more layer of each. I've got to put some
cookie crumbs on there. It's going to be more
cookie crumbs because the cup is wider here end up being more like two handfuls instead
of just one. Now I'm going to
put more printing. I want to totally cover
those cookie crumbs. It's going to be like that. From what I can tell,
Looking at this, what looks like this
recipe is going to make four parfaits. If you want more than four, you're going to want
to double the recipe. Now I'm ready to put
my whipped topping on. I want to spread that around. Get it totally cover that I can put a little bit on top so
it's coming up above. I just want to do
it to all of them. Now, if I want this to
have a dollop on top, I can add like a dollop on top. It's up to you. I do have a little bit of
whipped cream left, so I am just adding a little bit more 'cause it's okay to have the whipped
cream come up higher. Now I want to finish by
sticking a ginger snap on top. You could also do crumbs, if that's what you'd rather do, but I like the idea of having a full ginger snap
cookie on top. And there you have
our pumpkin parfait.
6. 06 Final Thoughts: Thank you for taking this class. We have fun making our
pumpkin crunch parfas. We first learned how to make
our ginger snap cookies. Then we moved on to making
our pumpkin pudding. While the pumpkin pudding
was cooling in the fridge. We then made our
stabilized whipped cream with all three components made. We crushed some cookies
and made our parfaits, layering it with cookie pudding stabilized whipping cream. Cookie pudding stabilized
whipping cream. And then of course, we
added the cookie on top. I hope your parfait turned
out the way you wanted it to. Your project for
this class is to make this pumpkin
crunch parfait. The recipes are in
the project section. Please make sure to
take a picture and post it on our project page
and tell us how it went. Now if you have smaller
cups than this, you'll be able to
get more than four. These are actually like eight
ounce or ten ounce cups, so it's a very big serving from my kitchen to your kitchen. Happy baking and cooking.
 Nadine Thomas