Transcripts
1. Trailer: Ever poured your heart
into an art piece only to fumble when the
time came about money? Or worse, have a
potential client ghost you after you send the new coat. Yeah, I've been there. Crafting the perfect
client proposal shouldn't feel harder than
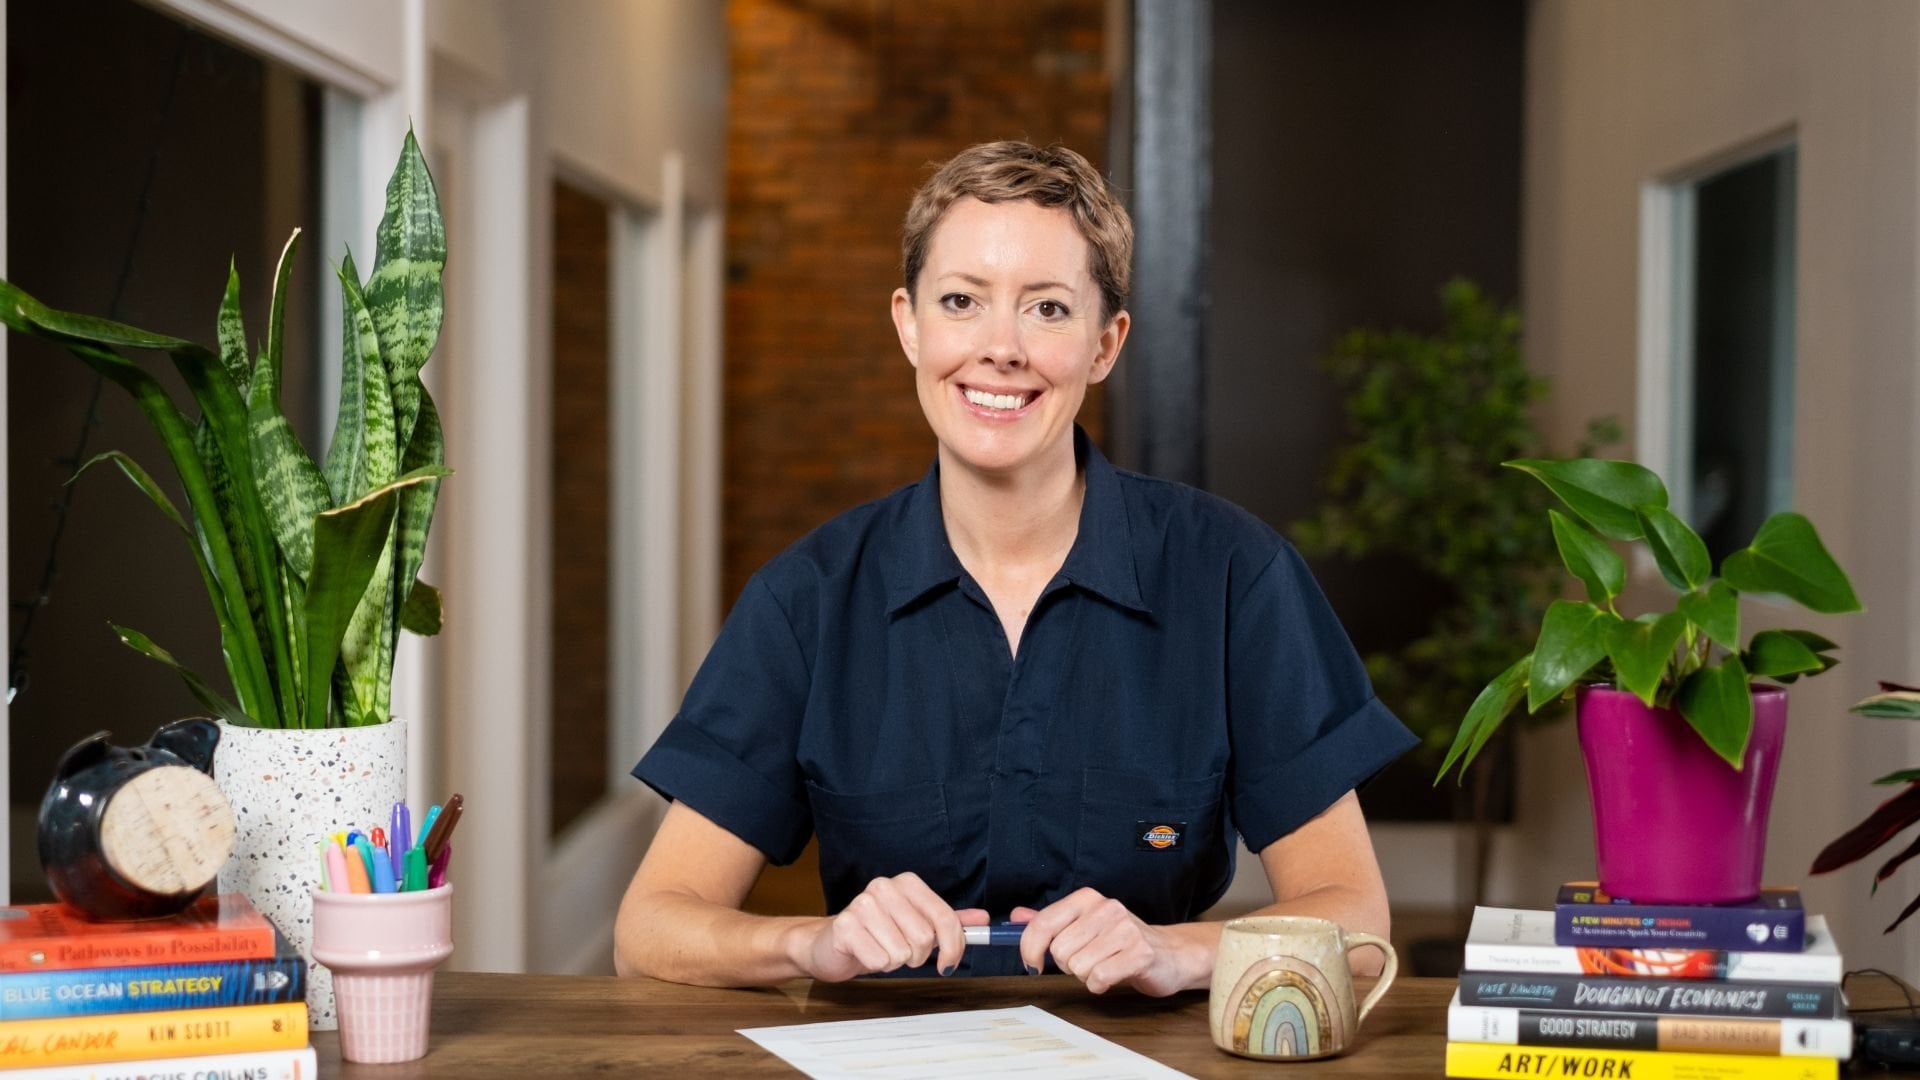
creating the actual work, but for so many of us creative freelancers, it totally does. I'm Anita Marman, an
independent illustrator, lettering artist, and educator, and a top teacher
here on Skillshare. I help businesses
and individuals express themselves through
custom creative projects, art licensing and online
and offline classes. Over the past few years, I've worked with
clients like AudiUK, Skillshare and Trader Dos to name a few, creating
custom artwork, campaigns and license designs, and a big part of landing those projects has
been learning how to communicate clearly and
confidently through proposals. In this class, I'll show you how to turn your proposals into a powerful tool for connection, communication
and confidence. Whether you're a
designer, illustrator, photographer, life coach,
creator, freelancer, any kind, this class will
help you move beyond just quoting a price and start showing your value from
the very first pitch. I'll walk you through
what to include, how to structure your proposal, and how to write
it in a way that feels both professional
and personal. So you're not just sending off a number, you're building trust. And here's the
icing on the cake. You'll also get an
up close tour of my own proposal template that I use to send out pictures
to my very real clients. By the end of this class, you'll be fully equipped to create your very own proposal
template that you can then send out to clients
and knock their socks off. I've also created a downloadable
workbook for you and included lots of helpful tips to handhold you along the way. This isn't about
scripts or formulas. It's about making the
most of the moment. So the next time
someone reaches out, you're ready to show them exactly why you're
the right bit. Sounds good. Let's typewrit.
2. Overview & Class Project: Welcome to the class.
I'm so glad you're here. Before we dive into creating strong strategic
client proposals, let me give you a
quick overview of how this class is structured
and what you can expect. We'll start by getting clear
on what a client proposal actually is and why it's
a good idea to send one, even if a client
hasn't asked for it. Spoiler is the best
way to stand out and show your value before money even enters
the conversation. Then we'll talk about why having a proposal template can
make your life so much easier and help you respond to client inquiries with
confidence and clarity. From there, I'll walk
you through what to include in your proposal,
how to structure it, and share tips on
writing it in a way that feels personal, persuasive,
and professional. You'll also get an
exclusive peek at one of my real life client proposals with commentary on what
I included and why, followed by a few bonus tips to help you refine your tone, boost your credibility, and make the most of
this opportunity. Now onto your class project. Your project for
this class is to create your very own
proposal template, one you can reuse and tailor
for future client inquiries. Maybe you already have
a proposal process in place that you
winged at some point, and this project will help
you either tweak that a little bit or confirm that
what you have is good to go. Maybe you don't have
a process at all and never thought of creating
a proposal template, in which case, I really hope
you will get this a go. Remember not to let
perfectionism get in your way. Just try and set a
deadline for yourself to make a proposal template
and take it from there. To help you plan and execute it, I've created a free
downloadable workbook that you will find under the
Projects and Resources tab. As you work through the class, feel free to jot down notes
and ideas in the workbook. And once you've got a version of your proposal template ready, share it in the project gallery. I would recommend that you share screenshots or low risk
images of your layout. You don't need to upload
the entire document, especially if it has
sensitive information. You can ask for feedback, get inspired by other
students' projects, maybe even make a few
freelance friends while you're at it. And remember, be inspired
by what others share, but please don't copy or steal from anyone's project,
including mine. Let's keep this a safe and supportive space
for all creatives. Yeah, I can't wait to see what you come up with. Now,
let's get started.
3. Client Proposals: Why, What & How? : Firstly, what are client proposals? What am I talking about? So as a freelance professional
of any kind, you get inquiries from
prospective clients, right? Irrespective of who
reached out to whom first, if there is an actual project
on the horizon for you, there's gonna be an
inquiry of some kind, and you have to respond
to it in some way. So you collect all the
information you need, and then you give
them a quote, right? Now, instead of just
giving them a number, you can send them a proposal, which is basically your quote, but it includes a lot more information than just a number. I'll get to what it includes and why it's awesome very soon. But for now, that's what it is. A document that you send out
to clients in response to their inquiries that clarifies how you can solve their
problem for them. We can also send
out a proposal to a prospective client who hasn't reached out to
you with an inquiry, but you think they have
a problem you can solve. So that would also count
as a client proposal. Alright. Now, why do you
need a client proposal? Why go through this
process of making an entire document when you can throw a number at
them and be done with it. After all, it is that number that they're really
after, isn't it? Not really. There
are several factors that make someone want to work
with a particular person. It's not always just
about the money. By sending them a
proposal versus a quote, you're getting an
extra opportunity to give them a glimpse of your professionalism and work ethic before they
pay you any money. You're showing them
that you care about them enough to go
the extra mile. It's an extra step
to get them to know, like, and trust you, which is important when you work
with someone, right? Besides, that number that you could have just sent
in a DM or an email. As soon as you put it into
this well designed document, it becomes more official. It looks like you know
what you're doing. Also, a proposal gives you a chance to once again
impress them with your work. You can include a
mini portfolio within the proposal
highlighting some of your work that is
relevant to the project. So you're reminding them why they reached out to
you in the first place and why your design expertise is worth what you're asking for. Because now it's all in
the same place, right? Examples of your fabulous work
and how much it will cost. Moreover, when you
make a proposal, you have additional perks
like being able to offer multiple options
and being able to set some expectations
beforehand to protect yourself. So overall, proposals are fantastic ways to
impress your clients. But it our we're all busy. Our hands are so full with
all the different things we already have to juggle
as creative professionals. This sounds like
a lot of work to do before you're even getting
paid for the project. So is it really worth
it? I'm glad you asked. If you're going to
create a proposal from scratch for every
inquiry that you get, then yes, it's a
lot of work to do, and it's probably not
worth the effort. But you can have
systems in place. You can invest some time into creating a template
for your proposals, and you can use that every
time you get an inquiry. So the bigger time investment
is a one time thing, and then you just need to edit some of the details
in the template each time so that it looks custom made for that project,
and you're good to go. So once you have that
template sorted, you can quickly send out
quotes to your clients and completely sweep them off their feet with your
professionalism. Also, when you have
a template in place, it helps you maintain
consistency. You're making your brand more
memorable to your clients. And when you have systems
in place that help you deliver well put together
stuff really quickly, you come across as being a busy person who's still reliable and knows
what they're doing. Those are all things
that you want your clients to feel when
they think about you, right? So make it the postal template.
4. What to Include: Now what goes into a
proposal template? What to include to
impress your clients and get the important stuff across
without overwhelming them. The basic gist of
what you're trying to convey is one, who are you? Two, how can you help them? And three, what will it cost
them to access your genius, right? That's the crux of it. Here's what I think
you can include in your client proposals to convey all of this in an
organized manner. First, you start
with a cover page. Just something simple, clear, and to the point so that the client knows what
exactly they're looking at. Next, a very brief
about me section. Keep it short and sweet and let your personality
shine through. I like to do this
in first person. It just feels more personal, and I highly recommend including a photo of you to put
a face to all of this. They may or may not know who the person is behind
all this gorgeous work, and it just helps
to see that there is a real person
behind all of this. Next, you include
a mini portfolio. Just a maximum of about six to 12 pieces of your best recent work
is more than enough. You don't want to throw in a
lot of pieces and overwhelm them enough to remind them why you're a great
choice for the project. Next section would be
the project brief. So this is something
you have to do on a case to case basis, right? So you put in a section for this in your proposal
template and then add the details pertaining to the specific project
once you have them. Things like the client's
vision, the keywords, deliverables, any inspiration
images they've sent you, this is where you
put all of that. But again, keep it short. The goal of including
this here is to one, show the client that you have listened to their needs and two, to make sure that
you're on the same page as the client in terms
of what the project is. After this, you can go on
and present your offerings. This is where you give
them those numbers. Wherever possible, I would recommend that you give
them multiple options. There may be different ways
to tackle a creative problem, and by giving them
multiple options, you're not only
offering more choice and some flexibility in
terms of the budget, but you're also telling them
the value of your work. You're making it clear that
this will cost as much, but then if you want this also, it's going to cost as much more. So you're setting some
expectations as well. Then it's also a good idea
to include some info on the design process and
general terms like the scope, timeline, validity,
payment terms, et cetera. You don't want to
try and squeeze in a full contract in there, but you're just
trying to say that this proposal is applicable
provided so and so. Again, it helps you to establish some ground rules and
manage expectations. Finally, contact information. They probably already
know how to contact you, but having it in front
of them once again helps them to know that you're
there, easily reachable, and it makes it easier for
them to take that next step, which is ideally tell you
that you hide, right? So there you have it.
Very straightforward, nothing too fancy,
just the right amount of information to
impress the client. You can create this using whatever design software or program that you're
comfortable with. I have my template made
in Adobe in design, which I find great
for things like this. But you don't have
to now go and learn a whole new program if you're
not already familiar with. You can even do it in
Canva or Google Docs or any presentation software
like Microsoft PowerPoint, Google Slides, or Keynote. It does not have to be fancy. And depending on
where you create it, you can send it out to the
client as a PDF or as a link. These two are the
generally accepted formats to present your proposals
to your client.
5. My Proposal Template: A Show-and-Tell: All right. So now that you have a good general idea of what goes into an
effective proposal, let me walk you through
my proposal template that I currently send
out to my clients. Remember that this is just
an example of how you can put all the information I just gave you together
into a document. That's not the
only way to do it. In fact, I would
really appreciate it if you don't try and copy it. But just use it as an
inspiration to come up with your own version
that is true to who you are. Cool. So let's see
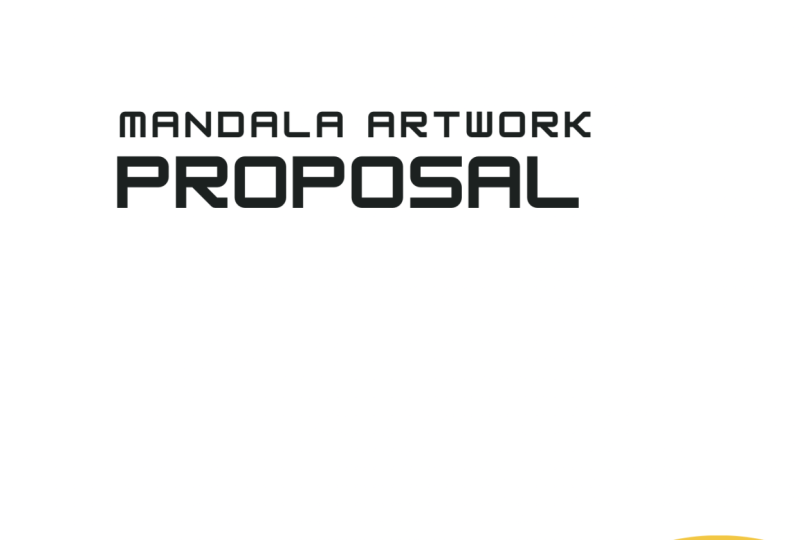
what mine looks like. I start with a simple
cover page like this. There's a title here
so that there's no confusion of what
this document is, and then some details
about the client. So just a little bit of
personalization there so that it's evident that this is a document created
just for them. And also, that
helps you identify which proposal this is
because with any luck, you'll be sending out
several of these, right? I also put down the date and some basic info
about my business, and I use the remaining space to put in a piece of my artwork. This gives a client a peek into my portfolio early on
and hopefully makes them want to see more and
helps to establish some more of my branding and aesthetics right
at the beginning. And then right away,
there's an about me page. Just one page with a
brief write up about my work in first person
and a smiling headshot. I think this is a
great opportunity to show the client
a little bit of your personality both through the text description
and the photograph. It's good for them
to see a little bit of your personal style and how you dress up or just anything that you
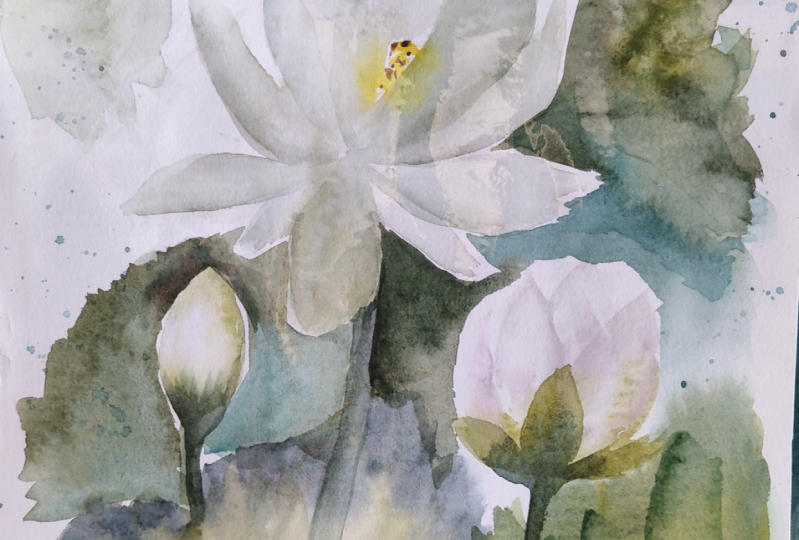
feel makes you you. Also notice how I have some of my floral illustration
within the headshot, too. I'm trying to sneak in
elements of my work as much as I can without being
too in your face about it. All of this in just
one single page. I don't recommend that you go on and on talking about
yourself here. The client wants to get to
those numbers and you want to maximize their chances of actually going through the
stuff that comes before that. So there's too much,
they're just going to skip right through and all of
this effort goes to waste. So short and sweet is
the key to remember. Next, I have a select
projects section, which is basically
a mini portfolio. I have a mix of real
client projects and personal projects
that I put in here. We want to keep an eye on
the page count here because we don't want them to feel like they have to scroll endlessly. So try and put multiple
pieces in one page, but don't cram them, leave enough breathing room to, you know, give each piece
the attention it deserves. I have four pages here dedicated
to showing off my work. I would say don't
go beyond that. Try to stay at four or less. And also, just go
through it every time you edit the
proposal for a project. Check to see if you have any other pieces that are really relevant to
this specific project, then you can swap out one
of the existing pieces for that to make the proposal more relevant to the
project at hand. And then we have a
project brief section. So this is where we put down all the information we
collect from the client. So just briefly talk about what the project is and what
the client's means are, some keywords that
you've picked up from your conversations with
them, their vision. I like to also ask my clients
to pick a few pieces from my existing portfolio that resonated with them in the
context of this project. That really helps me feel more confident
about what they're looking for and why they think I'll be a
good fit for this. It also helps to establish
that this is the sort of style or aesthetic that can be expected in the
final results. So it's helpful for both parties to see that
perspective early on. Then if you have any photos
that they've sent you, you can include that too. In this case, this was for
some custom lettering pieces that were to be displayed on a wall in the client's
office space. So I went and visited the space and clicked
a picture of the wall. So that goes in there and also other inspiration
images they've sent me. All these things, of course, differ from project to project. So go with whatever is relevant
to that specific project. But of course, in order to
have this section at all, you need to actually get the
information from the client. So before you go into
creating a proposal, make sure you ask them all the important details
because you don't want to have incomplete information and send out a proposal and later
have to change things. Especially if you find out that the scope is
much bigger than you estimated and have to raise the prices
from your proposal, clients don't really
respond too well to that. So make sure you have
as much detail as possible before you even
get to the proposal stage. Then comes the offerings. This is the least interesting looking page on the
whole proposal, but it is the most
important page, right? So you need to pay
attention and spend some time here making sure
everything is well considered. Like I said, I like
to include a couple of different options
wherever possible. Usually around three options at different price points
with different scopes. Generally, when you
have three options presented to you like this, the normal inclination is
to pick the middle one. Which is fine. Our aim is not
necessarily to make them go for the highest price offerings, of course, great if they do, but the main reason it's there is to make the
other two look more affordable and also to set
some value to your effort. You're saying, Sure, I
can go an extra mile, but it's going to cost you
X amount more for that. For example, the difference in these offerings is
mainly in the number of design concepts that will be explored and the number
of revisions included. So this, in addition to giving them multiple price
points to pick from, also makes it clear to
them that exploring more concepts or doing more revisions are
going to cost more. So that if they pick the cheapest option
with just one concept, but they want you to explore
a different direction, they know that they'll have
to pay you more for that. They cannot just sweet talk you into doing extra work, right? Now, moving on to the
right side of this page, this is where I have
some terms laid out. Some information on the timeline
and the design process, so they know what to expect and also know that you know
what you're doing. Then other stuff like
number of revisions, the price of extra
revisions if required, some basic info on the rights
of usage of the artwork, payment terms and validity. Payment terms very important. And also, if you have a deposit
to lock in the project, then this is where you
can mention that so that they know that unless they've
paid you the deposit, the job is not confirmed. Also, validity is very important when it comes to a
quote or a proposal. You want to create some
sense of scarcity. You want them to ideally respond
and close the deal ASAP. Especially for us freelancers, things are constantly
changing, right? Our workload is
so unpredictable. Your availability today may not be your availability
a month later. So we need to make that clear
that they cannot hold you to this proposal endlessly.
There is a clock ticking. Right. And finally, just
some contact info so that, like I said, they know they
can reach out to you easily. I also put in a link
to my website so that they can see even more of my
work in case they need to. And that's it. It's a
total of ten pages, covering what I
think is the most important, most
relevant information. Again, this was just an
example, but do your thing. Okay? It doesn't have to
look anything like mine. It doesn't have to be in
landscape orientation. It doesn't have to have
all of these sections. Do what makes sense for you
and love feel at Cristas. O.
6. Bonus Tips: Before wrapping up, I'll give
you a few bonus steps to bear in mind while creating
your own proposal templates. Firstly, whatever you do, it needs to be easily readable. Make sure the font is simple, the size works well, colors are easy on the eyes. Avoid lotter, keep it clean and avoid large
blocks of text. Also, keep everything
looking consistent. The colors, design
details, formatting, all of that throughout
the document, and make sure this
is a reflection of your brand
aesthetics in some way. And remember, you don't need to get it all perfect right away. You can put together
something that works as a starting point and
then take it from there. Mine did not start by
looking like this. It has evolved over time, and it will possibly
evolve even further. So just tweak as you go. Also, every couple of
months or maybe even weeks, it's a good idea to look at that mini portfolio
section and maybe give it a bit of an update with newer pieces
that you're creating. And finally, if you've received an inquiry and gotten all
the details from the client, then try and get the proposal out to them as soon as possible. Don't make them chase
you or wait for ages. You need to try and impress
them as soon as you can.
7. Final Thoughts: Alright, so that's it. I hope you've learned something new today and feel a lot more confident to respond to client inquiries and pitch
yourself to clients. Don't forget to download the workbook from
the projects and resources section and work
on your proposal templates. Don't sit on it for too long. Okay? Nothing you learned with me today is
going to actually be helpful to you or your business unless you take action, right? So get your hands
on the workbook and get started on that
proposal template. There's a little
section in there to set yourself a deadline. Use it, keep that promise to yourself and take action, okay? I cannot wait to see
what you come up with. Don't forget to upload images of your proposal template to the project gallery
of this class. If you want
constructive feedback from me or your fellow students, please mention this explicitly in your project description. This way, you'll ensure you
get the feedback you're looking for without any
unsolicited advice. Also, remember to
check out the projects by your classmates and
show them some love. It's a great way to
learn from each other and build a supportive
community around you. If you have any questions or need further clarification
on anything, please use the
discussion section of this class to reach out
to me. I'm here to help. If you enjoy this
class, I would really, really appreciate it if
you could leave a review. Your feedback means a
lot to me and helps other creatives like you
discover this class. And don't forget to follow
me here on Skillshare to be notified right away
when I publish a new class. In the meantime, I have
an entire portfolio of classes that
you can check out, ranging from
watercolor lettering, painting gush house plants, fun procreate projects like
illustrating using dots, mastering the symmetry tool, drawing botanical
illustrations, and creating seamless repeat patterns to lettering practice and mastering
lettering compositions. I also share new work as
well as behind the scenes, process videos and
tutorials on my Instagram. So if you want to be in on what I'm up to, that
would be the place. Thank you so much for sticking with me and for doing the work. It's been an absolute
pleasure sharing some of my creative business
knowledge with you today. Until next time.
Bye bye. Amazing.
 Vinitha Mammen, Illustrator | Lettering Artist