Transcripts
1. Introduction Cute Animals in Procreate: Hello guys, I'm Marie
an illustrator, surface pattern designer, and kids book author from
Munich, Germany. I am well known for my
wonderful word of cute animals, be it on fabrics, kids clothing, or interior items such as
wallpaper, pillows, and more. My client portfolio has some impressive names
on it like Adobe, Canva, Auto Desk, and Microsoft. Did you always wanted to learn how to draw animals
and procreate, but found it frustrating
with this fun class. I will finally teach you
how to make it happen. Come with me in the
fun class and I will teach you exactly
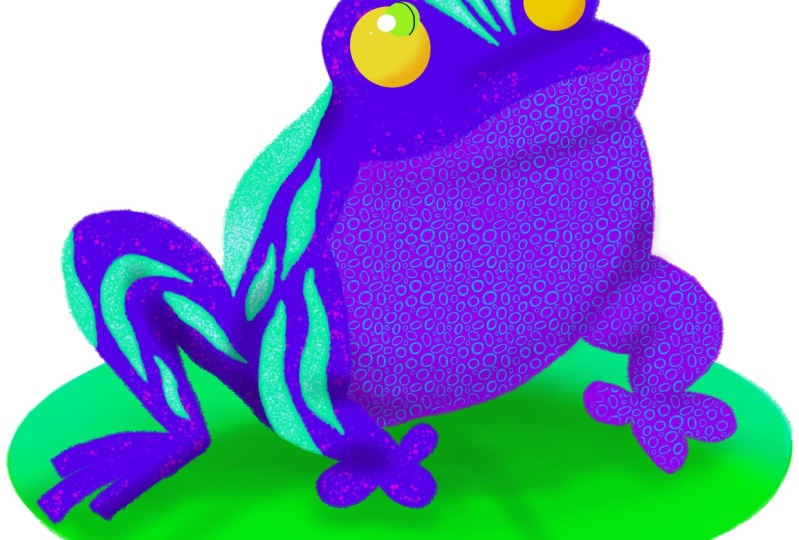
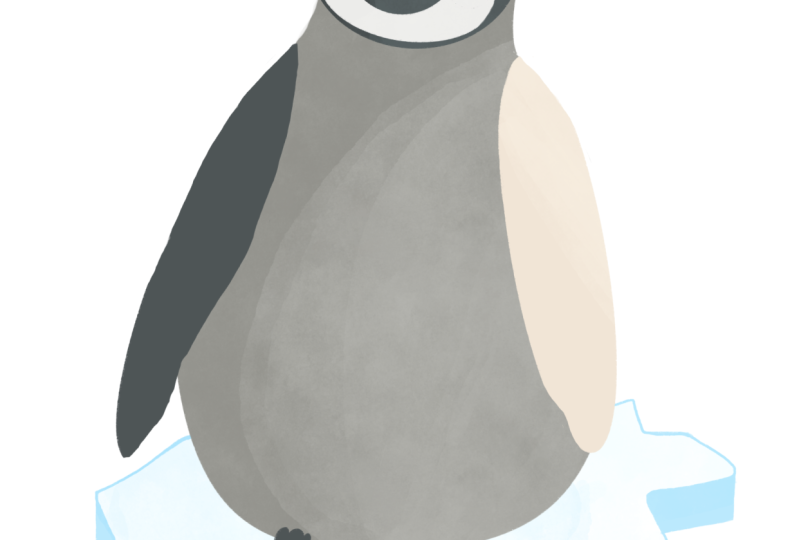
how to get from this. Do this. I will also teach you how to use geometric shapes to create
your own animal as well. Are you ready to unleash
your creativity and bring a drawable creatures to life
on your digital canvas? In this comprehensive class, I will cover a wide range
of topics to equip you with essential skills to create
charming animal illustrations. We will begin with
a fun Chris to find out what crazy
animal you are. Are you a sweet kangaroo, a funny poodle, a
chikiiref or a wise? Get ready to dive
into the process, gather inspiration
from online sources like Pinterest or my own book, and learn some procreate tips
and tricks along the way. You are then ready to
discover the secrets of colors and learn how to
utilize color in procreate. To bring your animals to life, a distinct color
palette can help you grow illustration
artist immenly. That's why I'm offering
three free capelets, free of charge to my students. Once again, deep calpet, one mid century capelet, and one bo calapet. There's really something
for everybody's style. Furthermore, we will
explore the vast word of procreate brushes and how they can elevate your illustrations. I guide you through
using various brushes to adapt texture and personality to your acute animal creations. We will find out where to find cool brushes and how to
import them to procreate. With those tools, you can
create truly unique drawings. As a warming up exercise, we will trace over different
reference photos from real life ones to
mid century Putin and brass figurine swans. Then it is time to
draw your own animals. One of the key aspects we will delve into is mastering
the art of drawing cute animals by exaggerating
basic shapes like circus. You'll learn how to take
simple circles, squares, and trans and transform them into irresistible,
adorable creatures. Unleash your
creativity, and develop unique styles through
these techniques. Whether you are a beginner
or an experienced artist, this journey will help you
develop your skills and create delightful animal
illustrations to make your learning experience
even more convenient. I've included a free
procreate che sheet. This handy resource
will guide you through all the essential gestures you need for a quick and
efficient workflow. Appropriate. Print
it out and stick it somewhere you can see it While drawing
on your ipad Pro. It's a must have tool for any aspiring propriate
artist for your project. I encourage you to create your very own cute animal
illustration practice what you've learned in my class, and see your first
animal coming to life. Just make sure you have
fun watching and drawing. Are you ready to embark on
this creative journey with me? Let's start right away.
3. Inspiration Session: Before we start, let's
gather some inspiration. Look for pictures
of cute animals online and immerse
yourself in their charm. For this exercise, I love to type things like cute animal, sweet animal, et cetera, into the search bar of
sites like Unsplash.com and Pexels.com Those sites
offer license free images, you can easily use as
a photo reference for drawing if you want to look
for a specific animal, for example a cat, just type cat into the search
bar to get execute results. You can even put
baby in front of it. Another way is to have
a look at my book, Cute Animals, which is
available on Amazon. It is filled with 70
adorable creatures you can use as a reference to. Let's just flip through
it for a second. Another idea is to get inspiration
from animal figurines. My favorite ones are from
the mid century era and I've collected a lot of them
here on my pincher spot. Most of them are
wooden figurines, but I've also get some
ceramic and brass ones if you are looking for detail. Brass is the ones
you want to look at, but if you are into
simplified shapes like me, the wooden ones are great. The ceramic ones are
mostly abstracted. In a way to, this is also a
great way to sort around. These whimsical and
minimalist designs can serve as a unique
reference for your creations. Are you more into real
life photographs? Take out my photos of Sweet
Animal Sport on Pinterest.
4. Color Theory and Color Palettes: Colors are a fun way to elevate your drawings
in procreate. Let's take a quick
journey into the world of colors by learning
more about colors. Colors are a fundamental
aspect of design and instantly evoke
emoss ask yourself, what kind of colors do
you gravitate towards? Are you more of a
minimalist gandy type that loves colors? Do you like earth tone colors which are often
described as Bohemian? Or are you a real
color fan who loves every color on the
planet, especially blue? And its core color theory examines three
primary components, U, value and saturation refers to the purest
form of a color. It encompasses the distinct
color of the spectrum, such as red, yellow, and blue. Along with the
countless variations the artist's color wheel. A circular representation of color is often used to
visualize and organize the use. Value refers to the lightness
or darkness of a color. By adjusting the value, you can create a range of tones from deep shadows to
bright highlights. This element is crucial for
establishing in an artwork. Play around with the
values of some colors. Google some hex codes
and put them into here to see how the color
looks on your ipad. Saturation, also known
as intensity or chroma, represents the purity or
vividness of a color. Highly saturated colors
are vibrant and odd, like my blue shirt, while desaturated colors
appear more muted or grayish. By manipulating
saturation, artists can influence the moot and
visual impact of the work. Color theory also explores the relationships between
colors and the harmonies. These harmonies are widely create aesthetically
pleasing compositions. Let's have a look at a few
common color relationships. Complementary colors
are positioned opposite each other
on the color wheel. Examples include red and green, blue and orange, or
yellow and purple. When placed together,
complementary colors create a high contrast and can be used to make
elements stand out. Try this out on your
ipad by drawing two complimentary colors
next to each other. Analogous colors share
similar undertones and creating harmons
soothing effect. You can use analogous
colors schemes to, of unity and coherence
in your artwork. Try this out on your
ipad by drawing two analogous colors
next to each other. Monochromatic color schemes involve using different shades, tints, and tones
of a single color. This approach creates a homimonious and unified
visual experience. Monochromatic compositions
can be soothing, elegant, or impactful depending on the choosing color
and its variations. Try this out as well on
your ipad by drawing two monochromatic colors
next to each other. One of the most
exciting aspects of Bcd ability to import
color palettes, allowing artists to expand the creative quote
possibilities. Importing color palettes into procreate not only saves time, but also ensures consistency and cohesion in your
digital artwork. Here's a guide on how to import color palettes into
procreate on the ipad Pro. Before importing
a color paulette, you can either select
an existing palette, like one of those we have
made for you for free, or create your own. There are numerous
online resources available that offer pre make color petes
for various themes, moods, and artistic styles. My favorite website for
this is just head over to Ww.com and type in
procreate color palette. I would always sort
for top ratings, as I feel this gives
me the best options, There's a preview of
each color palette. So this can really help you choose the
ones you really love. Another great and free
resource is Pinterest. Go to Pinterest.com and make an account if you already
have one, that's cool too. Now you can check out
my color palettes put under Pinterest.com Income
for Creators Color palettes. With one of my pre
made color palettes, you can now import
them into Procreate, choose the one you love most, and save it on your cloud
space like Google Drive, Clod, Chair Point, et cetera. If you saved your palette
as a dot swatches file, open, procreate and
create a new canvas. Tap the plus button to
access the actions menu. Select Palettes, and then tap the plus button to
create a new palette. Name your palette and tap next, tap on the newly
created palette. Choose add it, and
select Import. Locate the dot swatches
file you saved and tap Import palette will now be
available for use appropriate. Once your color palette is successfully imported
into appropriate, it will appear in your
list of palettes. Tap on the palette to
access the colors in it. You can now experiment
with your imported colors, use them to create
digital artwork, and apply them to your
brushes and layers. To apply a color from your imported palette
to brush or layer, simply select the
desired color from the palette and start
painting or drawing. This allows you to maintain consistency in your
artwork and easily switch between colors from
your imported palette without the need for
manual color picking.
5. Procreate Brushes and how to import them: After we covered colors, let's talk about procreate
brushes in detail. Procreate comes with a
diverse collection of default brushes that are great
for a variety of styles. These brushes are readily available when you
install the app. Pct also has its
own brush library where you can explore and
download additional brushes. To access it, tap on
the brushes icon, then tap on the plus sign at the top right corner
and select import. If you are looking for
more specific brushes, like the brushes from more era, let's say mid century
brushes for example. You can also buy some will sow you three of my favorite
brushsurces on the Internet. Now first of all, I recommend the
lovely Lisa Vado. You can find your
brushes on her. Do Brush.com I suggest
you look around. She also has great ideas
on how to practice during regularly that cool resource
is Creative Market. Just head over tow Creativemarket.com and
underbrushes and more. Select, procreate, undersftware. Popular brushes never
disappointed me so far. And if you are
feeling adventurous, you can filter for staff pigs, which are also great. I also want to recommend
Ts for buying brushes. Go to Wts.com and type
in procreate brushes. I always filter for top ratings as I don't like to
waste my money. Additionally,
Procreate allows you to create your own brushes, giving you the freedom to
customize and experiment with unique brush styles to create your own brushes and
procreate Follow these steps. Tap on the brushes icon
in the toolbar to access the brush library score to the bottom of
the brush library. And tap on the plus sign
to create a new brush set. Tap on the new brush
set to open it. Then tap on the plus sign
again to create a new brush. Adjust the brush settings
according to your preference, such as shape, size,
oprecity, and texture. Once you're satisfied
with the brush settings, tab on Don to save
your custom brush. By creating your own brushes, you can further personalize your cute animal illustrations and explore unique styles to reflect your artistic vision. Next, it is time to draw your first cute
animal impropriate. We'll delve into the step by step process of
drawing a poodle from a wooden figurine picture.
Let's get started.
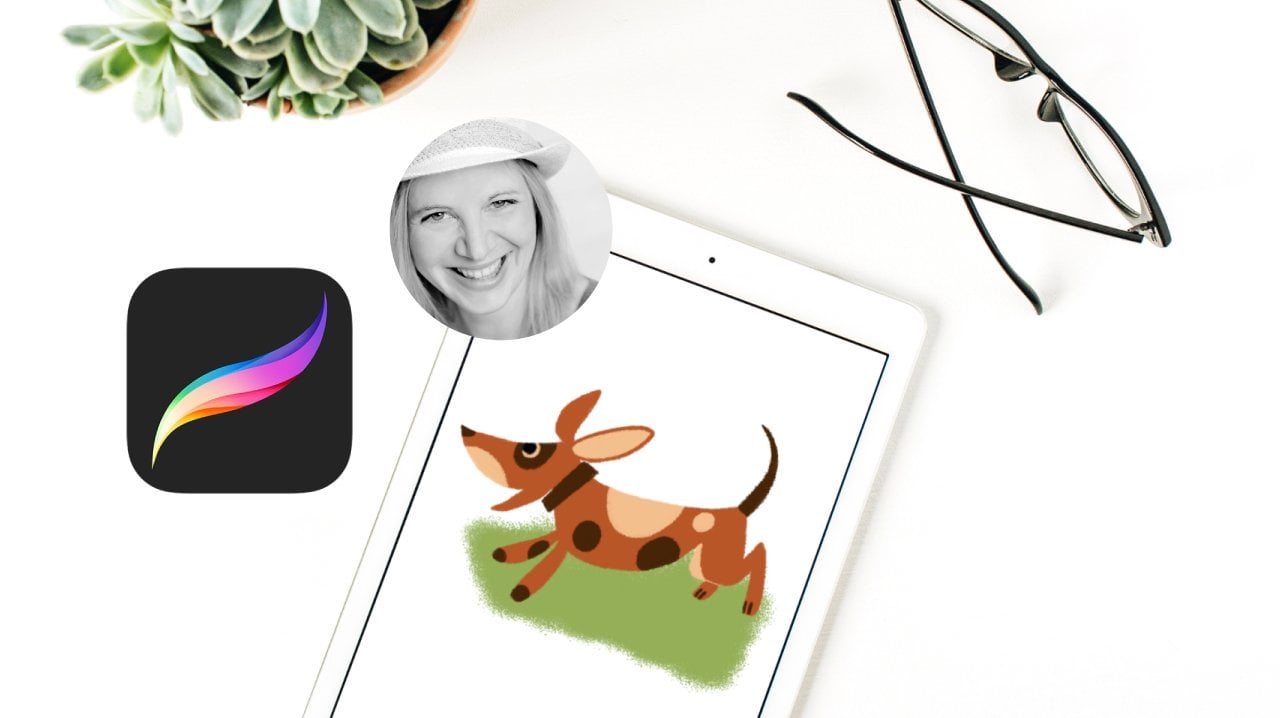
6. Draw your first cute animal with me: Drawing adorable creators
can be a fun hobby, and Procreate provides a
fantastic platform for this. In this tutorial, we will
explore the process of drawing a cute poodle and
procreate using an ipad Pro and
the Apple pencil. With the aid of a
photo reference. Let's dive and create a
cute poodle together. Open, procreate on your
ipad Pro and create a new canvas by tapping plus icon in the
top right corner. Ensure your canvas size is suitable for your
intended final artwork. For a beginning, it is
always to use a big canvas. I always like to start
with the screen size. Tap on the wrench icon in the top right
corner of procreate, select Ad and choose the photo reference of the poodle formula devices gallery. I also love for
photo reference to just screenshot my desired
photomultaneously. Press and then release the top button and
the home button. Then click on Done
and Save to focus. Next, click on the
arrow and pinch your fingers to make the
enumeral in your photop. Beware, don't go over
the edge of a canvas, otherwise, animal will fall off and we don't
want that right. Adjust the opacity of the photo reference
layer by tapping on, on the layer to make it fainter. Allowing you to
sketch on top of it, create a new layer on top of
the photo reference layer. Choose a pencil brush, observe the photo
reference closely, and sketch the basic
shapes of the poodle. Using light strokes, focus on capturing the proportions and
overall form of the pole. A good tip is to squeeze
your eyes a bit. Seeing the overall basic
shapes of the poodle, can you see how this
poodle is made of four circles for the head
and one for the tail. H over two for the body, four for the paws, and two long ones for the ears. And there as well,
put in a triangle and two rectangles for the leg
and you have a final pol. Did you know that appcate
snaps into perfect shapes? When you draw for
this just draw shape. For example, the circle
for the head and hold. Do you see how it snaps into
the perfect circle shape? Well, we don't want
a circle shape for the head of the
pulling this time. But it is a cool feature. With this, you can achieve
accurate lines and shapes, maintain symmetry,
and save time. Let's exercise this a bit more. Go to Pexels.com and
type in a few animals. Observe them, and find out what basic shapes
they are made of. Time for a digital
layers session, I promise it will be
fun on top of it. It involves burgers. When you create a new
canvas in propriate, it starts with one default layer to add more layers types plus chen in the layers panel usually located
on the top right. Each layer appears as
a separate section in the layers panel stack
one above the other. The layer order determines
the visibility order of your elements hide layers by clicking on the check
box next to the layer. Layers at the top of the stack appear in front
of layers below them. You can rearrange
layers by tapping and dragging them up or
down the layers panel. Imagine layers like a burger. When you are looking at
the burger from above, you can see the first
P and underneath the cheese lettuce and peg
To draw on specific layer, select the del layer and the
layers panel by tapping on. Once a layer is selected, any stroke you make
will only appear on that layer once the refined
shapes are in place. I like to refine
even more for this. I'm thinking of the color I
want to the poodle to be. In our case, I'm using a
cool mid century bound for the body of the poodle for my mid century
color palette. Under sketching,
I like to select the nuin pencil and create a new extra layer for
every shape of the poodle. Now I want to teach
you a time saving method of filling in the
poodle shape with color. By using the Pain packet
tool and procreate, you can easily fill closed
shapes, the solid colors. First of all, make sure you are on the layer with the
shape you want to fill. Tap on the color you want
to fill enclosed shapes. Hold and drag your pencil onto the enclosed shape and
release the shape. Procreate will
automatically fill the selected area with the
color you have chosen. In the beginning, I often made the mistake to not connect
the lines of shapes, like here with the body. Then the whole canvas
wind the color I picked. It is crucial to have connected lines for
filling shapes this way. Let's find out where the
shape is not connected properly when the
shape is close. Provides a quick way to add depth and visual interest
to your artwork. Another way to color in is more time consuming but
sometimes relaxing as well. It is the old school
way of coloring in. Do you remember being a kick coloring in all of
your color books? I loved it. Let's take a trip
down. Memory laying here. Create a new layer. And select, for example, the flat brush in the
painting section. Slide down the size to
color in the edges of the shape and make the size bigger for blocking in the rest. To create rough edges, I love to use the
brushy liner from the gorgeous mid century
illustrated Bad bushes, which is my favorite
kit by the way. Don't forget to use
separate layers for each color to make
adjustments easier later on. Once the basic
shapes are in place, we find your sketch by
adding more details to the poodle such as its
eyes, nose and mouth. Let's start with the nose. Now. It is a perfect time
to explain alphalog to you. It allows you to
protect the content on a specific layer from
unintentional changes. Let's say for example, you want to draw the nose
of the body on the pole, but do not want to draw over
the edge of your shape. That alphalog is the
perfect feature for you. Create a new nose layer
on this layer double. Now select alpha to
keep this layer safe. Select a darker bar for the
nose of the poodle and slide up the oppresity to see
better as you can see. Now if you draw over
the edge of the shape, it only keeps the
colors in the shape. This is great if you want to, this is great if you change to use a different
color instead. Or just want to draw where
you've already drawn, create a new layer to draw
the eyes of the poodle. Draw the shape of the ice, and fill in the
shape, tap the layer, and draw detals of the ice. Either way, it is always a good idea to exaggerate
things like the eyes, ears, and head to
make animals cutter. This depends on the
type of animal, though it is a fun exercise to look at photos of
bigger animals and baby animals to see what exactly makes the baby
animal look cute. You can draw the second eye by duplicating the first eye layer. Just site the first layer to the left and select
duplicate from this. Now you can move it
around by selecting the arrow on the
left, right hand con. To practice Alphloc a bit more, let's move onto the
tail layer now, Alpo Alpha, lock it by tapping it
and selecting alpha log, draw onto the tail
with another color. Just to practice alpha log, we nearly finished
our cute animal. To imitate the fur, just doodle along a bit, make sure you have
fun drawing guys. There are also some great fur voices out
there in the world. If you love details, some basic lines are cool
for drawing the beard, mouse and part details. Consider adding a sweet
little spot where poly sits on to enhance the
composition of your drawing. For this, I love the Spco from Sabado which is also from
the mid century kit. Create another layer, drag it under all the other
layers I already have. And use a green color with a few brush stocks or the
pool as green dress to sit. Congratulations, you've illustrated your
first cute animal by following the steps and
using a photo reference. As your guide, you can bring
your doable poodle to live. Remember to explore
different brushes, textures, and exaggerated shapes to infuse your drawing
with personality. Now let's move on to
drawing basic shapes or more photos to understand the technique of drawing
with basic shapes better.
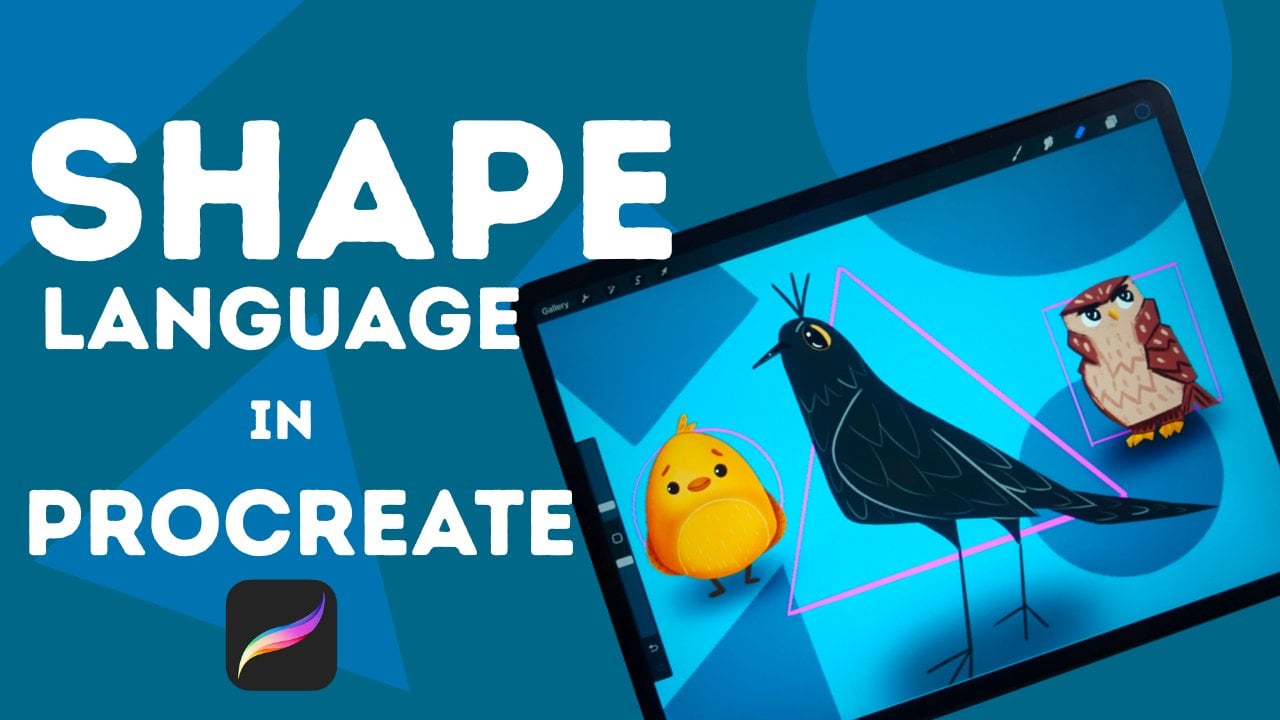
7. Draw other cute animals: Drawing animals can be a delightful and
rewarding experience. Especially when you use basic
shapes as a foundation. By observing photos of the
animals you want to draw. And breaking them down into simple geometric forms
like triangles, circles, rectangles and more,
you can easily capture their essence and
create charming illustrations. First of all, find
high quality photos of the animal you wish to draw. Look for images that
provide clear views in various angles to help you understand the animal's
structure and proportions. Again, look at websites
like Paxil.com or at my Pinter Sports photos
of sweet animals or admit Century animals
for inspiration. Make screenshots of
the pictures you like most and open
them and procreate. Take a few moments to study the reference
photo carefully. Pay attention to the overall
shape of the animal, the placement of its features, and any unique characteristics that define its appearance. Begin your drawing by identifying the most
prominent shapes in the animal's body. For you might use a large circle for the
head trans for the ears. Or be rectangles for the body or limbs and circles or
ovals for the eyes. Using a pencil, lightly sketch the basic shapes in the appropriate positions
on your drawing surface. Keep your lines loose and faint as these initial
shapes will serve as guidelines that you find Later with the underlying
shapes you find, you can start adding more specific details
to your drawing. Study the reference photo to
observe the animal's fur, further scales or other
distinctive features, and incorporate them
into your illustration. Remember to work from
general to specific, gradually building up
the level of detail. As you continue
finding your drawing, you may need to
erase certain lines, shapes that no longer align
with the reference photo. Don't be afraid to
make adjustments as necessary to
ensure acute result. Once you're satisfied with the oval structure and details, darken the lines that
you want to keep and erase any remaining
construction lines. This process will
help you drawing stand out and appear
more polished. Don't limit yourself to a
single approach of style. Feel free to experiment with
different combinations, shapes and expoy creativity. As you gain more experience, you develop your own unique artistic style and techniques. Try different brushes like
rayon watercolor and ones. Just fun, remember, drawing animals with basic shapes is
a skillful text practice. Be patient with yourself and enjoy the journey of discovering new ways to capture the beauty of the animal
kingdom through your art.
8. Procreate Gestures and Your Project: Last but not least,
I want to show you how to enhance your
workflow with gestures. When it comes to maximizing
your productivity and efficiency appropriate
on the IP Pro, mastering shortcuts
and gestures is key. These intuitive actions allow you to navigate through the app, access tools and features,
and perform actions. In this guide, we'll delve into the world of shortcuts and focus specifically on the powerful gestures
available appropriate. Let's explore how
gestures can enhance your workflow and make your artistic process
even smoother. Two finger tap, a simple
yet powerful gesture. The two finger tap
serves as an unction. If you make a mistake or want to prevent to the previous
state of your artwork, simply tap with two fingers on the screen to undo
your last action. This gesture can
save you valuable time and help you maintain
a seamless creator flow. Pinch in and pinch out. Gesture are used for zooming
in and out of your artwork. By placing two fingers
on the screen and either pinching them together
or spreading them apart, you can adjust the zoom
levels and focus on intricate details or get an overview of your
entire canvas. This gesture is invaluable for precision work and exploring different perspectives
within your artwork. Two finger swipe from the side if you need to access
the brush library quickly. Then two finger swipe from the left side on the screen
will bring it up instantly. This gesture saves you
the trouble of navigating through menus and allows you to switch brushes seamlessly, keeping your creative
momentum flowing. When you want to access
the layer panel swiftly, a two finger swipe
from the bottom of the screen will reveal it. This gesture provides easy
access to layer management, including adding new layers, adjusting opacity
and blending modes, ensuring efficient control over your artworks composition. By mastering these
powerful gestures, you can elevate your workflow
appropriate on the Ip Pro. These shortcuts
allow you to focus more on the creative process and spend less time searching for tools or performing
repetitive actions. As you become familiar
with these gestures, you will unlock new
levels of efficiency and fluid fluidity in
your digital artwork. Drawing with your
fingers accidentally while working appropriate on the Ip pro can be frustrating. But there are a few simple steps you can take to prevent
this from happening. I will tell you how Procreate offers a useful feature called touch accommodation that helps prevent accidental
finger drawing. To enable it open Procreate, and go to the Settings menu under the Gesture
Control section, Tog on Touch Accommodation. This feature detects when your palm or fingers
are resting on the screen and automatically ignores any unintended
touch inputs. One of the best ways to avoid accidental finger drawing is
by using an apple pencil. It provides precise control
over your artwork and eliminates the risk of
unintentional touch inputs. If you find that accidental finger drawing is
still occurring, consider using a drawing glove. Drawing gloves are specifically designed to cover
part of your head, reducing fiction and preventing unwanted touches on the screen. They provide a smooth surface
for your head to glide over the ipad pros display
while keeping your fingers from interfering
with your artwork. By following these steps, you can avoid accidental
finger drawing and maintain better control
over your digital art And procreate on the ipad Pro a seamless drawing experience
and focus on creating. There you have it guys. You've learned everything
to draw cute animals. I hope you've enjoyed the
world and look forward for more classes of
mine for your project. I encourage you to create your very own cute animal
illustration practice what you've learned in my class and see your first animal
coming to life. Just make sure you have
fun watching and drawing. I'm always grateful if
you find the time to review my class and let
me know your opinion. Thanks for watching my class. See you soon, bye.
 Marie Dautel, Illustration & Cozy Coloring Book Creator