Transcripts
1. Intro: Ever wanted to draw
bioluminescent glowing mushrooms? If you have, then today is going to be a perfect
opportunity to learn this. I'm going to bring you through the different techniques
that you can use in order to create a glowing effect
that can apply to lights, fungi, jellyfish,
or anything else that you can think of Hi, my name is Men Noel Worm. I'm an artist, illustrator and top teacher on Skillshare
where I've taught more than 80,000 students to
increase your art skills all while tapping into creative freedom and
inquisitive exploration. We're going to be doing
a short and quick class today about a fun
technique on Procreate. I'm going to show you three
different ways of creating a glowing effect for your
illustrations on Procreate. And I just can't
wait to show you this little gem of digital art making and
digital illustration. It's so fun and just adds that little element
of magic and myth. Into your artwork. So hop on it, grab your iPad,
your Procreate app, and your Apple Pencil,
and let's get started.
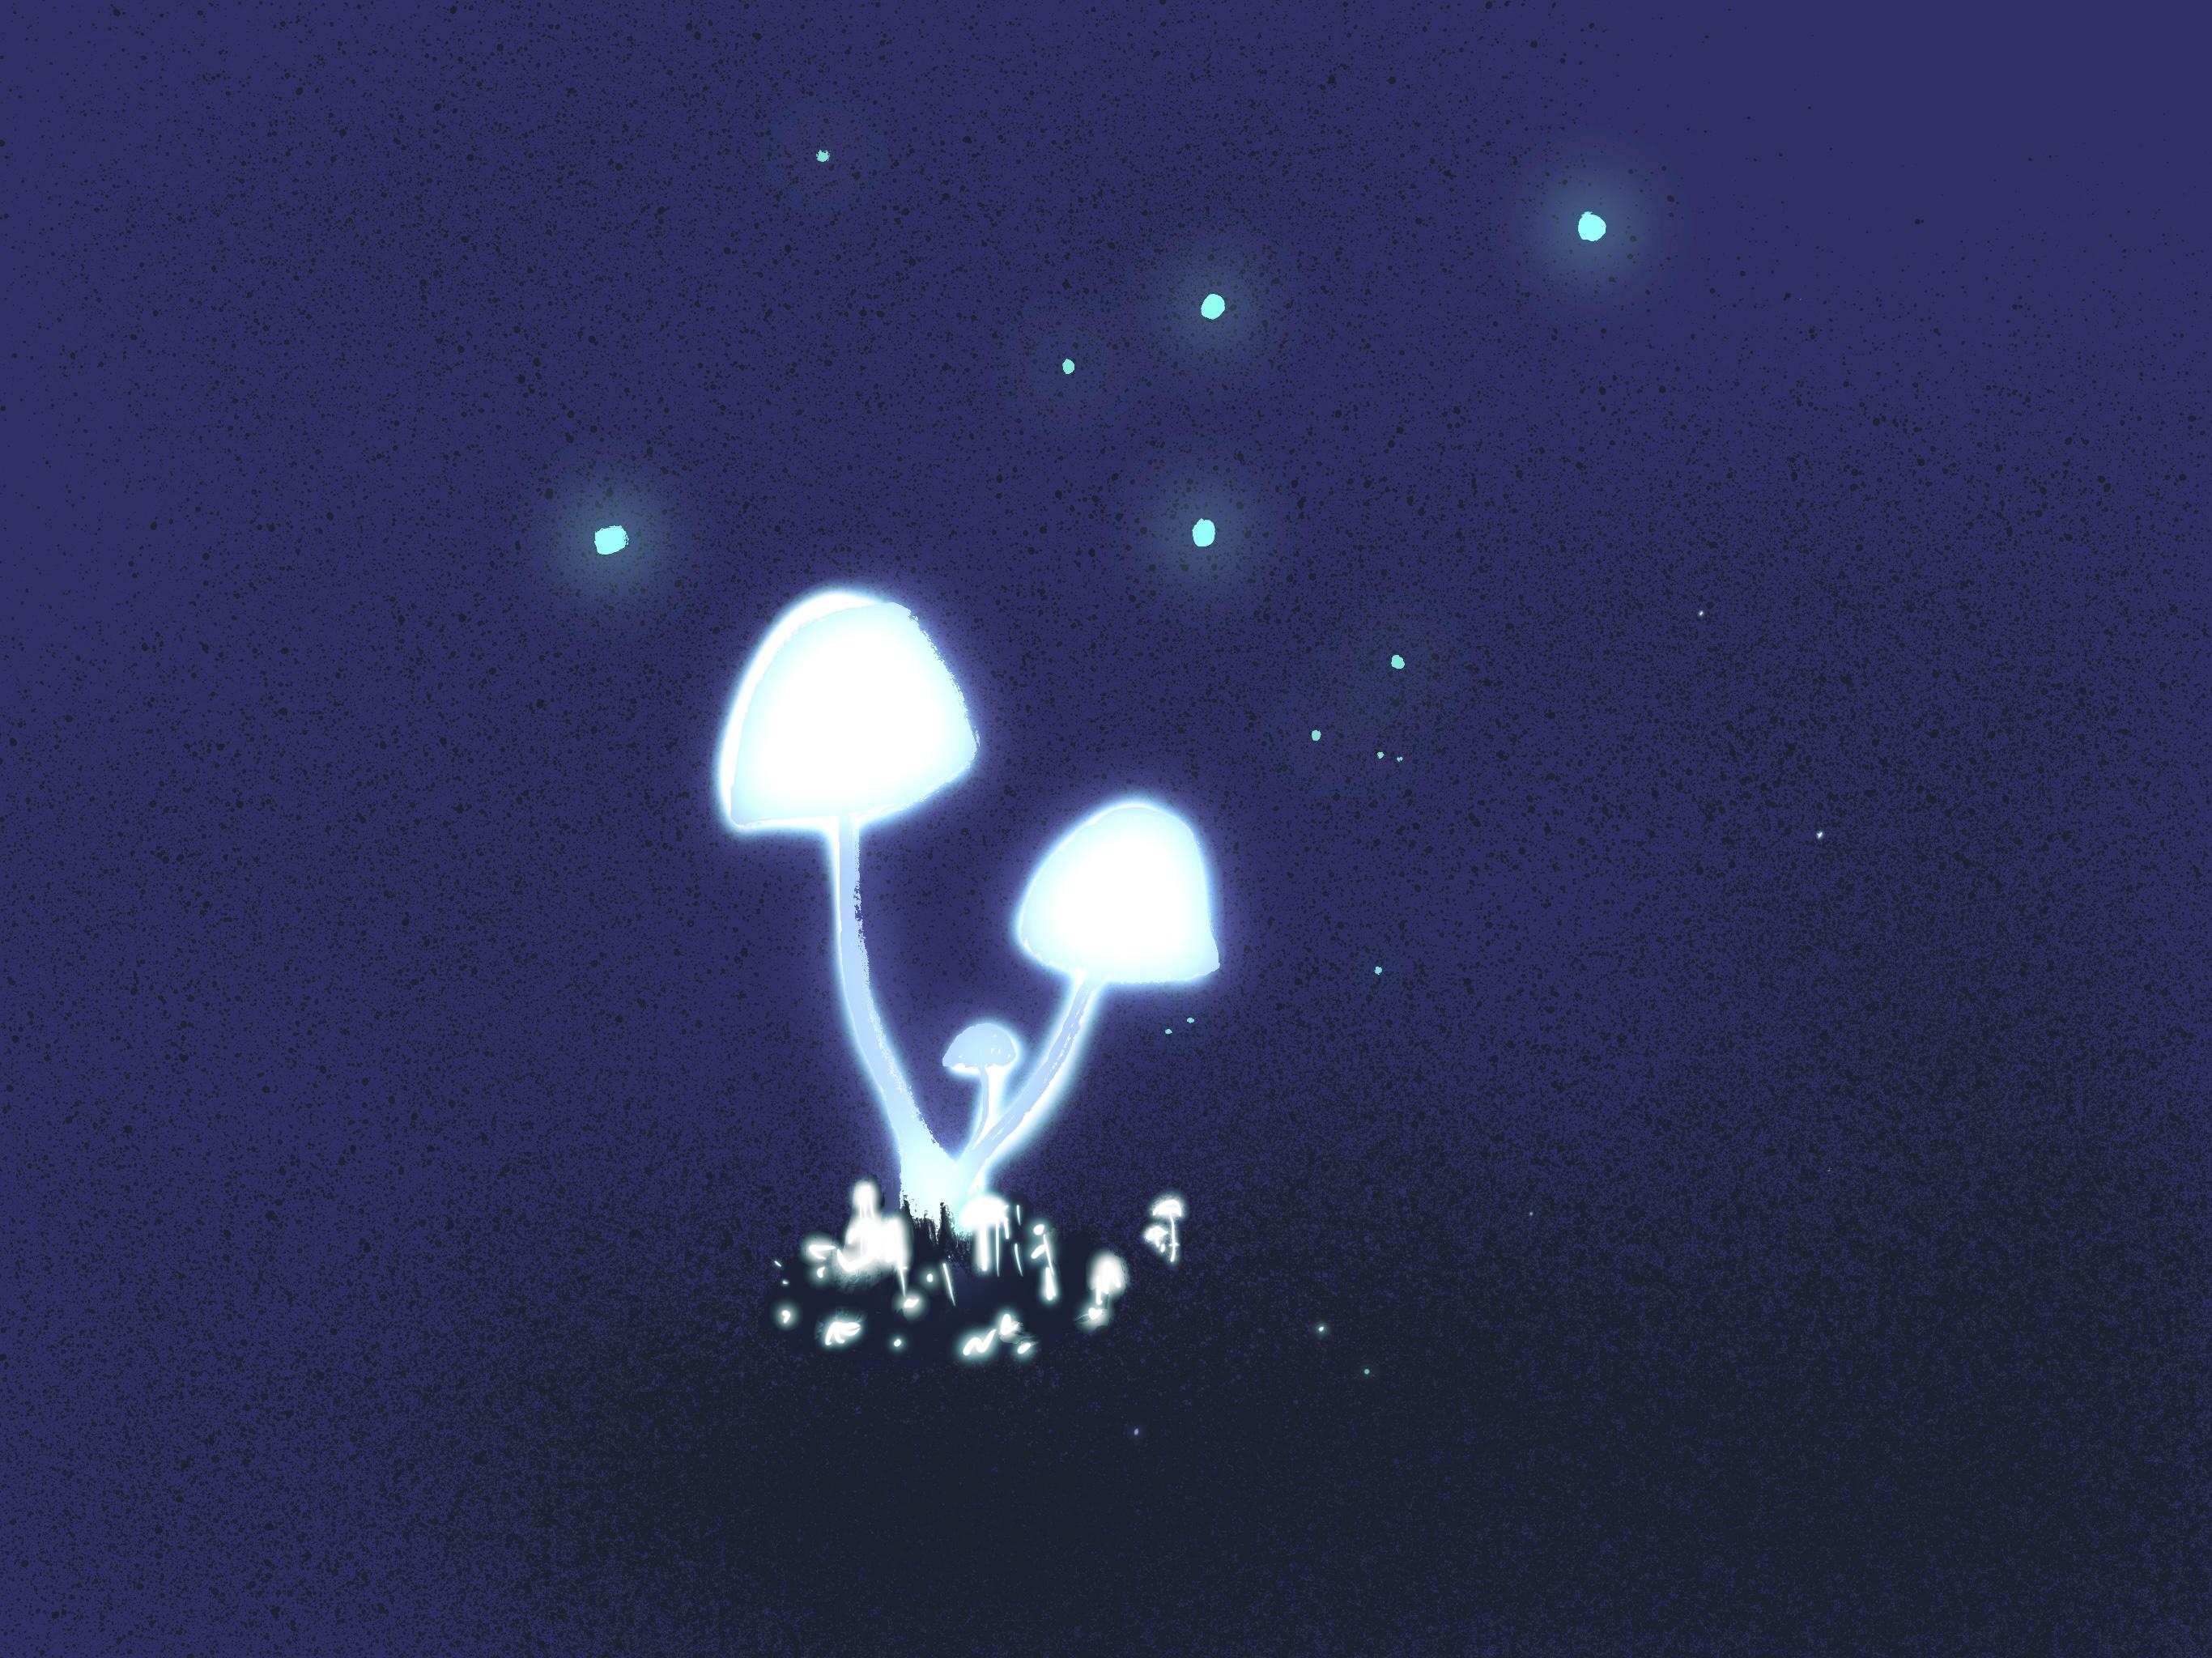
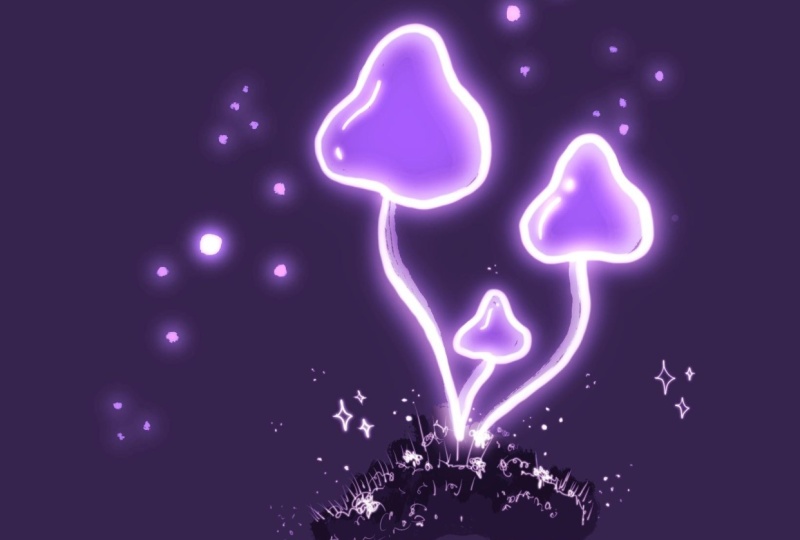
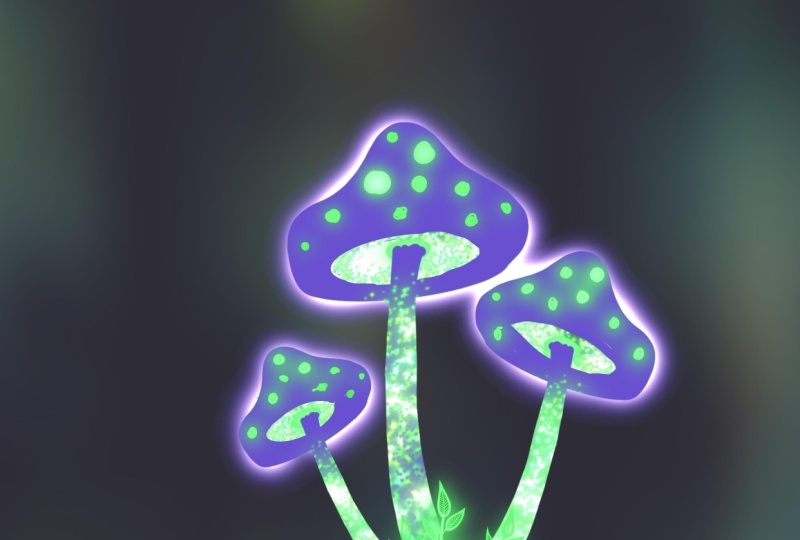
2. Mushrooms & Gaussian Blur: A so here we are in Procreate. I've created a
screen size project, and the first thing we're going to do is set the background. Since we're trying to
make a glow effect, we're going to choose something that's a little bit darker. But the effect also works if you have a
lighter background. It's just that
since we want to do something bioluminescent
or a lamp, it just makes sense to have something a little
bit darker for now. So you can do that simply by
heading to your layers over here on the top right and
clicking on background color. And then you can go ahead
using the disc classic, whatever method it is that you prefer to
pick your colors, you can go ahead and do that. I'm going to choose
something pretty dark, but maybe something like that. The other way that
you can do this, instead of choosing the
background color that way, you could also go
to the first layer and simply drag and drop the previous color from the corner onto your
canvas like that. I'm going to undo that by tapping with two
fingers on my screen. Sub first, what I want us
to do is to pick a color. I'm going to go for a lighter
blue that I've chosen here, but you can of course, go into your color disc
and pick that way. I'm going to go with a
blue color, but honestly, you could try to use green
or red or some other color, and that would be totally fine. It would be really fun to see
the effect in that respect. And what we're going to
be doing is very simple. We're going to be
drawing some mushrooms. I think everyone knows intuitively what a
mushroom looks like. But if you did want to go ahead and find some reference
and do something a little bit more detailed or with a specific
shape in mind, then please feel free to
go ahead and look for reference and then come
back and do it this way. Since I really just
want you to anchor the technique and understand
how it is that we work this, I'm going to go with
something pretty simple, just so you can see, I've picked the Blackburn brush which is in drawing so that's the
one that I am choosing. And I'm just going
to create a sort of mushroom cap shape here. I just have a tendency to like textured brushes,
but you could, of course, use, like, a round
brush if you'd prefer that. There's a little bit of
texture on the edges which I personally
very much enjoy. I'm also going to create a
second one because why not? Another little cap. Maybe I'll make it
a little longer. You can see me using
the side in order to exaggerate the
textured effect, which I quite enjoy. All right. I love to get mesmerized in just exploring shapes and little subtleties
between the shapes. But now we're going to add the stem and I want to
add one here as well. Maybe I'll make this one
a little bit thinner. You can see me undoing this
just because I'm trying to get a specific texture
specific look. Alright. Making my stem
a little bigger here, maybe a slightly
thicker base as well. Something like that.
Sometimes mushrooms have that roundish
thicker bottom part. I think that would
be fun to include. You can also if you
want, you can even add, maybe some other
little ones here. Just play round a little. I've got a pretty
good base shape. Not a huge fan of
this stem here, so I'm just going
to adjust that one. That's pretty cute. I'm
pretty happy with that. And maybe I will also
add a simple base. So I'm going to
create another layer, and I'm going to pick a slightly darker color blue,
maybe something like this. No, that's maybe not dark
enough. So I'm going to go. There we go. Just a little base on which these little
mushrooms live. You know, you could create
an entire landscape, but I just want to have, like, a little base
for these ones. And I'm going to actually
add another layer, which I'm going to put
in the front just so that there's that sense of Okay, this is like, maybe a
little mossy grassy patch. Alright. Now let's get
into the glow effect. It's going to be very simple. I'm going to come to
my mushroom layer. I'm going to duplicate
that mushroom layer. I'm now going to head over
here to the adjustments panel, and I'm going to click
on Gaussian blur. Now, you'll see here Gaussian
blur appears over here, and it says 0%.
Nothing has changed. But see if I place
my Apple pencil onto my canvas and I
just increase that, you'll see that there's this interesting
effect that happens, and it already has
a little bit of that glow effect that
we're looking for, as though there's
light emanating from the mushroom itself. But we're not going
to stop there. We're going to just bring that
up a little and you'll see the fun thing is
that since I did put that layer of grass
kind of in the front, you'll see the light kind of is bouncing off that but not
going in front of it. And so that kind of augments
the three D effect of this. Once you're satisfied with the level of your Gaussian blur, then we're going to
head over back into our layers panel to this layer where we've
added the Gaussian blur. We're going to click
on the little N and here is where we're going
to work with blend modes. If you're not very
familiar with blend modes, it's just a different way
for Procreate to calculate the colors and the way that the colors interact in
between the layers. Normal is the one that you
have usually all the time. This time we are
going to come down, scroll down to add. And you can see immediately
that there's this very shiny, glowy effect that is happening. So that's the very first
way that you can do this. If you actually want to
increase the intensity of this, you can simply duplicate this layer that
you just created. And now you get some
super glowy mushrooms. To me, this is a little bit
excessive for this one. So I'm going to
actually delete that, and I'm going to leave
it as is in that way. You can also, of course, come into this layer and play
around with the opacity. If you think that that's
a little bit too intense, you can come and, like,
bring it down a notch. I think I'm going to leave
it pretty high, though.
3. Twinkling Lights & Bloom: Let me show you now
another way that you can do this glow in
the dark effect. So I'm going to start out
with maybe a different color, something similar,
but maybe more slightly on the teal end of the spectrum just to
experiment a little bit. I'm going to come
back to my drawing. I'm going to add a new layer, and I'm just going to add these tiny little
circles of light. Maybe they are
fireflies or magical. Elements that the
mushroom has created, or maybe it's just
the forest itself that has some magic within it. All right. So now what we're going to do is we're going
to do the same thing. We're going to
duplicate this layer. Now, instead of going
to Gaussian blur, I am still going to go to
the adjustments panel, but I'm going to hit Bloom. You'll see again that
we have the indication that we're in bloom
mode, and it says 0%. As soon as I start
moving my Apple pencil, to the right, then
you're going to start seeing this effect
being applied, and you can see this
subtle blooming effect that is happening on the edges of each one of
these little glowing lights. And you can play around with the different settings here
on the bottom transition. You can't see this one
so well right now, but it really kind of just
shows you the differences. It gets a little bit smaller. Or a little bit brighter.
Then we have the size. Do you see how the circle, the glowing circle expands a little bit further
when you go up in size? I'm going to keep it. If
you take it down to zero, then you just have
the white effect, but you don't have the glowing. You do need a little bit of
that size to get that glow. I'm going to actually make mine a little bit more diffuse
by making them higher. Then of course, you
can work on burn, which you can see the
brightness of that color. Changes in this one. I'm going to go for
something pretty bright because I really
like that teal effect. I'm going to go for
something like that. Once I'm done, I can go
ahead and click Apply.
4. Light Brushes & Bonus Glassy Glow : Let's look at one
last way of adding some glow light effects to
your different elements. And for that, we're going
to be using brushes. So in your brushes, you can go down to luminance. And you'll notice that there are two different brushes here, light brush and light pen that will do something
very similar. So light brush is
really something. Let me show you. I'm
going to deactivate the layer that I did
earlier with my glow. I'm going to duplicate my
original layer just so that those two are together
using that first method. And I'm going to actually apply this light brush onto
a flat color layer. So what you'll notice is that my brush is
really big and it actually just creates these
beautiful glowing orbs, but it's a little bit intense, a little bit big in size. So we're going to
bring that down and you can get a
little bit of that. But do you see how the size of my brush is going to have a different effect on
the type of glow? And in this case, I'm really not able
to be super precise. But what I could do is instead
come to the light pen, which is a little bit
of a subtler effect. And you'll see the light
pen is much smaller. It's easier to wield. And so I could come in here and simply bring in that
glow effect myself. Personally, I actually
prefer the other two methods that I did because this is really painting with this brush. But you could
actually just use it simply in other instances. Let's say if I come back to the regular one,
the first method. But I just wanted to add a little bit more glow effect
to, let's say, the grass. Then I would come
to that grass layer and maybe I would add just some little lines of
glowing magic around here. That's absolutely possible and
it can also be very fun to have imaginary little mossy
elements or things like that. However, I did want to show you, even though I'm not a huge fan of using that brush
for bigger elements, look at what happens
when I actually combine the first effect
with the brush effect. It does create a really
interesting kind of glow that almost makes them
feel like glass, kind of. So I thought that
was a really cool, neat little discovery and
wanted to share that one with you as well. So that's it. I've shown you the
three different ways that you can create
this glow effect. We've applied it to
something quite simple, but you could also use this for a lot of
different things like a house or a fire
or a magic wand. Really, anything that has that light emanating
from within. I can't wait to see
your variations, and I hope you enjoyed exploring this very fun light effect with procreate in the adjustment
panels and the brushes.
5. Adding Texture & Final Touches: I'm going to come in and add a little bit of
layer of noise in the background using a shader or speckles, that kind of thing. And so I'm just going to come
and bring that behind here. These are pretty big speckles, which is not too bad, but I was thinking of something
a little bit thinner. So what if I add a layer
of fine speckles instead? Going to come and bring a
little bit more texture here using the same brush. Something like that. And maybe finally, I'll just add a few little elements
this magical light. All right.
6. Final Thoughts: Thank you so much for
joining this class. I hope you enjoyed playing around with this really
fun light effect. I'd love to see what you made if you want to share in
the project section. Don't forget to comment on each other's projects and show
each other support because that's also really
wonderful about this platform is that we
can connect in that way. Speaking of connection, if you want to continue connecting, you can, of course,
follow me on Instagram, where I share kind of my
day to day sketchbook explorations and talk about any classes that I
might have coming out. If you actually want to get notified when those
classes come out, you can also click the
follow button in my profile. Here on Skillshare. Otherwise,
we can also connect on Patrion where I host live
monthly art classes, live drawing sessions in small groups so that we can
really delve into some of these topics that I love
in greater depth and get more mileage in our sketchbooks
in more homey atmosphere. Don't forget also to
take some time to congratulate yourself on
taking this class because anytime that you
show up in front of your sketchbook or
on Procreate to cultivate your creativity is going to have a massive
impact down the line. Congrats. Thank you, and I hope to see you very soon
in my next class. Bye. Oh
 Marie-Noëlle Wurm, Artist, illustrator, HSP