Transcripts
1. Introduction: in this course, we're going to see how to use procreate to create landscapes. This course is giving you plenty of tips to improve your creativity and gives you a very simple techniques to create faster, plenty off different landscapes. In the end of this course, you will know more about how you can simply use procreate, toe produce, very interesting and beautiful landscapes.
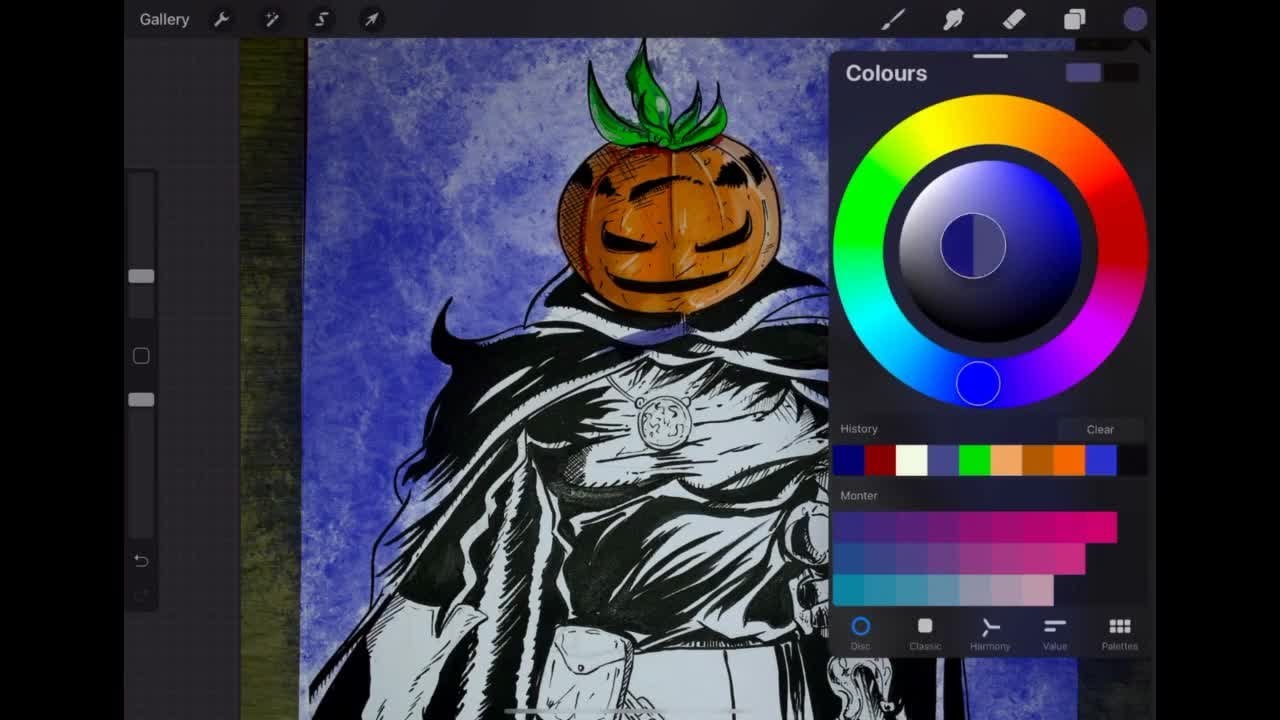
2. Hell under the mountain: the frustration is going to be quite long. Video off 21 minutes. Why? Because just we're going to see plenty of small techniques that are going to give to your frustration Very interesting effect. This thing's different brushes are going to be used in a certain order. First, we take Raj brush with, of course, some texture, and we draw the outlines of the illustration. The borders that needs to be first done with the very rush or rough lines and these lines is going to be later some the rocks. And we're going to see that we having to do 11 river, uh, under the mountain. And to start, we just do the darkest colors in the borders of your illustration and you start during them and you can see that I'm also playing with the different A pass ity, the opacity in the little on the rights. Other sorry on the left of your screen, the level that is on down, the one that is used for do side of the brush here and say that brush and the other one's down. This one is from the opacity, and you can see that I'm always trying to work the borders of the nutrition before to start drawing one is in the middle, so there's this kind of rule I'm always using. It's like when you draw a character, you always talk like drawing the head. This is a rule that I always follow in for the landscape. I'm always following the drawing. Other borders first, when this is done off course, we're going going back on this later, but we can already stop drawing the outlines of what the middle of the instructions going to be. So I'm using the re very dark colors off light colors, but I'm just I'm not working on any effect. I'm just drawing want is going to be the main color off this arena we don't have yet defeating that there is a depth are there was something in the background, but it's going to come later. First, just pose the main colors and to determine what are going to be the Arians used for place, the different element of the background as we were working on the landscape. This is very important to go back and forth on working on the background of the four gram. You can see that we can all always see that I'm trying to work on some details in the foreground, then going back in the background. And it comes with the imagination, of course. But this is also attempts I'm giving you to make sure you don't fall into having too much details on a very small area and losing the rest off the nutrition by just not putting too much details. The principle of the landscape, it's have something that is unified. The person looking in your registration must not be attract Onley by something specific, but has to see the overall illustration. What you're going to search and to have this you have to work back in force up and down, right and left on your illustration. This is kind of cycle working process, then Now all the main things elements off my street. There I have decided where the lever is going to be flowing and there are a couple things to Adam, like the rock from racial ever is flowing. And to do this, I'm using a small brush and starting working on this specific area. But why? This is so important to use a smaller birth This because this ladder is is position home almost in the middle of the nutrition and higher. This is a light point off the restriction. This is what the person persons are going to see first not going to see the darkest borders of your nutrition. That we look at the light 0.8 points is done to attract first the site of the person looking into illustration, and this point has to communicate to the rest of the illustration. This is in order how people are going to read quote unquote your frustration. They're going to see first line point and then see the overall you will see. Then I will spend more time working on this main point with different kind of brushes, light effects and using different kinds off techniques. You can see all along the videos, the different brushes I'm using as you will have the same on your procreate software. I didn't create in my own brushes, and I didn't Donald more brushes. Um, this is done especially to make sure that you can do the same with your own software because the brushes in here I'm having here, I'm just the one furnished with software. When you buy it. So now all of them, we progress in the illustration. You confined the same brushes and you then the same way I'm using them. And you can also pay attention to the different degree off brushes, size and brushes capacity amusing to hear and see that you can do the same for to find us in defense and to complete the registration. I really like to play with shiny effect you have here in procreate very them powerful brush that he's a light one. And you can just tip on one point any other light point this if it could be very tough to do in photo shop or on many other software. And I know what I'm talking about because I using a lot off drying software, this one is really powerful, and you can use it very simply. You select brush, you tip with your pen on the area, you want to get some light, and you have your life appearing instantly. This is very appreciated, especially for such effect, where here than ever is reflecting and you can see that this reflects reflection. The effect is really improving. The fact that we have very hot environments, then we are almost done with that frustration, and you will see that we're going to work. The small details don't fall into the trap of having too much things toe to fix. Like if you think something is not correct and you want to spend more time working on it, fine, you can do it. But if you do it for one point or one area of your expression, do it from the rest of the way. We have a kind of bands between the different options you are working on eso. This is why you have at one point decided to say, Stop! We are done with frustration and you would have more fun to work in plenty of registration than two stuck at morning. So the last point is to add some shiny effect. But some yellow shiny effect is going to have some hotness on the registration and complete this dangerous and yes, dangerous environments. That looks like hell
3. The city out of the sand: in this video, we're going to work on new documents and to see that we are going to work on the desert environments. And this time we're going to work precisely on the rocks that are in the border off the illustration. So first I'm changing the color of the background on. Then I'm choosing some brushes and I will do. What I'm always doing is to work on the borders by using very soft and very normal brushes . You can see that I'm using only one color. I just drove the main outlines, and when it's going to be done, I'm going to work further on the middle of the illustration, angry in back, then on the borders. So first I'm drawing What are going to be the lights? This guy. You can see that this guy's going to be approximately here and I have my or reason appearing. I don't have to draw it with only one lines and can suggest it with the two different lines . Then I'm playing with the more strong brush than going to be darker and with some texture. This is going to be a very simple step one drawing, and then I'm using 1/3 color that it's even more darker. I like to over a different colors. I'm never raising when the calories put on the working area. If I'm not satisfied, I'm using another car and put it above it. I'm not raising, um, the overlay. All different kind of brush is going to give you something very complex. And as we're looking for some complexities as we are drawing the nature, the nature is never done with very simple, um, flat colors. There's millions off graduations and little details that makes the nature so beautiful and complex in the same time. So we tried were produced this by overlaying different kind of brushes and colors, and this is the same for the texture off the brushes were using. This is very important to play with this off brushes. Find the ones in the software that can give you the feeling that you are doing something very efficient. And when you are done with the main area, you just just draw the biggest arias, like here on the left with very dark brown something and that something has to change into something people can recognize. And it's going to be Iraq their big rock and to work in it. I'm using less and less We can see more. This girl is covered thing to be still the ream dark or very shiny menswear. You are going to work with different kind off colors. See remaining in the ones you shoes previously don't put a similarly very shiny color that has nothing to do with main environment. Like I will never put something blue are green here, the rocketing to be Braun in orange and staying in these colors that the difference here is that playing with side of the brush and playing with different kind of small brush and big brushes. And I'm sometimes also using the finger tool to smooth a little bit when I think the texture is too much here. So I'm using this too flat a little bit, and I'm going back into using small brushes to to increase this rock ethics. And this is exactly what didn't you see here? You can see that we have now the rocket marine piece by piece, and this is quite a long job, but this is really efficient If you draw small lines. Whites line small lines on every part of the roads, that is, we can suggest that the light is touching this arias. You don't use a very shiny white, but you're using cane of oranges. That is very clear. And this is going to be something that he's playing a lot on re present ing the the rock effects. There is no one single brush than can represent this rock off course. You complete only with one brush. It's going to be very flat. Even if you are using the brush, we can see what is important here is to see how I'm working on every details and then back in force on everything. And this is that job that takes time. But that gave you a very good results. And this rug is probably taking more time than the rest of the illustration that think differently. What is going to give this realistic aspect and this fantastic? Then I think we're almost done with the left size rock. I'm doing the same on the right, and when this is done, we're going to work on Lee. Now, while we're almost done with this video on the landscape thing is really to show you that Sometimes it is very important to work on one specific things. If you want these things to attract the sites off, people looking into illustration are, if you want to push the quality of institution to a certain degree than would have to work precisely and take the necessary time to to work on every details, it's a matter of time when you understand the technique. After that, is Onley having the time to work on its? And if you have this time and you want to really focus on the re high quality illustration , then you can really do it and make sure that everything is working out to the degree where you say, OK, fine, we're done with this. I go to the next step and now I will. In the contrary of the beginning, the beginning of the administration, I'm going to work on the background, read the very rough and rapid technique. This difference is also used to give to the person looking at illustration what is important and what is not. All right. So now we're almost done. We have a kind of SETI in the background, something going out of sounds, and this is the last step is going to be the sound in the ground. But again, as it is very far away from the person looking looking through this rocks, we are not going to work on too much details. You can represent it with a couple of lines, changing the colors of the site and flooding with the finger to just to have something that is quite smooth.
4. The ice sea: this video is showing you hi can very simply create a kind off landscape. But where the to see a nice see ah, with mountain in the background and it's going to be a kind of koblinsky ape with ice and snow. The first point is to select the right brush that is going to create this kind off. See, I'm just painting roughly on the on this area and then I connect with softer brush and going to create some lines. You can also do this with a razor because a razor is also having brushes eso here. I'm just using the white and I'm for accusing the color, the dark color on the foreground and more we go to the to the death of the illustration. We find a lot of white court. This is going to be the place where I'm placing the mountains and you can see the mountains are very small forms, and I'm and smoothing this forms with the finger to find here in second position, from the left, on the right, upper corner, off the or scream. And then I'm playing with a finger to and brush toe, create my different effects. These effects are also down with a couple off brushes. There, you can see that I will try different kind of and elements brush like the one that can re present some small particles off snow. But to make sure we can understand we have snow. You don't have necessarily to use the white color in the control. You can use the blue color, and this blue color put in the background that is mainly white is going to give this aspect off snow falling. This is where lettuces technique. You just play with the reverse color. Instead of having a blue sky and white snow bowl, you have white sky and blue snoble. This technique can be used for many things like clouds, fire and various kinds of things like this. And when I'm done with just suggesting few lines for my mountains, I am smoothing them with a finger tool, and that's it. We are almost done with that frustration. You can finalize with delight toe. Just select in to increase the feeling that we have some a reflection of the light on the ice, and these small reflection points are just going to be enough to understand that we have ice on the ground and not only water
5. The red guy in the magic forest: and this video, we're going to see how we can create rapidly on illustration based on nothing but white page. So this white pages in to be transformed into a jingle and to create this you will see like I'm going to play with very simple brushes. These brushes are just the ones you can find in your software when you buy it. There is nothing more nothing created by myself and nothing downloaded fruit first I'm changing the color of the background is something conducted. Just I'm clicking on the background and choosing another culture and playing on one single brush. I'm posing the first color with the bridge looks like with visitation, and I'm using another doctors green color and overlaying on the 1st 1 This taking off overlaying is will be used in many illustrations. And here I'm also playing with Sky is going to be blue, but to start on just playing a very intense blue because this one's going to creating illustration and can create a kind of atmosphere. So right now the opacity is at its maximum that I'm going to docking to duck everything with something that's close to the to do Black And then I can you just smoothing options with the finger here just near the pants eruption, and you will see that by smoothing and mixing all these colors, you will have something that calls to an atmosphere instead of just having color spread over. You're drying so you can also use this mixing option to play with different forms off clouds, and you will see that now. I can also play with some different brushes to complete this and selecting this one. And right now I'm just looking for the right forms, giving me giving, too my landscape. If I make mistakes, for instance, the black color is not right. It doesn't matter. You can re over every kind of colors, and overly color is going to give something complex as nature, something very complex. It doesn't matter if you over things, it's better than to just erase and going back into a area. It's hard to to correct ministrations if you on one part of it that is erased. So try to fix your the things you want to correct just by overlaying your elements. Then I'm already placing some vegetation on the foreground just to see what's going to be. And I'm always playing with brushes that then, nor very simple brushes. All the brushes amusing have some texture. You can see that will in the software vegetation Dexter. And this one is really powerful, and I'm using it with different degrees because sometimes I'm playing with very big brush and something. I have a smaller brush and more. You are close to the faux graham or the birds going to be big. And when you go to the background, you're going to change the color, having a light, more, a clear color and a small brush. And this is exactly with this brush that we're going to play mainly on that illustration, - and you can see that just by playing kind of three or four different colors that with the same brush, according off course to the changes you can bring to the size of this brush. You can really play on something that is going to be realistic, and your discretion is going to be very, very interesting if you play with the sandal brushes. So my advice is to try like and doing how you can use it to create your vegetation stuff. You could really be relevant for you to try different, kind off exact size like this to control improve your really And there we are almost done with this. I'm just using to the selection tool to make sure that there is only that area I'm going to paint and I'm going to apply some, um, vegetation tool, but it's going to it's light. Sorry, it's, um the tour is going to give some light, and, um, I'm playing with it just to create kind off night that is not only in the dark without these very shining and then incorporating my demonstration with additional vegetation rushes. He always in the borders of the Christian to do not Andi destroyed what within the middle and the last final step off. That nutrition, as you will see, is going to be a red character walking inference just in the middle. Why he's invented Because this is the point that people are going to see first that with C first this color change this very red character, and from there they will see the overall registration other on him. This is the main point and more important point because everything he's living around him
6. The snow landscape: test. It is that they were going to see how we can draw rapidly landscape with snow eyes and a couple of things like this. Just very simple landscape. So when you select brush, you can just start with the main lines of the foreground. This is usually what I'm doing. I try to draw very ref lines. I don't even know yet if this is Iraq or if this is a mountain. But if this is in foreground, usually this is something that is like the rock are stone and an element of the landscape that is very close to the person looking at it. The illustration. So I'm always playing with two different colors just to create the feeling we have some. There's something here but the darkest color info Graham and do on shiny colors are light. Colors are in the background. You always play with this rule to create your landscape, and this is something that is going to create the feeling that we have a very large place to see if you want to have a gain of death. Um, feeling in your illustration. This is exactly what you are going to do very dark colors in the foreground and the others immigrant and more. You go into the arisen more. You have very shiny our night colors. It is a rule that is playing. You will see for every in a situation where you have to see a very broad landscape with some death, we're going to just different brushes. The main important thing is to make sure don't use something that is too close to what you can find in the comic book. Something very need something. They're clean. You try to find brushes that contain a mixture or something that is not very straight. Even if your colors, the first colors we're going to put on your paper are going to be some time flats. But this is fine for the color. This is the form of the birth that's going to make the difference so you can see here and playing with different brushes, including some brushes that contains some sense. Does, um, substance you have are some matter. This is very important to. To have to play with a couple off brush is not necessary dozen of them, but just three or four different ones to create its impact of having only natural elements in your drawing. If you start, just drink. Some say outlines in black are even color. You are already falling into the comic books. Time we're here. Just looking for something very, very rough, where some creating something that is closer to what you can find in video game illustrations can sit art as we can say this from this illustration. I'm almost done. I don't want to go further. Former disease Enough. Maybe I will print them in very small former because as this restrictions is on, Lee created with very rough elements. If you want to appreciate it, you can print it into her small farmer, and you will see it will create the kind of impact if you get this obstruction to too much too big former, you will see maybe all the different. All the small details are defaults of instruction, and you can easily see that way. Use on Lee a couple of brushes. So my advice to appreciate such instruction east to have a rich small for me to read it
 Damien Barban