Transcripts
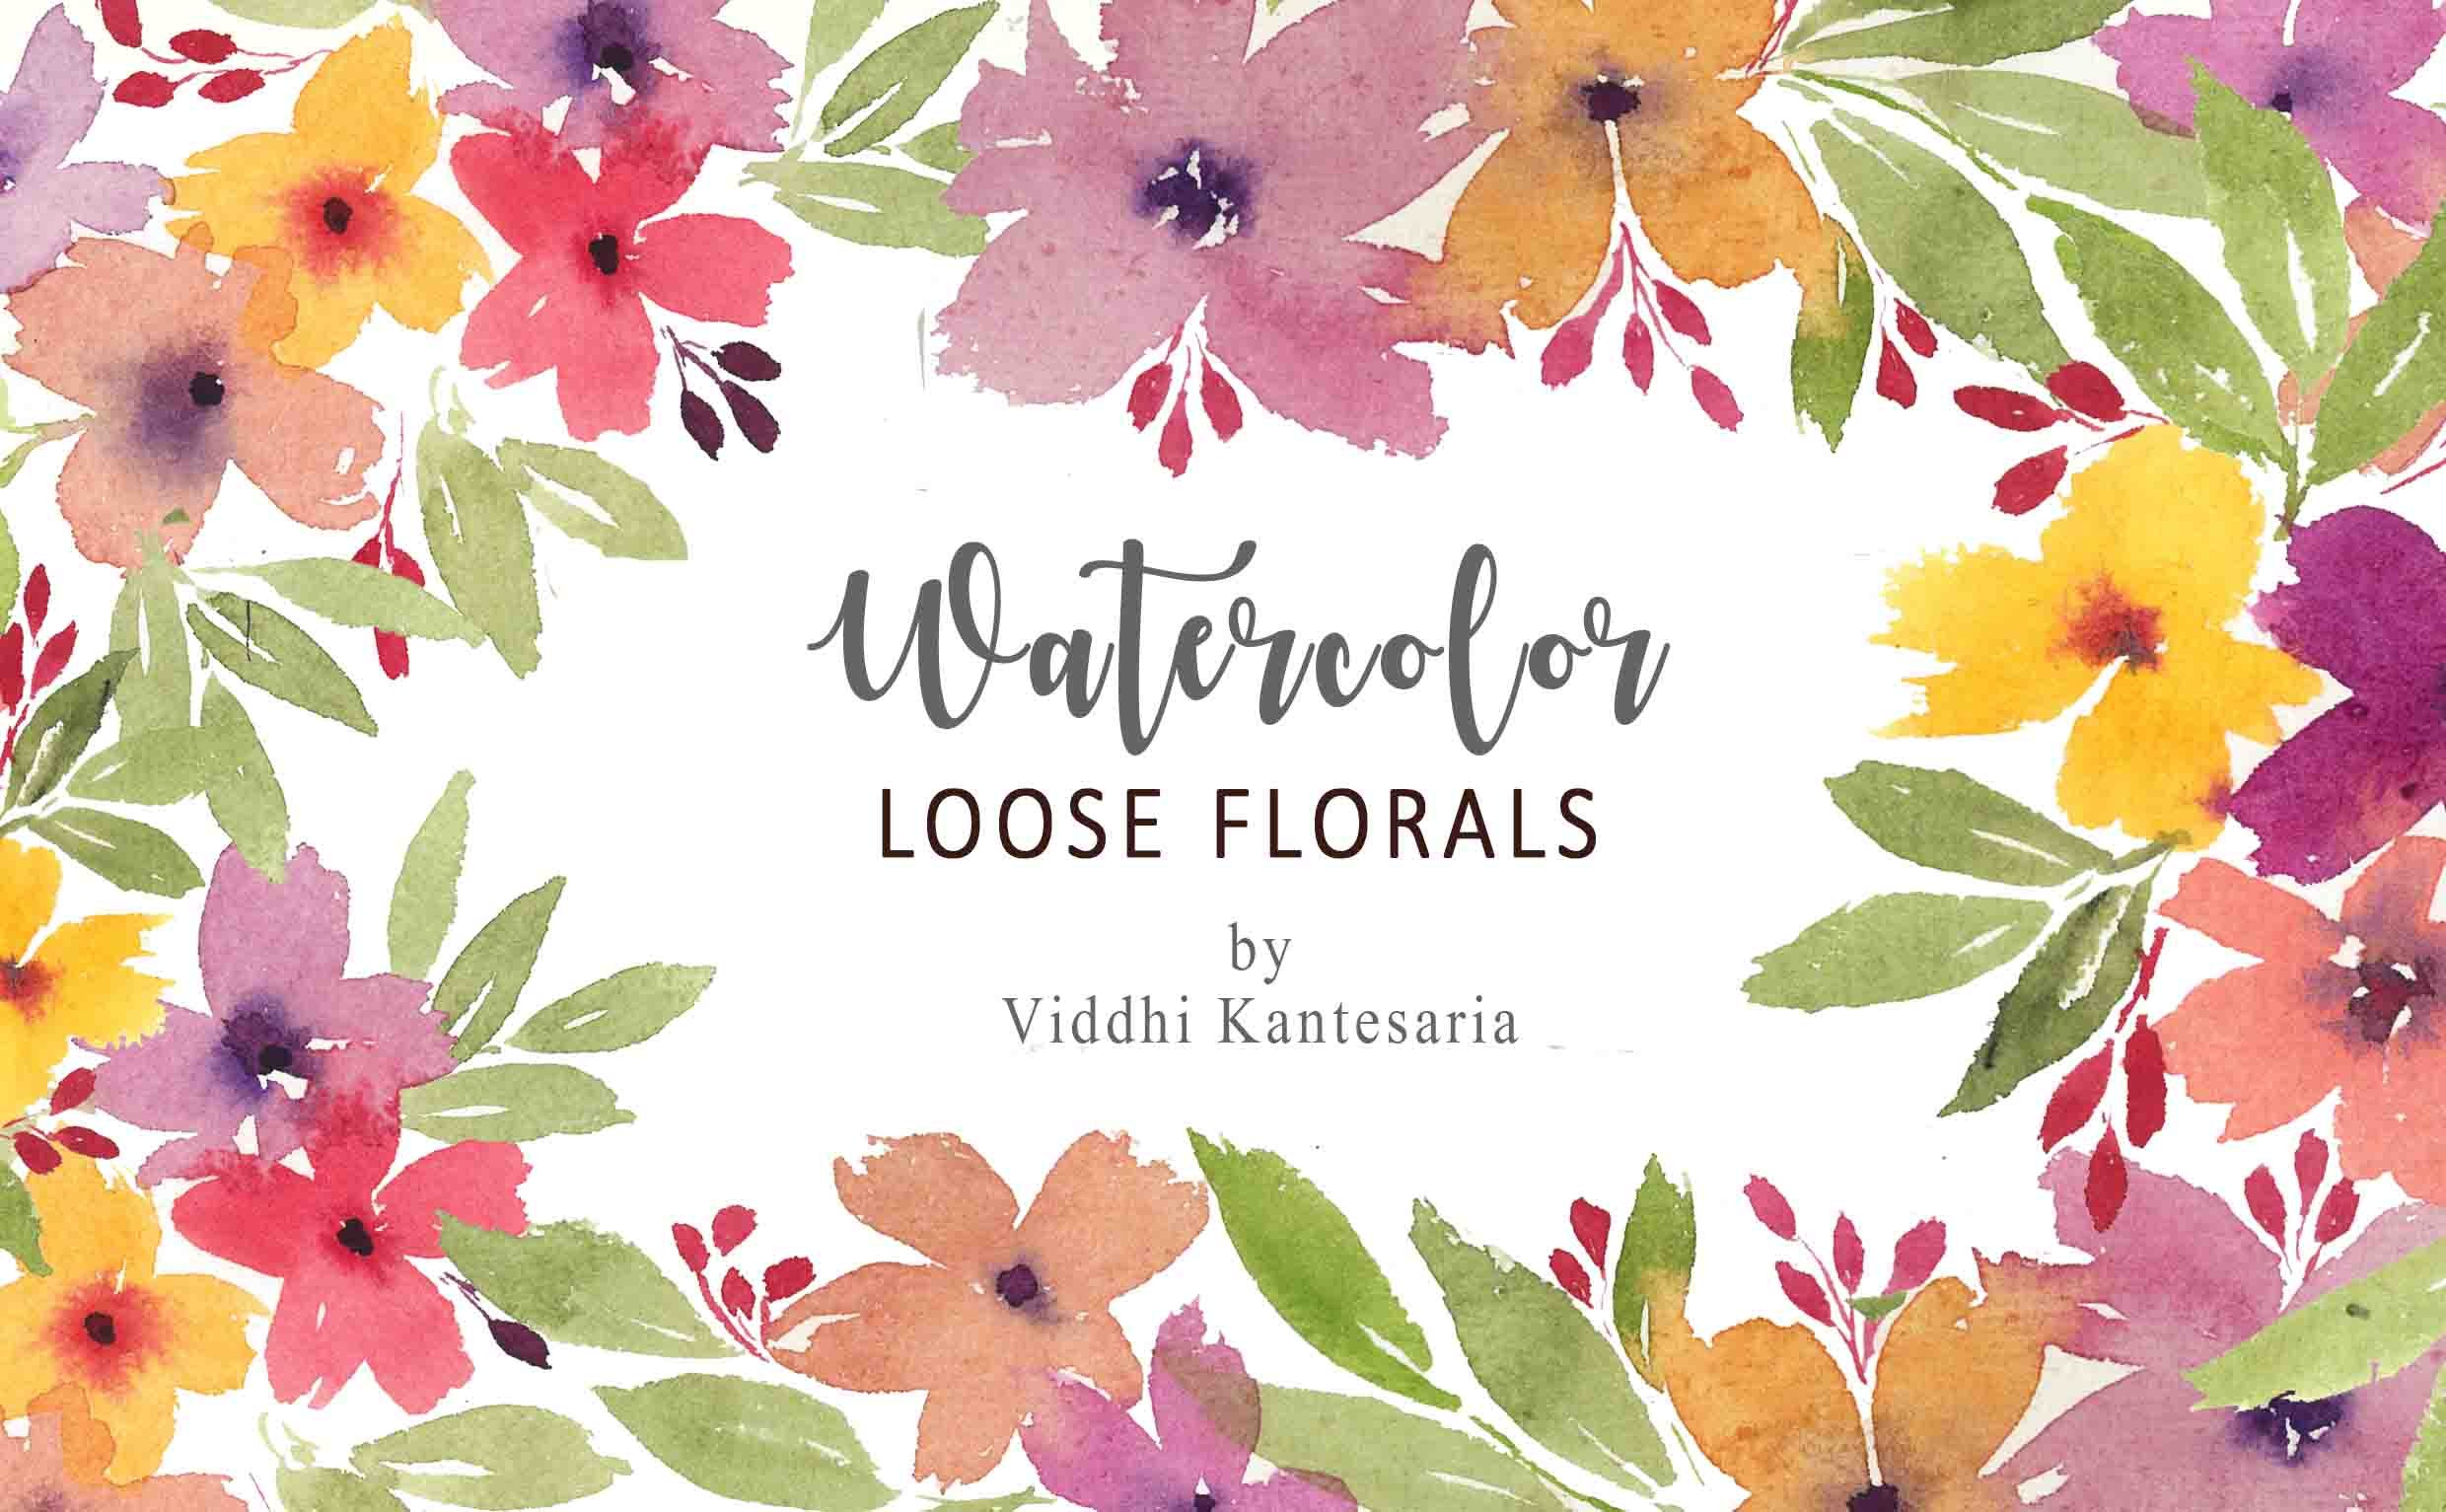
1. Welcome to the class: have all these loved and enjoyed thinking and really watercolors. But using procreate toe create 40 fellow illustration is a whole new experience. Hi and all in this class, I'll teach you how to create watercolor flowers step by step on appropriate. It's a very easy and simple class for anyone beginning with Procreate also created a set off custom 24 watercolor brushes, and in this class, I'll be giving sex brushes for I'm so excited to see you joining my Plus Your iPad and let's get started.
2. Exploring watercolor brushes : after importing the brushes bill begin by starting with a new canvas. I'm just using this crest size bridges by default on Prue Kid. And now I'll import though watercolor paper picture, which is an image, and then adjust the size depending on the canvas size. And now, when I zoom in and show, you can see the picture off the watercolor paper and these other set off brushes that will be exploring force, which is in the free bite. And the second set of brushes that I'm showing you here is all customized brushes that have created all by myself, and I'll talk more about this in the end of the class. Let's tress explored those six pressures that you have received as a free download. First brushes round medium texture and let's see how it works. And before we begin, I'm just naming the watercolor paper layer as watercolor paper and then create a new Leo Bay. You can experiment and explore for these brushes. You can pick any follow that you want to just picked a doctor, Bruce, so you know how the brain works. And I'm just going to zoom and and showed to you how this brush looks. The second brushes a sketching brush, which you can use to sketch outlines or anything on the third brush is going to be drowned . Medium brush ritual. Have a little bit off less texture. You can just see how it works. And the food brush is one off my favorite brushes because just acts like a watercolor brush . And you can observe that just by waiting the pressure, I'm able to create beautiful leaves that looks like watercolor. Those same is with the previous brush that we did the third brush. Like if you observe that the start Ingles round and if you leave little less pressure and just like lift your and sit up, it gives that pointed edge and the and smooth back the world food brush and do a little exercise. I'm very sure that you would have done this excites with your workload. Brush the same thing we're going to do here, so that you gain control over the brush and on how to apply pressure. And the next brush is going to be a dry brush, which again works the same way. The less pressure you applied, the lighter is and the more pressure. You apply the moated spreads and its stock, or so you can experiment more but waiting pressure with this brush toe on the last brushes again with the similar principle. But it has a different picture, and it spreads more. So basically, this is a brush. Richards more off Threaten red Moving further. I'm just going to teach you how you gets module colors and blend. So if you want to go, make your just look most soft. You can use this merging tool and increase the size and decrease the opacity and smudged the edges like this. Give it a very smooth effect, and if you want to blend two colors on the same layer, just add another color and use this marching tool and you can just keep doing it over and over. And you can see that the to close our smudging and blending. And it almost gives like, ah, watercolor effect. And you can try experimenting the same brush on different other watercolor brushes and see how it is. Smudging the hard edges and making it most soft and making it look like more off watercolor before we go on to the next part. just make sure that you re named this layer, so it's easy for you to navigate between the layers for though.
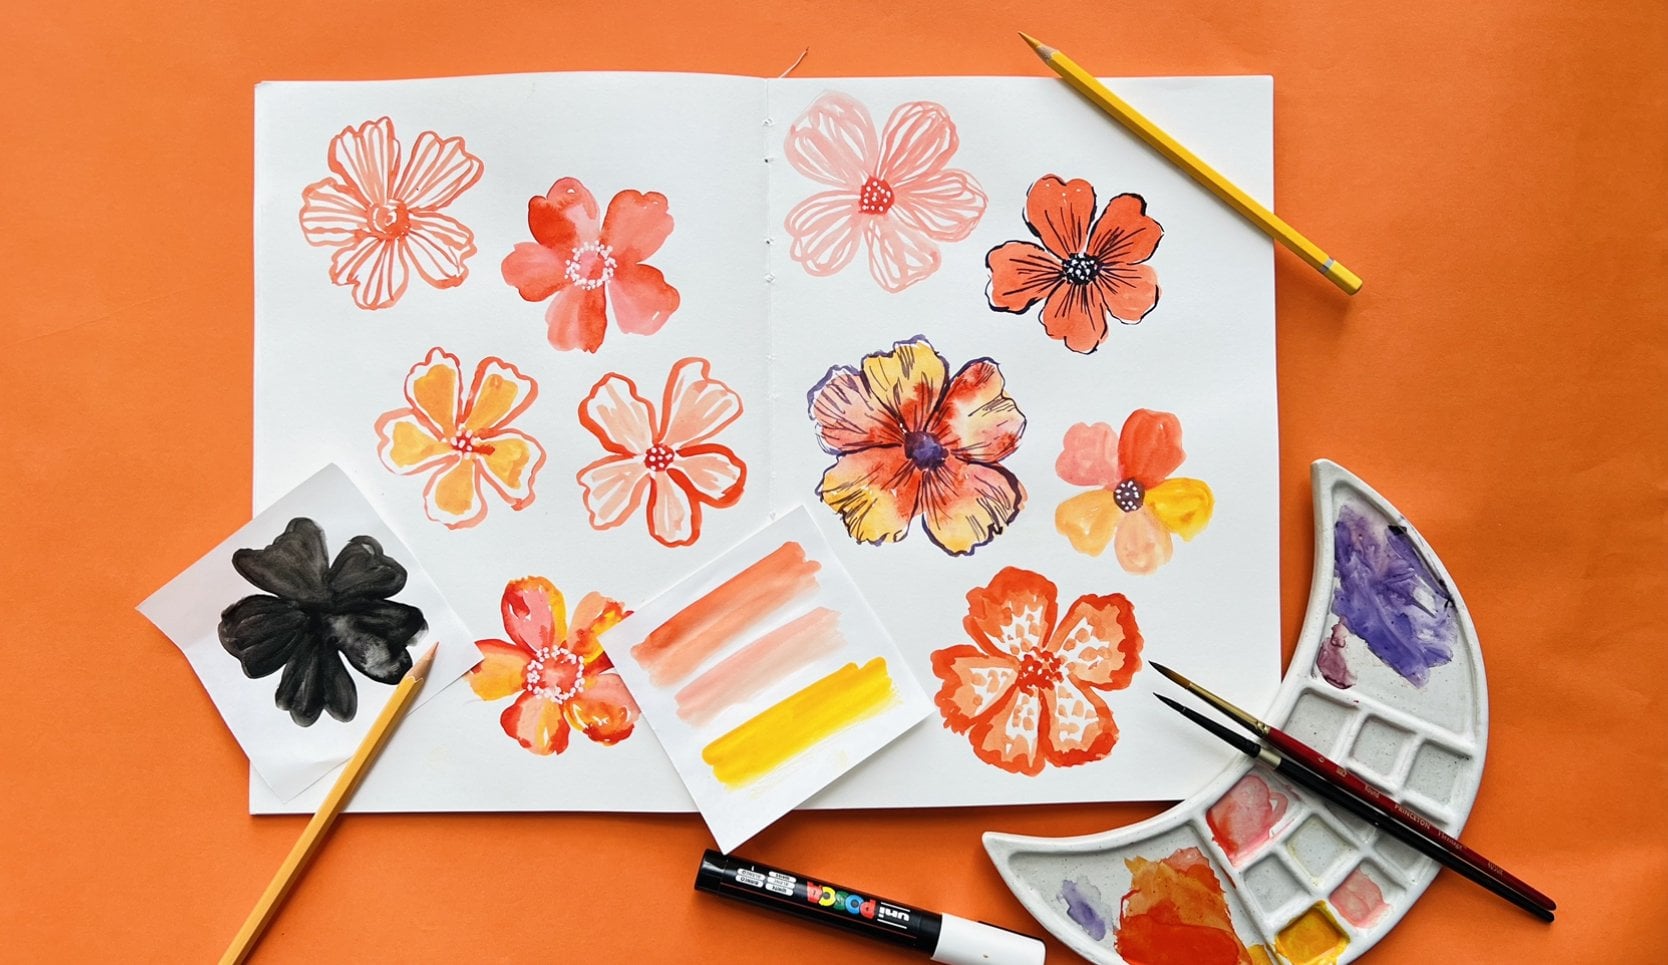
3. Choosing a color palette : Let's create a new color palette for our illustration today, and having a color palette before makes a lot more easier while your painting and illustrating something So the first colors in the first row are going to be the colors that will be using for the leaves. So do respect any green shades, fortified green shades and just added to the color palette. And now we'll pick some clothes for the flowers, so I'll be using a mix off right and pistol colors. So I've chosen oh, light each bring polo and then or bright pink on a little more doc hoping and a lot some yellow and blue toe this color palette and you don't have to necessarily stick. But the clothes that I'm breaking you can just choose the colors that you like overs to pain, but
4. Practice session - leaves: Julia created, and then pick this leaf watercolor brush and take anyone off the green shades and start drawing leaves like this with the pencil. It just all practice sessions so you can just try exploring different types off leaves and just play around by applying a little bit off pressure and adding different mental strokes and see how there is. You can also practise different shapes off leaves that you know I'm just drawing these long leaves, which are usually do with my watercolor brush. You can also try drawing some smaller leaves like the ones I'm drawing. It is in those shape off water drop and after practicing some lose leaves. Next with more on toe. Practice some leaf branches, for which I'm just drawing the branches off. Lease with the darker green color, and then I would pick a lighter shade of green and begin painting the leaves. You can always adjust the size off your brush, depending upon the size off the leaf that you want to enhance the lives that you have illustrated. What you can do is you can pick the eraser tool and then pick the 10 dry brush on did use the size and you can just draw this 10 line and the center off all the leaves. By doing this, you leave. Branch would look more beautiful and we'll try another type off leave branch for which I'm picking up the leave brush. And first, I would repeat the same by drawing a 10 stem like this. And then I would adjust the size off the brush and then begin drawing those very loose leaves like this. So this is completely based on the principle of pressure. So believes that you get a very abstract depending upon how much pressure you apply on the brush and you see that it iss looking like oh, very cute and ah, very loose style off leaf brunch to make it more interesting. What I'm going to do is I'll just beg those catching brush and with a little bit off red use opacity. I'm going to draw a rough outline on the leads like this so it would like define the leaf and also give that effect off watercolor. Once you're done, you can rename this layer as practiced leaves and also, if you wish to continue practicing more different types off these branches that. You know, you can always go ahead and forced this clause over here and explores some new different leaves and just a small typo here that when you're doing these practice lessons, you can prove it under the folder archived. So it is easy for you. Do turn it off, little ones. You done with the practice lessons?
5. Practice session - flowers : Let's begin some practice flavors. Make sure that you have created a new Leo and amusing the rush, which is medium green, and I begin drawing very simple flower petals like this. These are my all time favorite flavors, even in really water colors, and I'm doing the same and procreate. It's a very simple five petaled flower, and then I'm just going toe big. Those smudging brush and smudged, though, and just and make a little bit softer to make the flower a little more interesting. I'm just going to add the medium shade off pink color in the center off the flower like this, and then use uh, smudging tool to just blend the peach and the pink color, and it would look like a self. The pink color has been added into the peach color while it is still red. And give that watercolor effort and for the center of the flower, I'm just going toe give somebody deals with the 10 dry brush using dark pink and white color. - The best part about digital illustration is that you can fix any number off mistakes that you make. So here I feel that the gaps in between the petals are not so much and I wanted to create a little bit off cap. So I've just picked the arrays a tool and raising to create some gaps. And then later I'll use those much tool and else much toe gaps so that it blends it well and it doesn't look like I just made a correction. So yeah, this is my favorite part off painting on digital. I'm just making this flower small low so that I have little bit off speeds for my other flowers and I'll pick the leaf brush now and real practice some roses. So roses are very simple with digital brush. Just that you have to paint these concentrate circles like this. And remember that while you drawing these roses over here, you can really with the pressure on the pencil. And that will give you these beautiful strokes which would look very, very similar toe Ah, watercolor rose. And then you can also smudged the ends off the roses with smudging tool fit, which is the feather touch brush, and they look very soft. And I don't think painting roses have been most simpler than this, and I'm sure you would have courted dried at the first try. It's it's because it is really easy. And just in case, if you don't you can always keep trying more. And the next flubber is going to be a side view flower for which will be using the same brush. And we'll just draw these very simple petals, and that's it. It is very easy to draw this flubber. The next flavor is going to be, ah, flubber with very long battles. For this, you will be applying the technique that you learn for painting long leaves and just from the center. You can keep drawing these long battles like this, and once you're done, you can just add a darko color off pink in the center and then smudge it a little bit the same thing you can do for the side view flower toe. And next we learn how to paint some fellow. So I'm just creating a new Leo and have turned off the previously er off practice flavors. So fellows are very simple, just like what you do and really watercolors. So I'm just drawing some simple buds like this, and then I would add some, then stop to it, which would all connect at one place. You can also add some details like this, where the blood and the stock is connecting so that it looks even more nicer to see. And the second fellow that I'm going to teach you is very simple, for which we'll draw Ah, very 10 line like this first. And then you can pick a lighter color and then just draw these small brush strokes like this. Petrol. Something looked similar. Toe a pine tree. This could make really lovely Philo. So now what I'm going to do is just take the select tool, cut and paste and then copy this Philo and then just rotate it a bit to make it like a complete element, and that's it.
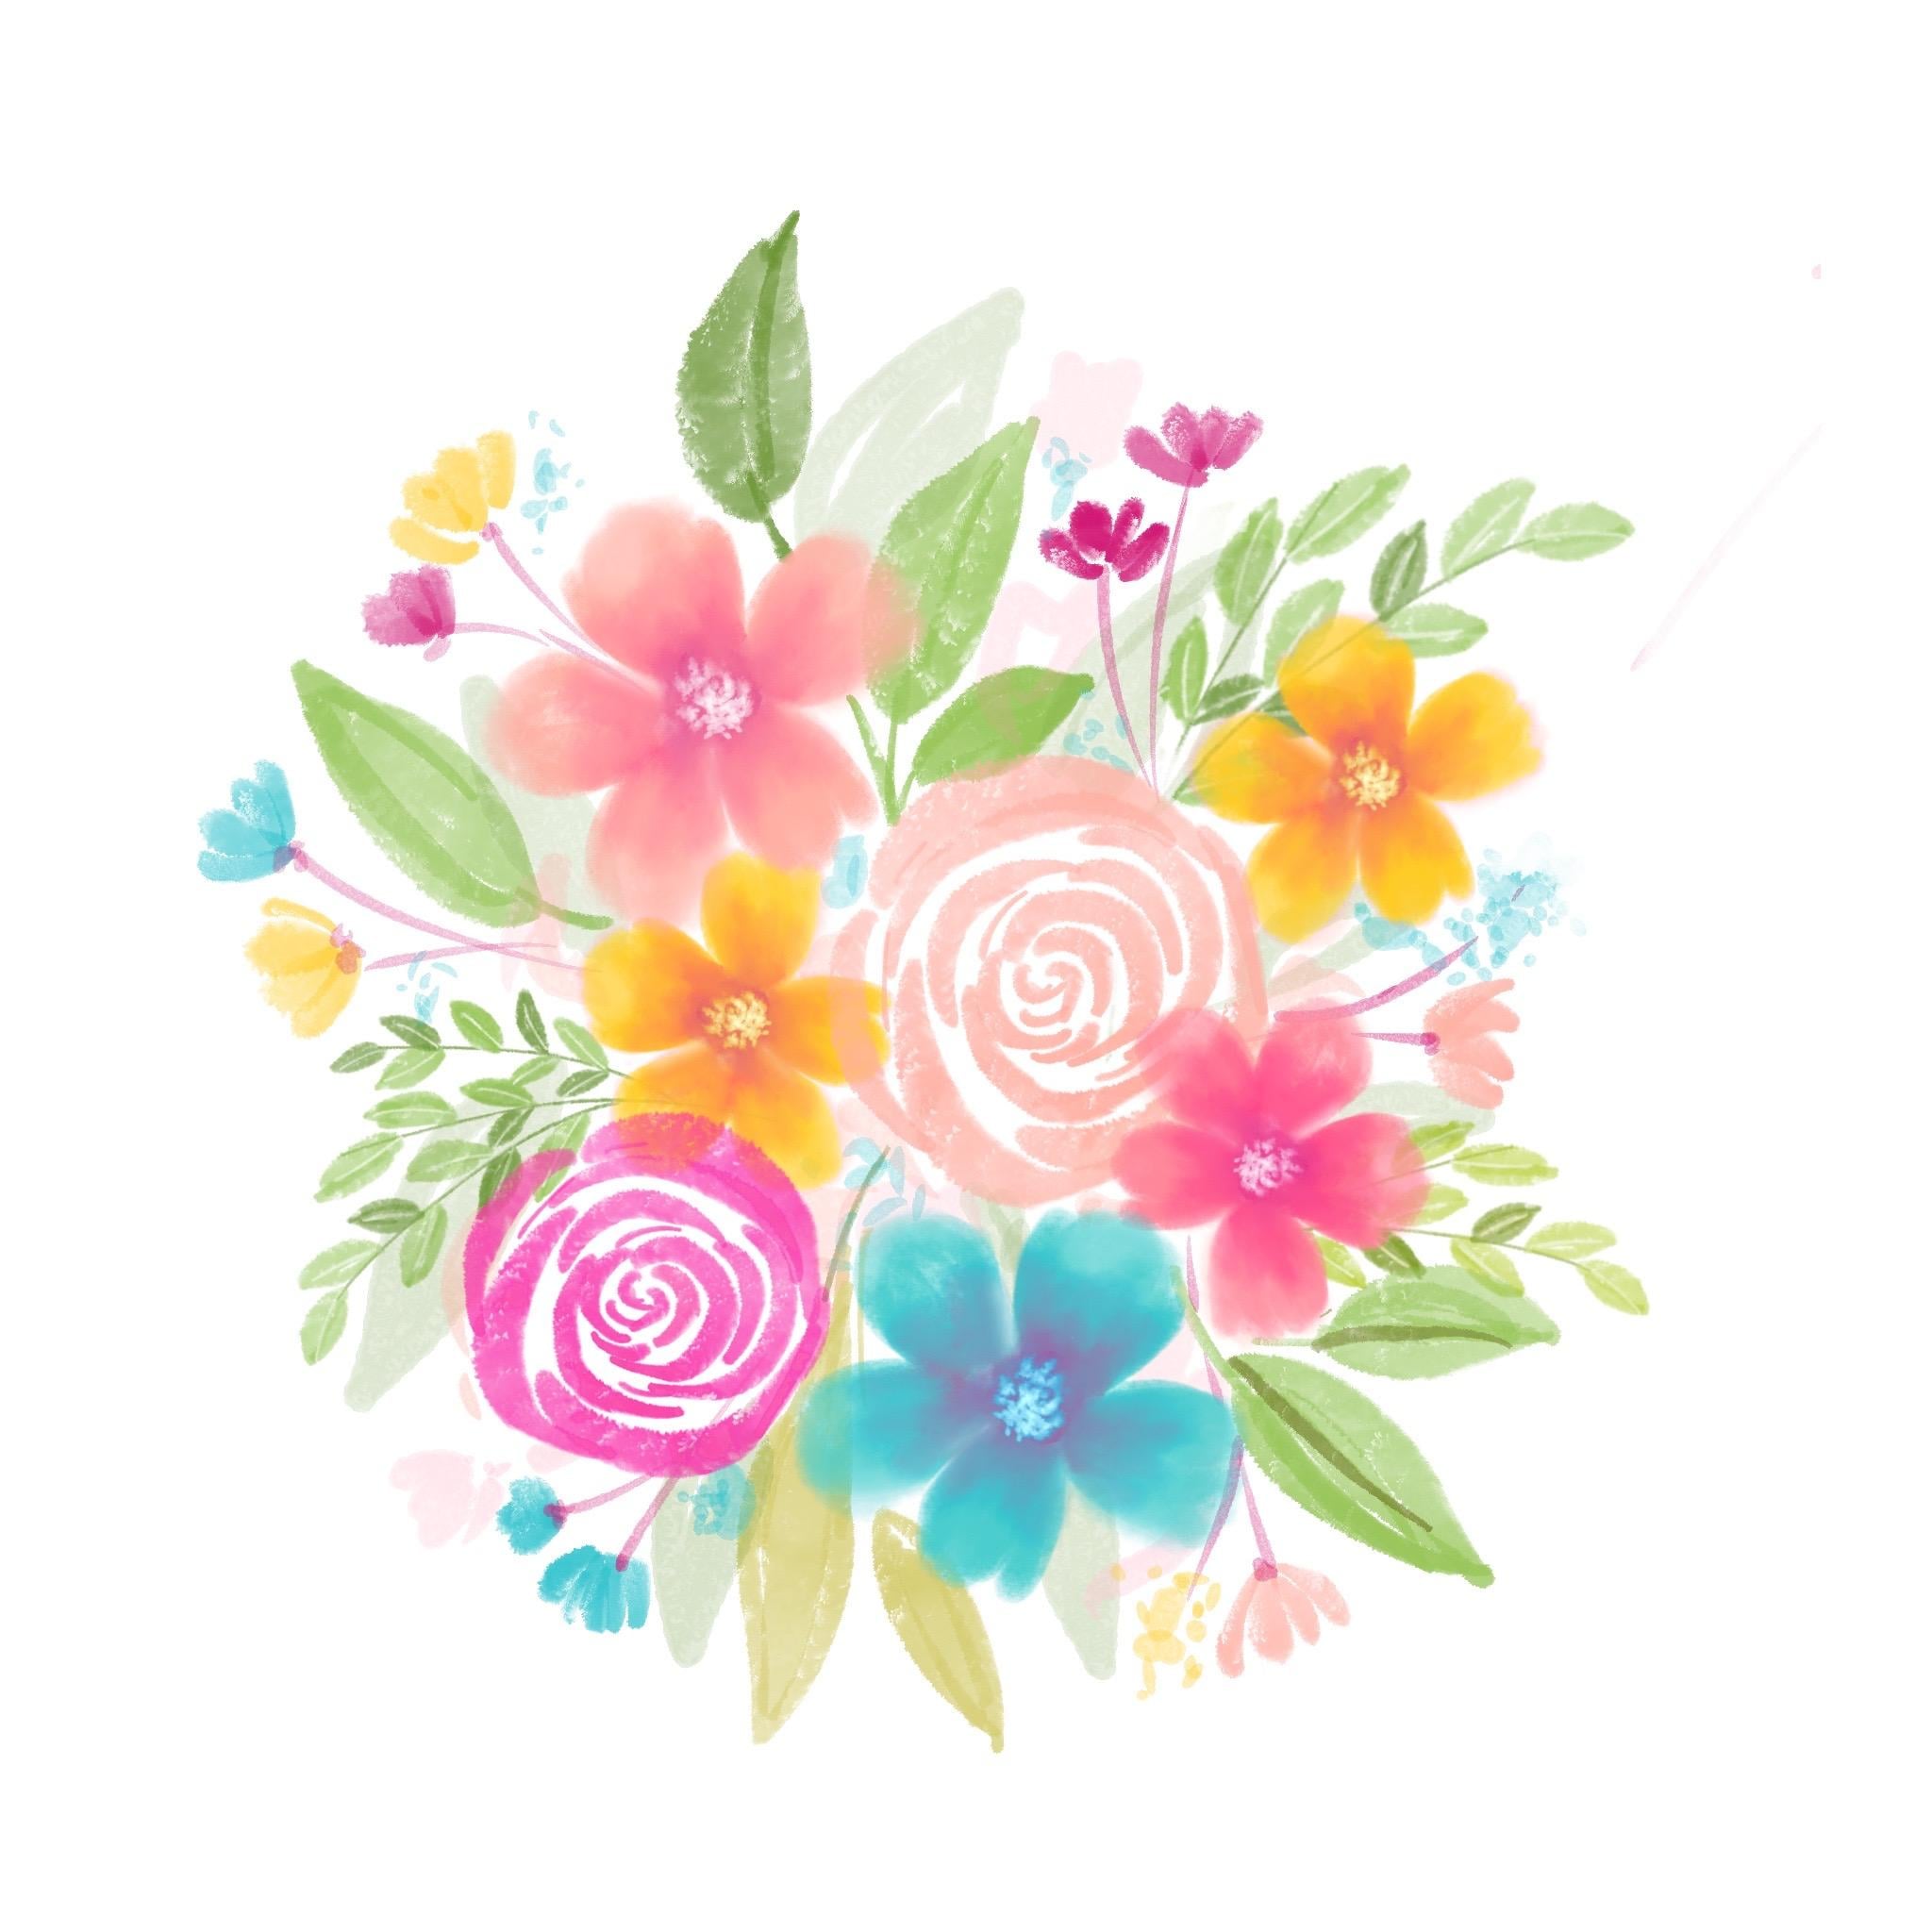
6. Project 1 - Flower bouquet and composition: Let's begin by creating a new layer and start drawing doses. If you like your roses in the practice session, you can just cut, copy paste and use it in the final project that we're doing. I'm just drawing new ones for this on. Once you're done with the rose, you can just duplicate and then are not a color to it and then rotate and move around. So this is the fun part off doing watercolors on digital See you can copy and multiply and resize and change clothes, and it is very flexible to use. Next. I'm just going toe pick the fi petals lover that we did for the practice session because it's really nice and just going toe cut and peace and then pull it about. Now. I will just resize the flubber and try adjusting with the roses, and then I'll continue duplicating my flowers and then keep changing the colors off each flower that I duplicate on. Try to create a composition which is a little bit balanced before adding some believes and next time just going to turn on the lease layer that we practiced and before that to make it easier, I'm just going toe group all the flowers, so it's easy to turn often don't off between groups and layers. And no, oh, just sir leg belief and just got an based. I'll do the same with the secondly Frank stool, and you can not see how procreate is very easy. And also it has shot goods to make you feel more Lisi because you don't have to keep doing again and again. You can just copy and duplicate and just change direction, and it's really flexible. Now. I'm just going to resize the leave crunch that we copied and try composing with existing floated composition. You can also use the flip option, so change the direction off, leave crunch, and I'll do the same one for the second branch that we got. We do. But I think that this doesn't go for the existing style off lovers, the leanest one I. So it's keep the first brunch Now. Further, you can keep doing the same by duplicating though existing elements and then drive me changing the color and the shape and try to create the composition, which is balanced with all the elements and colors to make it look appealing. you can just follow how I'm doing this home, just a small vial or drawing these leaves after the flavors. It is always best to keep the leaves layer on the flavour so that it is transparent and your flowers will be in the foreground and the lease will be in the packer. So this will give a vein, eyes affected off entire floral composition and your flowers wouldn't be overlaid with any other elements. And next week just move for the by adding Fila's. Since we have, like filled a couple off leaves and flowers, it is easy to add these. Phyllis, you cannot these fellows and try to balance the colors. - You can add these small stems toe, though fellows and then later at some more fellows off the second type that we learned in the practice session. Even after adding the fellows, you can see that that is something still missing in this composition. So what I'm going to do is just add a new Leo and then produce the opacity off back Leo and then pickled green color and then add some leaves so the leaves would just fill the background whitespace Onil show as if there is something in the background and very light shed. You can also add some small flub ALS, if you want. Just by doing this, you can see that the entire illustration is little enhanced because, though despite spaces in this illustration is reduced, this looks so much better now and then I'm just going to add one more leave brunch. And then once I'm happy with all the leaves and was going to pinch and make all the leads layers in the one. And here we go. We have a beautiful watercolor floral illustration, which really looks like really watercolors, and you can just see how well balanced it is in colors and compositions.
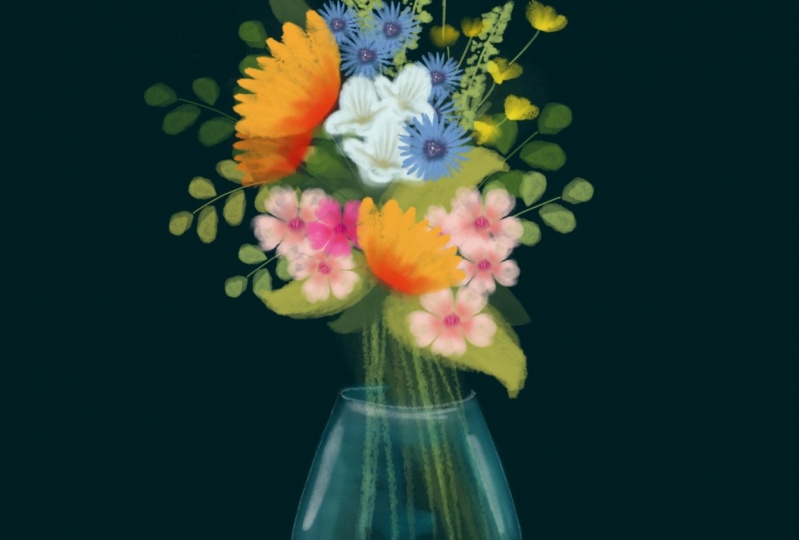
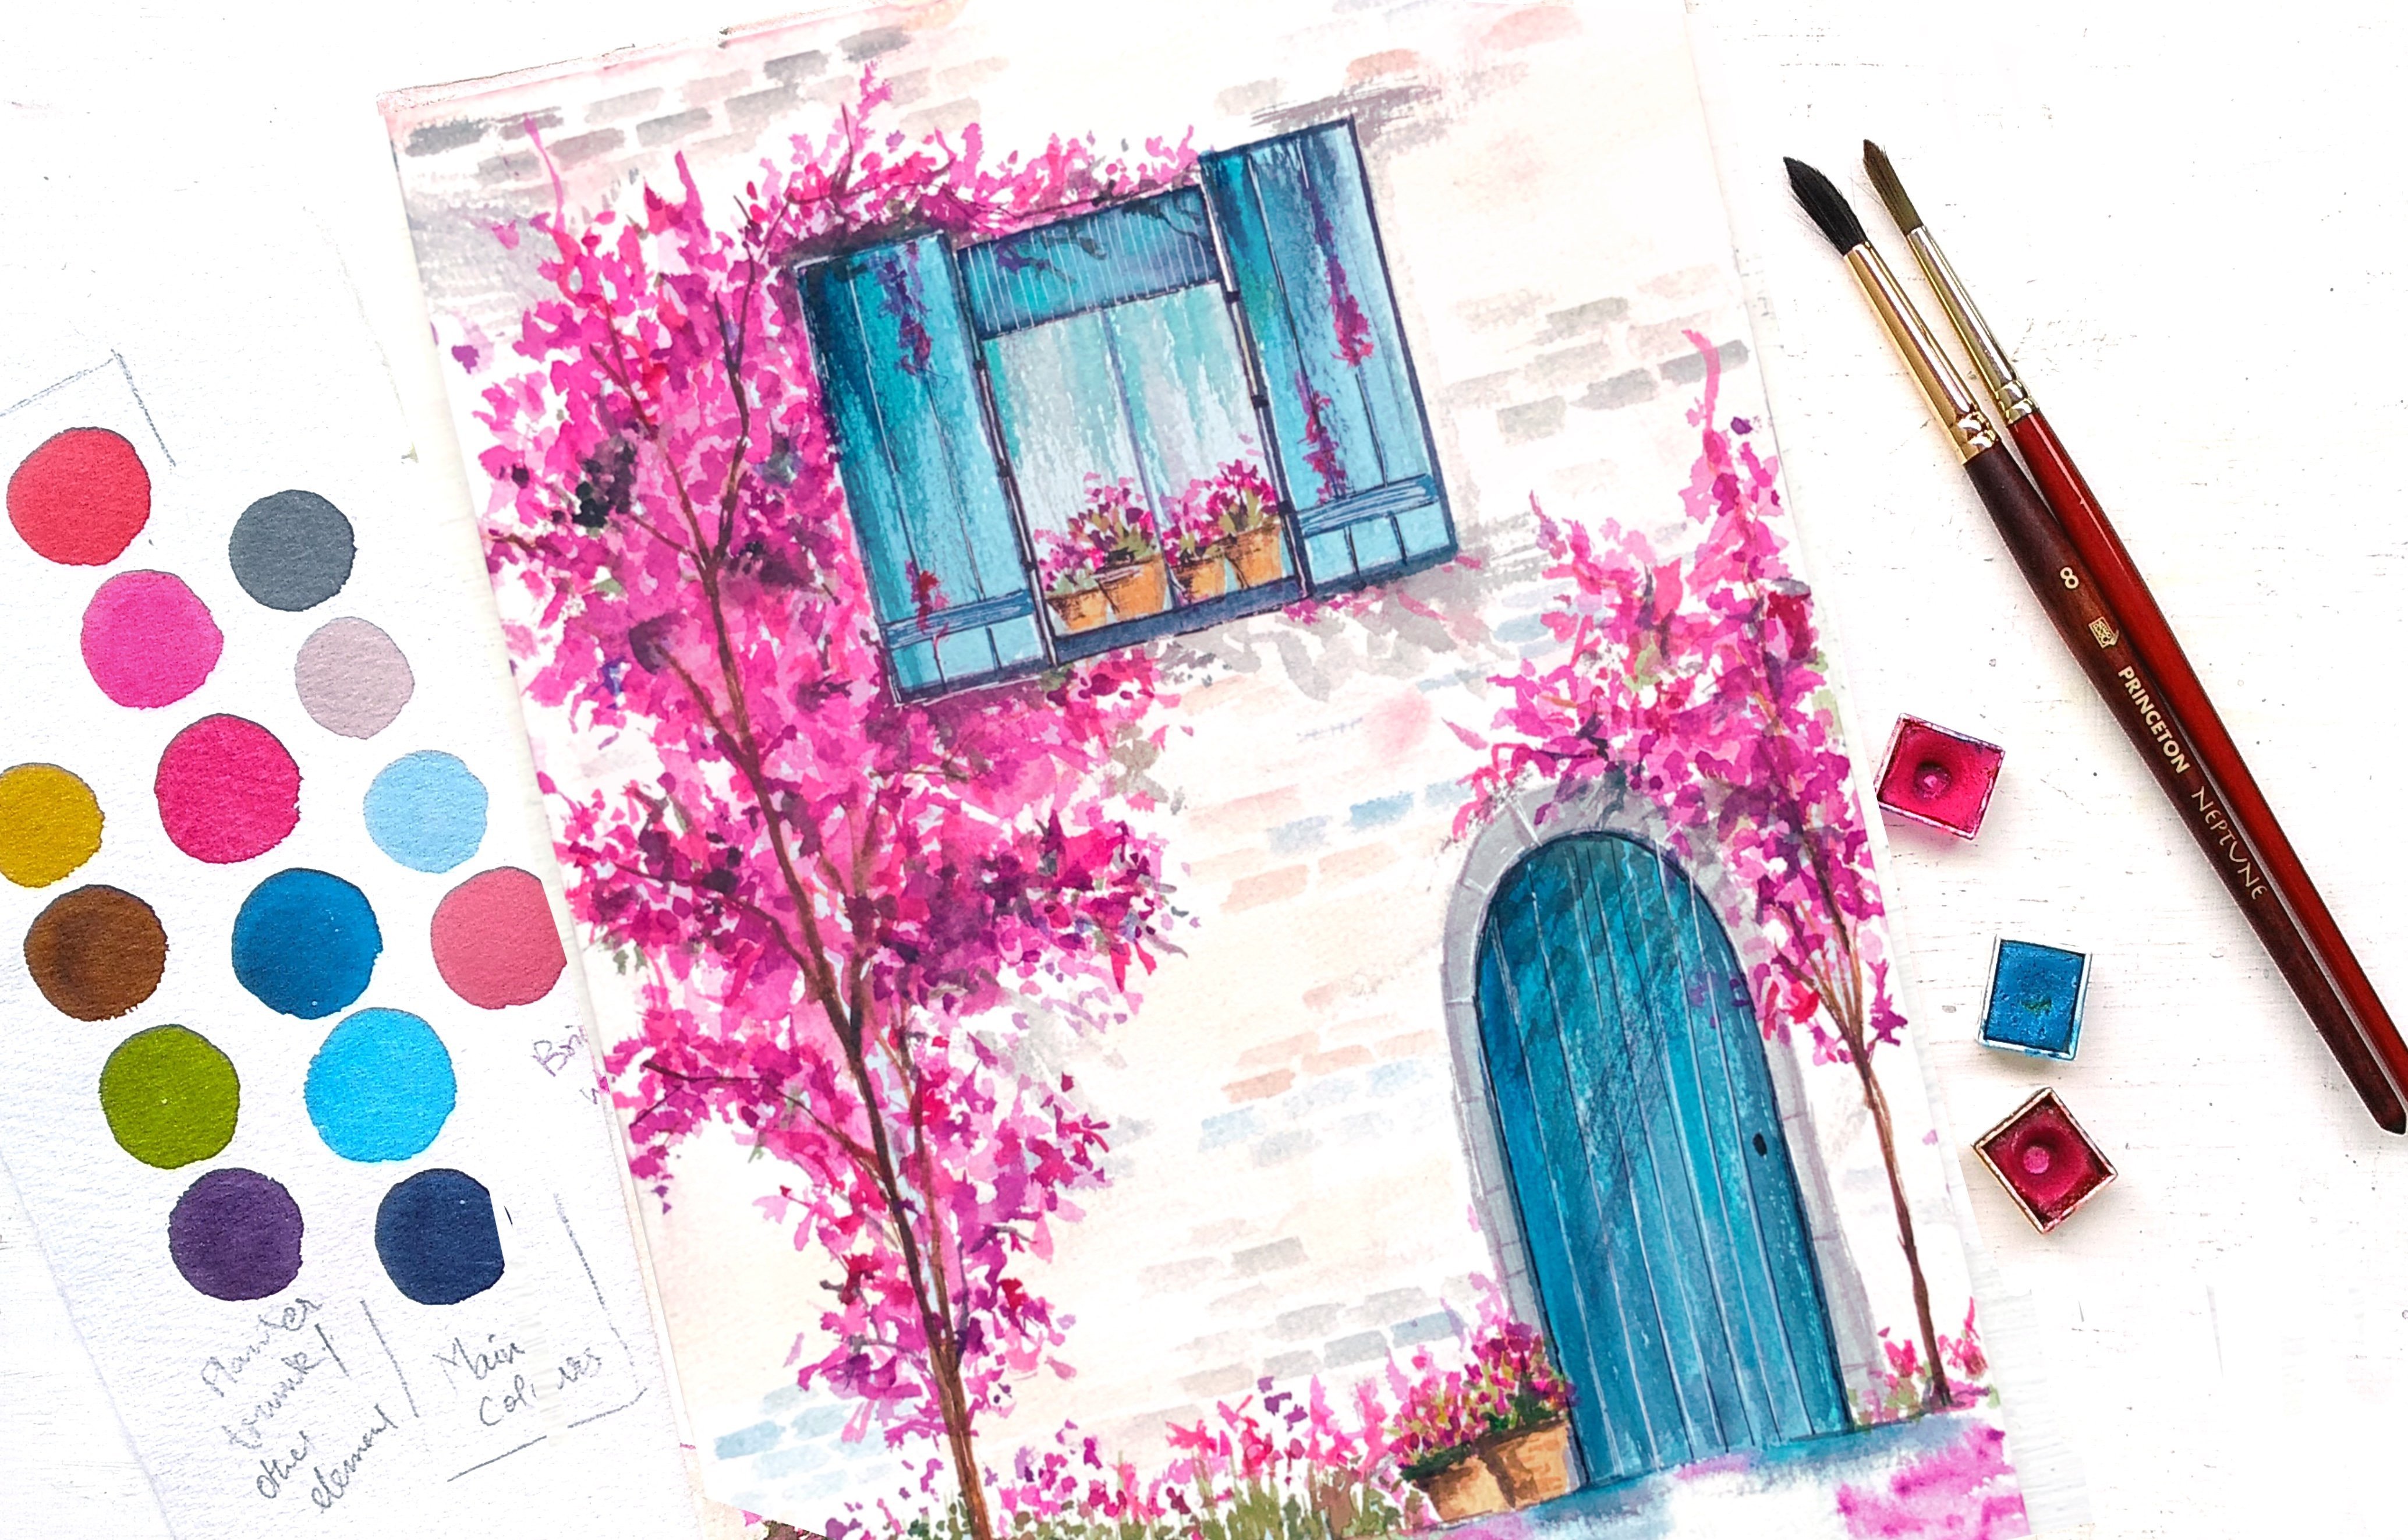
7. Project 2- Flower Vase: this lesson will use the existing Flubber book. It'll free pink tail and turn it into a flower of us. Before that, I'm just going to rename this group, and then I will duplicate this group and flatten it and make it into one single layer because we're not going to make any further changes in this composition. So it's better to just flat in it. If you want a background layer, you can just add a new layer of a load off lover Leo, and then try just adding different colors and see how the illustration looks. I personally like the black color because the colors just pop up. So I'm going to use this background for my flower of us. And I've just re scaled though Flubber illustration. And then I'll take sketching brush and in another Leo, I'll draw the outline off off Love of us. I've just roughly sketched it for now. Later, I'll just sketch with a proper outline. For now, I'll just zoom out of us and I'll start adding some colors to it. So it's basically a glass for, so I'll just give a tent off blue. And then later I used this smudging brush, so smudge it and blend the colors. You don't have to necessarily color. The entire flower was just add a little bit off color and keeps marching so that it looks like the reflection off the water and the flower stems and the for us. And then once you're done with filling Carlos in the Watts, what you can do is just add a new Leo and then sketch one line outlined for the flow us. The previous one was just a very rough outline so that you can fill in. Now, after sketching the final hour plane, you can add any more corrections in the color or the shape off the waas that you want to. - Now the last part in this illustration tojust add these Thames and connect the flavors and that it we're done with, ah, flower bus in just very easy and simple steps.
8. 25 custom watercolour brush demo : and, as promised in this video, I'll be showing you the dem off all the 25 brushes that have custom created. These pressures are available on my Etsy store and you can find the link to perches on the about session off this class. Thes brushes are really beautiful on Just perfect for any watercolor that you want to be in . Meet landscape flavors or any other subject that you want to explore and watercolors using the Pro Creator. No. Uh huh.
9. More project ideas and conclusion: thank you for watching my class and choosing to learn from me. I'm very sure that you are obsessed with watercolors, own procreate. After this class, you can also try other project ideas such as this artwork that we created in the class. I'm going to convert it into a sticker, just cropping it in the SoCal, and then I'll cut and paste and that you have a beautiful mystical that you can get it printed. I would use it anywhere that you like. And if you go back to the previous original layer and then done on that layer, you would see that it's a very beautiful read where you can add in some text and make it indoor fun illustration. So, yeah, just keep exploring and trying new, different things and I'm sure will be very fun. And before you leave this class, I would really appreciate a few good right. A class review for me, if you enjoyed this closet will surely help other students in taking this class. Thank you so much. And LCU in my next class
 Viddhi Saschit, Author|Artist|Surface Pattern Designer