Transcripts
1. Class Introduction: Okay. Hi there. My name is Astral mesi, and I'm a two D illustrator and the IUX designer with
three years of experience. As a self taught artist, I faced many challenges
while honing my craft, but my desire to create a
beautiful art never faded. I'm excited to share
my knowledge and help other achieve
their artistic goals. Join me in Brokerate boat cam from sketching to
final artwork course, where you will
explore Broker yates full capabilities from
sketching to final artwork. This course is a table
for both beginners and professionals who want to
advance their digital drawing. You will learn essential
skills that you can apply to your
own illustrations, whether you are a hobbyist
or a professional artist. All you need is a basic
understanding of drawing and iPad tablet device with
a brokeriate app installed. Don't worry if you are new
brokerate and digital drawing. I will cover everything you
need to know in this course. By the end of this course, you will have a
solid foundation in digital art creation and be able to create your
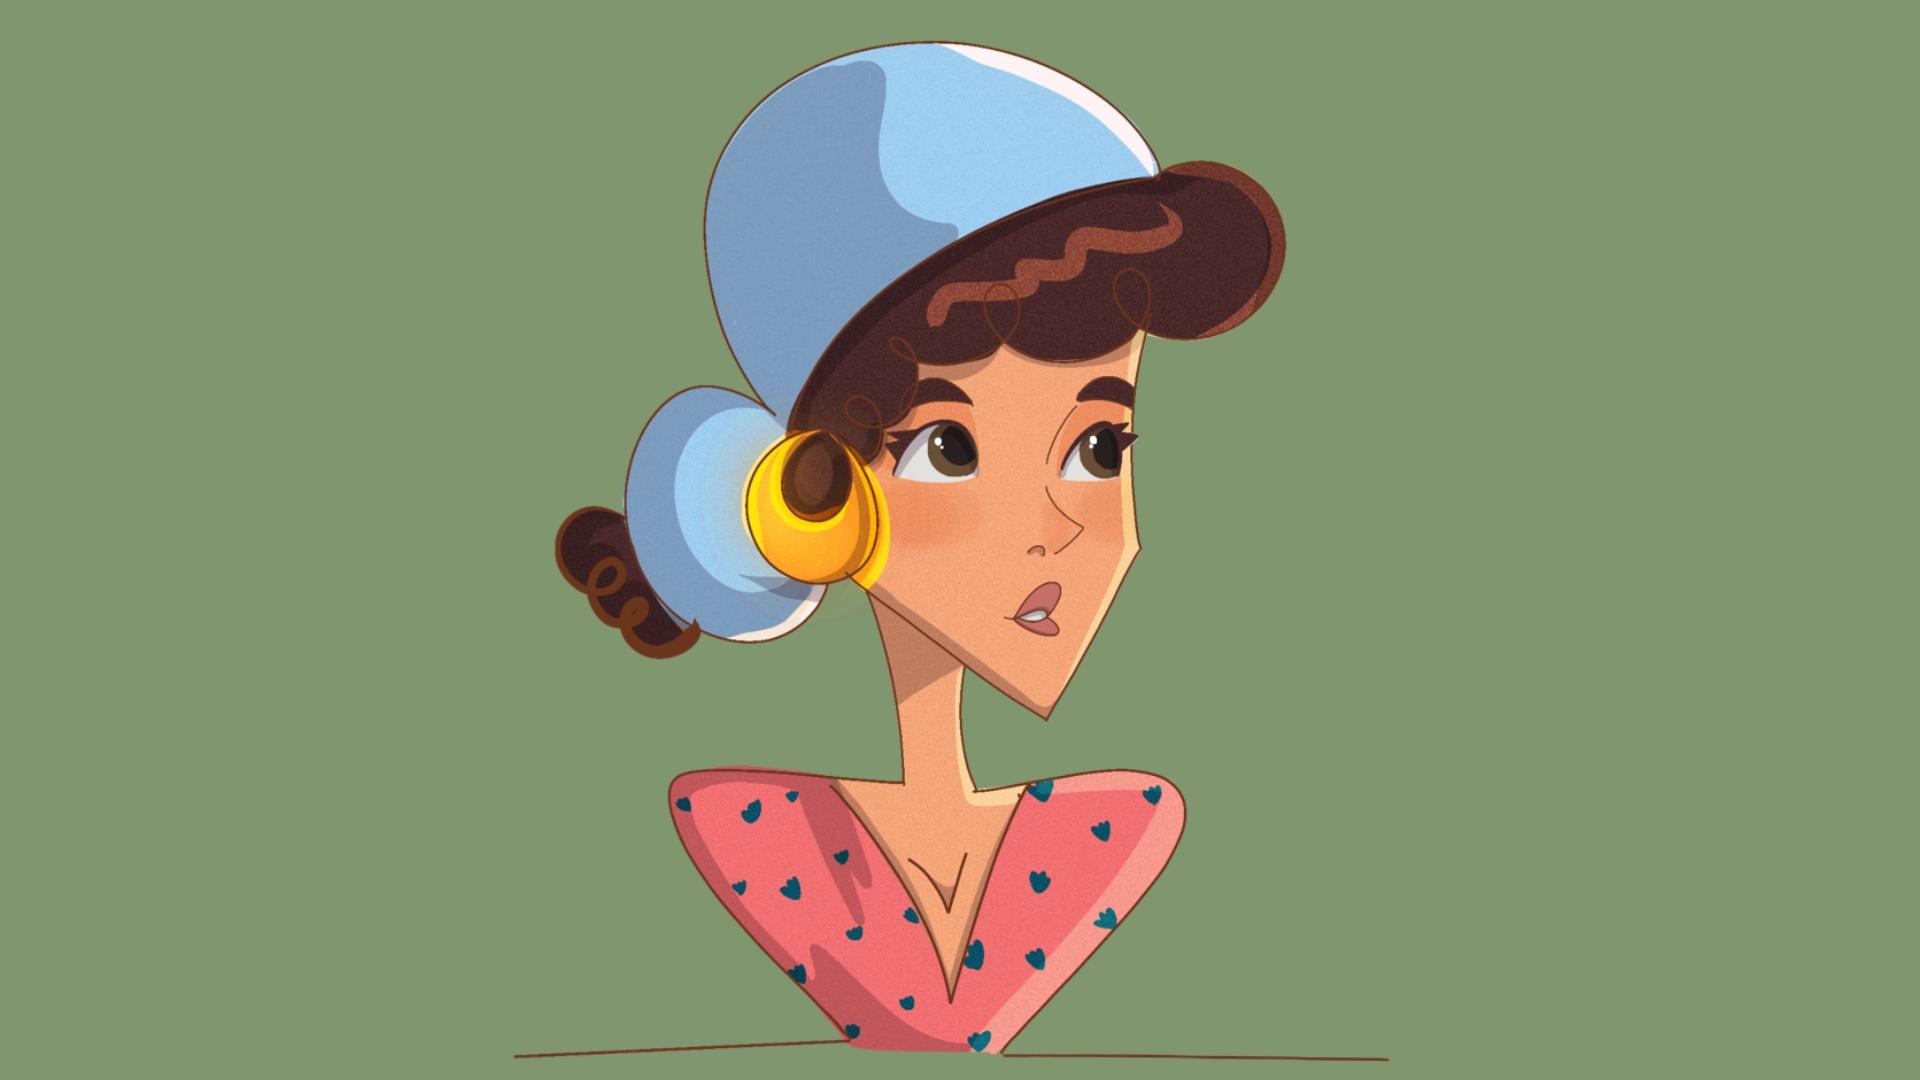
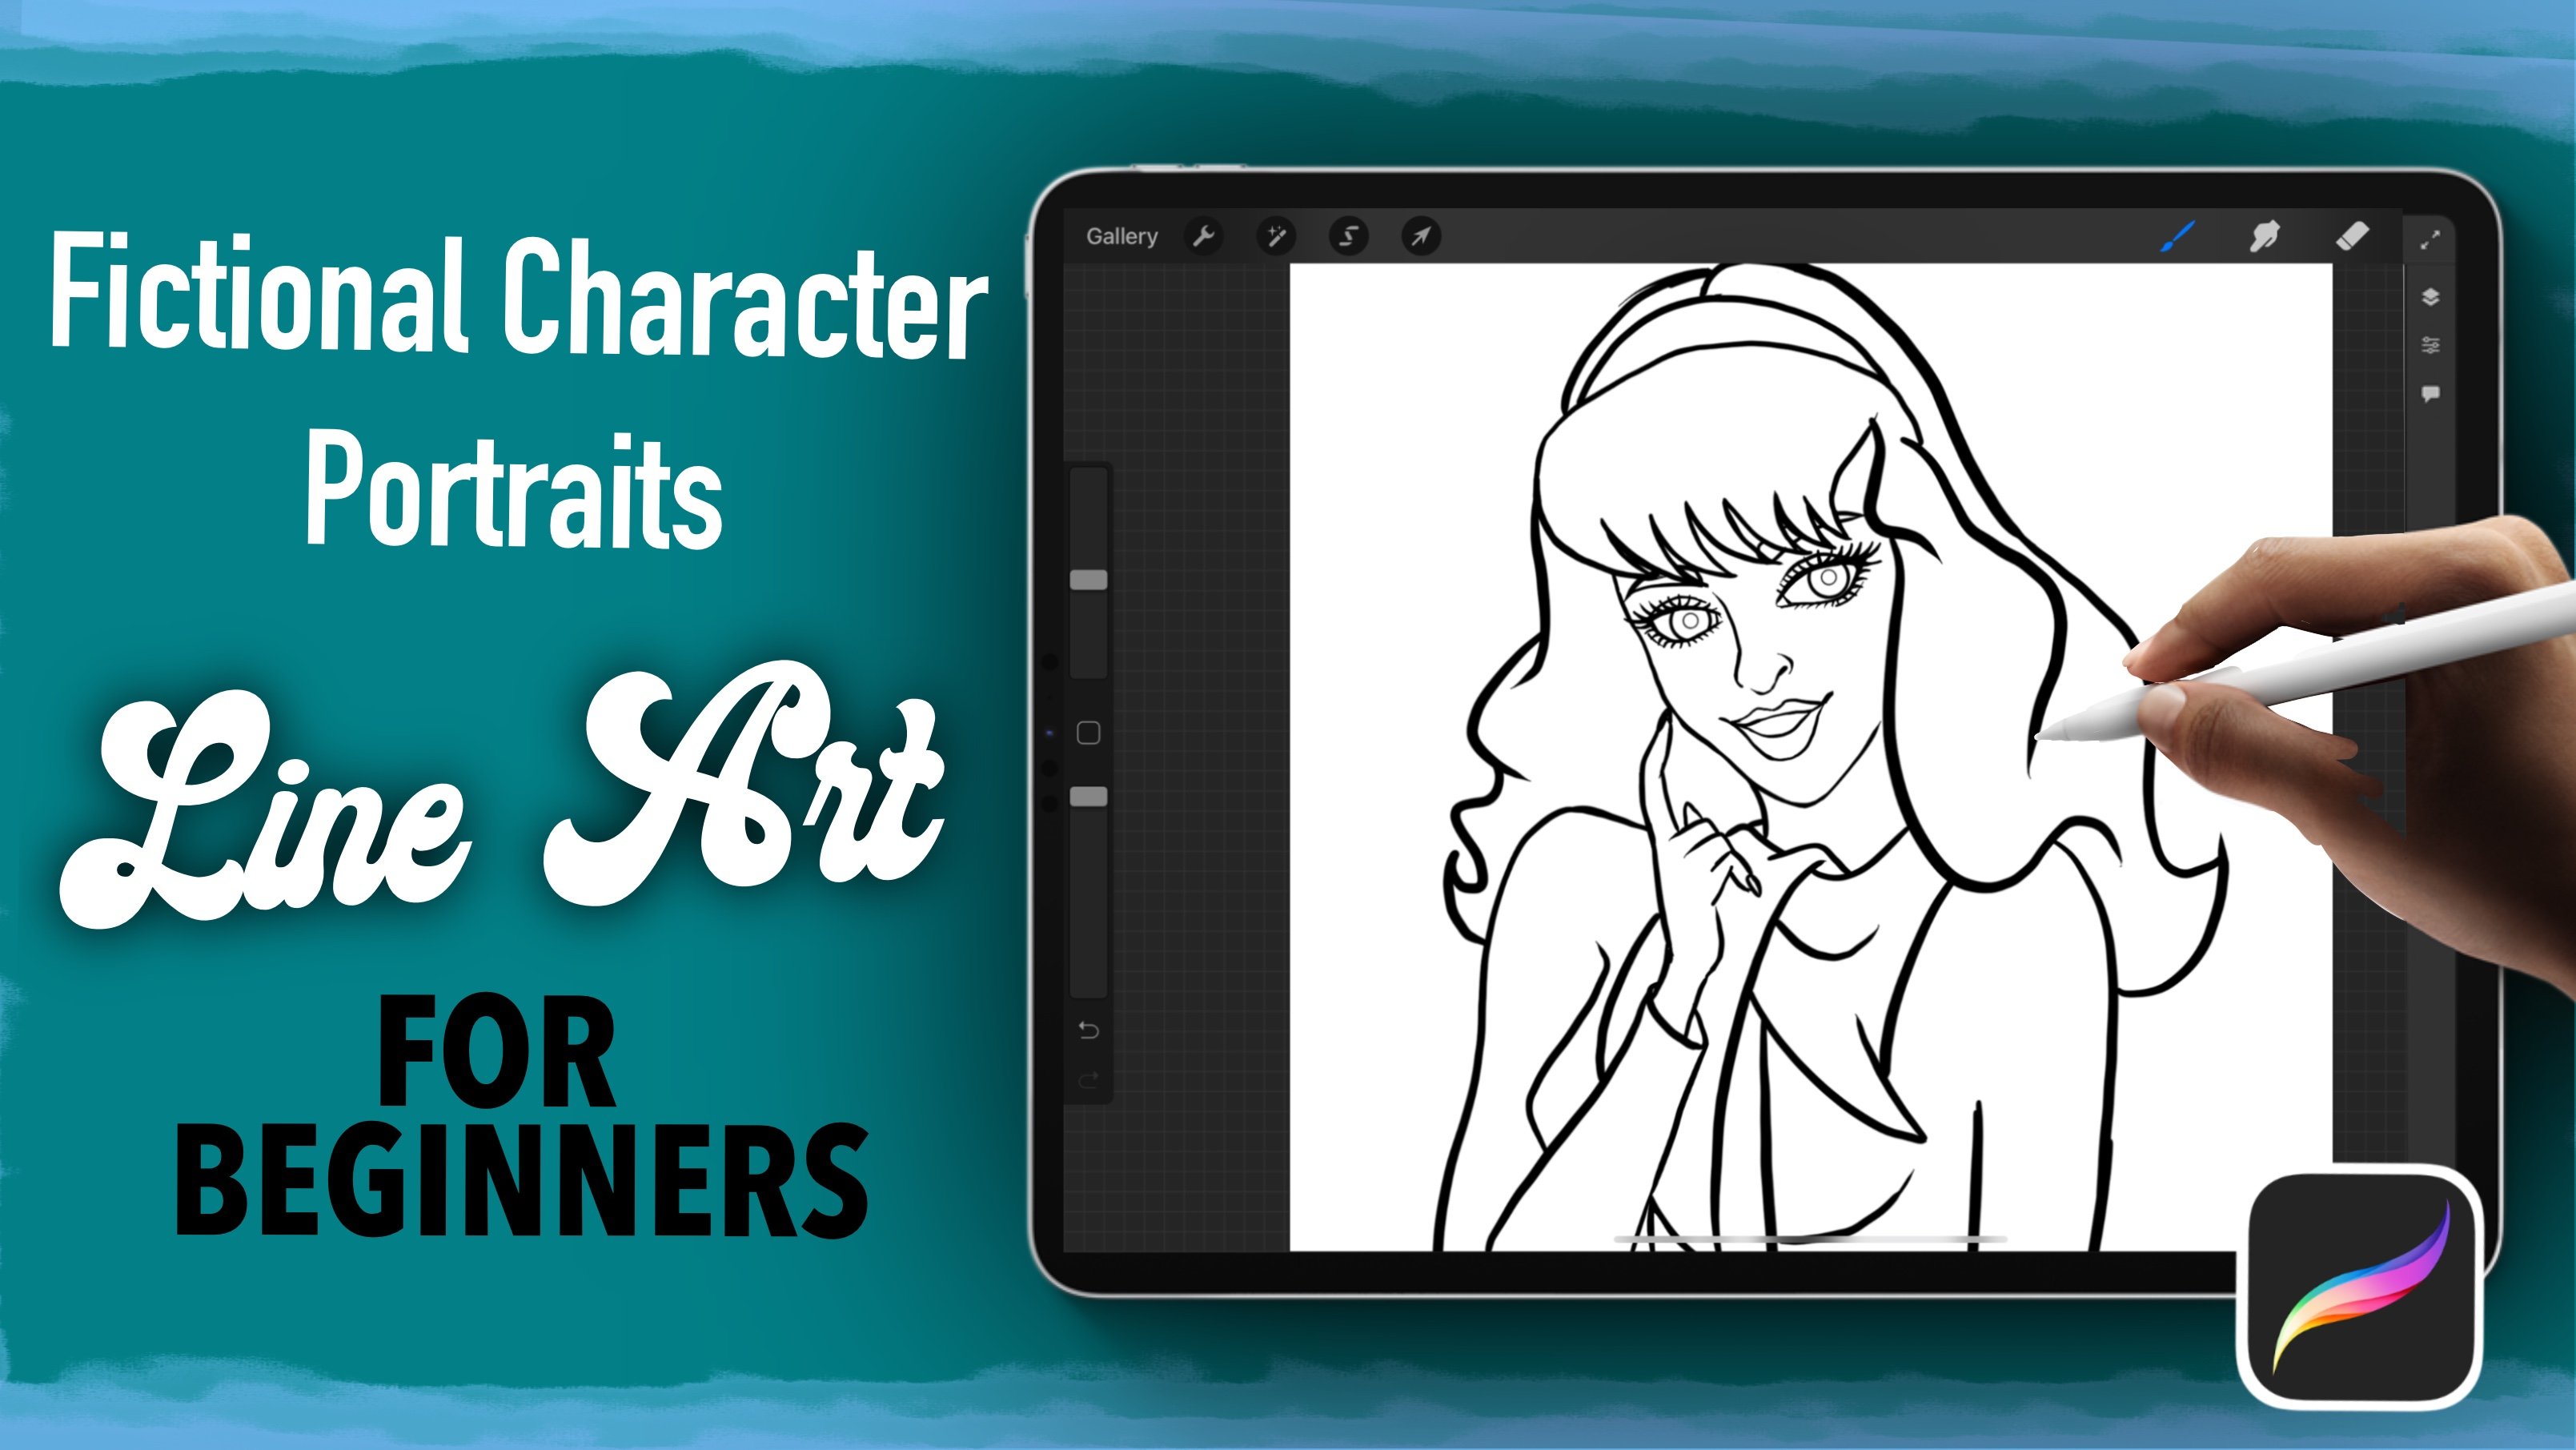
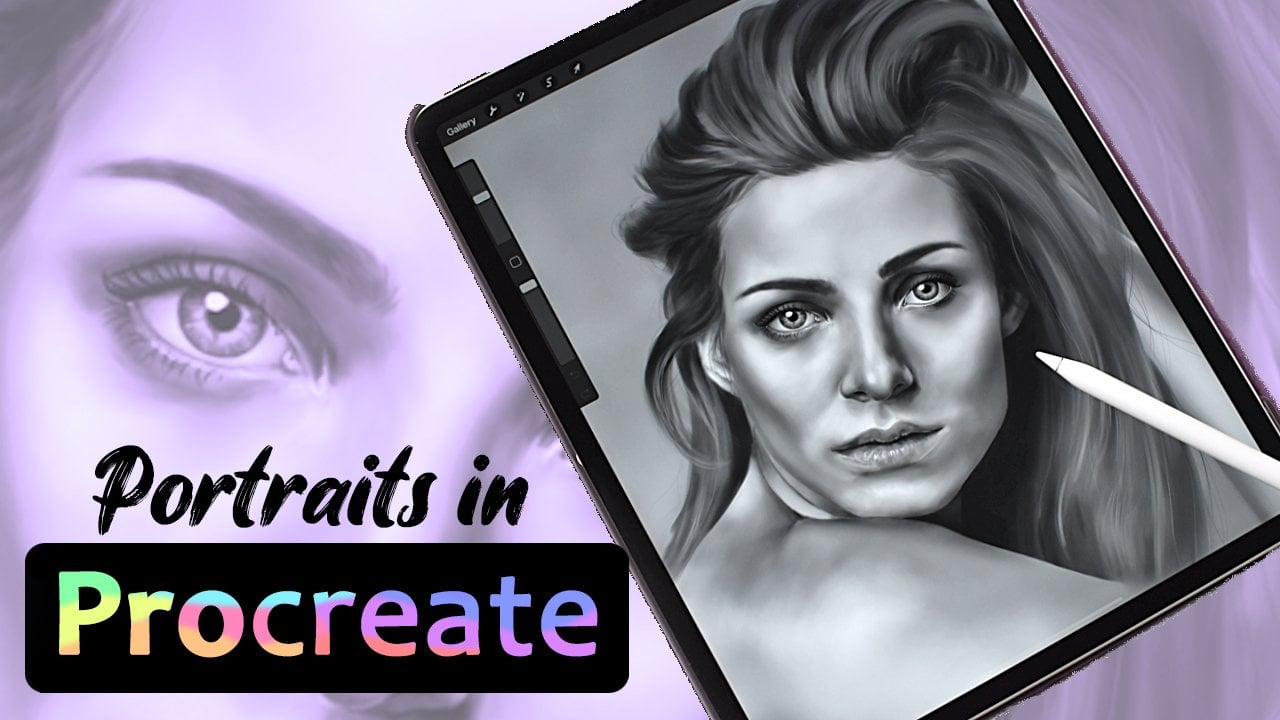
own stunning pieces. Our main project in
this course will be to create a digital portray
using pre create. I will guide you through the entire process from
sktching to final project. Are you ready to take your digital art work
to the next level? Let's get started.
2. Project : Good day, everyone, and
I'm thrilled to be here today to show you how to make your own cartoon
portrait illustration. In this project, you
will learn how to use digital illustration
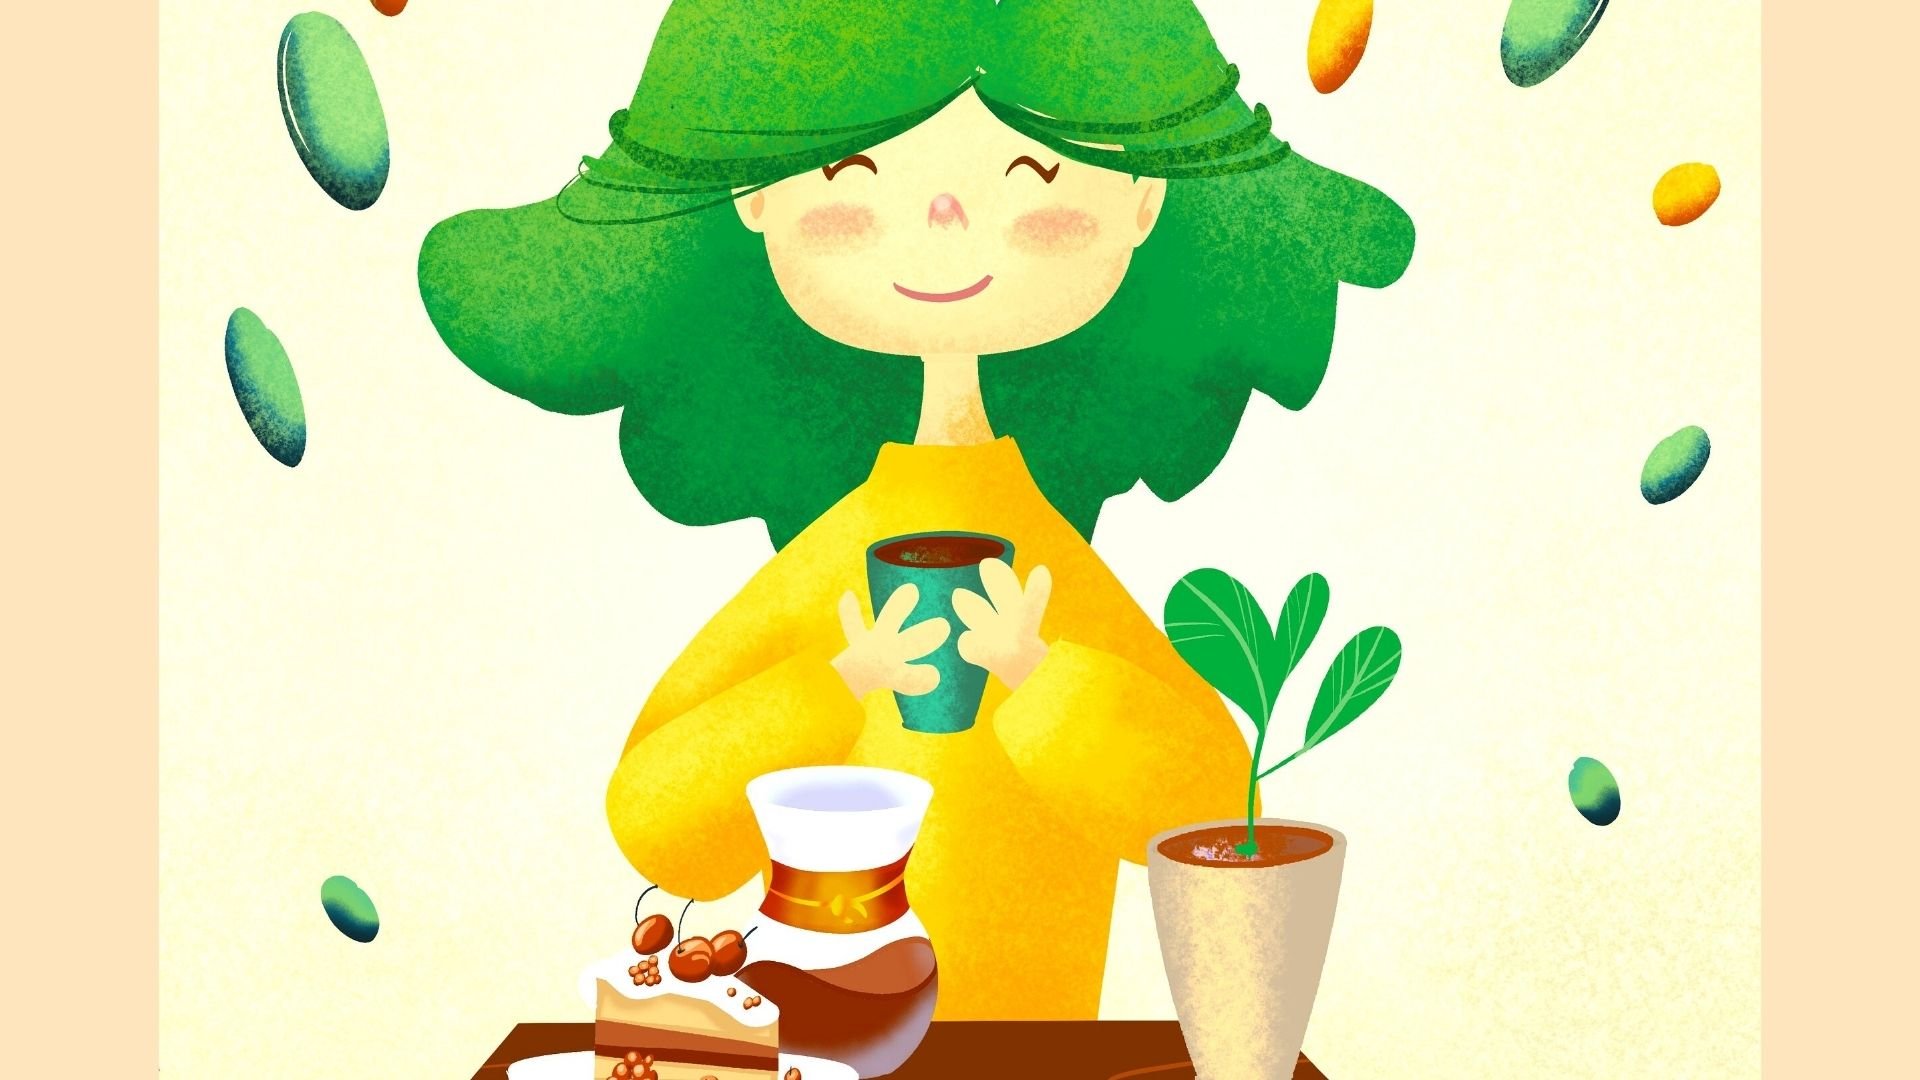
techniques to bring an initial idea to life. We will be utilizing procreate to make a colorful
cartoon portrait. To begin, we will
sketch up our concept, utilizing symbol
shapes and lines to construct the fundamental
structure of our portrait. Then to develop a firm
basis for our artwork, we will improve our drawing
and add more details. We will then go to
coloring where we will add bold and vibrant colors
to our portrait. To give depth and dimension, we will also use
shade and highlights. Finally, we will add
finishing touches like ticture patterns and details to make our illustration
really stand out. Remember to have fun with your illustration and don't
be afraid to explore. Remember to post your
complete project in the project gallery for
feedback and inspiration. Gather your stuff and lunch
procreate to get started.
3. Getting Started with procreate: In this lesson, we will dive into the basics
of Procreate, one of the most powerful digital art
applications available. We will explore its user
friendly interface and learn how to navigate through its various tools and menus. By the end of this lesson, we will have a solid
understanding of the procreate interface and be ready to create
your first artwork. Okay. Let's begin by familiarizing ourselves with
the procreate interface. When you open Procreate, you will see the gallery
which displays all artworks. To create a new canvas, tap the plus icon, at the top right corner. Select your canvas
size by choosing from the available presets or
entering custom dimensions. Procreate offers versus
preset options like square, portrait and landscape and more. You can also sit at resolution, which is DBI You
can make it 300 in all your files and check your color profile if you
want to make it CY K or RGB. Now that you have
your Canvas ready, let's explore the
different tools and menus in the procreate. Tap to the ph icon to the top tool bar to
access the psh liability. Here you will find a wide range of brushes to choose from. Explore a different Prashes
categories you like, Pencil, ink and more. Tap to the Prash to selected, LF, choose the rounded brush, and adjust the size as
you want and the opacity. Layers are essential
for organizing your artwork and making
non destructive changes. Tap the layer icon on the top tool bar to
as the layer panel. You can add, delete, duplicate, and re arrange
layers as needed. Adjust the opacity and blending modes to achieve
different effects. Tap the selection icon on the top tool bar to access
the selection tools. Explore tools like free hand, rectangular and
automatic selection. Use these tools to select, move, resize, and transform specific
areas of your artwork. Procereate offers a variety
of selection tools to pricly isolate and manipulate
parts of your artwork. Tap the transform icon on the top tool bar to
as these features. Scale, rotate, d store and wrap your artwork using
the transform tools. Also, you can make color and tunnel adjustments
using the adjustments menu. Procreate allows
you to customize your work space to sort your
preference and work flow. Tap the wrench icon to the top tool bar to
exit the action menu. From the actions menu, select preps to exit
the preference panel. Here you can adjust
sitting like gesture, general preference
and customizing the interface to your liking. Congratulations.
You have learned how to create a new Canvas, navigate the
procreate interface, explore tools and
customize your work space. Remember to practice
and experiment with different features and procreate to unleash your creativity. Stay tuned for more exciting lessons
on advanced techniques and specific art styles using
procreate. Happy creating
4. Getting Started With Sketching: After we have learned in a previous class how
to create a new canvas and procreate and select a preferred size and
orientation for your artwork. Choose a sketching Prash
from the Prash library. Procreate offers a variety
of prushes such as pencil, HP pencil, or graphiti that mimic traditional
drawing tools. Experiment with
different brushes to discover which one suits
your style and preferences. Adjust the Prash size
using the size slider. Excluding different
brushes and settings. Tap to the brush liability, tap on the brush you
want to modify it. This will open the brush studio, and the brush studio, you will see viruses settings and options to
customize the brush. Here are some key sections
and settings you can adjust. Shape, in, dynamics,
apple pencil, and more. Tap on each section to expand it and reveal the available
settings and options. Make adjustments to sittings
by dragging sliders, tuggling switches, or selecting options
from the drop down menu. As you make changes, you can test approach
by drawing on the canvas to see how the
adjustment affect the stroke. If you want to revert to the default settings
of a specific section or tap on the reset potum by dragging the modify
it to the left. It will show you reset poom. You can also save customized
prush as a presented by tapping the plus icon in the top right corner of the psh studio and
giving it name. Once you are satisfied
with the brush adjustment, you can start using the
modified brush in your artwork. Layering techniques for
sketching and drawing. Start with a base layer
for your sketch and add additional layers for
different elements or details. Use the layer opacity
and lab mood options to control the visibility and
blending of your layers. Utilize layer clipping mask for restrict and drawing
within specific areas, allowing for more
precise details. Skitching and drawing exercise. Practice sketching
different subjects, like as objectives,
landscape, or characters. Using the techniques discussed. Experiment with different
brushes, truck size, and texture to explore the range of effects
you can achieve. Try using layers to separate different elements
of your drawing and experiment with
different blending modes for interesting effects.
5. Color Theory Basics: Color theory basics. Understanding color theory will enhance your ability
to create balanced, expressive and visually
appealing artwork. First, we start
with color wheel. It's a visual representation of how color relates
to one another. It consists of primary colors. These are pure and cannot be created by mixing
other colors together. They are foundation
of color wheel. They are red, blue and yellow. Secondary colors, created
by mixing primary colors, and they are orange, green, and violet,
and tertiary colors, a cobination of primary
and secondary colors. Now, let's talk about basic
terms of color theory, value, which is referred
to lightness and darkness of the
color adding black, white to color, create different values resulting
in shades and tints. Saturation. On the other hand, refer to the intensity
or purity of a color. A fully saturated color is vivid while desaturated color
appear muted or great. Let's talk about temperature. Colors can be categorized
as warm or cool based on their physiological
and emotional associations. Warm colors such as
red, orange and yellow. Create a sense of
energy and excitement. Cool colors such as blue, green, and verbal, evo calmness
and tranquility. Here are some of the most
common types of color scheme. Let's refer to
pleasing combination of colors and artwork. There are several color scheme
that artists often use, Complementary colors that are opposite each other
on the color wheel, such as yellow and blue. They create high contrast
and vibrant compositions Agus colors that are adjacent to each other
on the color wheel, such as yellow,
green and orange. Triadic colors that are a
spaced on the color wheel, such as yellow,
blue, and verbal. They create a vibrant and
balanced composition. Understanding how to
mix colors is essential for achieving the desired
use in your artwork. By mixing primary colors, you can create a wide range of secondary and
tertiary colors. Experimenting with
color mixing help you gain confidence and
control over your palette.
6. Coloring and Painting: Let's begin by exploring the
color palette and procreate. To access it, tab
on the color icon located at the top right
corner of the screen. Below, you will see
five options that you will go through one by one to understand each of them. First, let's look
at disc option. Taping on it while reveal
a slider and a circle. By dragging a slider, you can change the color. For example, I will
choose yellow. Moving to the circle, you can control the color
saturation and value. Sliding to the right
increased vibrancy. While sliding to the lift adds more grains adjusting the value which affects
brightness or darkness, can be done by dragging
the color up or down. Moving up, make it brighter while moving
down, make it darker. For more precision, we can
go to the classic section. As we discussed, here you can
choose the color from the R. You can also fine tune the
color saturation and value. Next, let's explore
harmony section, which involves color schemes. Uin the color were
you can select multiple colors to ait
the color schemes. Tap on the complimentary
to the top left corner. It will display a list of color schemas from
which you can choose. I will select a yellow color and see which colors
complemented. Adjusting brightness
and darkness is also possible
within this section. On the value option, it provides similar controls
at the classic section, hue saturation, and brightness. If you have a
specific color value from a website or a source, you can paste them here to
select a corresponding color. Additionally, the
xdsmal value of them. Choosing color, for example, if you know that the y
color is hashtag six F is, you can add it and
will be displayed. Lastly, let's explore
alled section. By default, procure provides
a few predefined palettes. If you wish to create
a custom palette, tap on the plus icon in
the top price corner. You have several
options to choose from. For example, selecting
create new palette, will directly open
the color sections. Where you can add
your desired colors by dabbing and holding
them in the swatches, or you can use the color
picker by tabbing and holding your finger or
apple pencil in a color. Of which will automatically
added to the color section. Tap on the colors icon and tap on swatch and add the color. If you want to create color
palette from a photo, you can tap on from photo and select any
photo from your gallery. The colors from foot we extracted to create a ready
to use color palette. Similarly, you can create a color palette
using the camera. Feel free to explore these
color panel features and experiment with
different palettes to enhance your
artwork and procreate. Start by laying down
the base color in your canvas using the
Prash of your choice. Choose a prush with bending properties such as
soft brush or water Prash. These brushes are ideal for creating smooth
color transitions. Switch to the smudge tool by tapping on the icon that
look like a finger. Adjust the size and opacity of the smudge tool using the sliding at the top
of the screen. With the smudge tool selected, use your finger or your apple pencil to drag
and smudge the base color. Drag the color toward the area where you want to
transition to occur. Experiment with different
pressure trucks and pressures to achieve
these desired effects. Lighter trucks will create
a subtle transitions while heavier trucks will result in more
pronounced blending. Continuous smudging and blending the colors until you achieve
a smooth transition. You can go back
and forth between the presh tool and the smudge tool to
refine that transitions. Take your time and
practice observation to refine your color transitions and achieve the
desired smoothness.
7. Procreate Gestures: Okay. Hi. In this lesson, we will explore the
powerful gesture features of procure gate that can be streamlined your digital
art creation process and enhance your workflow. Let's begin by discussing
convas navigation gestures. First, pinching to rotate the
convas and zoom in and out. You can make the convas fill the entire screen by pinching
out quickly and sing. We all make mistakes, and that's where the undo and
redo gesture come in handy. With two finger, you can do. If you hold down
your two finger, it will undo multiple times for the redo using
three fingers, and the same thing if you
want to redo all at once. Use your fore finger to remove the appropriate interface
if you want a gun. Next step for clear
the layer by quickly scrabing back and forth with your three fingers to remove
everything from the layer. The copy and paste menu is displayed if you swipe
down the three fingers. When you press together
multiple layers, you can actually combine them. For example, all
you have to do to combine both of these layers into one is being them together. Also, you can measure a set of layer at
once in the same way. If you want to pick
more than one layer, you can swipe the
right after selecting the first layer for every more
layer you want to select. Lastly, if you want to tweak
or modify any gesture, simply click to range icon
up here, select preference, and then select
gesture controls, and you can customize
any gesture you want.
8. Finalizing Artwork and Exporting: Finally, I will show
you how to share and export your
artwork in procreate. Go to action tool, select share option, Procreate of a VRsSFile
format for sharing. Select the format that
suits your requirement for sharing or social
media or online platform. I suggest P&G formats
are commonly used. Once you have set
the export settings, you will present it with
virus sharing options choose the method that
suits your needs. Procreate allow you to share
your artwork via Airdrop, social media platforms,
cloud storage surfaces, or by saving it your
devices local storage. For now, I will save in the iPad so I will
tap Save image. If you want to share
multiple layers at once, select all layers
you want to share. Go to action, share, tap on PNG file, save to file, create
folder, and save. Go back to file created. You will have all layers
at once. Happy sharing.
9. Conclusion: Hi there. First, I want to take a moment
to thank each and every one of you for joining me
on best creative journey. It has been an absolute
pleasure to teach you and I'm grateful for the opportunity to share my passion for
Procreate with you. Throughout this course, we have covered a lot of ground
from the basics of Sketching and inverse
techniques for creating Final Artwork
and procreate. We have explored viruses, tools and features of Procreate, and I hope you feel more comfortable using
this powerful app. Create a digital Art. Remember to take
time to practice and experiment with different
tools and techniques. Don't be afraid to make
mistakes or try new things. And most importantly, have FUN and enjoy the
creative process. Finally, I want to remind you to share your final project
in the Project Gallery. And I can't wait to see
you what You have created. And if you have any
questions or feedback, don't hesitate to
reach out to me on Skillshare or in social media by
 Esraa Alkhamesy, 2D Illustrator