Transcripts
1. Introduction: Hello, everybody. This is Lucy, and I'm here in my
studio in Victoria, British Columbia, in Canada. I'm a graphic designer, Mxartist and top teacher
here on Skillshare. And I want to welcome you to my new class in my
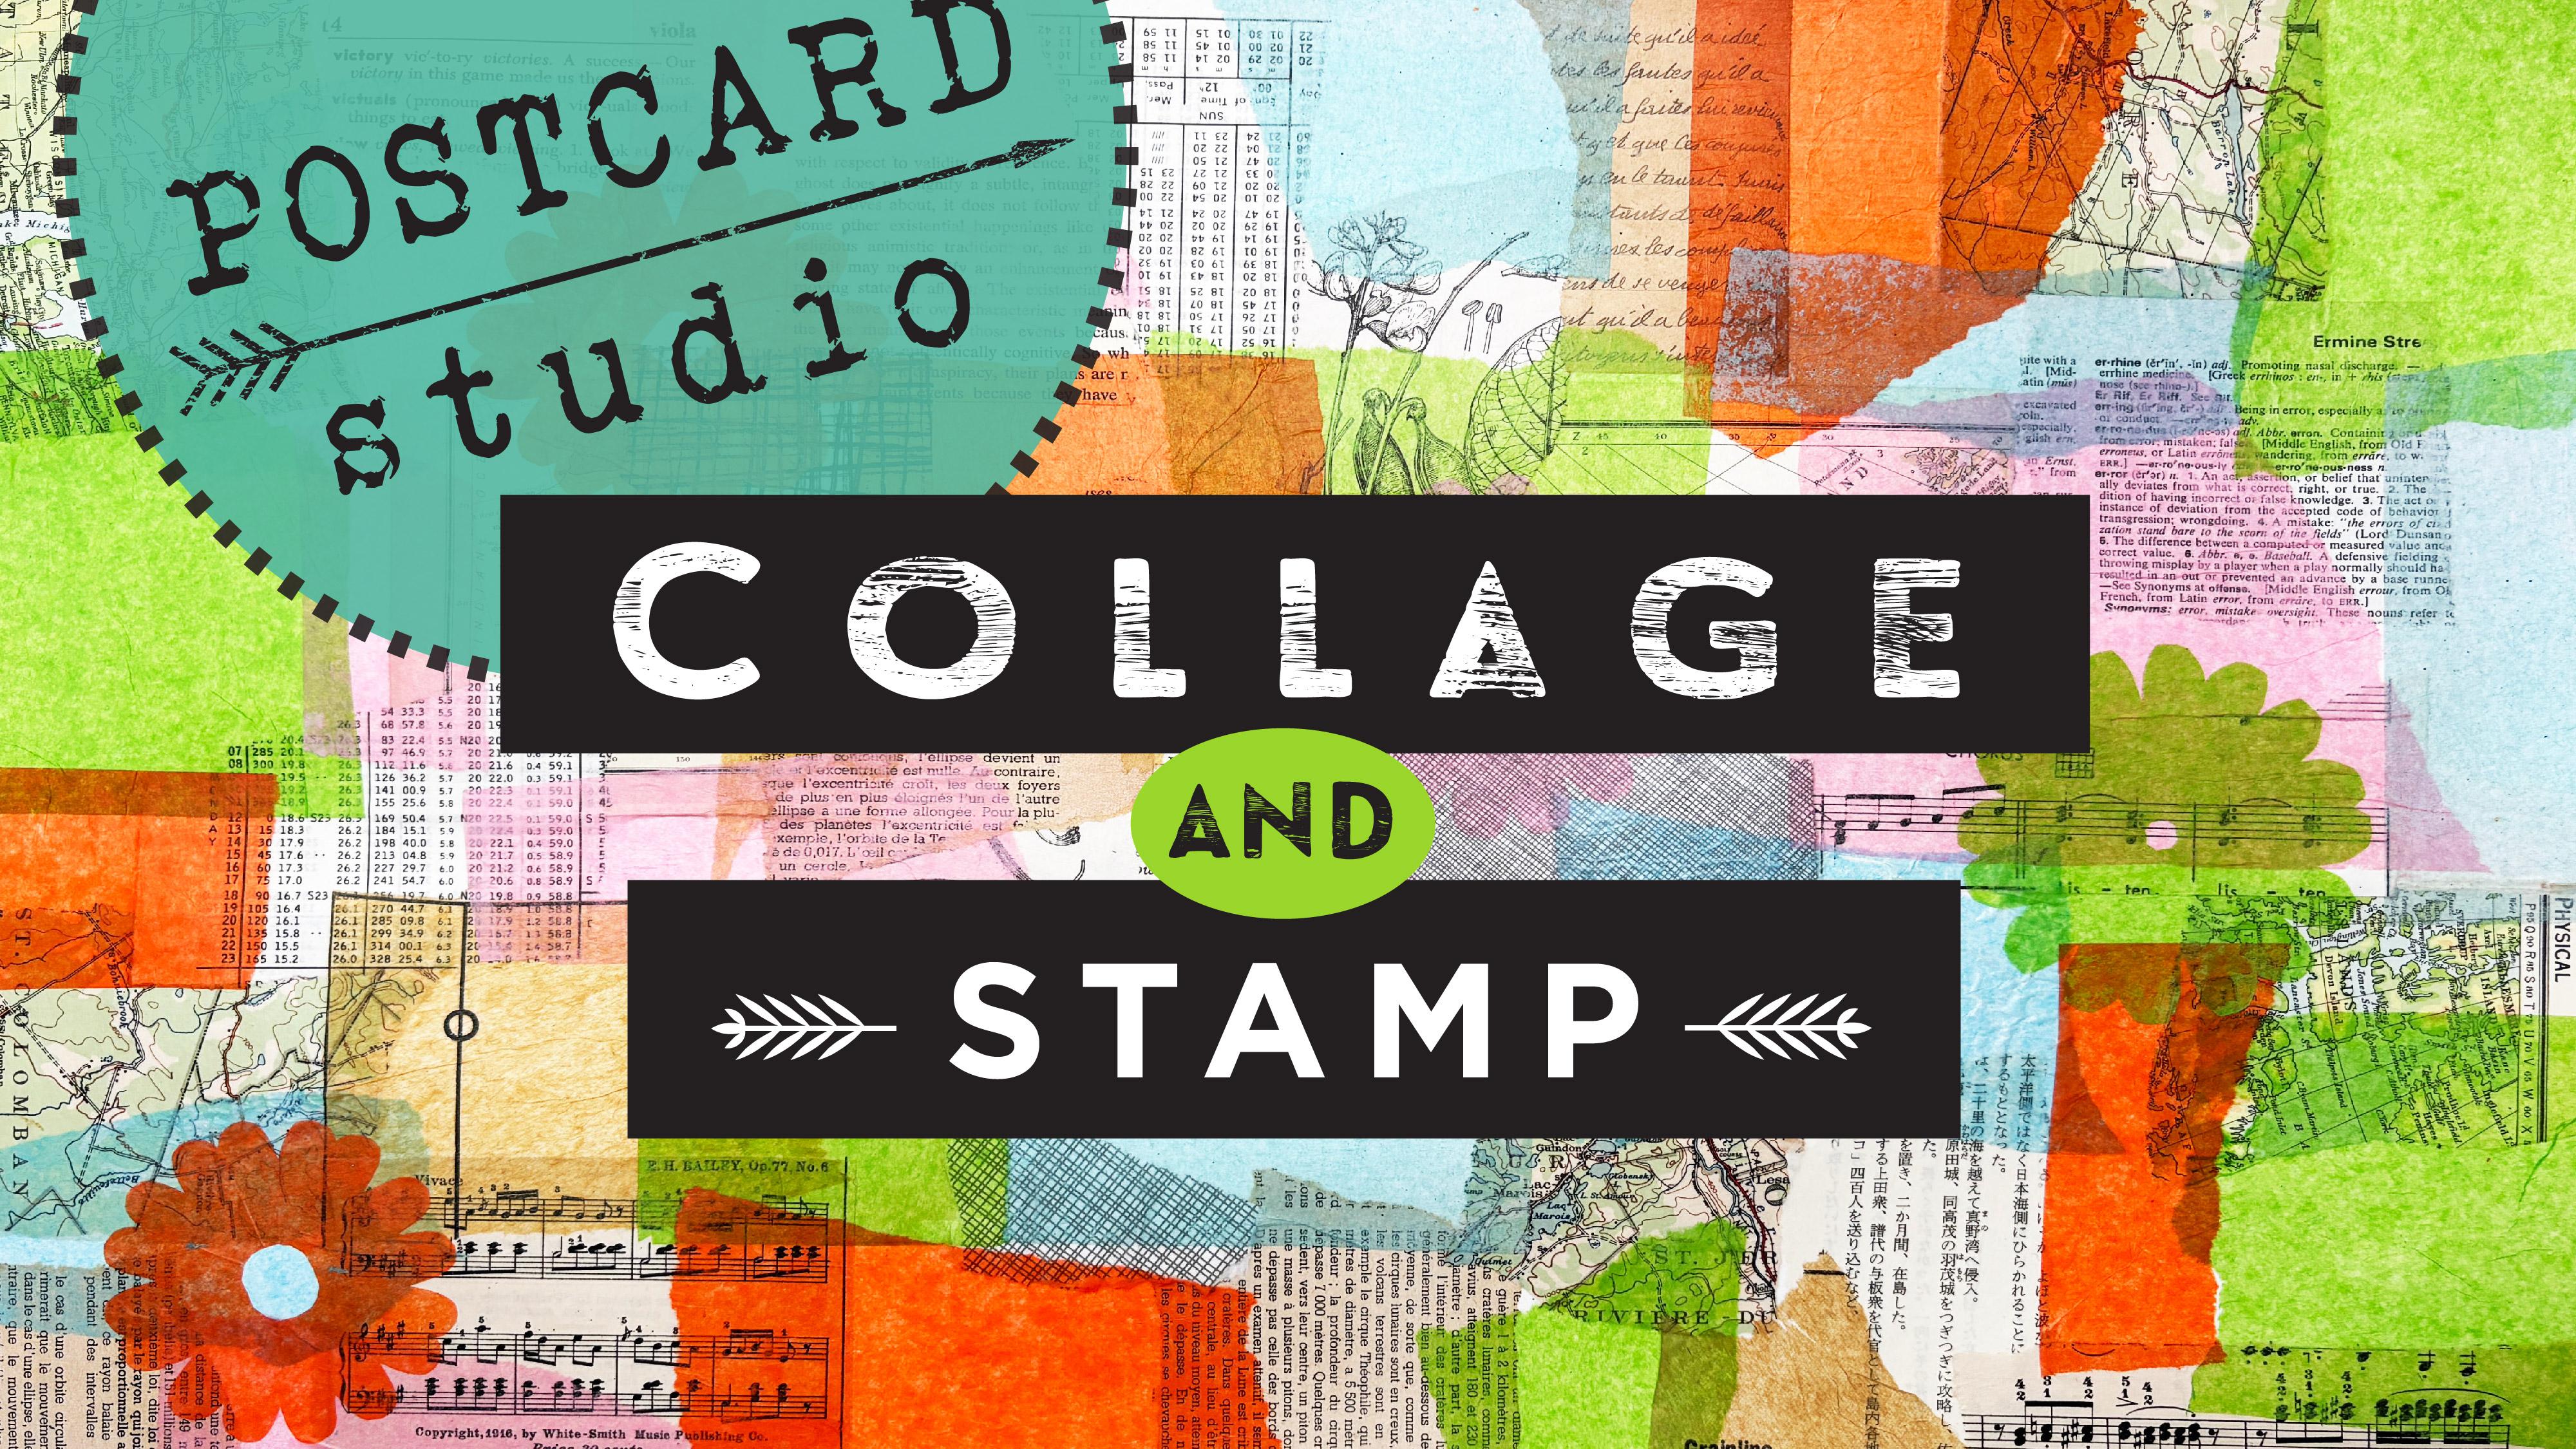
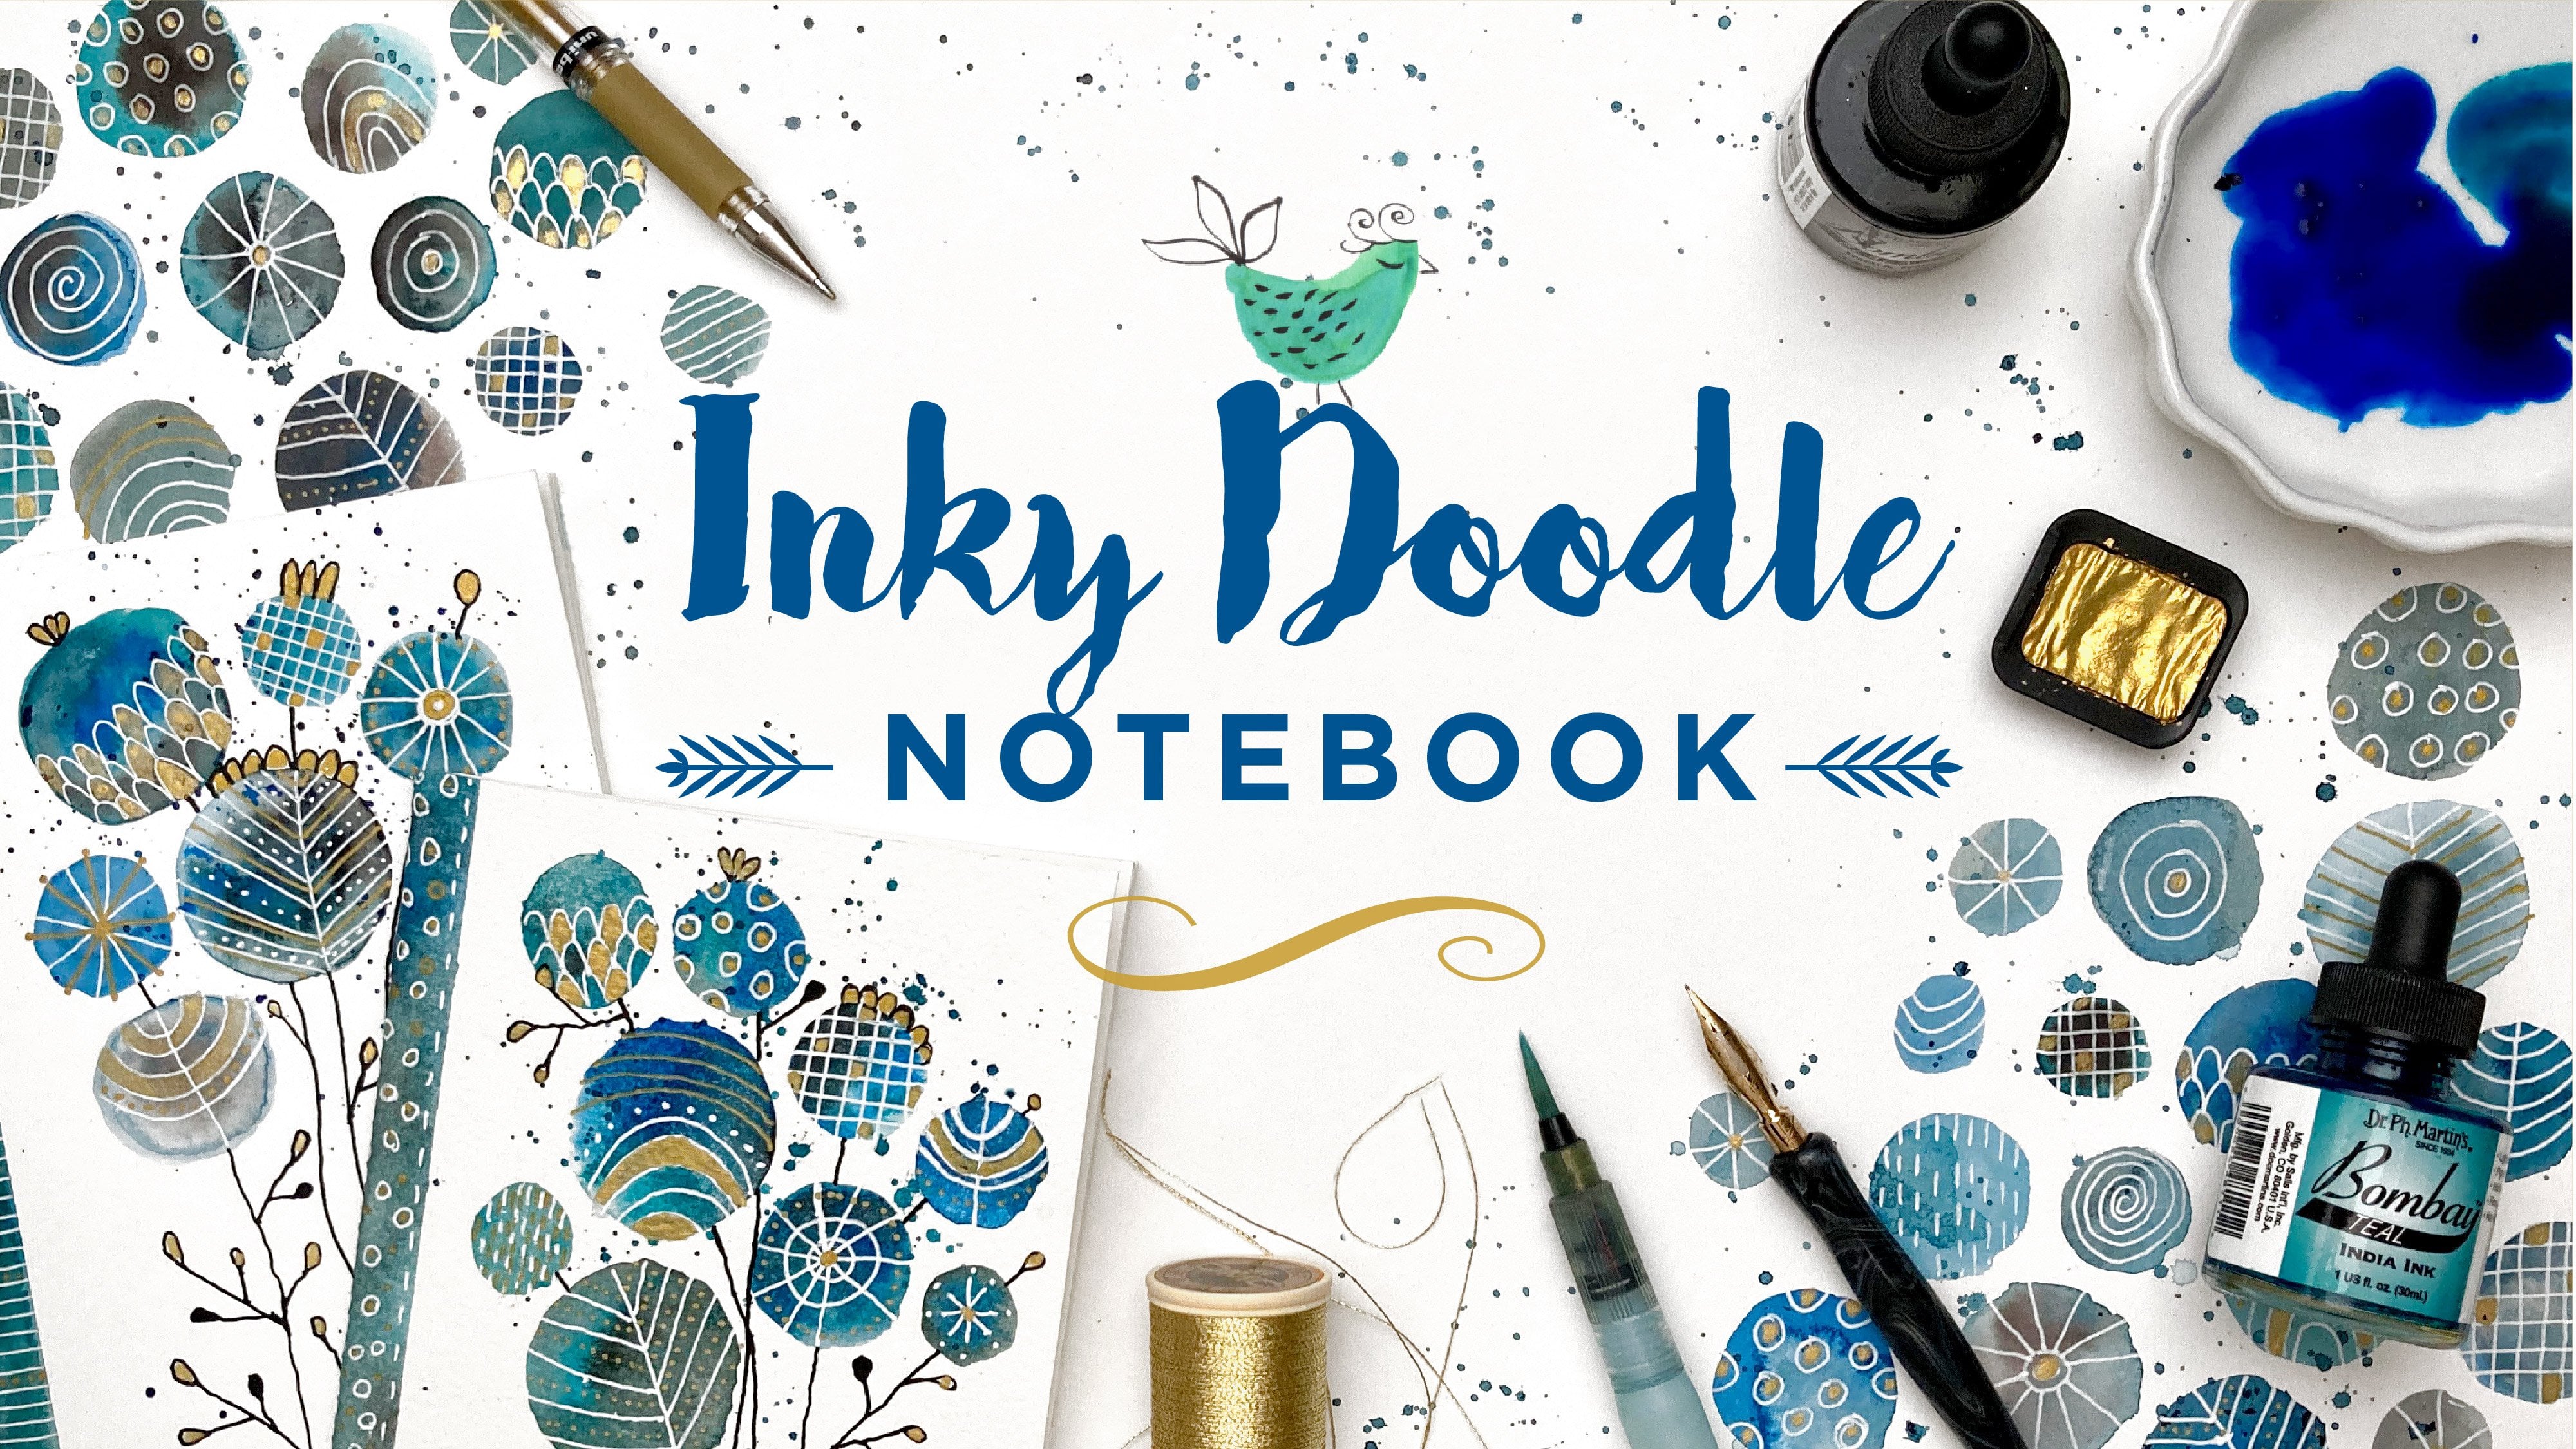
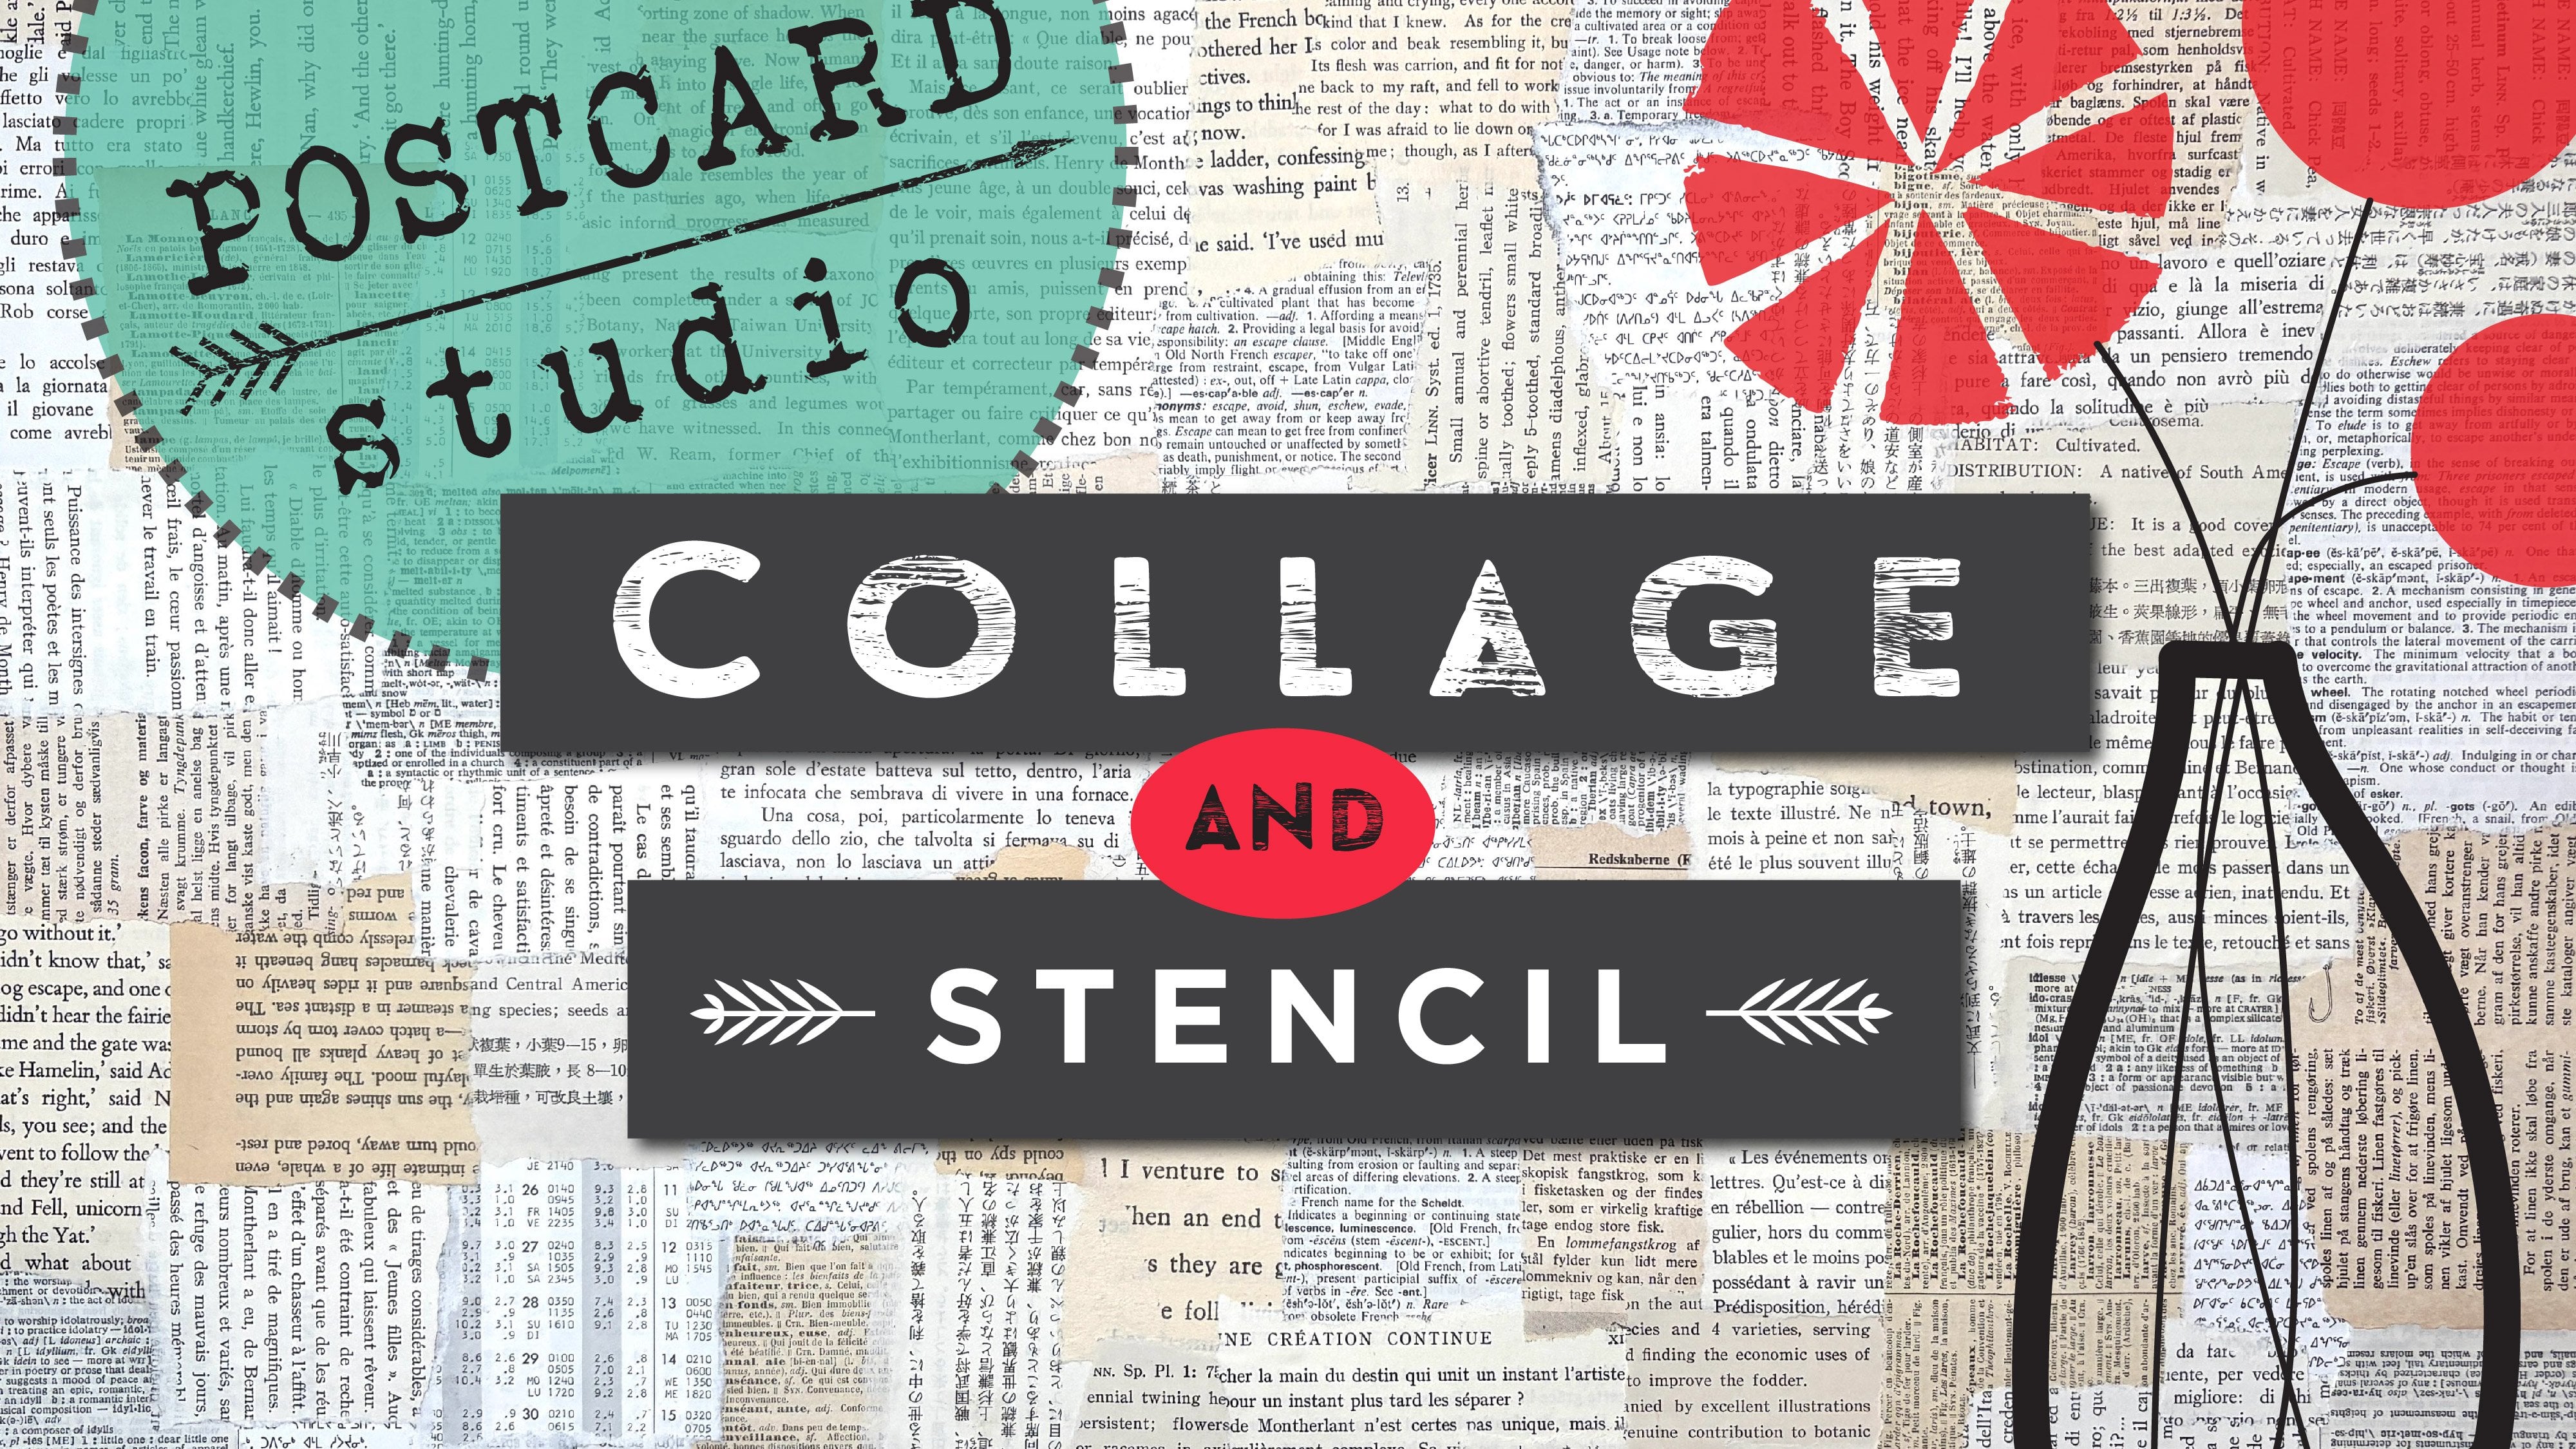
postcard Studio series. This class is about
collage and stamping. The first class was about
collage and stenciling. This one is about collage
mixing with stamping, making your own stamp, using the mastersheet technique to create your background, and then adding
some stamping from your own stamp
collection in black on top and then adding a few details here
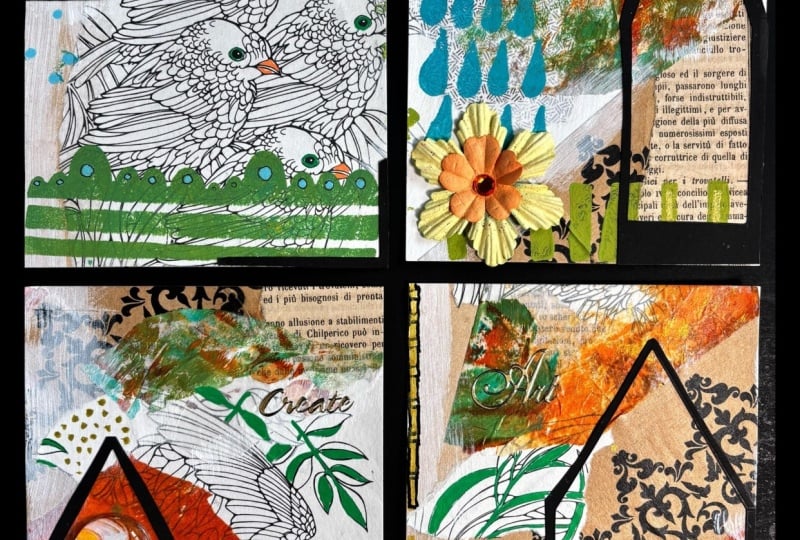
and there at the end, just like that, you have four
postcards isn't that great? Do you want to try? Let's do it.
2. Class Project: Your class project is to
create four postcards using the mastersheet
technique where you collage a piece of nine
by 12 bristol board, and we cut it in four. And then once we have
our four backgrounds, we are going to make our own foam stamps and
we're going to create different shapes
and we are going to stamp our card and
basically, that's it. It's very simple and it looks really awesome and you can make a whole bunch
at the same time. You can create two
or three masterbard and just mix and match.
Let's get started.
3. Materials: Let's go over the material you will need for this project. First, a piece of card stock. Bristol board works really well. This one is nine by 12, but you can work with
a four if you want. Then you'll need
some matte medium. I use the liquitex
matte medium fluid. I really like to work
with that brand, but you can work with any
other brand if you want. Also black paint, acrylic paint. This is a cheap student grade. Doesn't matter, it can be
any brand that you want. You're going to
need a foam brush. This is about three inch, but you can use a two
inch if you want. We're going to need
some containers. Something that you
can use to make stamps with, like this. You can put your foam
sticky back foam on there, and this is another top of a container that I use
for another stamp. Anything you have
around that has a flat top could
work. What's great? As a few corks would be great. And sticky back foam, obviously. So a sheet that's about six
by nine, something like that. That should be enough, one
of them with a sticky back. Then some cardboard
to make your stamps. And then a ruler. So scissors. Pencil,
the usual stuff, some tape to put on the back of your stamps to make
a little handle and your Posca or your
gel pen, white. You sheet of words that we used in the
last postcard class, I'll put that into
the resource section, and then you need
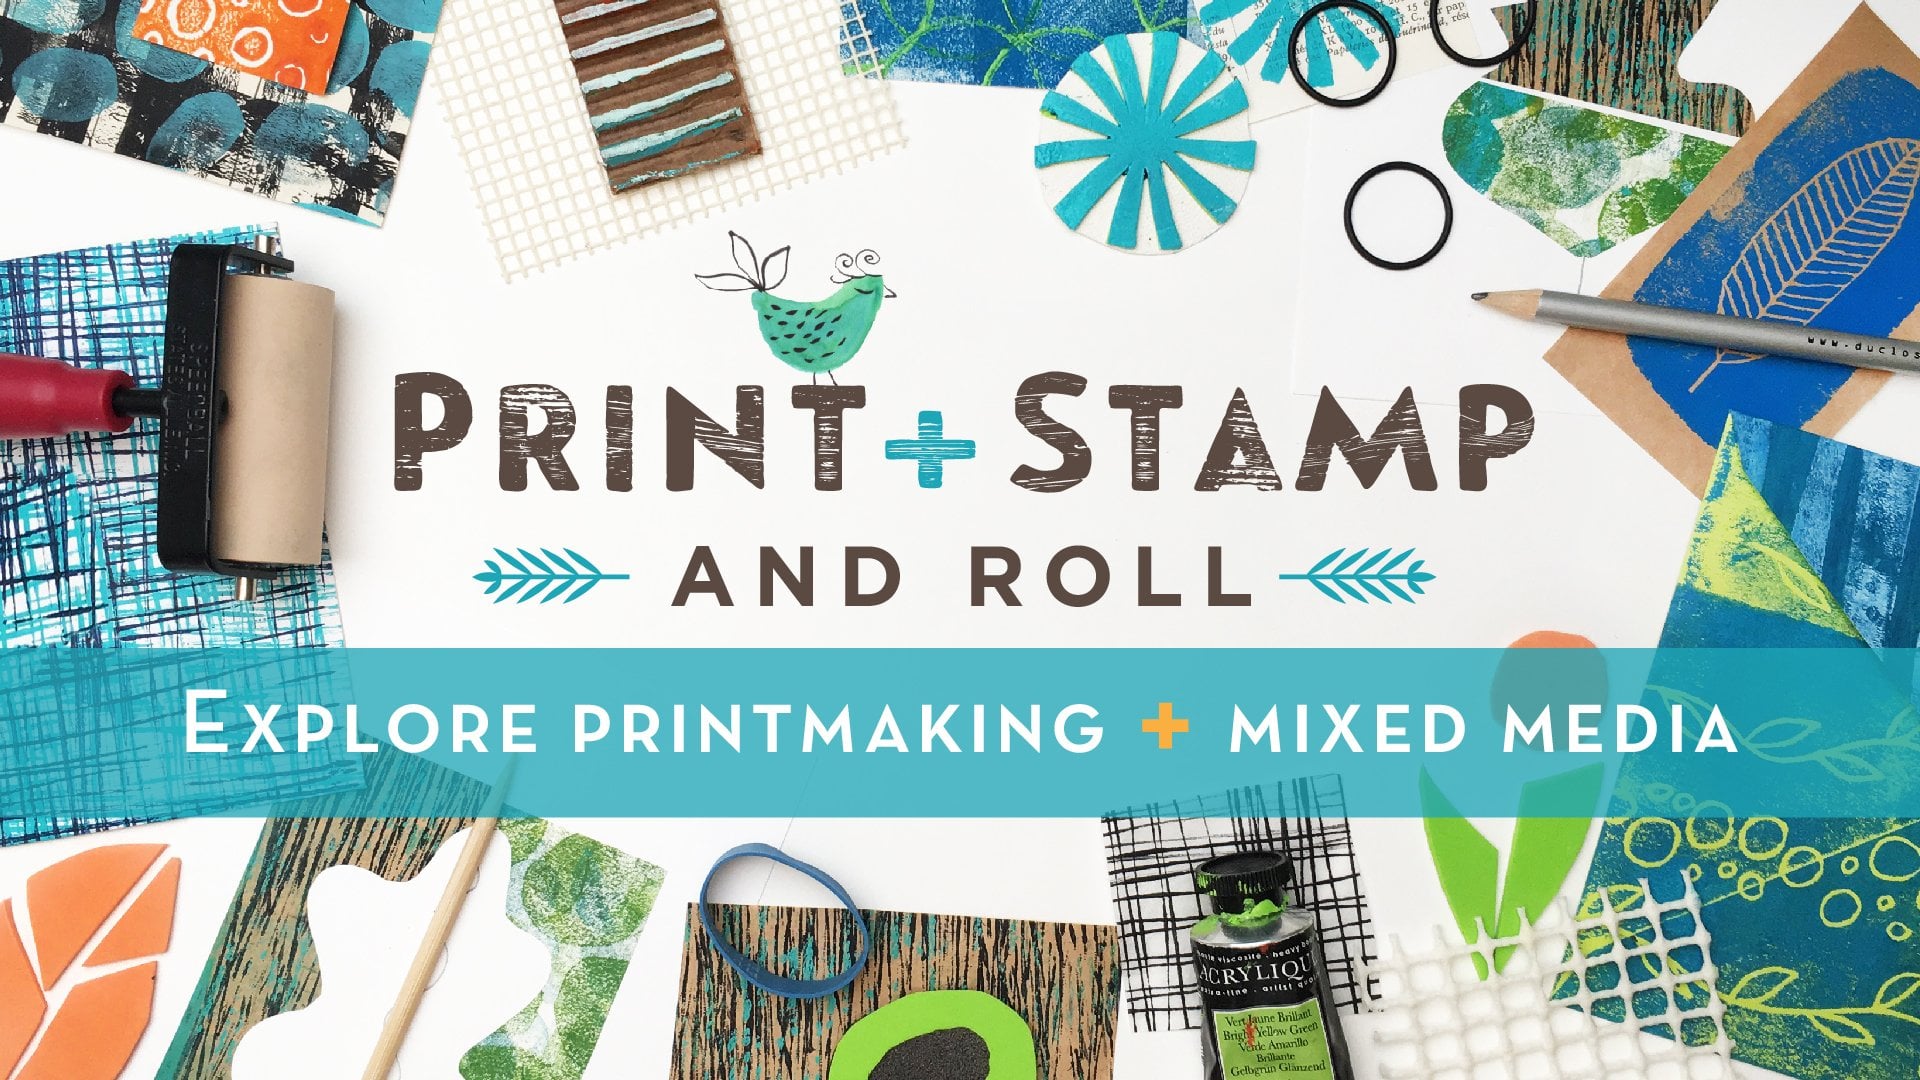
your collage papers. The usual stuff, book pages, music sheets, Maps are great, old maps, new maps. This is something we made
in print stamp roll class. This is really great. I
think it's on filter paper. If you have leftovers papers from that
class, it'll be great. Illustrations can be fun too. This is security envelope. Some types fun to use too. So that would be your stash of that kind of paper and then pick maybe three or four
colors of tissue paper. And if you have any
pattern papers, that's really fun to use because there's little
patterns on there. I think that's it.
Let's get started.
4. Mastersheets: Our first step for
this series of Postcard is to create
our mastersheet. You're just going to
create a background. What we're going to
do right now is use our matte medium and your brush, and start collaging
your background. I have my tissue paper here and all my
collage paper here. I'm just going to go ahead
and just put a nice coat of matte medium where I
want to put some paper. I'm going to use the technique that we use in my
other postcard class. The collage and stencil,
both card class. Because basically
you want to leave stuff hanging off the
edge a little bit, and then we can cut it after. I also love to use
some words in there. It's fun. Use words. I'm just going to use sheet music here where
I have this title. Again, you don't want to think about what you're
doing too much at this point because you're
just creating a background, and you're going to be
cutting it in pieces, so it does need to work
right now, the way it is. I like this pattern paper. It's fun to have these
big numbers in there. So actually, this is the
thing I like to overlap. What I'm going to do is
put some more papers. This is here, use more of that. Sometimes I like to
line it up on the edge. If I have a straight edge, sometimes I'll just do that
instead of cutting it after I usually start to collage
all the stuff that is opaque. Then I'll come in with my
tissue paper and overlap. You can also do all of this
with glue stick if you want. Sometimes if you have
some illustrations, it's fun to use that
kind of stuff too. I feel like, Oh, that
kind of stuff is fun too. This is paper that we made in my print stamp enroll class. Super fun. If you haven't taken
that class yet, check it out because
you're going to create a lot of great collage paper. So I think that's enough
for the opaque stuff. Now I'm going to start to
bring in some tissue paper. So what was my ten that I had? Okay, so see that kind of stuff is kind of cool
because you can overlap it. That's why it's better to use the stuff that's opaque first. Because look, it's really cool, huh? I'm going to put it there. I would be harder
to do this part with a glue stick, but
you can still do it. Now what I'm going
to do is bring in some color with
this tissue paper. I'm I think I'm going to
use these four colors here. You can use straight edges or you can do
shapes if you want. If I wanted to do a
little flower shape, for example, I could take a piece and cut it and
fold it like that. The way you make a snowflake. I'm going to do this and
then I'm going to cut it. This is fun to put in a
background like that. I'm going to cut it
the shape of a petal. And I'm going to cut
the middle and oia, you have a little flower. See? Then what's really
fun is you can put it overlap it like
here, for example. Isn't that cool?
If you want to put a bunch of flowers like
that, you can do that. You can put some
straight edge pieces. Like that. You can cut
some circles if you want. You're basically mixing up straight edges with torn edges. But I want you to
filter the whole thing with color and tissue. Alright, so I'm
gonna let this dry. And when it's dry, we'll cut the edges, and then we'll take
it from there.
5. Cut Postcards: When it's dry, you can use a hair dryer if you want
to speed up the process. What you do is you
just cut the edges. You could use acto knife if
you want or a paper cutter. I just use scissors because it really doesn't
have to be perfect. Wonky is good. All right. All right. Now what I want
to do is cut this in four. It looks cool, just
like that, actually. I like it. I can almost see something happening here
like a little cityscape, but that's not what we're doing. Let's not get stuck here. We're going to cut it in four. This is nine by 12, so we're going to end
up with a 4.5 by six. If you're using a four, then you're going to end
up with a different size, maybe a narrower and
longer postcard. But it works too. Whatever size you're working, make sure you just
split it in four. Now here I'm going to do six. If you have a paper cutter
that goes pretty fast, but I just want to show
you that you don't need a paper cutter or an
exacto knife to do this. Again, I'm going to use scissors because I don't really care if it's totally
straight or not. I just want to show you how quickly you can make
four postcards. A Okay. So here we go. We have four postcards
already. See that? How cool is that? They all
look pretty much different. But, I mean, this is
a great start to add to our next step will be to create some stamp to
finish those postcard. But look at them.
They're so cool already. All right. Let's
make some stamps.
6. Make Stamps: If you took my class
print stamp enroll, you already know how to do this. If not, I'm going to show you how to do it again
because we'll do different stamps on this one
and different techniques. For example, I'm going to use different things to
make some stamps. This is just a top of container. I don't remember what
it was and this one is just a metal container.
It just has to be flat. But anything that you find, you can use it to put
your stamp on the stamp. Also, corks are
great for that for smaller stamps and I
also have cardboard. I'm going to start by tracing these because I want it
to fit inside of that. And then I'm going to
trace this one too. Let's see what else
do I want to do? I think that I want
to do some kind of a flower like this. Then maybe I want to have
some kind of a circle. Maybe I'll do it here. This one will be
my rainbow thing. I call this a rainbow
because you'll see why. Then I'm going to
do some small ones. Then maybe just some border like this. Yeah, let's
start with that. This one here, I want it to be some kind of a full
rainbow thing. I want to show you when you
cut something like that. It's almost when
you carve a block, but you're just
cutting it in foam. You want to this is the part
that's going to be cut. And this is when it's
going to be left. I wanted to have this
and another thing here. What I want to end up with
is those three circles. I'm going to put them on
this and I'm going to show you how it works. I'm just going to try
to go in like this. It's a little funky
here, but that's fine. This is the outside. This could also be a stamp. You want to keep
all these pieces. Then this is what I'm cutting because I want
to end up with whatever is white is what I
want to end up on my stamps and you'll
see what I mean. Now I want to cut
this part here, this one might be easier if
you fold it and just cut it Then you want to end up with something
smaller like a little dot here. Here we go. That's
our three pieces, and I'm just going to stick
it on my little cap here, plastic cap for my
first stamp whoops. Okay. What I meant by rainbow, I know this doesn't
look like a rainbow, but is that when you
stamp just half of it. When you stamp just half of it, it becomes this
little rainbow shape. You can use it like
that or you can use it as a circle like that. That's this one. Then
let's do this one here. I'm just going to cut it
little pieces like that. Super simple. I'm just going to go
ahead and cut it. Again, I don't mind wonky. You're not going to use
all the pieces because you do want to have
white space in between, so I'm just cutting
a bunch of them, but I'm not going
to use all of them. Basically, I'm going
to start at the edge here and go to the
middle, right? This feels a little long to me, so I'm
going to cut it. I mean, if you want to, you
can just put them there first and decide how you
want them and adjust them. Yeah, kind of like that. I'm just going to stick
them on like this. I'm going this one. I'm
going to do this one here. First, because with this one, I want to actually I want to actually keep the
negative shapes of that. You'll understand what I mean
about the negative shape. What I want to do is do my little flower but keep
the frame around it. So what I mean is that you have this shape now and
you have this shape. So we're going to use this shape You can
use it here maybe. Maybe we do that.
You can use it on cardboard and you can use it here. We'll just use it here. That's another
stamp that we have. Then we're going
to use this part. We're just going to put
it on here and then it'll be the negative shape
that we can print with. I'm going to line
it up like this. Okay. Well, once it's on there, you can't really pull it, so it's going to be wonky
like this. All right. Okay, so there's another stamp. Then we're going to do
this little shape here. It's a little more
simple the shape. Alright. So here's another one. Another one I like to do is just put some stripes like
this, something like that. Just put a little piece to
make yourself a little piece. It's very simple. I'm going
to show you how to do this last one here that I
use with the cork. There's two ways that
you can do this one. Here's Here's this one. And this one. What I'm going to do is I want to have a little bit of texture on this instead of just
being a straight circle, I'm going to do with
my exacto knife. I'm just going to go
and do some lines. You're going to see that
texture when you print with it, but it'll be subtle. But I'm going to show you
if you have a heat gun, I'm going to show you
what you could do. You can open up these lines. But honestly, you
don't need one. If you don't have a heat
gun, don't worry about it. I just want to show
you as an option. This is the first one and
this one, I'll show you. If you heat this
with a heat gun, you will open up the shapes and don't do it for too long because it's
just totally melt it. But as you can see, you have this one and this one.
This one is more subtle. You don't need to
do both of them, but I'm just going to
give you some options.
7. Stamp Postcards: All right let's print. What I'm going to do is
I'm going to test first on this piece of
paper before I put on my postcards and I'm going to use this foam brush here
and put my paint on there, my black paint
because it's going to create it's going to be
our own little stamp pad. You could use a regular
ink pad if you want. The problem is because
we use matte medium. It just doesn't dry. So I think it's better
to use acrylic paint. Okay, so I'm just going to test it and see if how this works. I'm going to try
maybe this one here. See, that's making a little
stem pad, isn't that cool? See? It works great. Oh, my God. That's awesome. Then I can do the same
thing with this one here. Sorry. This might be
a little too big. Normally, I would
cut around this, put it on cardboard
because honestly, this is going to
be full of paint. Maybe this wasn't a good idea, but let's try it anyway. It's working. Then
same with this one. Let's not use this one like
that. But let's use this one. The other thing you
can do with this one, which is cool, do you don't
have to do the whole thing. You know what I mean?
You just do the edges. Like that. S. Then that's pretty much it. You know what I'm
going to do though, I'm going to put some tape on the back to have
little handles, and then we're going to start
printing on our postcards. So I moved it to a piece
of cardboard because what I want to do is you want
to cut it as close as you can to the edge,
so it gets messy. I'm going to make
these little handles that I show you how to make in my print stamp and roll class so I can use it
to print like that. Let's get our postcard
and see what we can do. Okay, so here's our postcards. I put them under a book, heavy book, so they would
flatten a little bit. But you can also spray water on the back of them and let
them dry like that, and they will flatten out
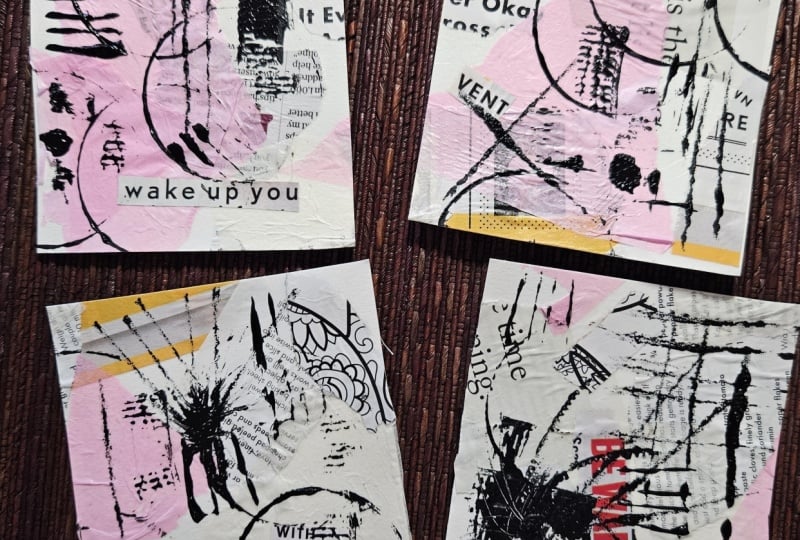
whichever way you want to do. Okay, let's start with this one. Okay, so now we have a bunch of different things we
can add to this. I think I want to
use it that way, and now I'm going
to do let's see. I'm going to try to
maybe put this one here. Let's see. All right. I'm going to put that
in a corner maybe. Yeah. I like when it's
not a perfect print. I really like the
rough edges like that. Then this is another
one that I made. It's very easy. You just
put a bunch a little dot. It's a really good simple simple one that
I use all the time. Maybe I use it
here. There you go. Simple, but really fun. This is what I was telling
you about this one here that's kind of like the
half rainbow. Check it out. Now what I'm going to
do is I'm going to go off here and it's nice
because it's transparent. I can see the edge
of my My postcard. Isn't that cool? I know. Then I can bring
in this other postcard. Actually, what you could do is use the other side
here, for example. That didn't work. But do not worry. I'm going to fix that by using
this one or this one here. Like that. You can
always fix it. Then I'm going to try this one. You can work on them all at
the same time or separately. Then in the middle, I would use this one Cool. Then let's use this one
here to make some texture. Oh, I forgot to put
something on the back here. See, this is why you
need a little handle. There's something you can
do. Let's say you want to have on each of them, I can just go in here and then See? Okay. And then I'm moving on. I'm
going to move on to this one. I'm going to use
this here, baby. If you find that sometimes
it's messy in here, you can just wipe
it off and start again because we have a layer
of matte medium on top. Basically, use all
your stamps and then work on all of them at the same time or one at a time until you're
happy with it.
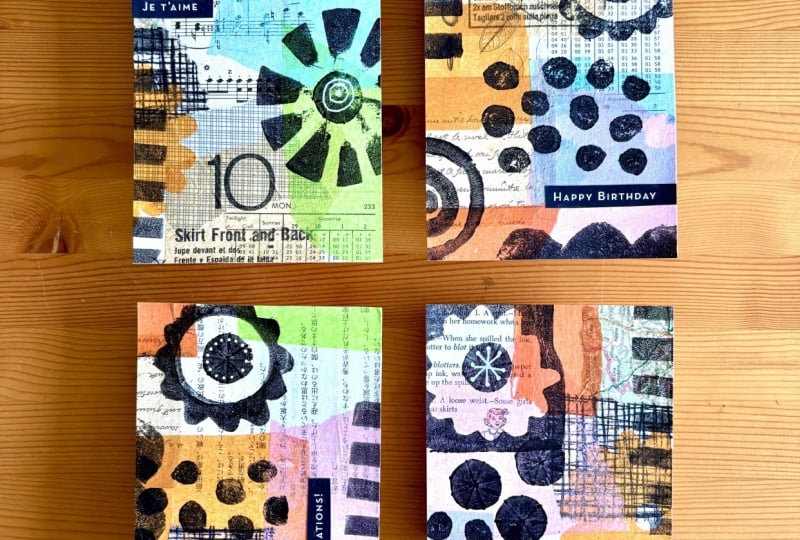
8. Final Touches: So here's our little
set of postcards. Aren't they cute? I think they look great, just like that. But if you want to, you can add some little details with
your white Posca or gelpen. You know, I like to add
these little stars. But if you want to put your own marks on
there, go for it. You know, dots I don't think it
needs much really, because it's already
kind of a lot going on with the background, but, you know, you can
just add a few things. And lastly, if you're going
to use that as a card, what you can do is bring
in your little I mean, I wouldn't add
anything here because there's already something
and it's pretty. I wouldn't want to
take away from that. But I would add this here maybe. Happy birthday. It's cool, huh? Let's try that. Yeah, that's a good
spot for it right here. Here, I could do
Congratulations. Like here, for example, let's say I could just put it here. Congratulations, like that. Maybe like that. And from the same
page that I use on the last Postcard
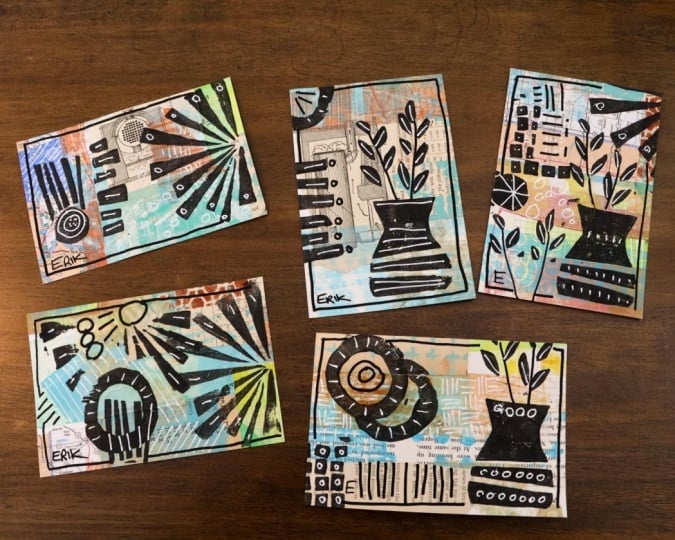
class. Same here. You know, maybe that a. And this is another
series that I made. You see, you can
make a little vase here and make a little
flower bouquet.
9. Thank you: Thank you so much
for taking my class. I can't wait to see
your postcards. If you want to upload a project in the
project section below, it would be great. I
can see what you may. Make sure to follow
me on Skillshare so you can be the first one to know about my
next postcard class, and I hope to see
you soon A vient.
 Lucie Duclos, Design + Mixed Media