Transcripts
1. 1 welcome: Hi, everyone, and welcome
to my creative corner. My name is Nina Louder,
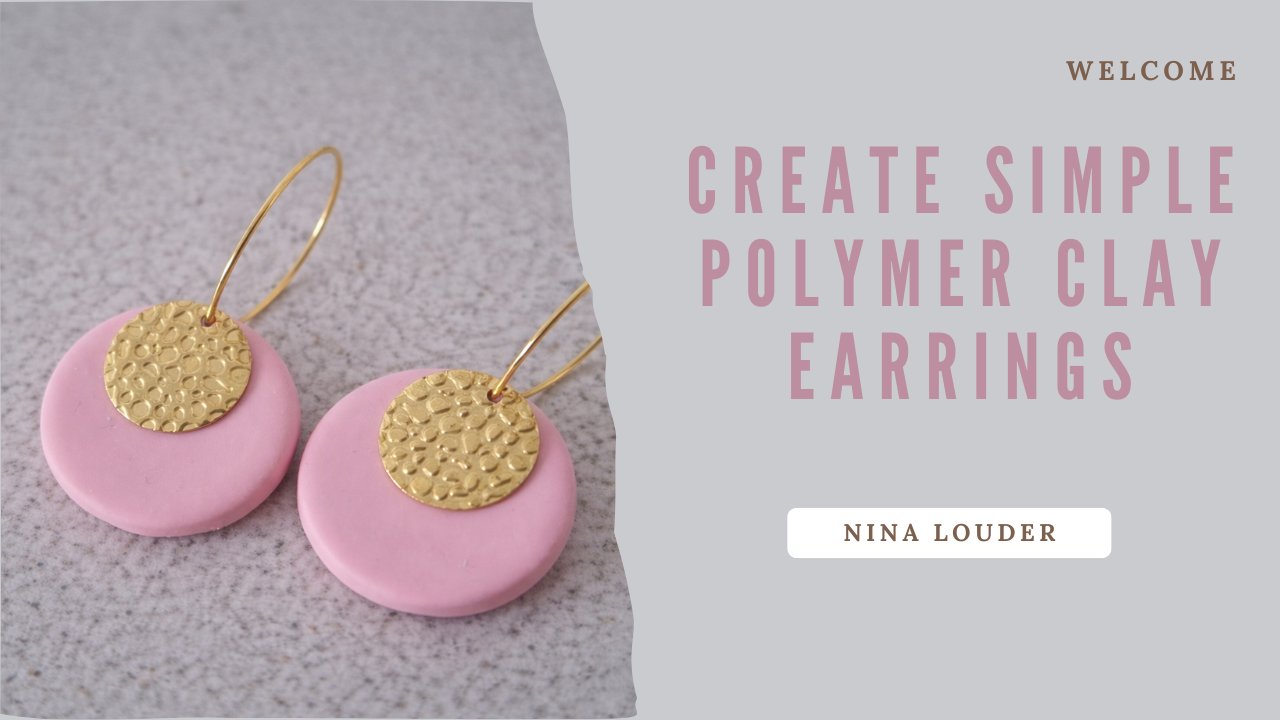
and in this class, I'm going to show you how
to create a beautiful, cohesive collection of simple and elegant
polymer clay earrings. If you're a beginner,
don't worry, you are in the right place. You don't need any special
experience with polymer clay. I'll walk you through every
step from mixing colors, all the way to assembling
your finished earrings. In this course, we are going to work with a five
color palette. I'll show you how to create a cohesive set of colors
that look good together, and then we'll turn those
colors into a small collection of earrings using
our signature shape. This is a great
technique if you want your creations to
look intentional, minimal, and
professionally designed. We'll go through
conditioning your clay, mixing your palette,
rolling and cutting, baking your pieces,
sanding and polishing, and finally assembling
your earrings. By the end of the class, you'll have your
own mini collection of earrings that feel simple, elegant, and perfect
for everyday wear. This course is meant to be
relaxing, creative, and fun. No pressure, no
perfection needed. Just bring your materials, your curiosity, and
let's start creating. I can't wait to see what
you make. Let's begin.
2. 2 materials: Hi, again, and welcome
to the first lesson. In this video, I'm
going to show you the basic tools and materials
you'll need for this class. Don't worry if you don't have exactly the same things as I do. You can always
improvise a little and upgrade your
tools over time. Let's start with the
most important thing. Polymer clay. For this class, you can use any brand of polymer clay you like as long
as it is oven baked clay. I recommend choosing
a few basic colors that you enjoy because we'll
be mixing our own plate. You'll need enough
clay to create a small collection of
wearings in five colors. And this is what happens when
you do this for some time. There are several
brands of clay like femoOcernd and even some others. You can also mix them. They work perfectly fine. Now about the tools
for working with clay. First, we need a ceramic tile. I have a white one so that I can see the
contrast of the colors. But the point is
that it is glossy, that it is smooth, and
that will help you to get your earrings
off the surface. Then we have an acrylic roller. It can even be a clean glass
bottle that will work too. You also need some
cutters, some templates, and I'll be using
one simple shape, and I will be repeating
it in five colors. Then you need a
blade or knife for cutting clean edges or cutting the clay of a bigger piece. And then for baking, you need just a
regular kitchen oven. It works fine. Just you always have to follow the instructions
on your clay package. Here at the back are the instructions for
baking the clay, and further on, I will tell
you exactly how I do it. For finishing and assembling, you will need a dremo which is a tool for smoothing the
edges. This is the dremo. I have it like that so that I don't have to hold
this in my hands. And then this is cotton tool that helps me to
smooth the edges. It's when it's working, it's not a problem
if you touch it, but don't touch the other parts. I just like to hold it
like that in my hands. It's like a pen. So
this is crucial. And of course, later
you'll need some wipes, cloths to first clean the earrings and then
clean your space. You also need a small hand drill or a needle for making hose. I could just exchange
these tools on dremo, but I like to have two because I'm exchanging my
work constantly, and I prefer to have two. And then you also need different earring findings like jumpings, hoops and backs. And I have that here,
quite a lot of that. And I love this small boxes so that I know where
to find my things. You also need a pasta machine. This is crucial to get your pieces conditioned so
that the clay gets conditioned and that the thickness is even through the whole colors and that the whole
earrings are the same because you can adjust here. You can get an
electric pasa roller or get just a simple one. As I have, it works really well. You will see later that I'll be also using my magnifying glass. It really helps me
with the details. And if you like, you
can also wear a pair of gloves to keep
fingerprints of the clay. That's everything we
really need to start. Again, don't stress if some of your tools
are a bit different. The most important
thing is that you feel comfortable and
enjoy the process. And later when we will
assemble the earrings, I will also use
flat nose pliers. This is something that really helps a lot with
assembling the earrings. In the next lesson,
we'll talk about choosing a simple
elegant style and one main shape that we will repeat in our collection.
Let's move on.
3. 3 style, shape: Welcome back. In this lesson, we are going to talk
about style and shape. My personal style is simple, elegant and very wearable
for everyday life. I like clean lines, minimal shapes, and
soft beautiful colors. That's the feeling we are
going to create in this class. To keep things cohesive
and beginner friendly, we are going to focus on
the main shape and repeat it in all the five
colors of our palette. And this has a few advantages. It makes your collection look intentional
and professional. It's easier to learn the techniques because you
repeat the same shape, and it saves time since
you don't have to figure out many different
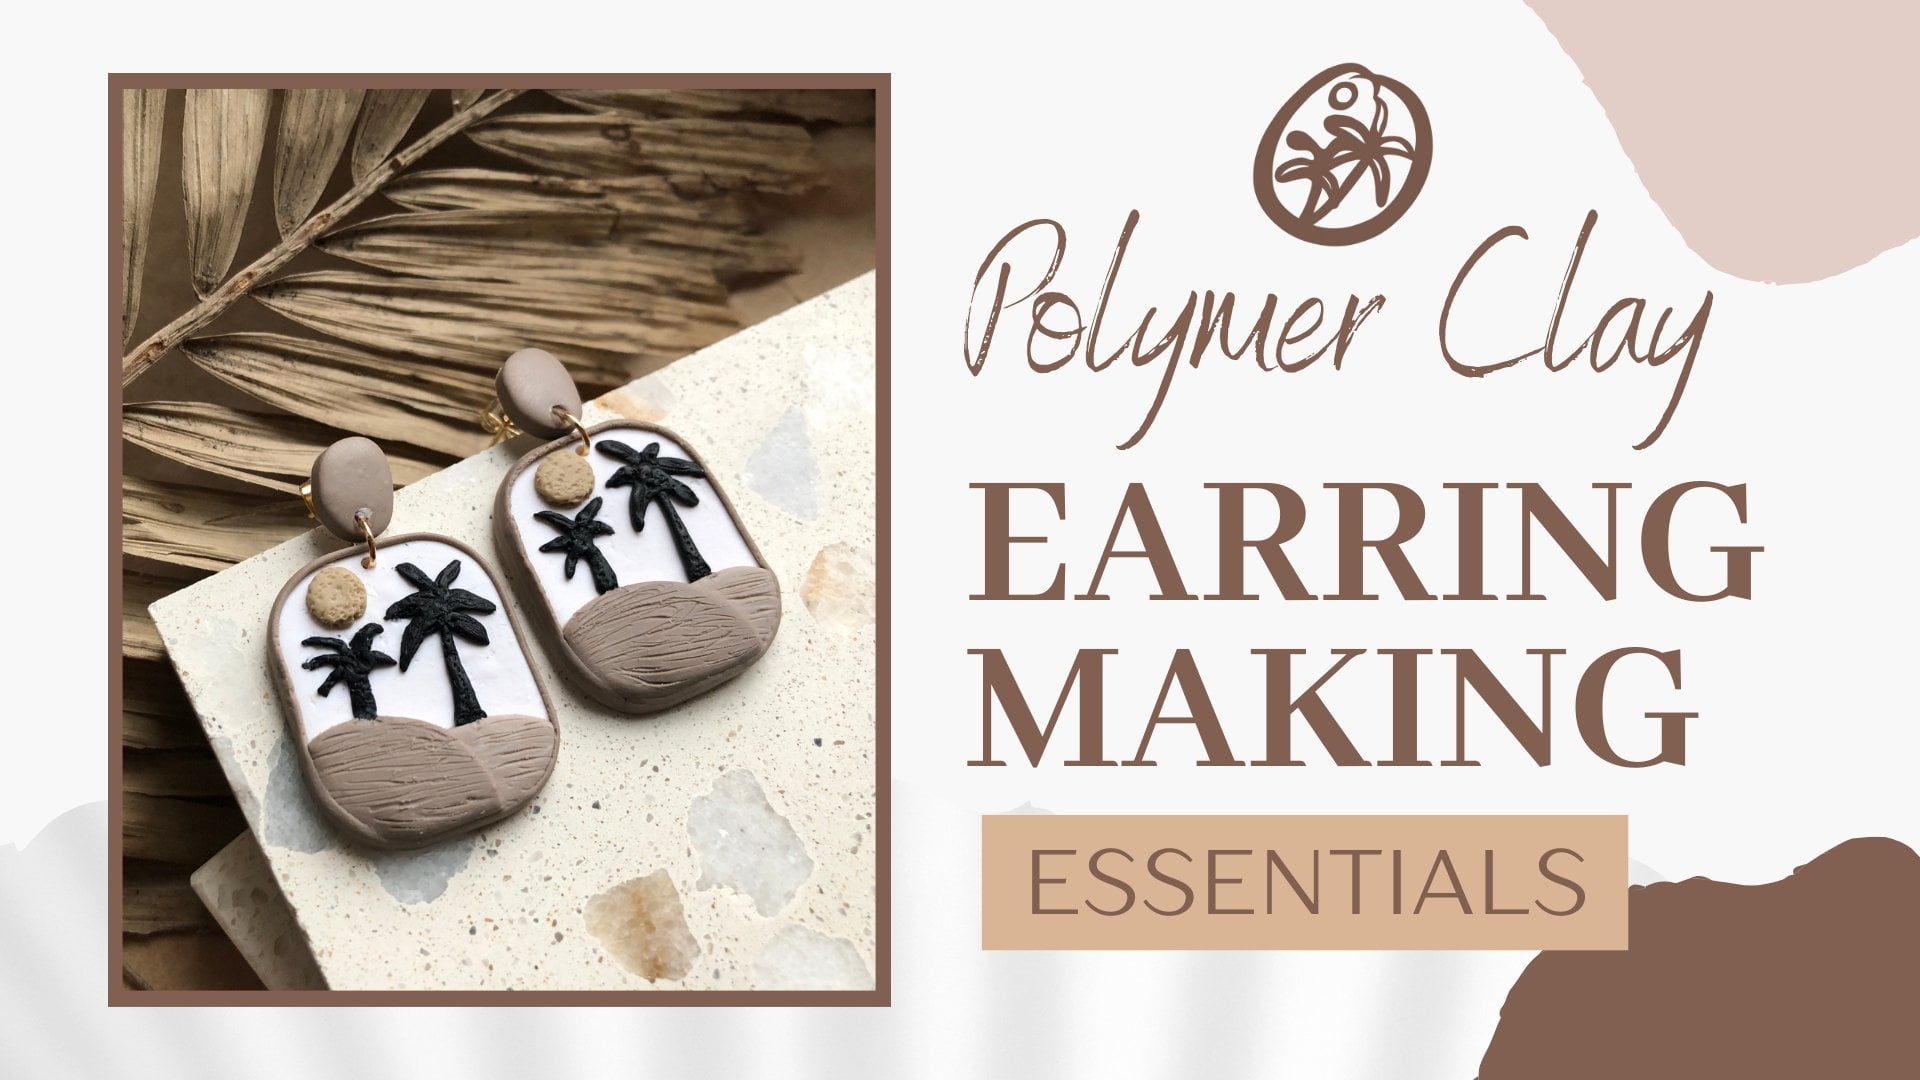
designs at once. You can choose any shape
you like, for example, a round circle or an oval, a smart arc, whatever. But I'm going to use a leaf, and I'm going to use
it in all five colors. You can follow along
with the same shape as me or choose
your own favorite. What matters most is that the shape is simple
and repeatable. So before you move
to the next lesson, decide what kind of feeling you want your earrings to have soft, bold, minimum or playful. And which one shape best
represents that feeling? In the next lesson, we'll create a five
colour plt that matches your style and works beautifully
with your chosen shape. See you there.
4. 4 5 colour palette: Welcome to the color
palette lesson. In this class, we are going
to create a small palette of five colors that look good
together and fit your style. You don't need to know any
color theory in detail. I'll just show you how I like to think about colors
in a simple way. First, you think about
the mood you want. Do you want soft
and calm colors or maybe bright and playful colors or something neutral
and elegant. For example, for simple, elegant everyday earrings,
I like to choice. One to two light neutral colors, one to two medium tones, and maybe one slightly
dipper or accent color. Now, take your basic clay
colors and start mixing. Here's how I like to do it. I choose a base color, for example, white or beige. And then I add
very small amounts of another color to tint it. A little bit of brown, pink, gray or any
color you like. Mix well until the color
is smooth and even. And if you don't like
it, you can add more of the other color more
of your base color. Each time you find
a color you like, roll a small ball or flat piece and keep it aside
as part of your palette. And repeat this
process until you have five colors that are
well balanced together. You can test them by putting all five samples next to
each other and ask yourself, do they look like
they belong together or does anything
stand out too much? Is there enough contrast
but still harmony? If one color feels too
strong or too dark, you can soften it by mixing in more white or a lighter clay. If a color feels too
similar to another, you can adjust it slightly, so each color has
its own character. Just take your time with a step. A good palette makes the whole
collection look beautiful. What I do is I make
a lot of notes. So when you are working, you have a lot of notes
about one part of that, another part of that,
two parts of that. And then after that, you rewrite it because in
the whole process, you are really you
get a lot of notes. And when you are happy
with your five colors, we are ready for the next step preparing the clay and
getting it ready to shape. So let's go to the next lesson
when you mix your colors.
5. 5 process: In this video, I'll show
you how to create earrings. First, I have put my
cutter in cornstarch, and this is this white
dust that you see. I'm pressing really firmly
because with this cutter, I have to do that
if I want to have a beautiful earring at the end. And here I'm cleaning mark my cornstarch and taking
off the excess clay. And here is the first pair. I'm taking it off
my glossy tile, smooth the edges with my fingers so that later
I will have less work. And the same with another one, it's stuck to my glossy tile, which is great because then I know that the back of the
earring is really beautiful. Here is liquid polymer
clay sculpi in this case. And I'm putting it in
this little hose so that I will use
very small charms later to decorate my earring. Okay, and here are
teeny tiny balls, and I'm putting them inside, and this liquid polymer clay
will stick it together, but it won't be seen. Okay, a few touches so that
the earrings are perfect. And now I can bake them.
6. 6 longer process: A in this video, you'll see the process of
making other earrings. Here, I firmly press
with acrylic roller on the tile so that my clay
is without any air bubbles. I'm using cornstarch so that so that the cutter
doesn't stick into the clay. And now I'm repeating the process corn starch
back to the clay. Really press firmly
on all the sides. So that the earring
will be beautiful. Now, I just continue
on all the pieces of clay in my color palette. Now I'm cleaning the corn
starch with two brushes, first big one and then a
smaller one for details. Now I'm removing
the excess clay, and I'm actually
and now I actually can see the earrings
that I have created. Well, not yet, but
working on it. Save your pieces of clay later or for
some other projects. And here you can
see liquid sculpi. This is liquid polymer clay, and I will be applying
it into this little hose so that I will later add
this little golden balls, which are going to decorate my earrings and they will
be shiny and beautiful. Just preparing the space. Again, now I'm
smoothing the edges of the earrings so that later I will have less
work with sending them. You can see little bits and
pieces of clay coming off. And if you do this, the back and the side of the earring is
really beautiful and smooth. Now, I'm taking a brush and
I'm adding liquid scopi. So this is liquid polymer clay into this little
hose so that I can add little golden balls to
decorate my earrings more. And I will be using
tweezers later on to add this little ball into the right spot and to the place that I
want in the earring. And now the earrings
are ready to bake.
7. 7 baking: Now it's time to bake
our earring pieces. Baking is important because it makes the clay
strong and durable. Every brand of polymer clay has slightly different
instructions. So the most important
thing is to follow the temperature and time
on your clay package. But let me tell you
how I like to do it. I don't preheat the oven. But I put the tile with all
the pieces in the oven, and I turn it on to 130 degrees. And then I leave the earrings
to bake for 45 minutes, and then I turn the oven off. I always do that in
the evening so that I leave the oven closed
for the night. And then in the morning, I take everything out. This is my procedure. It works for me, but you will discover what works for you.
8. 8 sanding: Welcome back. Our pieces
are baked and cooled, and now it's time to make them look extra clean
and professional. We'll focus on smoothing the edges and giving the
surface a nice finish. Gently sand the edges with your dram machine moving
in small motions. You don't need to press
too hard just enough to remove any rough
or sharp spots. If there are small imperfections on the surface that bother you, you can gently sand those too. After sending, you can wipe the pieces with a damp
cloth to remove dust. And if you like, bob them with a soft cloth or fabric
to give a bit of shine. Some people also like to use a clear varnish or
salub that's optional. For this class,
I'll keep it simple because I have a leaf shape. When you are happy with
your pieces, look and feel, we are ready for the final step, drilling hose and
assembling the earrings.
9. 9 making holes: In this lesson, we'll turn our finished pieces
into actual earrings. Now that our pieces are
baked and fully cooled, we are ready to make the hose for assembling the earrings. Since the clay is now hard, we'll use a small hand
drill or a rotary tool for this step and plastic board. Or even wooden board so that you don't mind
if you press on it. First, decide where you
want your hole to be, and it should be
close to the top, but not too close to the edge
so the piece stays strong. Sometimes I lightly
mark the spot before drilling just to make
sure everything is aligned, especially when
working on pairs, and hold your piece steady on a flat surface and gently
start drilling straight down. Take your time here.
There's no need to rush and let the
two do the work. If you press too hard, the clay can crack, so keep the pressure
light and controlled. Once the hole is through, you can gently clean the edges if needed because
there are a lot of little pieces and repeat the same process for
all your pieces, making sure the holes are placed consistently so your
earrings will hang evenly. And that's it. Now your pieces
are ready for assembly.
10. 10 assembling: Now I will show you how
to assemble the earrings. You need two flat nose pliers and charms and jump
rings for earrings. Now, hold the ring and
just twist it open. You shouldn't pull, twist. And then we add baked
polymer clay earring. And here I will add a charm because I decided
for a few more sparkles. And then I twist back
and close the jump ring. And here is half of the
earring that we are creating. Now, take another jump
ring twist it open. And then you add this part of the earring
that you already have got. And this is the
ballpoint earring that I have chosen for these earrings, and now I twist it, close it back, and
that's almost it. I'm just adding the back of
the earring to close it. Okay. And then you do this
with all the earrings, and here they are.
11. 11 class project and thank you: We've reached the
end of the class. Thank you so much for
creating with me. In this course, you chose
a simple, elegant style, designed a five color
palette, shaped, baked, and finished your pieces, and assembled a cohesive
mini collection of earrings. And for your class project, I'd love to see your
five color palette, your chosen shape, and at least one finished pair of earrings from
your collection. You can share photos
of your process and your final earrings
in the project section. Don't worry about perfection. This is all about learning, experimenting, and
finding your own style. If you enjoy this class, it would mean a lot if you leave a review or
share your results. And if you have questions,
feel free to ask. I'm happy to help where I can. Thank you again for being
here and supporting my work. I hope this is just
the beginning of your journey with polymer clay. Have a beautiful day
and happy creating.
 Nina Louder, Shanti yoga and polymer clay earrings